1:1 Millennium Falcon Cockpit Replica - Group Build

Hi Gang,

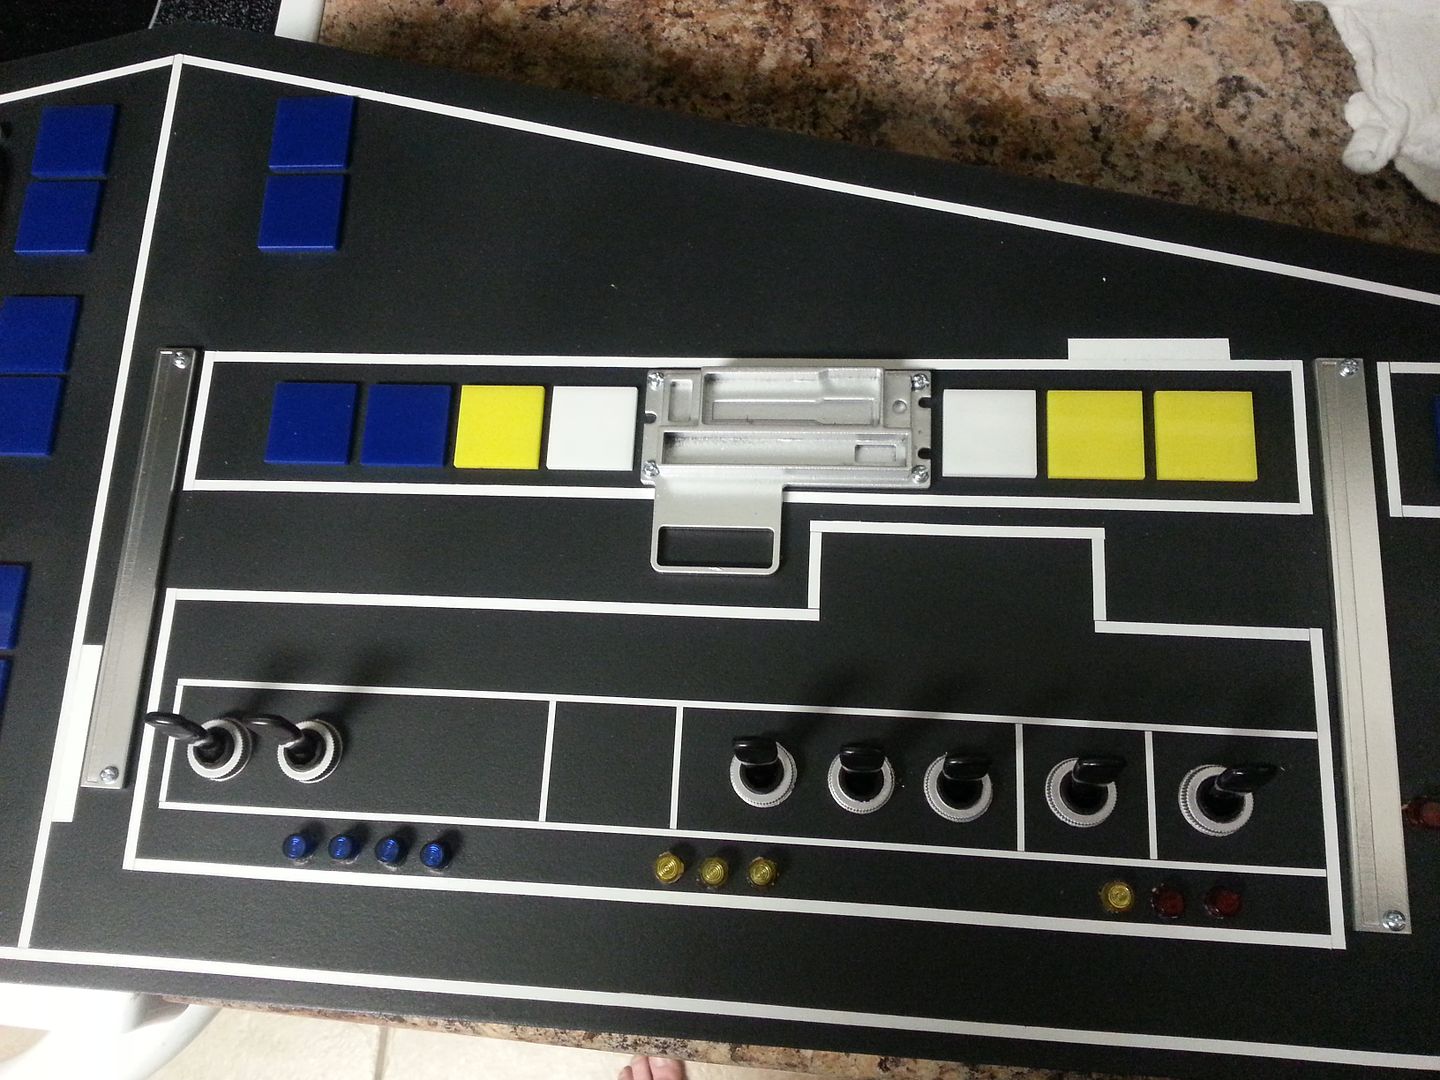
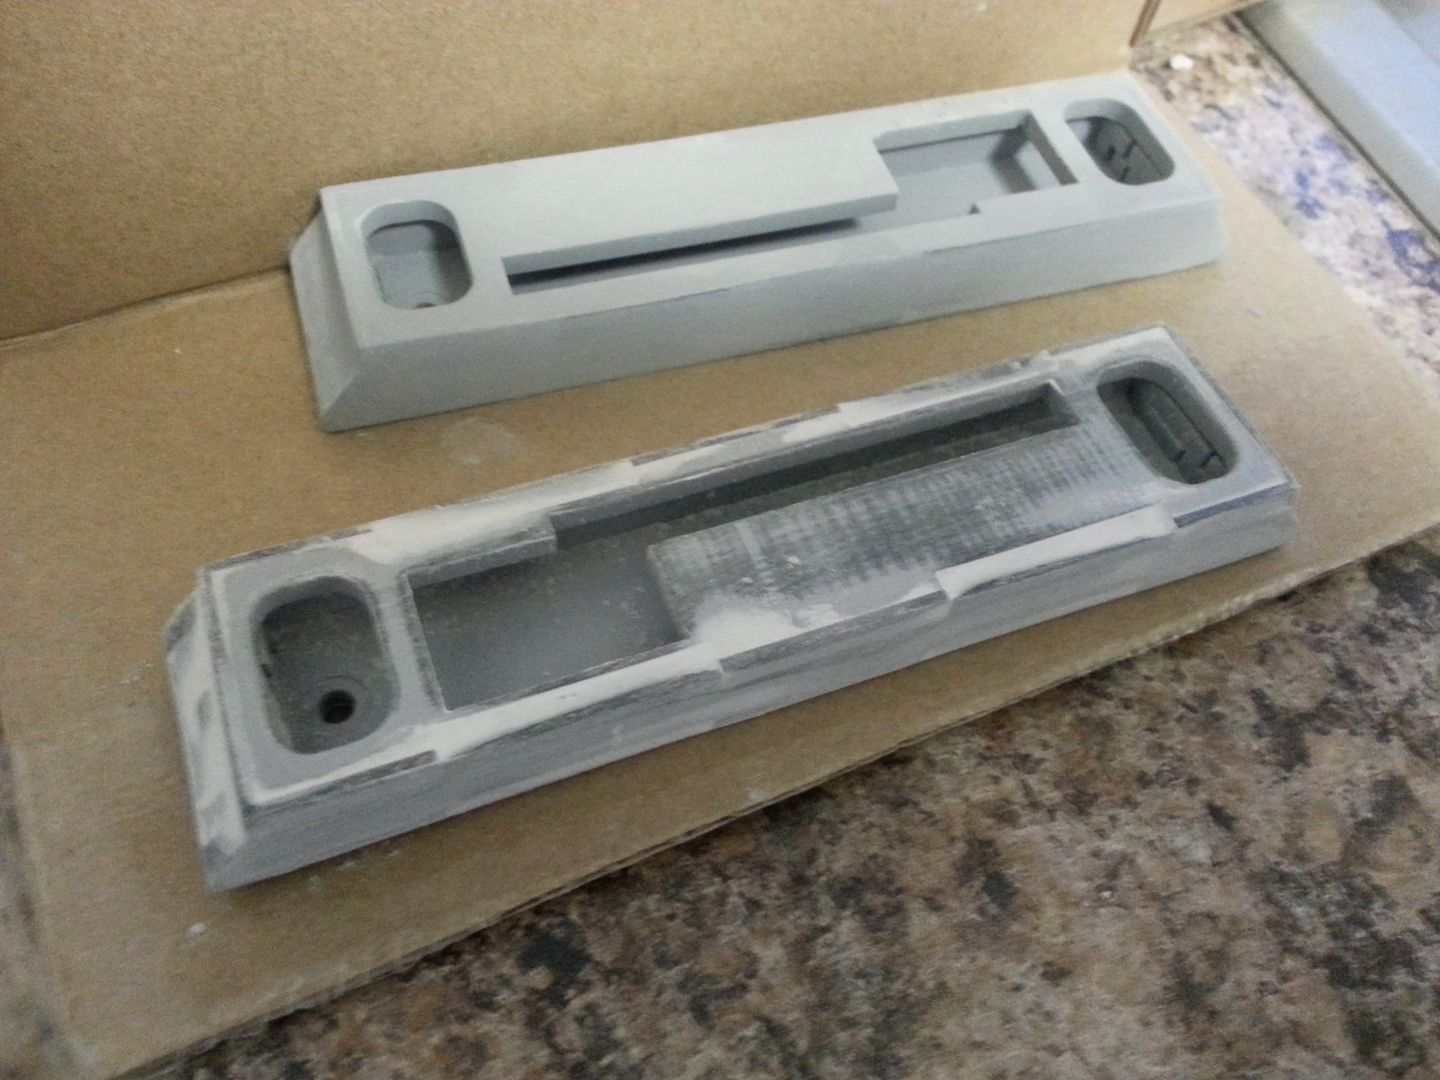
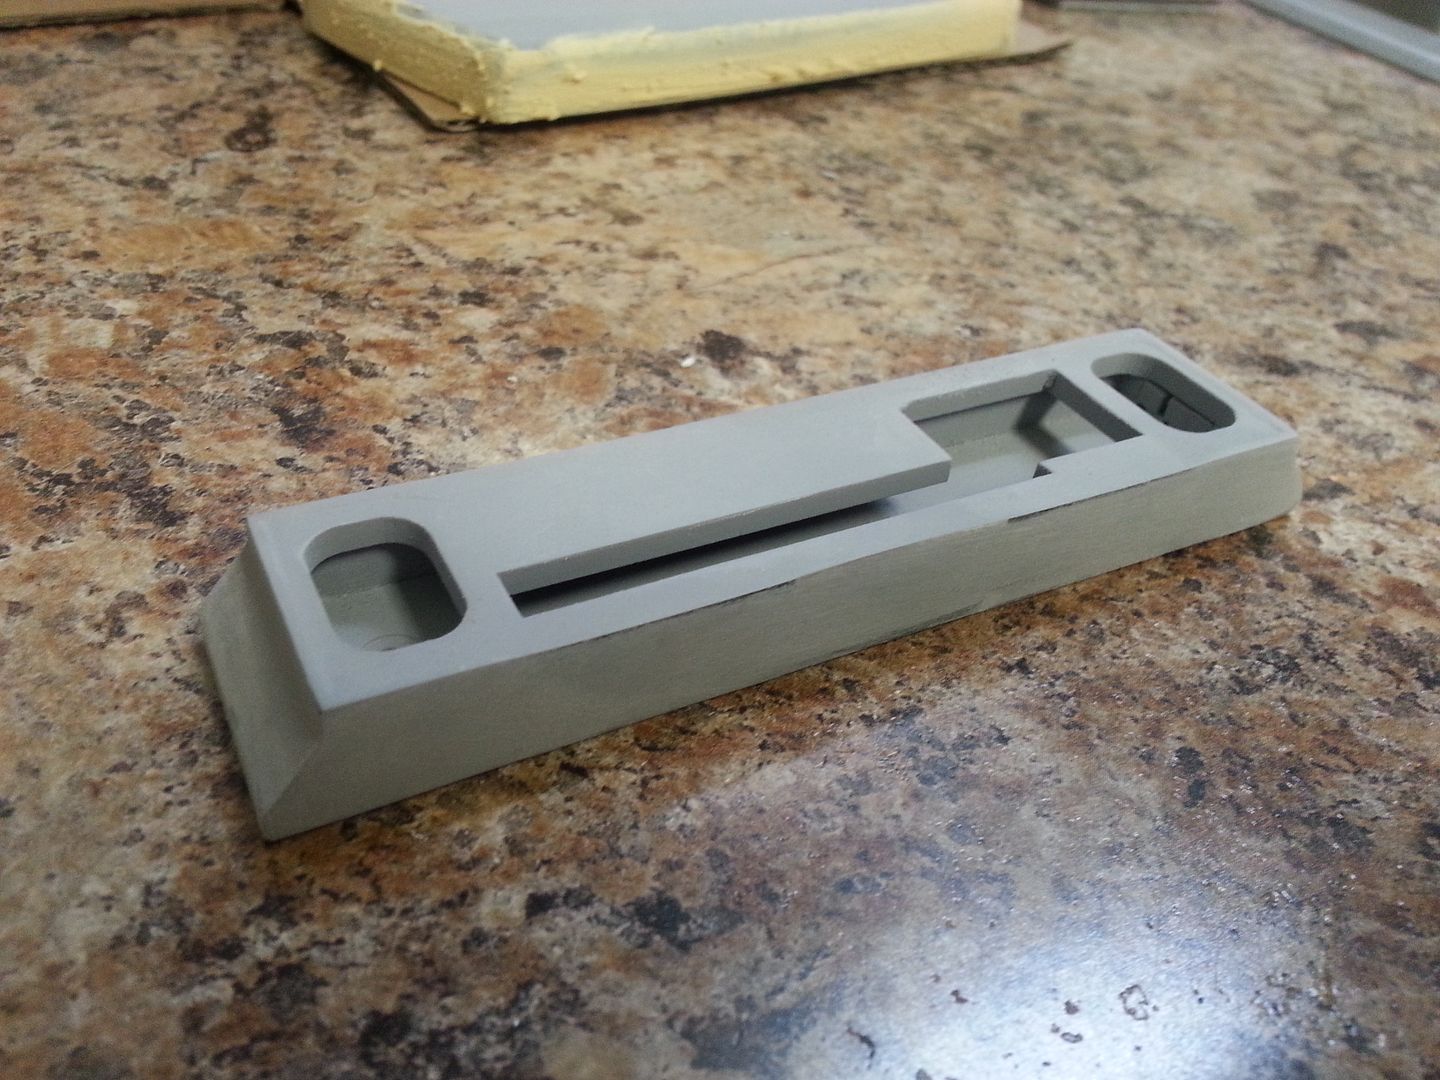
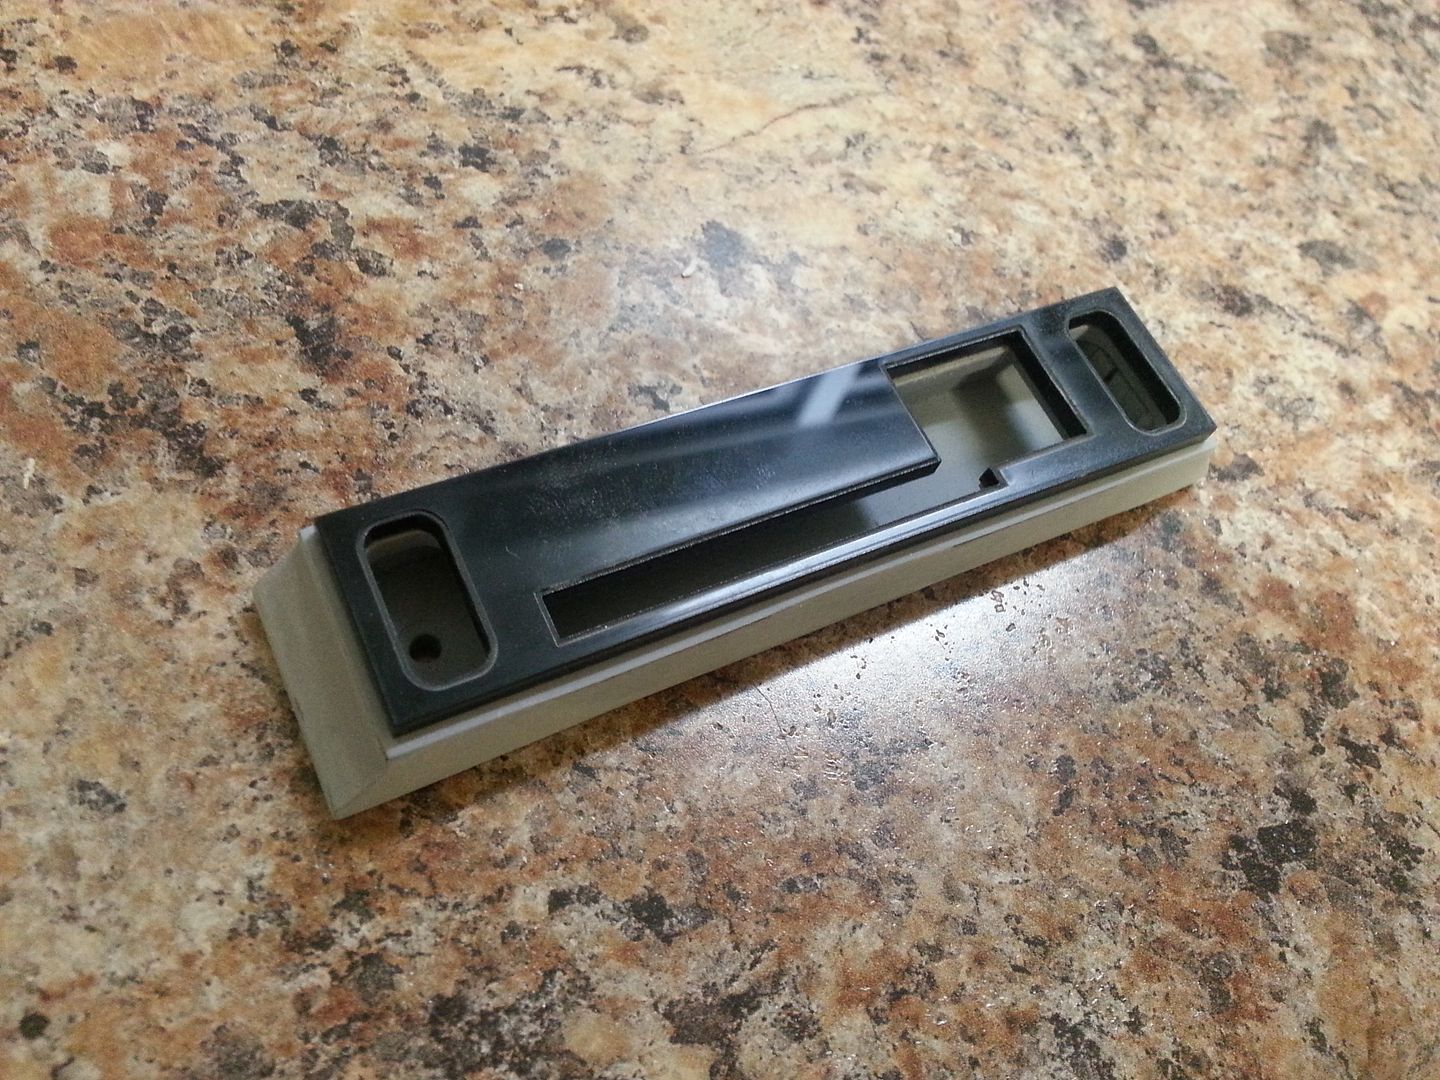
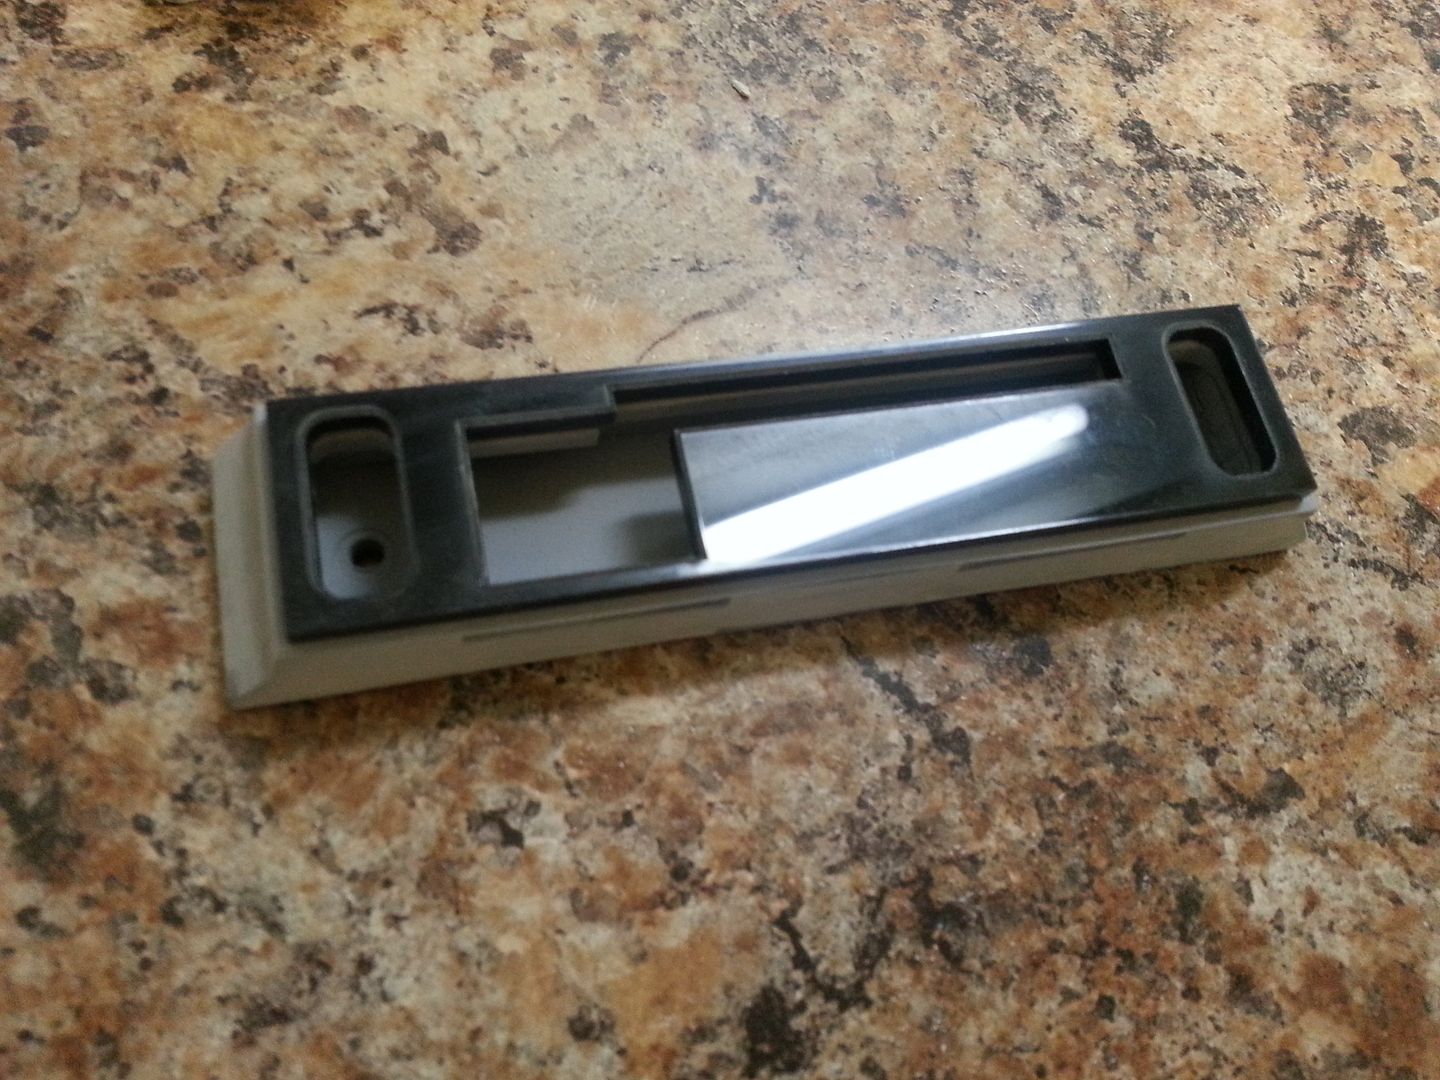
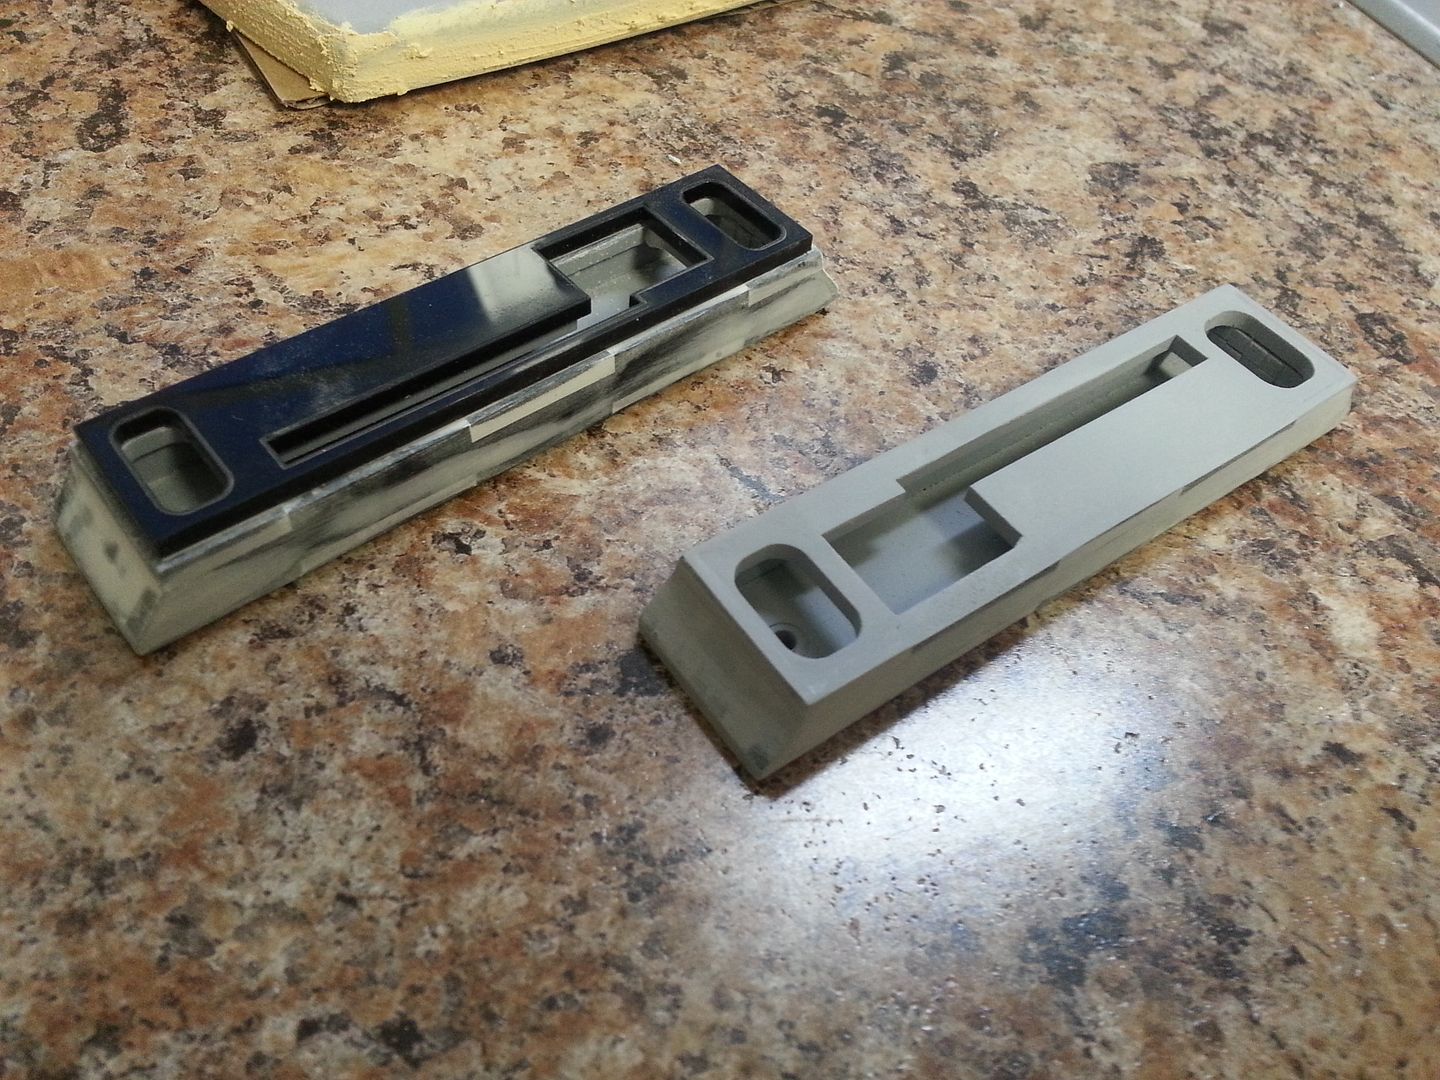
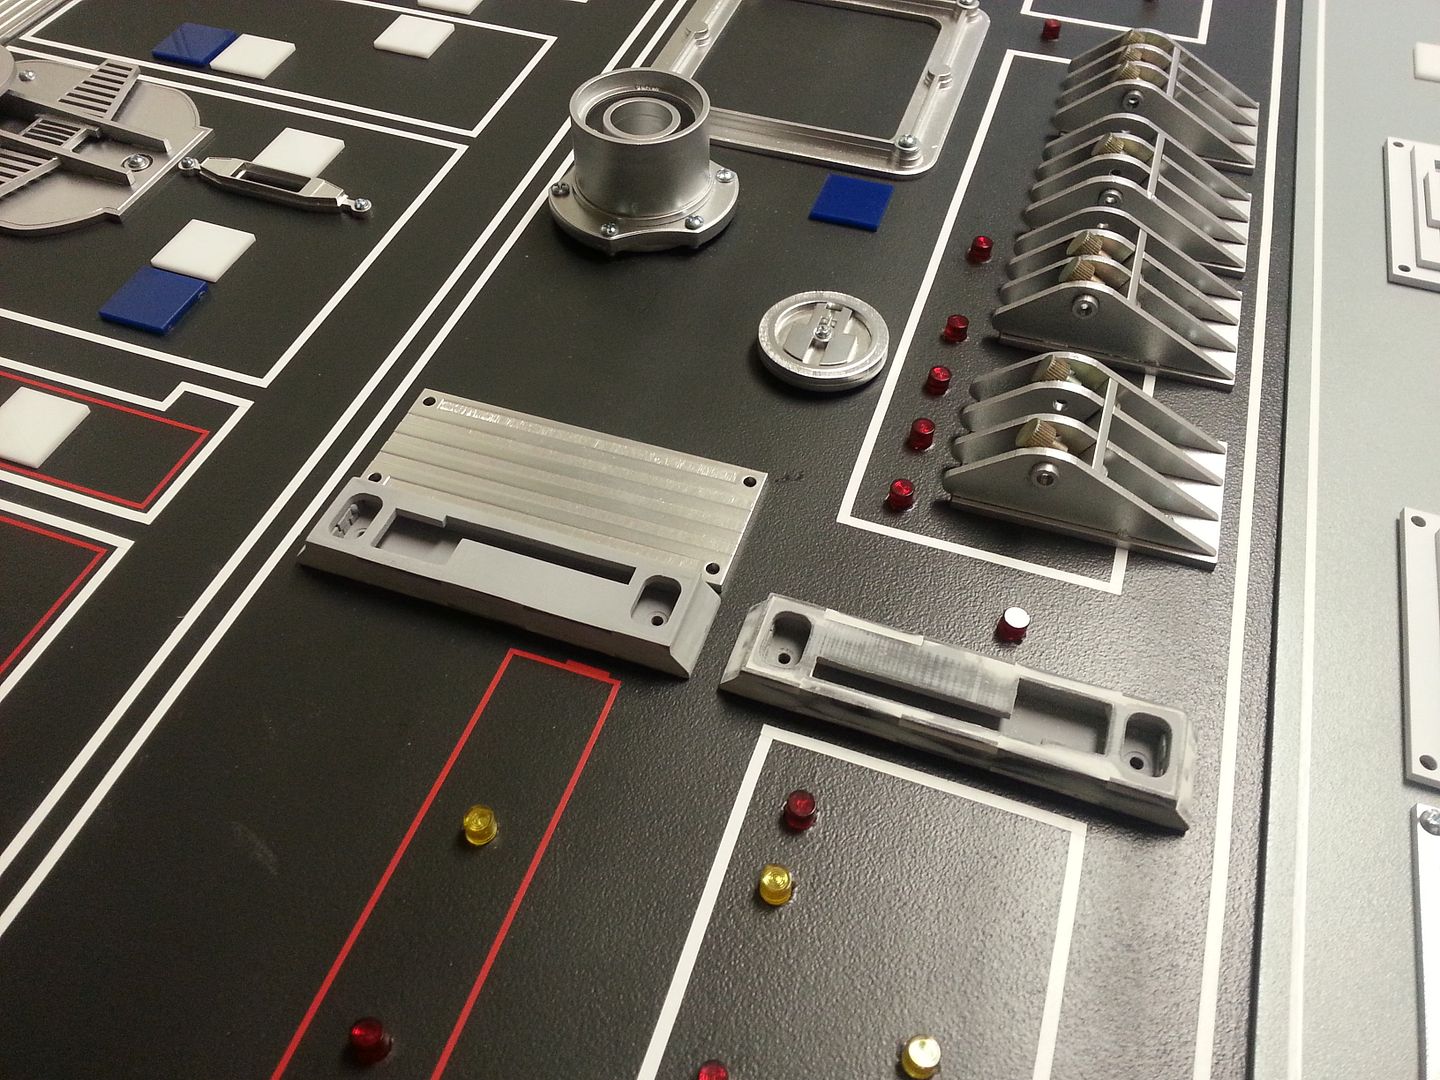
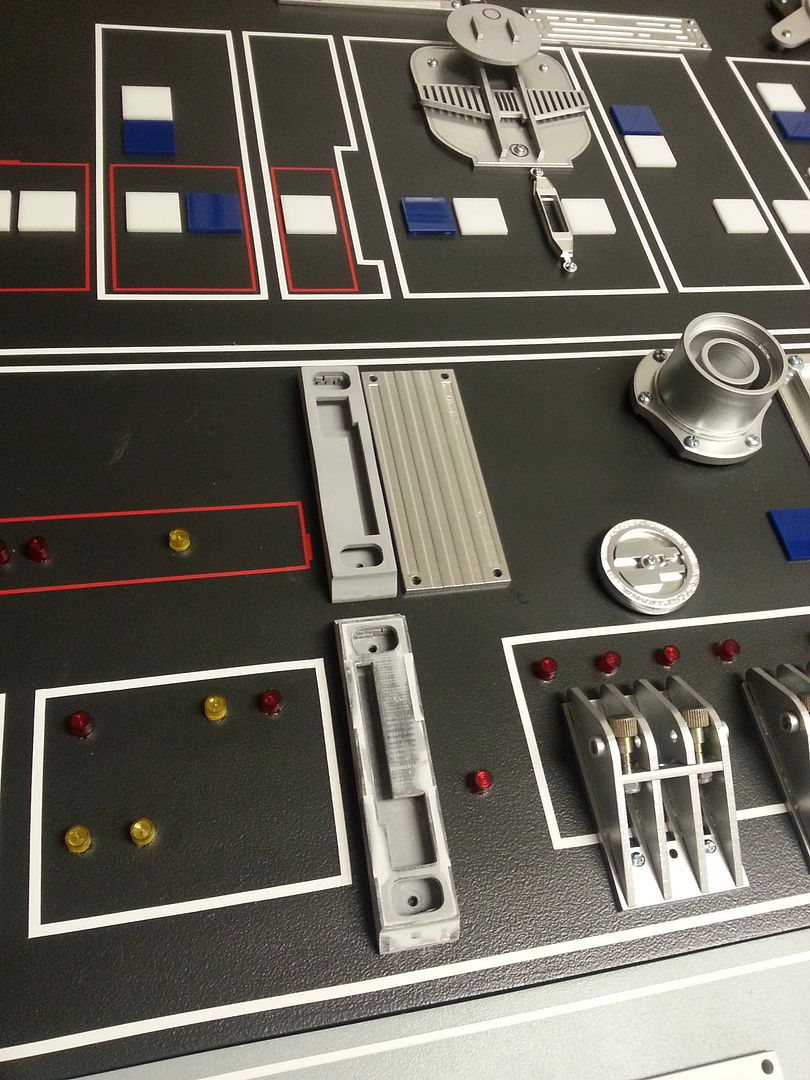
May the 4th Be With You! It has been exactly 3 full years since the beginning of this project! 3 YEARS! WOW! I would like to take the time to personally thank all of you and the FSF team for all the success we've had these past several years! And thank you to everybody for your support, guidance, contributions and friendship(s) throughout this build. Without all of you and your continued interest... we wouldn't be here.

Here's to another 3 more years - let's hope I'm still not tinkering! ;)

May the 4th Be With You!

May the 4th be with you too! Awesome updates, I'm still in awe of everything you've accomplished, have multiple pages dogeared for tips on my own projects! Thanks for taking the time to document and share it here, truly inspirational!
 
Excellent update -- the details on the new printed parts is just beyond stunning, it will be great to see it all lit up and working -- I saw from a previous post that you are looking at the vanity fair issue images, here is a capture of one of the images I was able to grab --

Falcon Int 1.png

Enjoy

Oslm
 
Three, three whole years? Noooo, no way lol!!! Surely.... The people at the hardware store must think you're building a spaceship or something :D
 
Here's a pic from a little known deleted scene from ANH:
View attachment 472988

Def dont want to get in any treble! ;)

- - - Updated - - -

May the 4th be with you too! Awesome updates, I'm still in awe of everything you've accomplished, have multiple pages dogeared for tips on my own projects! Thanks for taking the time to document and share it here, truly inspirational!

Hi GF,

Thank you so much! Very kind words. Let me know if there is anything I can do to help! :)

- - - Updated - - -

Excellent update -- the details on the new printed parts is just beyond stunning, it will be great to see it all lit up and working -- I saw from a previous post that you are looking at the vanity fair issue images, here is a capture of one of the images I was able to grab --

View attachment 472942

Enjoy

Oslm

Hi O,

Thanks much! We're very excited! This sudden flux of greeblies seems to be coming to an end... let's hope!

Thanks for posting the pic! I'm pouring over ANYTHING MF related. Very interested to see all the different changes. Better to get that curiosity over with now before seeing the movie. :)

- - - Updated - - -

Three, three whole years? Noooo, no way lol!!! Surely.... The people at the hardware store must think you're building a spaceship or something :D

I KNOW! 3 years! lol Its funny you mention it. When I was building the quad, the plumbing dept was VERY curious as to what was going on. They would ask me "Can I help you find something?" "ummm... I'll know it when I see it..."

They always looked at me with complete confusion!
 
I came across this at work while disassembling some equipment to be recycled. It's an aluminum heat sink 9.5"x4"x2.5" with 16 transistors on it. Does this look like something you guys could use?
IMG_8816.JPG
 
I'll tell you what man, we all owe you a HUGE thank you!! I think i speak for most of us in saying that we have enjoyed every update on this project. I know for myself at least, it is one of my favorite stops on the NET, to see what "SofaKing" has done for us fans today . . . keep it up, the rest of the ship is waiting!!!
 
I'll tell you what man, we all owe you a HUGE thank you!! I think i speak for most of us in saying that we have enjoyed every update on this project. I know for myself at least, it is one of my favorite stops on the NET, to see what "SofaKing" has done for us fans today . . . keep it up, the rest of the ship is waiting!!!

Exactly what he says!!!!

Plus May The Fourth be with You all guys!!!

Sofa every time I look at Your updates my jaw drops further and further, at the end of the project we'll use the full Falcon to rescue it in japan maybe!

Regards,

Alberto
 
Instead of acrylic, have you considered laser cutting the greebles out of expanded PVC? It's lighter, easier to sand, and a lot more durable. There's no risk of cracks when drilling or handling, because it's flexible and slightly spongy.
 
Hi Gang,

A simple morning update

Reattached this greeblie - done
20150504_194729_zpssaectns1.jpg


Collection of armrest greeblies
20150504_160344_zpsj70cc6ue.jpg


Jessie Designed / Daniel 3D printed a new lever greeblie that will attach to the armrest base and allow the 3 prong tube camp to mount
20150504_194356_zpsta4ka3ft.jpg


Lots of sanding ahead
20150504_194349_zpslzyqiy7c.jpg


Armrest greeblie base ready for more primer / paint
20150504_193730_zpsfbgyfc3o.jpg


These new panel greeblies are going to be fun! :)
20150504_193714_zpseek1n53o.jpg


Another back wall panel greeblie almost ready for paint
20150504_193702_zps1iqtrh31.jpg


That's it for now. More to Follow!
 
I for one would love to see the reference pics you guys are using for this build! I don't know about the rest of these people! :)
 
I came across this at work while disassembling some equipment to be recycled. It's an aluminum heat sink 9.5"x4"x2.5" with 16 transistors on it. Does this look like something you guys could use?
View attachment 473030

Hi R,

YES! Def hold onto that! That is an awesome greeblie! There are so MANY areas of the ship we have yet to explore! DEF hold on to it! THANK YOU!
 
I'll tell you what man, we all owe you a HUGE thank you!! I think i speak for most of us in saying that we have enjoyed every update on this project. I know for myself at least, it is one of my favorite stops on the NET, to see what "SofaKing" has done for us fans today . . . keep it up, the rest of the ship is waiting!!!

Thank you very much, my friend! Too kind! I'd like to think we all compliment, encourage and support each another in so many ways. That's a pretty cool place to be if you ask me. :)

Better yet, I can't wait to see what you're going to bring to the table.
 
Exactly what he says!!!!

Plus May The Fourth be with You all guys!!!

Sofa every time I look at Your updates my jaw drops further and further, at the end of the project we'll use the full Falcon to rescue it in japan maybe!

Regards,

Alberto

Hi A,

Another HUGE Thank You, my friend! Our goal is to drop as many jaws as possible. We pulled the throttle back a few months ago and decided to hunker down and get it as screen accurate as we can make it. We're doing this for all of you! And when all is said and done and we throw the switch that fires up the Falcon for the first time, the loading ramp makes the slow casual drop and the landing lights turn on and the cockpit roars to life...

You're all invited to the biggest party ever! :D

- - - Updated - - -

Instead of acrylic, have you considered laser cutting the greebles out of expanded PVC? It's lighter, easier to sand, and a lot more durable. There's no risk of cracks when drilling or handling, because it's flexible and slightly spongy.

Hi Red,

If I remember correctly... We can't laser cut PVC due to the toxic fumes the PVC releases when heated. But I agree with you 100% When we get to the larger pieces, I'm sure we'll replace the acrylic with a more durable material. So far, the acrylic has been small enough to avoid being destroyed or crushed.
 
Last edited:
I for one would love to see the reference pics you guys are using for this build! I don't know about the rest of these people! :)

Hi Lrd,

We're using the same screen grabs / behind the scene images that everybody else either has saved on their PC or has seen at one time or another. :) I'm just pouring over the image(s) with a fine tooth comb. We have our limitations with the photos - there are just some areas we can't see, too blury or faded, etc. Also, sometimes what I see isn't what Stinson sees compared to what Daniel sees compared to what Jessie sees compared to what Scott sees, etc etc etc... So we simply have to guesstimate. Although, Stinson has been pretty DANG accurate!

What I can do is do a side-by-side comparo on a few of the greeblies? Screen grab vs Redesign :)
 
Hi Gang,

Not much of an update for this morning... A few of us spent yesterday afternoon/early evening prepping for a new toy! It's a BIG TOY! It's AWESOME! But you know me... no details until it's here! ;)

With that being said... I'm still working these greeblies. The original idea was to build the "housing" and then adhere a cover plate on top

Housing
20150506_053803_zpse4dhhb5y.jpg


With cover plate
20150506_053824_zps6g0mmtui.jpg


It would be painted silver to match all the other ESB style greeblies
20150506_053849_zpswgma8bqm.jpg


But I'm not sure which one I like better? With or without the cover plate? I like the simplicity without but the added gives more depth
20150506_053914_zpsjmpgthd7.jpg


This would be their final destination
20150506_053728_zpszlxcifru.jpg


20150506_053720_zpseewsox9w.jpg


What do you guys think? With or without?
 
Last edited:
Back
Top