1:1 Millennium Falcon Cockpit Replica - Group Build

Hi Gang,

Updates but also some setbacks! UGH... Jessie spent several hours at the lab cutting an incredible amount of new greeblies only to discover that the laser cutter was erroring out and making horribly bad cuts! Virtually everything had to be tossed. We have to wait for the cutter to be fixed before getting anything else done. BUT

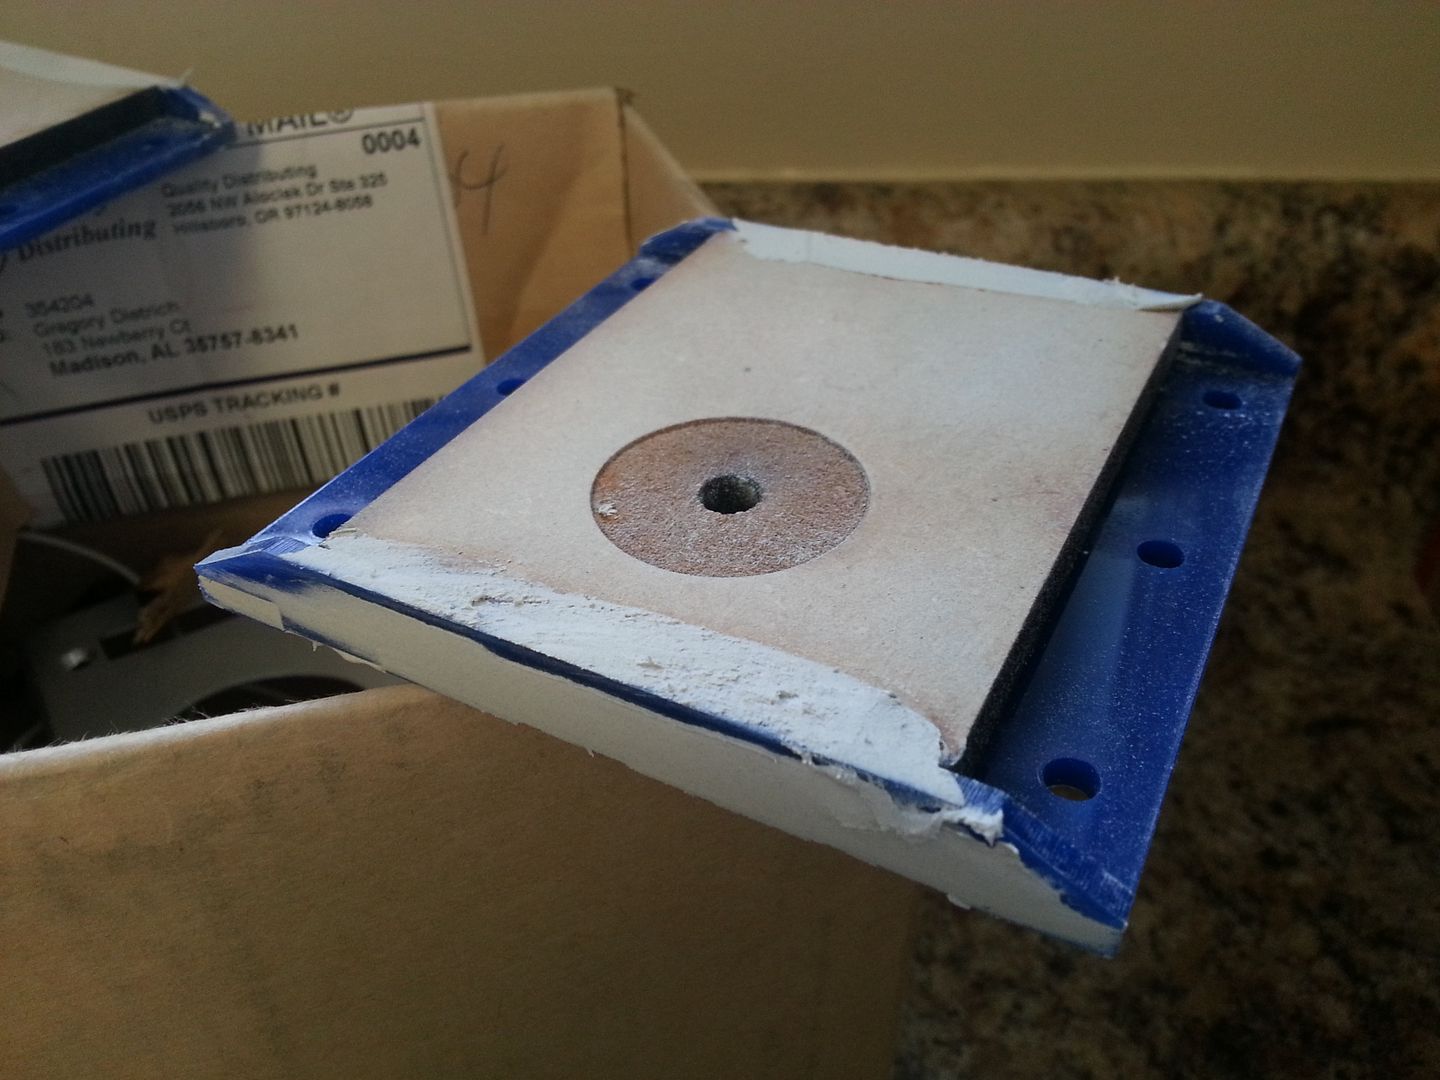
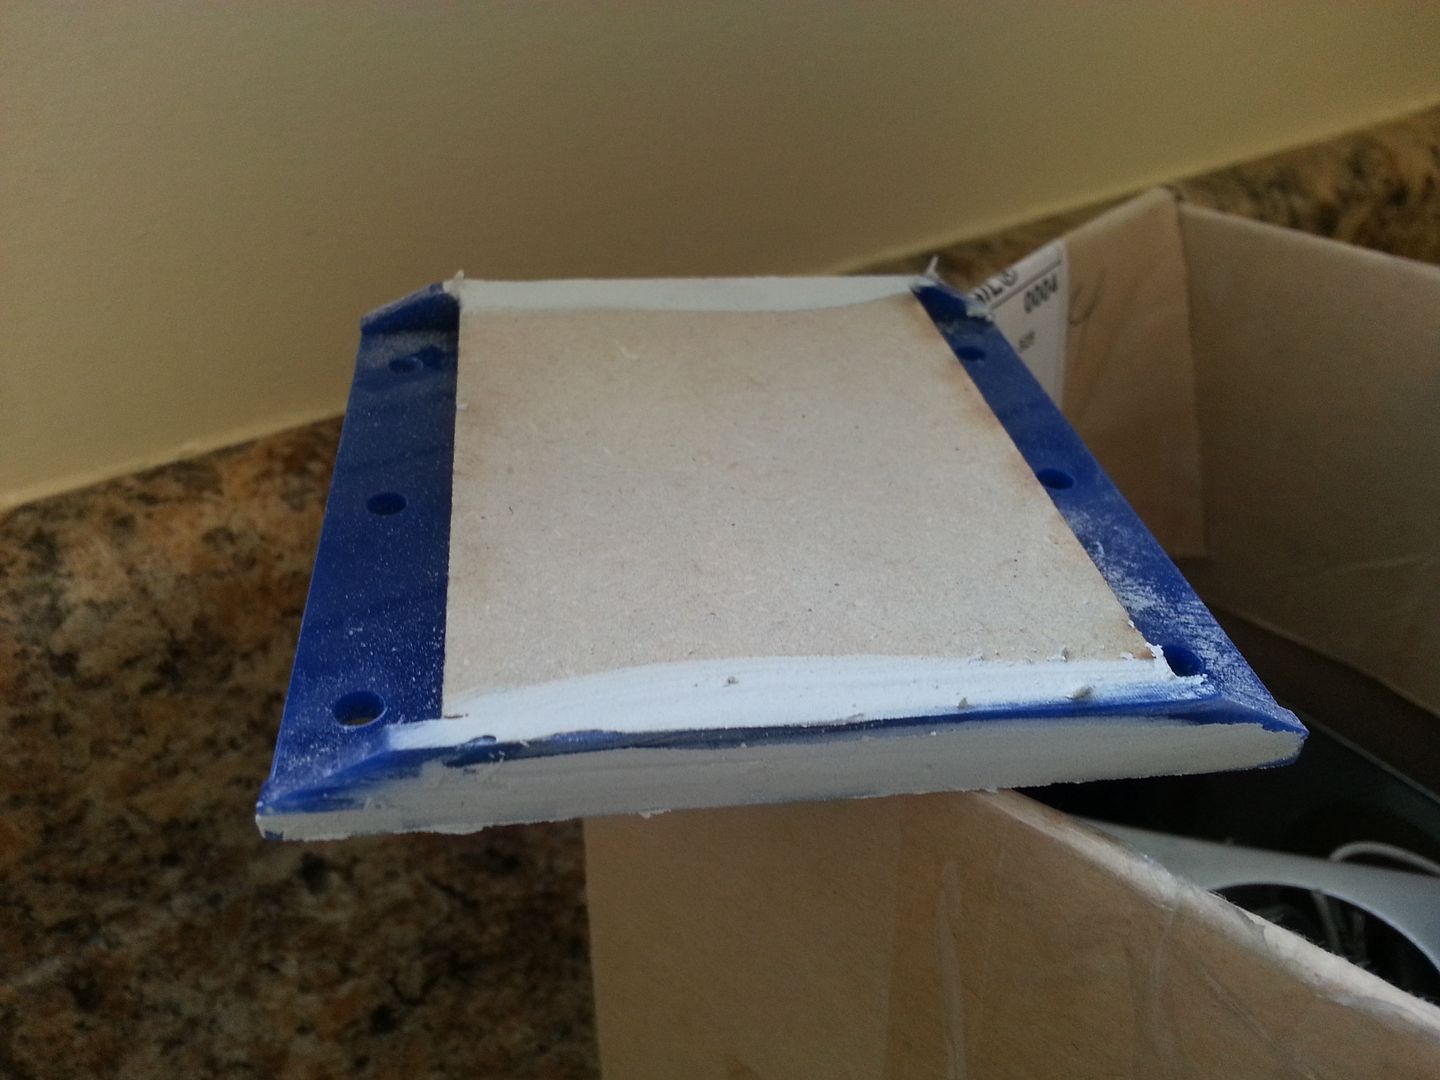
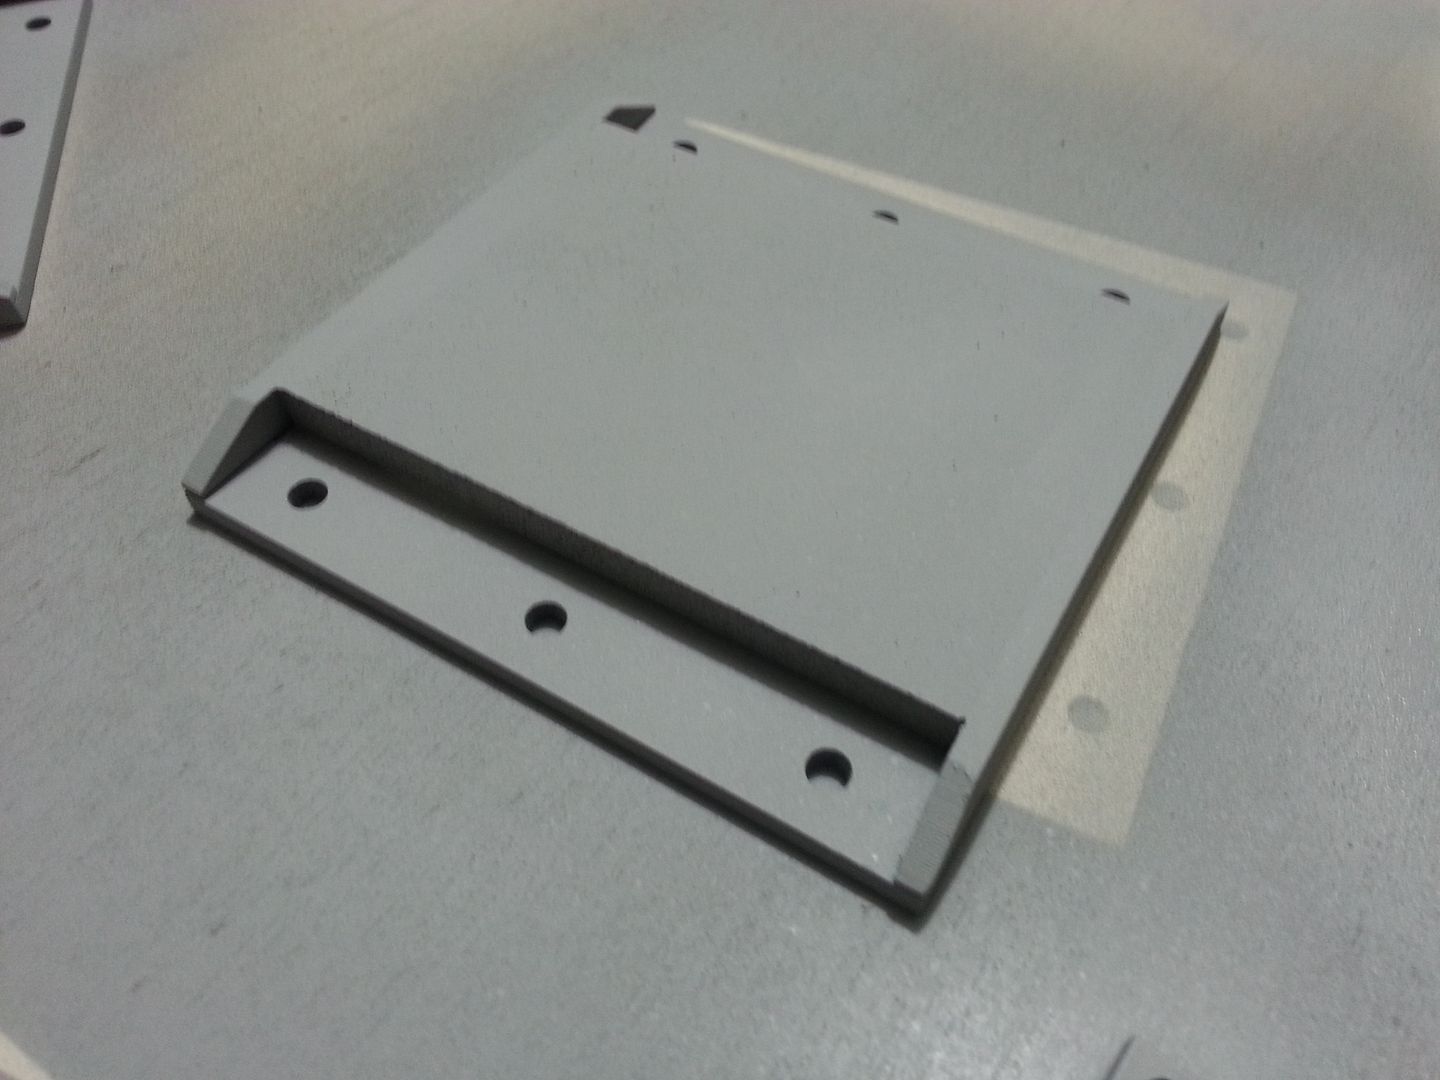
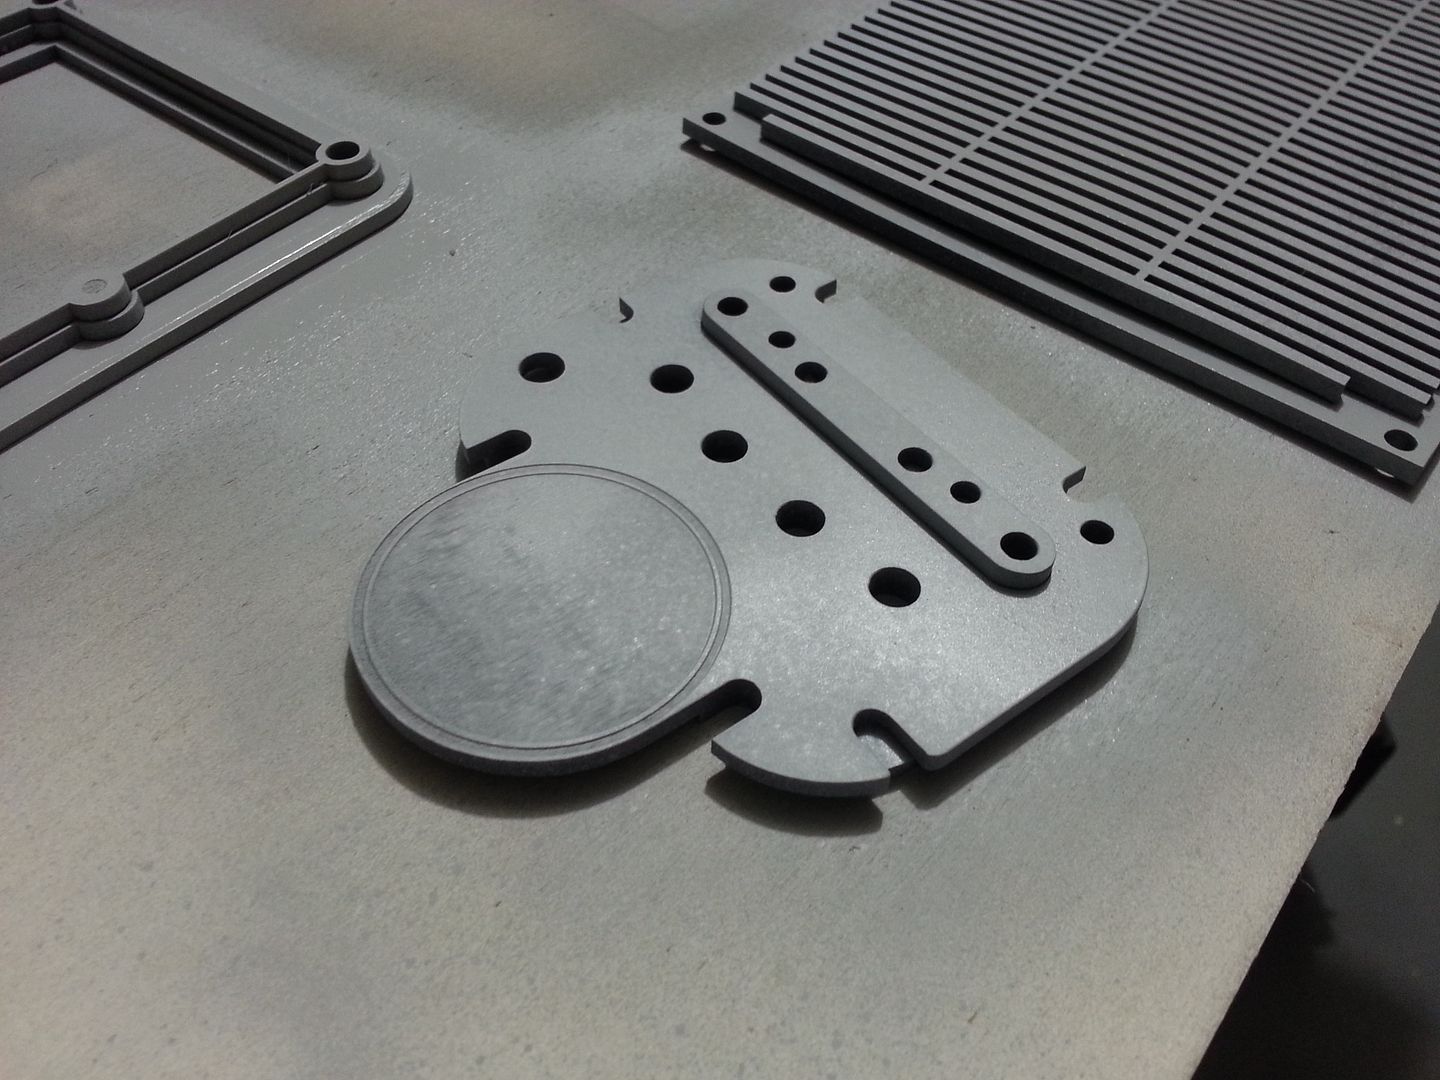
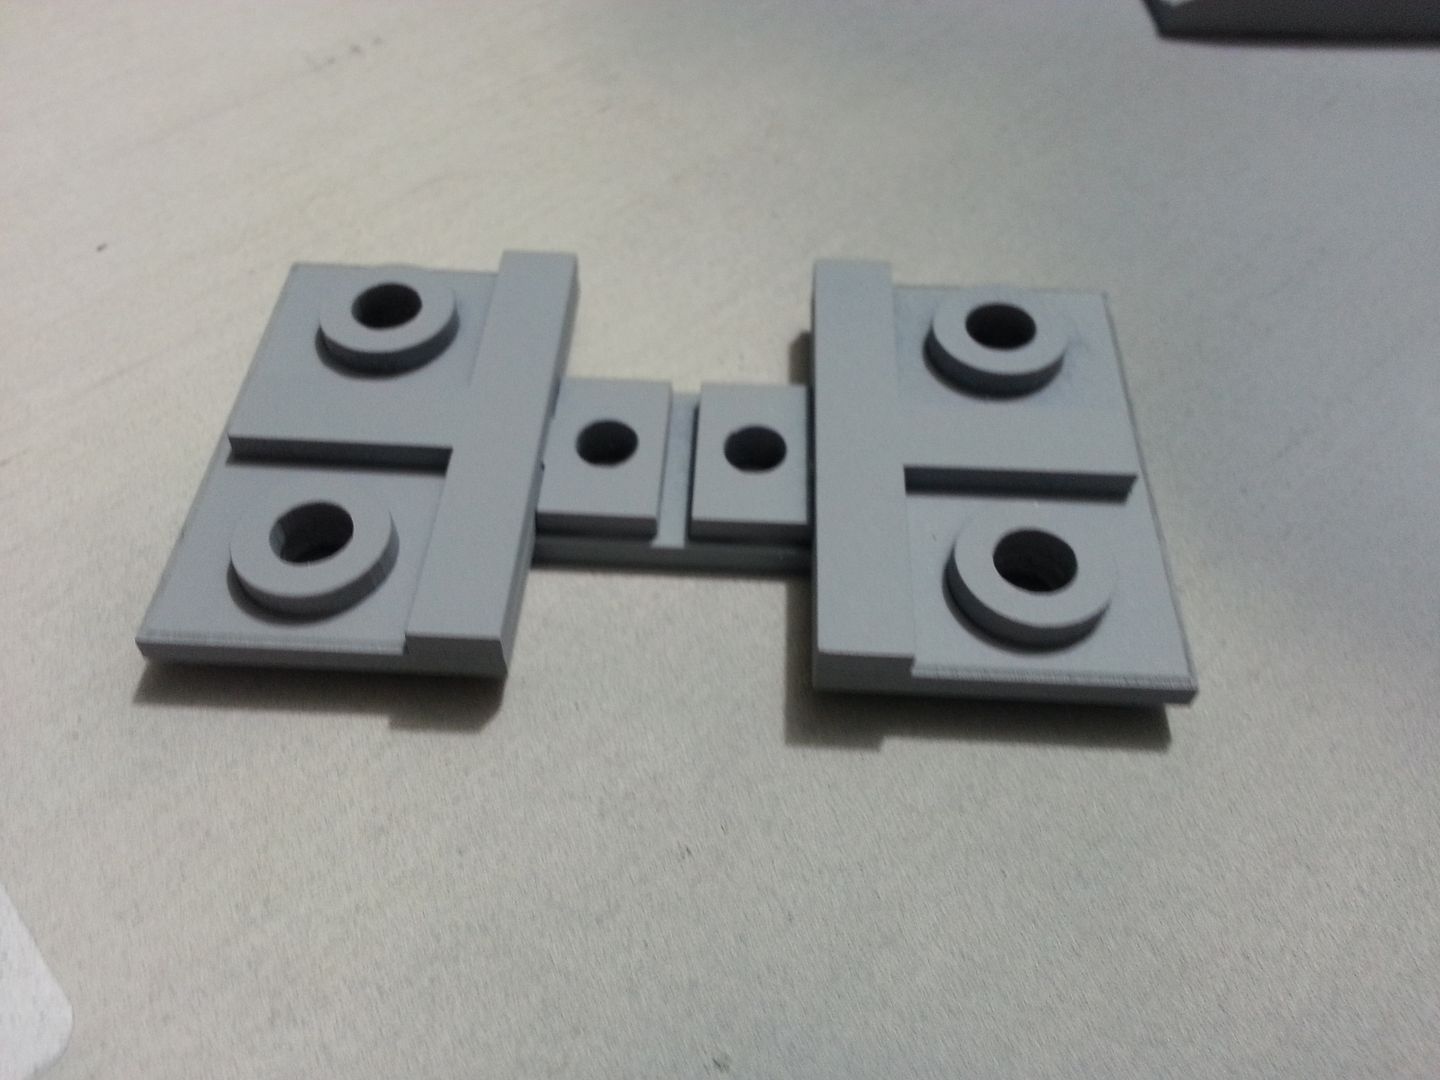
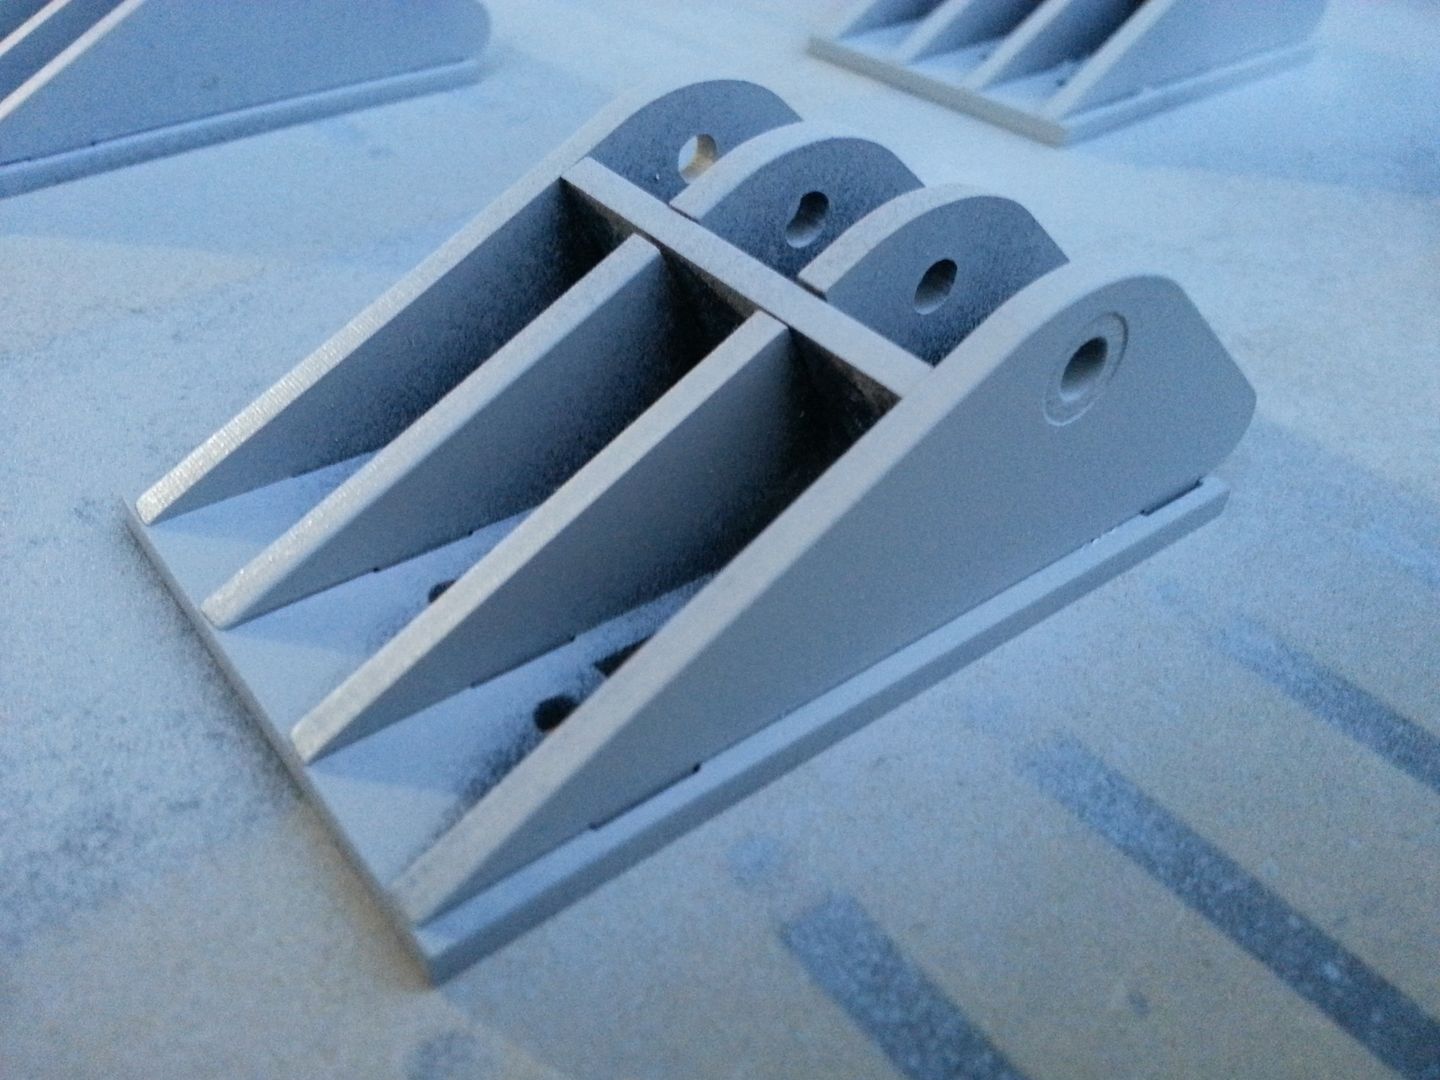
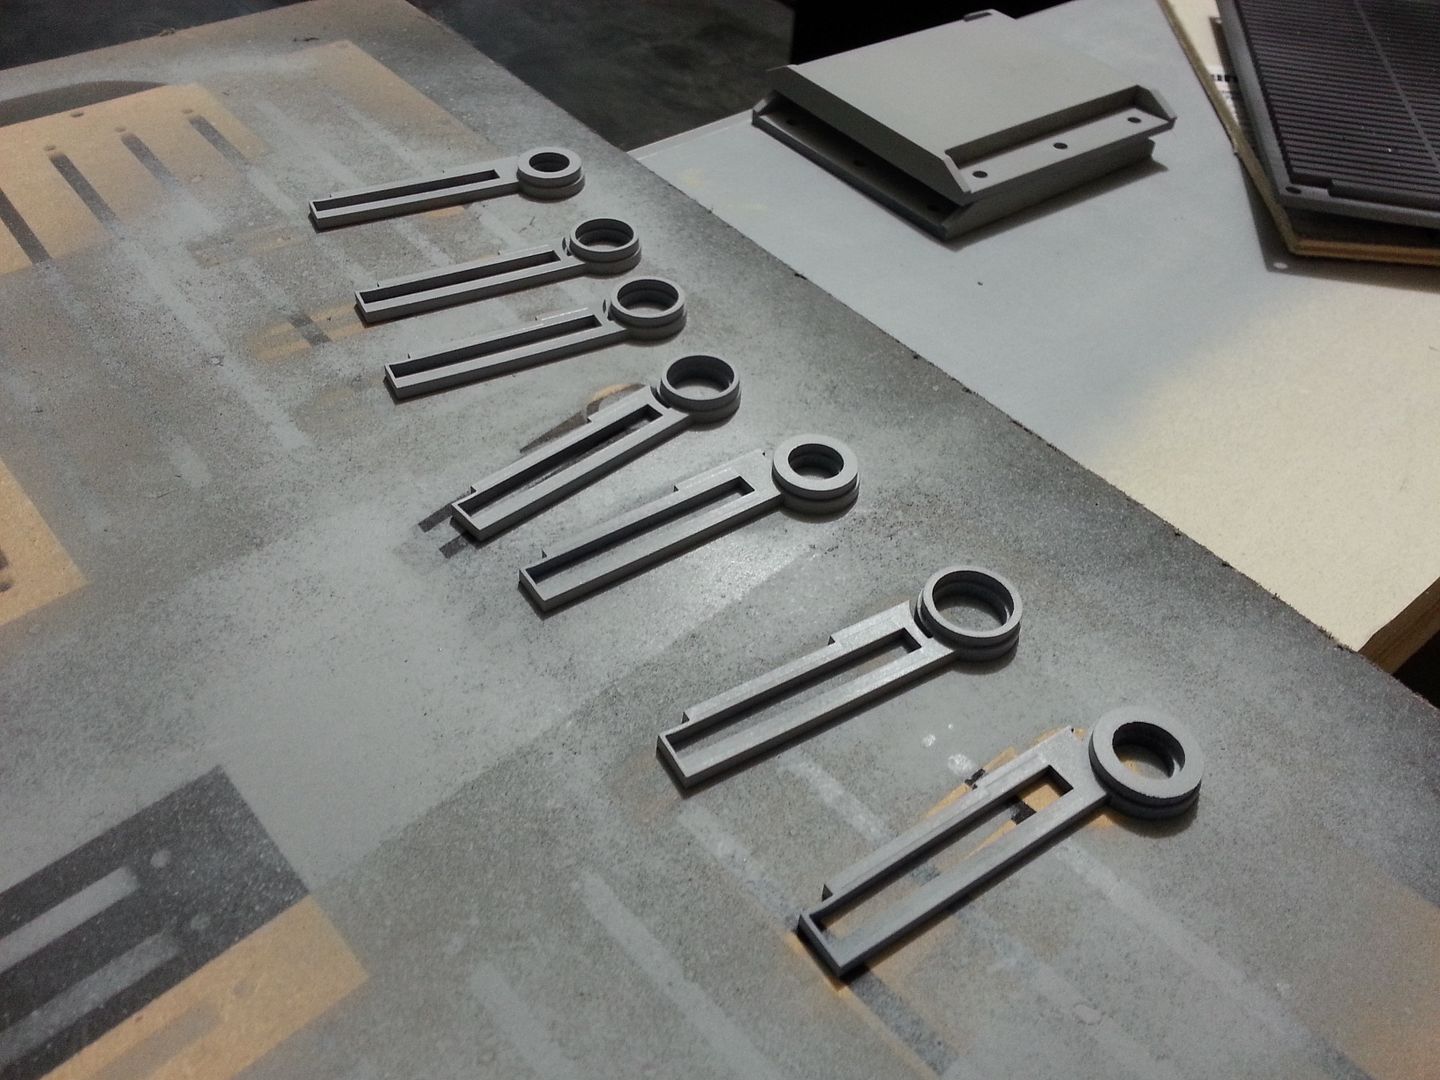
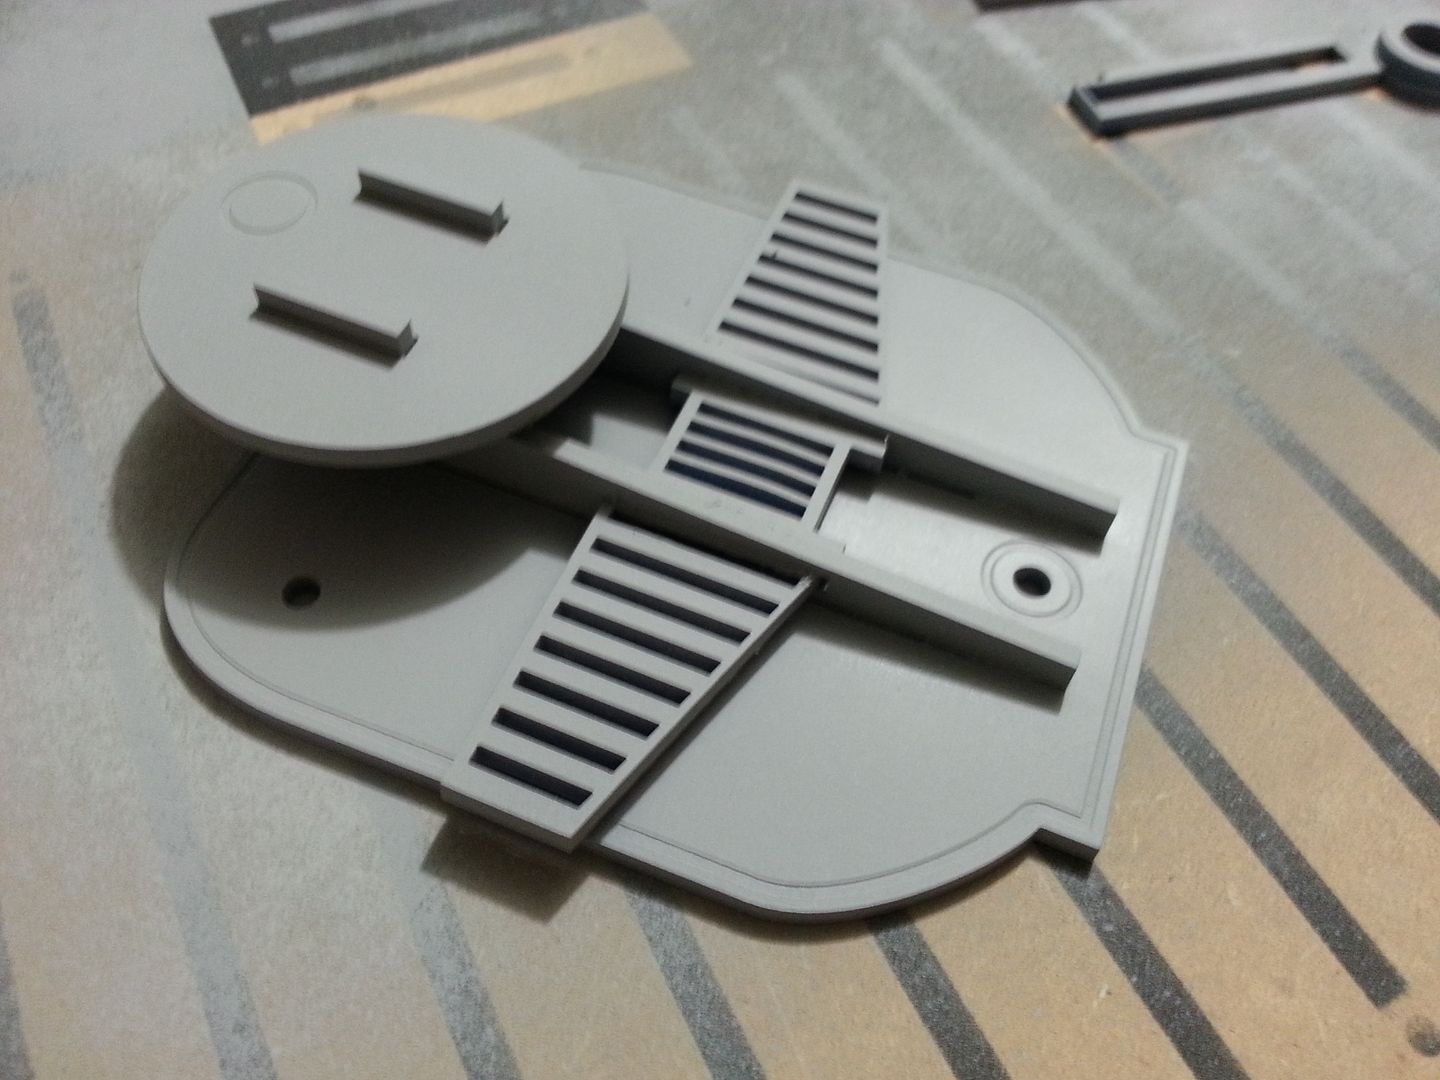
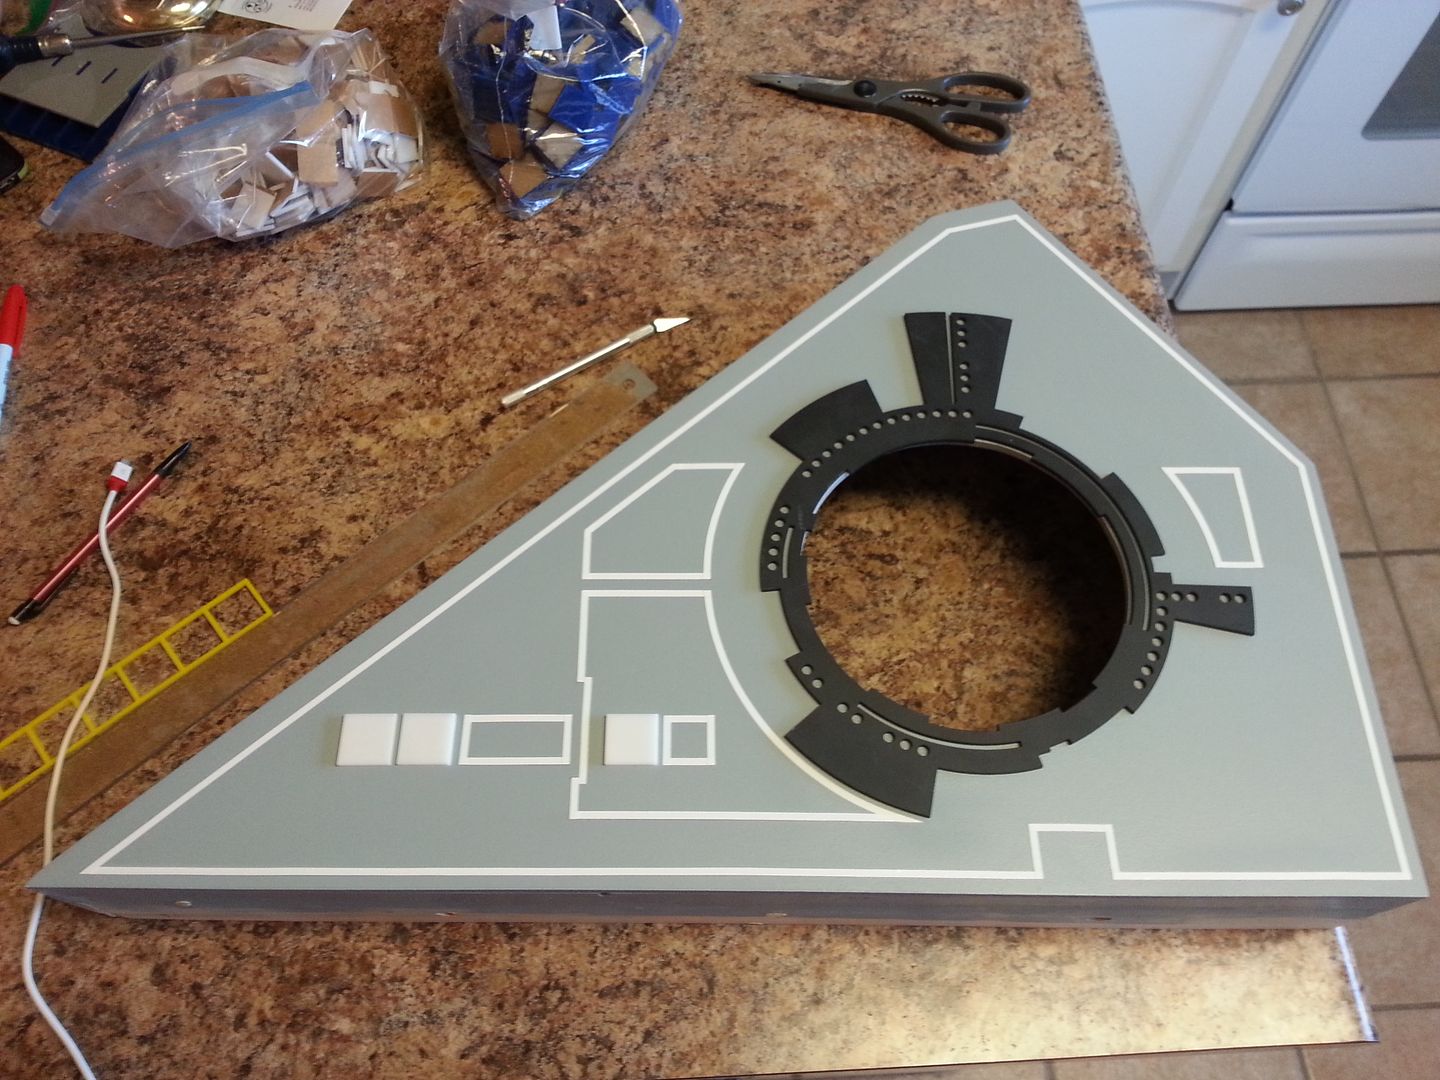
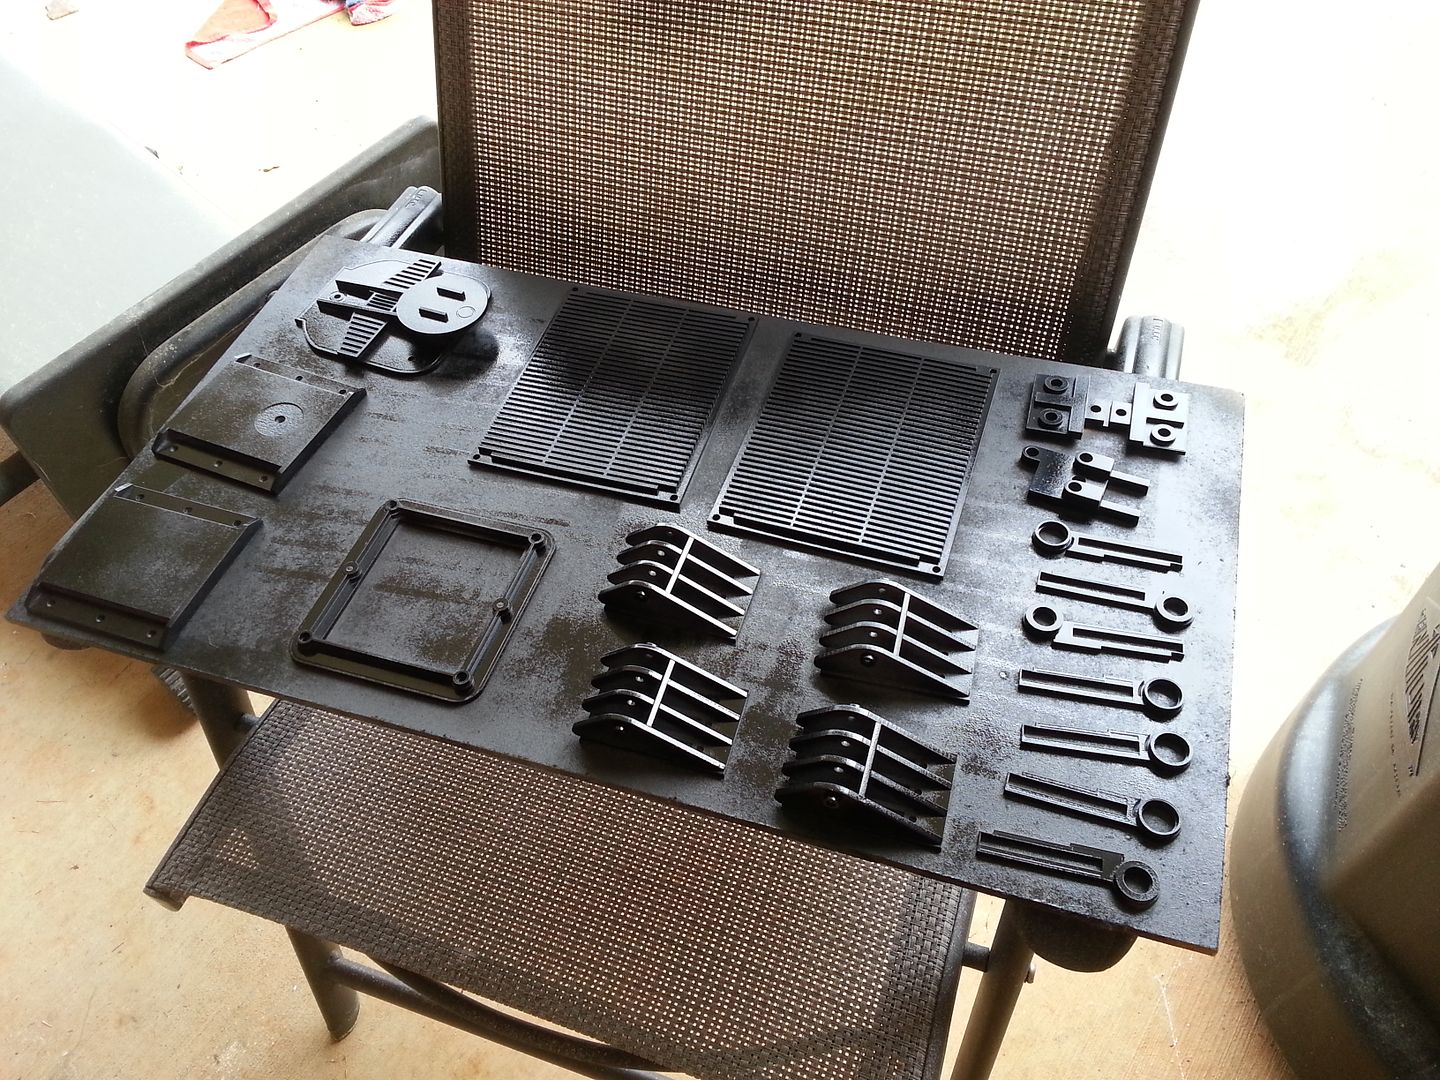
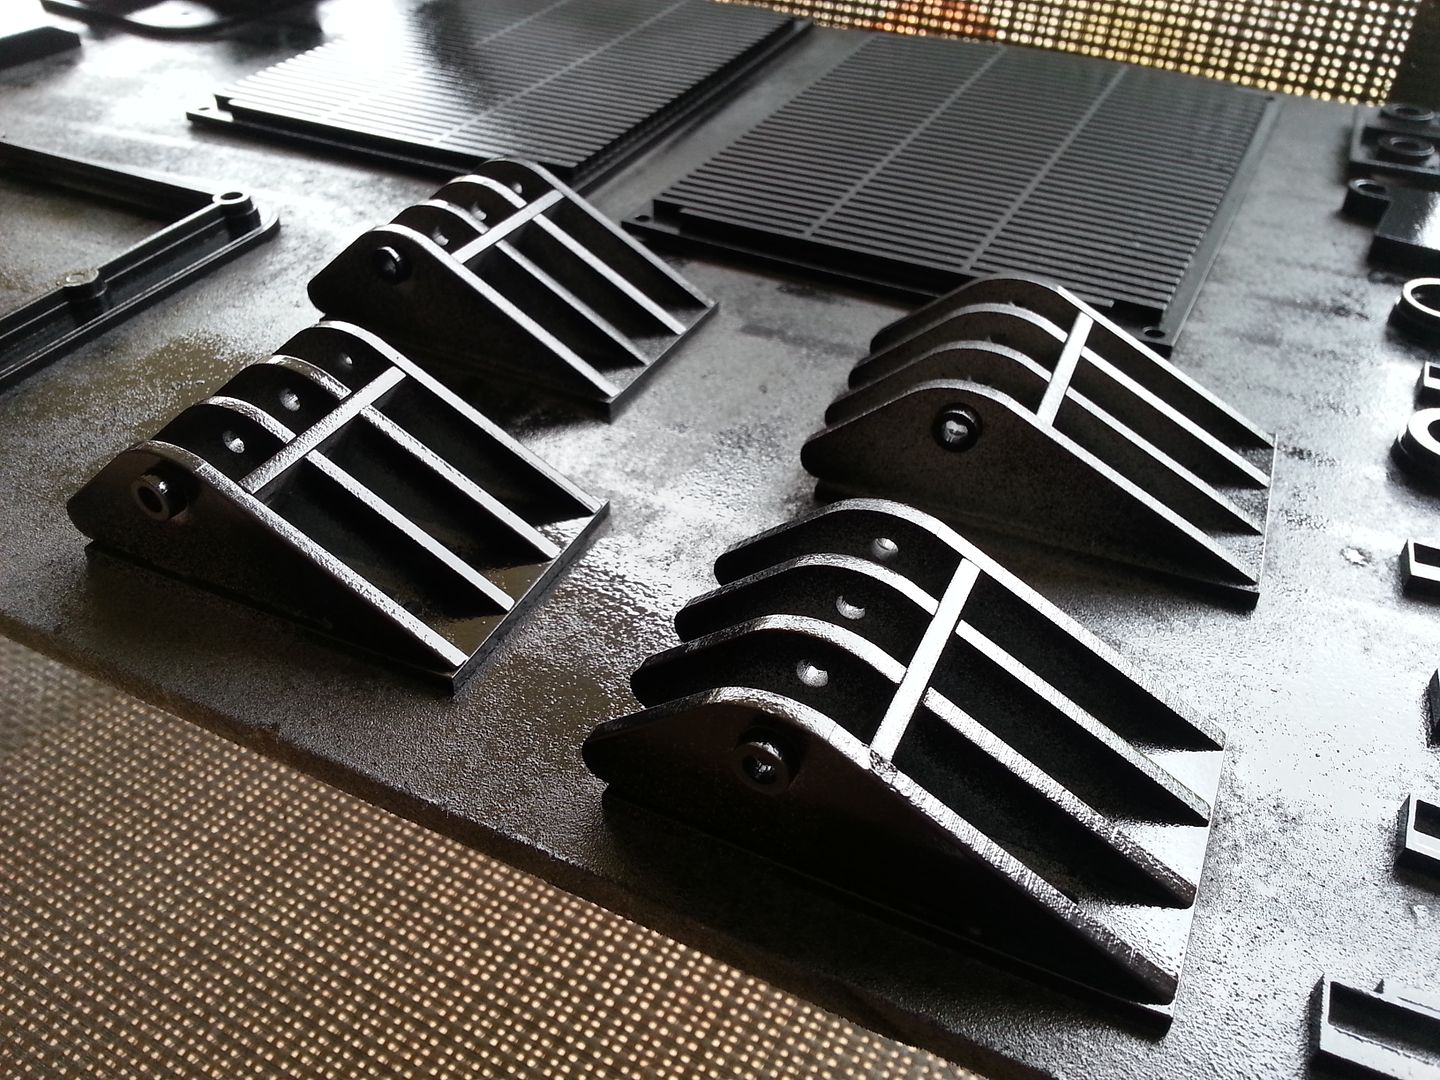
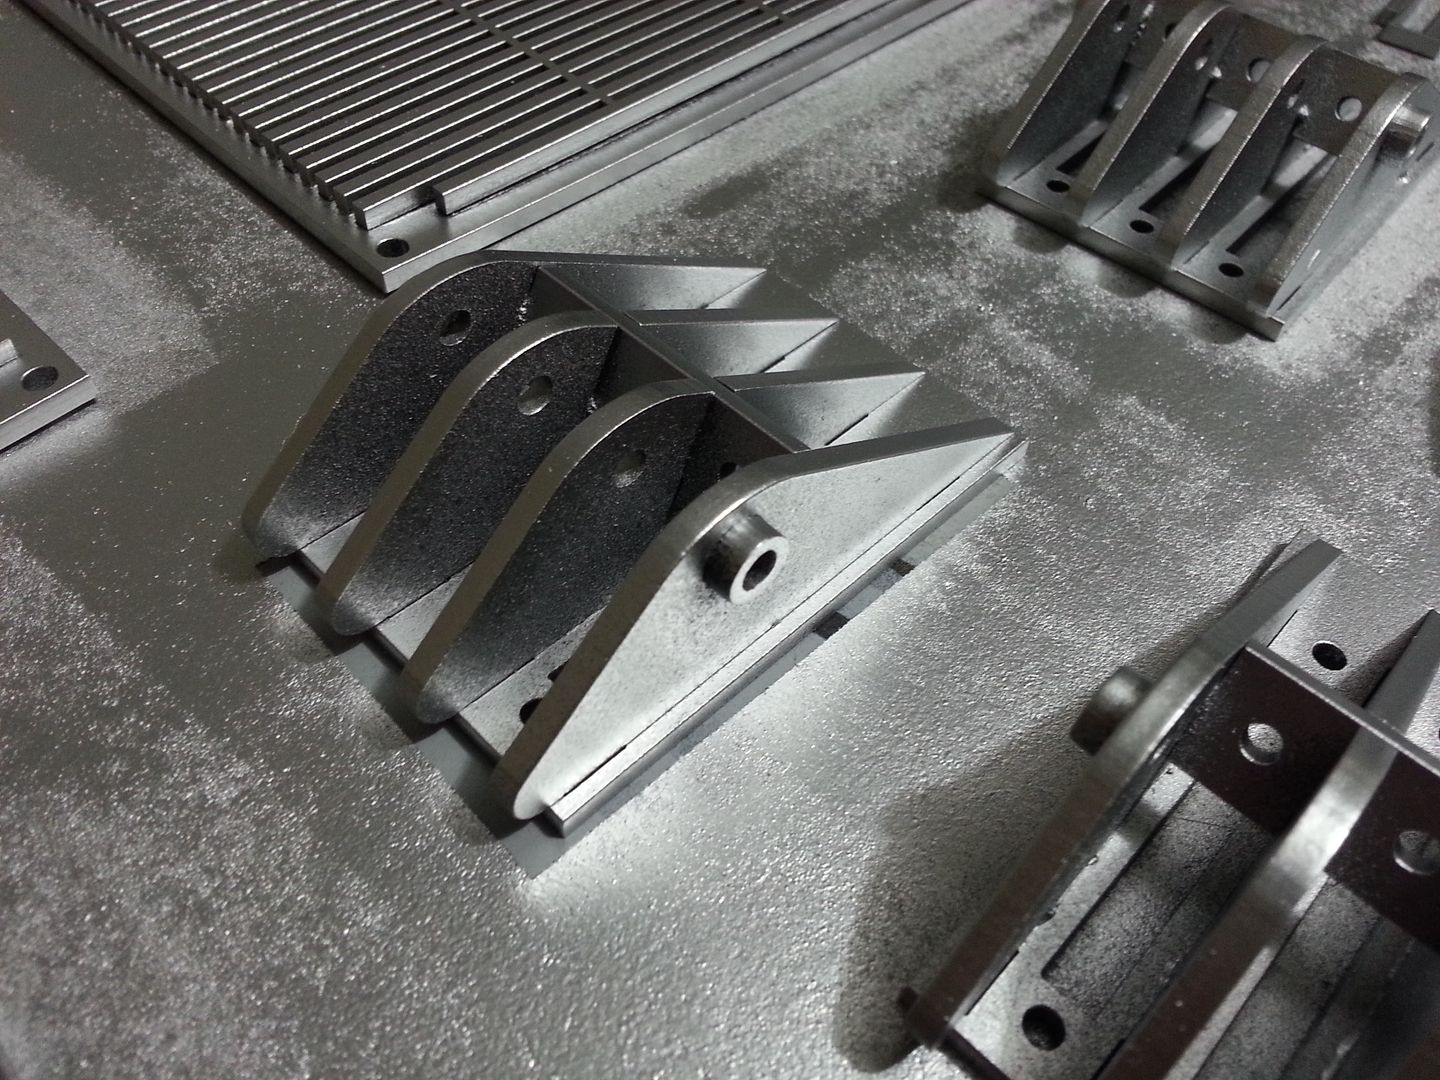
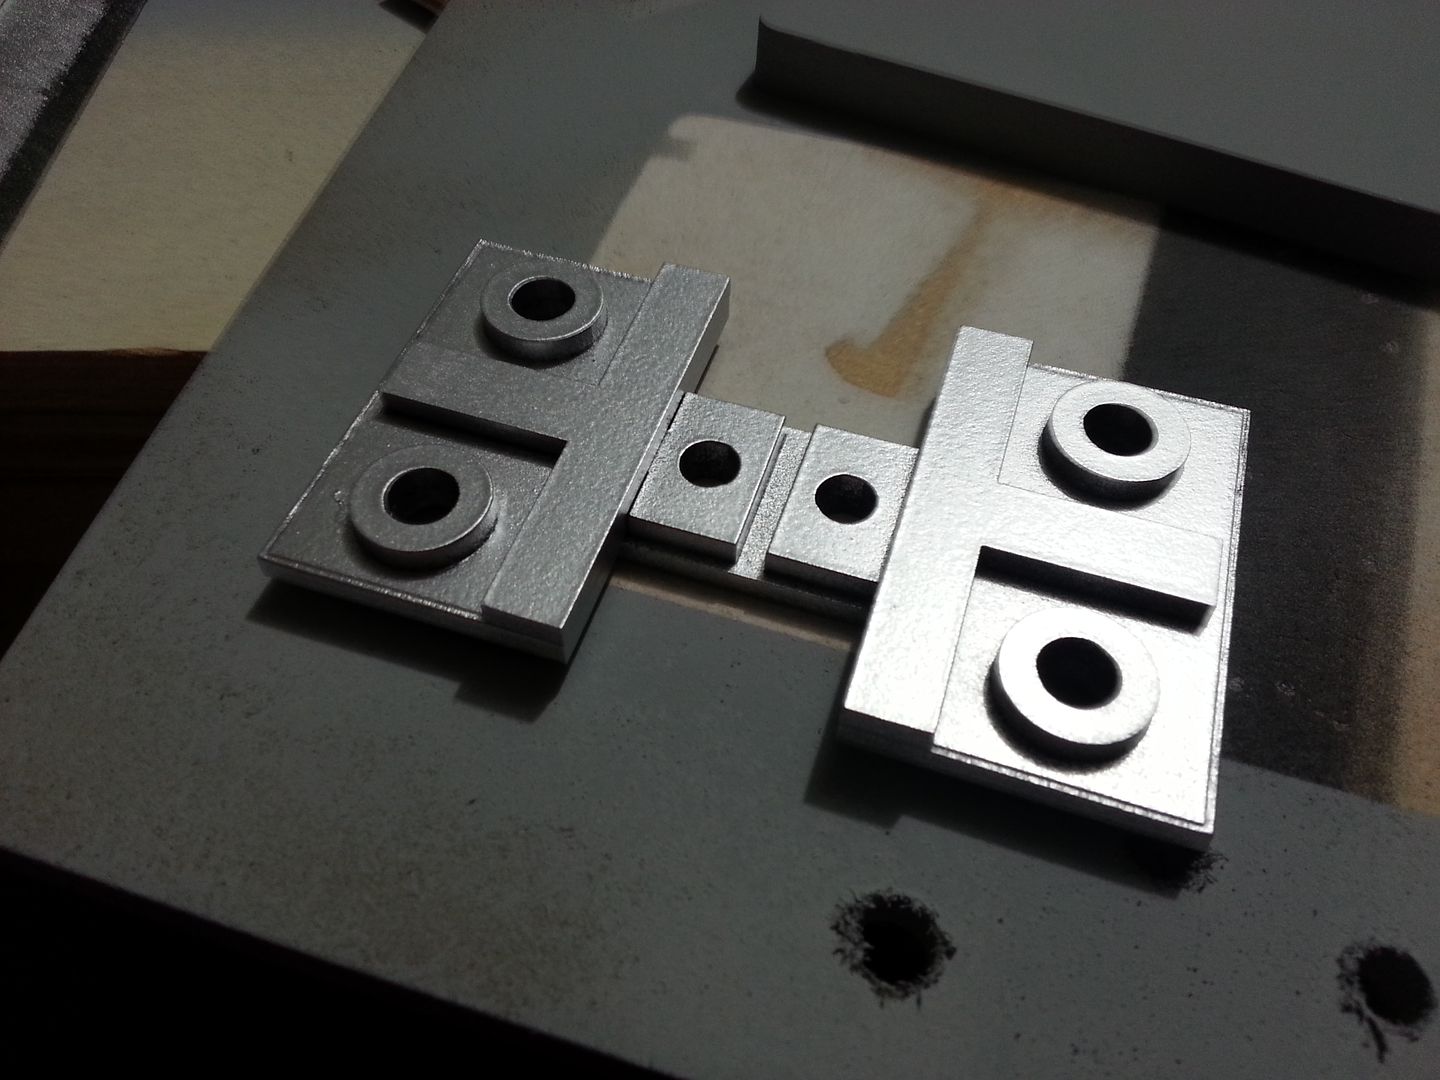
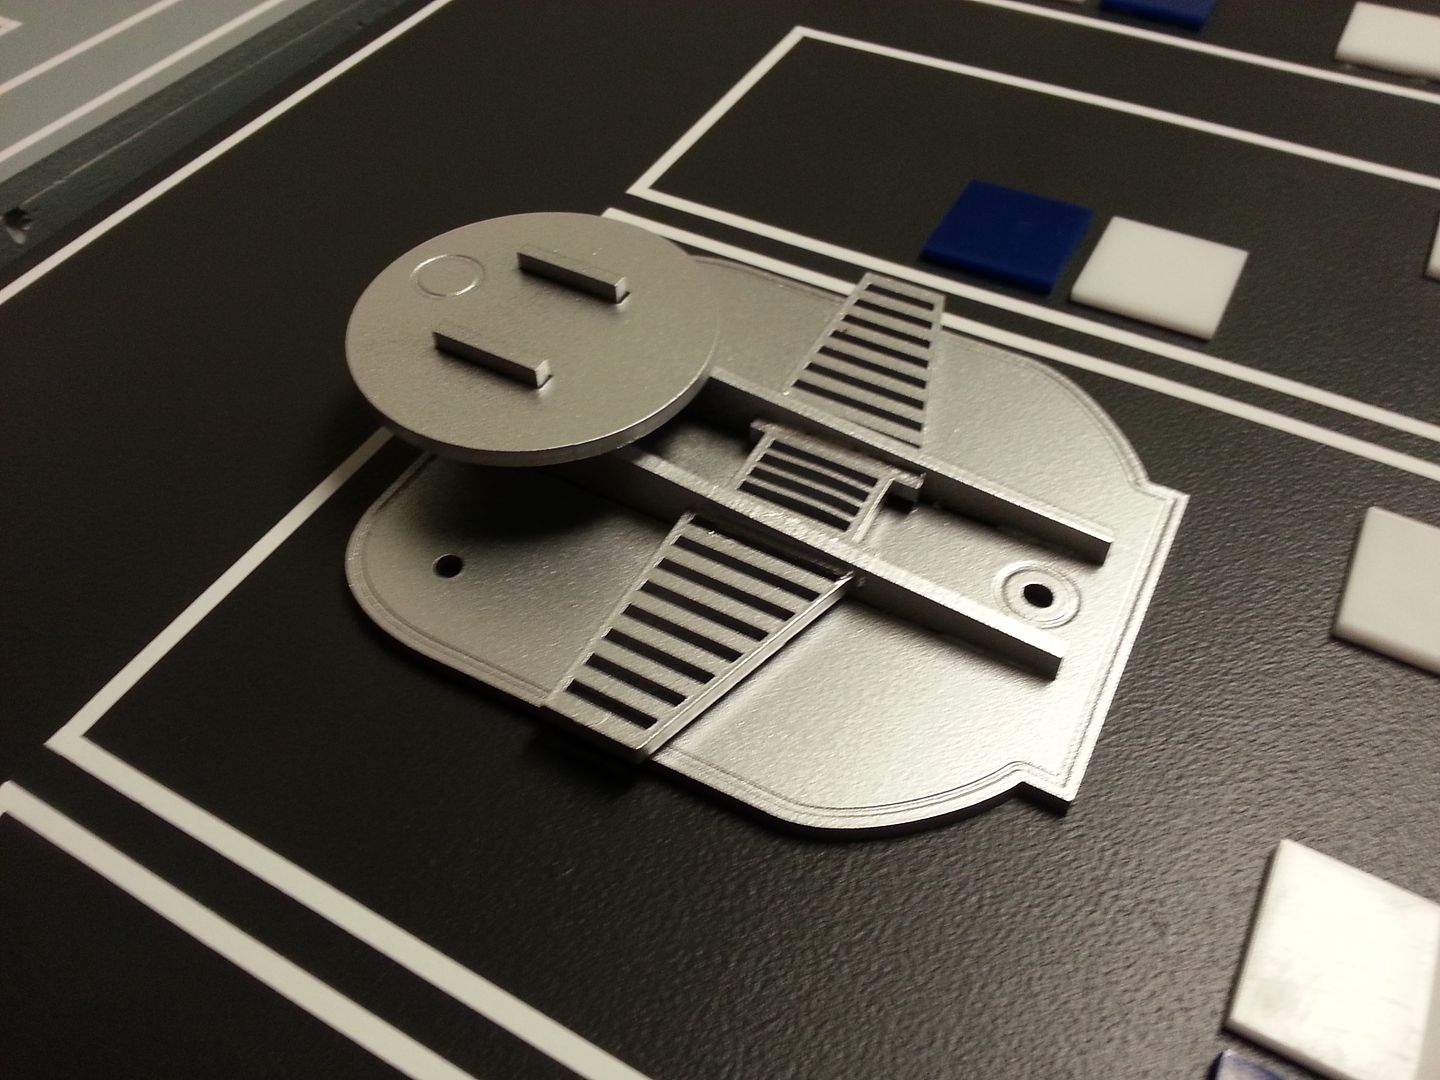
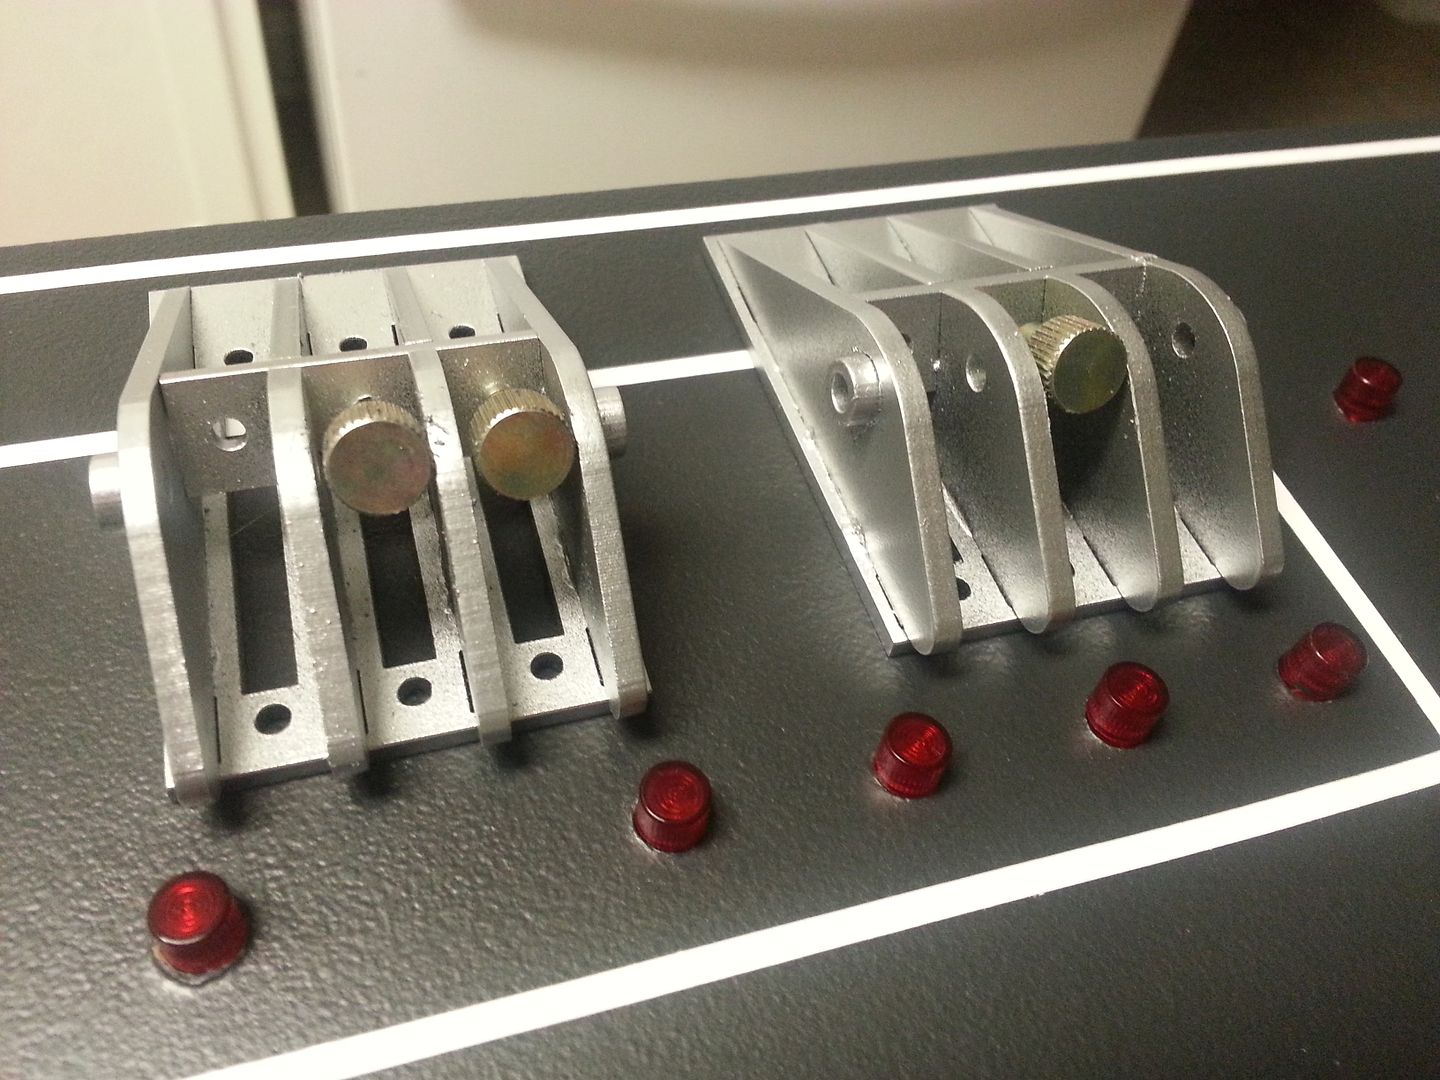
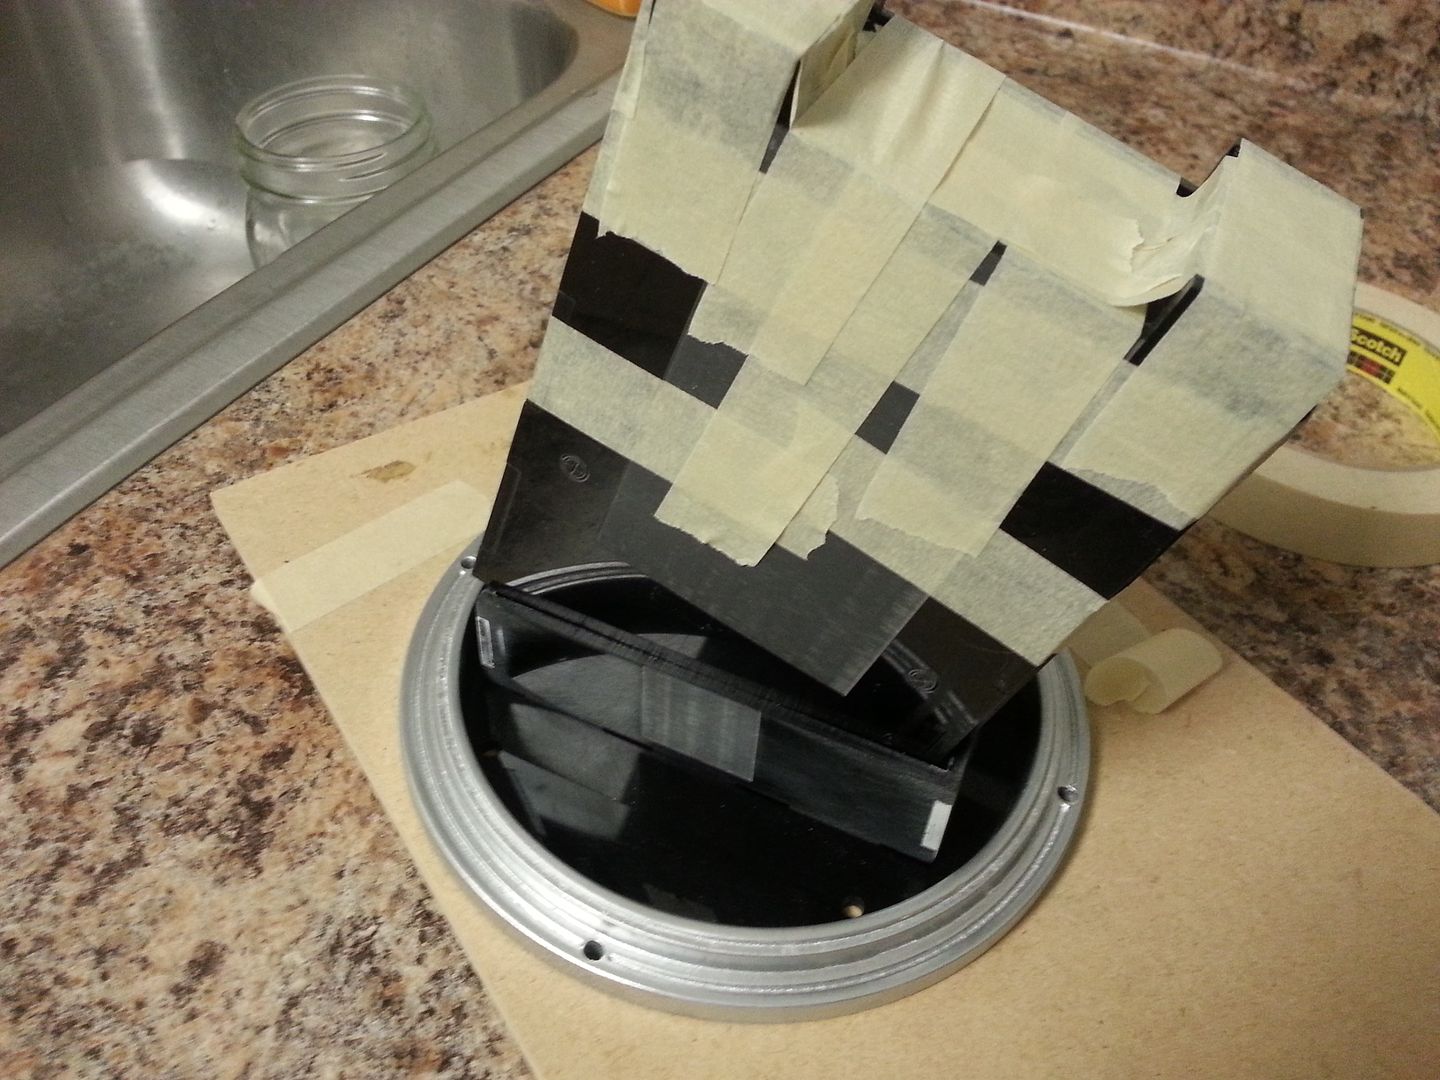
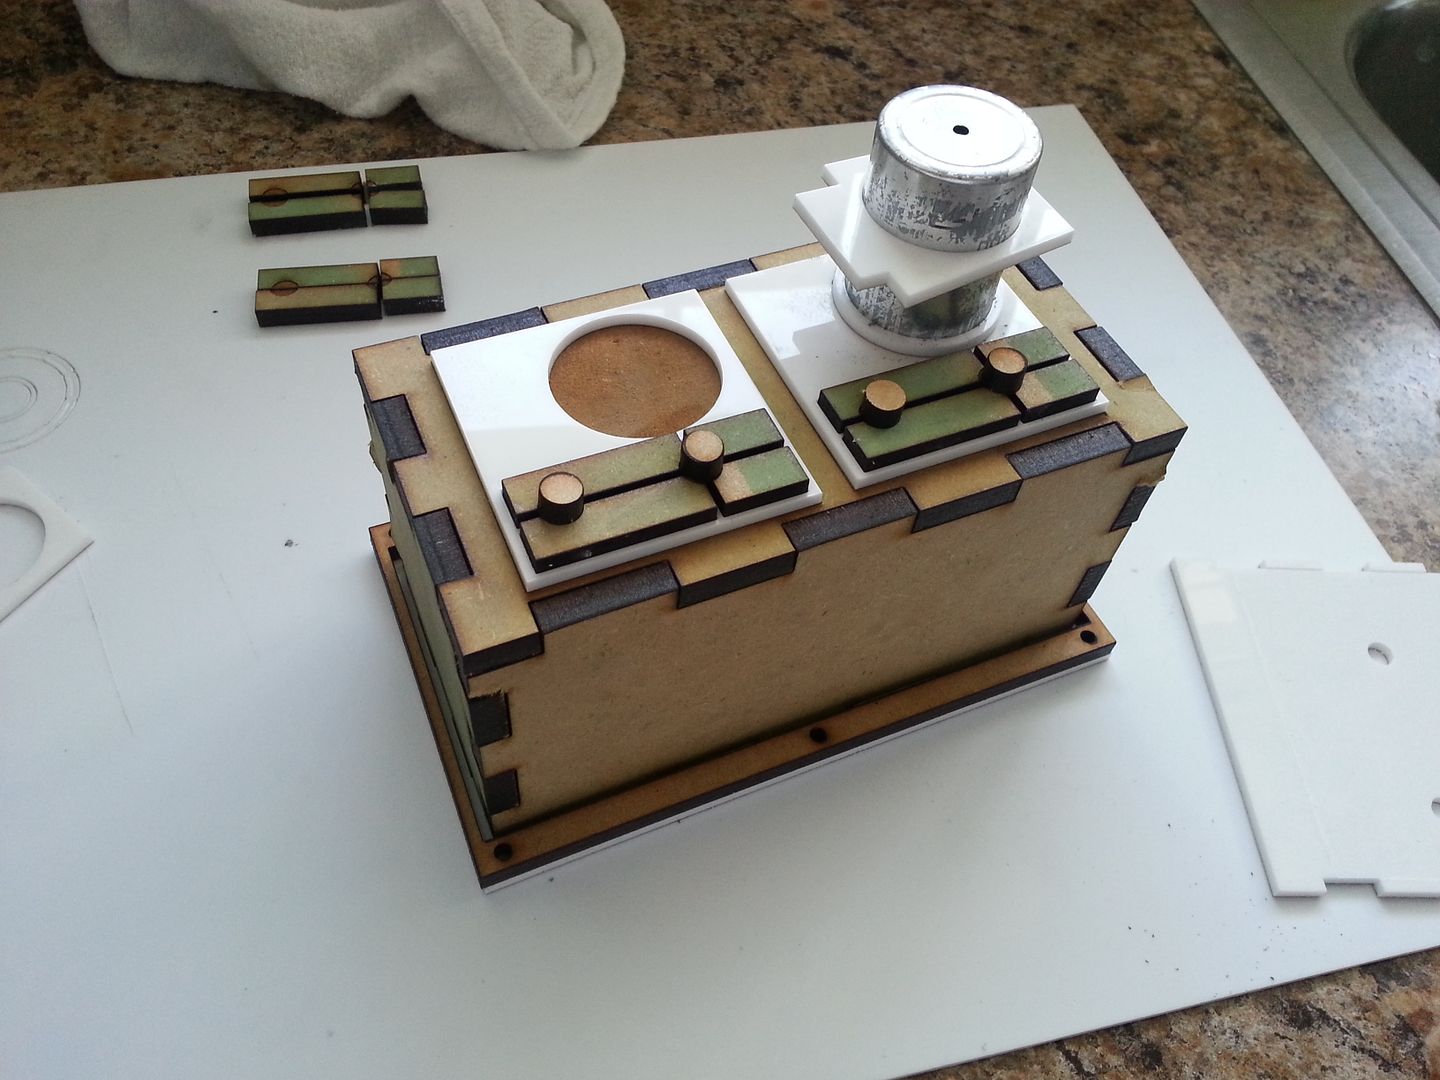
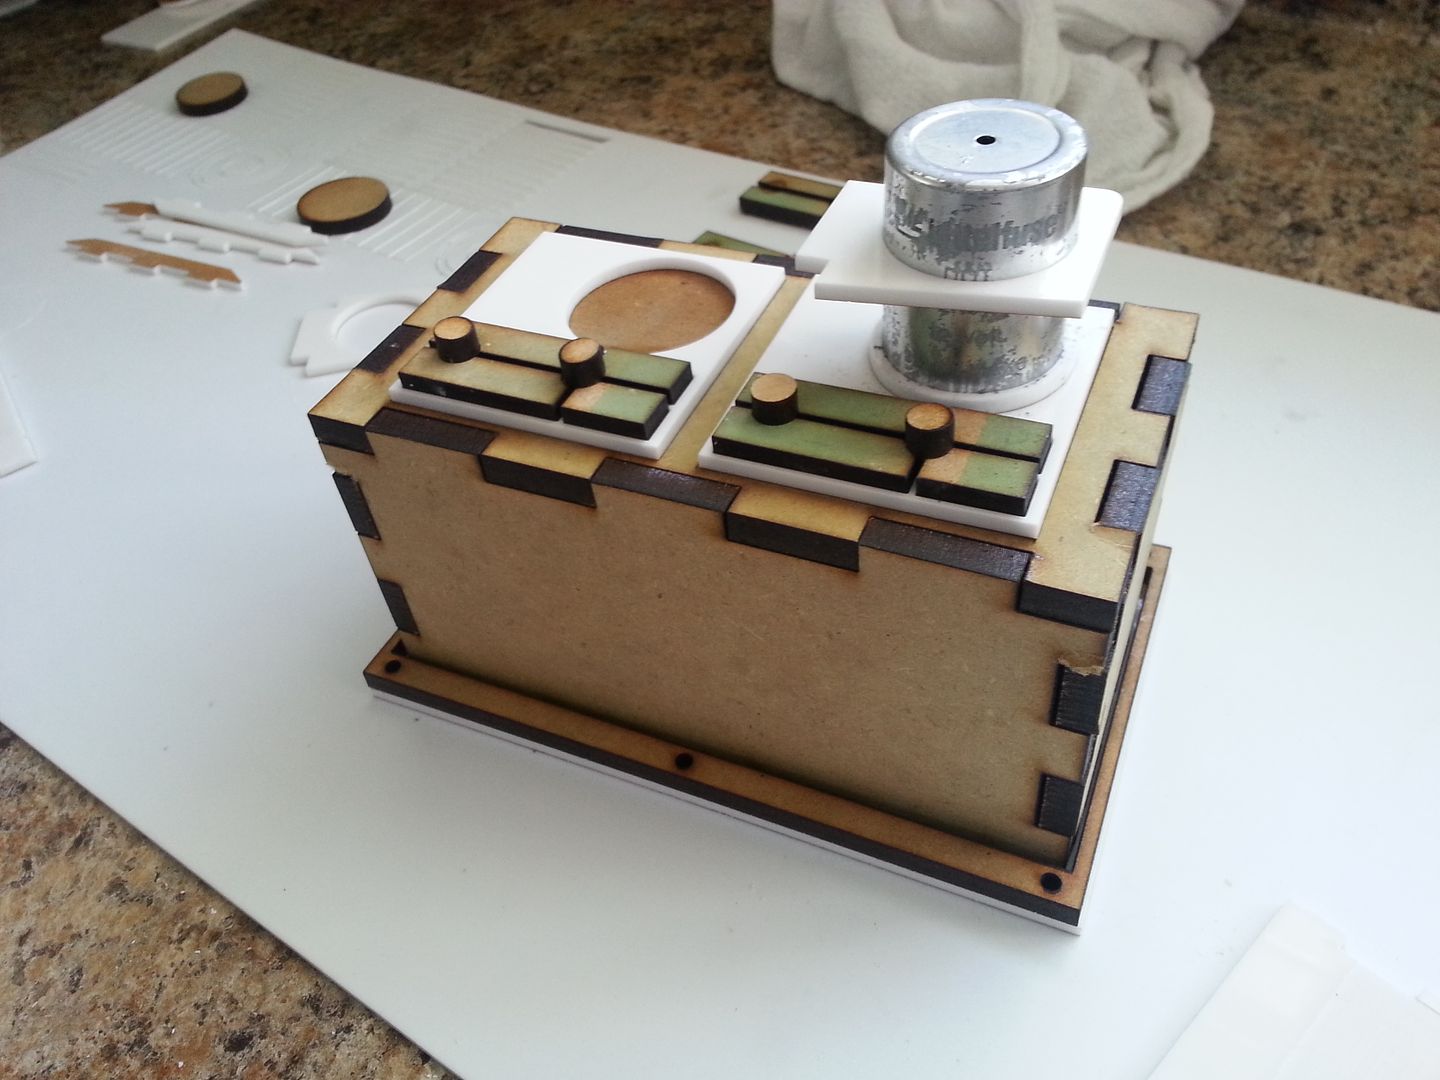
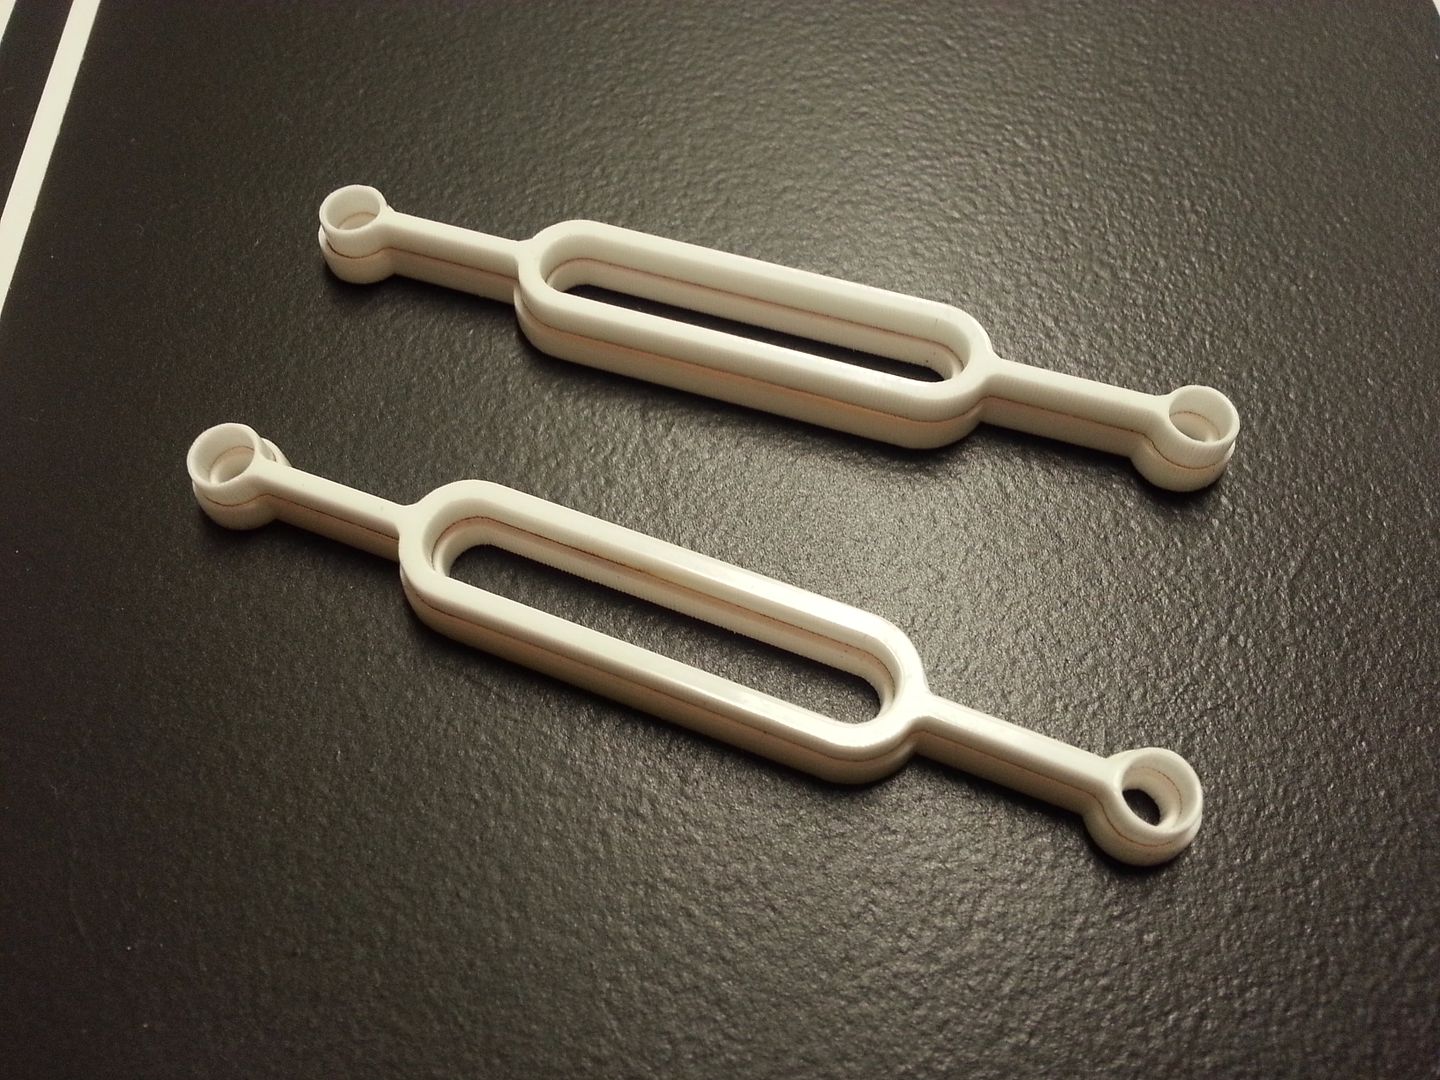
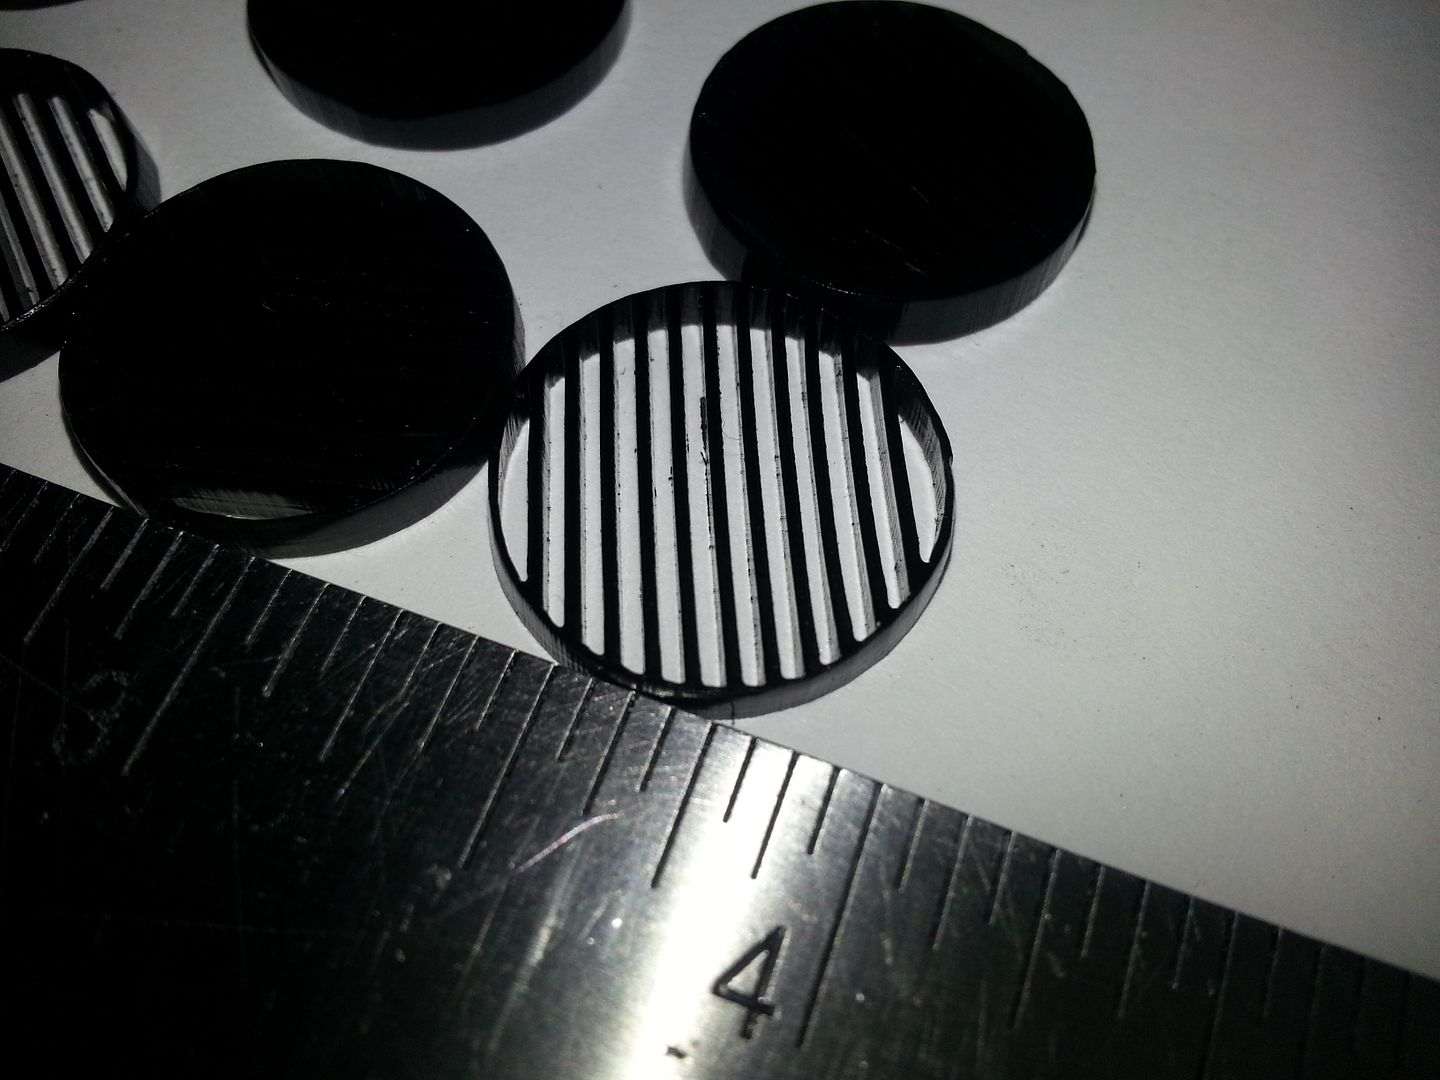
She did manage to cut these little guys before all the errors - these go on the nose panel greeblie just in front of the LEDs
20150417_060053_zpsbnpz3smf.jpg


20150417_060102_zpstfi728il.jpg


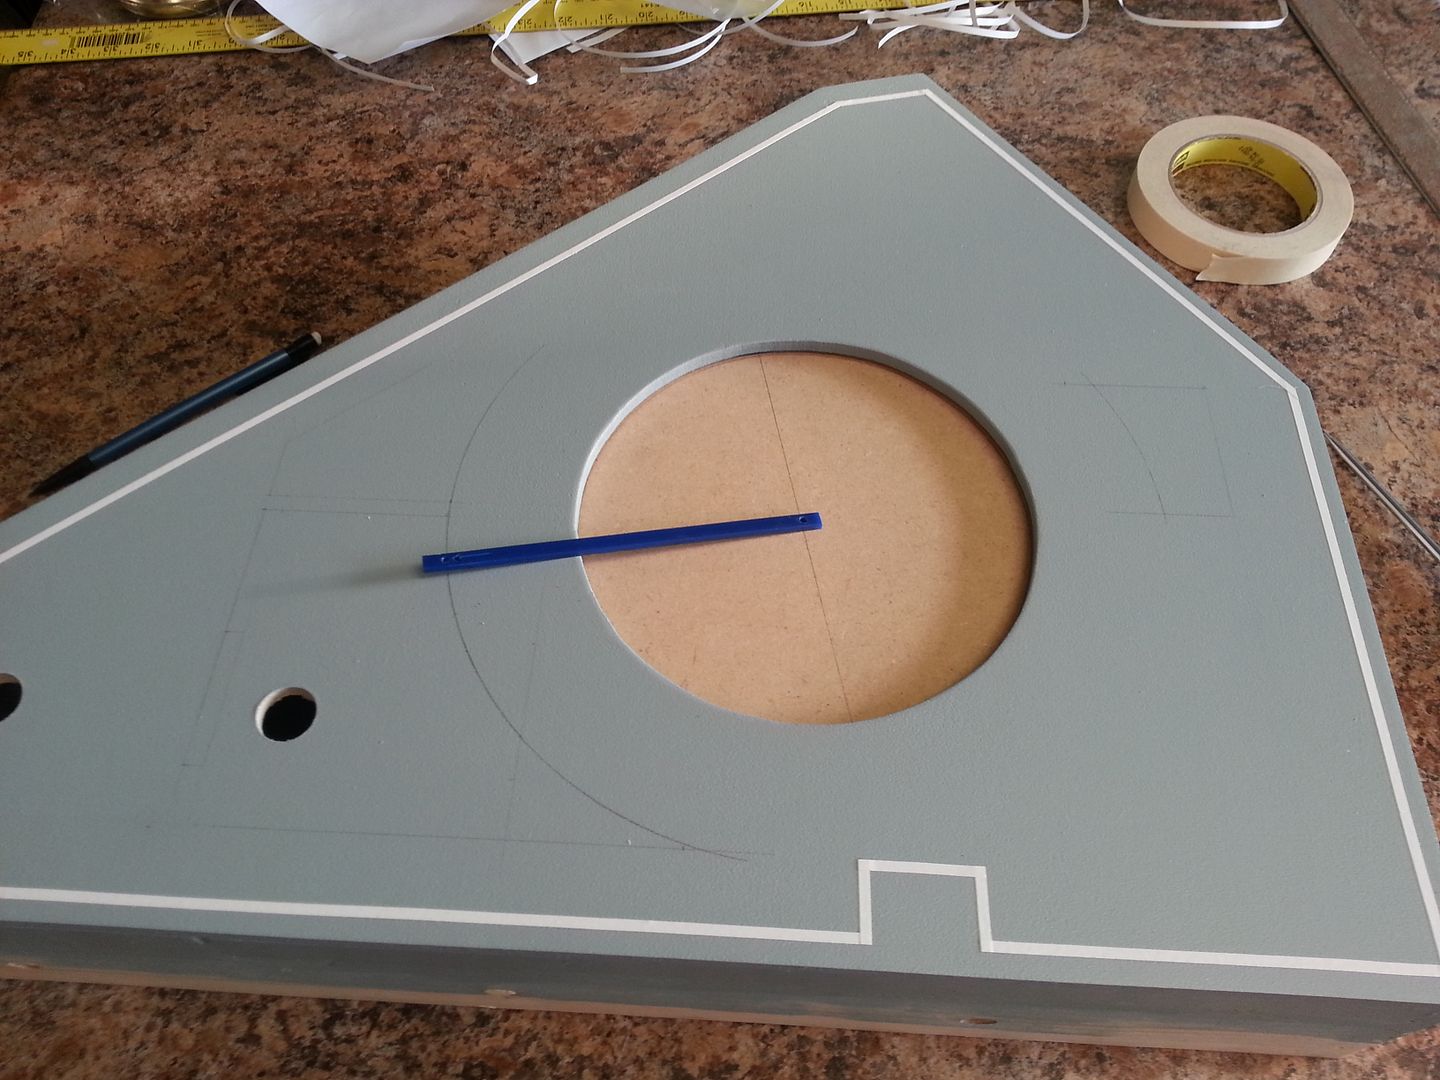
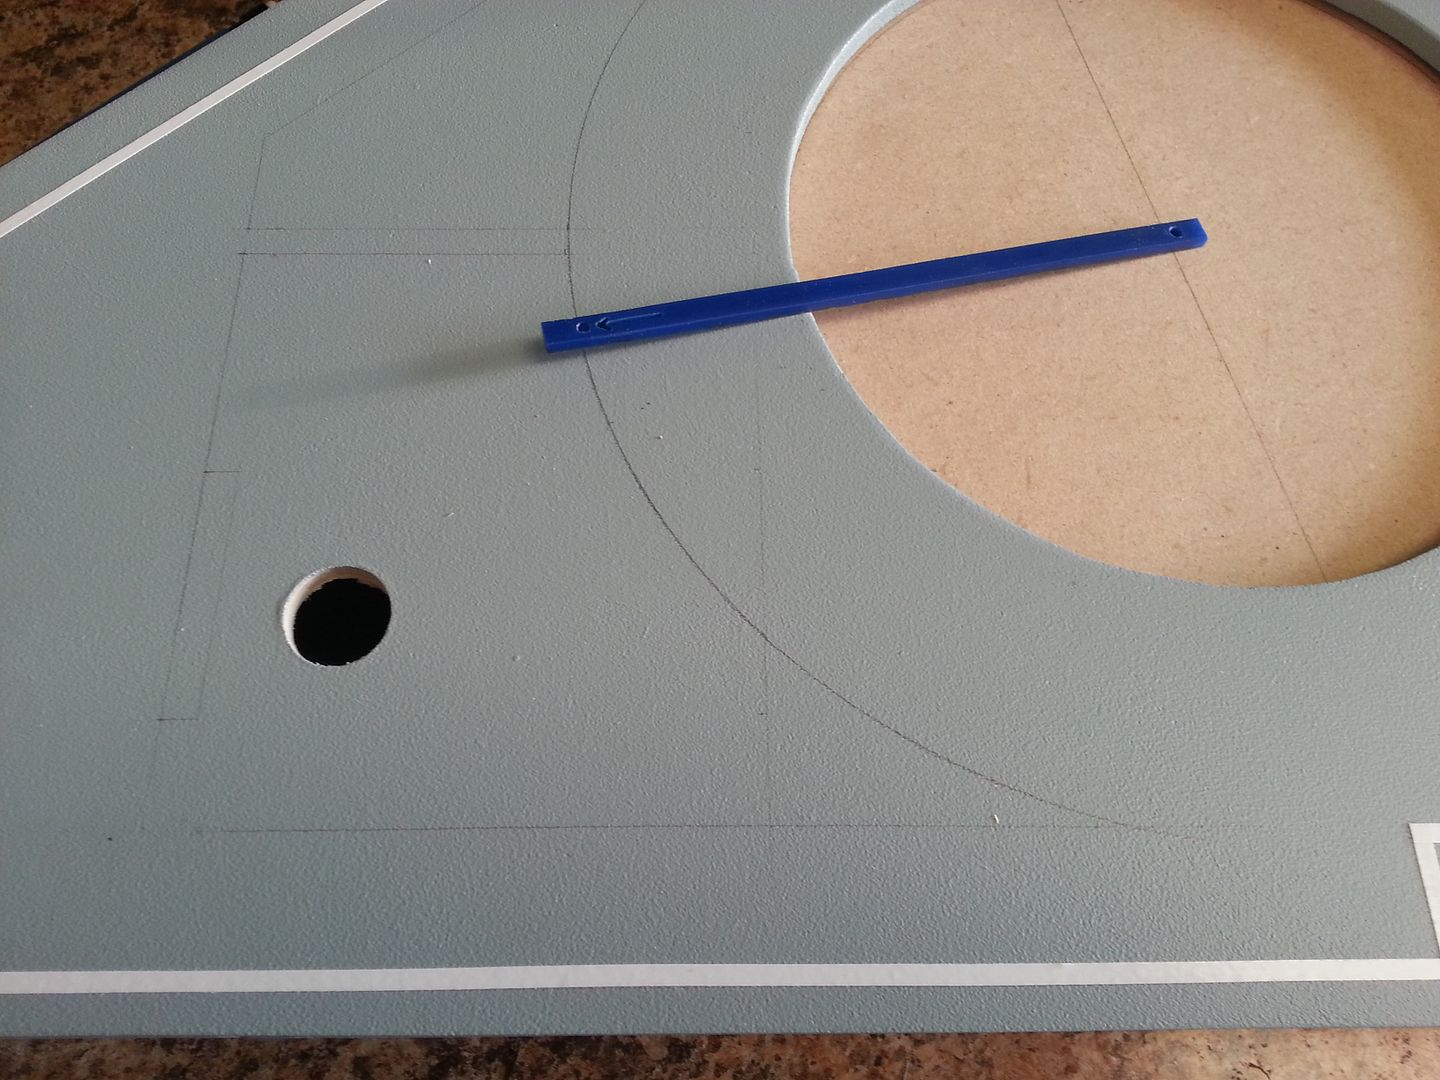
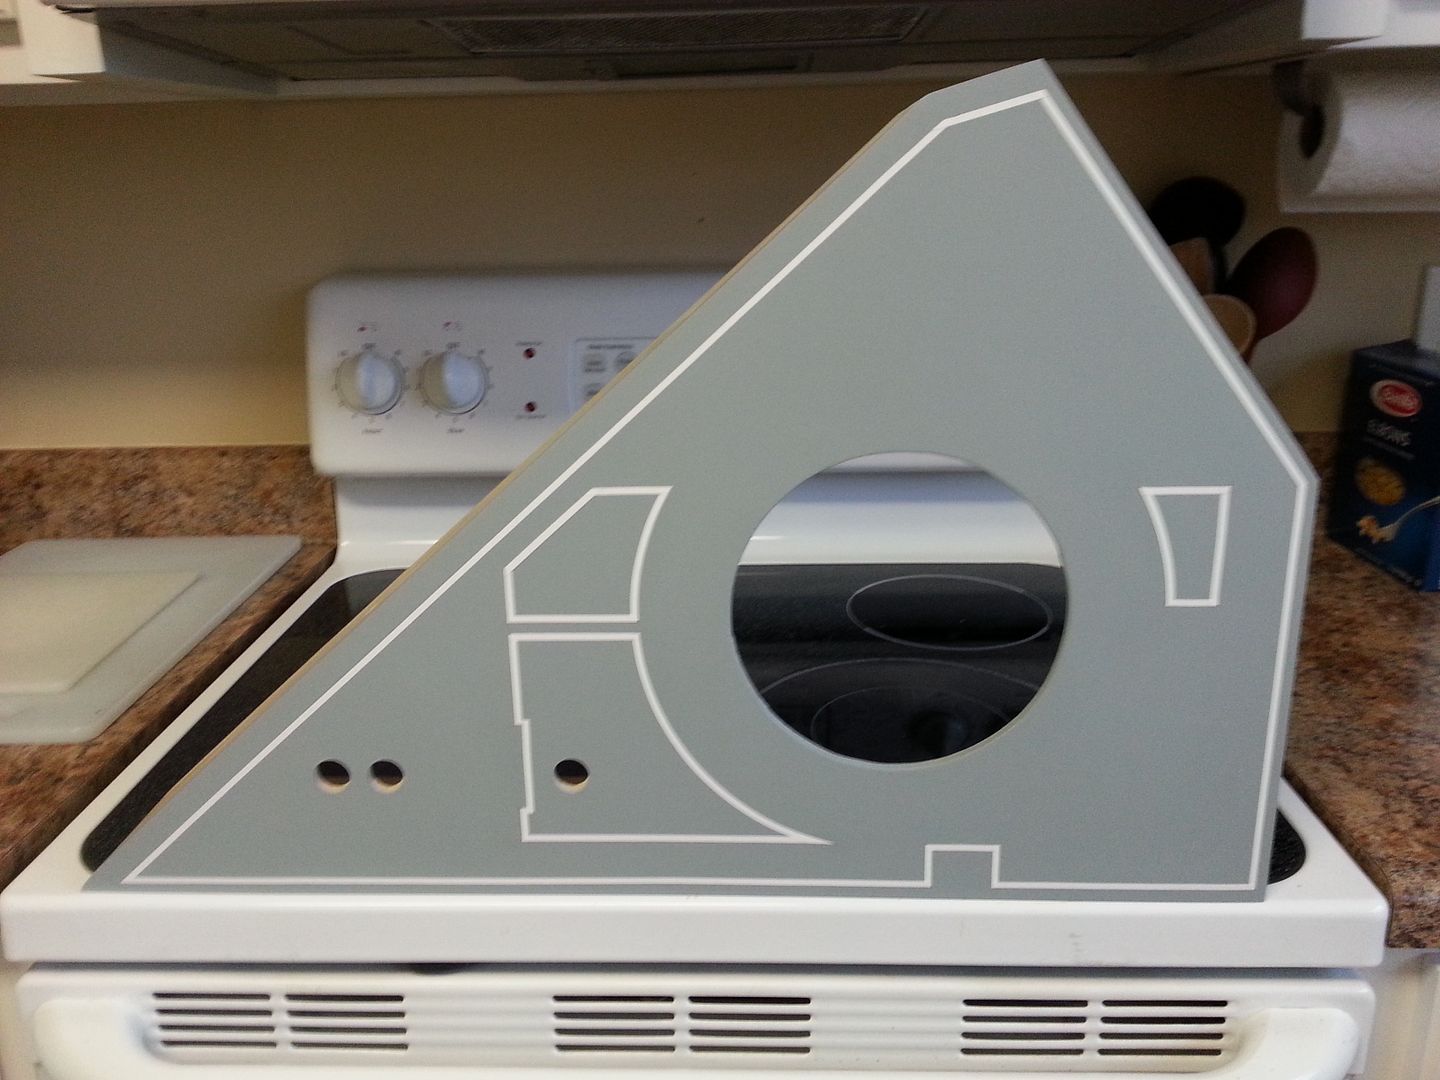
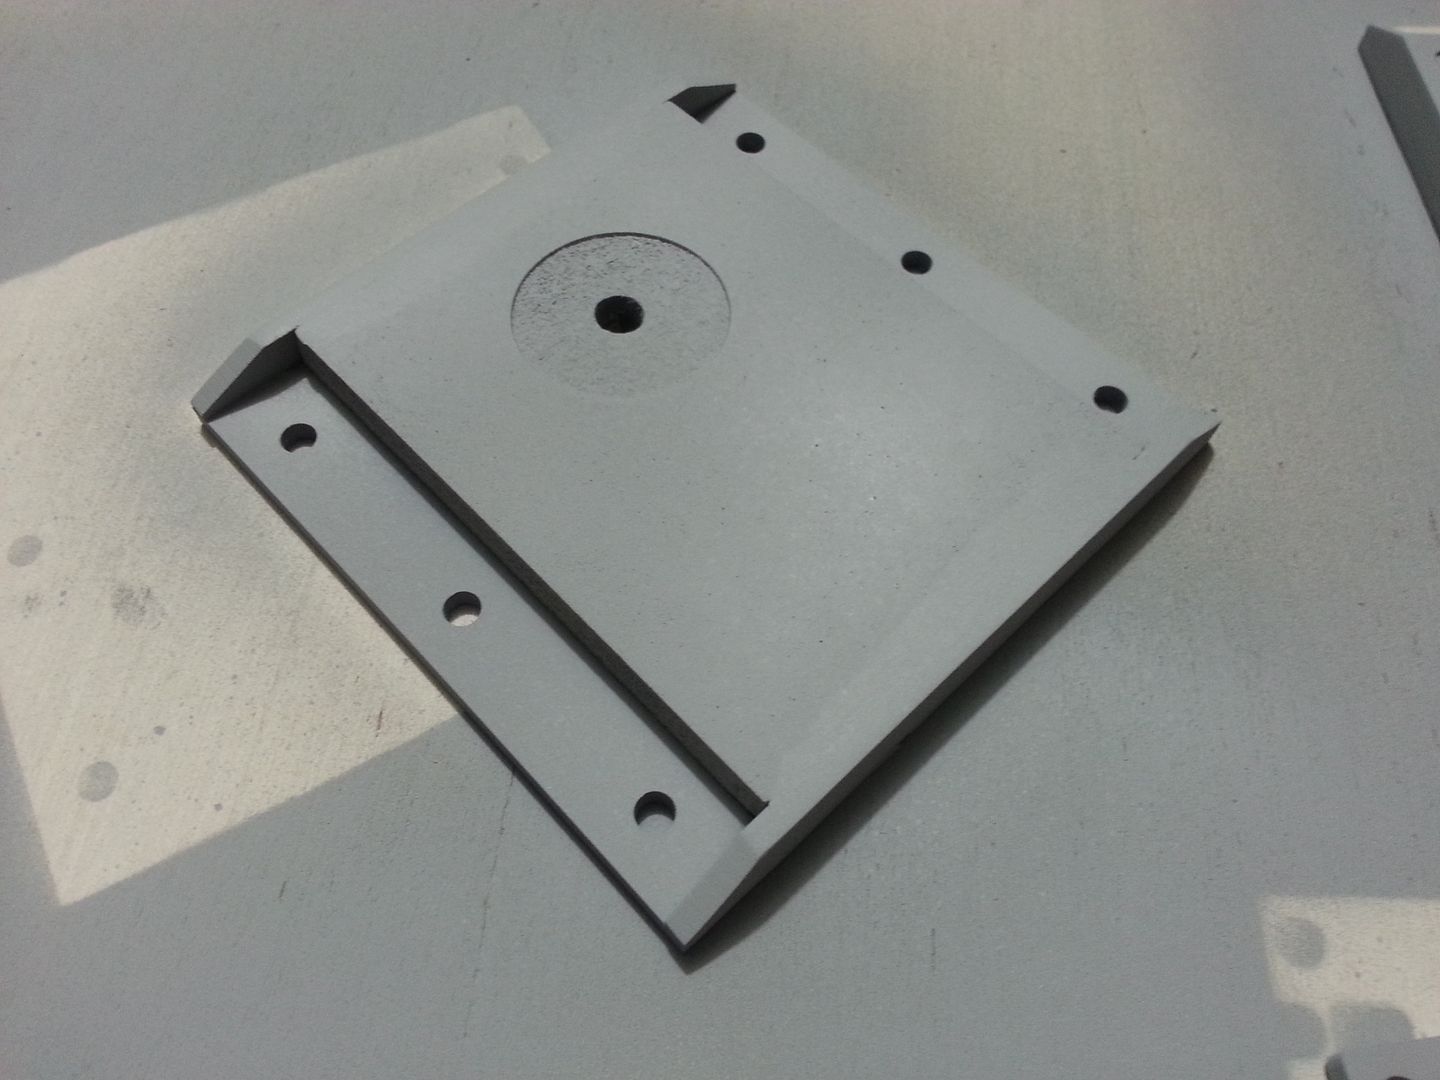
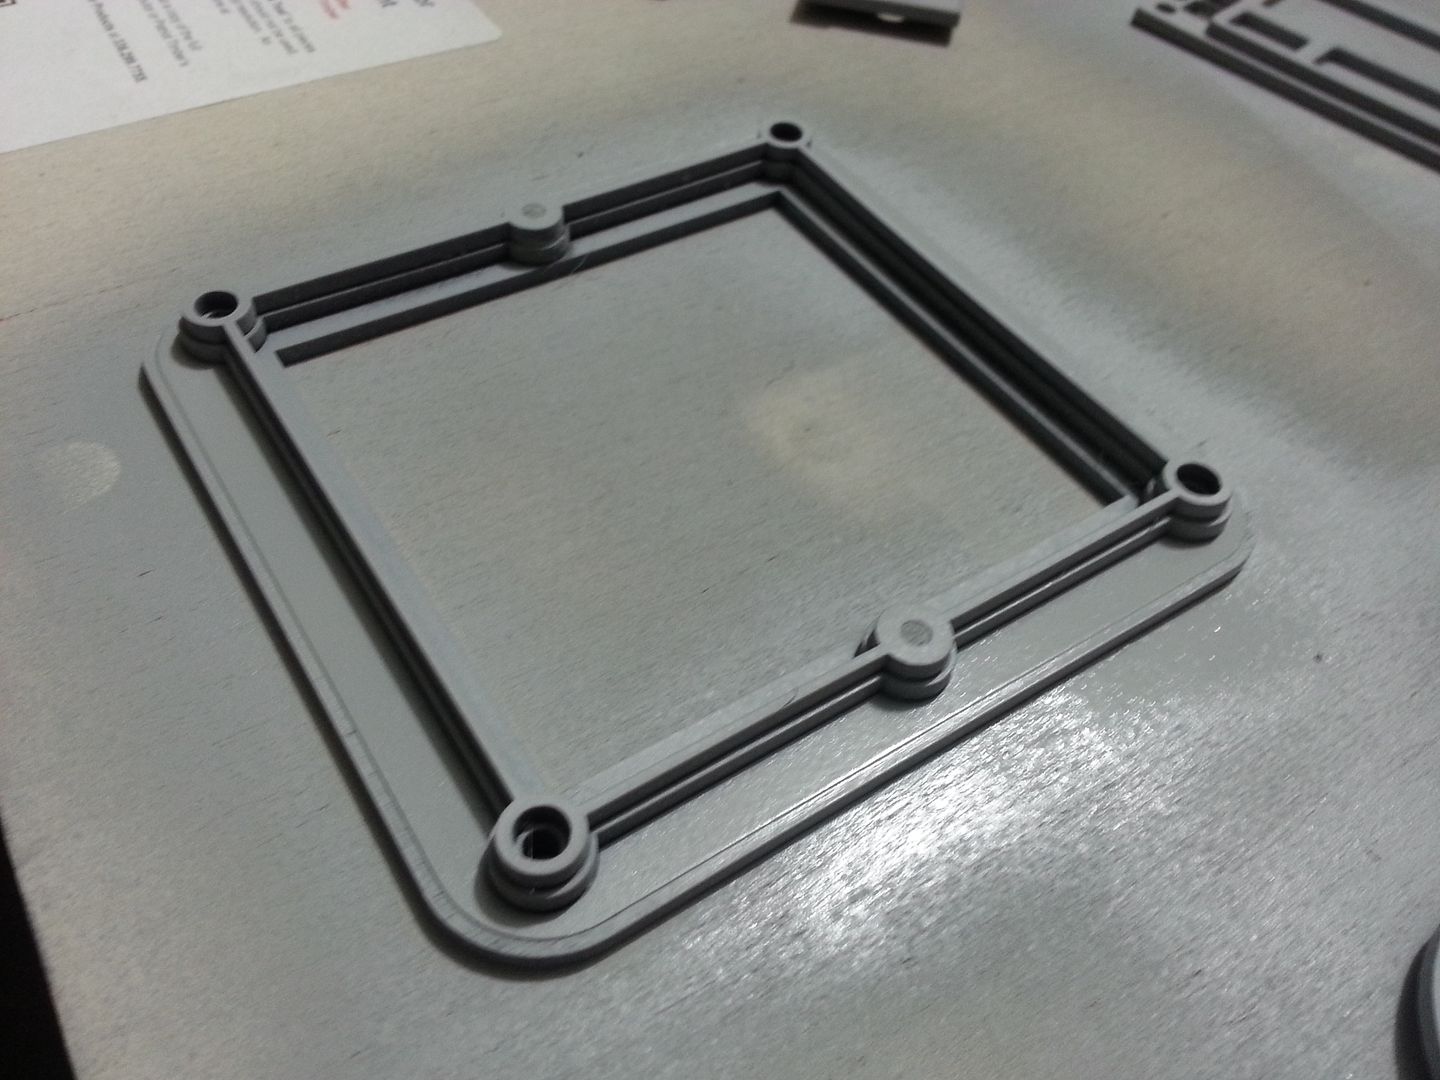
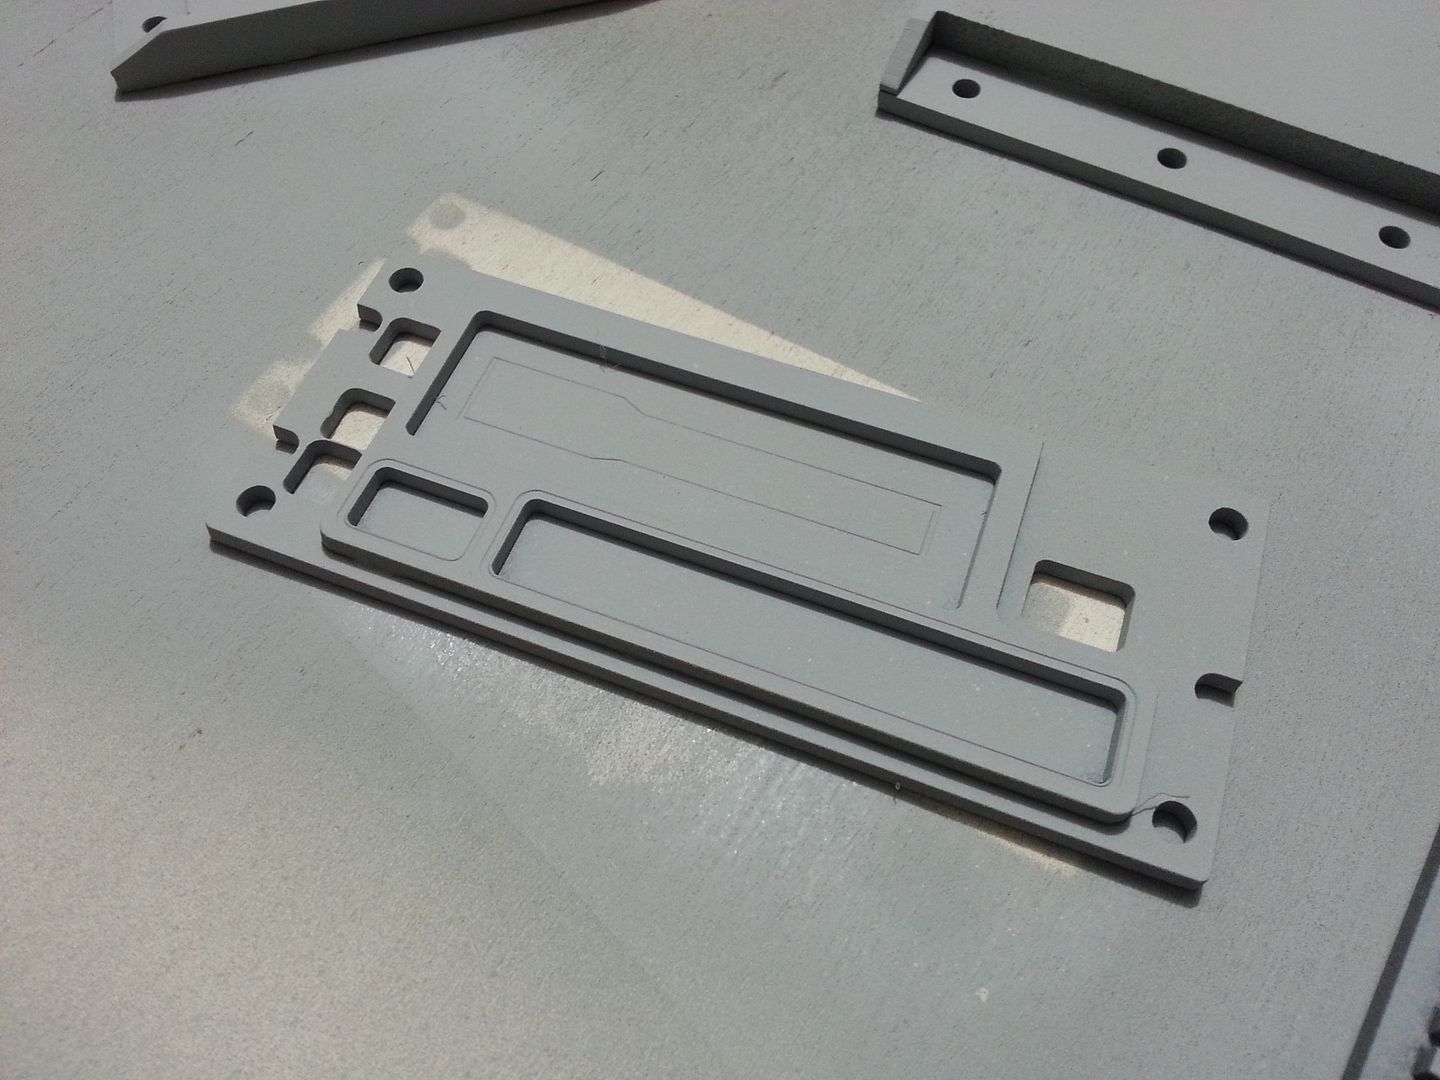
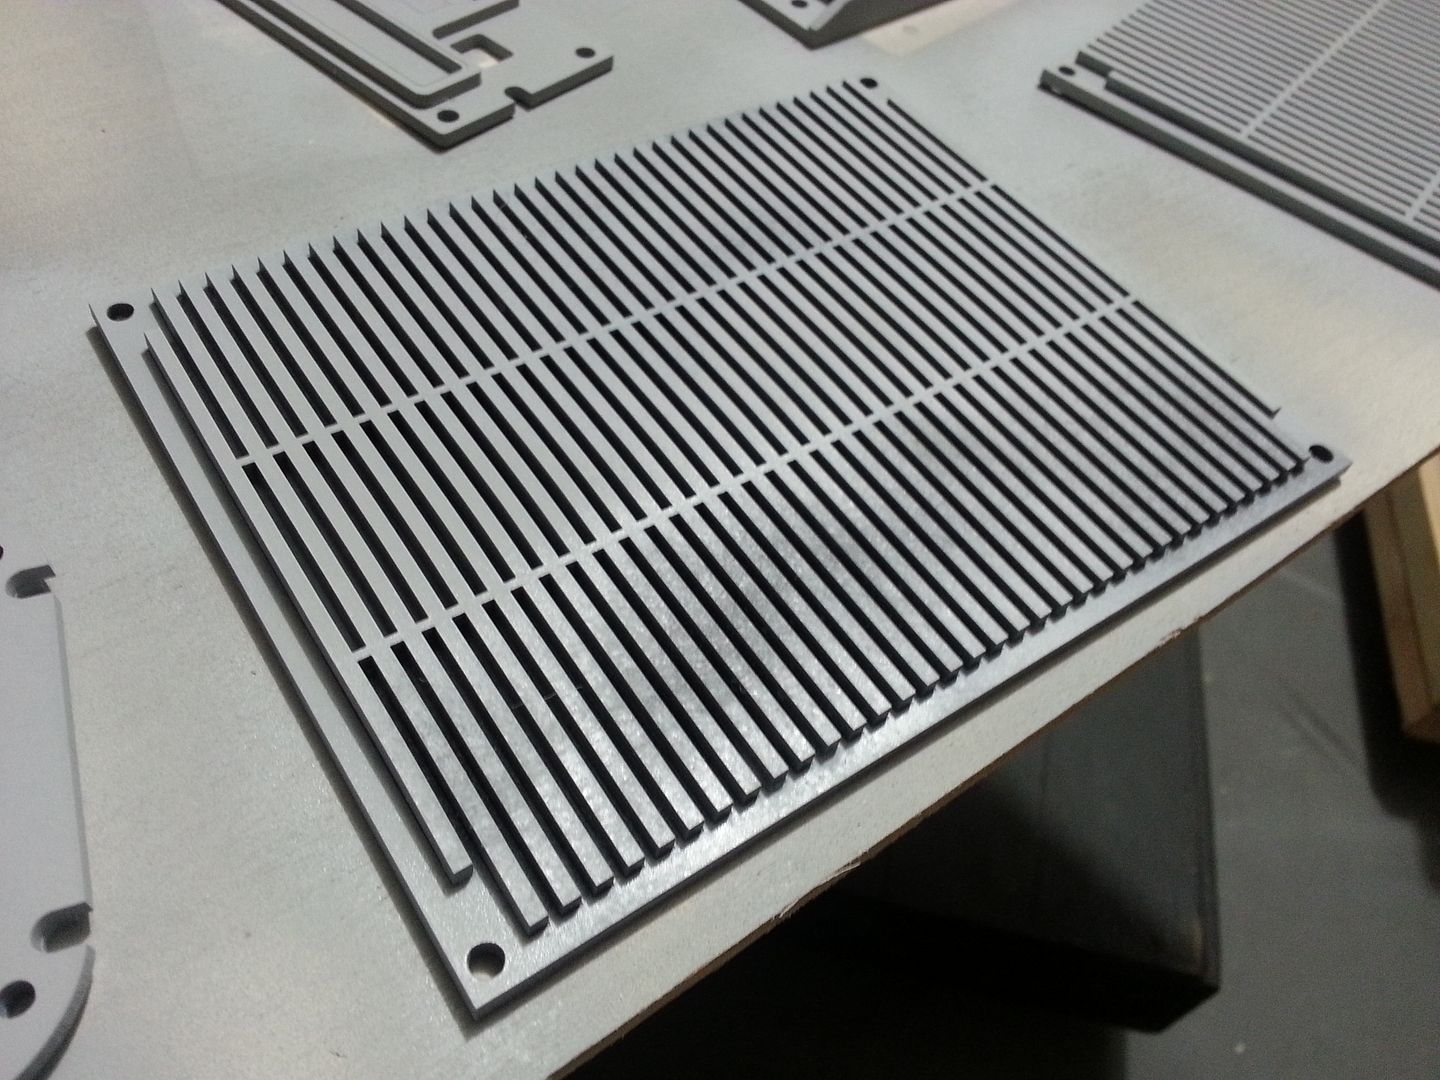
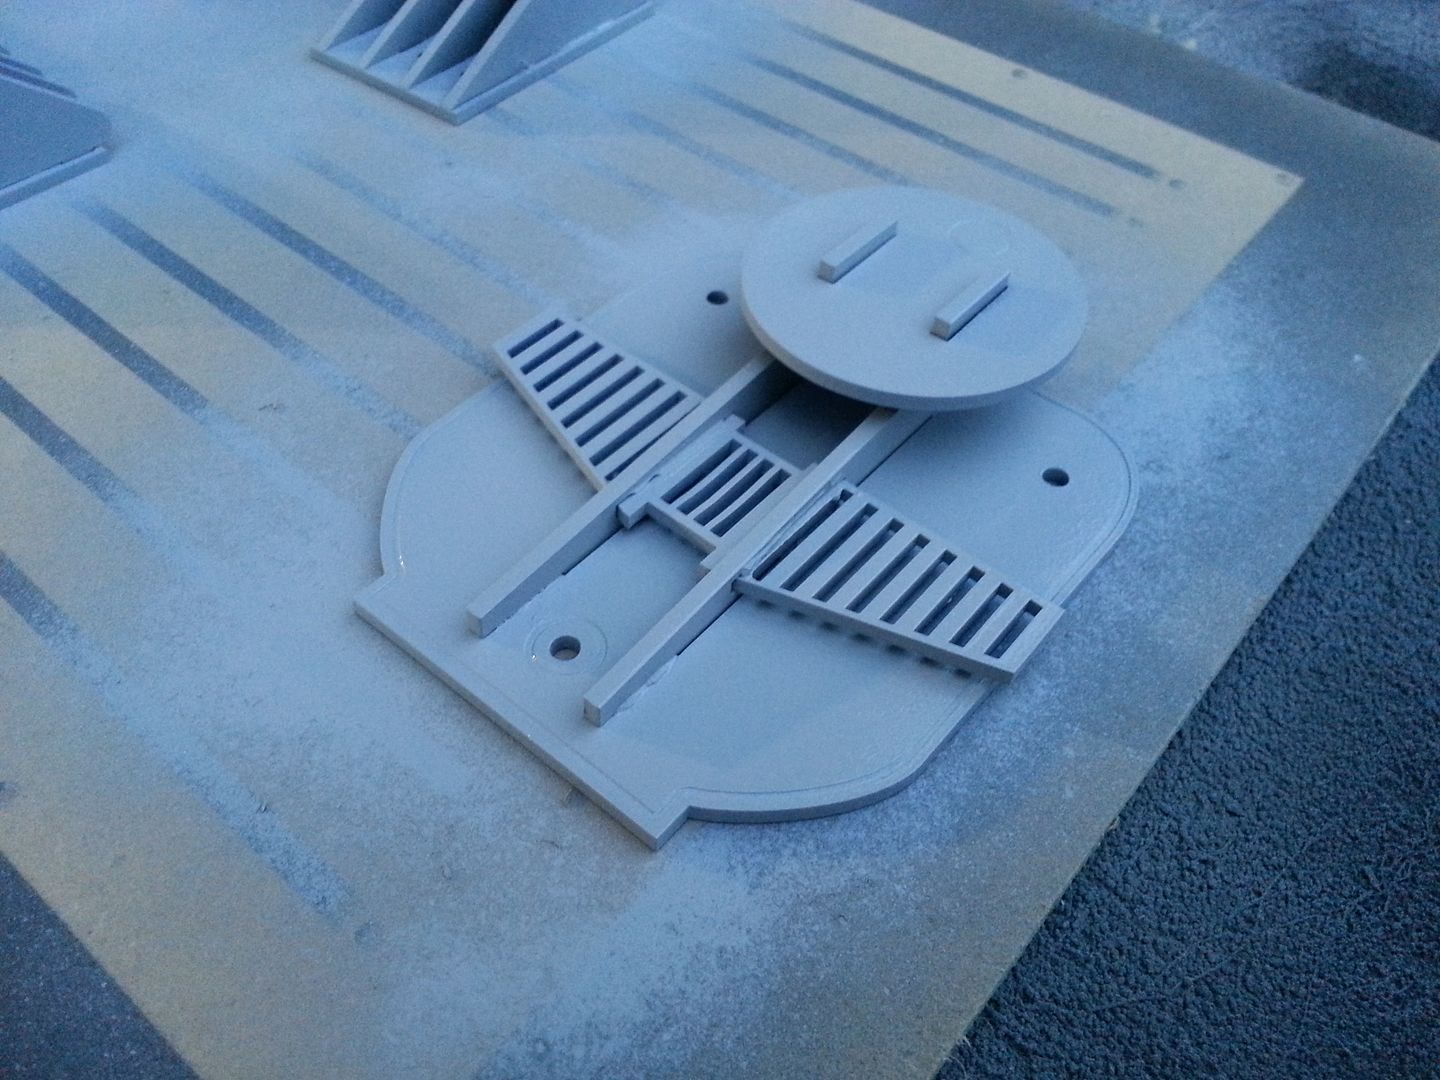
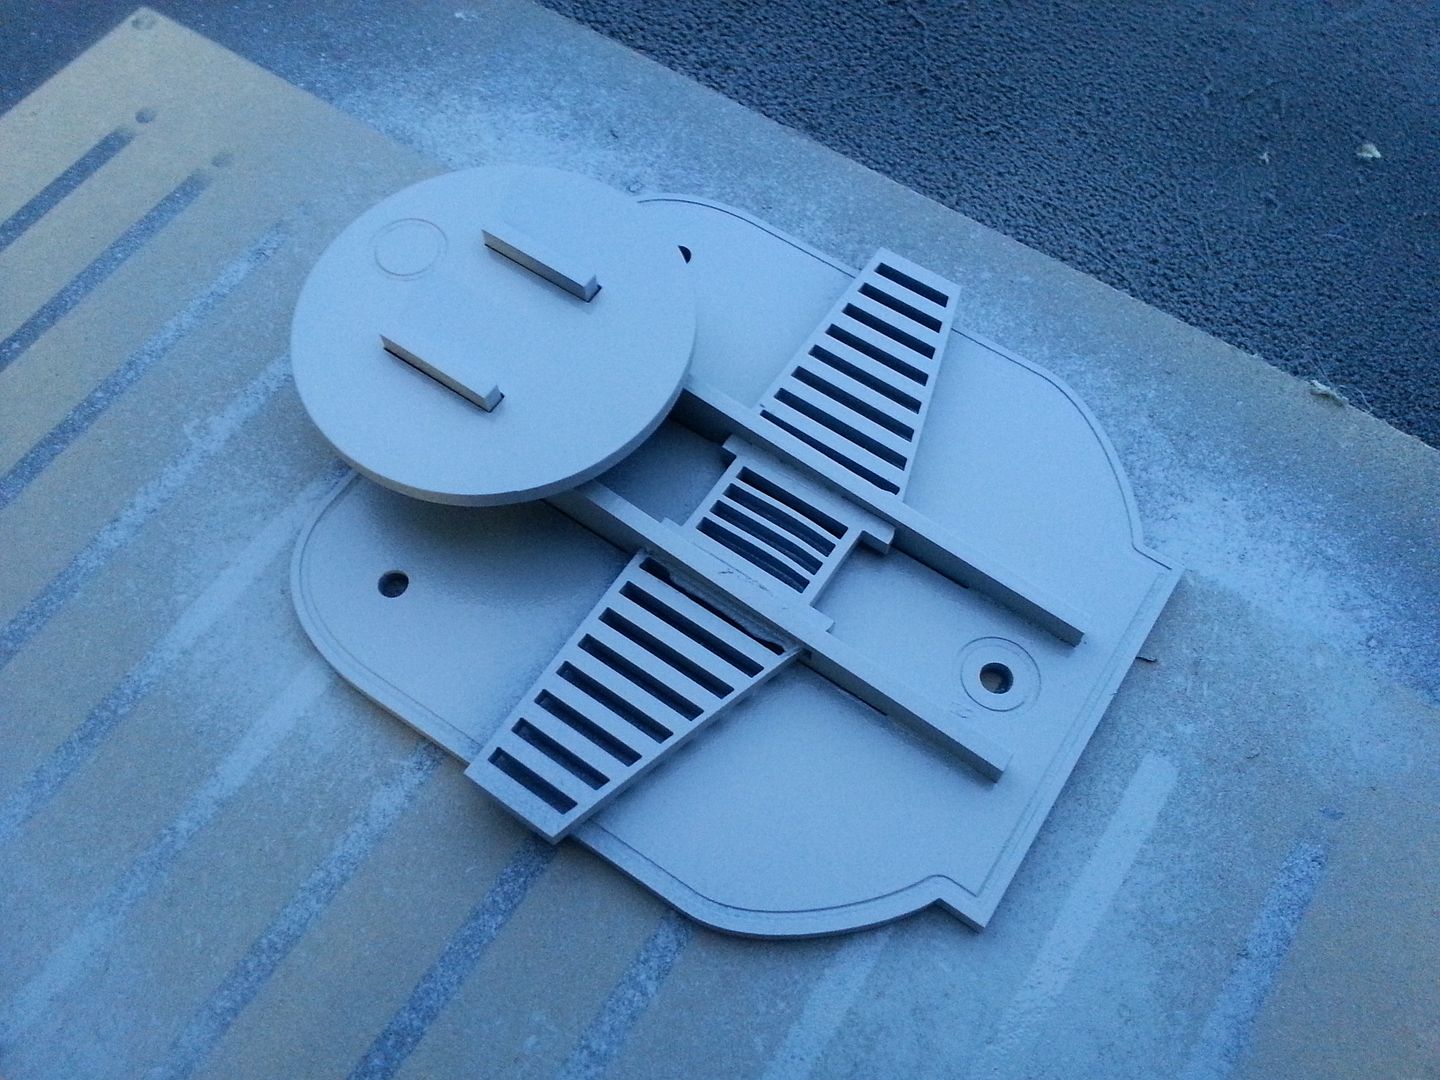
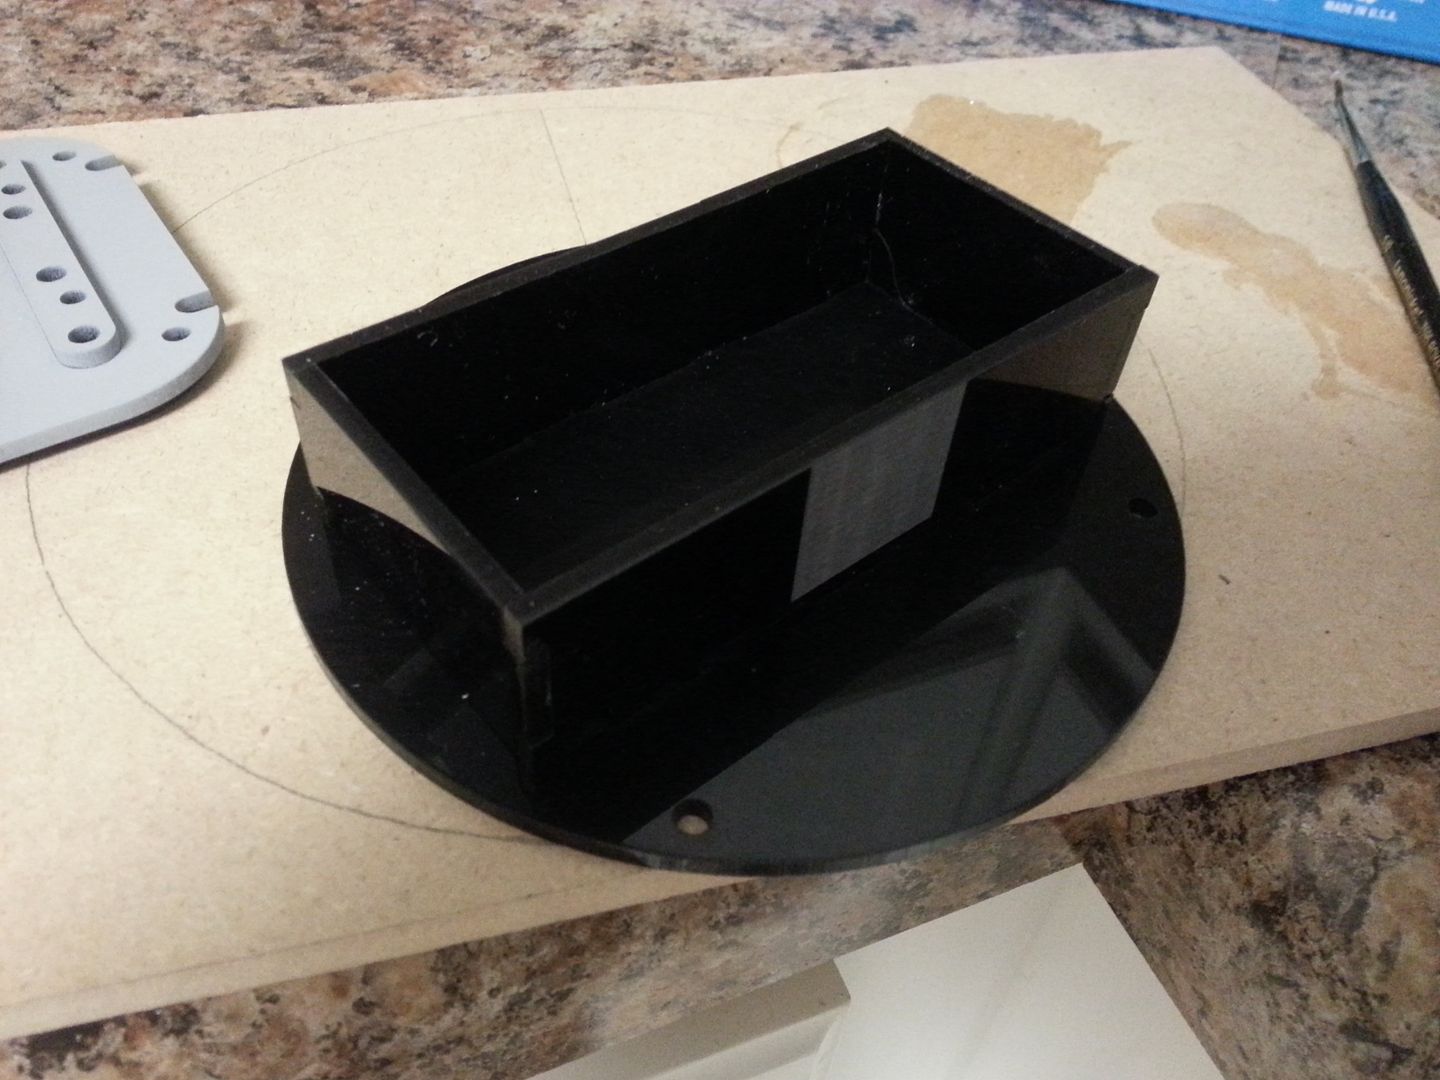
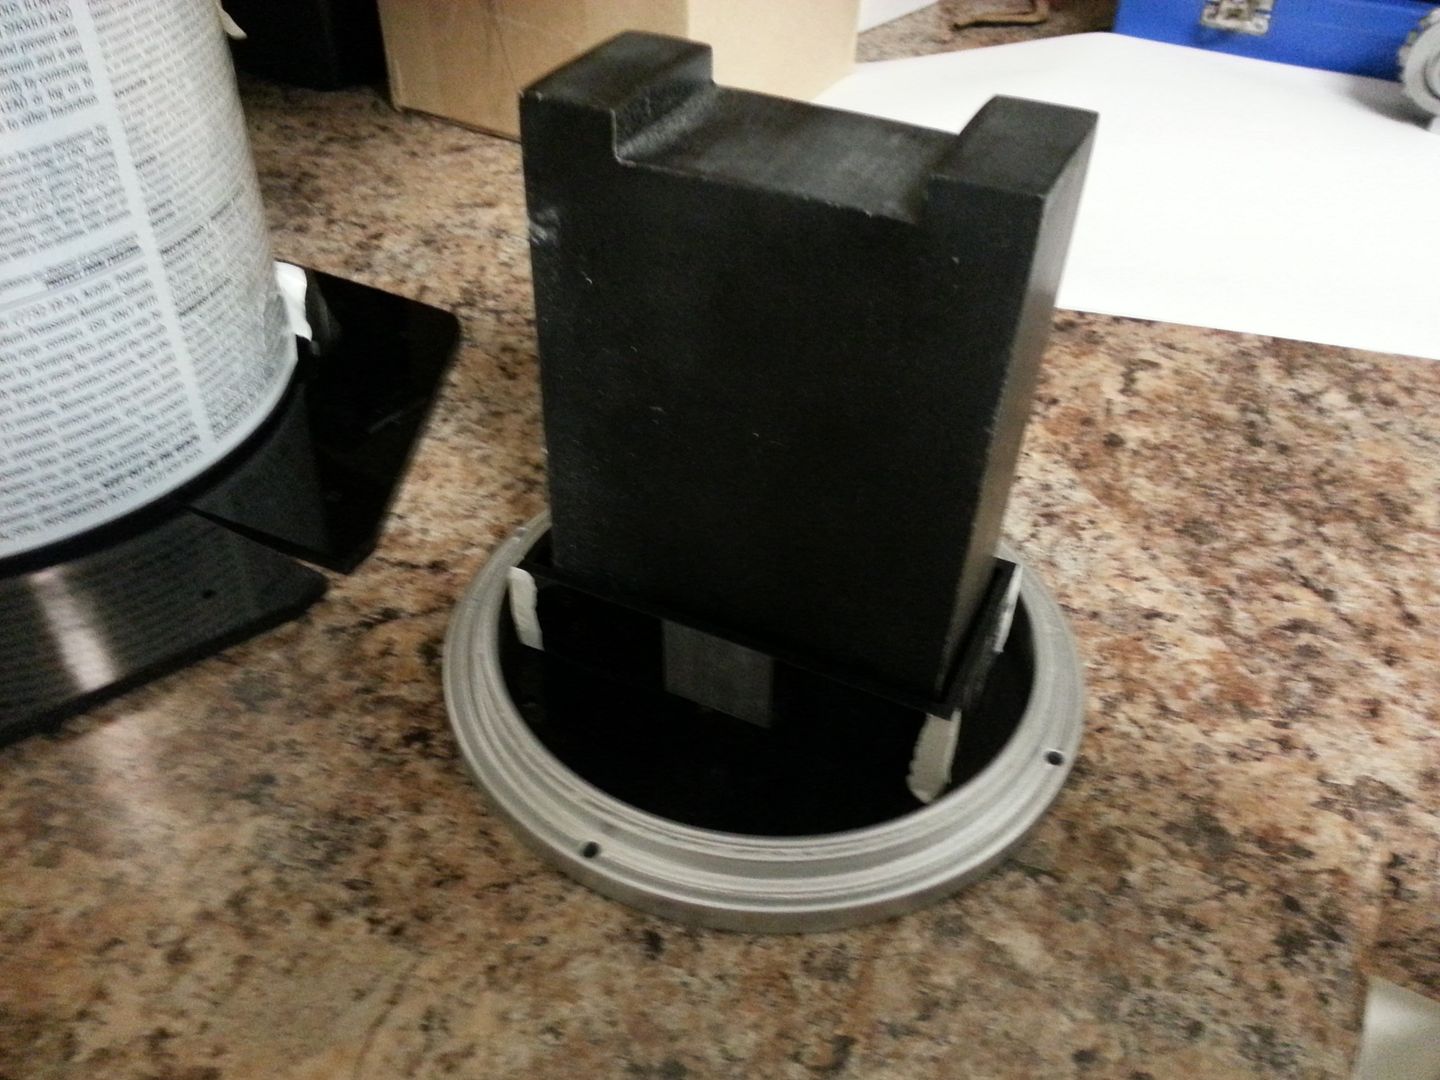
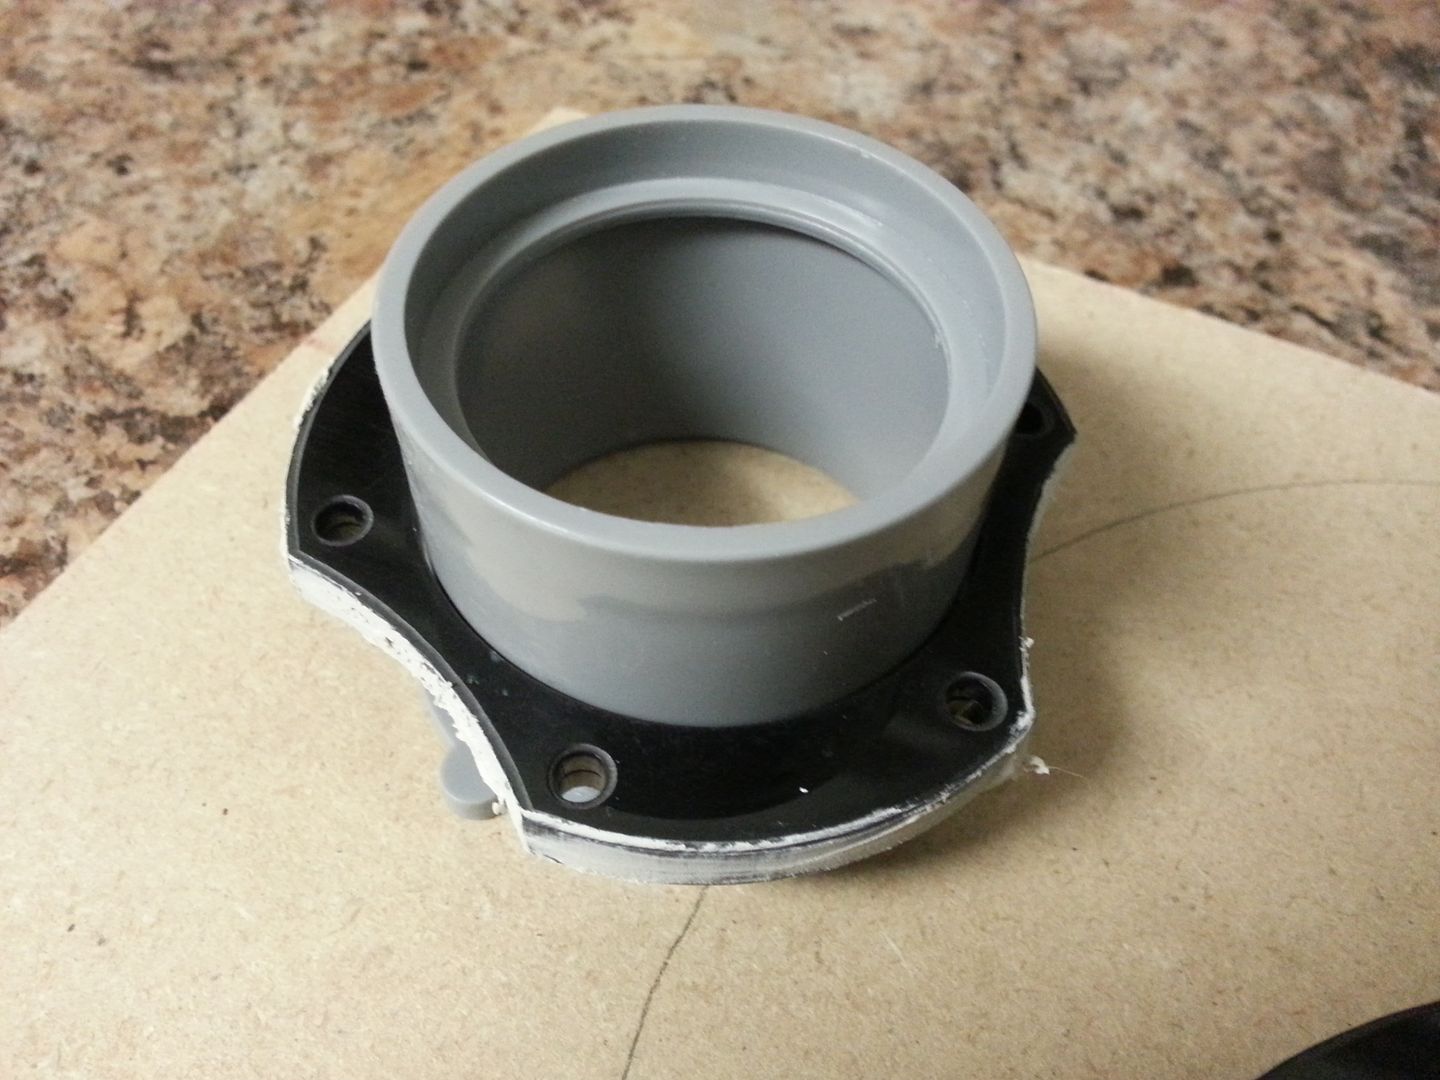
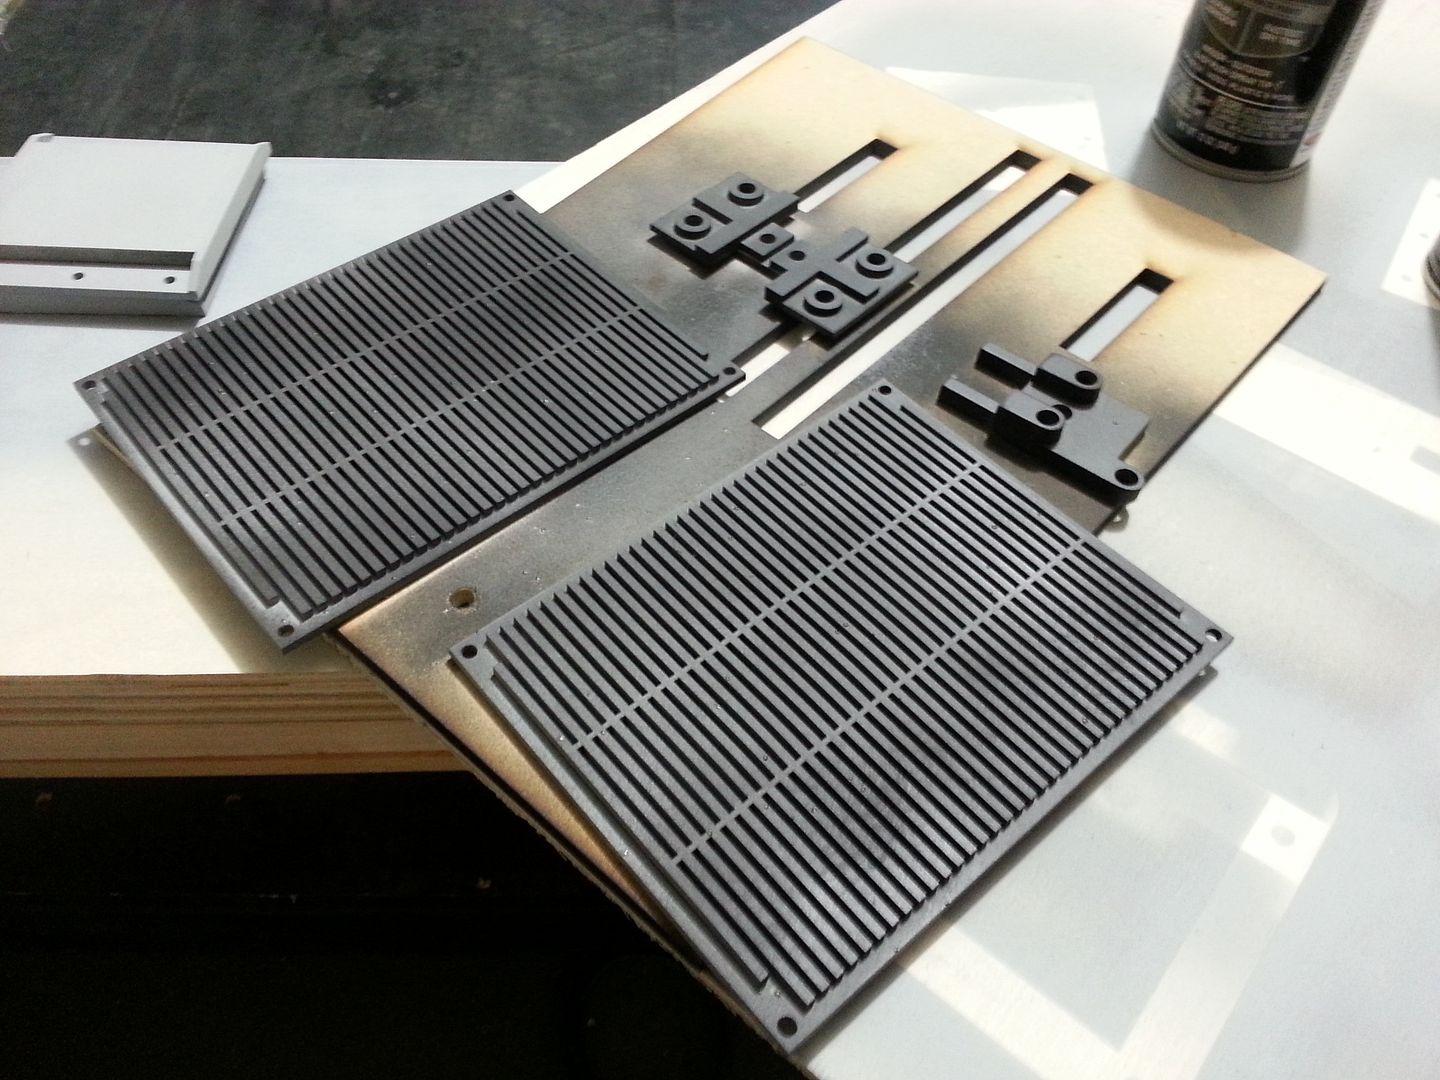
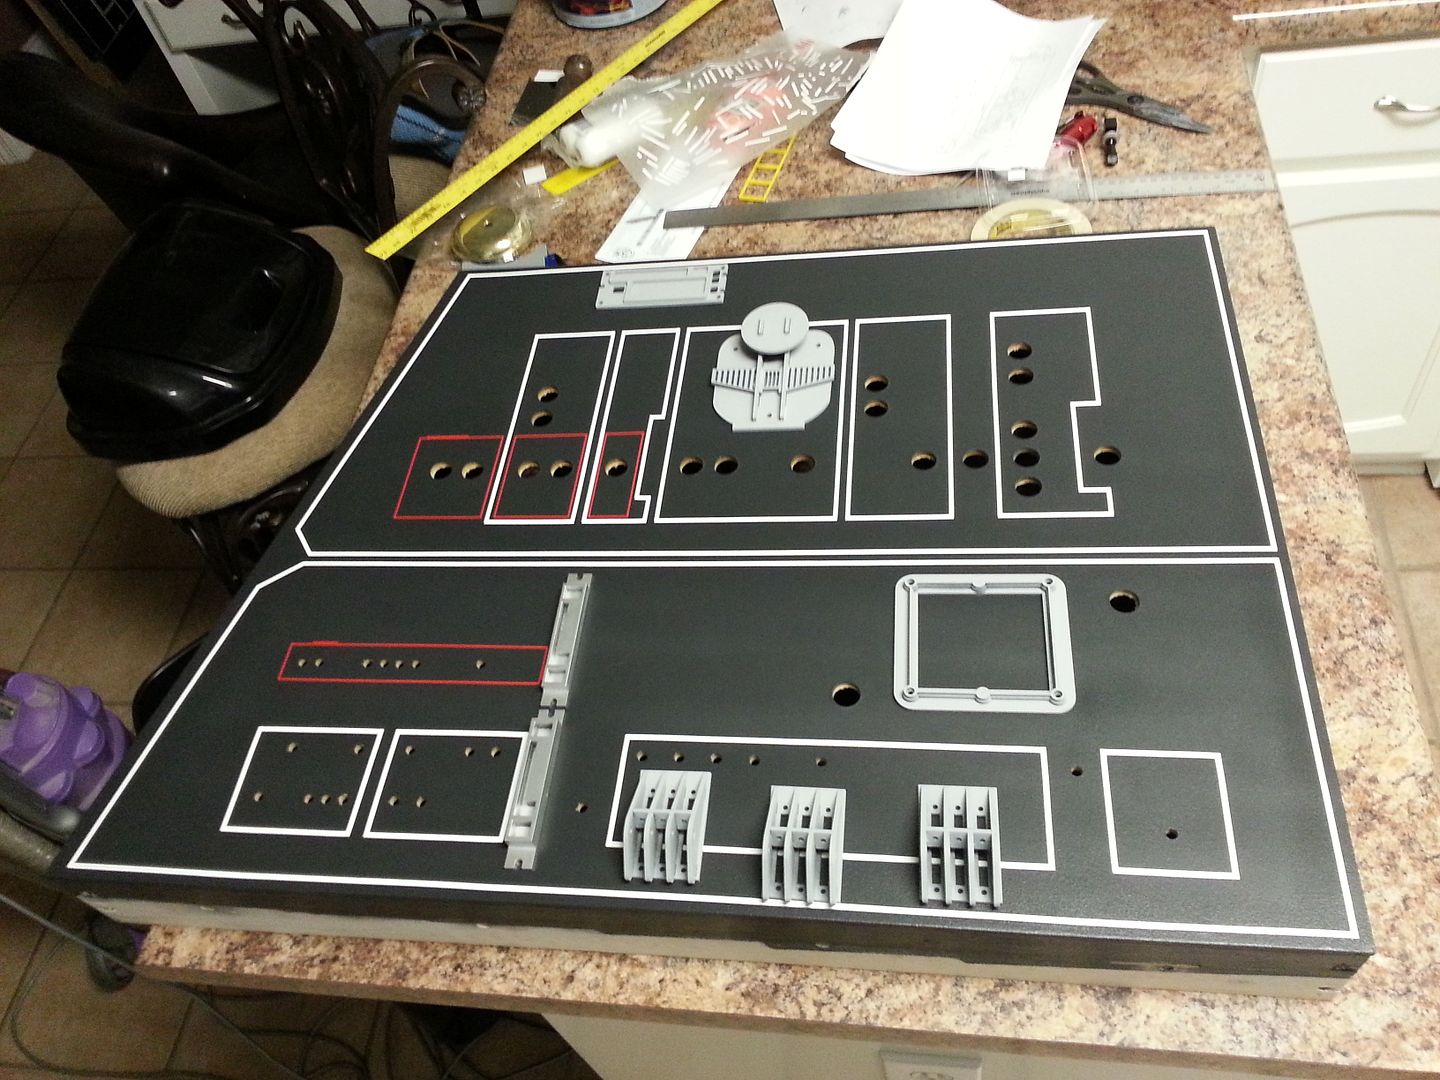
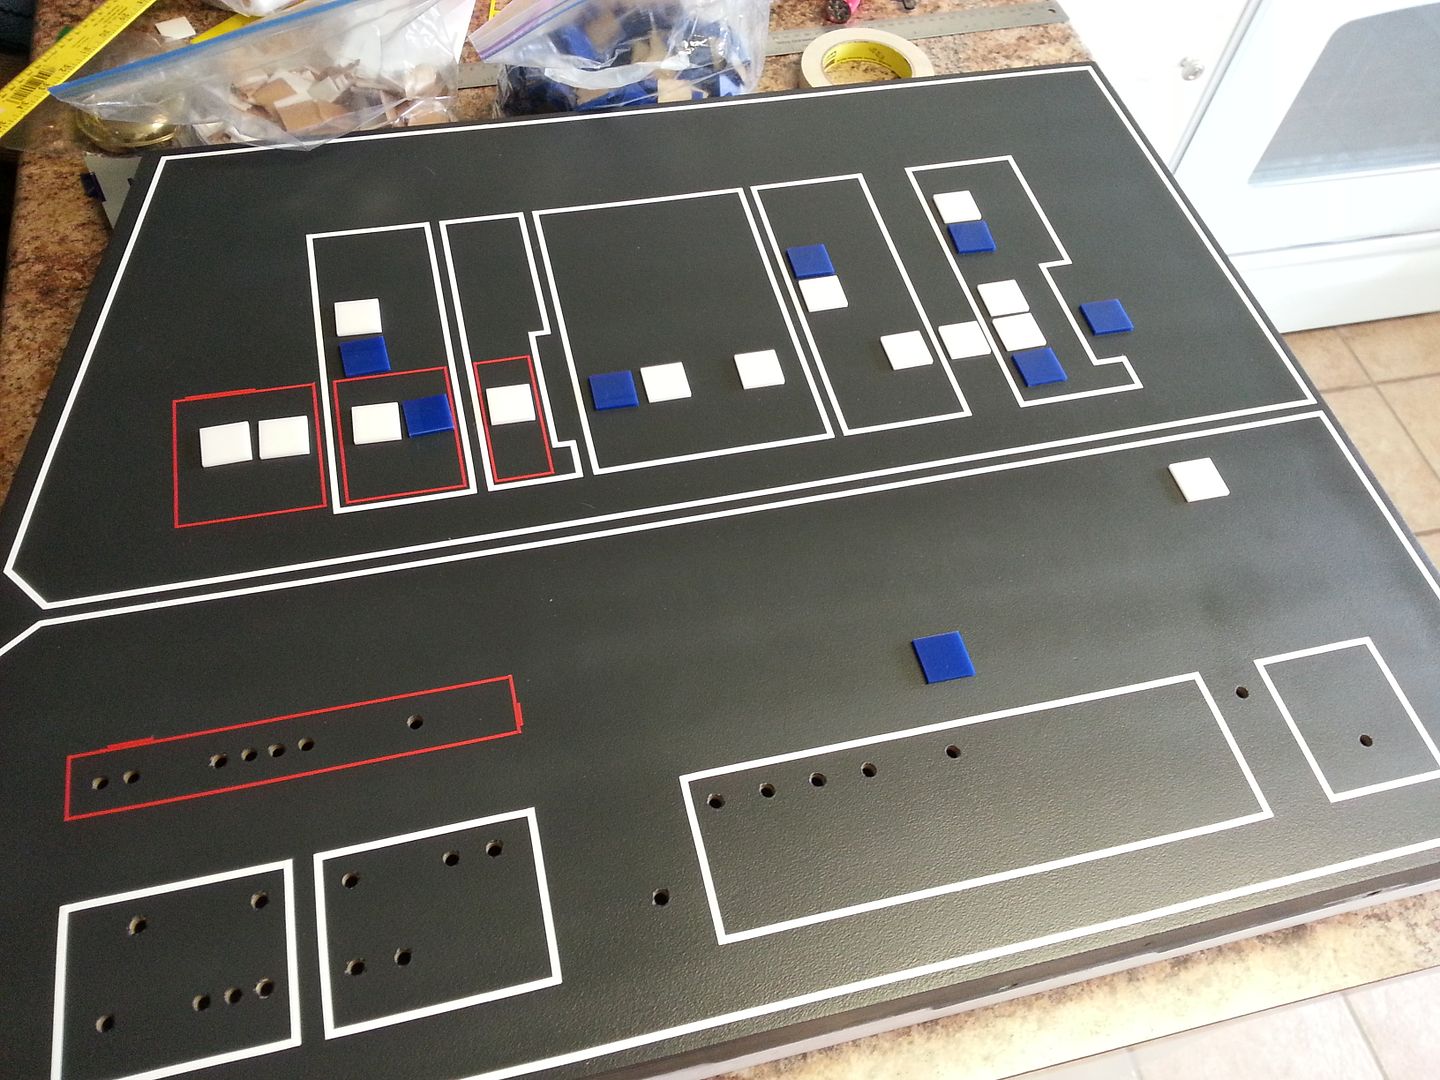
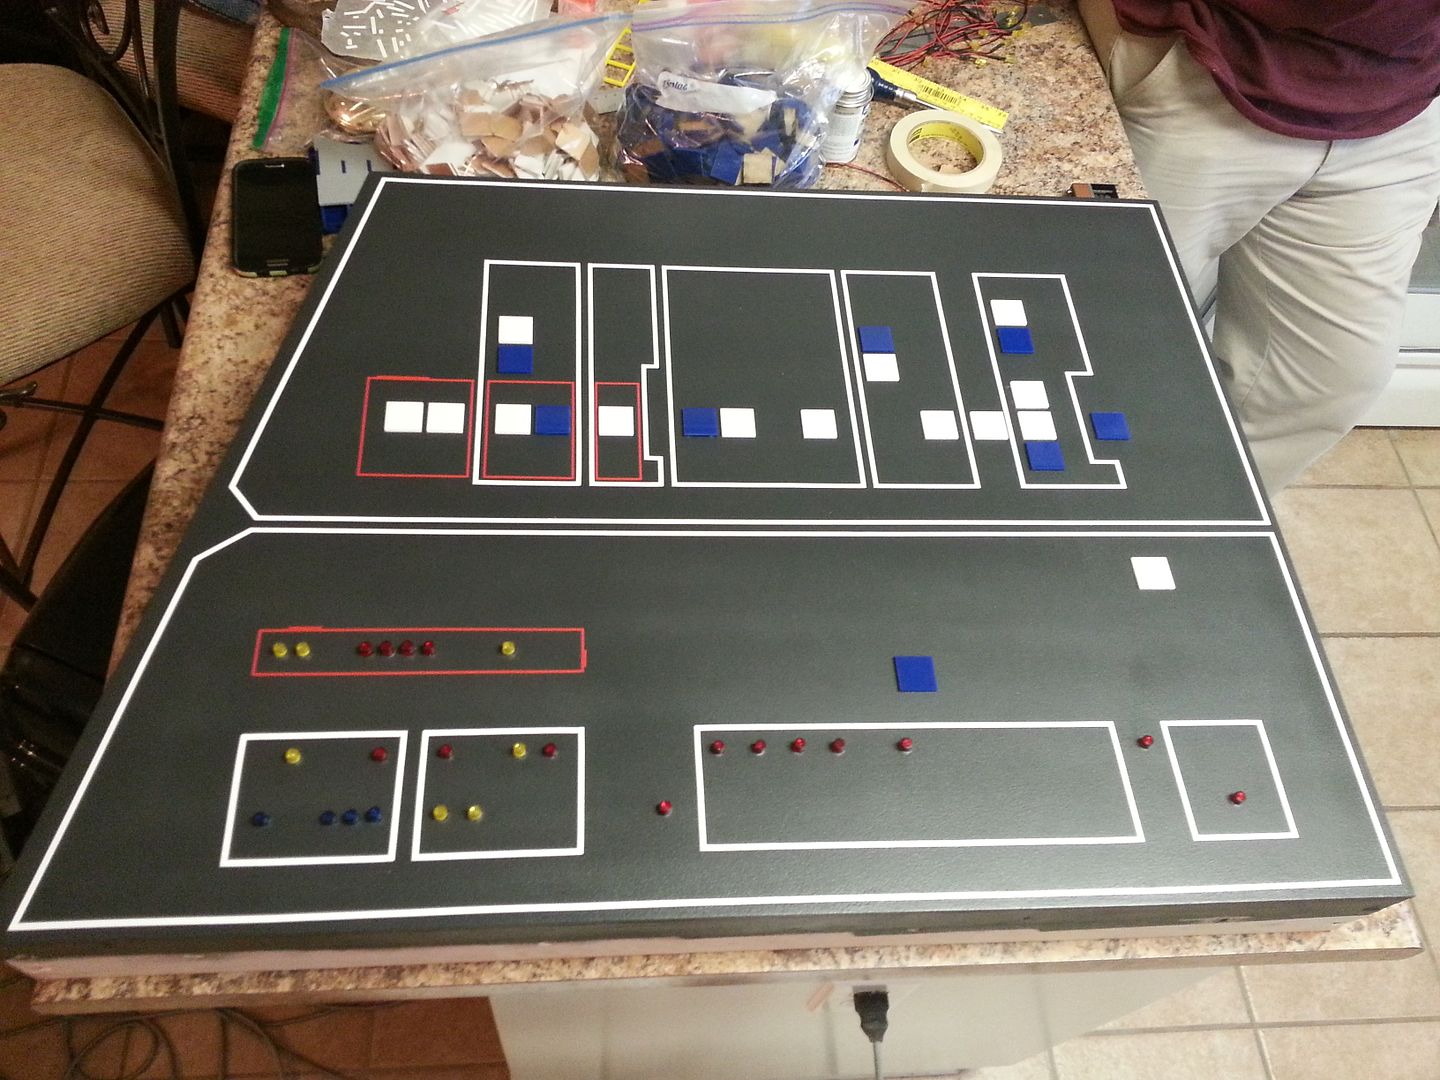
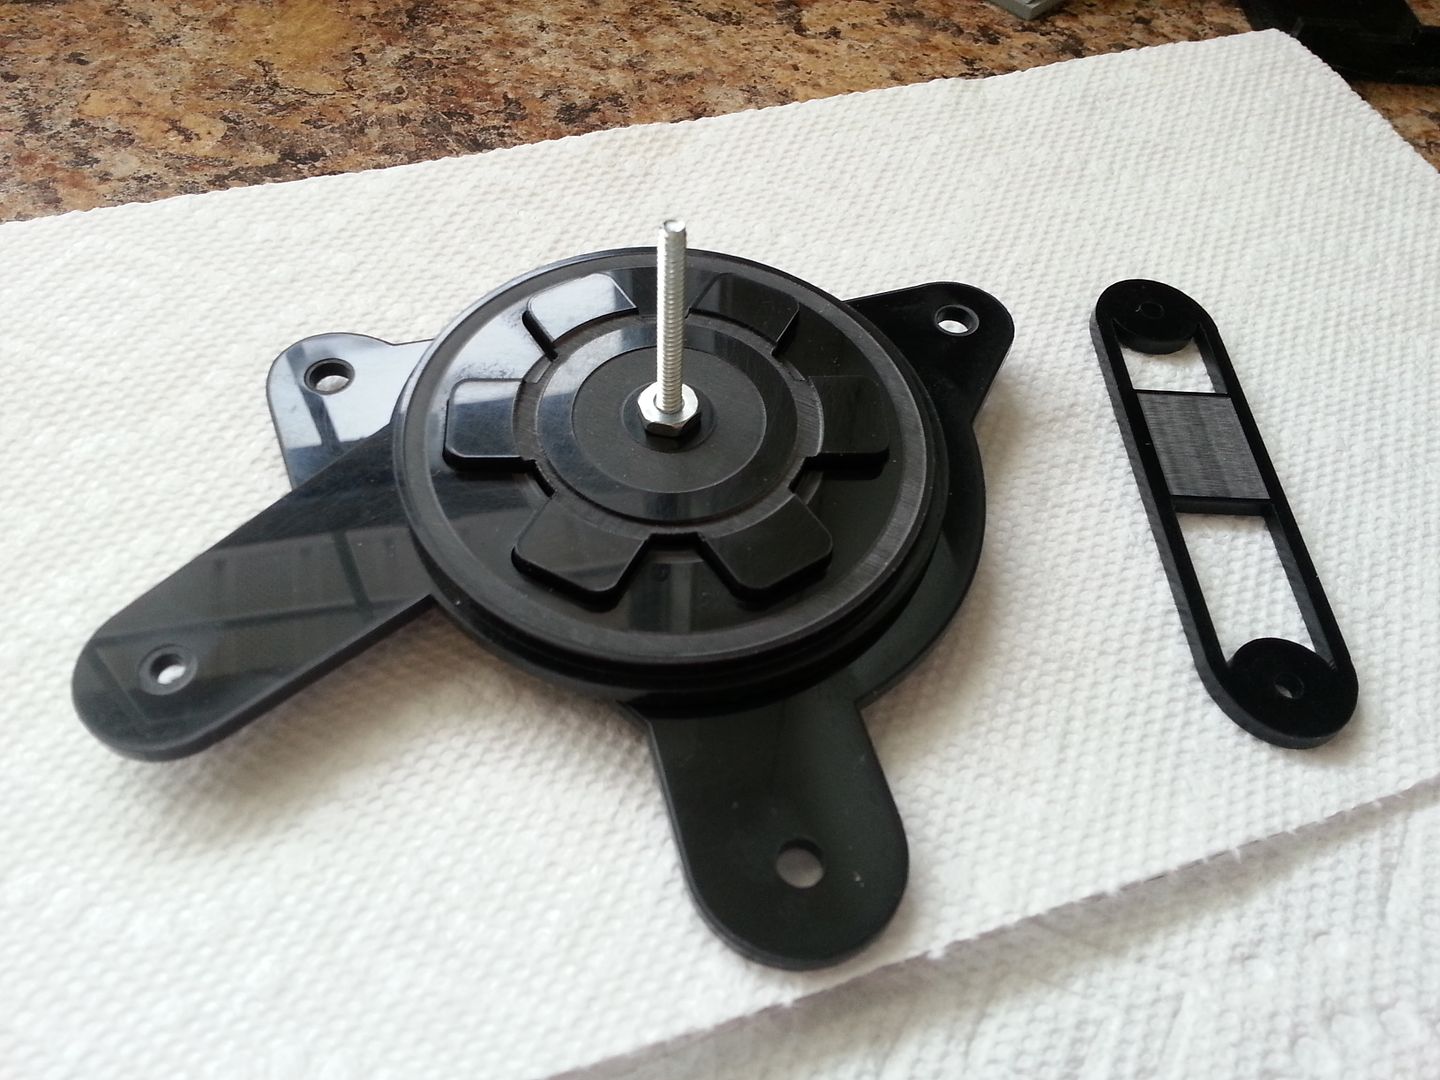
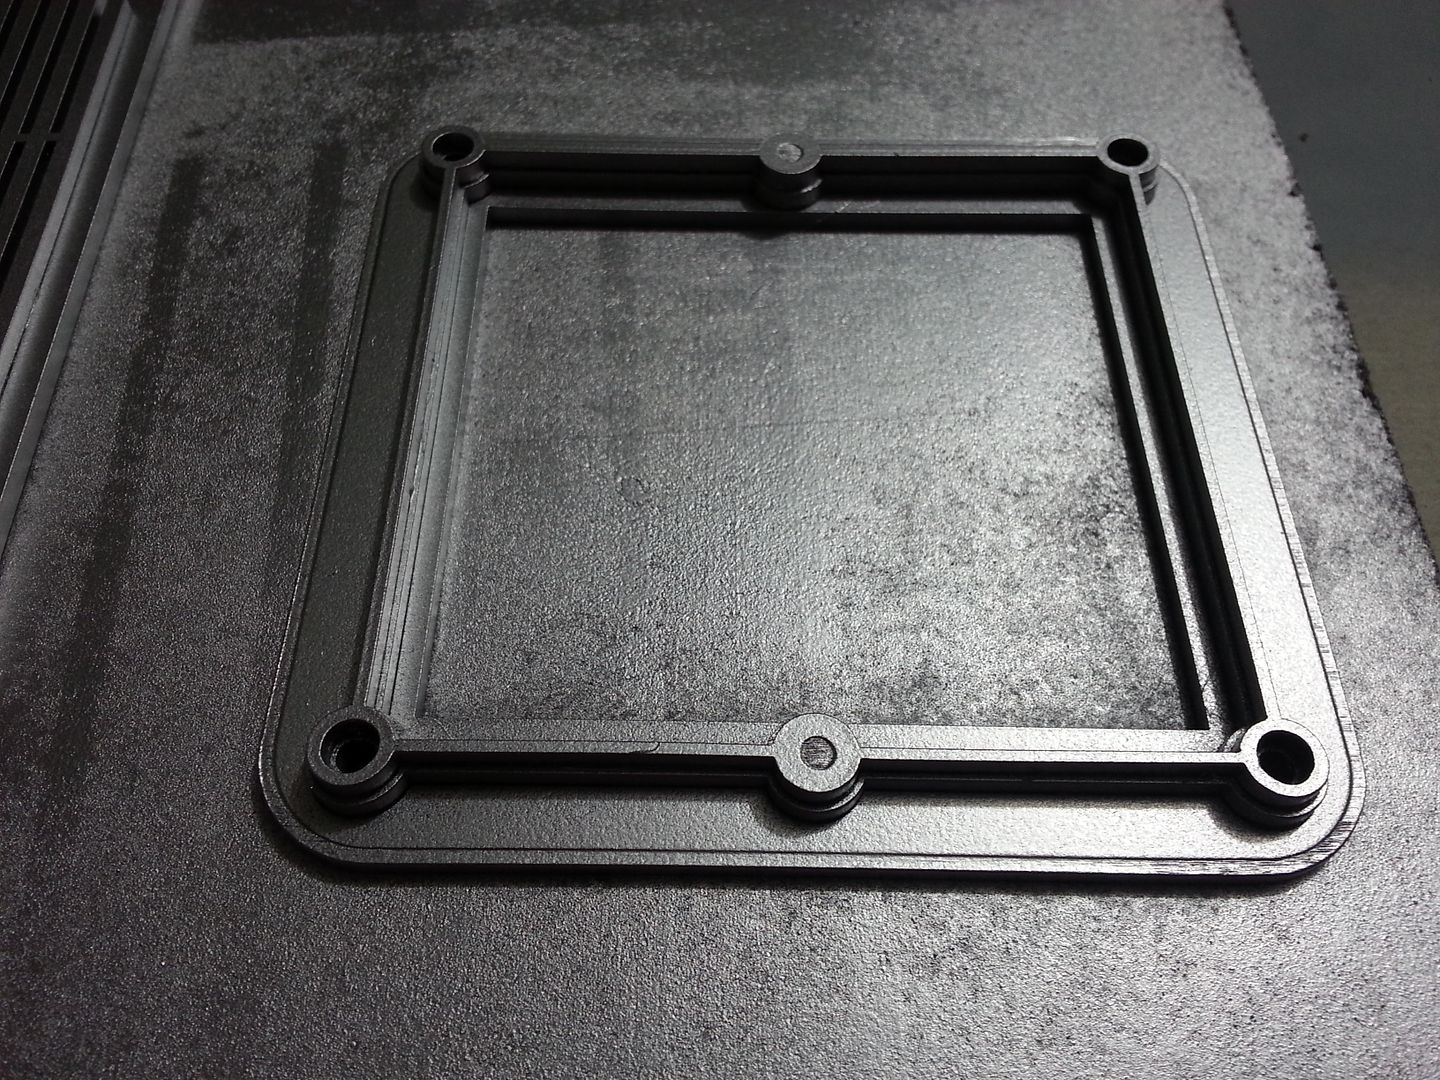
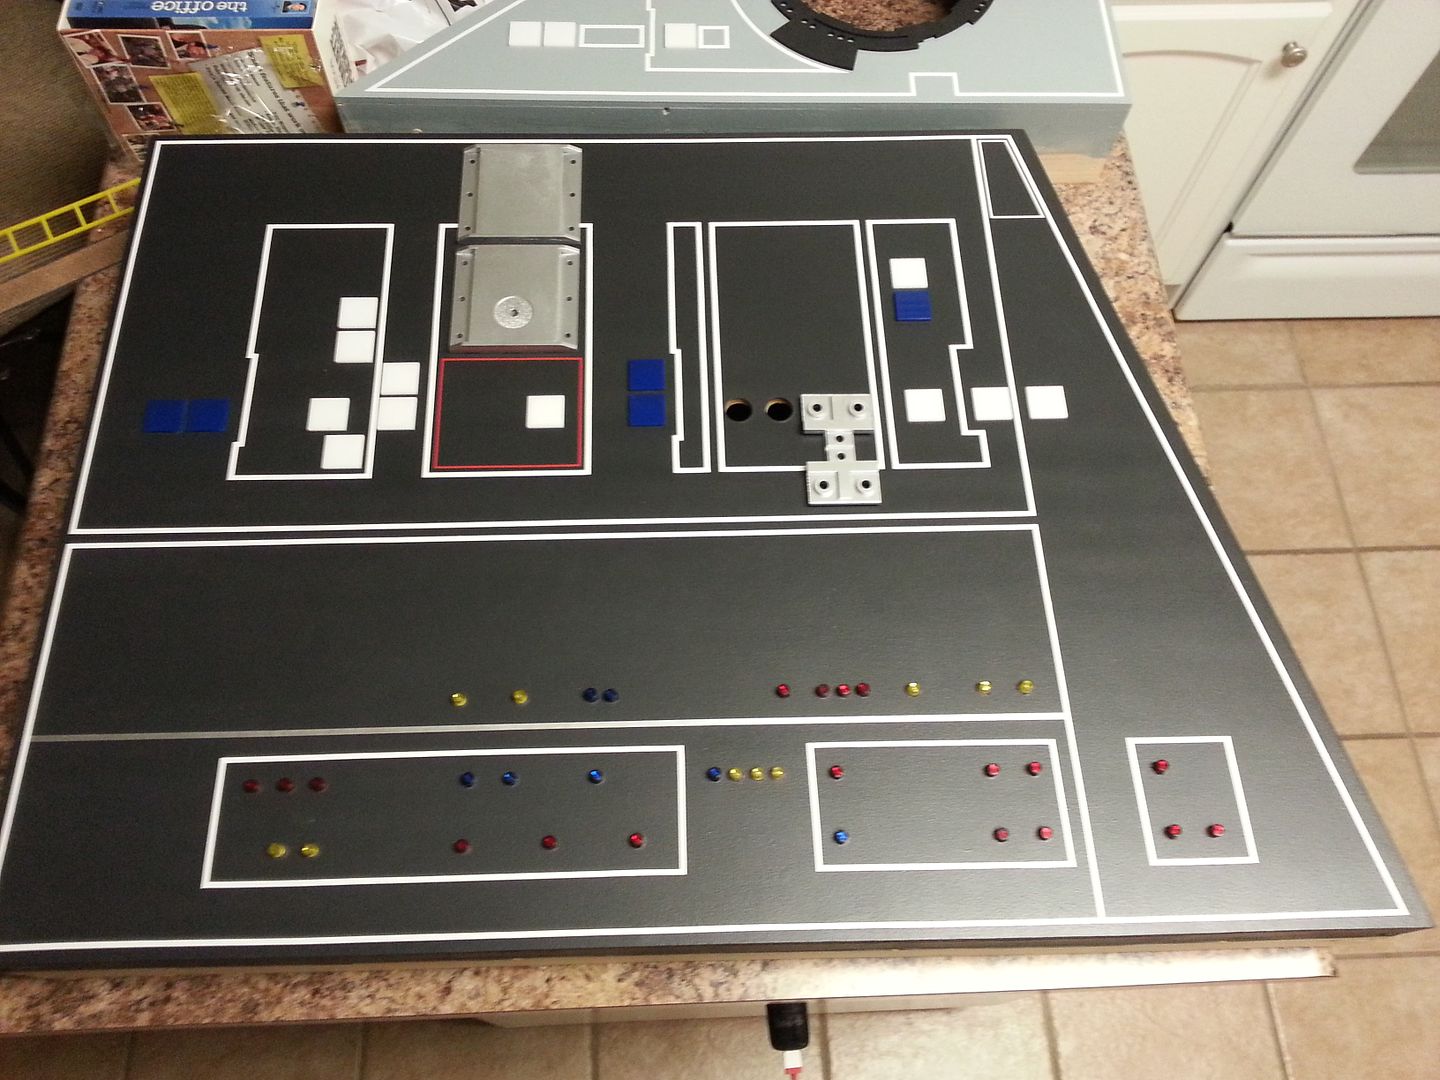
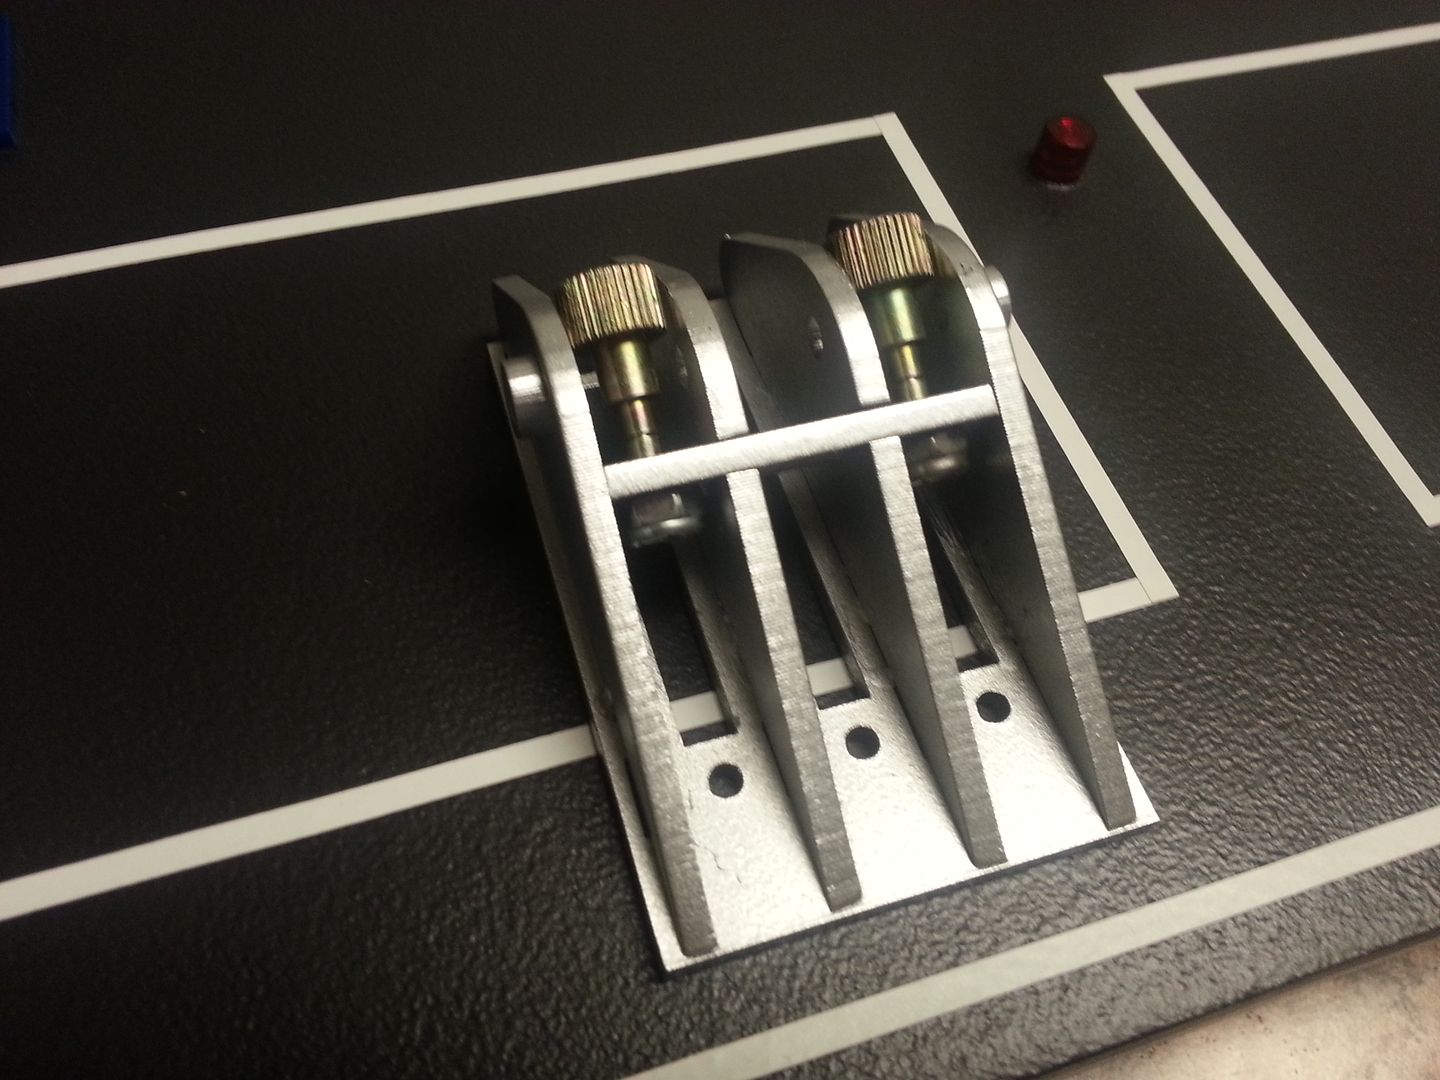
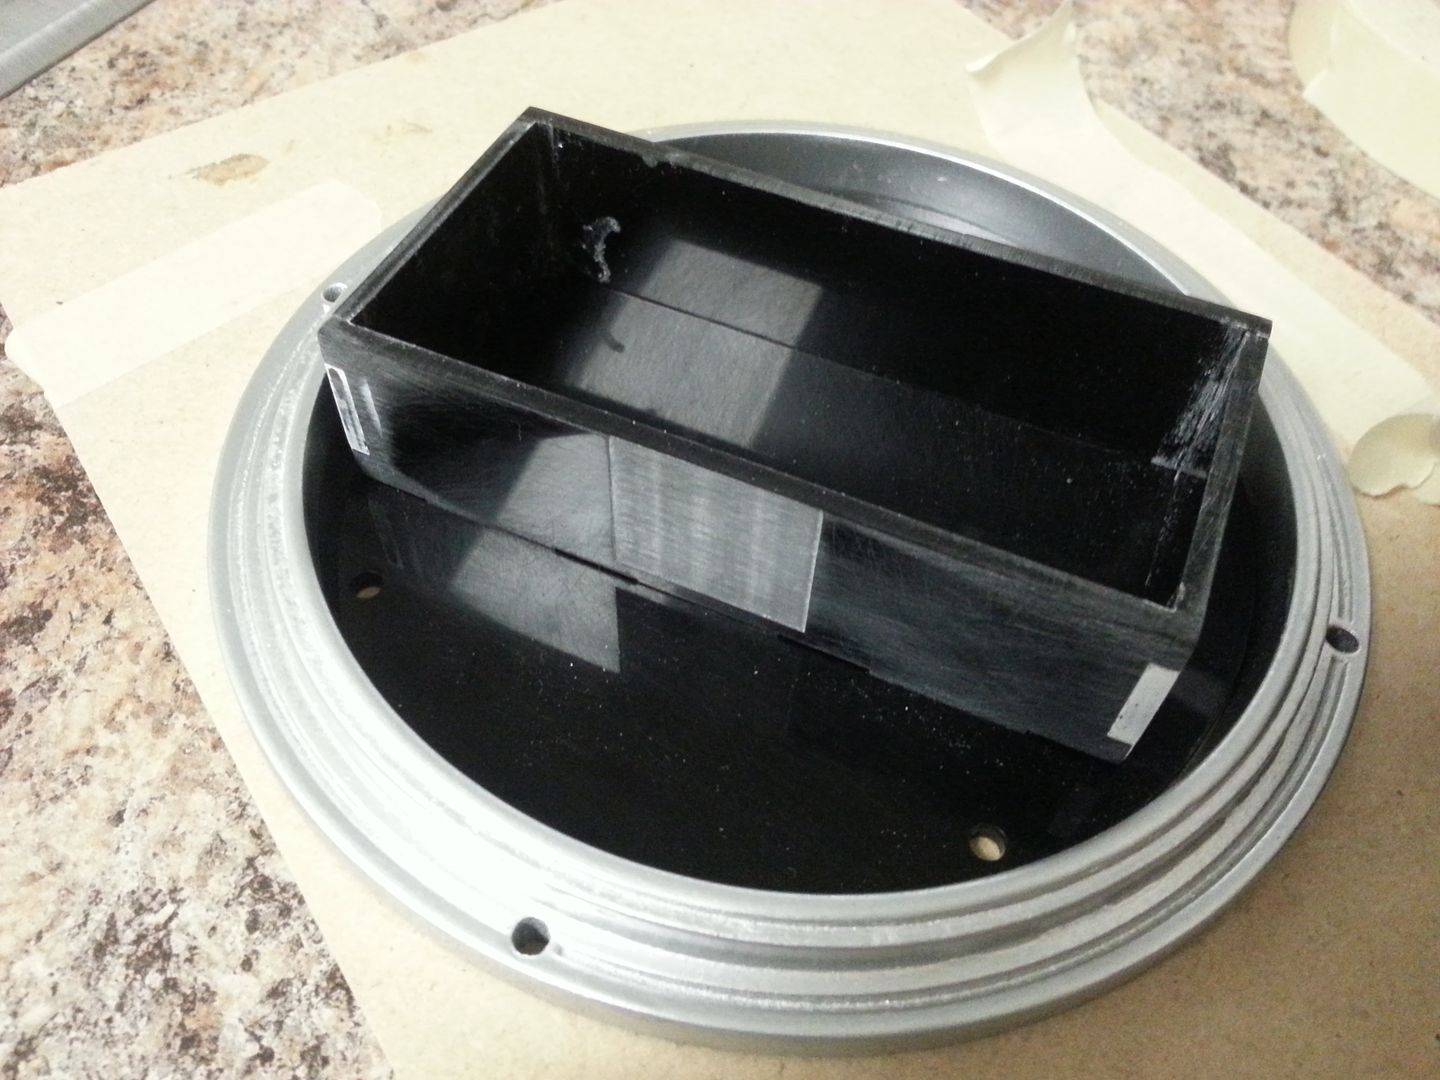
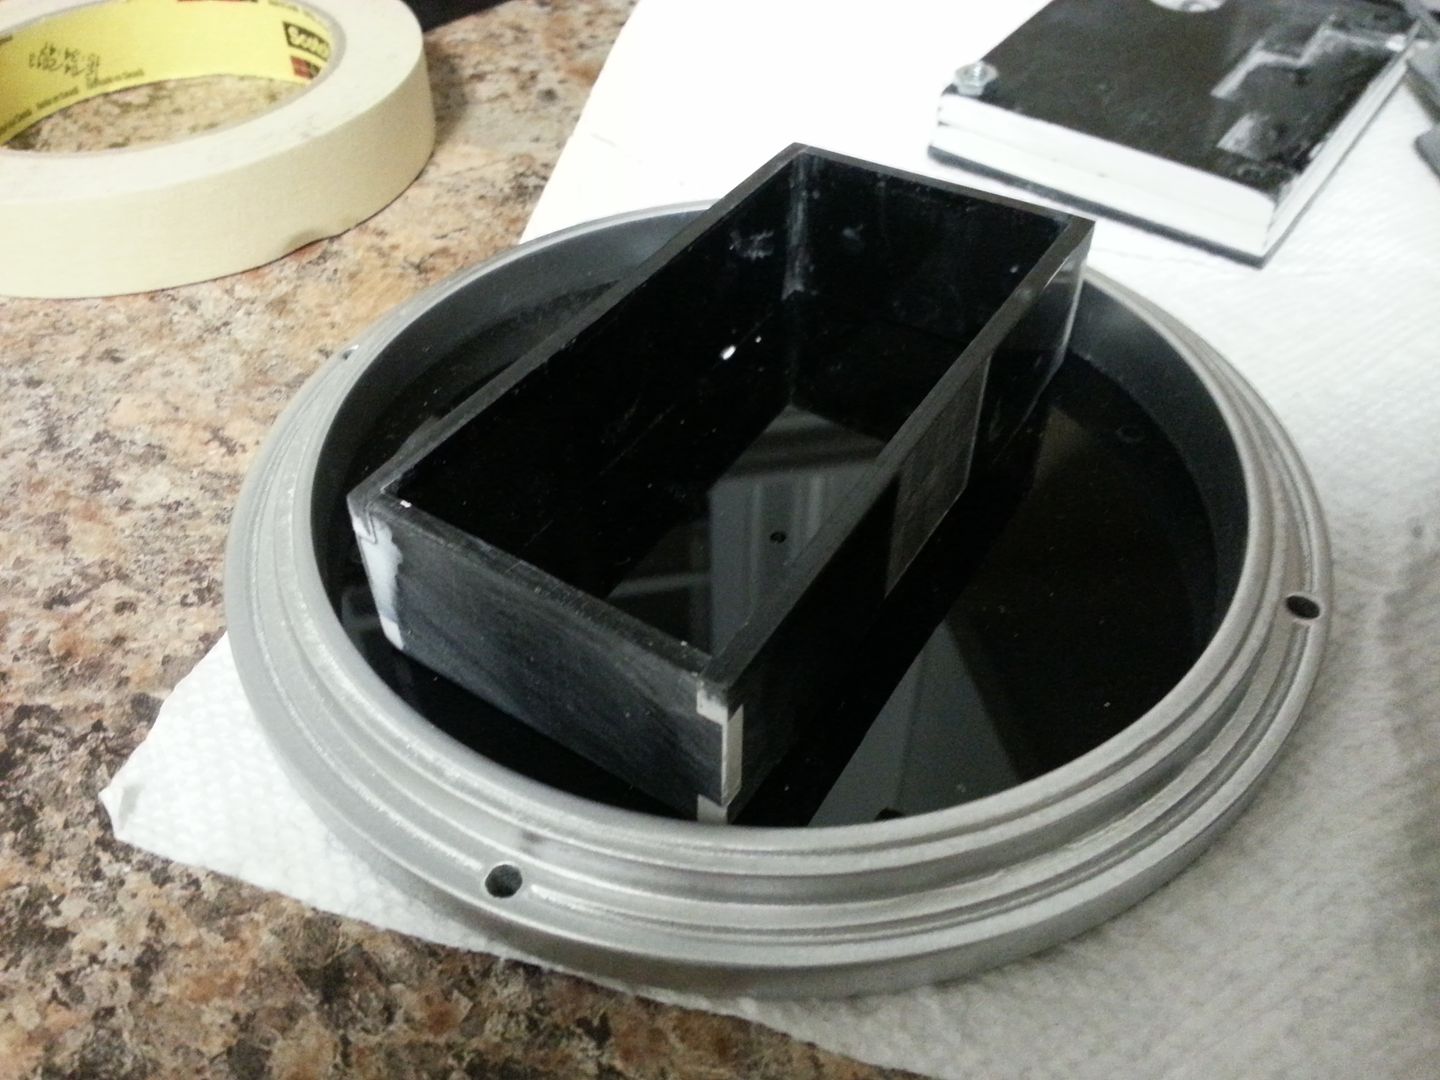
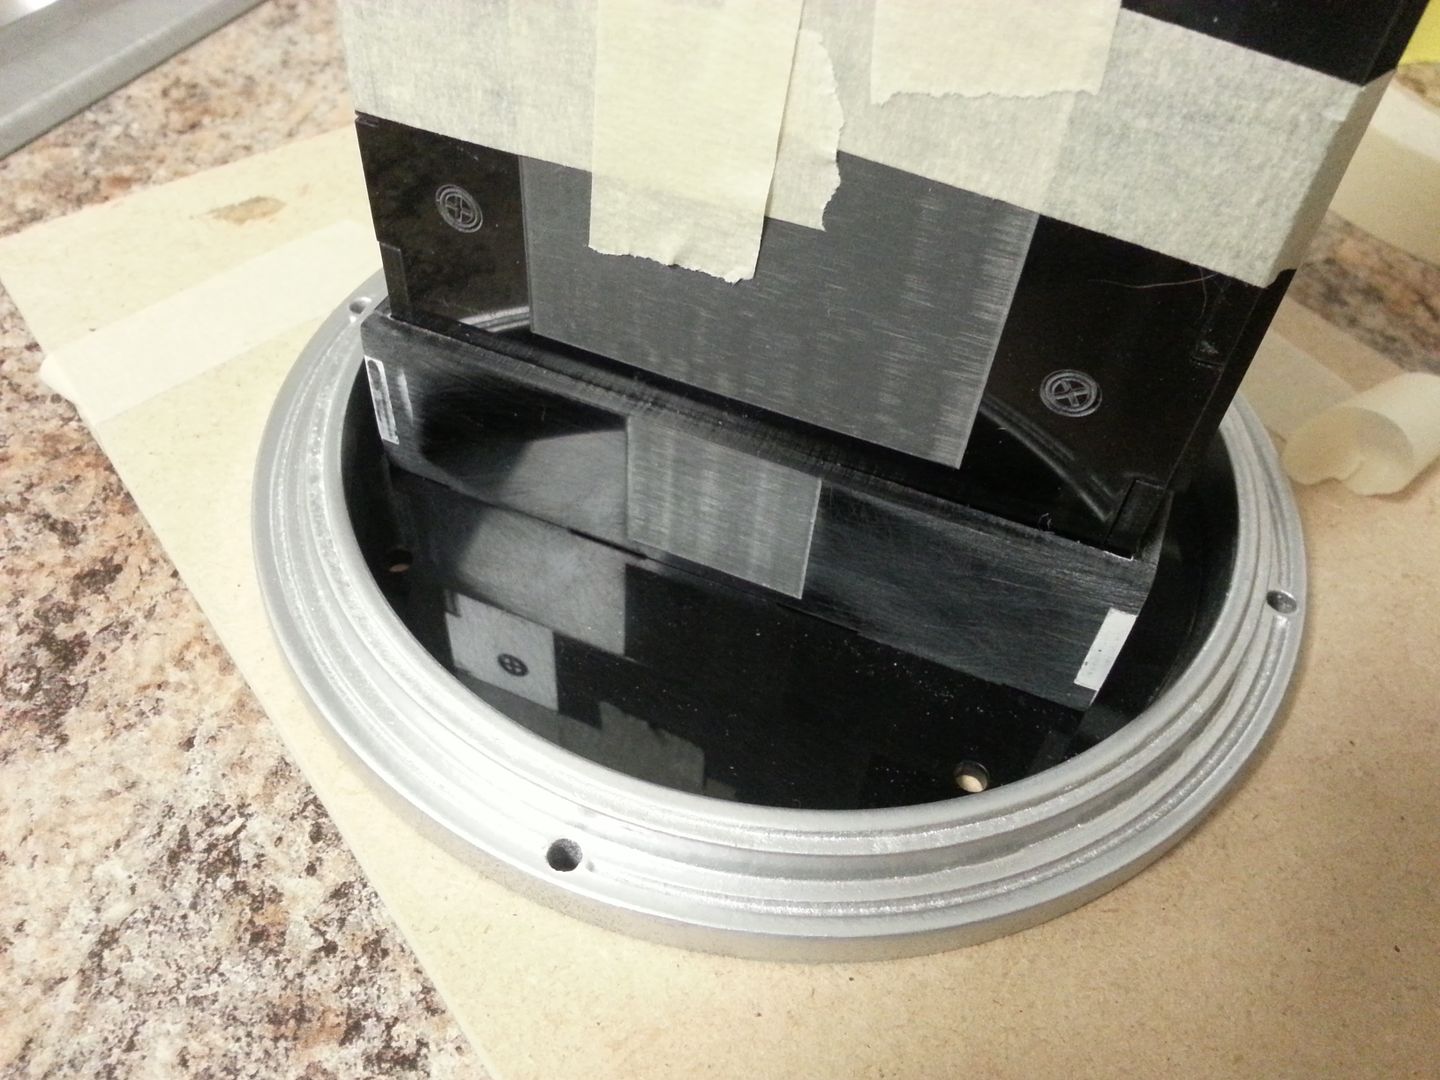
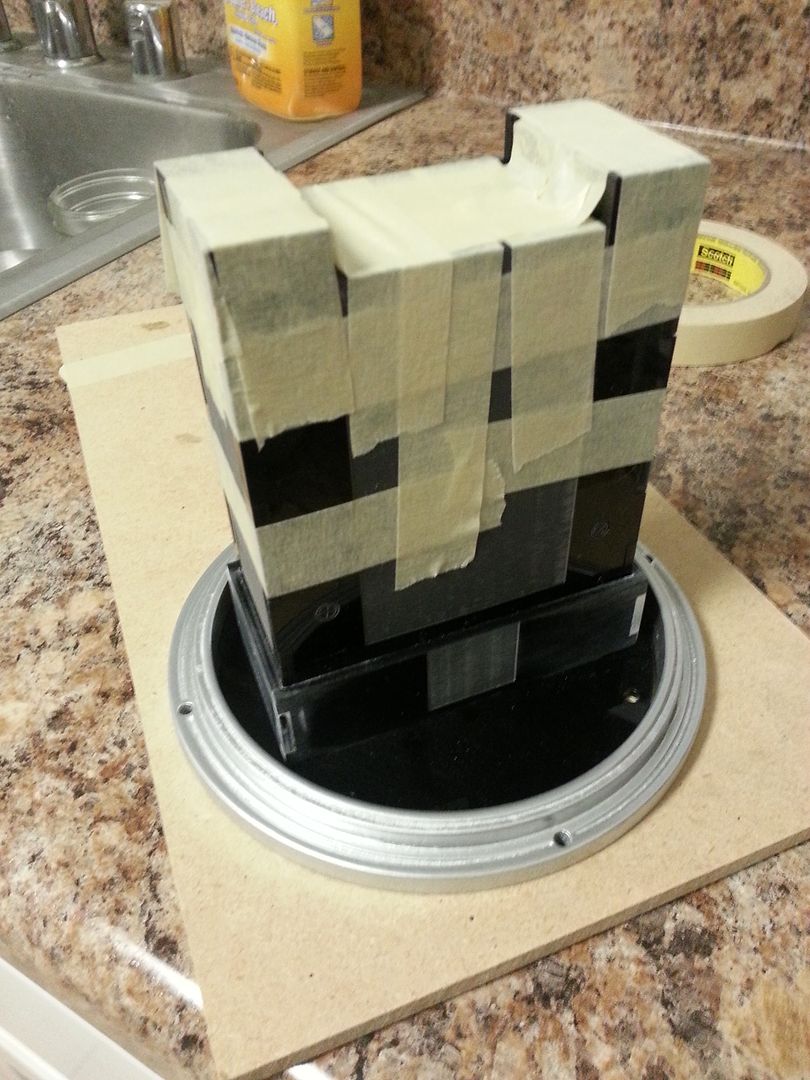
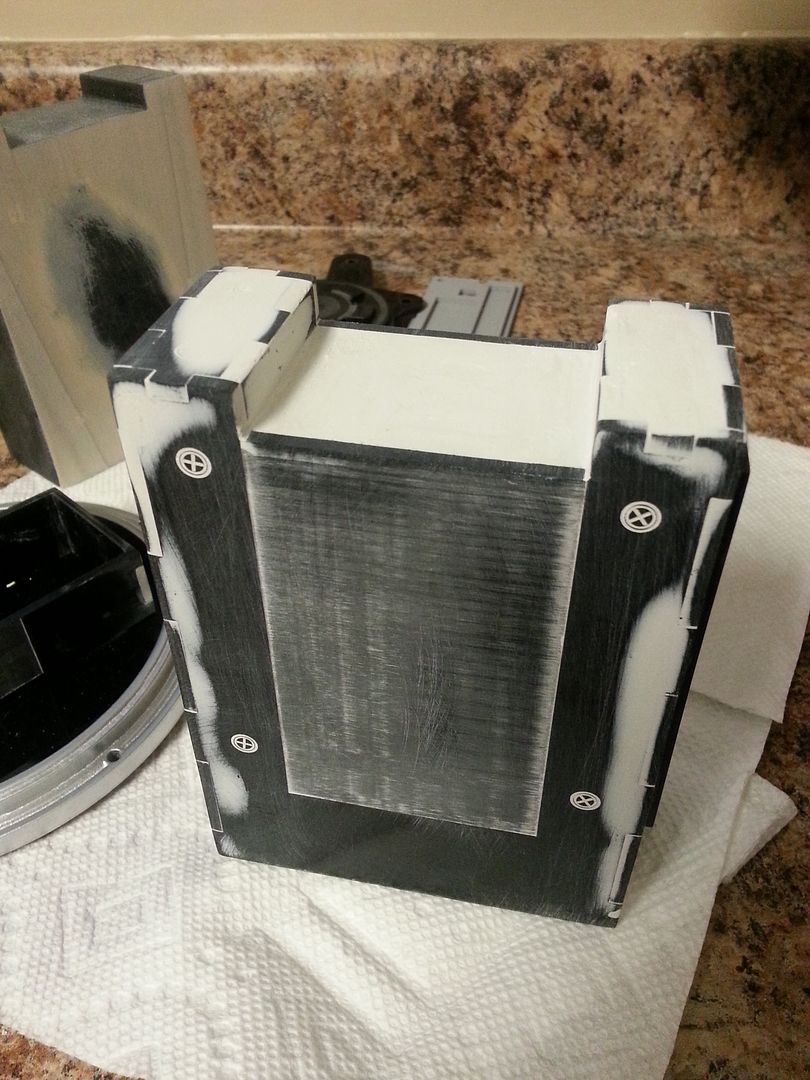
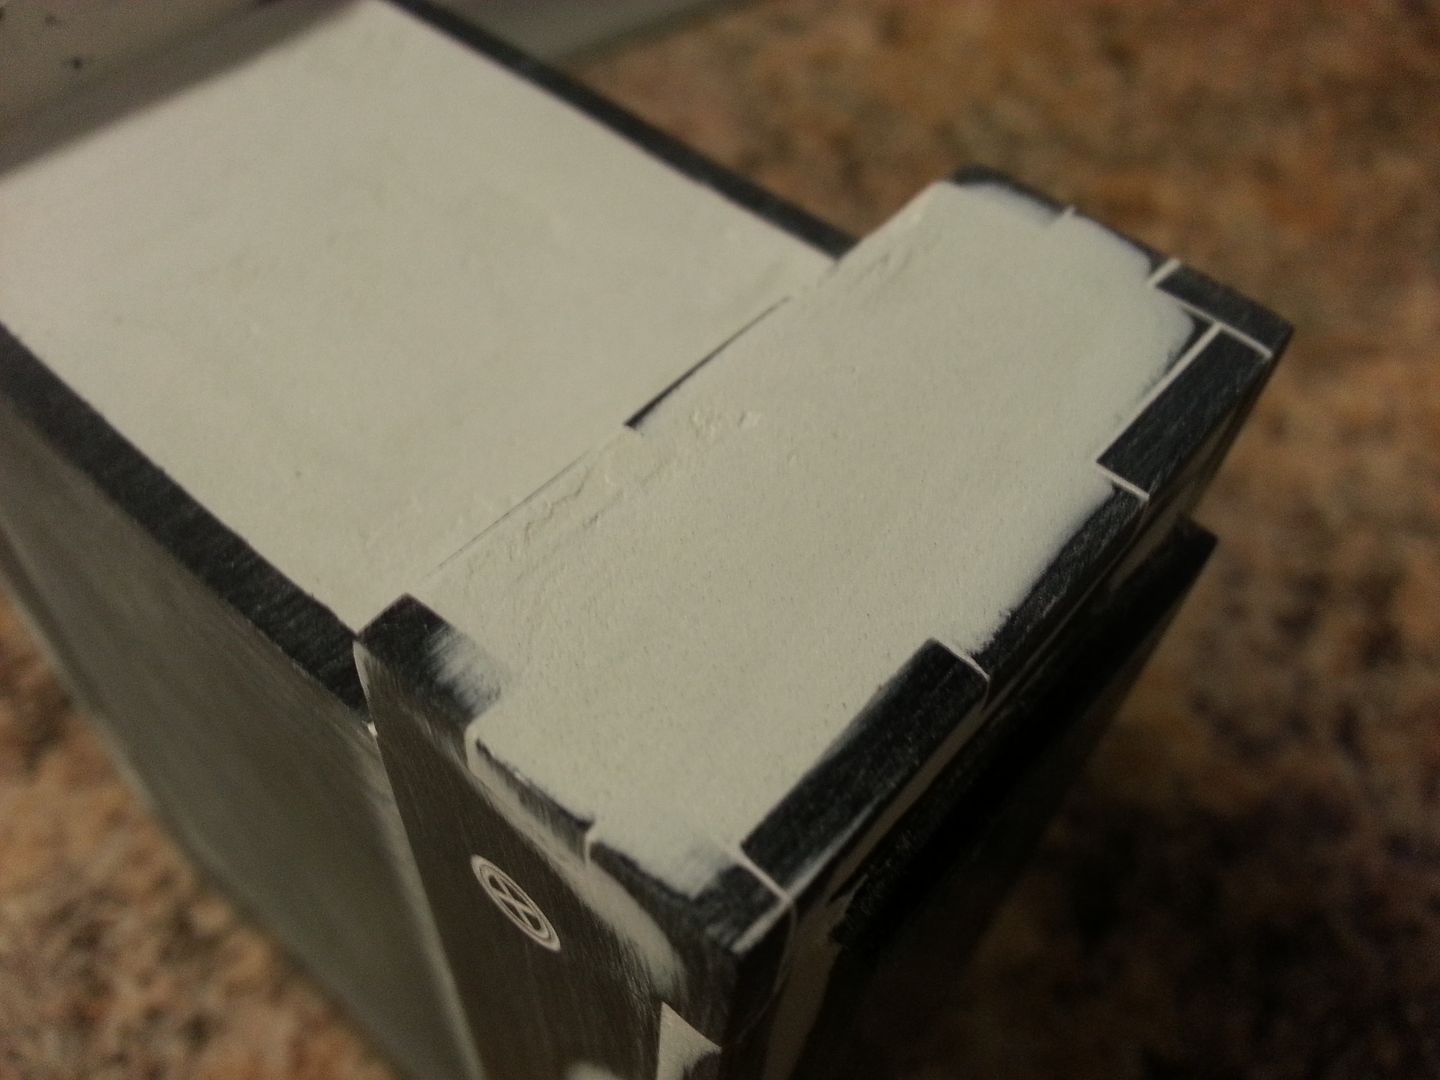
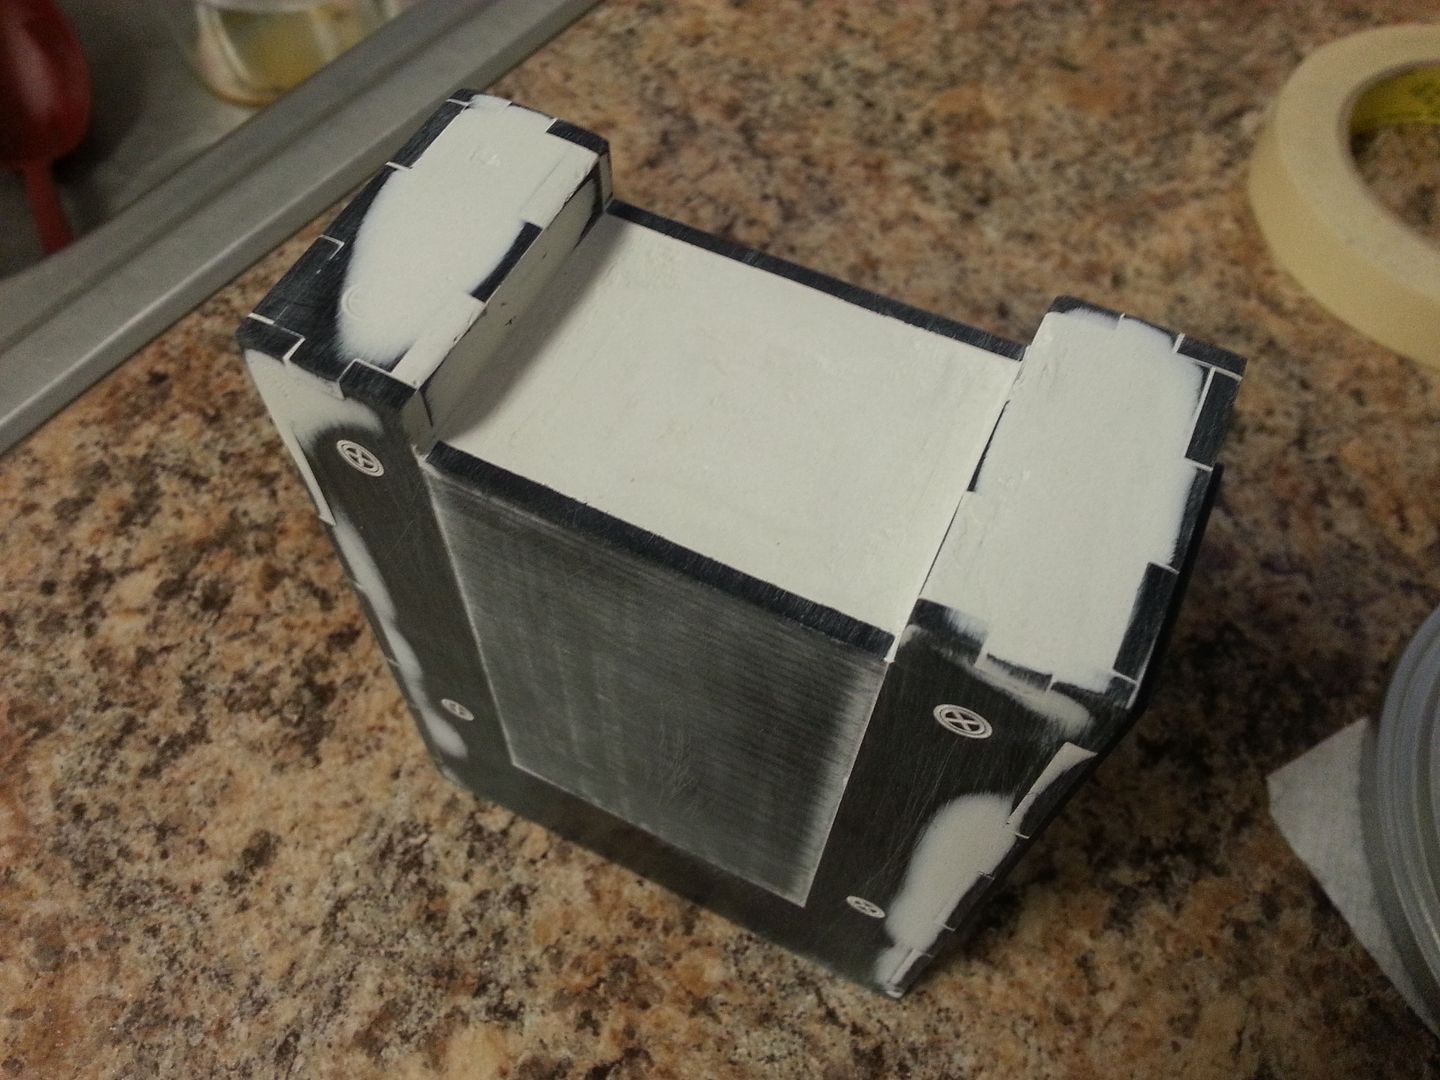
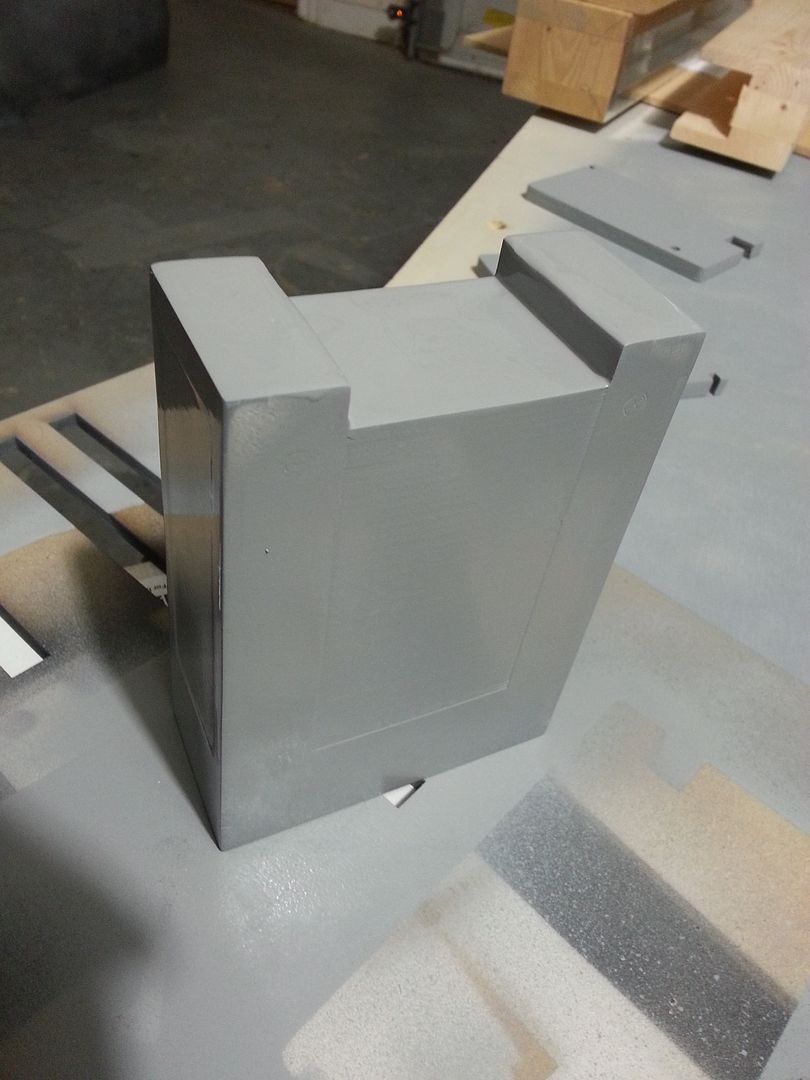
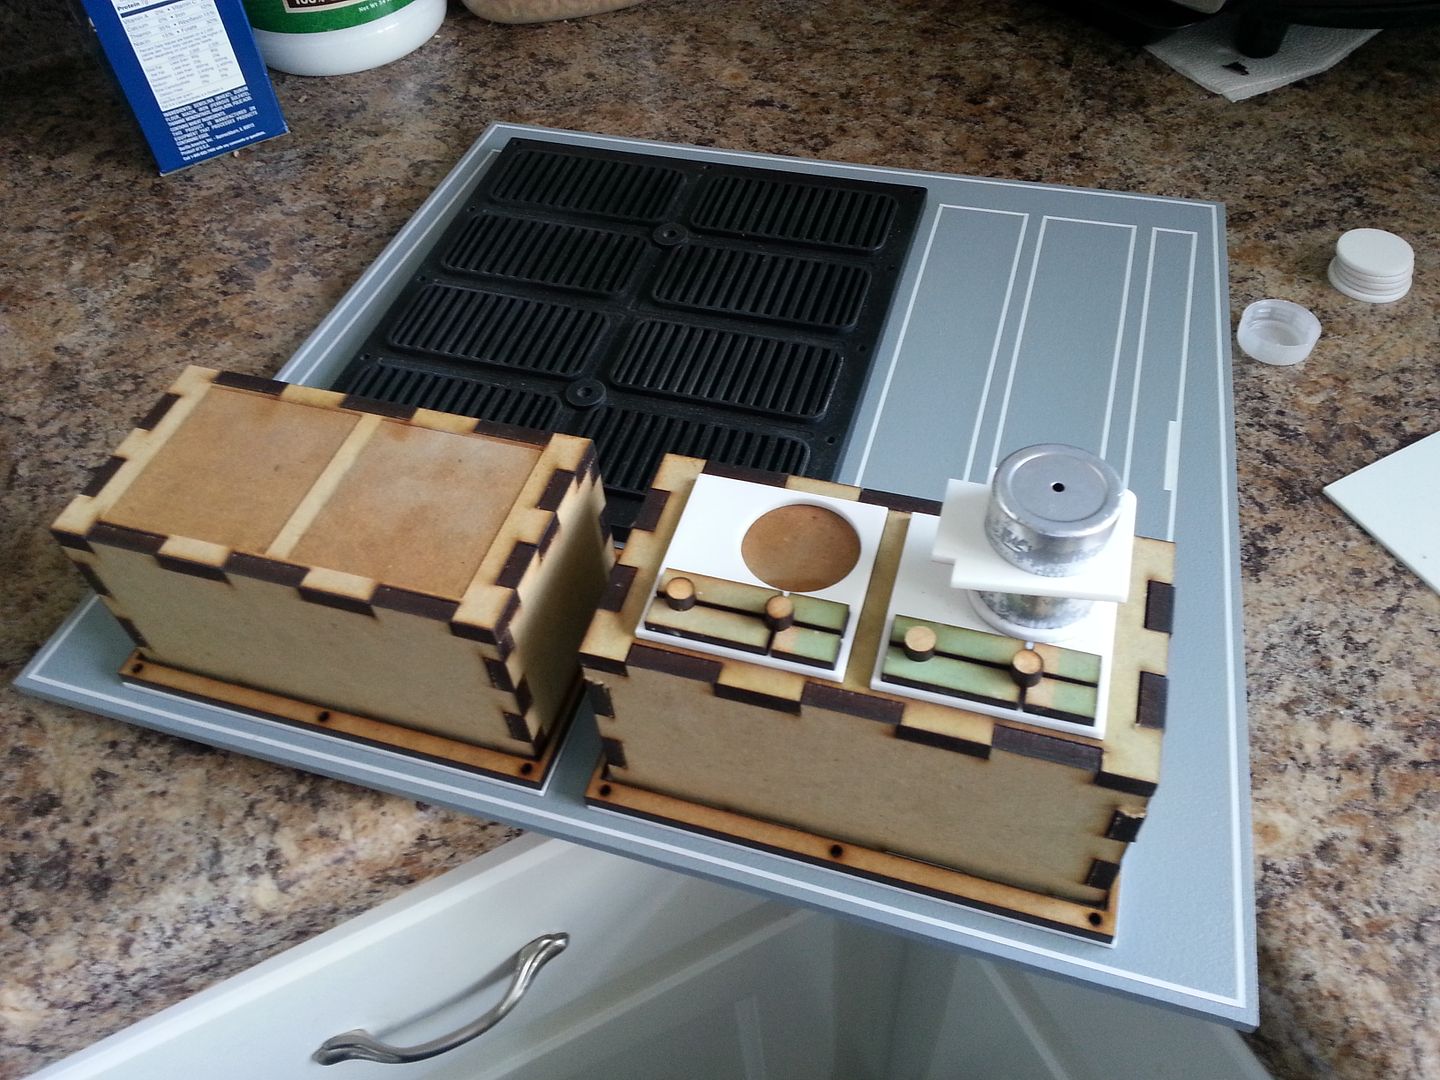
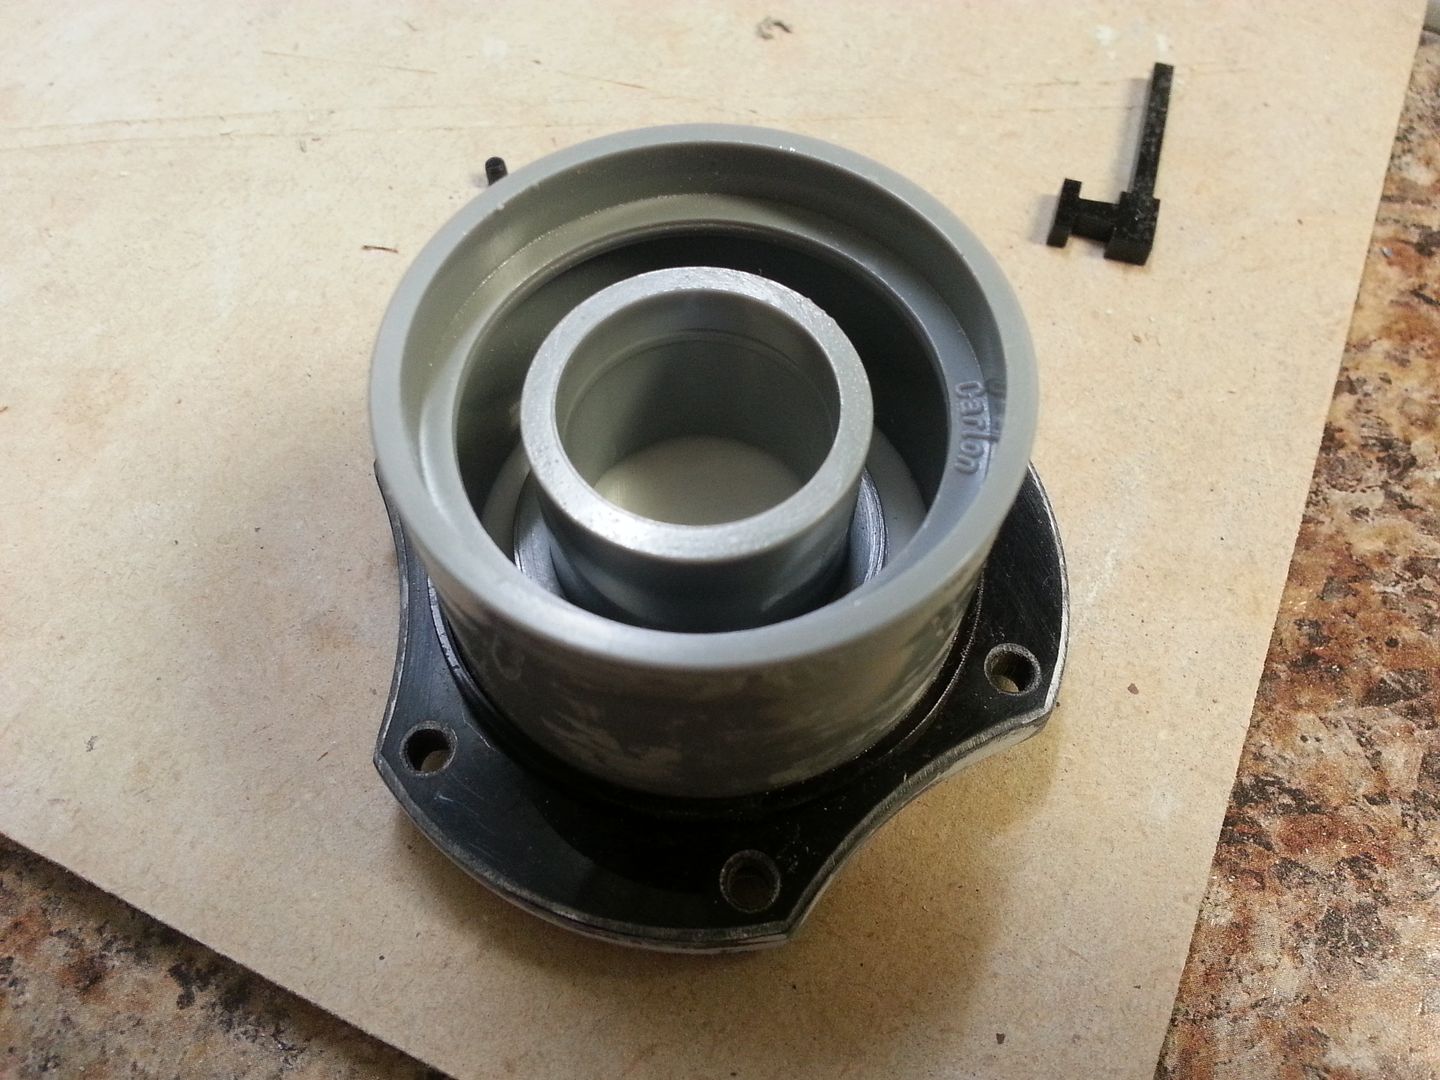
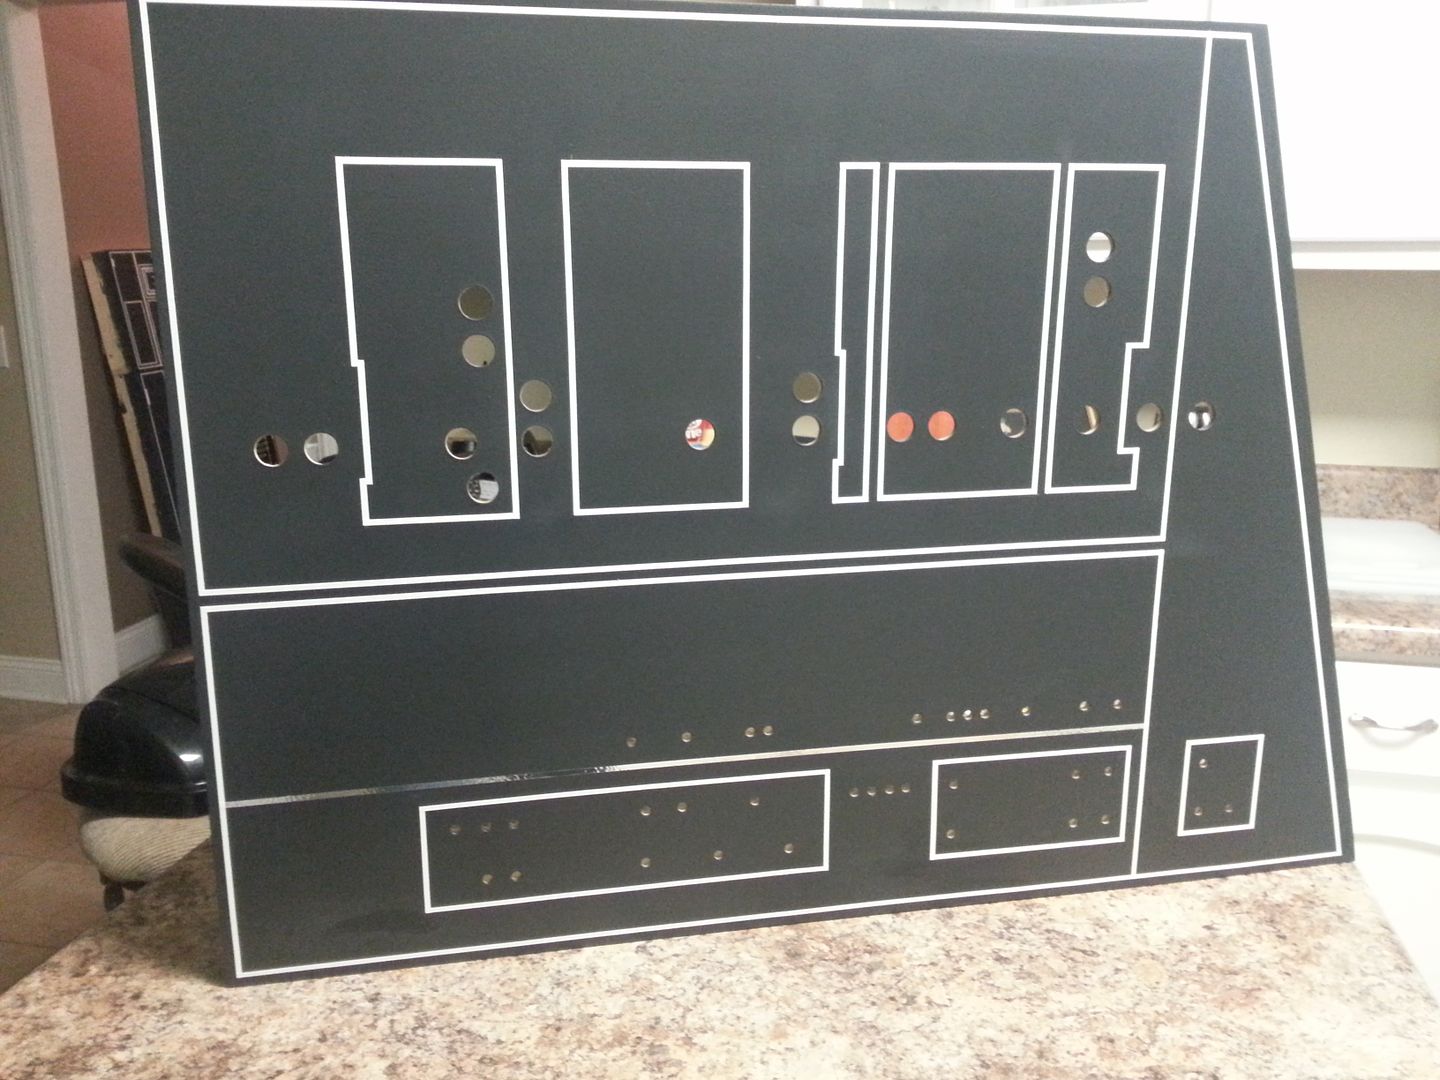
Finished up this panel
20150415_164734_zps8j4mfdtv.jpg


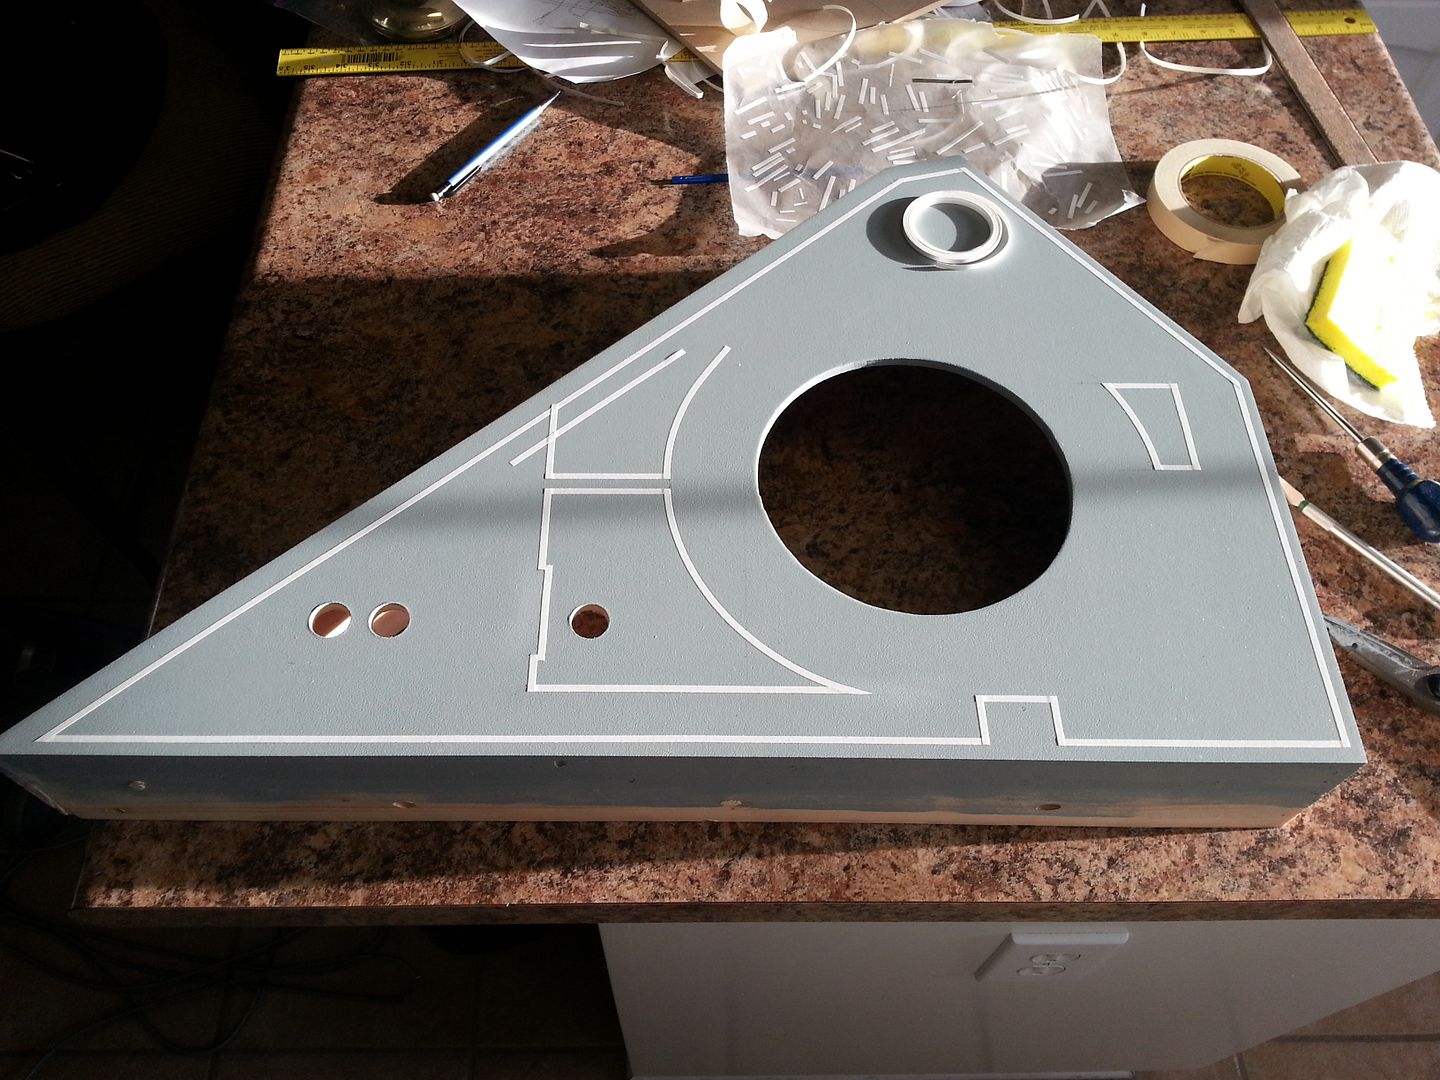
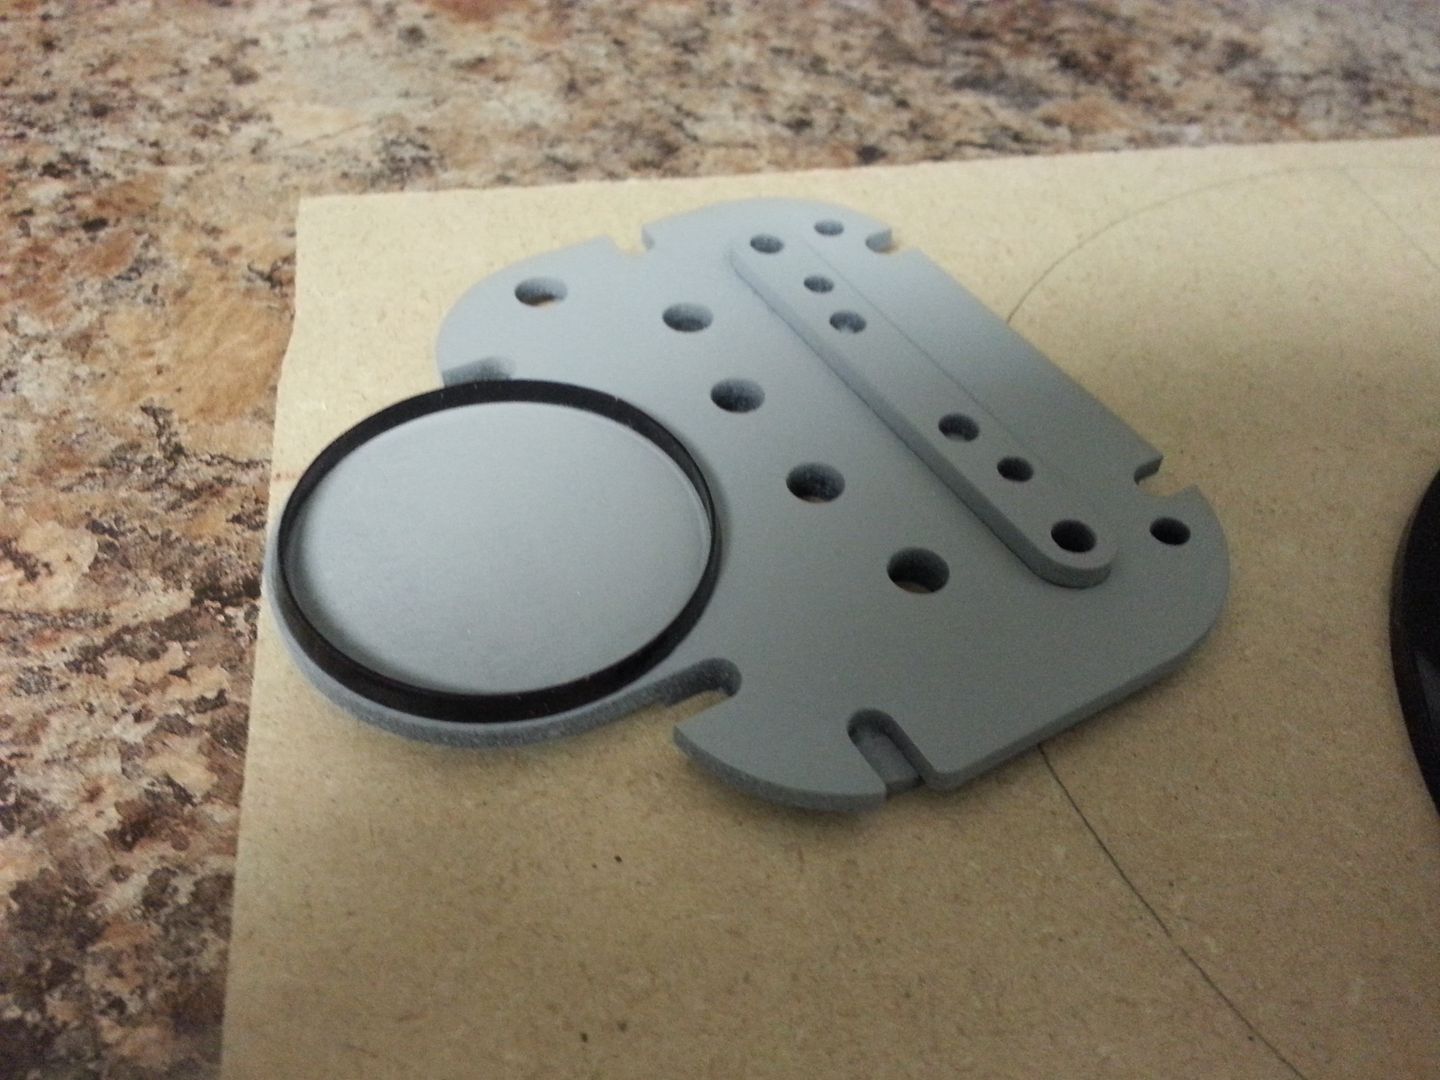
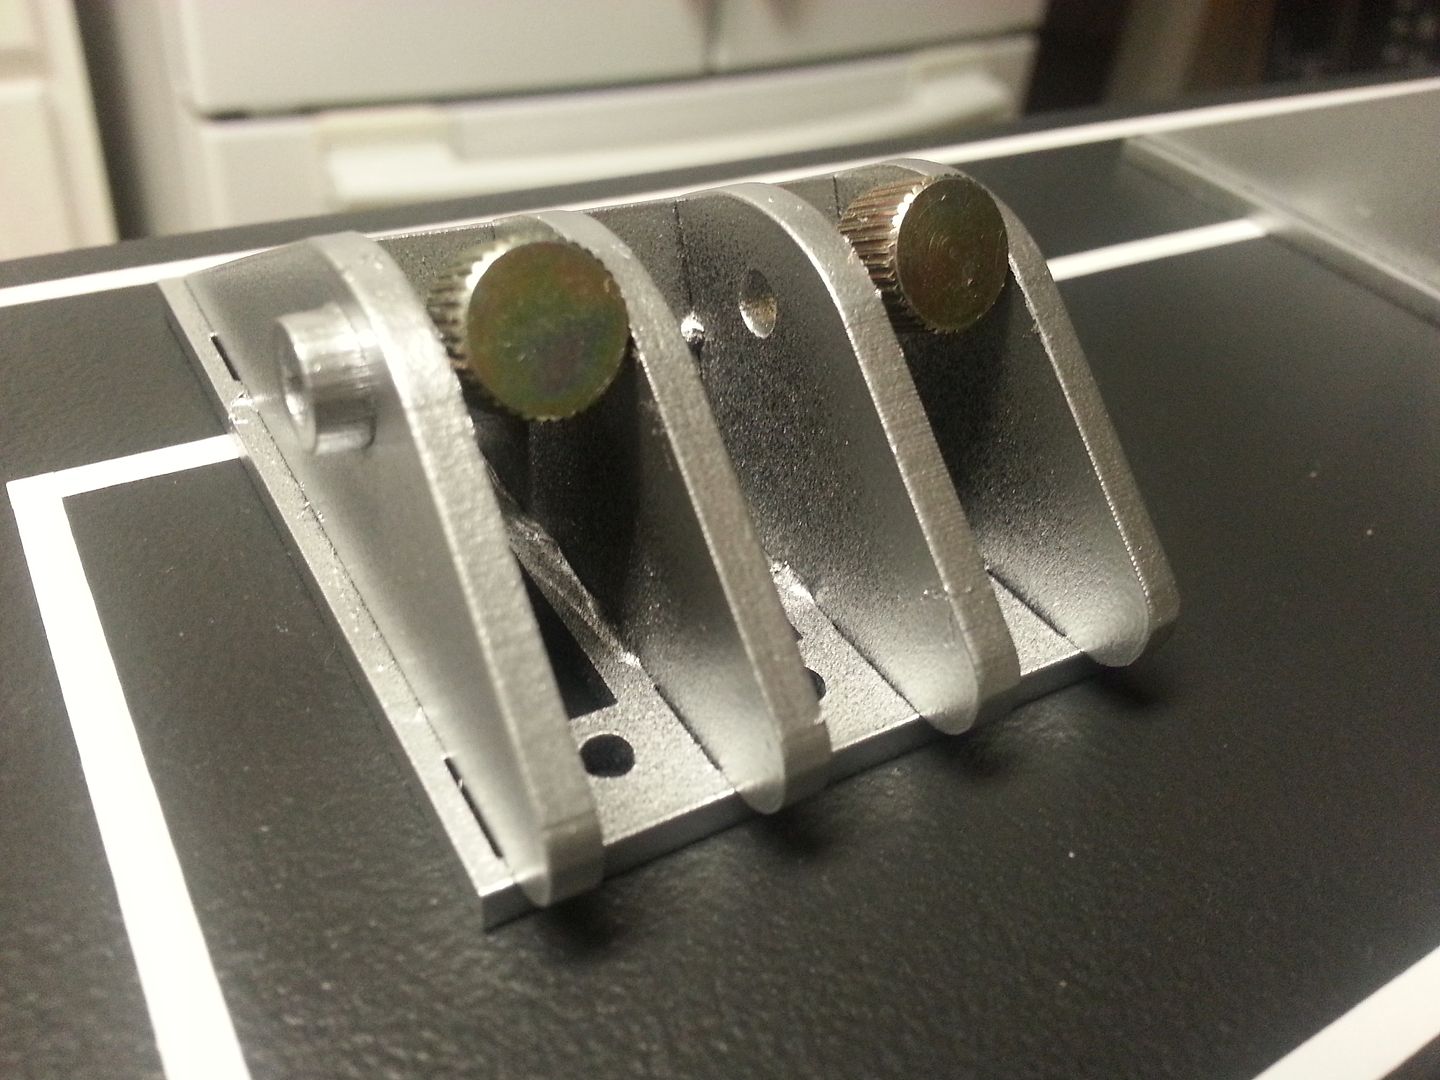
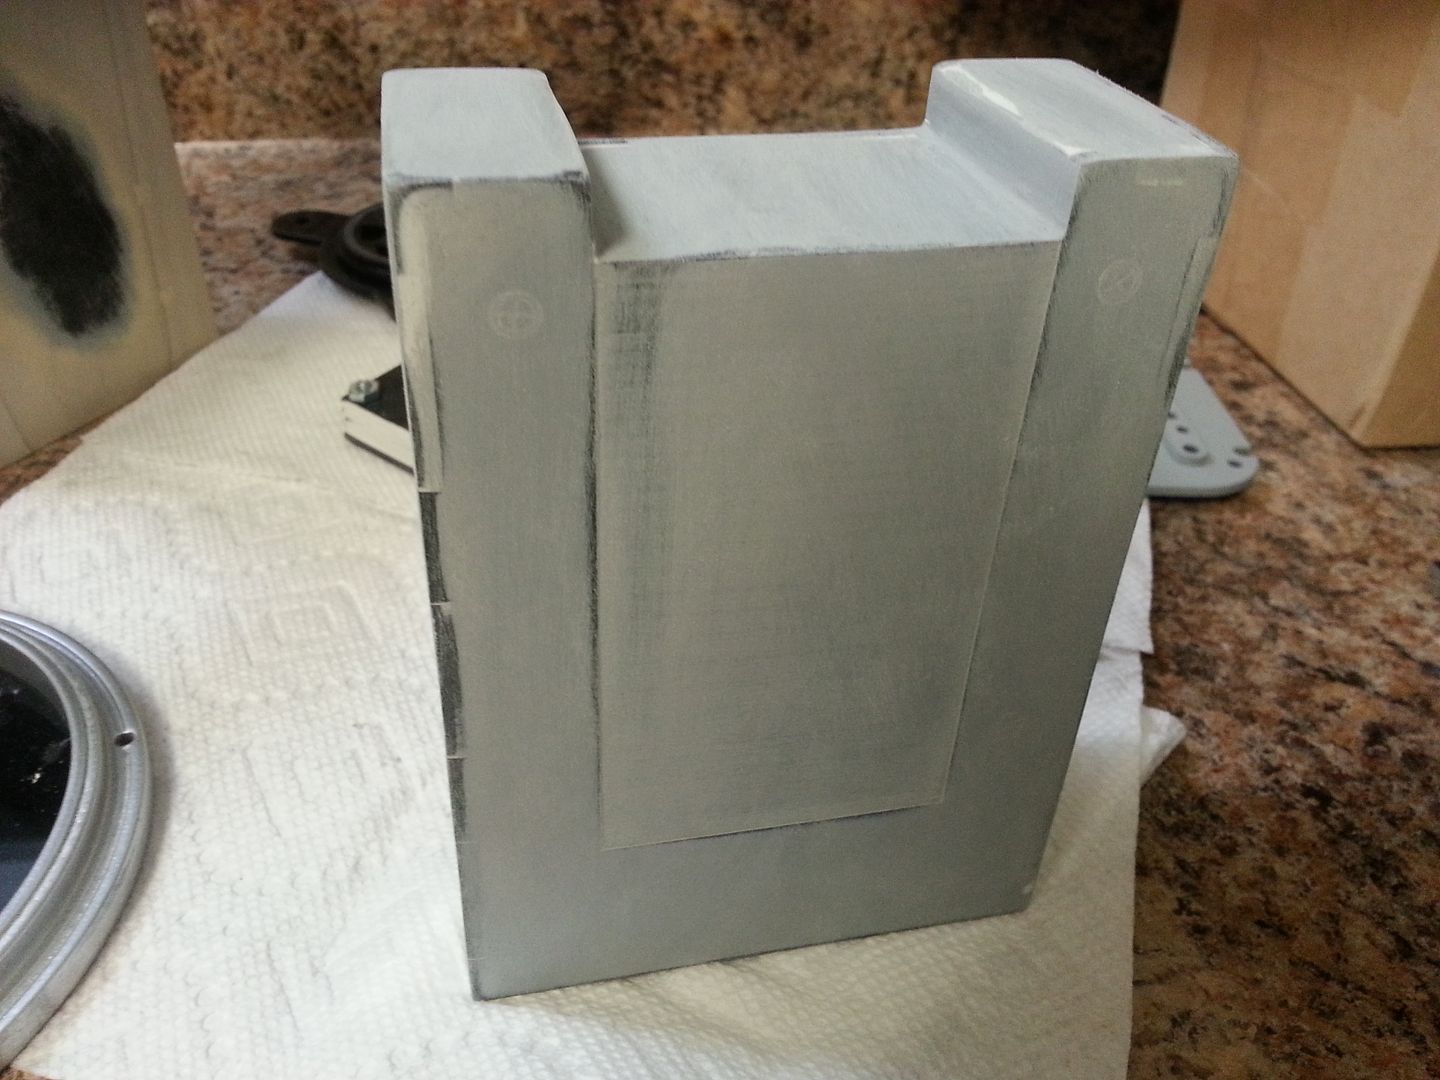
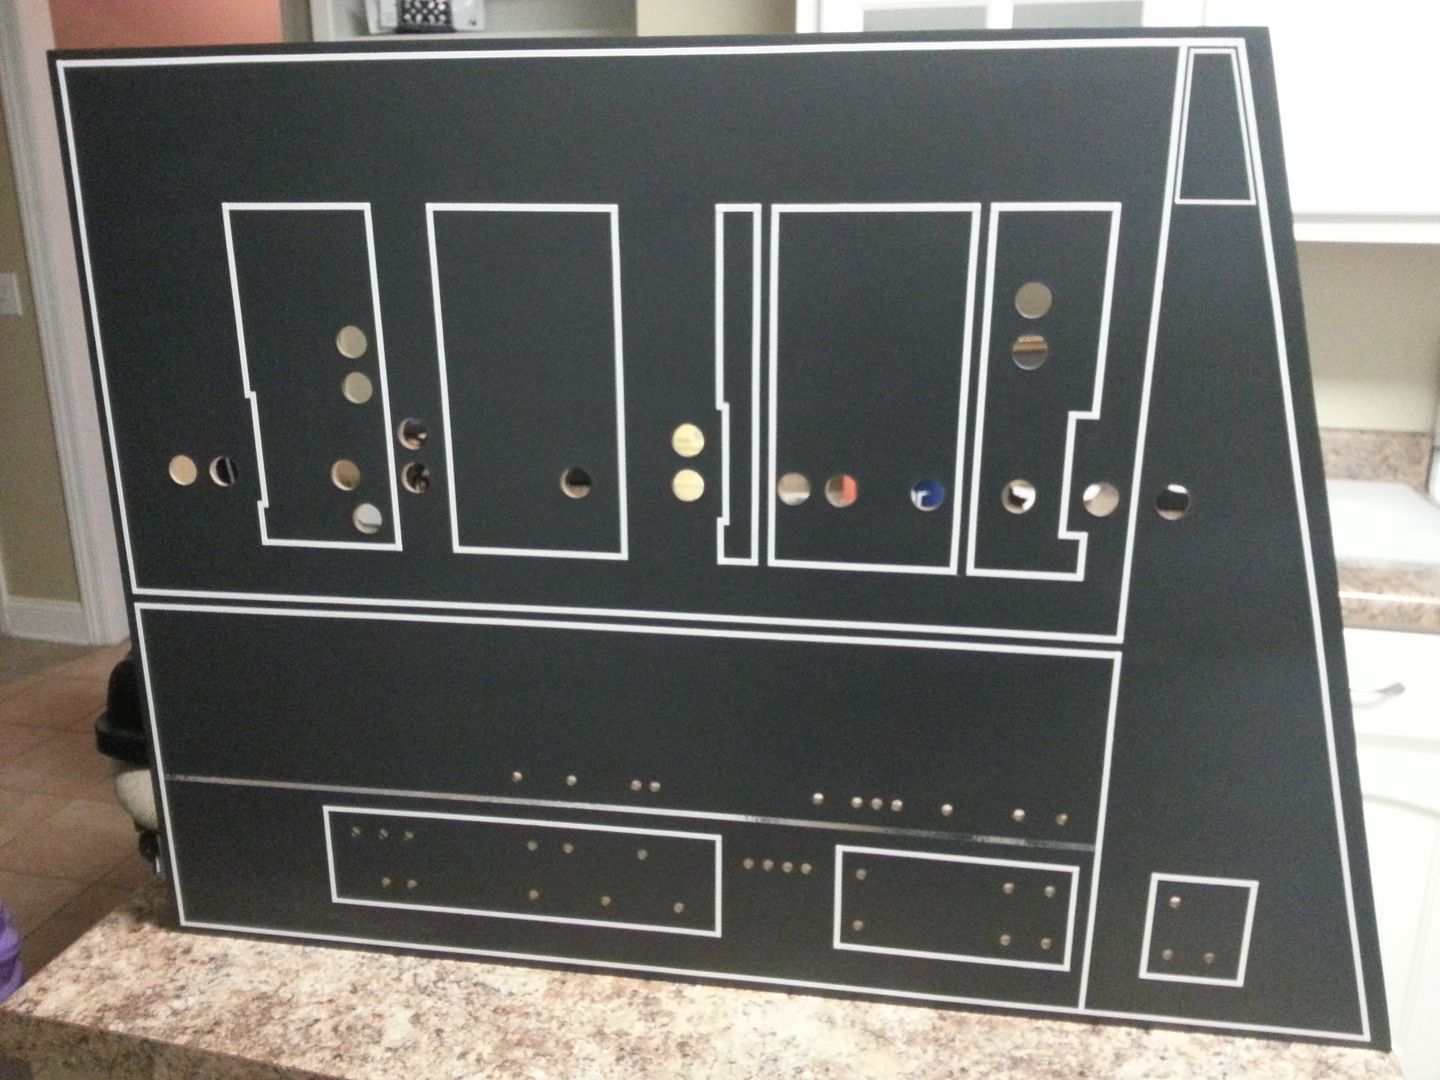
Finished up the sister panel
20150417_210042_zps8hybrshc.jpg


20150417_225808_zps8sgx9qqt.jpg


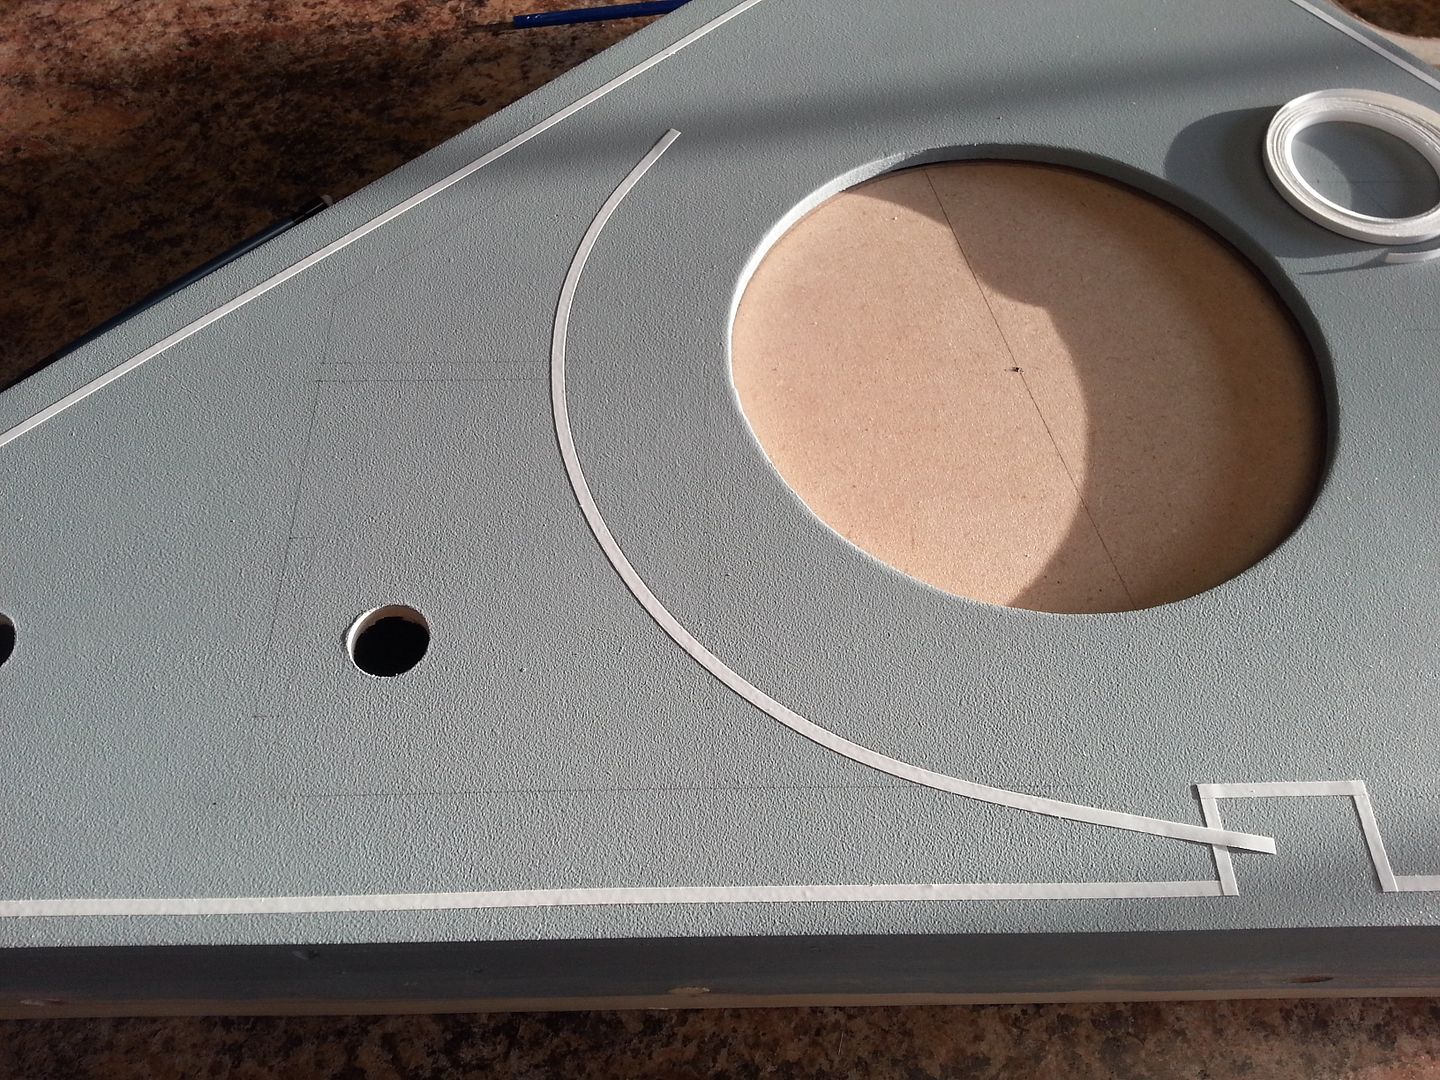
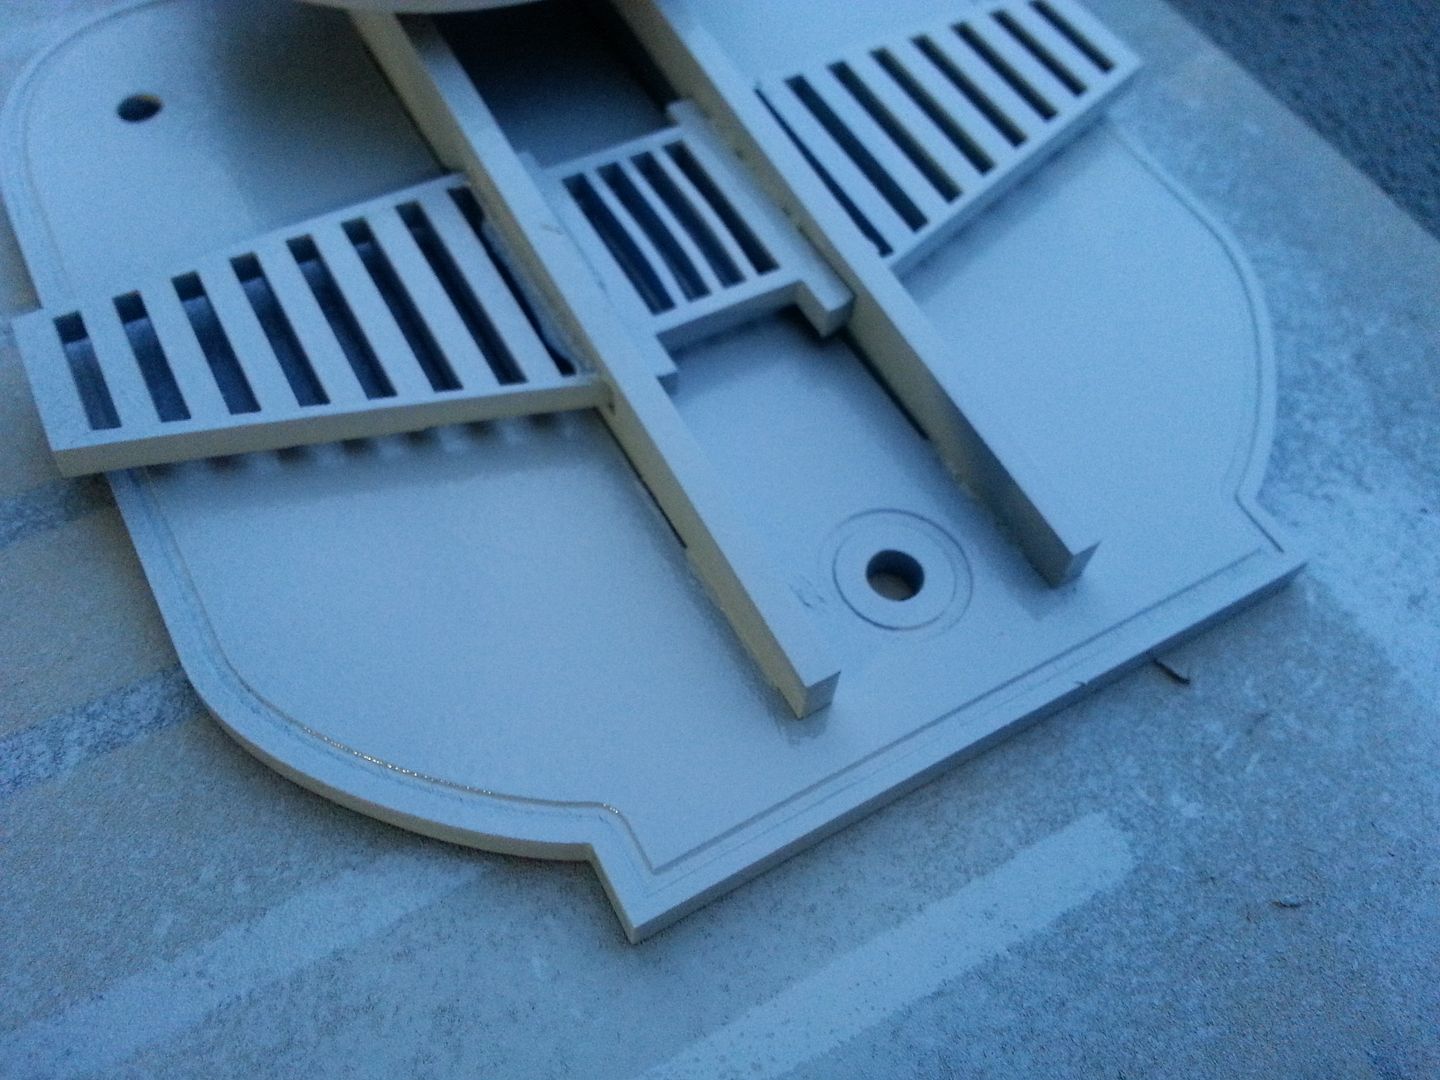
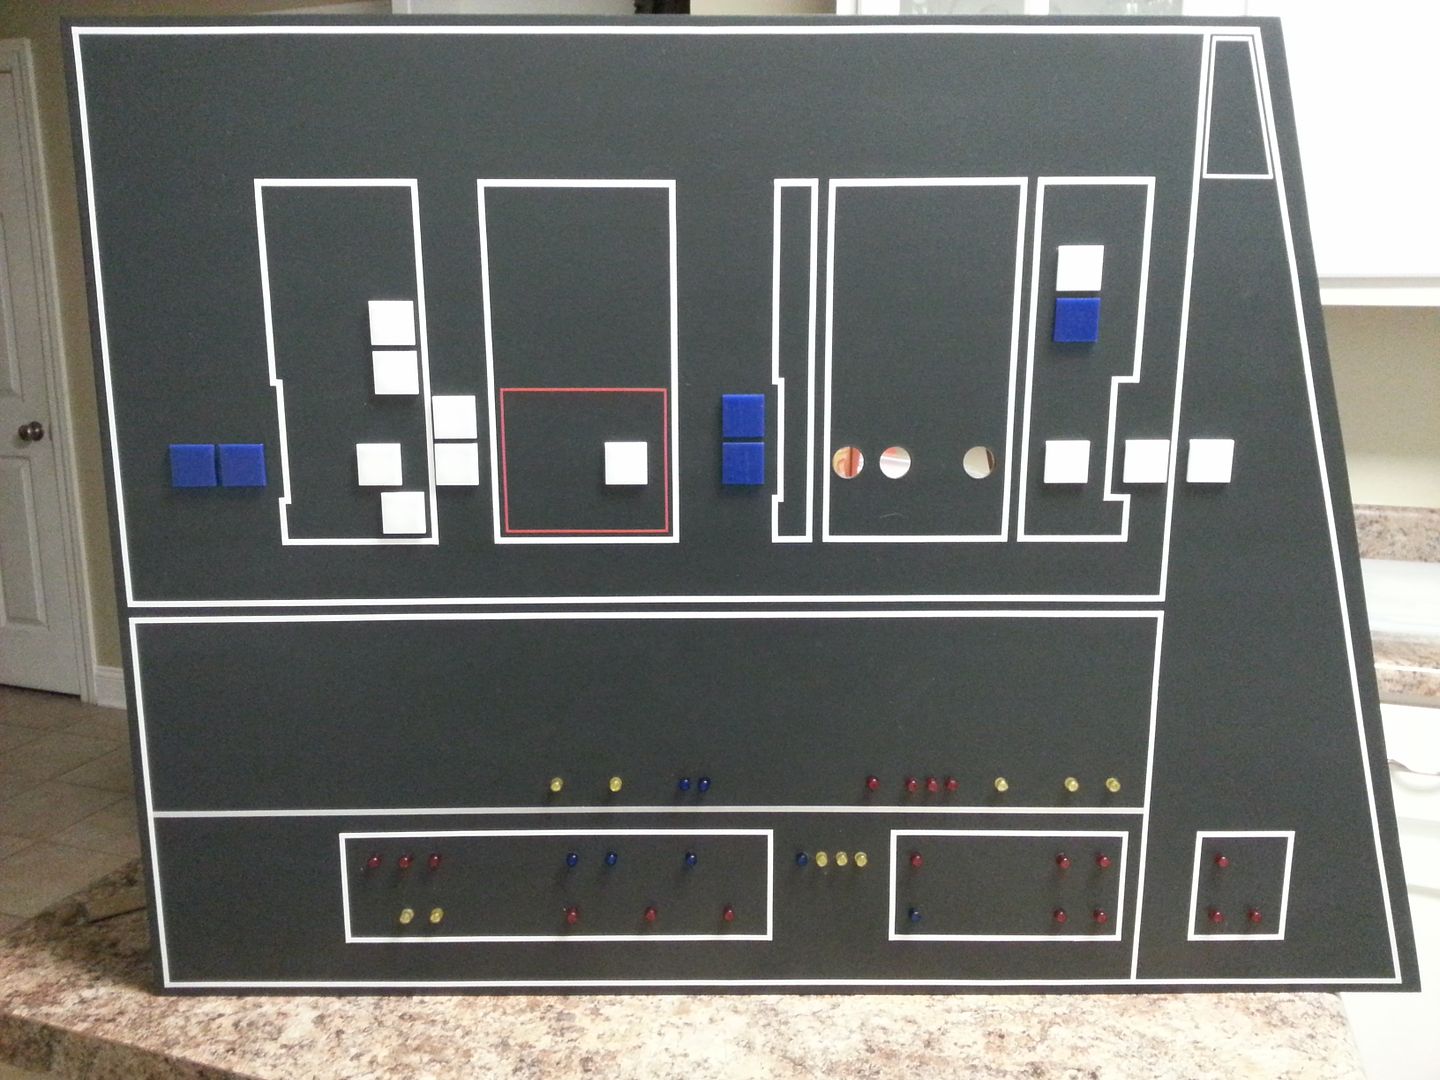
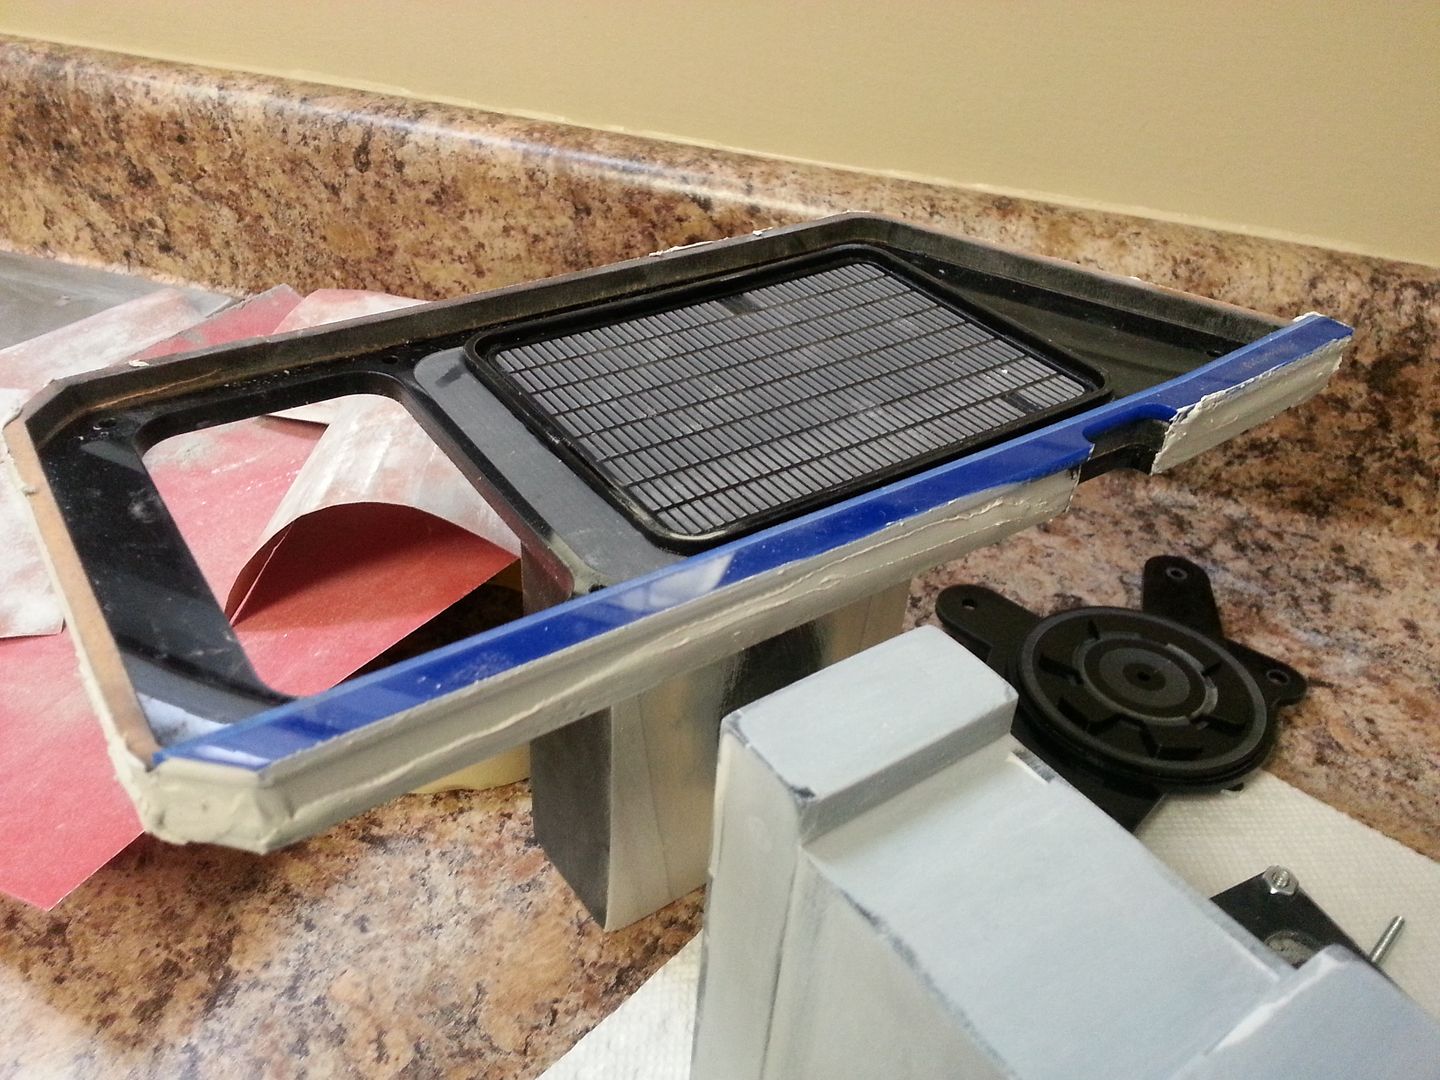
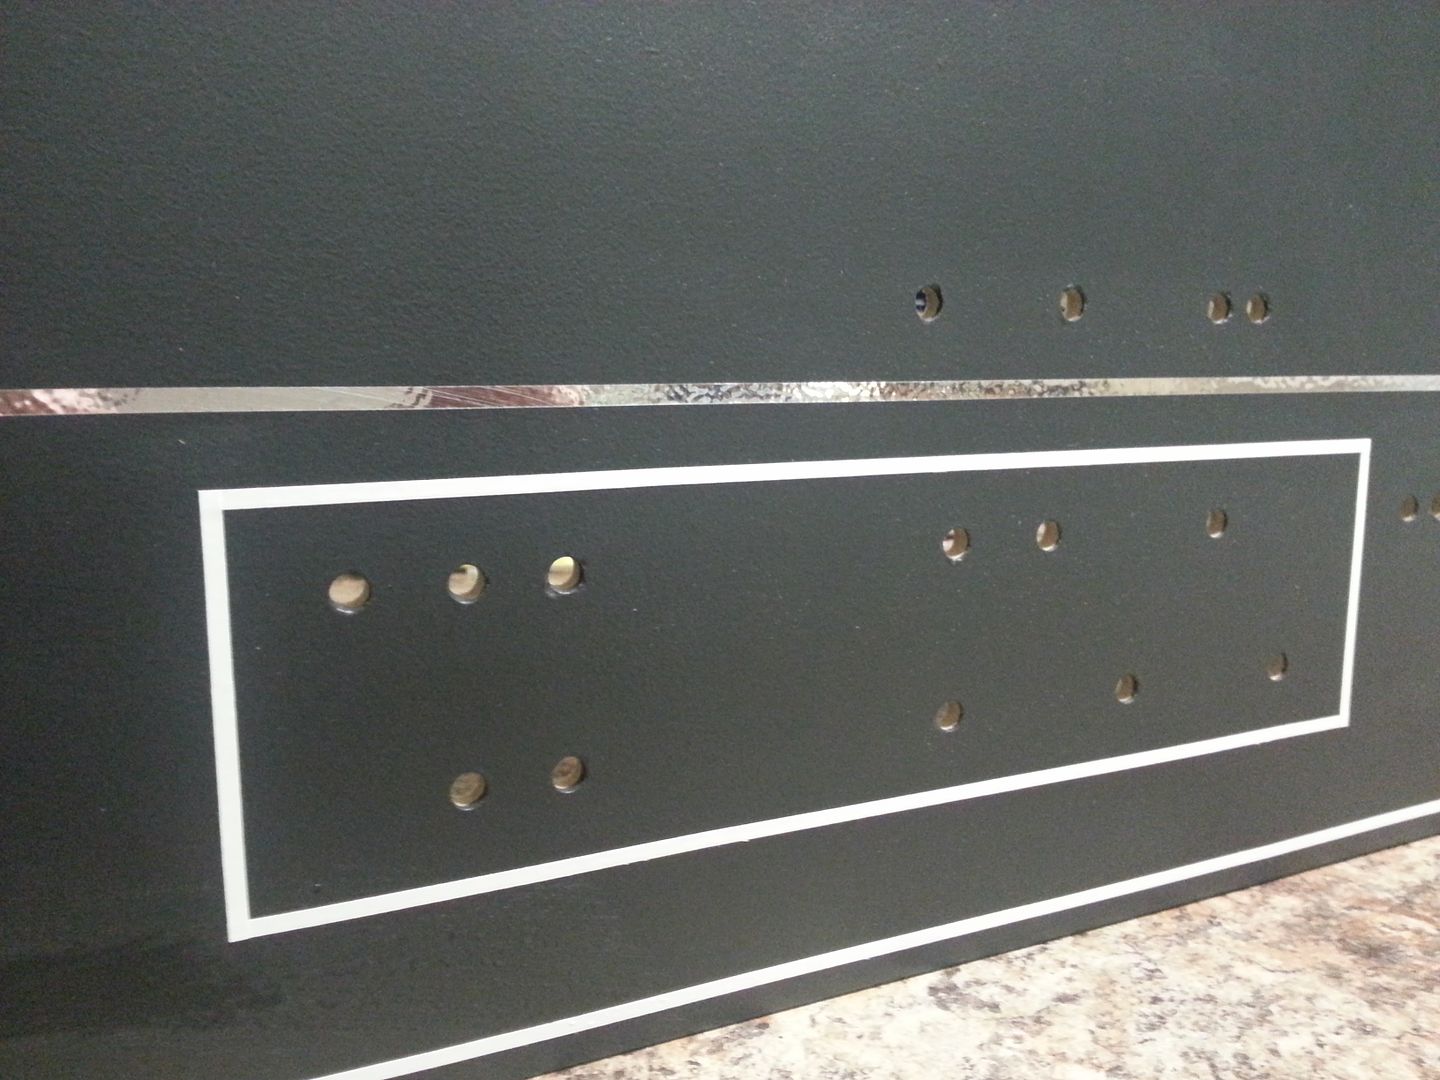
Note the chrome pin stripe!
20150417_225825_zps7ewtyhkw.jpg


20150417_230856_zpsjvmkw1zn.jpg


20150417_230902_zpsegiimi8w.jpg


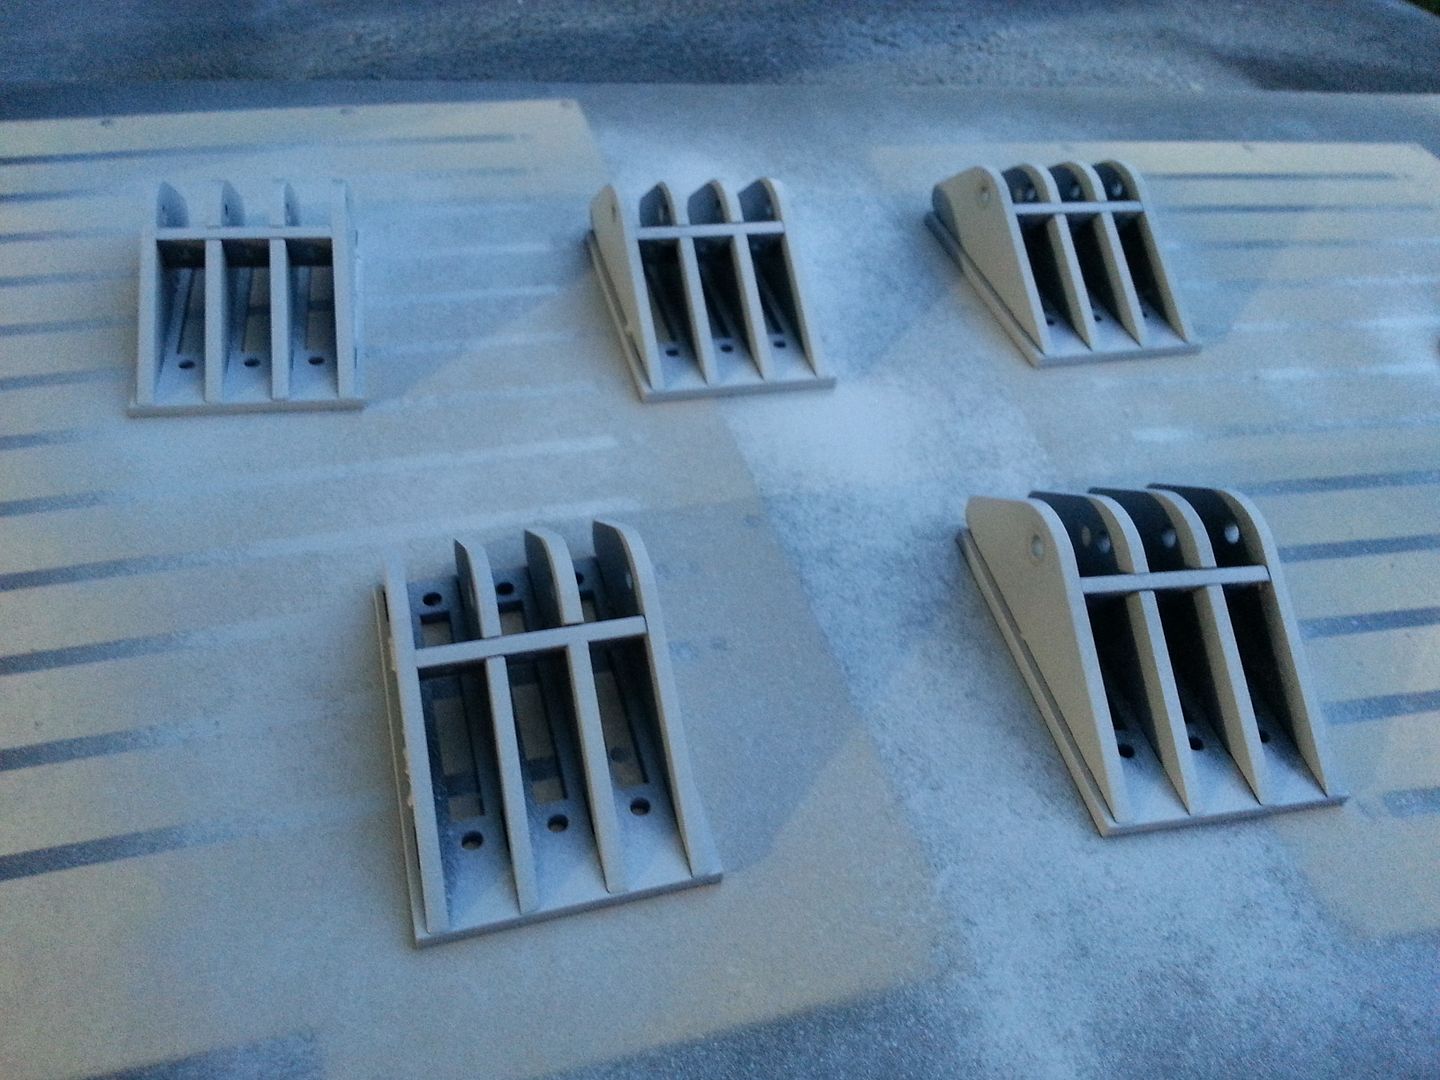
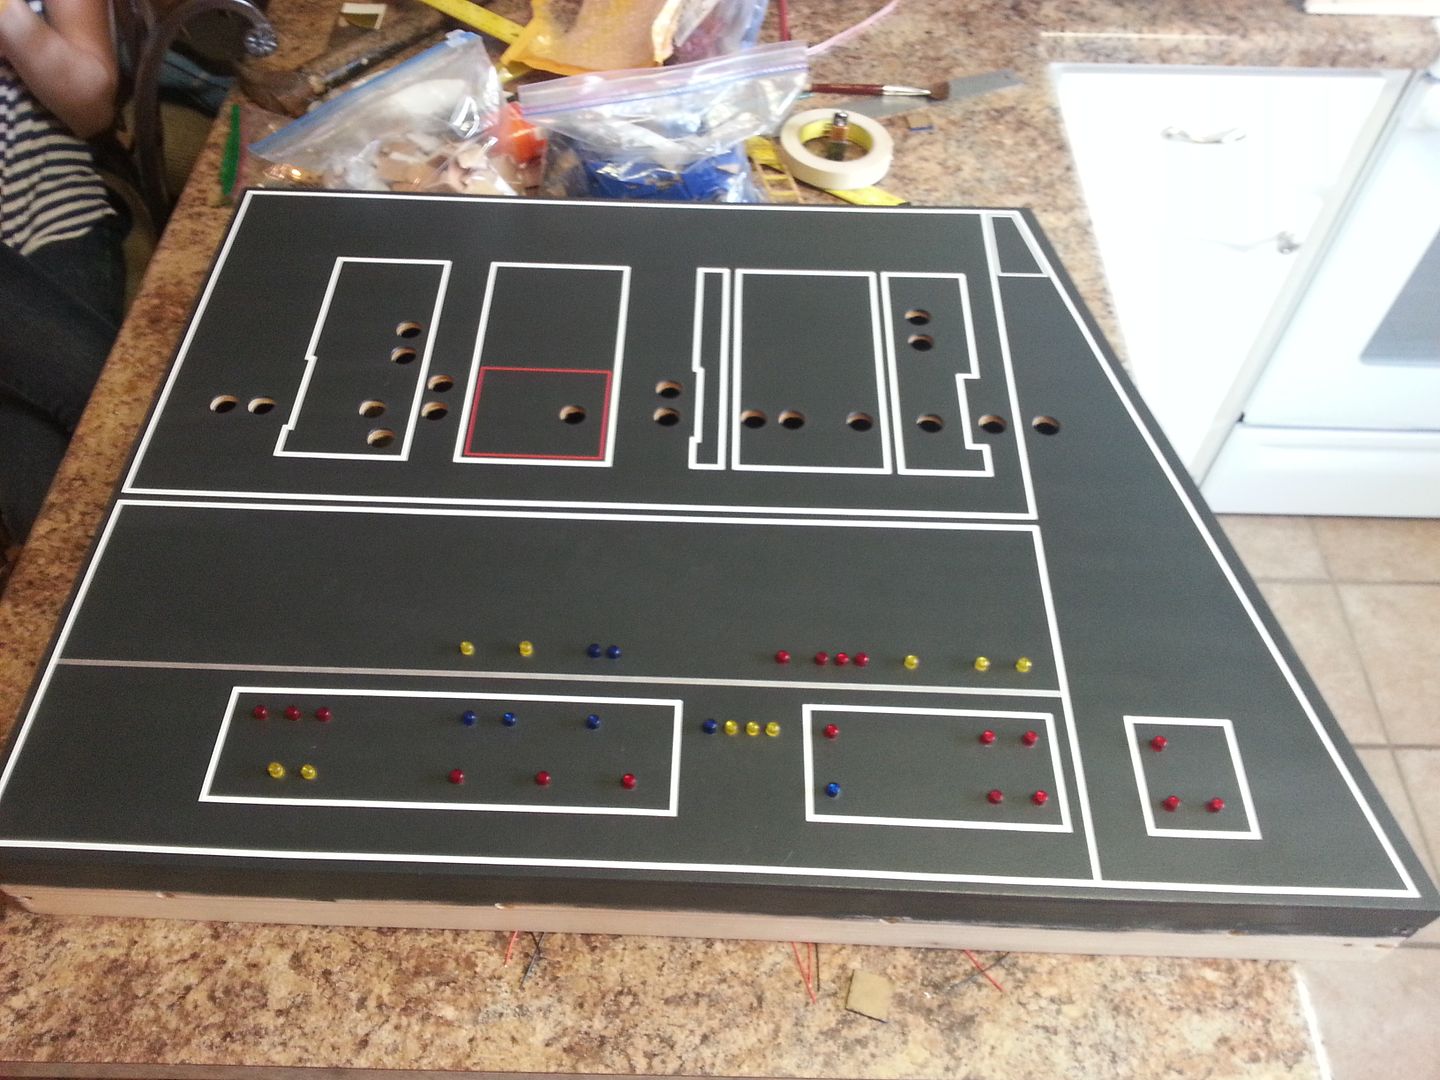
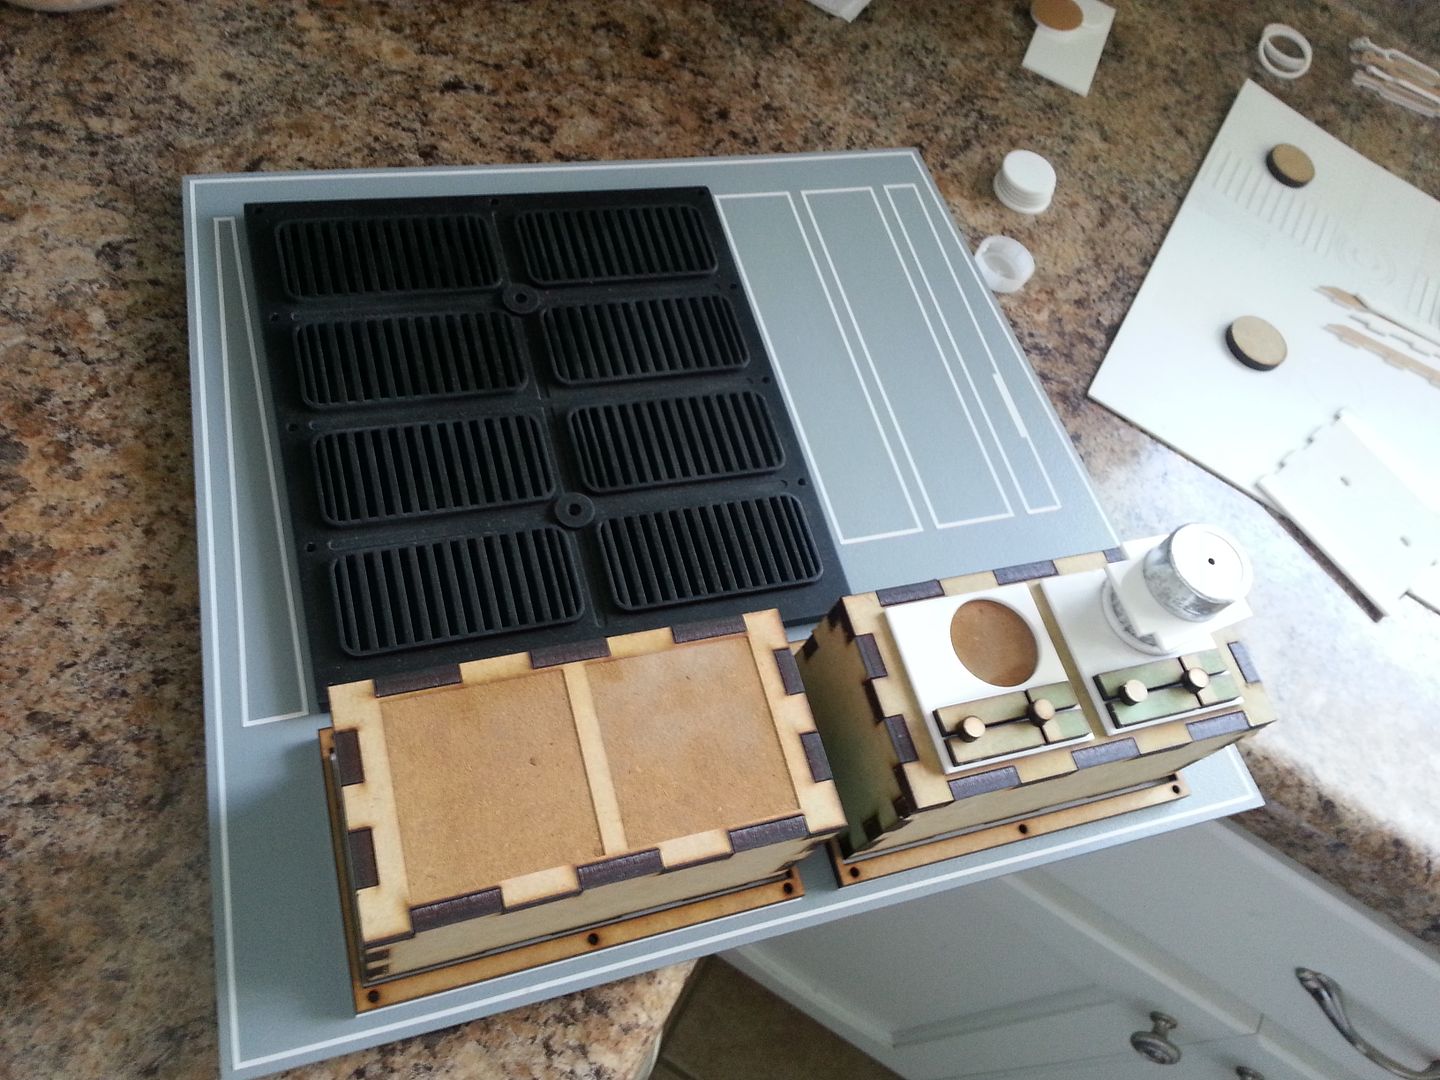
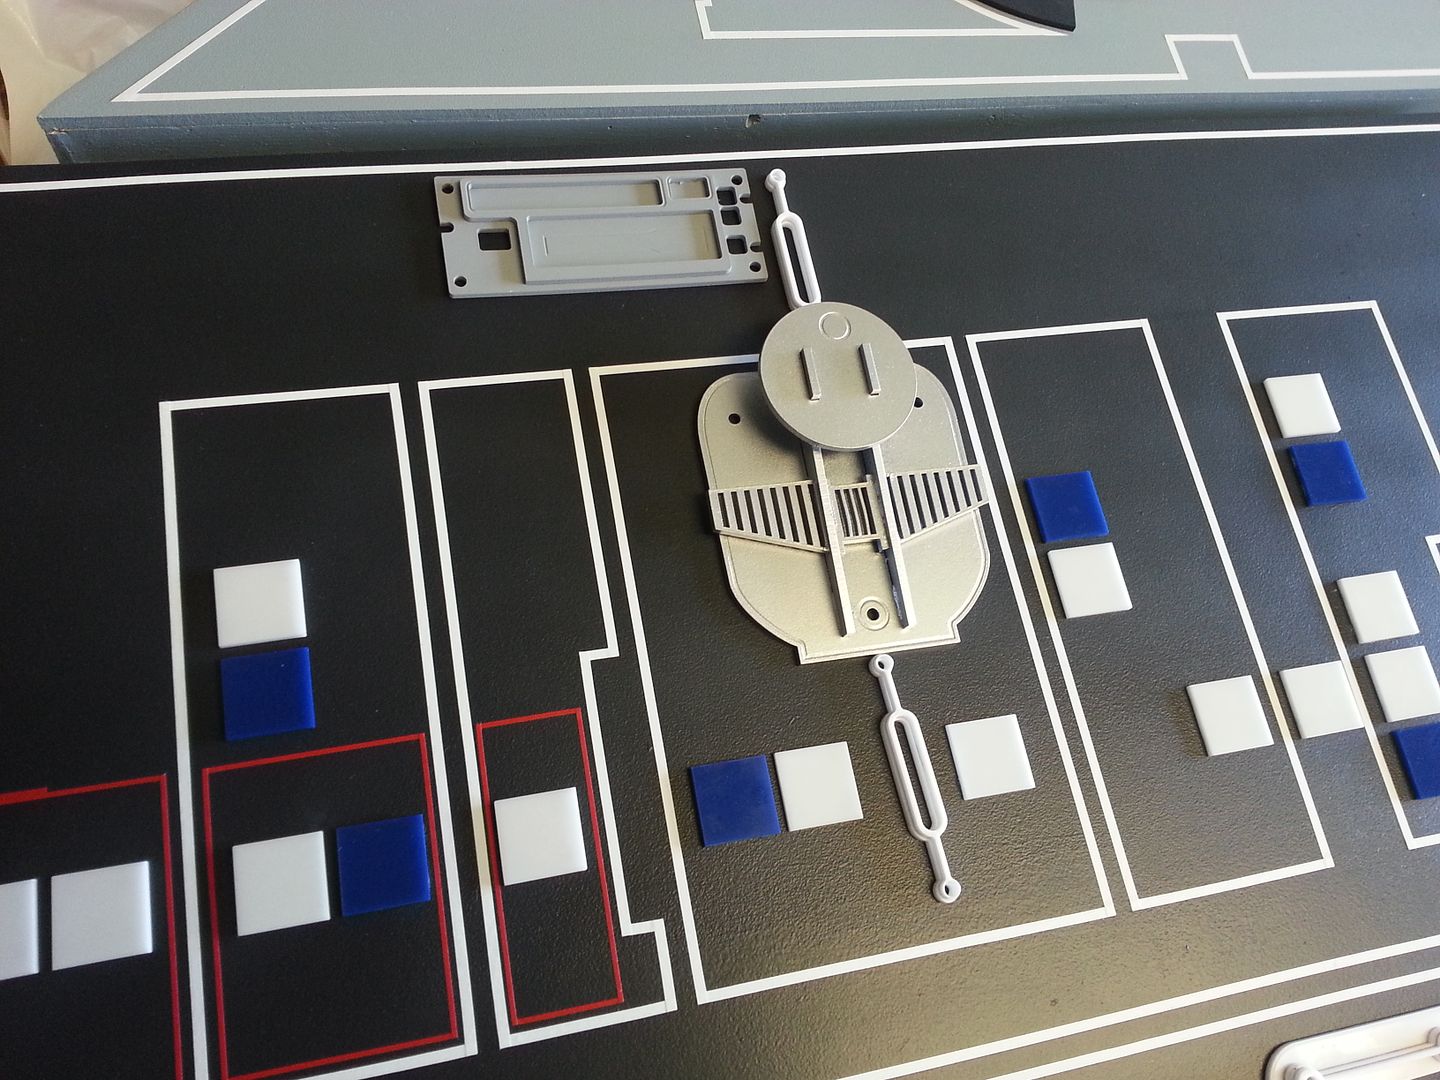
After todays renovating I'm going to jump on the greeblies I do have and start populating that panel... along with some LEDs and 1" tiles!

Stay Tuned!
 
Did the Falcon ever have shields? I may just be having a mental block on the issue.

It did, they were mentioned a few times in the films...

ANH
Solo "Angle the deflector shield while I make the calculations for the jump to light speed."
...Luke "What's that flashing?" Solo "We're losing our deflector shield. Go strap yourself in, I'm going to make the jump to light speed."

ESB
Threepio "Sir, we've lost the rear deflector shield. One more direct hit on the back quarter and we're done for."
...Solo "Turn her around, I'm gonna put all power in the front shield"
 
Hi Gang,

Lots of forward progress. Despite being a rainy weekend I've been able to get some primer on all these greeblies! Next is paint! And we're getting closer to adhering the 1" tiles and getting the LEDs back in place.

Before the laser cutter went belly up Jessie was able to cut the guide I created for the "radar" pin striping
20150418_064720_zps8lrp0aff.jpg


The arrow pointing away from center
20150418_064727_zpsks2xwojc.jpg


Pin stripe
20150418_064947_zpsotgg0ska.jpg


Almost there
20150418_070324_zpsgdi9xmnb.jpg


A few more pin stripes are she's ready!
20150419_065019_zpsfwkxmtzp.jpg


Moving on to greeblies! Time to start putting everything together and get some primer added!
20150418_063352_zpsvxtrviq2.jpg


20150418_063357_zpsldwas2zh.jpg


20150418_185124_zpszufub1kf.jpg


20150418_185141_zpsaaqvebcn.jpg


20150418_185107_zps1gpmpd4x.jpg


20150418_193712_zps2le6bhmb.jpg


20150418_185110_zpsrdqbpkr6.jpg


20150418_185115_zpsyrs5arps.jpg


20150418_185120_zpsqclrq5qd.jpg


20150418_185133_zpsb0pguvwo.jpg


20150418_192812_zpst3kimtya.jpg


This guy required some sanding in between primer/paint
20150418_192819_zpskieccedh.jpg


20150418_192827_zpsqwstqfh9.jpg


20150418_192836_zpsx9sa1oew.jpg


20150418_192848_zps6r3ufspq.jpg


Armrest greeblie base
20150418_193703_zpsepw3f1al.jpg


20150418_204445_zpsi6ow6krp.jpg


20150418_193712_zps2le6bhmb.jpg


20150418_193729_zpseptkgfsg.jpg


More radar panel greeblies
20150419_071220_zpsgo1b84e5.jpg


Sanded, trimmed and primed
20150419_071229_zpsfgq8mu0k.jpg


Getting some black paint added
20150419_071212_zpsn21vjdwv.jpg


So how does it all fit together?
20150418_231924_zpsl1z1fljc.jpg


Stay Tuned! LOTS to FOLLOW!
 
Hi Gang,

An early morning update!

We're getting closer and closer to having those back wall panels finished! And what a joy it is working with correctly sized predrilled holes! Thank you Scott for helping with the LEDs!

A few more panels are now ready for LEDs & greeblies
20150419_200844_zpsmsbu9yau.jpg


20150419_111138_zpscdzbsngo.jpg


20150419_161210_zpspzq62dh5.jpg


20150419_174613_zpsrtcms77c.jpg


20150419_184244_zps3j5g3n3q.jpg


20150419_184331_zpshrxidyjc.jpg


Greeblies have been primed, sanded and are ready for paint! We also a few that are being 3D printed as well - stay tuned for that!

Getting their first layer of black
20150419_101824_zpsvykyw6ww.jpg


20150419_101831_zpsk51tyrz6.jpg


20150419_101841_zpse0idgxuh.jpg


This guy still has a few steps to go before paint
20150419_110917_zps5li7gooo.jpg


After the black dried it was time for silver - the finishing touch!
20150419_192737_zpskrcdzait.jpg


20150419_192841_zpsoulmrioi.jpg


20150419_192745_zpsd5dqsplr.jpg


20150419_192755_zpsmu2h13a4.jpg


20150419_192811_zpsi8yq01wv.jpg


20150419_192820_zps7e9jqi2b.jpg


20150419_192826_zpsdpcdqdaw.jpg


20150419_192831_zpsxhxkudxm.jpg


20150419_192847_zpsatnstsmj.jpg


How do they look in place?
20150419_201031_zpskle4zxrn.jpg


20150419_201321_zpsbfirqej7.jpg


I have NO IDEA what this thing is?
20150419_201358_zpslkb1680e.jpg


20150419_201416_zpshfuezvvh.jpg


After looking through a high rez image of the cockpit, I realized that some of the greeblies had these odd looking thumb screw / bolts attached to them. Remembering that I had a box filled with something similar...
20150419_232131_zpsy831ydi5.jpg


I went ahead and attached - I think they look awesome!
20150419_232145_zpsw3g9tfrz.jpg


20150419_232155_zps6fowx59z.jpg


20150419_232203_zpstcqknrvs.jpg


20150419_232215_zpsoiqnhdad.jpg


20150419_232222_zpsegmlykas.jpg


More to Follow!
 
Dunno if these are of interest, but I grabbed these of the Force for Change winner video. I'm sure there are many changes.
 

Attachments

  • ffc-01.png
    ffc-01.png
    1.9 MB · Views: 205
  • ffc-02.png
    ffc-02.png
    2.4 MB · Views: 279
  • ffc-03.png
    ffc-03.png
    2.4 MB · Views: 228
Those are great shots . . . looks like some things have certainly changed a bit. The round radar dish on the left of the door certainly caught my eye. Now what do you do King? Build three versions?? LOL
 
Hi Gang,

Simple Update... Many of the acrylic pieces that Jessie cut warped due to the high heat of the laser cutter - which is one of the many issues with the laser cutter. So, I pulled out the heat gun and did my best to get all the pieces flat.

Concentrating on the armrest greeblie
20150420_194922_zpsgymde70g.jpg


The greeblie slides into this base and acrylic surround.
20150420_202234_zpsinz11ehq.jpg


20150421_000510_zpsmhjmgqzu.jpg


With the "surround" pieces adhered I could use this as a "guide" to ensure the armrest greeblie would keep it's basic shape
20150420_202223_zpstxkv2teo.jpg


Once all the pieces were flat I adhered them together with acrylic cement and taped in place
20150420_202205_zpsowi41vy0.jpg


20150420_202242_zpsiybsd8na.jpg


Once the acrylic cement dried I covered with putty. I wound up covering a lot of the little details Jessie etched with the laser cutter... ugh
20150421_000446_zpsjavzhcnu.jpg


After sanding smooth I applied a second coat of putty. By tonight everything should be smooth and a first coat of primer should be applied
20150421_000453_zpszbaxlbqs.jpg


And that's where we are! :)
 
Dunno if these are of interest, but I grabbed these of the Force for Change winner video. I'm sure there are many changes.

Hi B,

LOVE THESE PICS! I posted these a few pages back! They released this video just after the second trailer hit. This is the first time we're seeing the cockpit (and MF) from different angles! There are def plenty of changes between EPVII and ESB/RotJ. The most obvious is the armrest canister looking greeblie - which I am now looking at fabricating!

Thanks for taking the time to post the pics - keep those images coming!
 
Those are great shots . . . looks like some things have certainly changed a bit. The round radar dish on the left of the door certainly caught my eye. Now what do you do King? Build three versions?? LOL

NO NO NO NO NO NO... well... ok... LOL From what I can tell there actually isn't much difference between the EPVII and the ESB cockpit. Granted we're looking at the cockpit fully/oddly lit - something we're not used to seeing, but in all, everything seems to be the same minus the HUGE armrest canister / greeblie.

Starkiller is doing a photo overlay for comparo. It's very difficult not look at everything and NOT pick it apart. I need to sit back and enjoy it for what it is. The MF flies once again! :)

The look on DC Barns' (winner of the Force for Change) face is priceless - that is a dream come true for MOST if not ALL of us.
 
Last edited:
Hi B,

LOVE THESE PICS! I posted these a few pages back! They released this video just after the second trailer hit. This is the first time we're seeing the cockpit (and MF) from different angles! There are def plenty of changes between EPVII and ESB/RotJ. The most obvious is the armrest canister looking greeblie - which I am now looking at fabricating!

Thanks for taking the time to post the pics - keep those images coming!

Hah--I assumed you had seen them but just in case you know.

I wonder if this EPVII MF met the same fate as the rest. I know there's no way to store these sets--but man what a shame. Hope the kept some of the full-size X-Wings etc.
 
Hah--I assumed you had seen them but just in case you know.

I wonder if this EPVII MF met the same fate as the rest. I know there's no way to store these sets--but man what a shame. Hope the kept some of the full-size X-Wings etc.

Hey B,

One of the MANY rumors going around is a young Han Solo spin off movie - which would be awesome! If that is the case, they are DEF going to keep the MF sets around for a LONG TIME. Also, Disney is revamping their Tomorrowland to a Star Wars specific attraction to include a full scale MF. Not sure whether it will be same one - more than likely not. But I think the sets will be with us for a long time.

I'm still wondering if this is the same cockpit from ESB/RotJ. Many of the greeblies appear to be in the same place but they are slightly different which tells me some "mods" have been done or the greeblies were lost over time. Naturally, the most notable change is the round tube/canister greeblie near the armrest but looking around the back wall, many of the greeblies have changed - size, placement, etc. Even the slider rockers appear to be bulkier compared to the originals.
 
Wow! You've been doing this for almost 3 years now! Haven't read through everything yet (just skipped around) but it seems really interesting! Can wait to see the final product!
 
Hi Gang,

Not much of an update. I got some very much needed sleep last night but I was able to knock out some sanding before calling it quits

After a few layers of putty
20150421_193308_zps1k01gmel.jpg


20150421_193326_zpsfxnziuxy.jpg


Still some areas that DEF need attention but lets get some primer added
20150421_193331_zpsamksslts.jpg


MMMMMM primer
20150421_193530_zpsyexcdqbv.jpg


20150421_193542_zpspw6dhk7x.jpg


Tonight... Back at it!
 
Wow! You've been doing this for almost 3 years now! Haven't read through everything yet (just skipped around) but it seems really interesting! Can wait to see the final product!

Hi T,

3 years! WOW is right! I can't believe it's been that long! Let's hope the next three years show a little more forward progress other than my tinkering! ;)
 
Hi Gang,

With the laser cutter working Jessie jumped to action and cut what appears to be last of the greeblies - for now ;)

One of two front nose panel boxes - this is a fairly complicated box. Once it's painted I'm hoping it will blend in with the vent greeblie
20150422_162434_zpsuvxenfgg.jpg


20150422_162439_zpsdnm9cod3.jpg


20150422_162443_zpsjnxj0jin.jpg


With the boxes in place on the nose panel we realized the boxes were a bit too high. Jessie is going to back to laser cut some lower profile boxes
20150422_162648_zpsgev5t5er.jpg


20150422_162653_zpsjeykp8yc.jpg


She laser cut these greeblies
20150422_194100_zpsp7ogke6h.jpg


20150422_162930_zpsv2gdangj.jpg


We designed a new / larger greeblie
20150422_202309_zpsqv41qw7r.jpg


20150422_162935_zpsmvkbouxw.jpg


This guy is ready for primer
20150422_202221_zpsfxdtujvk.jpg


More sanding
20150422_202237_zpsqy62cjzg.jpg


Filler added to one of the door panel greeblies - taking my time on these
20150422_202211_zpsnyuysuow.jpg


PRIMER!
20150422_202453_zpswrqix0se.jpg


20150422_202458_zpstsdssxyd.jpg


20150422_202748_zpsffil2atn.jpg


There are several greeblies on these panels that are chromed. I would LOVE to get the same look instead of the silver paint. Does anybody have any ideas on how to chrome plate acrylic and ABS 3D printed material... on the cheap?

Stay Tuned!
 
Last edited:
There are several greeblies on these panels that are chromed. I would LOVE to get the same look instead of the silver paint. Does anybody have any ideas on how to chrome plate acrylic and ABS 3D printed material... on the cheap?

Stay Tuned!

If the parts were cut from clear acrylic, you might try Krylon Looking Glass Mirror-Like paint. I've used it on glass with pretty good results. I haven't tried it on plastic, though. The material needs to be clear since the paint is applied on the reverse side, and the mirror finish shows through the front side of the clear material. Might not be exactly what you're looking for, but I thought it might be worth mentioning.
 
Back
Top