You are using an out of date browser. It may not display this or other websites correctly.
You should upgrade or use an alternative browser.
You should upgrade or use an alternative browser.
1:1 Millennium Falcon Cockpit Replica - Group Build
- Thread starter SteveStarkiller
- Start date
Funny how you need a freighter to build a freighter.
Starkiller was 100% right! I have to be VERY careful. While it's fun to build all these cool pieces... Where the heck would I put them, and how the heck do I haul them around?
timejack
New Member
Not to belabor the point too much, but my wife just asked, "Why wouldn't you just vacuform the pads?" I felt dumb...that would probably be the simplest, cheapest way to go, and durable enough to do the job. Not trying to complicate your plans - just had to mention it. Can't wait to see more!
Now...where to put a vacuform machine? haha
Now...where to put a vacuform machine? haha
HMMMM... Some of the pads are over 3 -4 feet in length so we would have to create a VERY large vacu form machine. It's toally doable and she does make a good point... ")
We're actually discussing building one at Mind Gear Labs but not to the scale for the pads. I'm going to suggest we go bigger. I'm sure Rob would love the additional toy.
We're actually discussing building one at Mind Gear Labs but not to the scale for the pads. I'm going to suggest we go bigger. I'm sure Rob would love the additional toy.
Hi Gang,
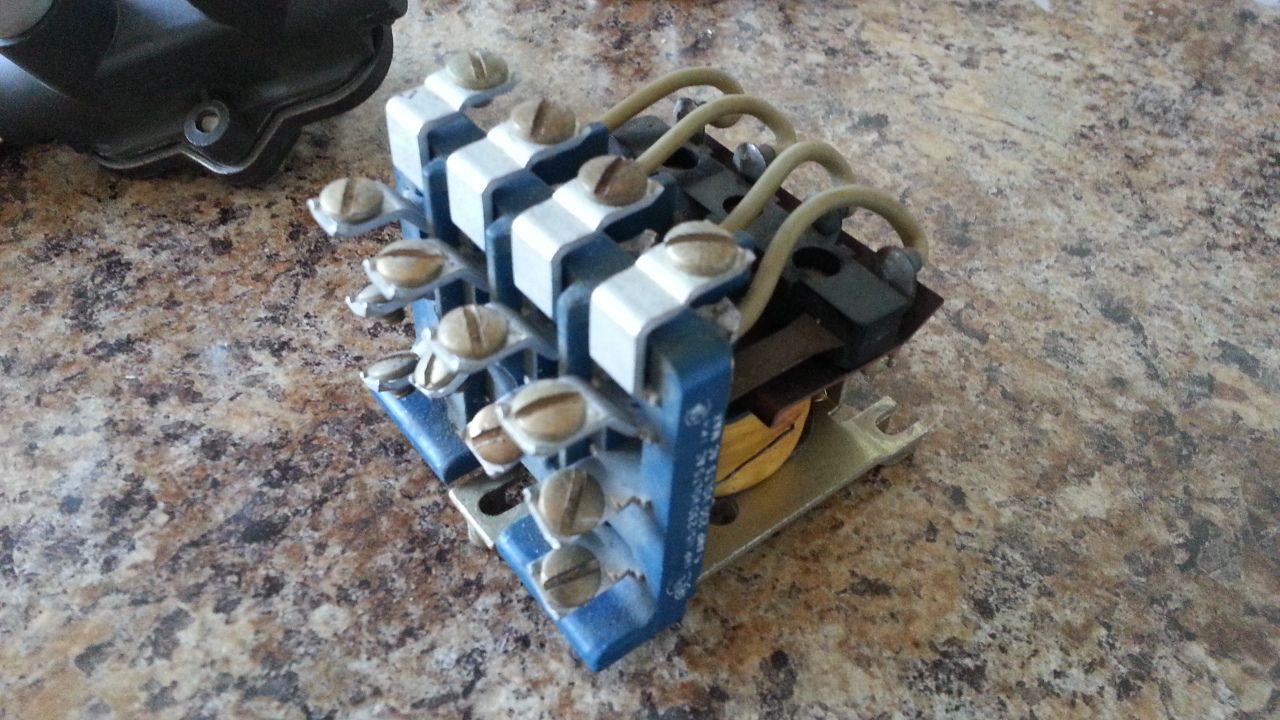
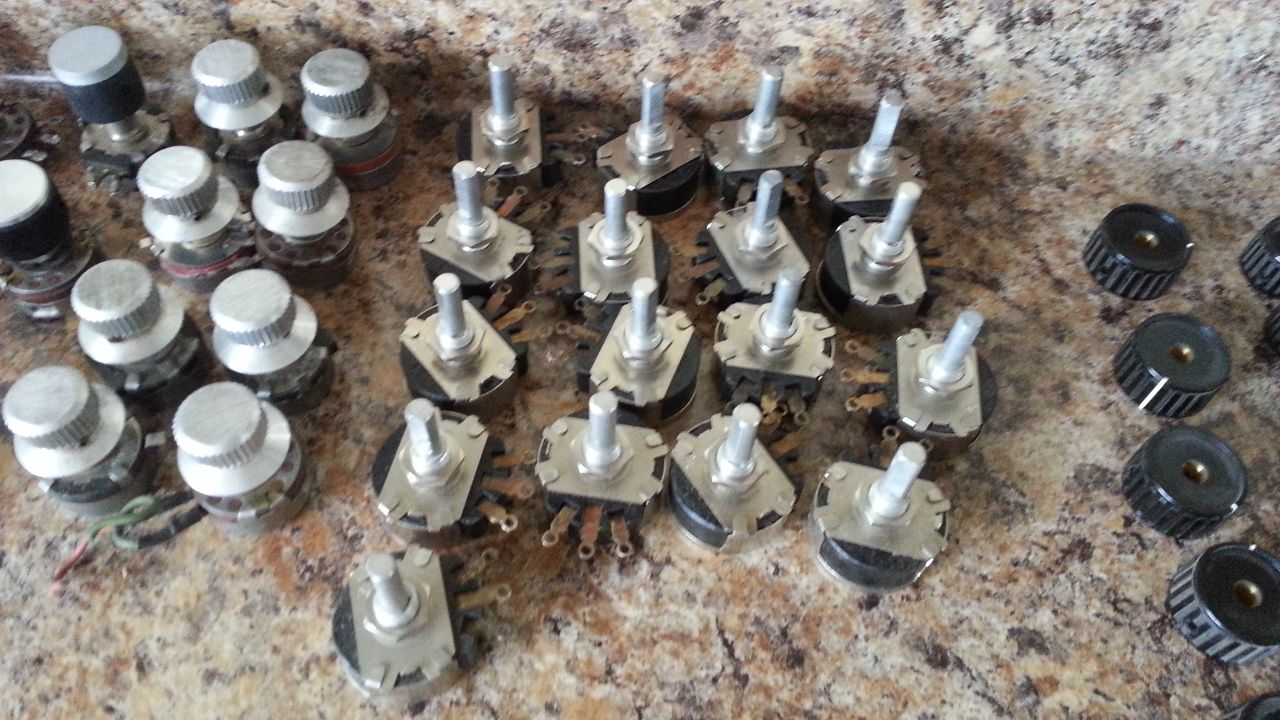
Some goodies arrived today - rotary switches. I'm going to try to make all the knobs turn and somehow be interactive!

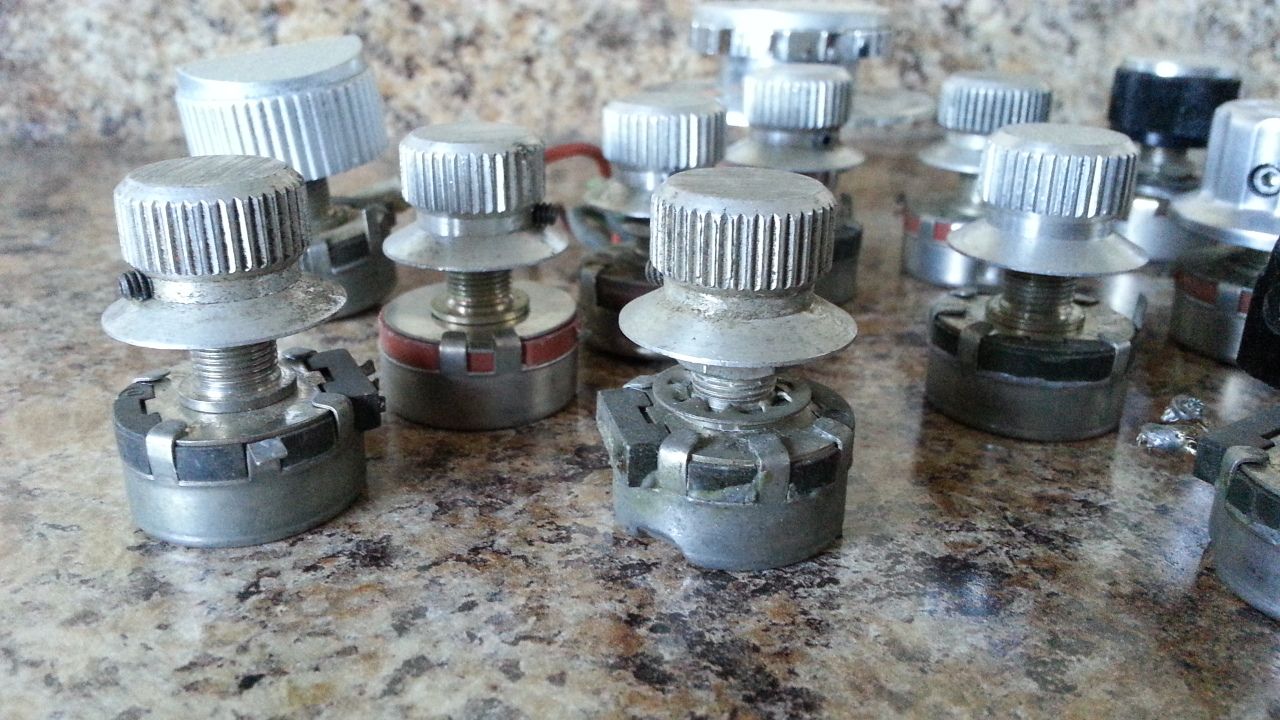
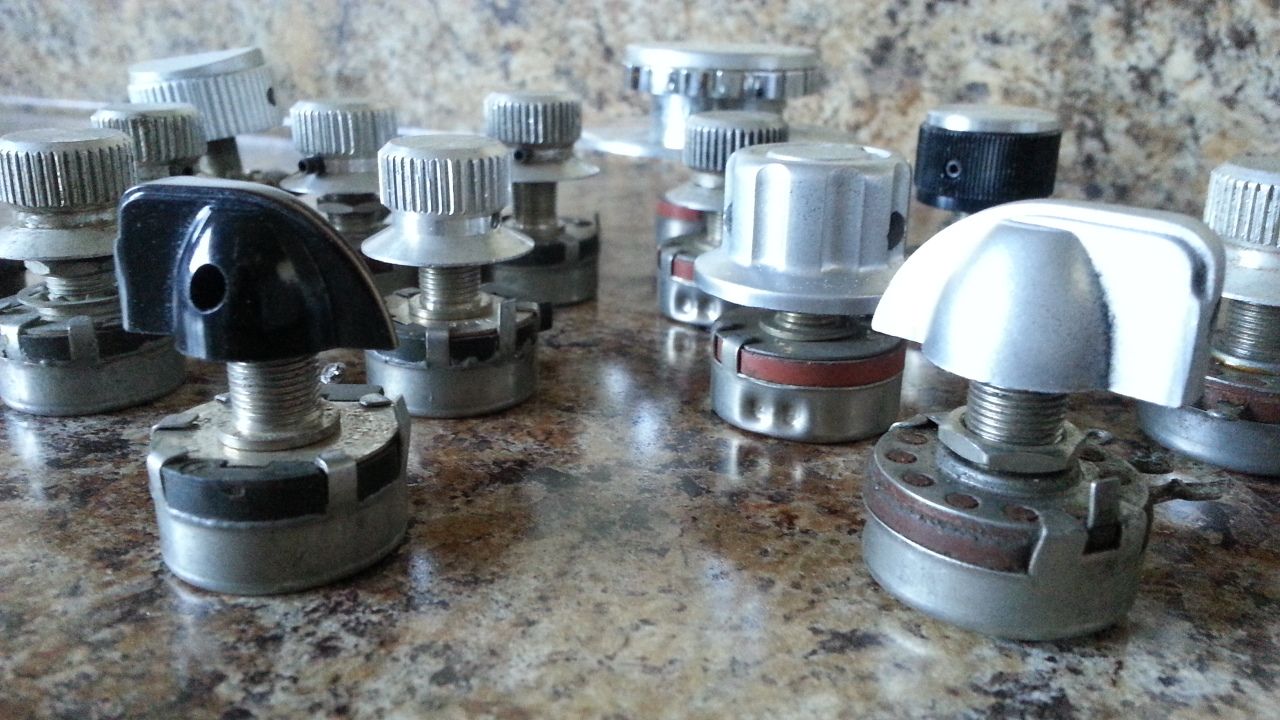

Stay Tuned!
Some goodies arrived today - rotary switches. I'm going to try to make all the knobs turn and somehow be interactive!
Stay Tuned!
timejack
New Member
(Forgive me, I haven't learned how to paste other postings into my replies, yet.)
SofaKing01, a 4x8 vacuformer would be a bit of an undertaking, but the learning experience and output potential would be great! Maybe, do both...? Start with a smaller one, then graduate to the large?
...still be a huge help on your build, and useful for other less-sizable MGL pieces. No matter what - sounds like you're having fun
HiPo, you're absolutely right! - the big pads are curved/concave with the tubular corridor walls (I just checked the movie). That does add difficulty - making the curved plugs and getting the right pulls - but might still be worth a try.
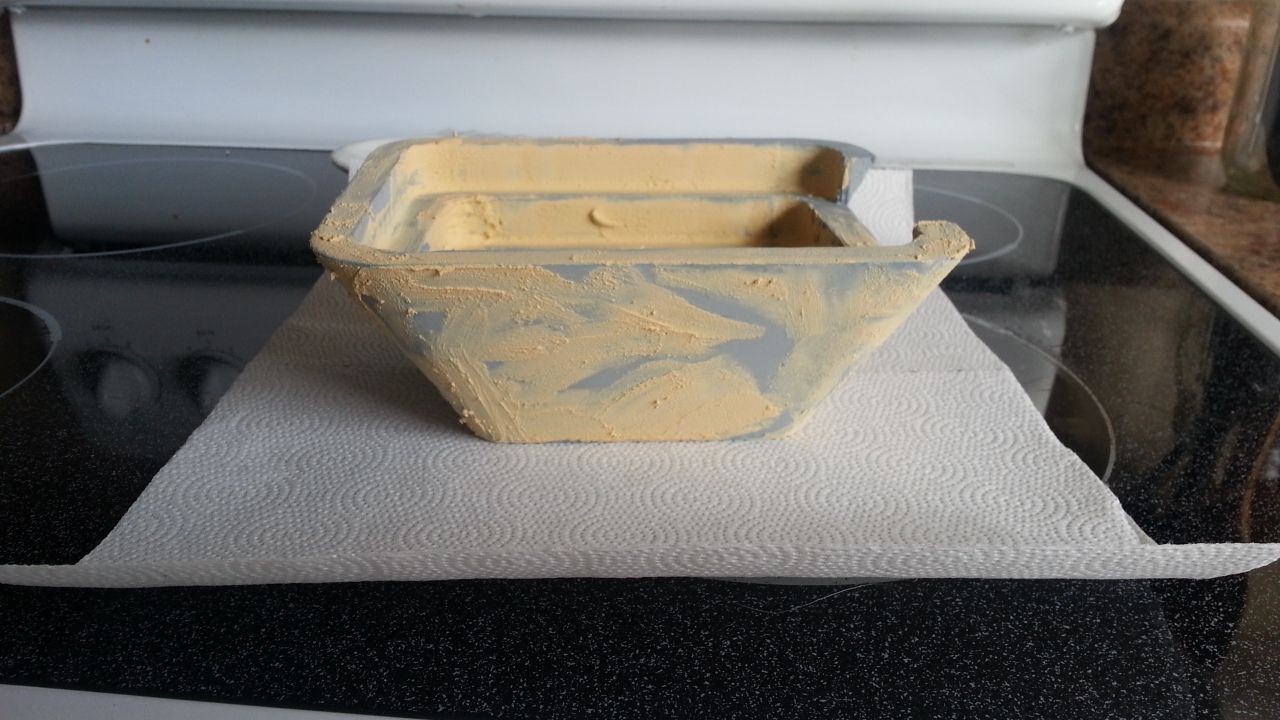
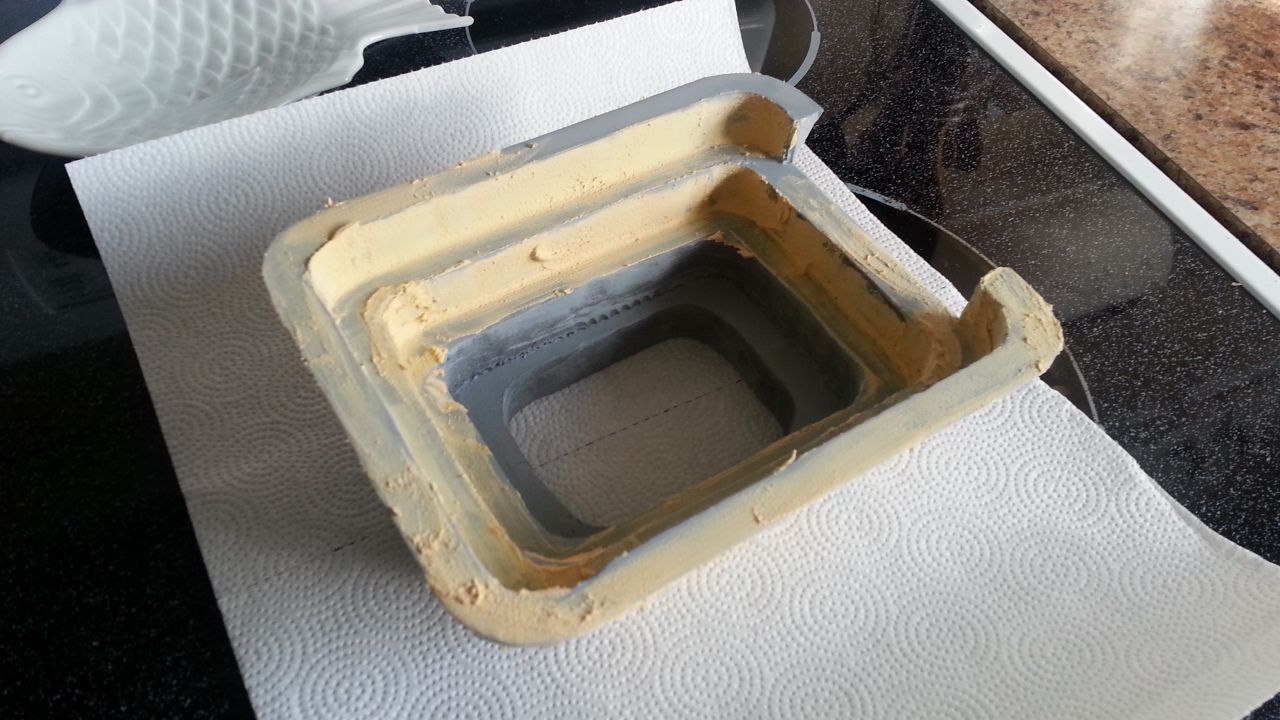
Grain of salt... It's trickier, but still possible:
Make an upside-down box out of MDF with sides thick enough to shave down to the rounded edges. Then drill tiny holes in the belly of the flat/curved surface to suck the plastic into the concave area. The upside-down, hollow box approach should allow the air to be vacuumed through the plug without all of those tiny holes having to line up perfectly with the holes in the tabletop. The cons are: First, that I can't say I've done one this big before, myself, and the tiny holes can leaves slight dimples in the final product. But it's fast, and there are a lot of pads to fabricate. The dimples might be slight enough to ignore, or easy enough to fill quickly with putty.
Wow, just scratched the surface, and it's VERY CLEAR THAT YOU ARE A BRAVE SOUL, SOFAKING01!!
Is there any tiny piece of this project that is simple and straight forward? (Totally worth it in the end) My hat's off to those who work on this project - more power to you all!!
SofaKing01, a 4x8 vacuformer would be a bit of an undertaking, but the learning experience and output potential would be great! Maybe, do both...? Start with a smaller one, then graduate to the large?
...still be a huge help on your build, and useful for other less-sizable MGL pieces. No matter what - sounds like you're having fun
HiPo, you're absolutely right! - the big pads are curved/concave with the tubular corridor walls (I just checked the movie). That does add difficulty - making the curved plugs and getting the right pulls - but might still be worth a try.
Grain of salt... It's trickier, but still possible:
Make an upside-down box out of MDF with sides thick enough to shave down to the rounded edges. Then drill tiny holes in the belly of the flat/curved surface to suck the plastic into the concave area. The upside-down, hollow box approach should allow the air to be vacuumed through the plug without all of those tiny holes having to line up perfectly with the holes in the tabletop. The cons are: First, that I can't say I've done one this big before, myself, and the tiny holes can leaves slight dimples in the final product. But it's fast, and there are a lot of pads to fabricate. The dimples might be slight enough to ignore, or easy enough to fill quickly with putty.
Wow, just scratched the surface, and it's VERY CLEAR THAT YOU ARE A BRAVE SOUL, SOFAKING01!!
Is there any tiny piece of this project that is simple and straight forward? (Totally worth it in the end) My hat's off to those who work on this project - more power to you all!!
Work has officially started up again and we're kicking it into double time! We're shooting for late Mar deadline to create this.
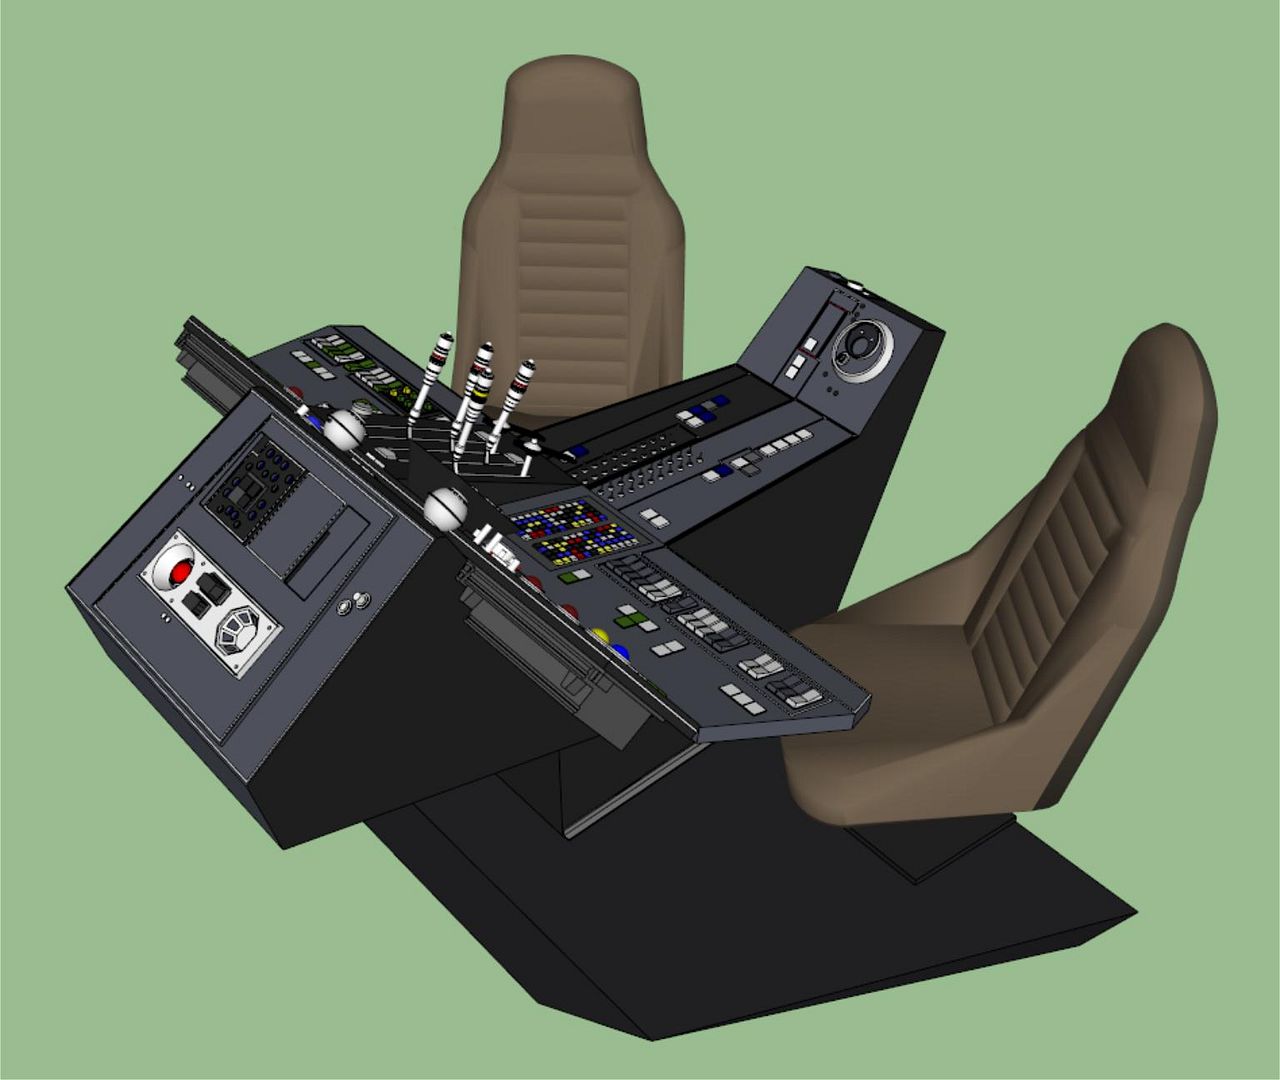
As you can see it will be a standalone prop - just the console. It will be fully lit w/sounds, finished seats and a simple platform on casters. More details on that later...
I got an early start on the matte box
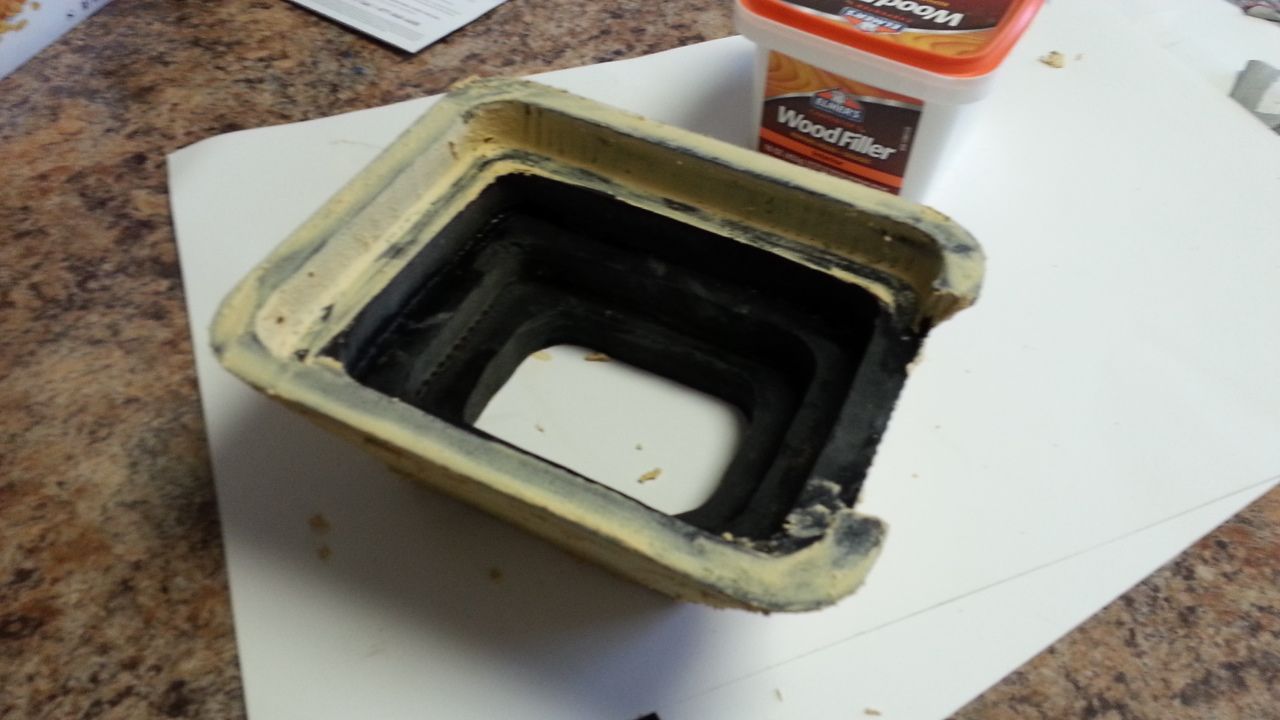
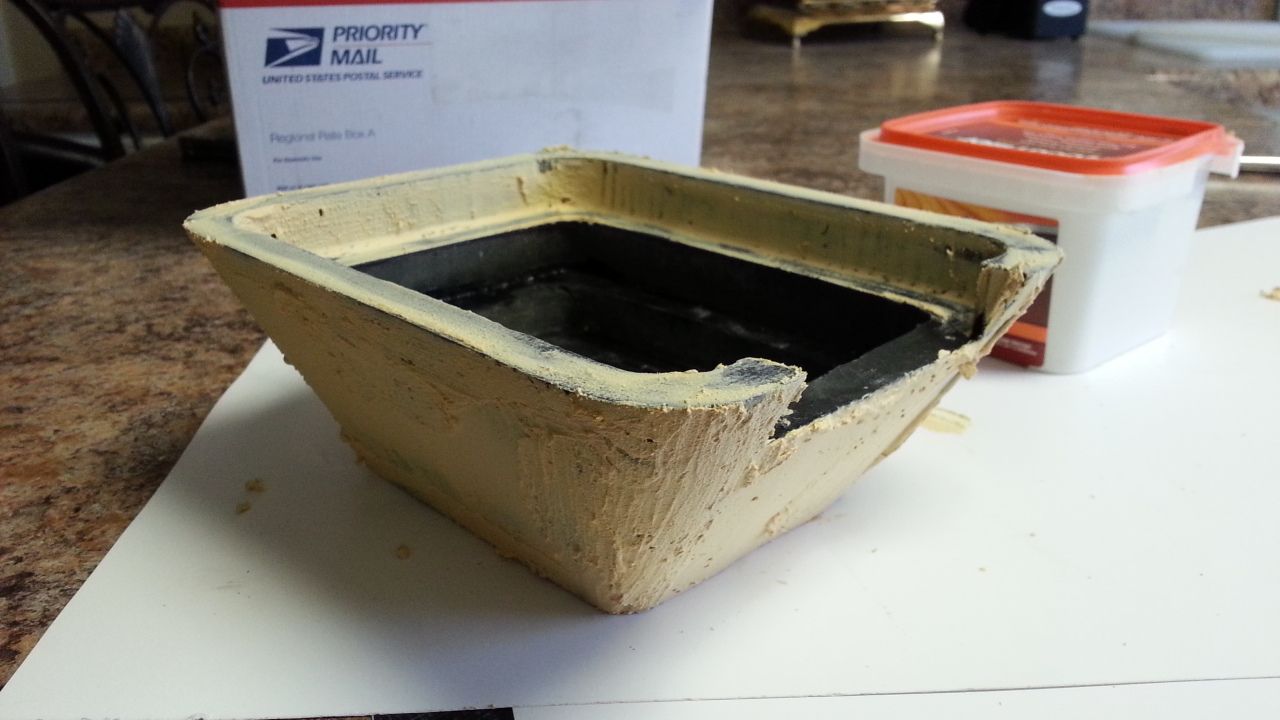
Still lots of work on the inside

MGL doesn't open until 12 so I'll be working the matte box and getting files ready for the CNC
As you can see it will be a standalone prop - just the console. It will be fully lit w/sounds, finished seats and a simple platform on casters. More details on that later...
I got an early start on the matte box
Still lots of work on the inside
MGL doesn't open until 12 so I'll be working the matte box and getting files ready for the CNC
Last edited:
Hi Gang,
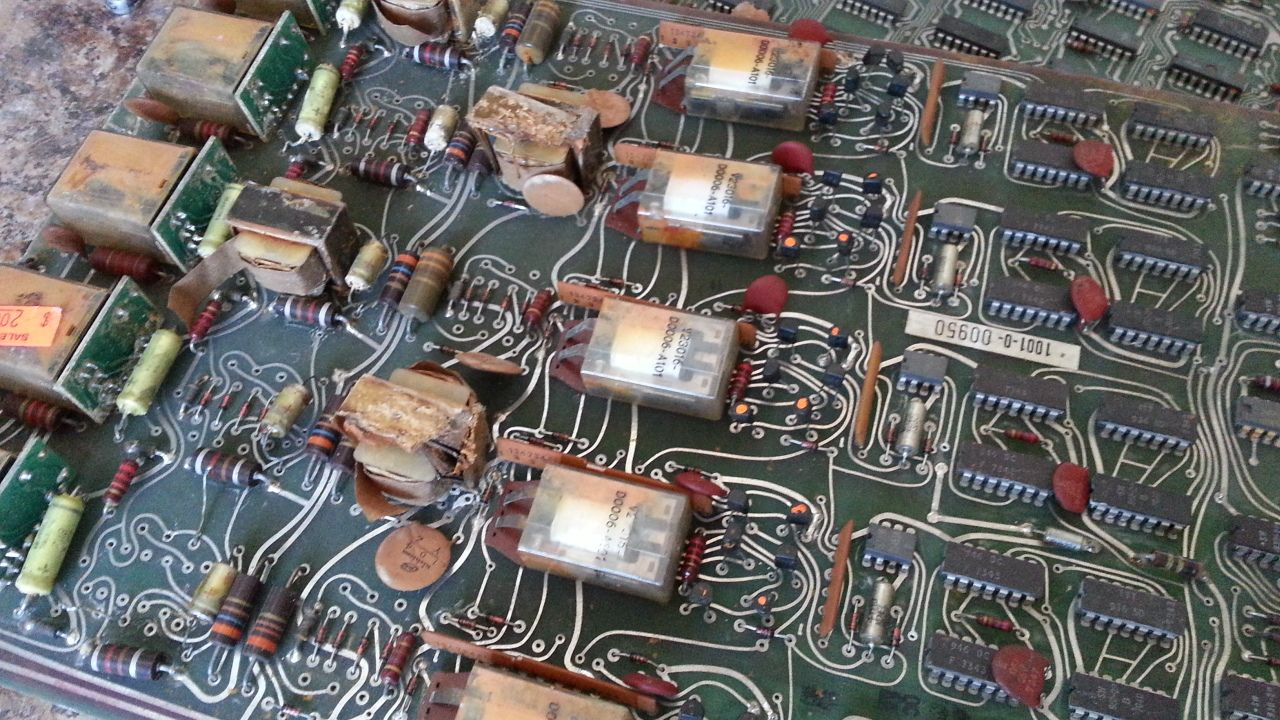
WHOA! I just spent the last few hours in greeblie heaven. One of the local electronics stores is going out of business and everything is 50% off. By Wed of next week... who knows... You won't believe what I've found!
Overview
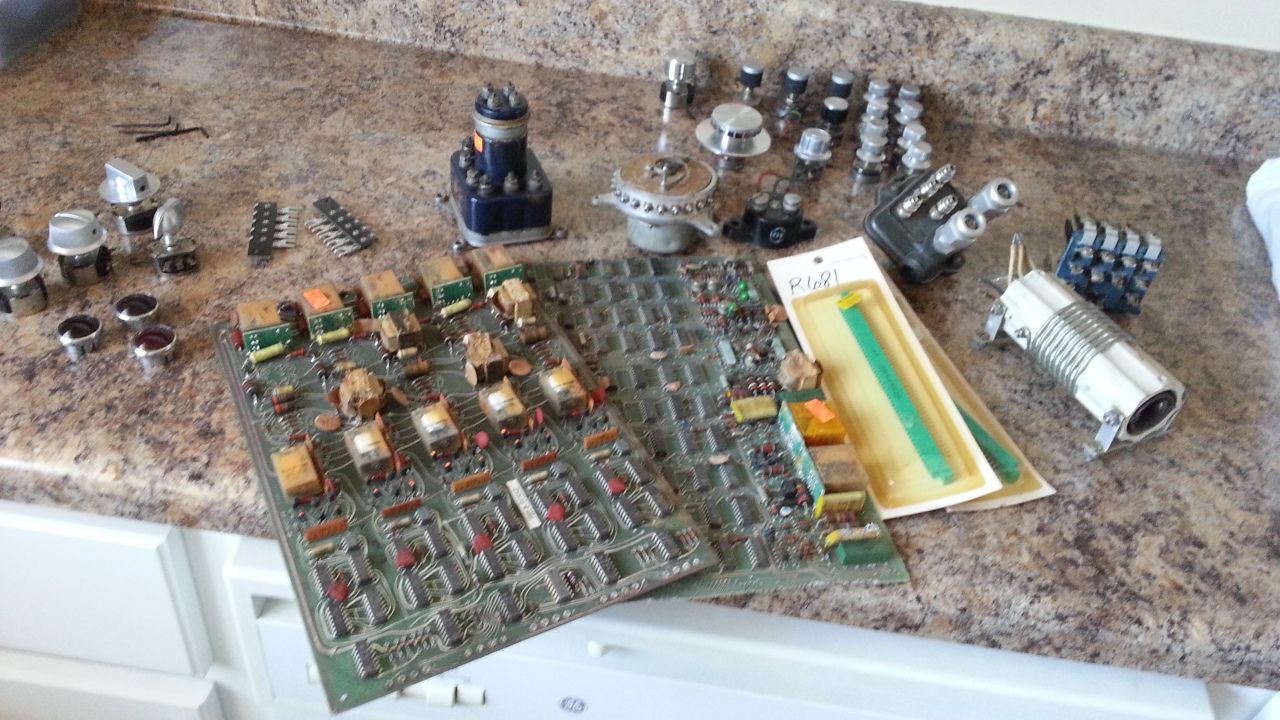
Circuit Boards - 50 cents
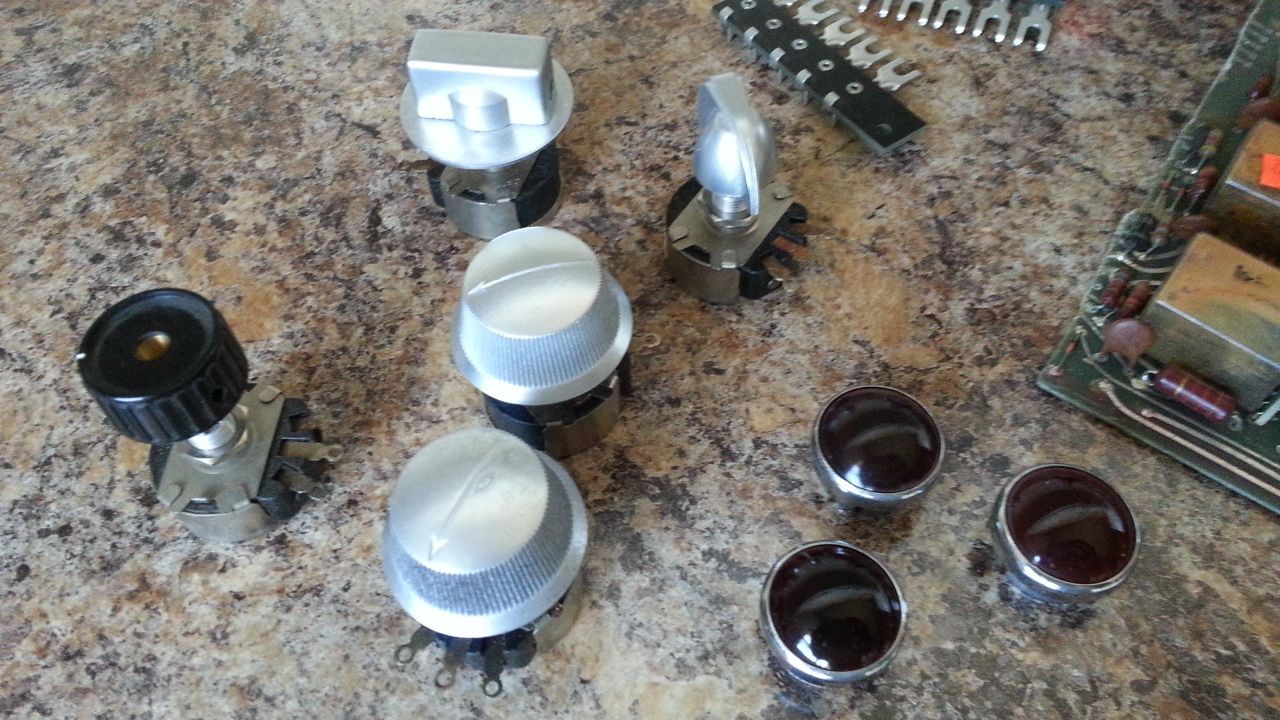
More rotary switches - 2.50
25 cents
$6

$5
50 cents
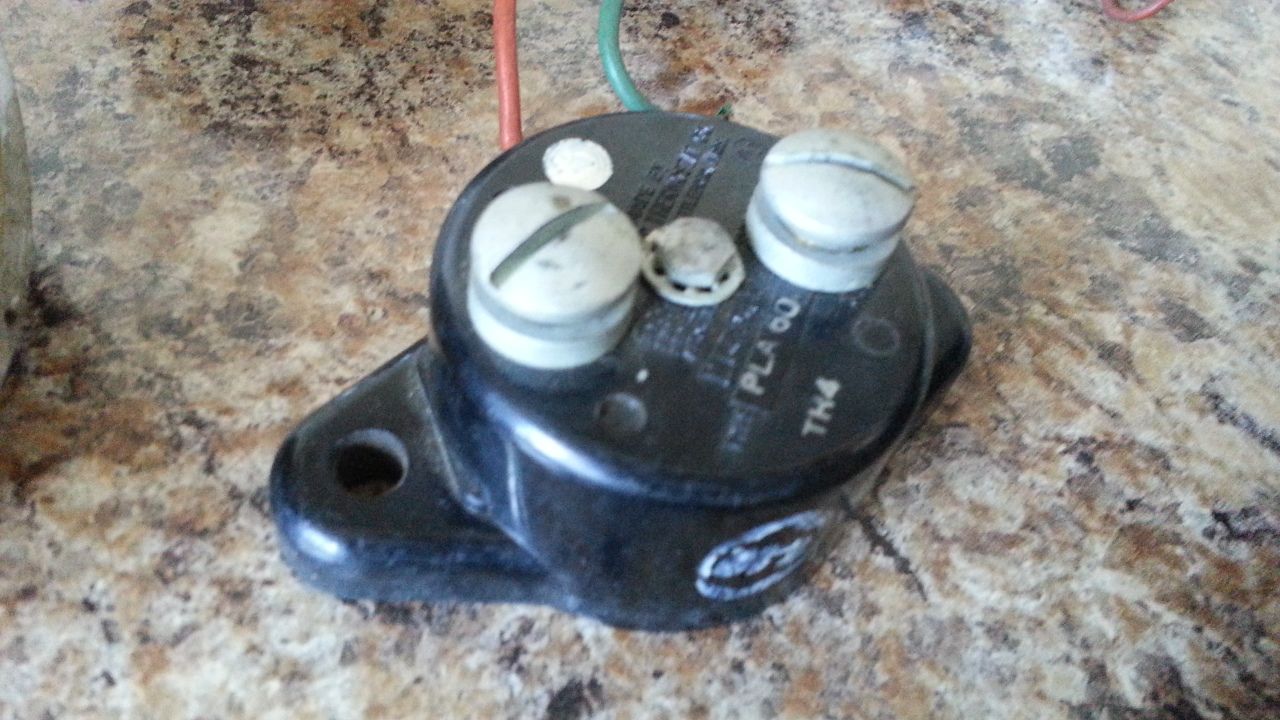
$5
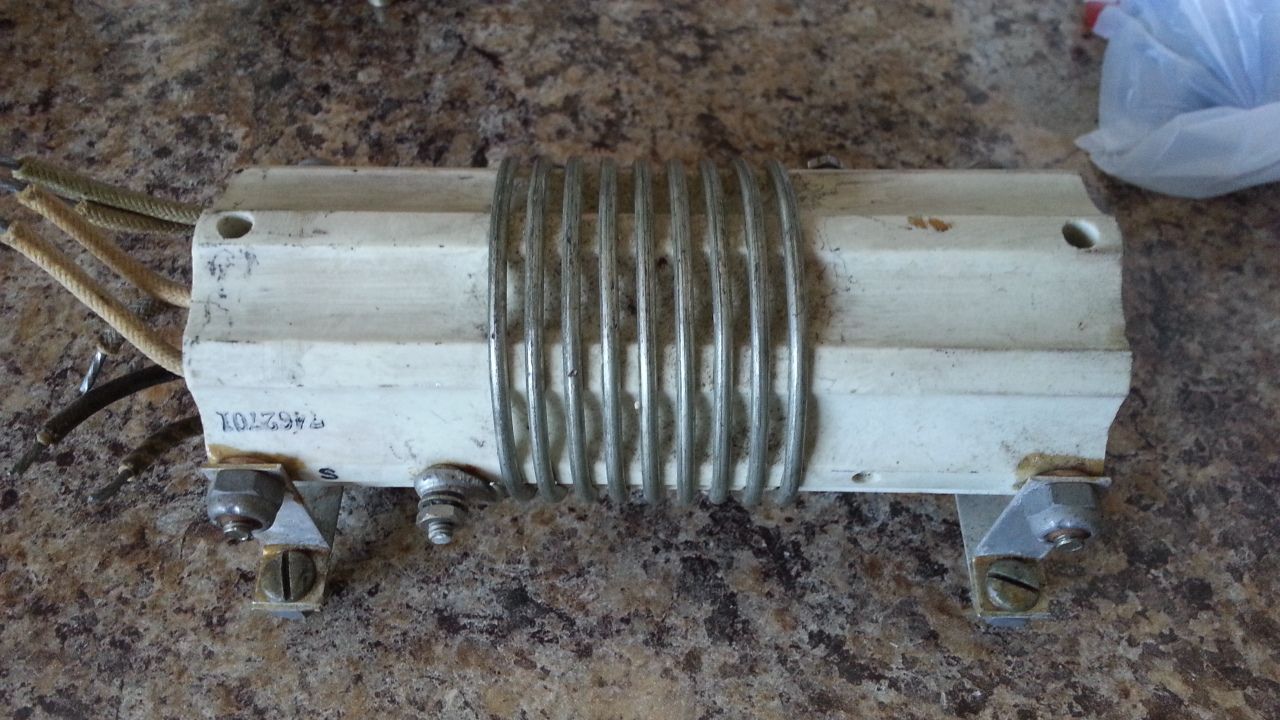
$5
$6
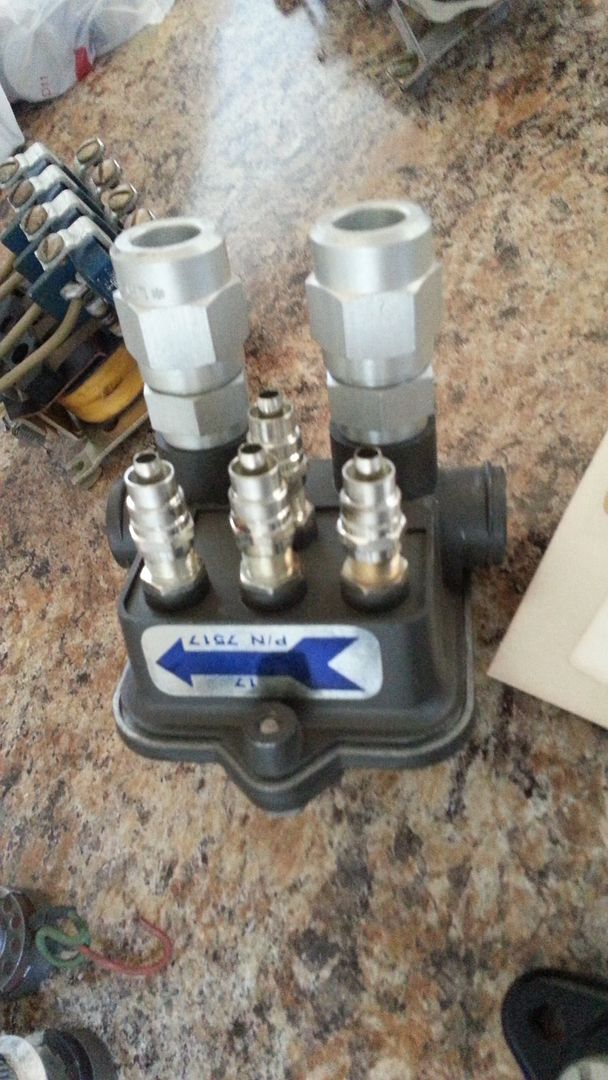
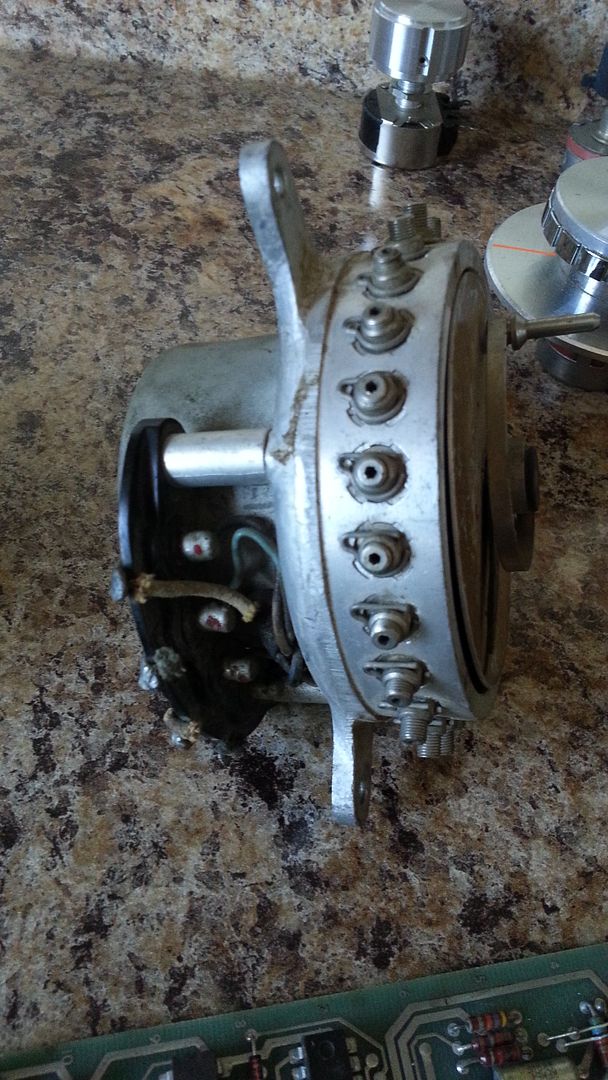
My Favorite and AMAZING FIND! $6ea

Stay Tuned!
WHOA! I just spent the last few hours in greeblie heaven. One of the local electronics stores is going out of business and everything is 50% off. By Wed of next week... who knows... You won't believe what I've found!
Overview
Circuit Boards - 50 cents
More rotary switches - 2.50
25 cents
$6
$5
50 cents
$5
$5
$6
My Favorite and AMAZING FIND! $6ea
Stay Tuned!
All of the new rotary switches...
Holy crap! That is awesome!!!
I was a kid in a candy store!
- - - Updated - - -
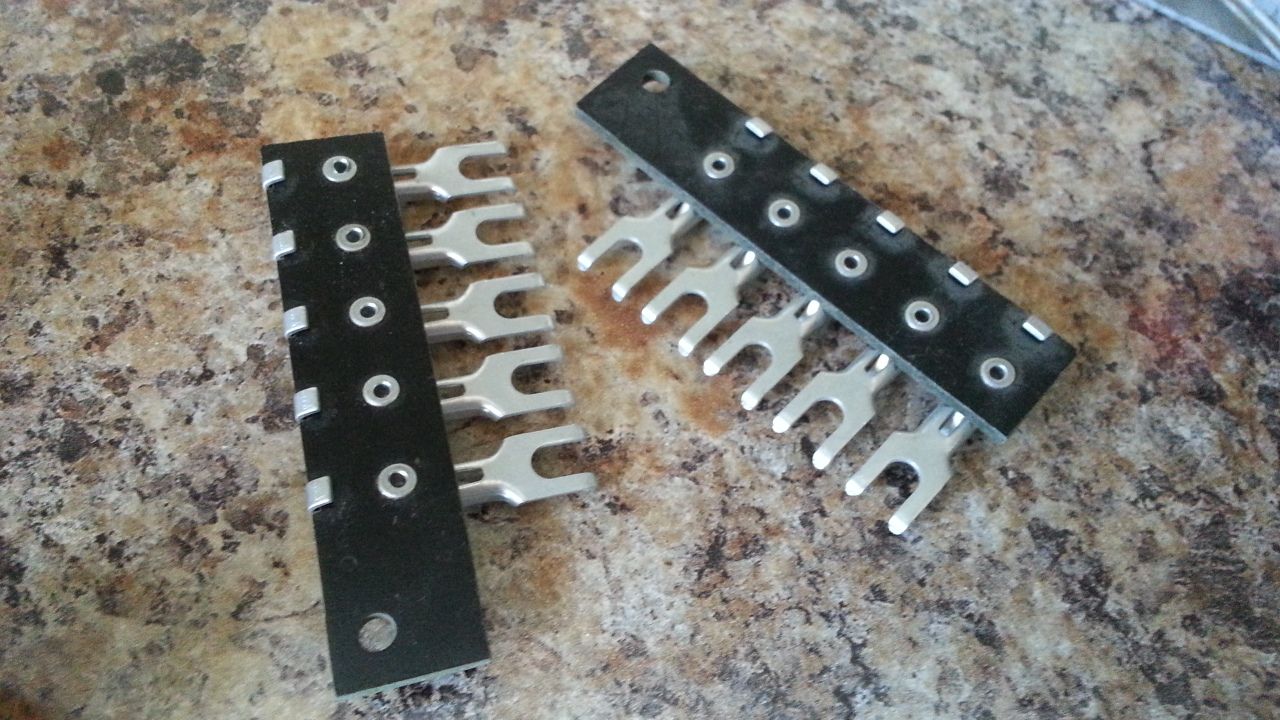
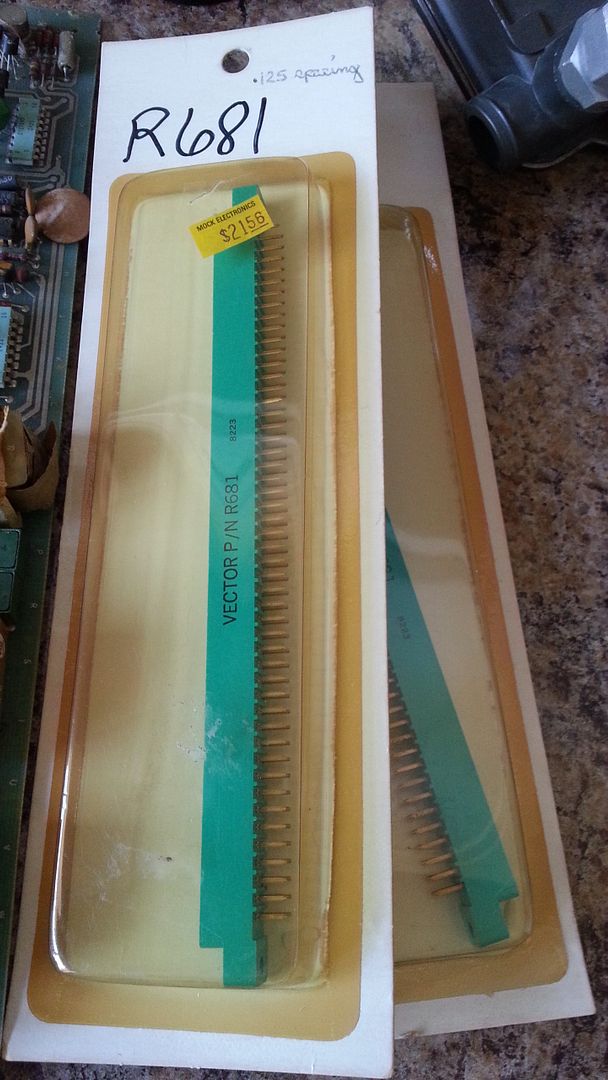
Nice greebs, old circuit boards are wall art. OH! are the card connectors the right size?
Found lots of good stuff. I have 4 circuit boards. I'm going back later in the week. Friday is their last day. I'm hoping for some good finds.
Here are the two "sliders". The resin slider is slightly longer. But no worries. We'll fix that.
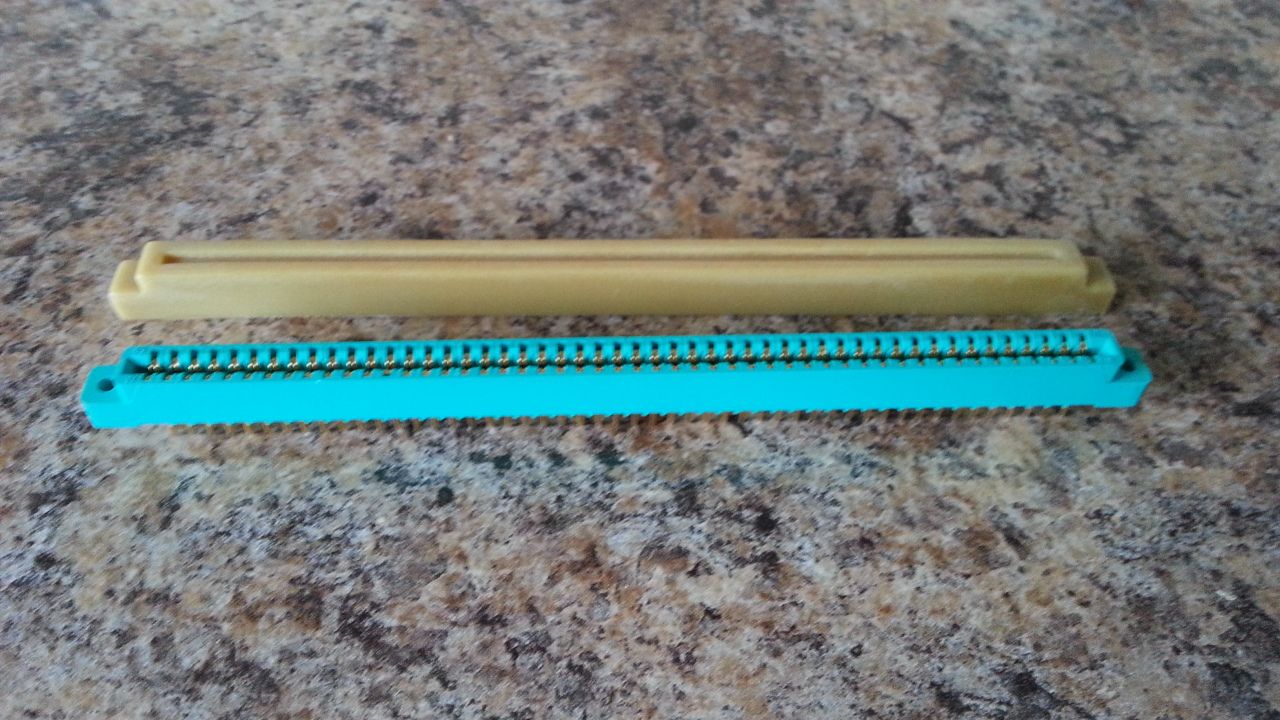
Stay Tuned!
But without tight pants!We're tuned! We're tuned!
This is like the RPF Super Bowl...
I know I've asked this before, but with all the decisions to move forward in terms of accuracy, do you have any plans to build the "step" into the back of the cockpit? I'm just wondering how you'll factor in the rear seats if you don't.
Hi Gang,
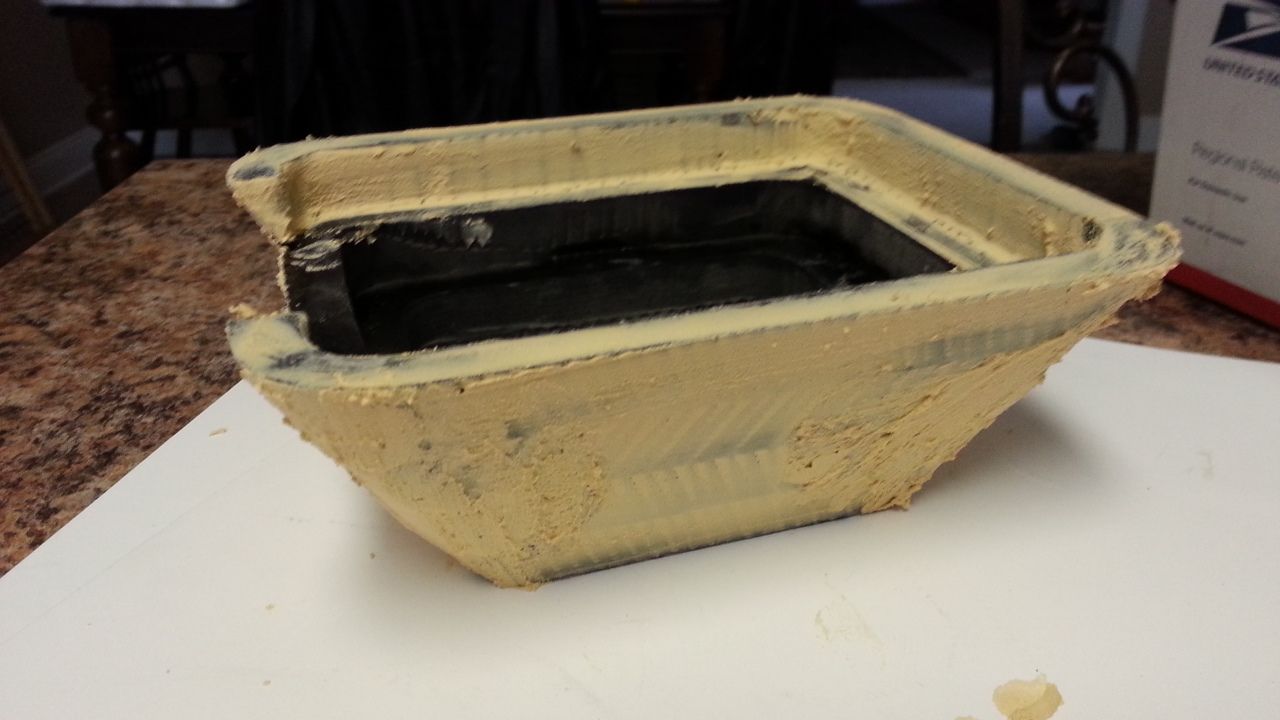
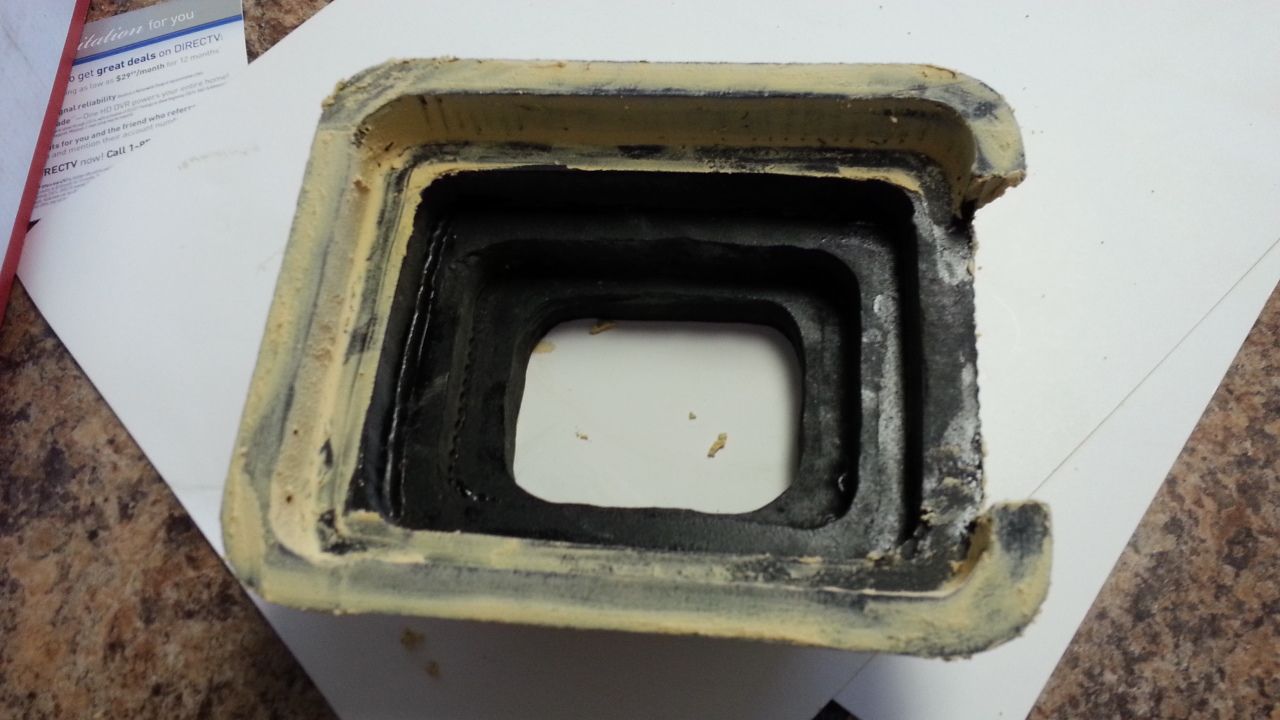
More work on the matte box
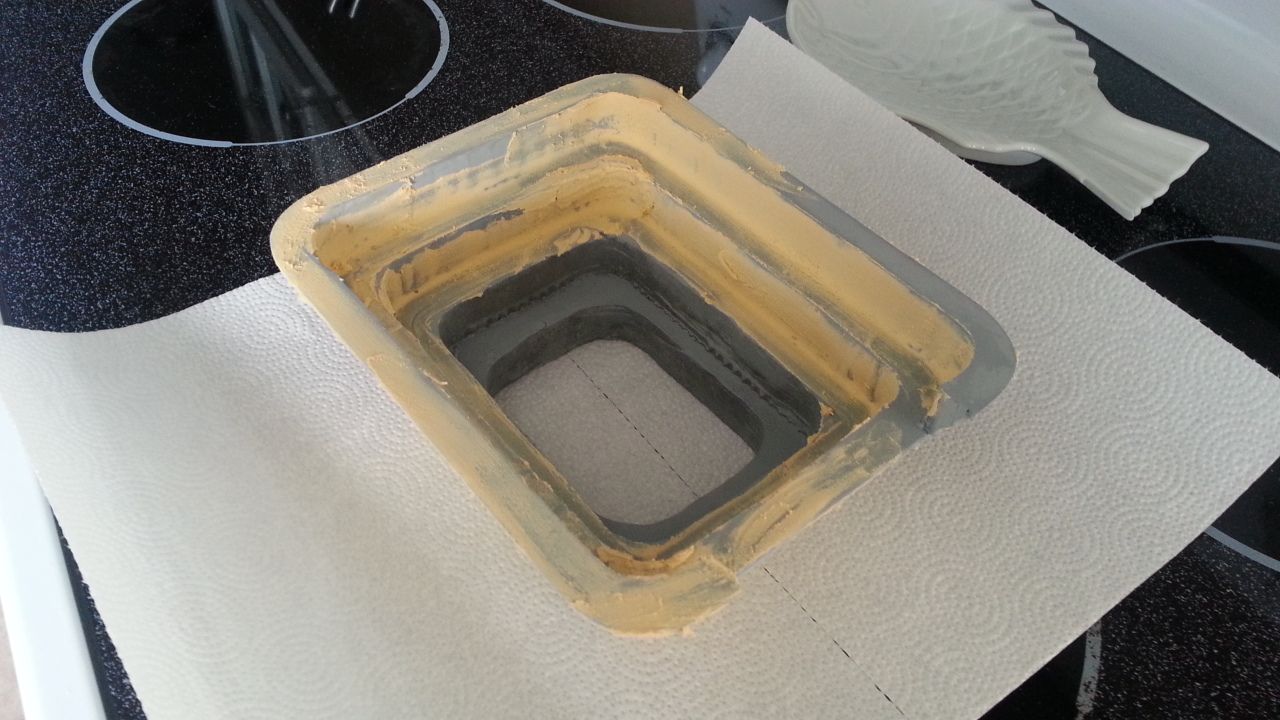
More to Follow
More work on the matte box
More to Follow
I know I've asked this before, but with all the decisions to move forward in terms of accuracy, do you have any plans to build the "step" into the back of the cockpit? I'm just wondering how you'll factor in the rear seats if you don't.
Hey T,
I removed 12" from the bottom panels - this allowed the cockpit to fit into my garage but also removed one of the cockpit platforms. The rear ejection seats would still be mounted in their regular place, we just have to make sure we get the correct height. If we secure the workspace, it was discussed to build new lower panels thus adding those 12" back and making the cockpit true to scale. This would require the additional platform, door frame, door, shelves, etc...
Its always a work in progress...
Last edited:
Similar threads
- Replies
- 11
- Views
- 1,107
- Replies
- 2
- Views
- 923
- Replies
- 2
- Views
- 963
- Replies
- 13
- Views
- 2,243