You are using an out of date browser. It may not display this or other websites correctly.
You should upgrade or use an alternative browser.
You should upgrade or use an alternative browser.
The suitcase from Fantastic Beasts and how to recognize it
- Thread starter ATL Kenobi
- Start date
-
- Tags
- harry potter
PotionMistress
Sr Member
What amazing work!
Samsonite, MOVE OVER!
Samsonite, MOVE OVER!
Last edited by a moderator:
Thanks for the kind words!")
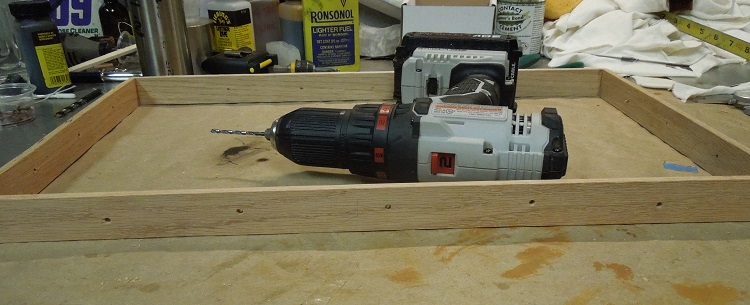
Using a #31 drill bit, I match drilled the holes in the lid frame. This allows for snugly holding the rivets which will need to be removed when I start work on the lining (after DragonCon!):
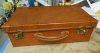
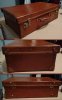
The outside is finished - woohoo!

Here's the case with (the in-progress) Percival's overcoat in the back ground. I'm a little too old to pass for Newt.

The outside needs to be "distressed" a little bit. I figure 1 trip as checked baggage on a Delta flight ought to do it. :rolleyes
ATL
Using a #31 drill bit, I match drilled the holes in the lid frame. This allows for snugly holding the rivets which will need to be removed when I start work on the lining (after DragonCon!):
The outside is finished - woohoo!
Here's the case with (the in-progress) Percival's overcoat in the back ground. I'm a little too old to pass for Newt.
The outside needs to be "distressed" a little bit. I figure 1 trip as checked baggage on a Delta flight ought to do it. :rolleyes
ATL
Attachments

Last edited:
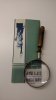
Up until today, the best picture I had of the interior lining was:

It looks to be a fairly bright white with some sort of diamond pattern and then some diagonal gray lines across it.
After searching on-line through hundreds of fabrics, I finally came across this:
I thought this was pretty close and that all I would have to do would be to stencil some gray lines on it, cut it, seam it, and stitch it in. So I bought 3 yards (meters) of it from the UK.
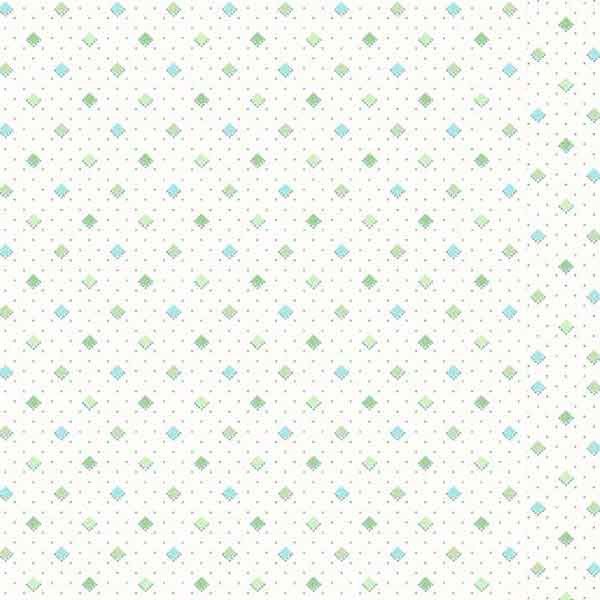
Now... my good friend lynx0099 found this most excellent picture of the inside and the lining:
It looks to be runes arranged in a repeating hex pattern, with brownish diagonal lines, and some faint parallel lines, on a coffee colored background. (Of course the runes are probably necessary to help contain the beasts within). There's no chance I'll ever find this fabric :wacko! The only way that I see of getting anything close to this pattern would be to go through a service something like Spoonflower. But this service requires artwork for a pattern (PNG) and although I'm reasonably good with 2D AutoCAD, Photoshop mystifies me.
I probably will stay with my original fabric, but dip it in kettle of dark coffee and add the brownish lines.:unsure
ATL
It looks to be a fairly bright white with some sort of diamond pattern and then some diagonal gray lines across it.
After searching on-line through hundreds of fabrics, I finally came across this:
I thought this was pretty close and that all I would have to do would be to stencil some gray lines on it, cut it, seam it, and stitch it in. So I bought 3 yards (meters) of it from the UK.
Now... my good friend lynx0099
found this most excellent picture of the inside and the lining:It looks to be runes arranged in a repeating hex pattern, with brownish diagonal lines, and some faint parallel lines, on a coffee colored background. (Of course the runes are probably necessary to help contain the beasts within). There's no chance I'll ever find this fabric :wacko! The only way that I see of getting anything close to this pattern would be to go through a service something like Spoonflower. But this service requires artwork for a pattern (PNG) and although I'm reasonably good with 2D AutoCAD, Photoshop mystifies me
. I probably will stay with my original fabric, but dip it in kettle of dark coffee and add the brownish lines.:unsure
ATL
Attachments

...and just when I thought I was going to have to settle for 2nd best, it was kindly pointed out to me that images of the lining are rather well illustrated in the FBaWtFT coloring book. I can scale this and see what happens.
Thanks my friend...
ATL
Attachments

KevinBGoode
Well-Known Member


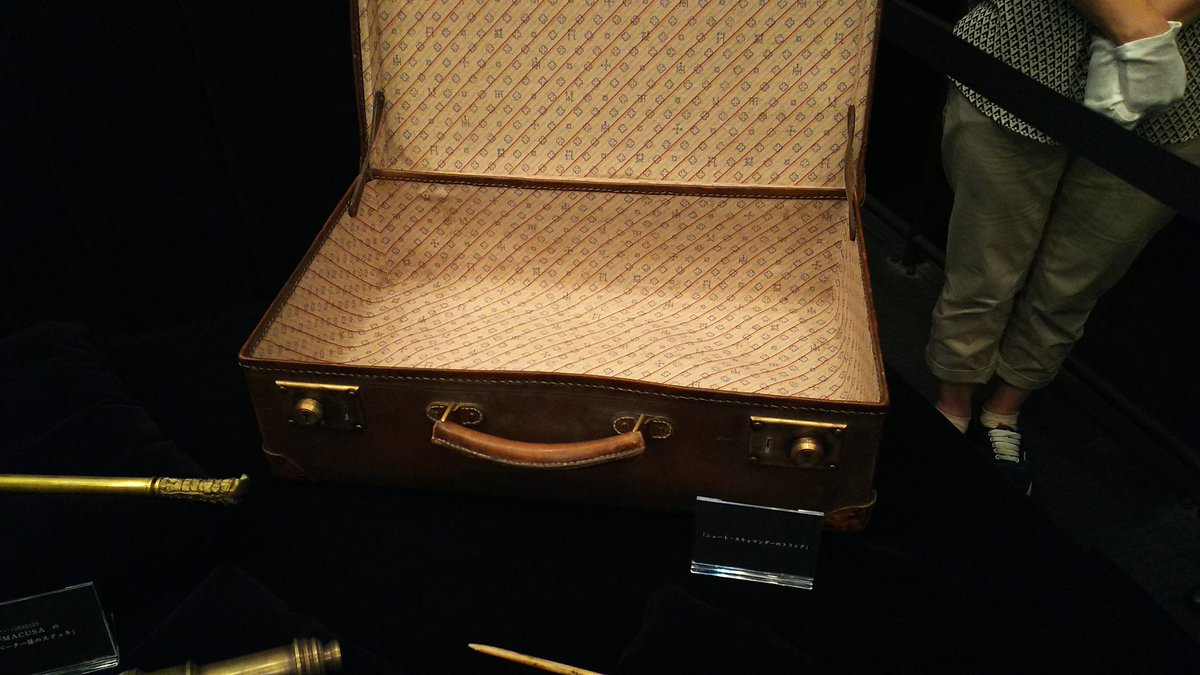
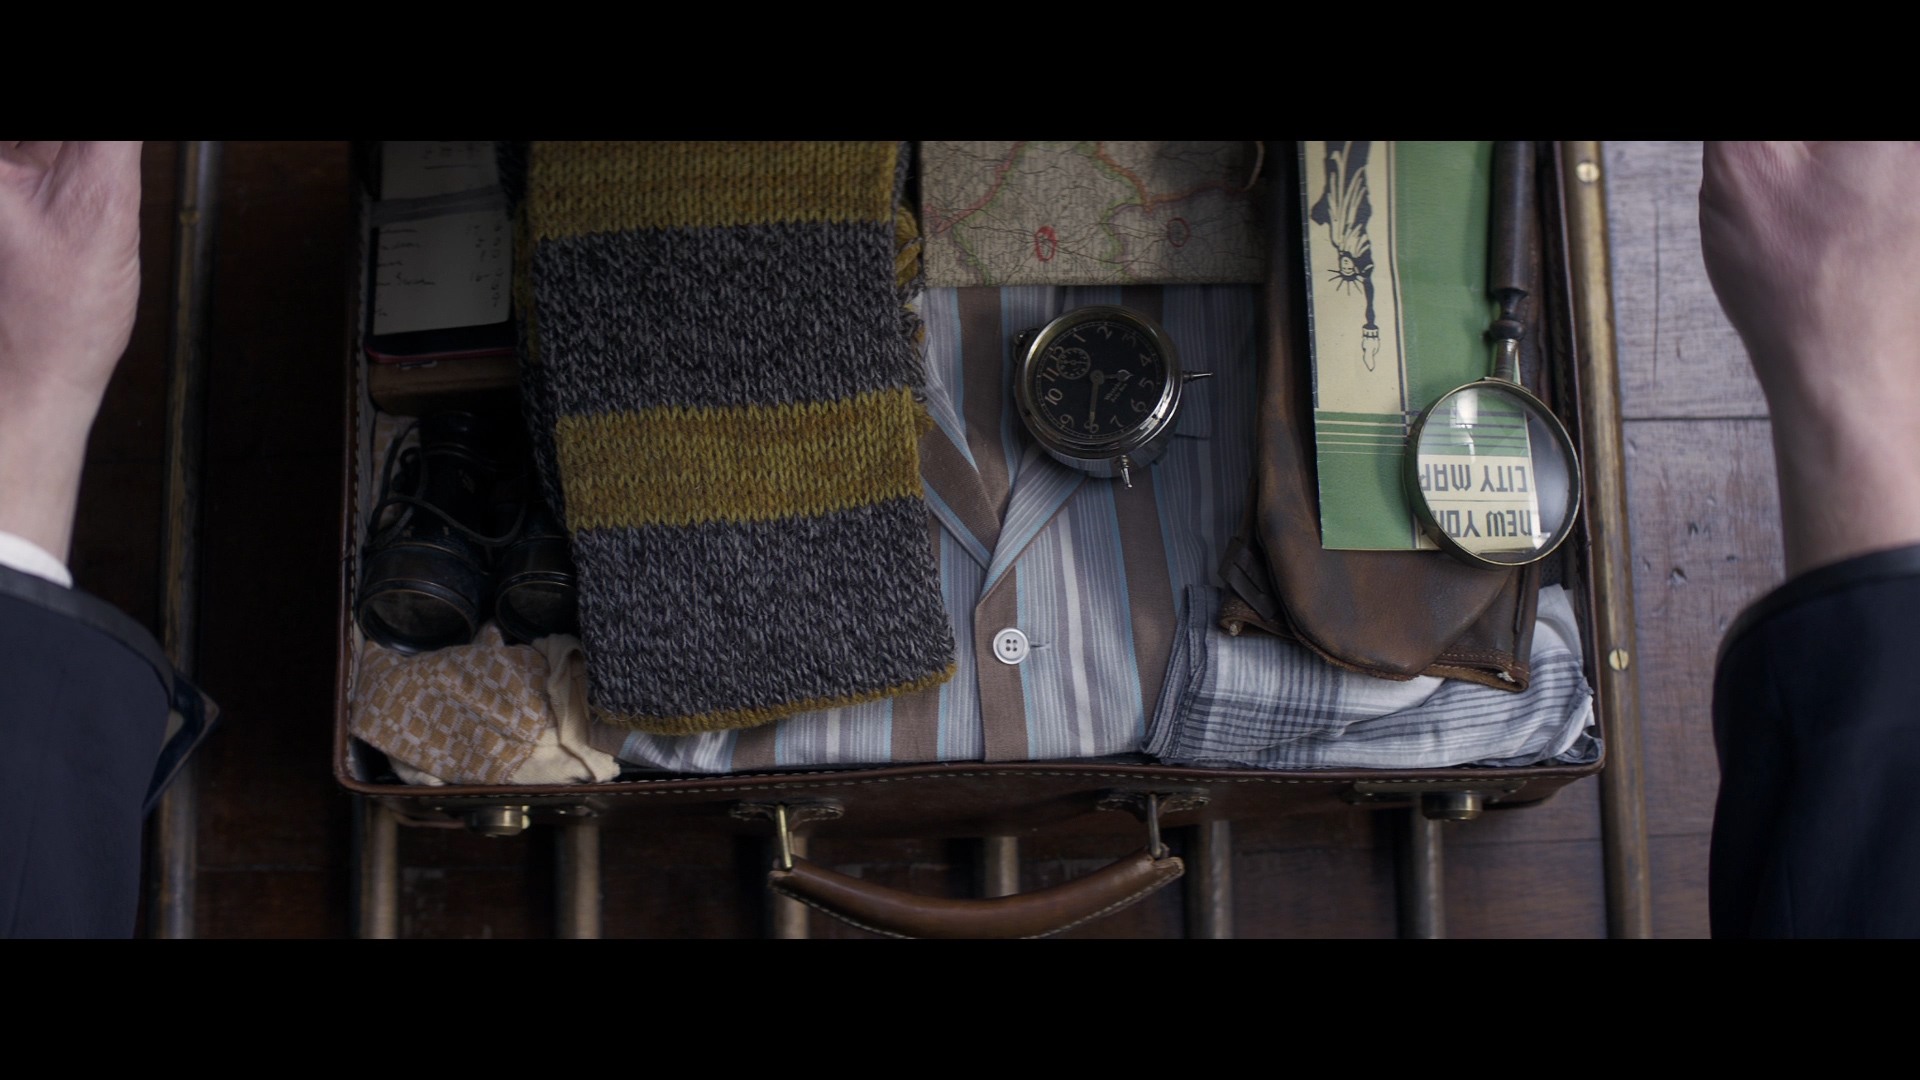
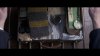
Here ya go, the screen used props on display at warner bros studio tour
Here ya go, the screen used props on display at warner bros studio tour
KevinBGoode
WOW. Thanks very much for sharing the great pictures! Is this at Leavesden? They'll come in handy when I get up the nerve to distress and age my project.:unsure
ATL
Last edited by a moderator:
KevinBGoode
Well-Known Member
@KevinBGoode
WOW. Thanks very much for sharing the great pictures! Is this at Leavesden? They'll come in handy when I get up the nerve to distress and age my project.:unsure
ATL
Yeah just got back from the Tour. I had a measurement tape with me, but the security gaurd kept on good eye on me so I couldnt get close enough for a measurement.
I have the coloring book and have determined that the liner pattern does repeat - 22 runes/brown lines vertically and 12 runes horizontally.
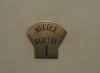
Also, I tried my hand at etching again. I figured if tried to make 12, one would turn out OK. The middle-right one is usable. This is single sided etching on 0.032" brass.
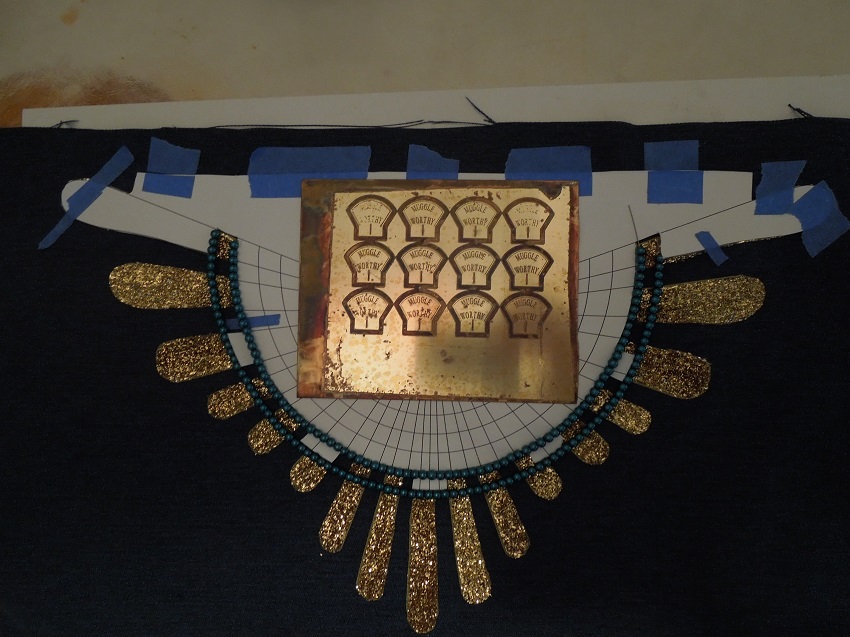
In the background is part of Seraphina Picquery's costume we're working on. I'll have to start a thread in the costume forum eventually.
ATL
Also, I tried my hand at etching again. I figured if tried to make 12, one would turn out OK. The middle-right one is usable. This is single sided etching on 0.032" brass.
In the background is part of Seraphina Picquery's costume we're working on. I'll have to start a thread in the costume forum eventually.
ATL
Attachments
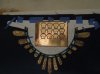
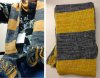
I ordered and received the Hufflepuff scarf from ThePhoenixRisesAgain on Etsy
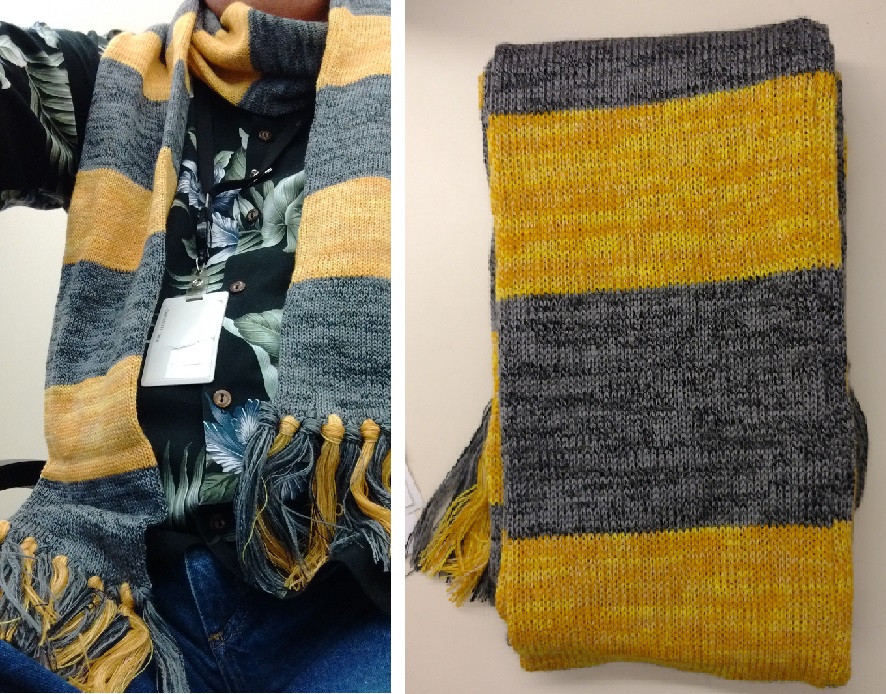
It's very well made and the colors are a really good match.
ATL
It's very well made and the colors are a really good match.
ATL
Attachments
Thanks@ ecl!Good looking scarf! Love the work on the Muggle Worthy part! The weathering looks beautiful.
The black rectangle is where a slot will be cut for a guide.
Also, Mrs. ATL wants a pair of "Muggle Worthy" earrings ...:facepalm
ATL
Attachments
Last edited by a moderator:
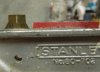
Still dealing with the lining, but in the meantime I've started working on the Muggle Worthy keylock:

I've cut out the slot. A small piece of .015" brass will fit into that slot as a guide.
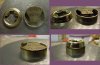
The housing is a 1/4" long piece of 7/8" diameter brass tube with the front machined to allow the flag to come out the top and the lever to come out the bottom:
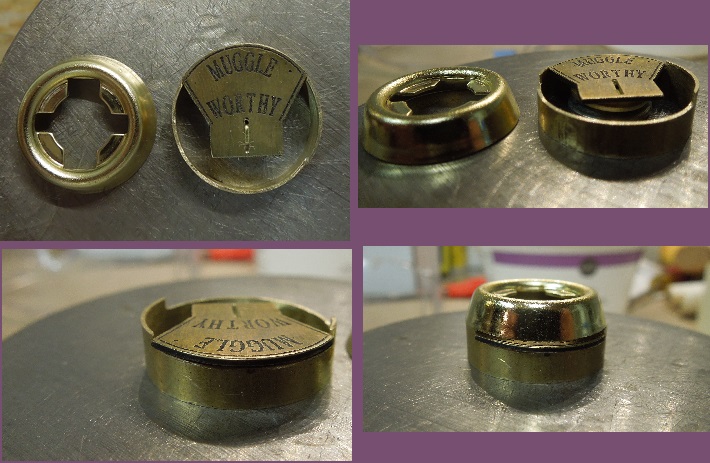
I wish I had a vertical mill to do this work, but all I have is a Dremel and drill press. Keep in mind that this is about the diameter of a US quarter coin.:wacko
ATL
I've cut out the slot. A small piece of .015" brass will fit into that slot as a guide.
The housing is a 1/4" long piece of 7/8" diameter brass tube with the front machined to allow the flag to come out the top and the lever to come out the bottom:
I wish I had a vertical mill to do this work, but all I have is a Dremel and drill press. Keep in mind that this is about the diameter of a US quarter coin.:wacko
ATL
Attachments
Similar threads
- Replies
- 5
- Views
- 795
- Replies
- 8
- Views
- 1,108