Hi guys,
The AT-AT V2 is in the work !
I was pretty happy with my first one and it has some pretty cool background story I'll tell you later, but it was not quite right.
This time I'm using photogrammetry to get it as close as possible.
I'd like to thanks Matt and Thorsten to introduced me to photogrammetry and Rhino.
Thanks to Thorst for having working on an early hull from photogrammetry, unfortunatly the solves were not good due to the lack of good ref of the whole model so his model was quite off. But he did an awesome job with what he had at that time and I can't thank him enough, he's a hell of a modeler !
I did not know anything about 3D modeling so I had to start from scratch. I've started by modeling some basic parts for my small Blockade Runner model. It was quite easy, most of the parts were revolved parts.
Then I tried with the AT-AT head. Which was not a good idea, it's quite complicated to make in traditionnal modeling and it's the same in 3D modeling ! When you mostly only know the polylines, curves and the revolve tool, that's not an easy task !

I did manage to learn some tool all along the way and ended up eventually with that :
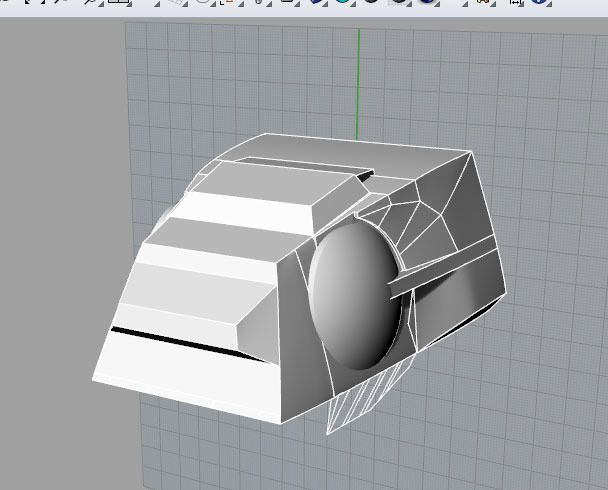
Not bad but not accurate enough for me and most important, my modeling methods were not good enough to get the parts 3D printed.
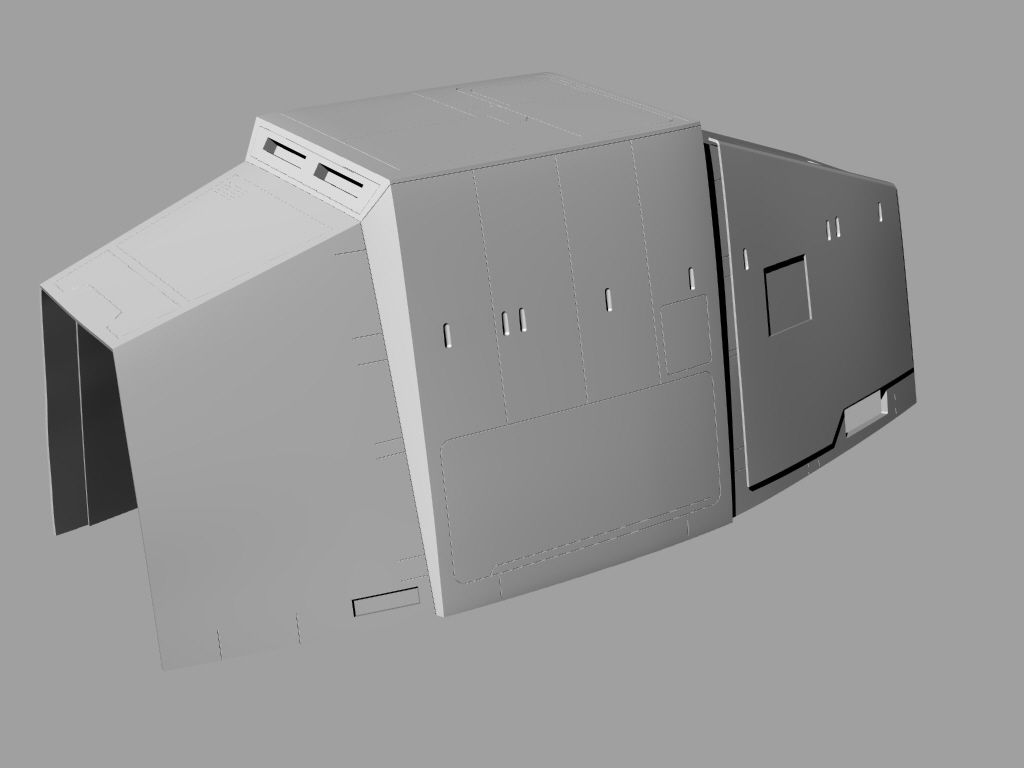
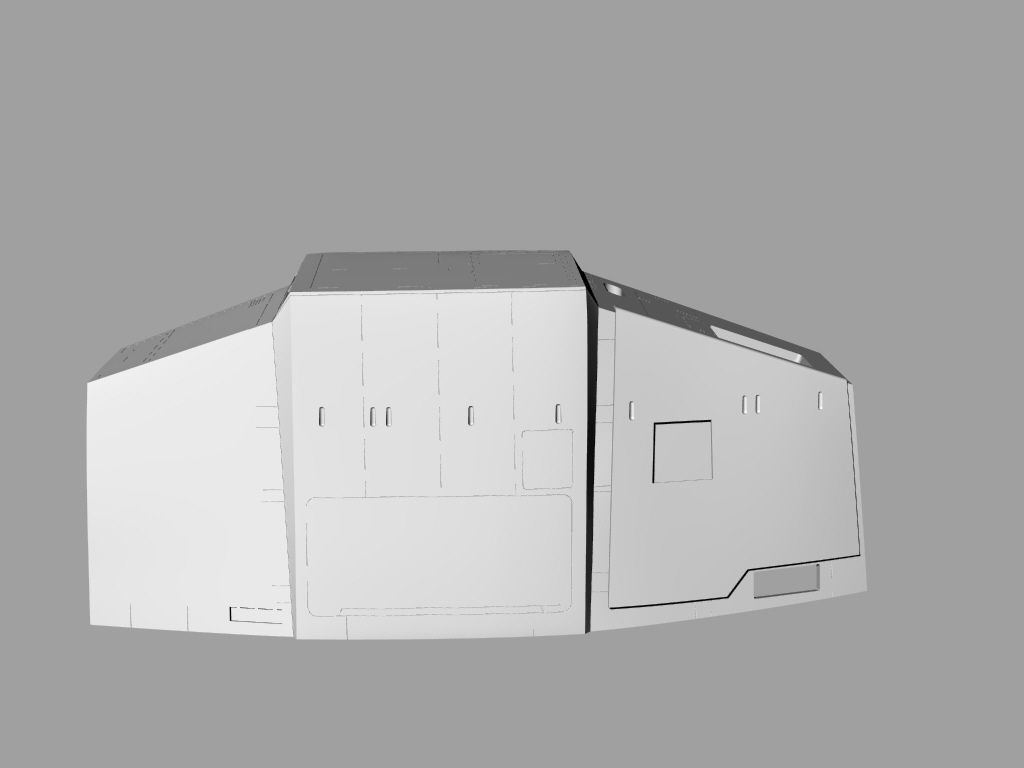
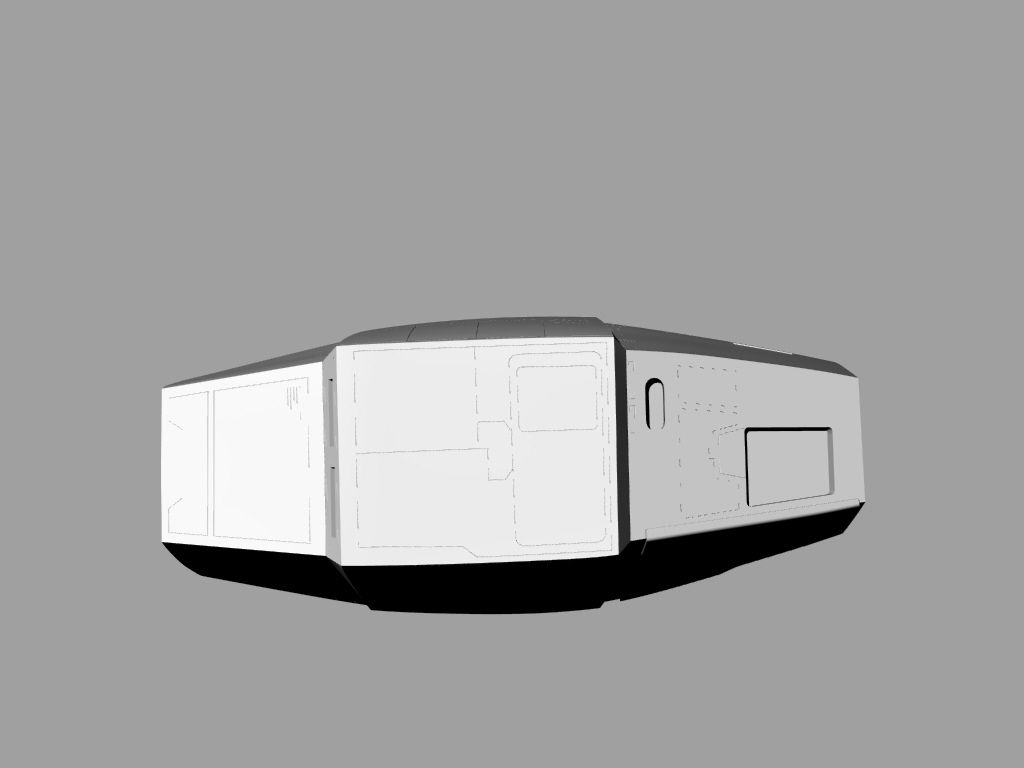
So I moved on on the hull ! I thought it would be easy. It was easier than the head and most suitable to learn most of the Rhino tools.
I tried to recreate any flaws of the original pattern/castings I could (warped/crooked/shrunk parts). The original hull is totally out of shape. I straightened my first hull and that's why it doesn't look quite right.
The hull is done and I'm working on the side panels at the moment.
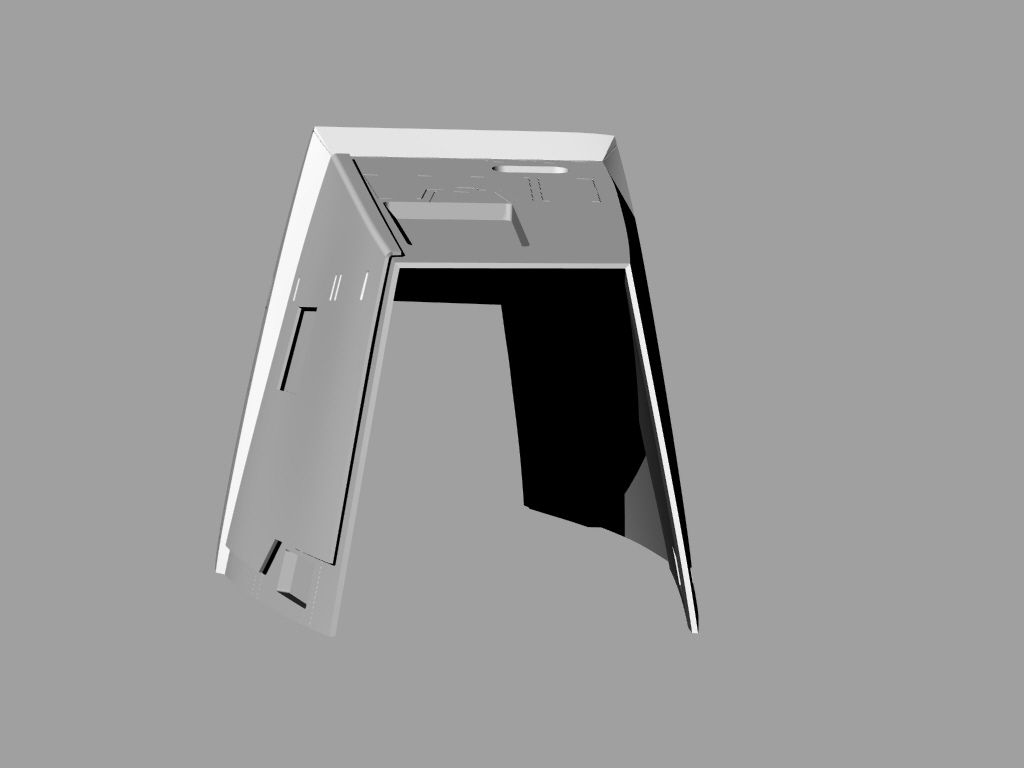
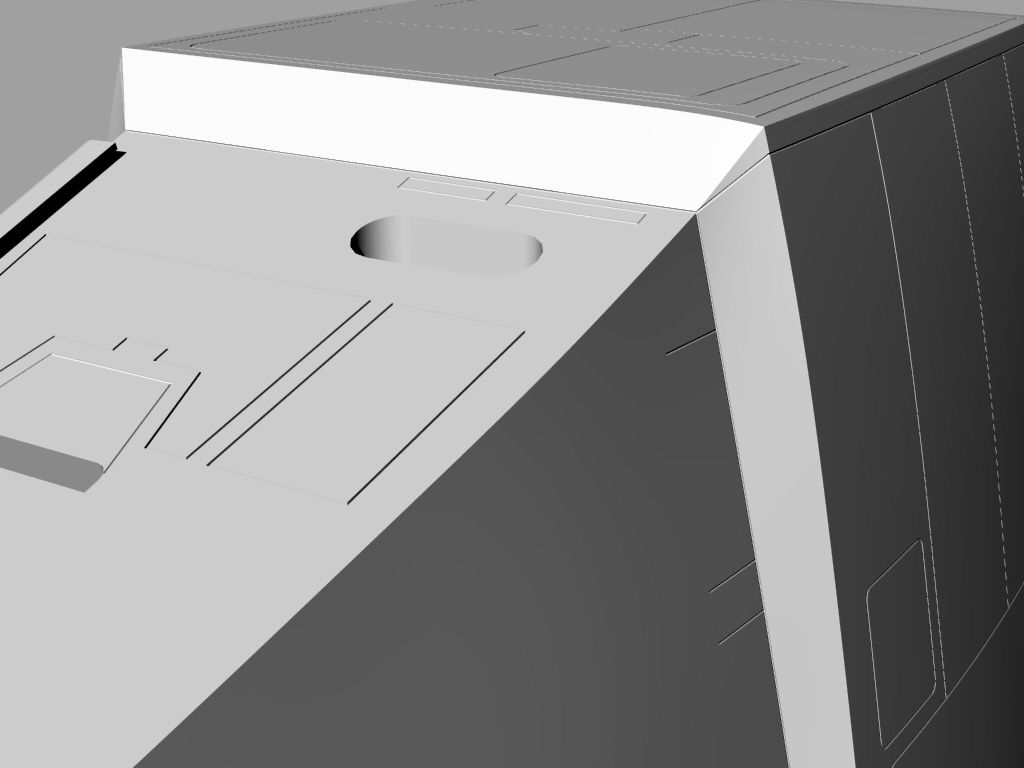
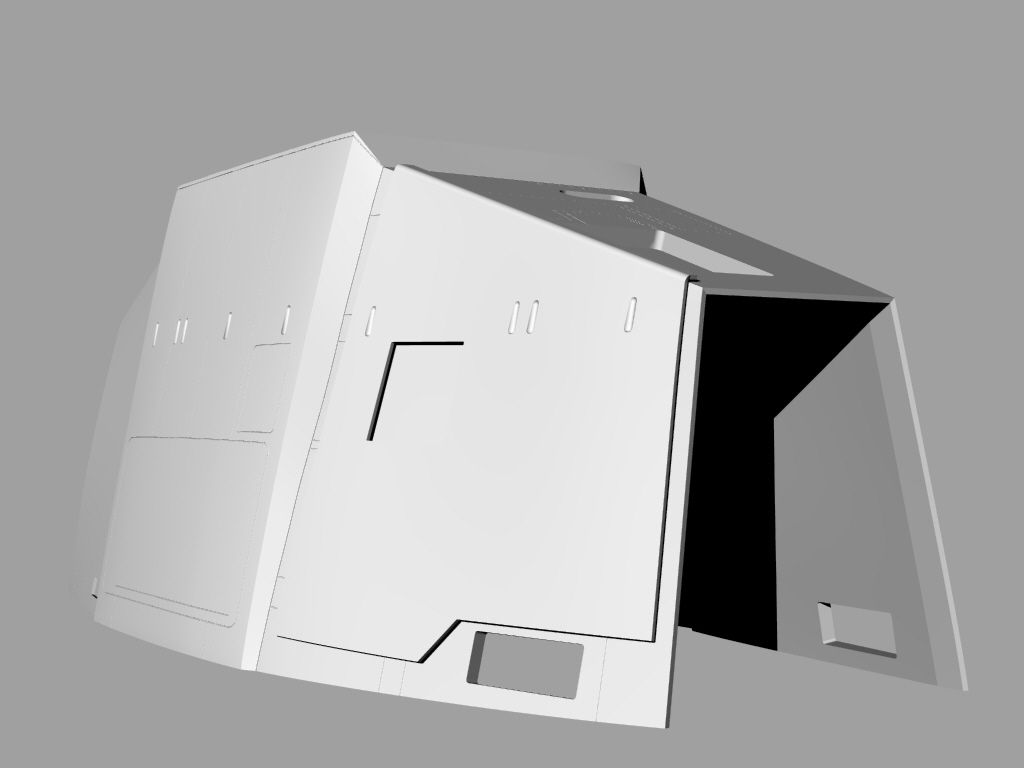
I used my 3D printer to print the hull in 2 halves. The 2 halves are now joined together, on monday I'll sand and smooth the joint and the whole hull then I'll finish to 3D model the side panels and the inside, then get everything 3D printed and glued together. The fun part will start then, gluing kit parts, rescribing the panels lines (I made them on the 3D model and on the 3D prints but I will only use them as a guide to get sharp lines).
More to come soon !


