I am right at this very moment trying to mask the inside grooves on mine with .75 mm masking tape....it's bloody frustrating.....
Rich
Thanks guys
And thanks to advice from Clancampbell a few months back I picked up .75 masking tape as he mentioned . It fits perfectly in the grooves and gives you those razor sharp edges, always nice to have something come out better than expected! (Also a shout out to Garbaron who has given me advice on the deflector dish and lighting over at SSM and hobbytalk - excellent work your doing!)
Here is the link Clancampbell gave me for purchase of the masking - its pretty hard to find it.
http://www.jammydog.com/micro_masking_tape.htm
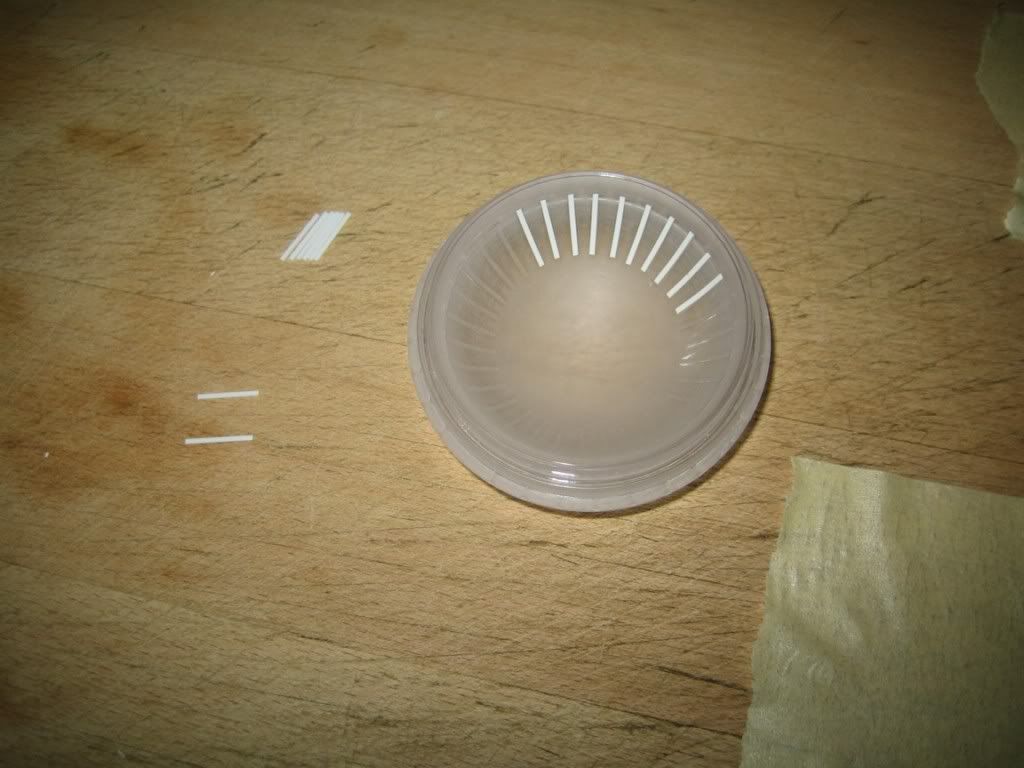
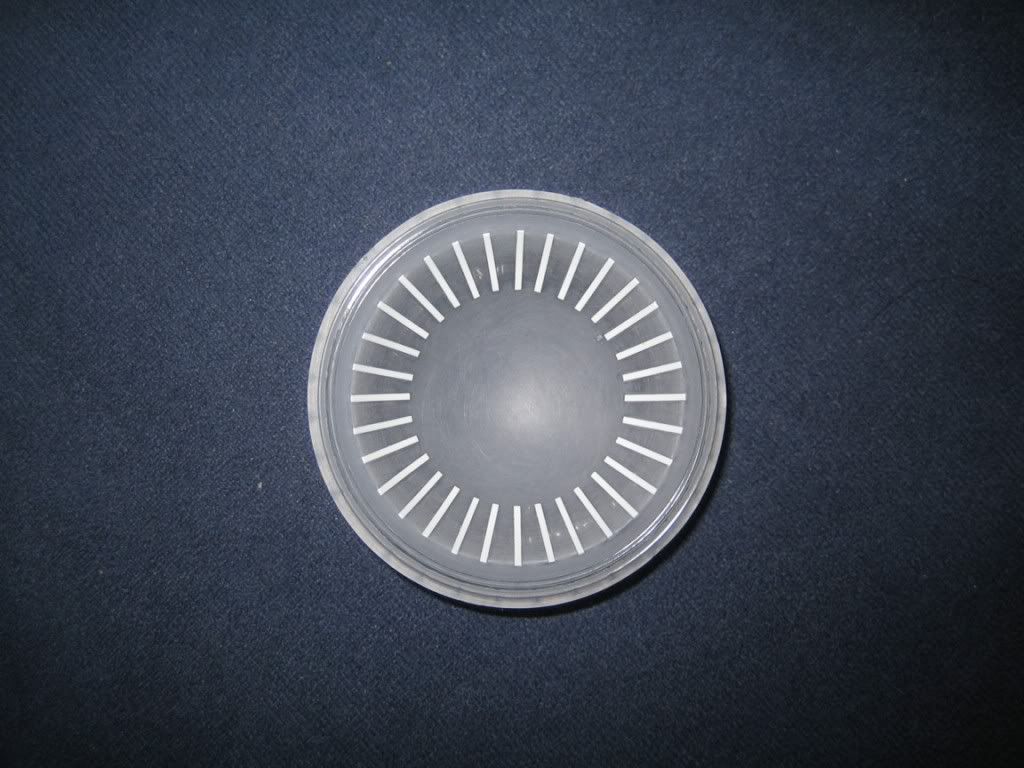
It IS frustrating as heck to get the grill masks laid properly though! Once I did a couple they started going in easy though, what I did was take a piece of the masking quite a bit longer than the grill, start on on end of a groove, wrap it on the back (inside) of the grill and get it stuck and started. I held the other end of the masking taught with one hand and used the dull edge of a thin knife in my other hand to push it down into the groove, small sections at a time until i got to the other end (quite a juggling act!!). Once each one was laid, I used an exacto to slice the excess off and create a sharp and clean stopping point on both sides of the tape. Be sure to go over the masking a few times with the knife pushing it down before you slice off the edges or paint. .75 tape is crazy thin, it stretches and breaks easy. Each grill took me about an hour or so to do with masking.
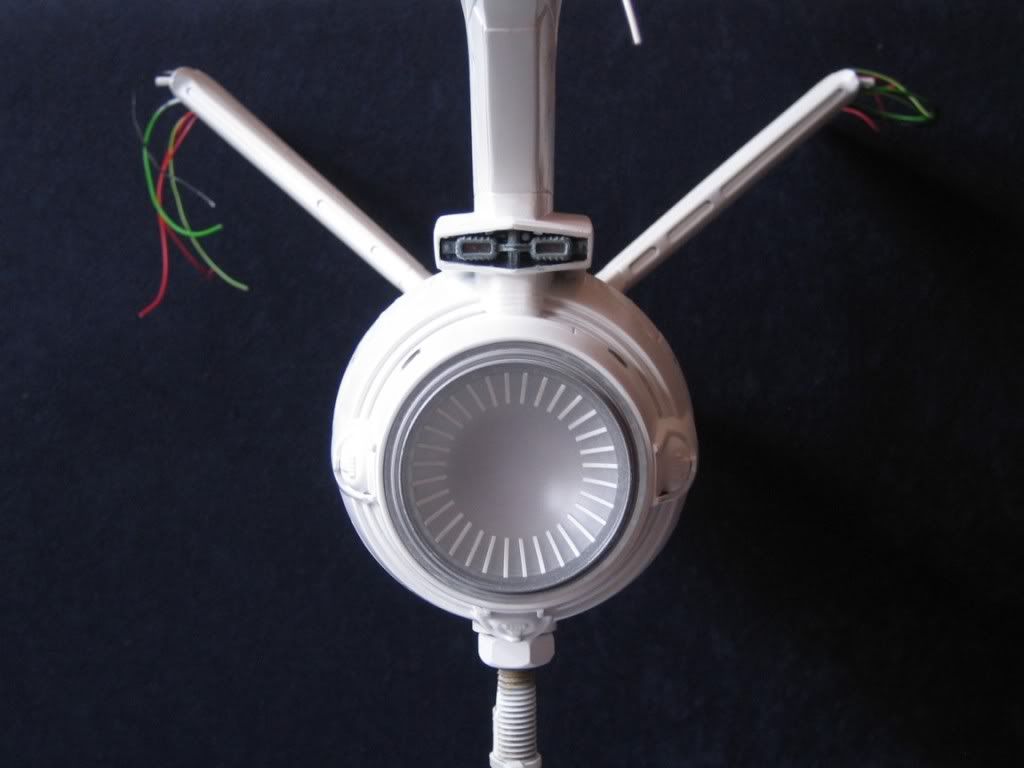
I used Gaia color clear purple lacquer (2 bottles - 1 per grill - needs multiple coats to get it even and thick rich purple) on the inside and model masters buffing metalizer gunmetal on the outside, both sprayed via airbrush. I had to thin down the gaia color considerable to get it to shoot well and the metalizer came out great after a buffing with a cloth.
I plan on dipping my LED's for the warp grills in the purple soon, I have the trek modelers lighting kit.. still need to experiement with getting the lighting even. I hate hotspots!!
Dont ever doubt your skills guys, this was the first time time i have ever used masking, ever used an airbrush or even built a model in over 20 years since i was a kid. I took a few weeks just to get these done, as with anything taking your time experimenting pays off in spades! Although i do lay awake at night worrying about the aztecing and strongback detailing thats coming - hahah!
.
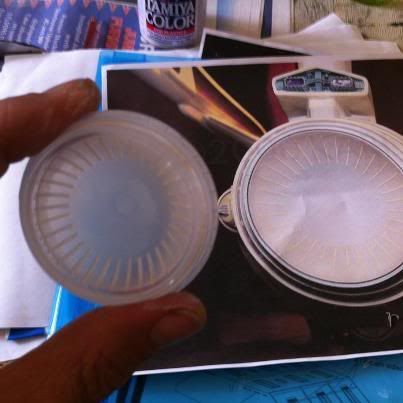
") . Clear lacquer purple sprayed on the inside.
. Clear lacquer purple sprayed on the inside.