1:1 Millennium Falcon Cockpit Replica - Group Build

This looks like Episode 7 cockpit entrance. IIRC, ESB didn't have this detail.

Cockpit Entrance.jpg

https://www.facebook.com/media/set/?set=a.10152929692867344.1073742300.58690437343&type=3
 
Last edited:
WOW! Great pic! It's DEF from the EPVII layout. Whether fortunate or unfortunate we never saw the cockpit entrance - I'm not sure what's canon and / or if this leaves our build open for interpretation.

I had another idea for this area based on this part of the cockpit corridor. I really like the simplicity of this area:

http://ladymanson.com/galleries/movies/MoviesRS/displayimage.php?pid=107450&fullsize=1

If we go with the EPVII version - WOW... thats a LOT of greeblies to indentify and/or create. I'm looking forward to seeing more pics!

What do you guys think? EPVII or a more simplisitic look and feel from ESB?

Thanks for posting! :)
 
Last edited:
I'd say go with the simpler version but construct it so you can keep your options open with easily replaced panels.

I'll def come up with a few designs before jumping in head first. As I mentioned, I really like the simplicity of the ESB corridor greeblies and panel dressing(s). There are a few elements from EPVII entrance that I really like and will def use.

HOWEVER... knowing me, I'll probably create BOTH versions. Because I think there is still some free standing space in my house I haven't filled yet! ;)
 
To hang the panel, my go-to is almost always a French Cleat. Nothing better for hanging stuff. I've got 13-foot-long, custom double-layer CD shelf held up by four screws in two french cleats - probably holding a couple hundred pounds. No screws visible from the front, super easy, level, and strong.

Once you wrap your head around which piece goes where, you'll never use anything else.

Here's a page with a good schematic and a video showing how easy they are to make: http://www.generationhbc.com/http:/www.generationhbc.com/helpful-hints/why-i-love-the-french-cleat
 
Glad to see my suspicions of Rey, at least, piloting the falcon to be correct!
OT: Ever impressed by the detail that's going into both the build and this thread, love it :)
 
Hi Gang,

Some updates. It's been a brutal couple of days with the temps in the high 90s with 70-80% humidity making it feel 106-112! But...

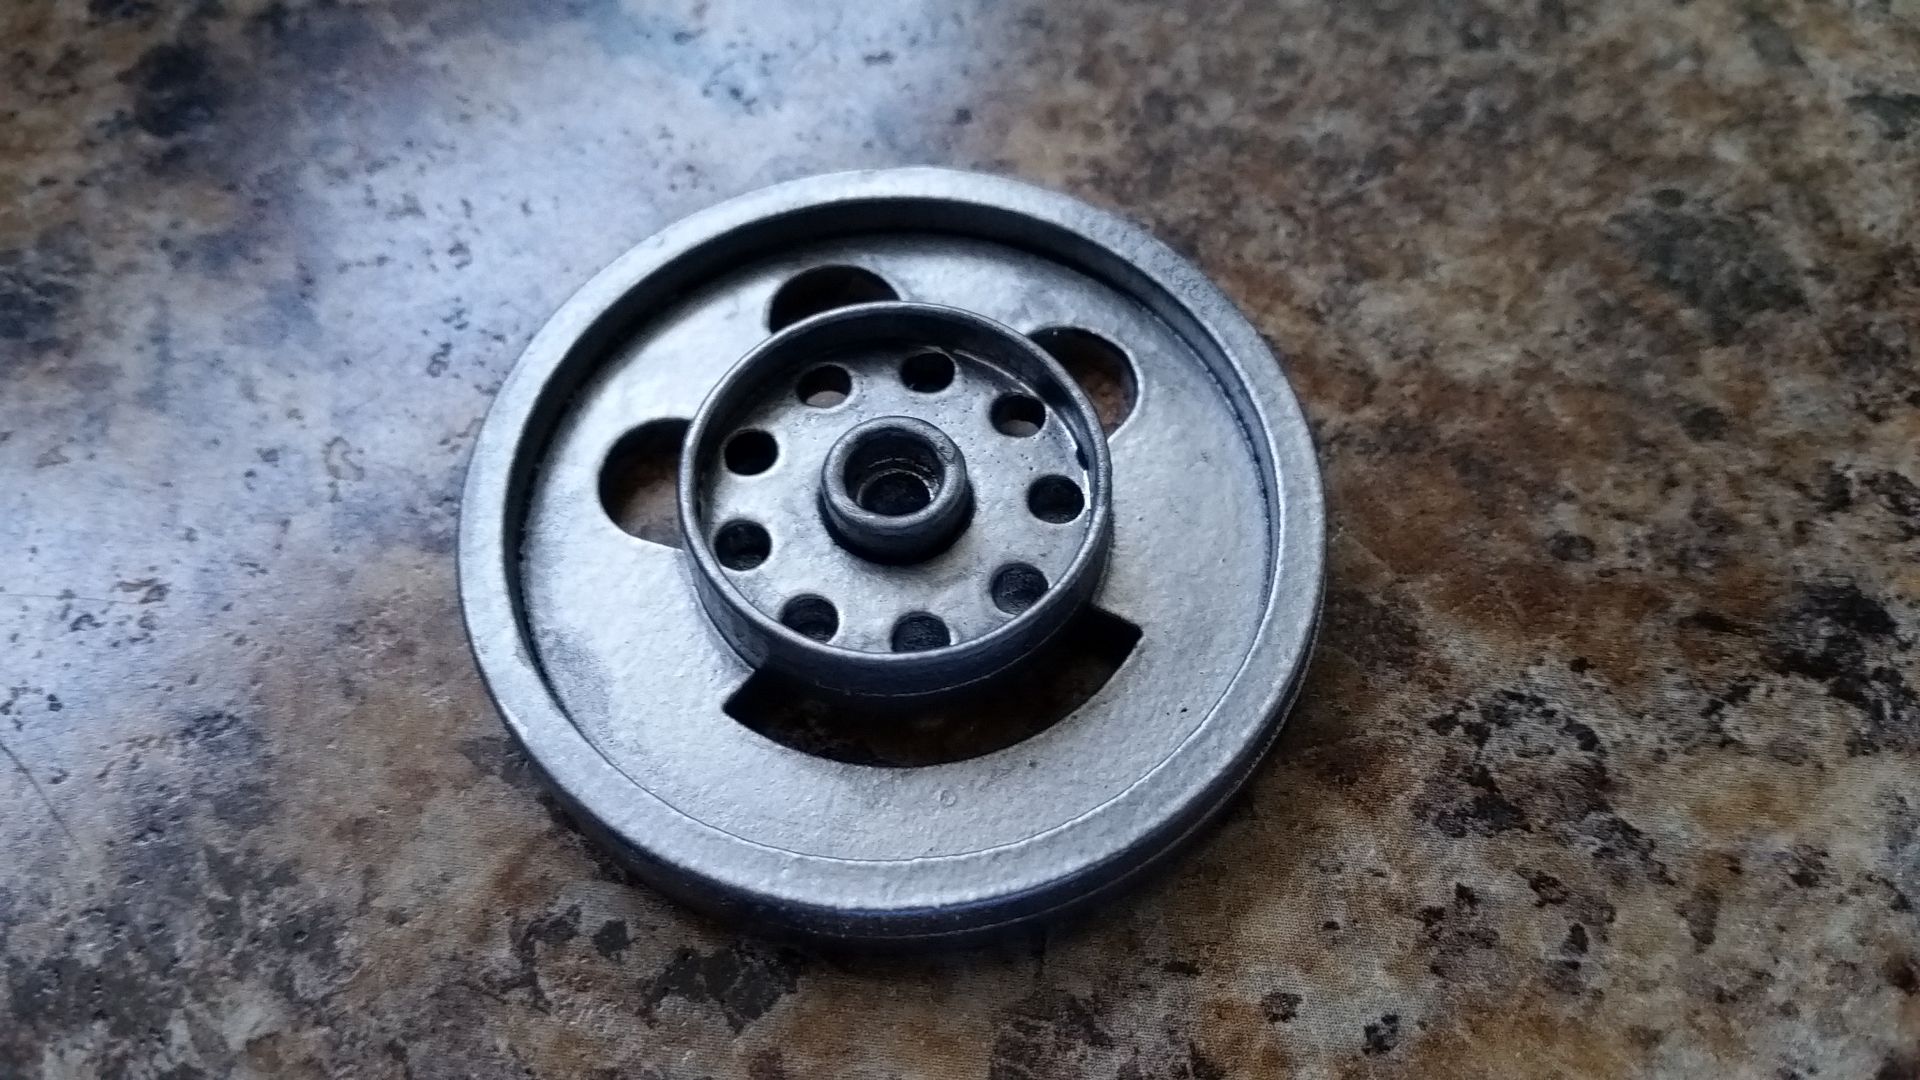
Weathered this little
20150708_184111_zpsh26nnupm.jpg


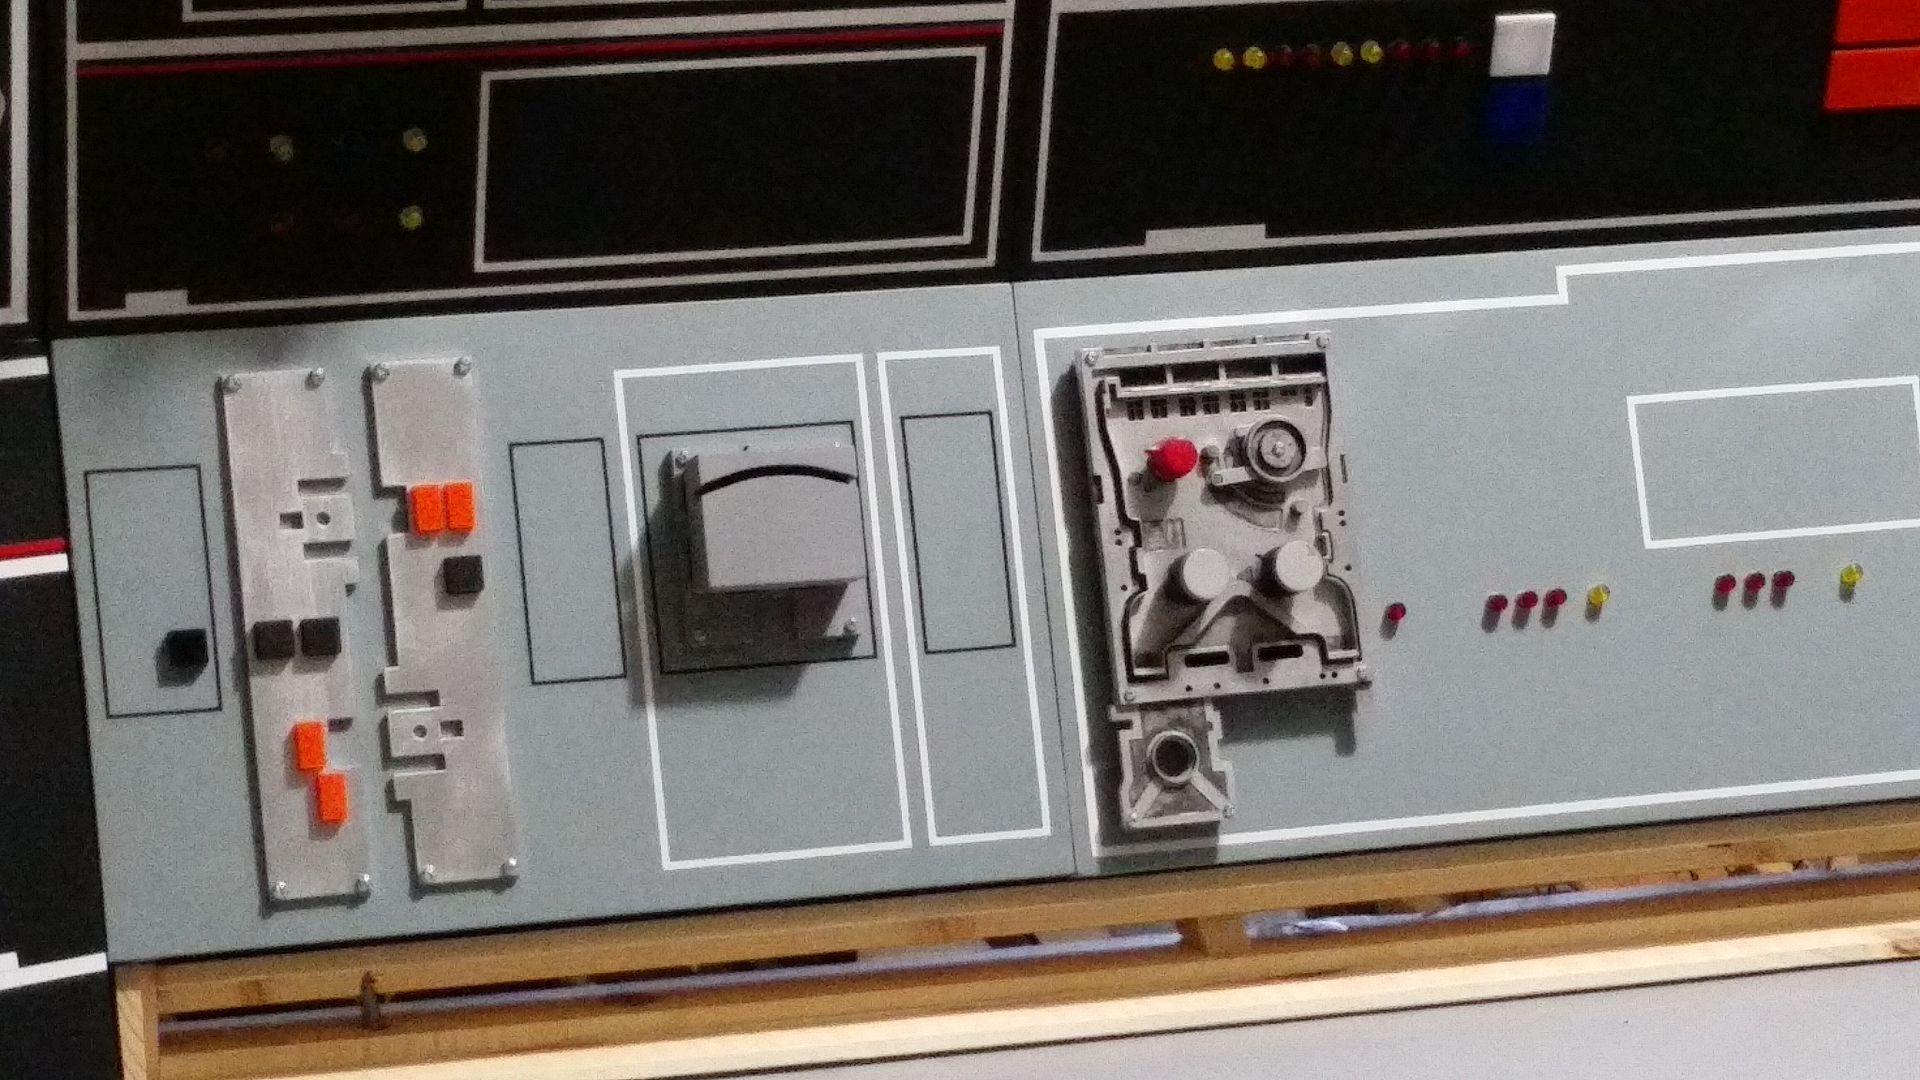
Mounted this greeblie - still need to add the rockers (which need to be cast) and a few other little details
20150708_184139_zpsv0d8l06z.jpg


20150708_184158_zpss5ykox6j.jpg


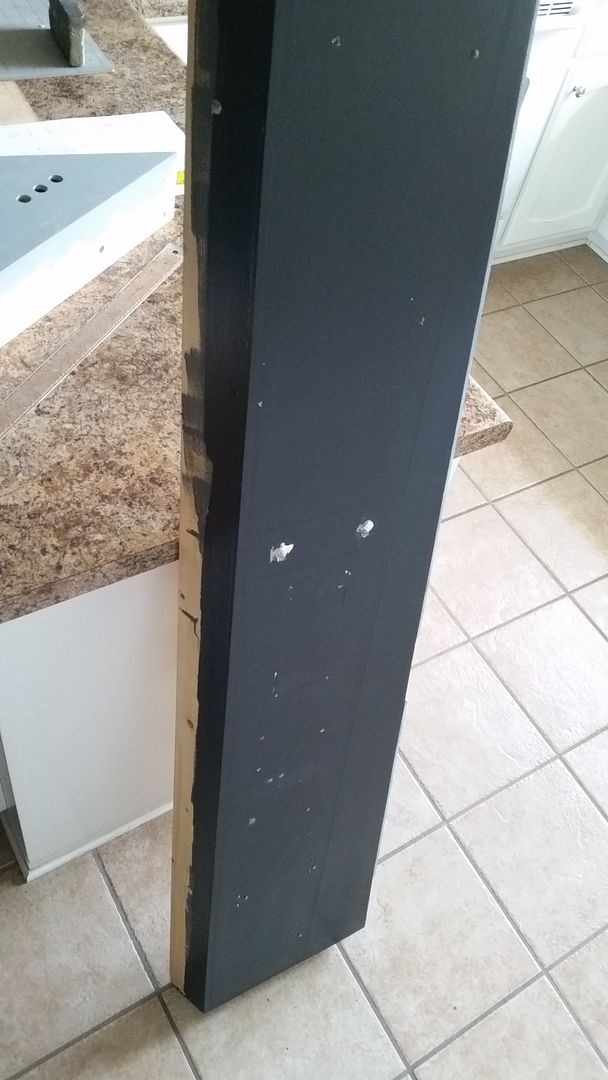
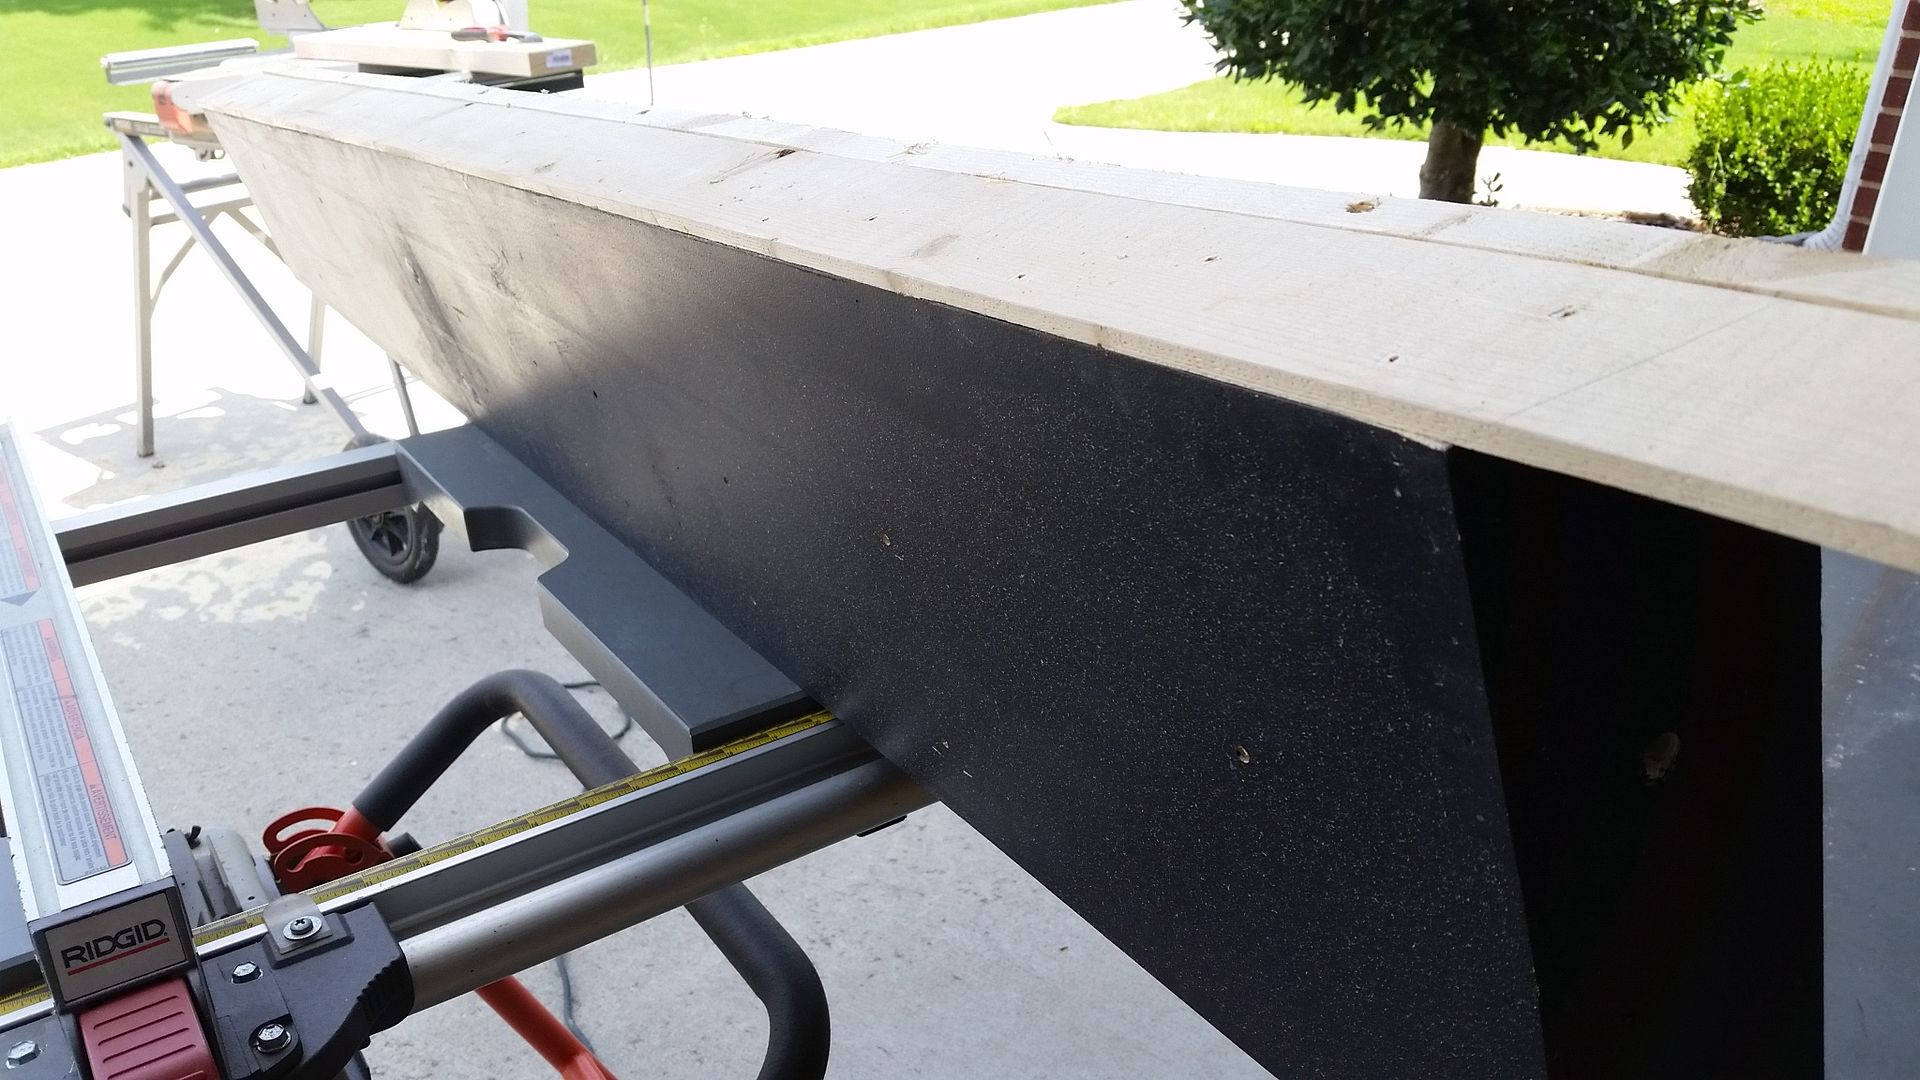
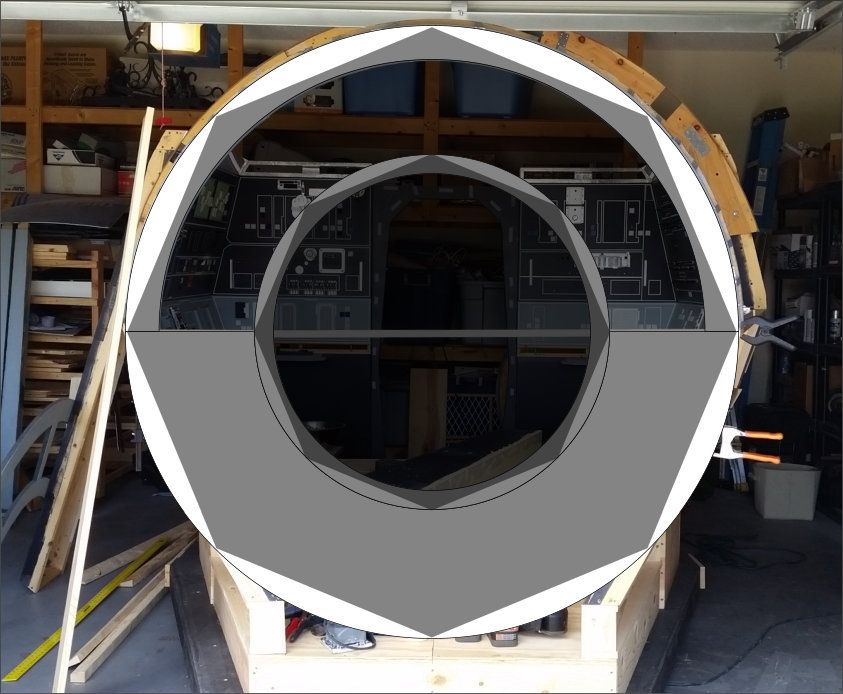
Believe it or not... this is actually the beginning of the new canopy! When I originally created the upper nose panels I didn't realize the top of the panel had a 15 degree pitch towards the center of the cockpit. So I'm adding that now...

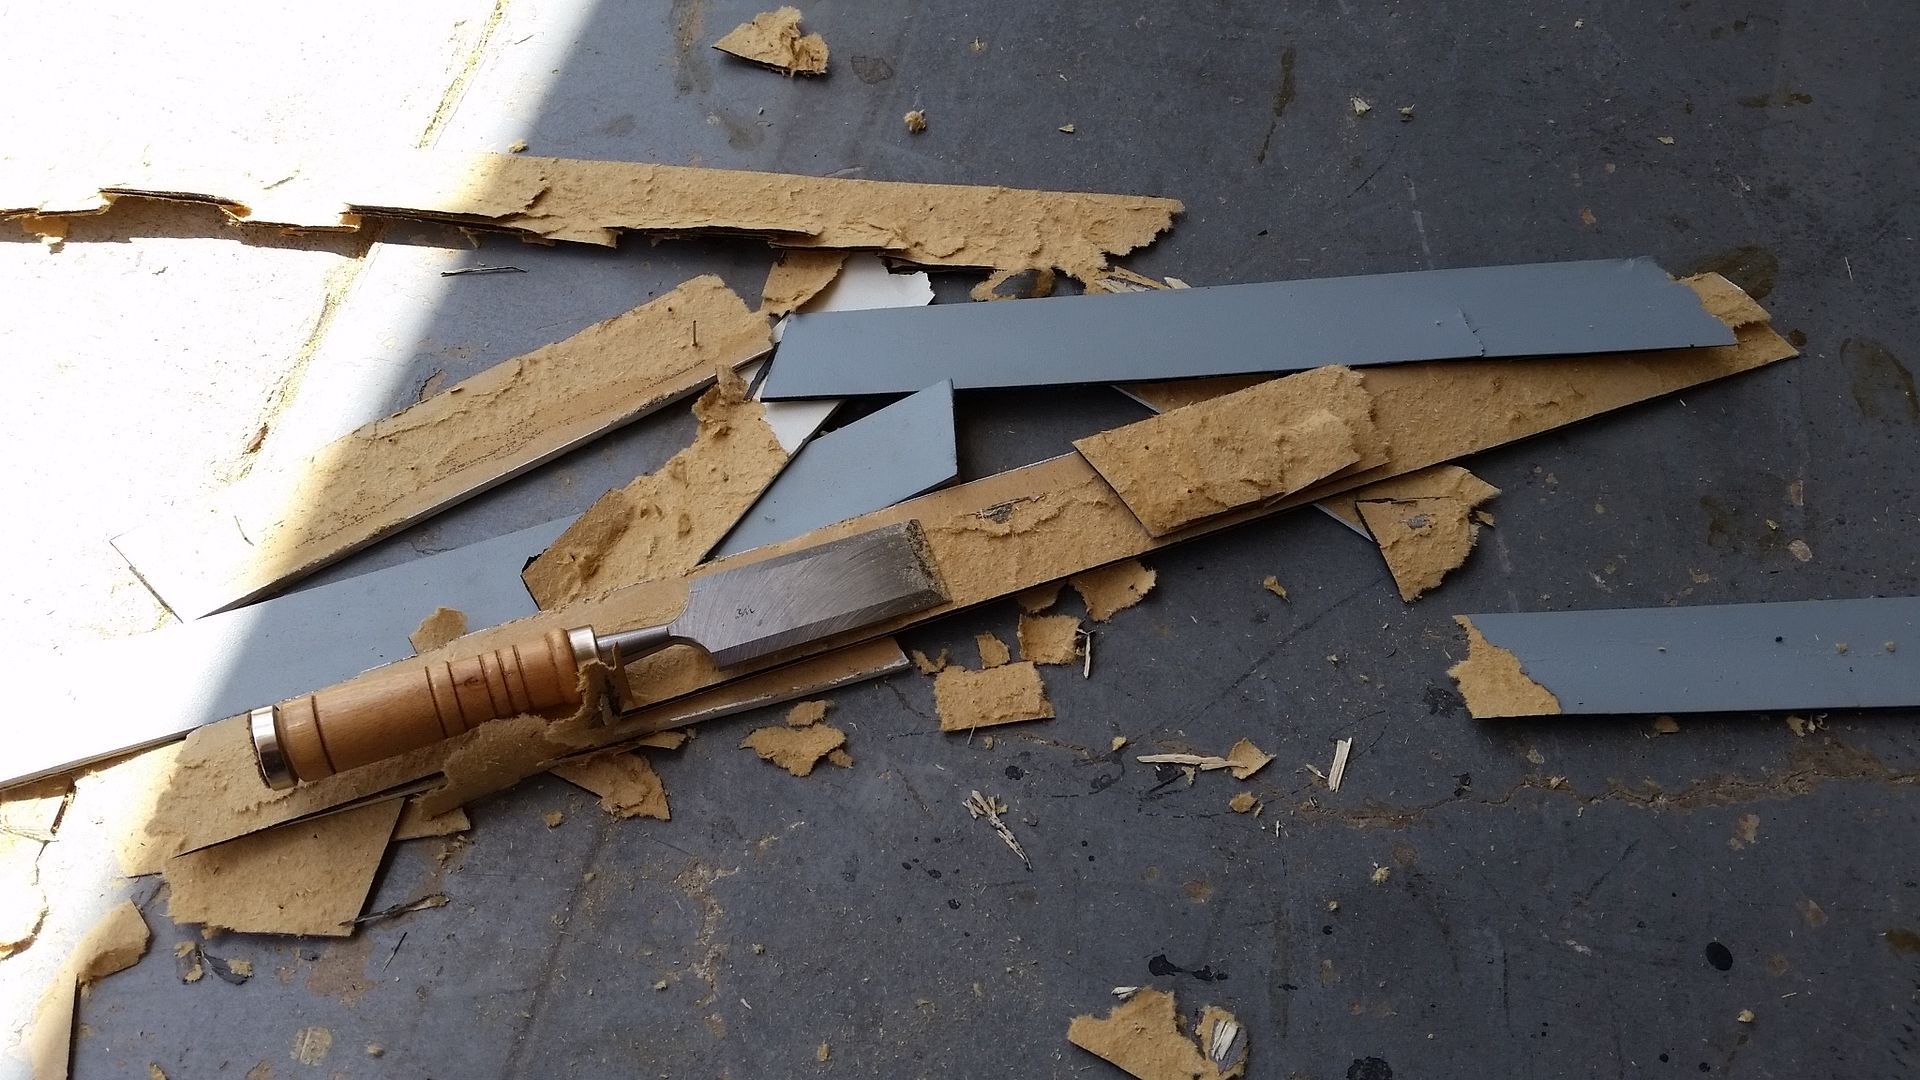
Strip the panels.. again
20150711_111635_zpsfazmzgum.jpg


Remove the window channels
20150711_114933_zpshzdx5wjn.jpg


Plane and sand smooth
20150711_114938_zpskkjrtbdb.jpg


20150711_123322_zpskkwhsgwz.jpg


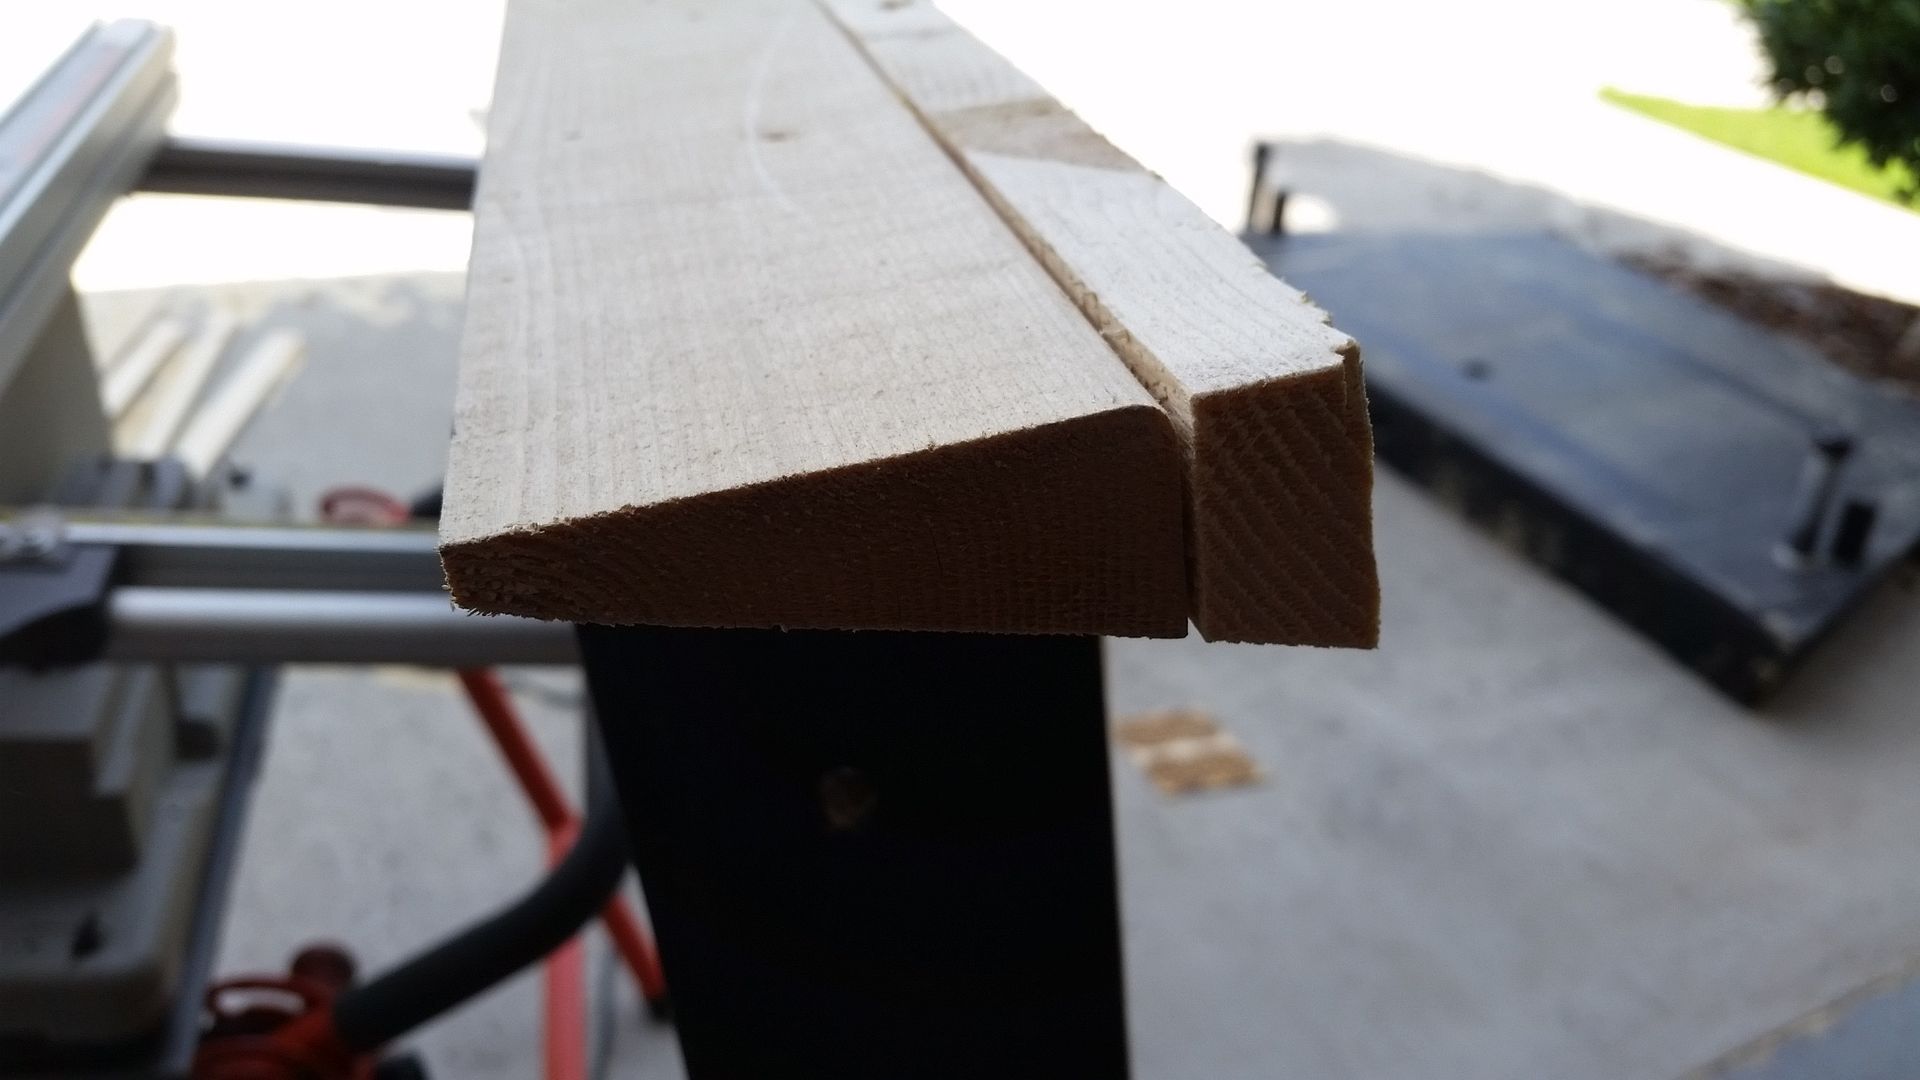
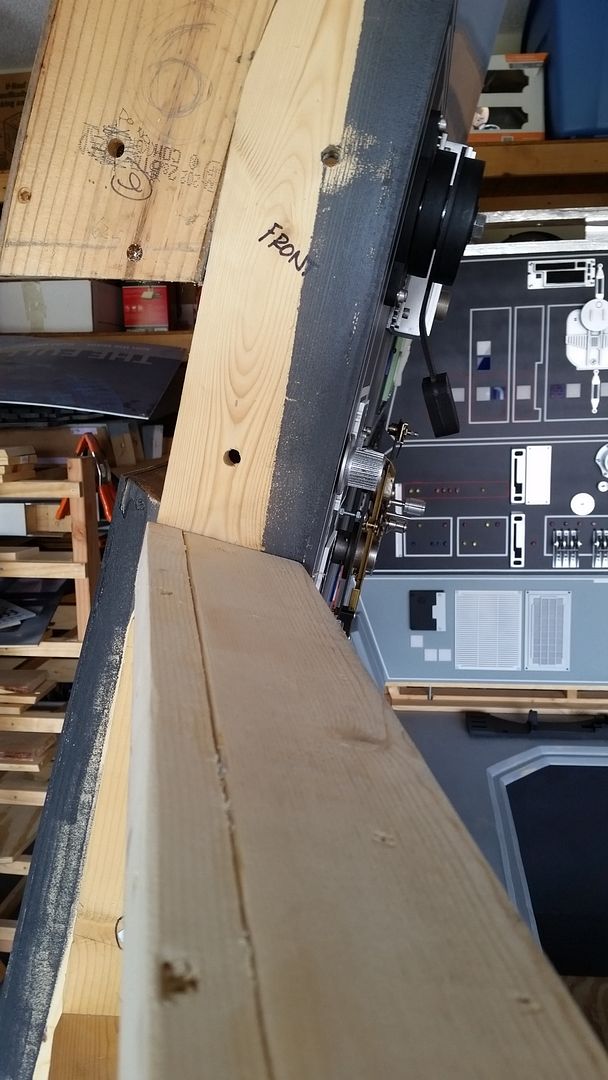
I then ripped a 2X6 at the 15 degree angle. This was a killer to do because I had to make 6 different cuts so the blade could handle the thickness of the wood
20150711_152020_zpswsrhlu9s.jpg


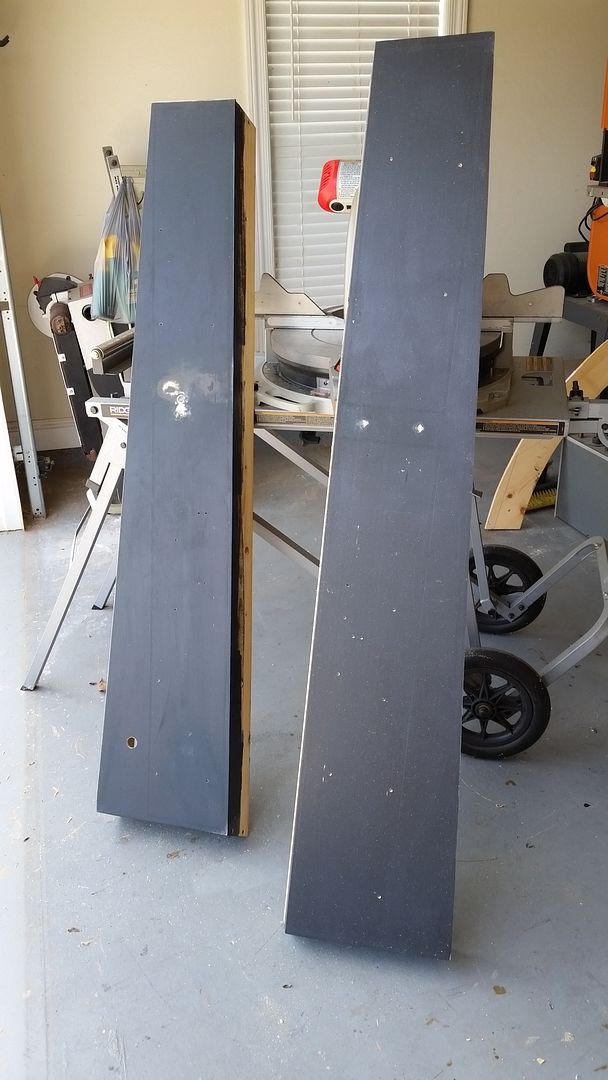
What appears to be a window channel is actually two separate pieces joined together. For this cockpit - there will not be any windows
20150711_152031_zpstpfwdguy.jpg


20150711_152024_zpsgauyrusv.jpg


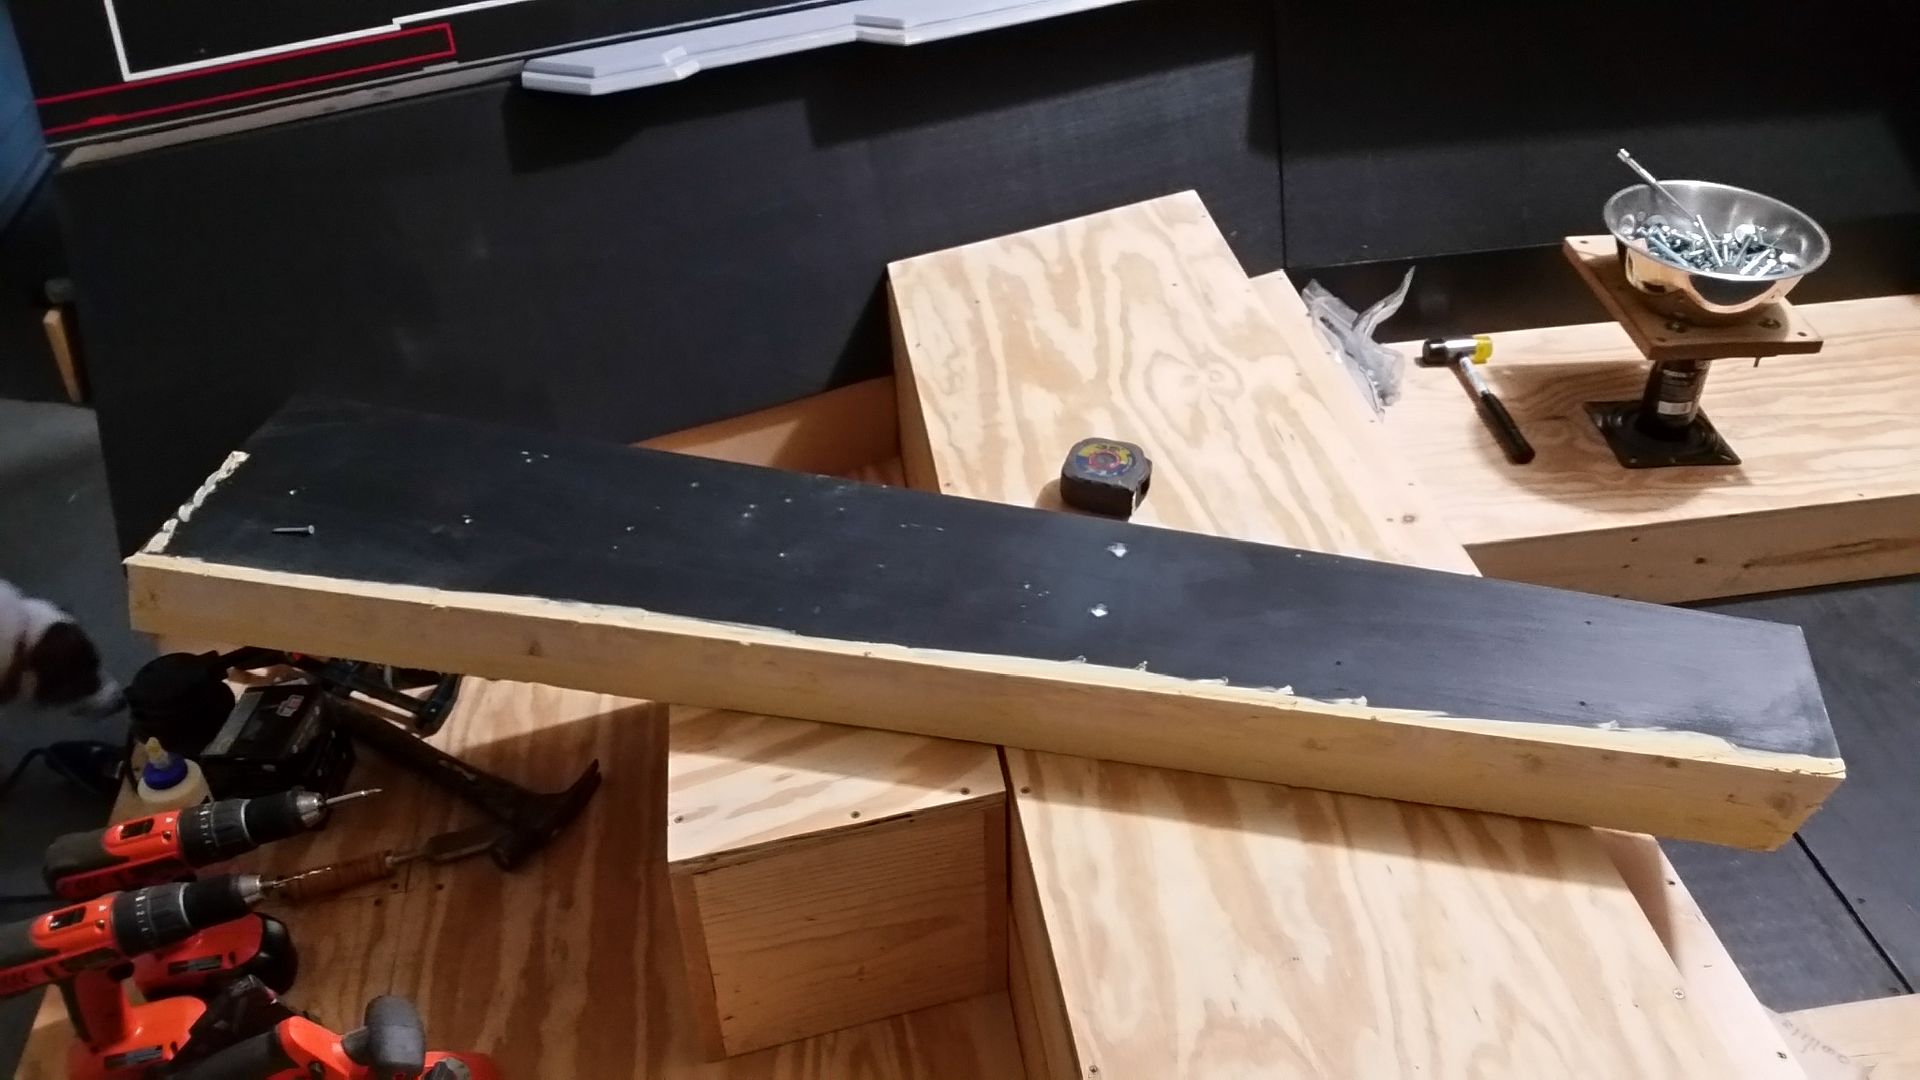
Cut the ends off, sand smooth and ensure everything fits
20150711_153111_zpsozqqrcmx.jpg


Here you can really see the 15 deg angle
20150711_153116_zpsrnakpzqt.jpg


20150711_153121_zpsl7hrjvjr.jpg


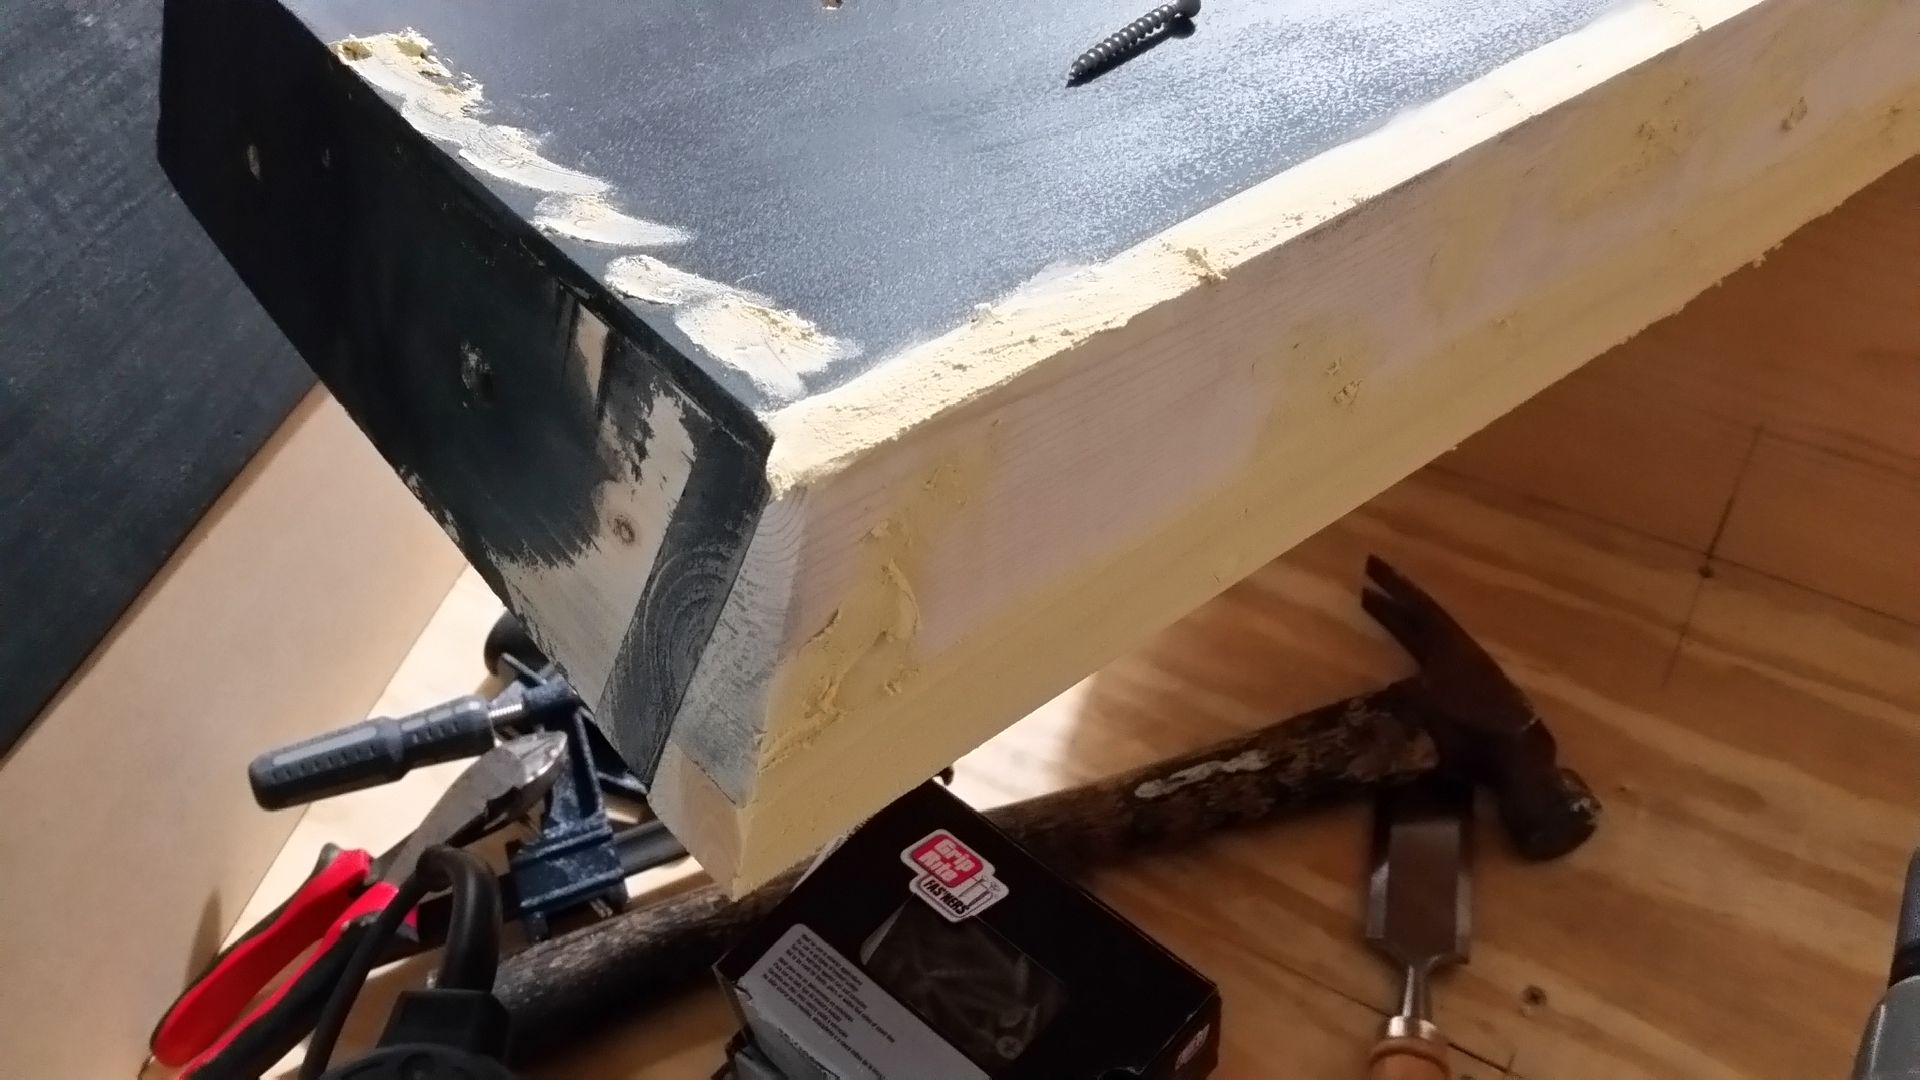
That channel is VERY deceptive
20150711_153131_zpsjon4nkrp.jpg


Load it up with filler
20150711_181929_zps0ca98hqf.jpg


20150711_181942_zpsqeozkma9.jpg


Back to the oven to continue on Han's side...
 
Hi Gang,

Well... other than being to hot to work... I've been looking at the nose section and there are some MAJOR problems. The nose cone skin will NOT fit with the current nose panel / platform configuration.

As you can see at the bottom - the new nose platforms currently stick out from the bottom of the window
Window%20Issues_zpshiyi6h53.jpg


I thought I accounted for the differing angles. So... the nose panels and nose platforms will HAVE to be readdressed IF we're to do this right. There's no other way around it unless we want an odd looking piece of junk - that aint happening!

I'm horribly frustrated and I'm calling it a day! One step forward 10 steps back! UGH!

EDIT: At this point I'm not setting anymore deadlines or milestones
 
Last edited:
I'm horribly frustrated and I'm calling it a day! One step forward 10 steps back! UGH!

Ya'know what, it's times like this I find it very helpful to step back, think about what has come to pass, and then consume large amounts of beer!!! :cheers

"...this too shall pass."
 
I'm horribly frustrated and I'm calling it a day! One step forward 10 steps back! UGH!

I had wondered how this particular problem might work out but I have every faith that you can solve this! You've achieved so much Awesomness so far, I'm sure a man of your abilities can deal with this... its only wood! :) Keep up the good work :thumbsup
 
Greg, I have to ask.

Have there been any car accidents out in front of your house on days when you have the garage door open?

- - - Updated - - -

and now you know why the cockpit from the Holiday Special had cutouts for Peter Mayhew's legs. Ahh, reconciling sets with models is fun, huh?
 
Breathe by the nose for the love of...:D Yep, stand back and re-group that's the way to do it. I know you'll find a solution, but for the moment, a good coffee and a big piece of Belgian chocolate would be the medicine!
 

Your message may be considered spam for the following reasons:

If you wish to reply despite these issues, check the box below before replying.
Be aware that malicious compliance may result in more severe penalties.
Back
Top