1:1 Millennium Falcon Cockpit Replica - Group Build

Falcon Cockpit Schematic.jpg
Hi O,

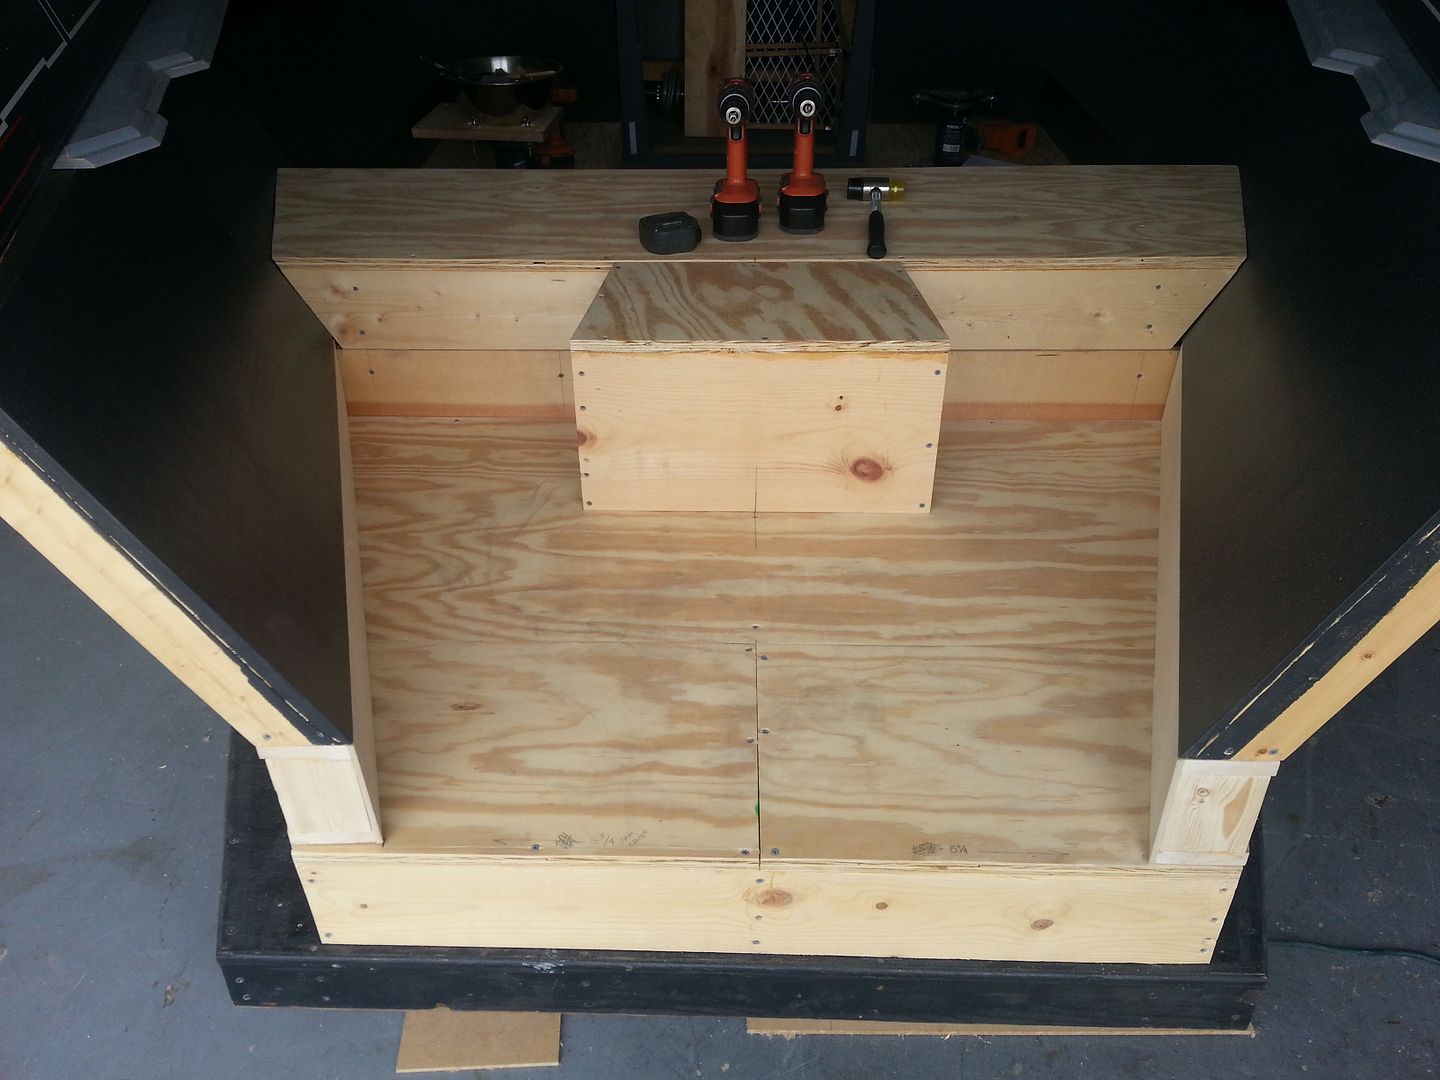
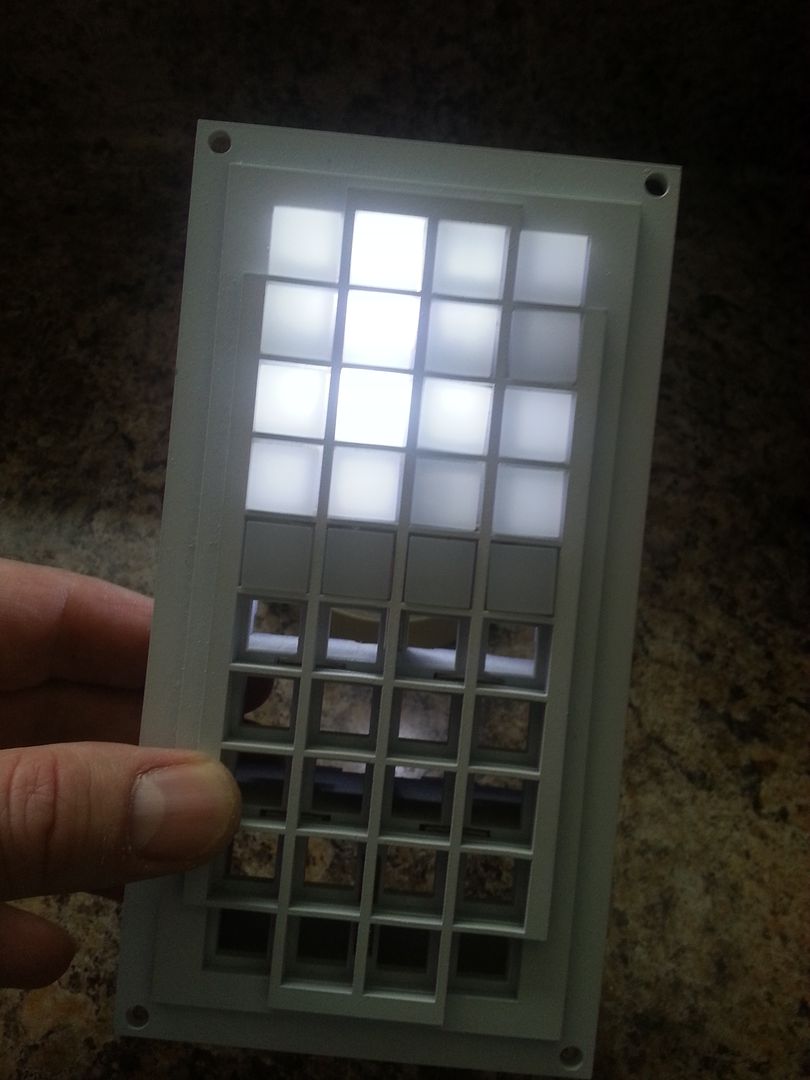
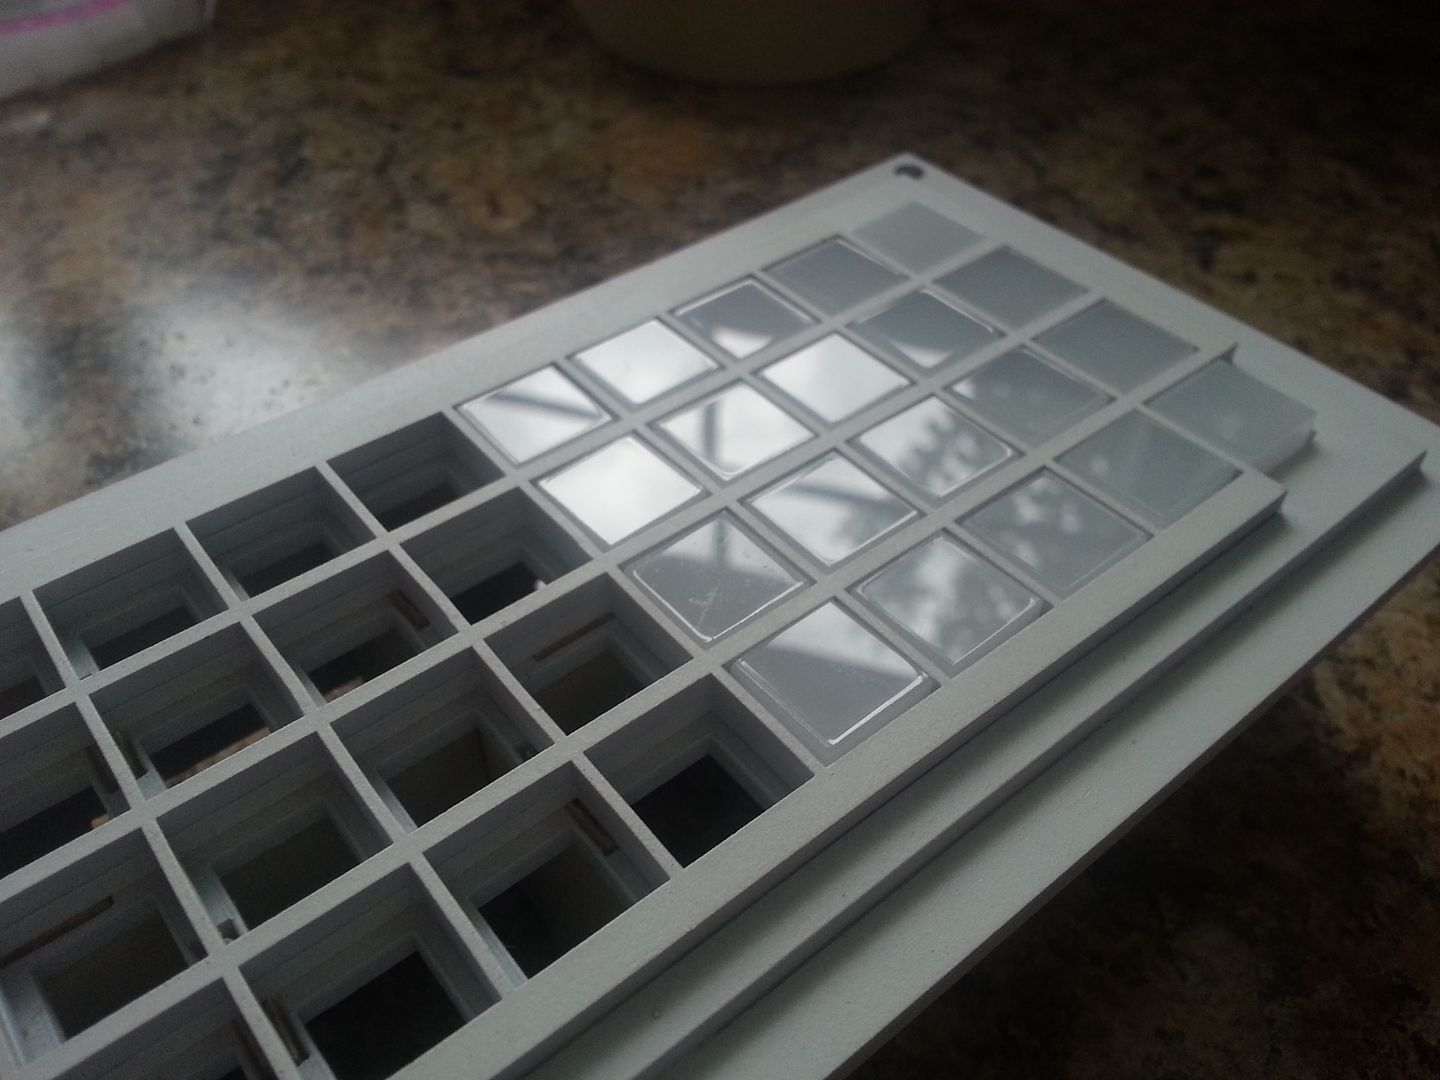
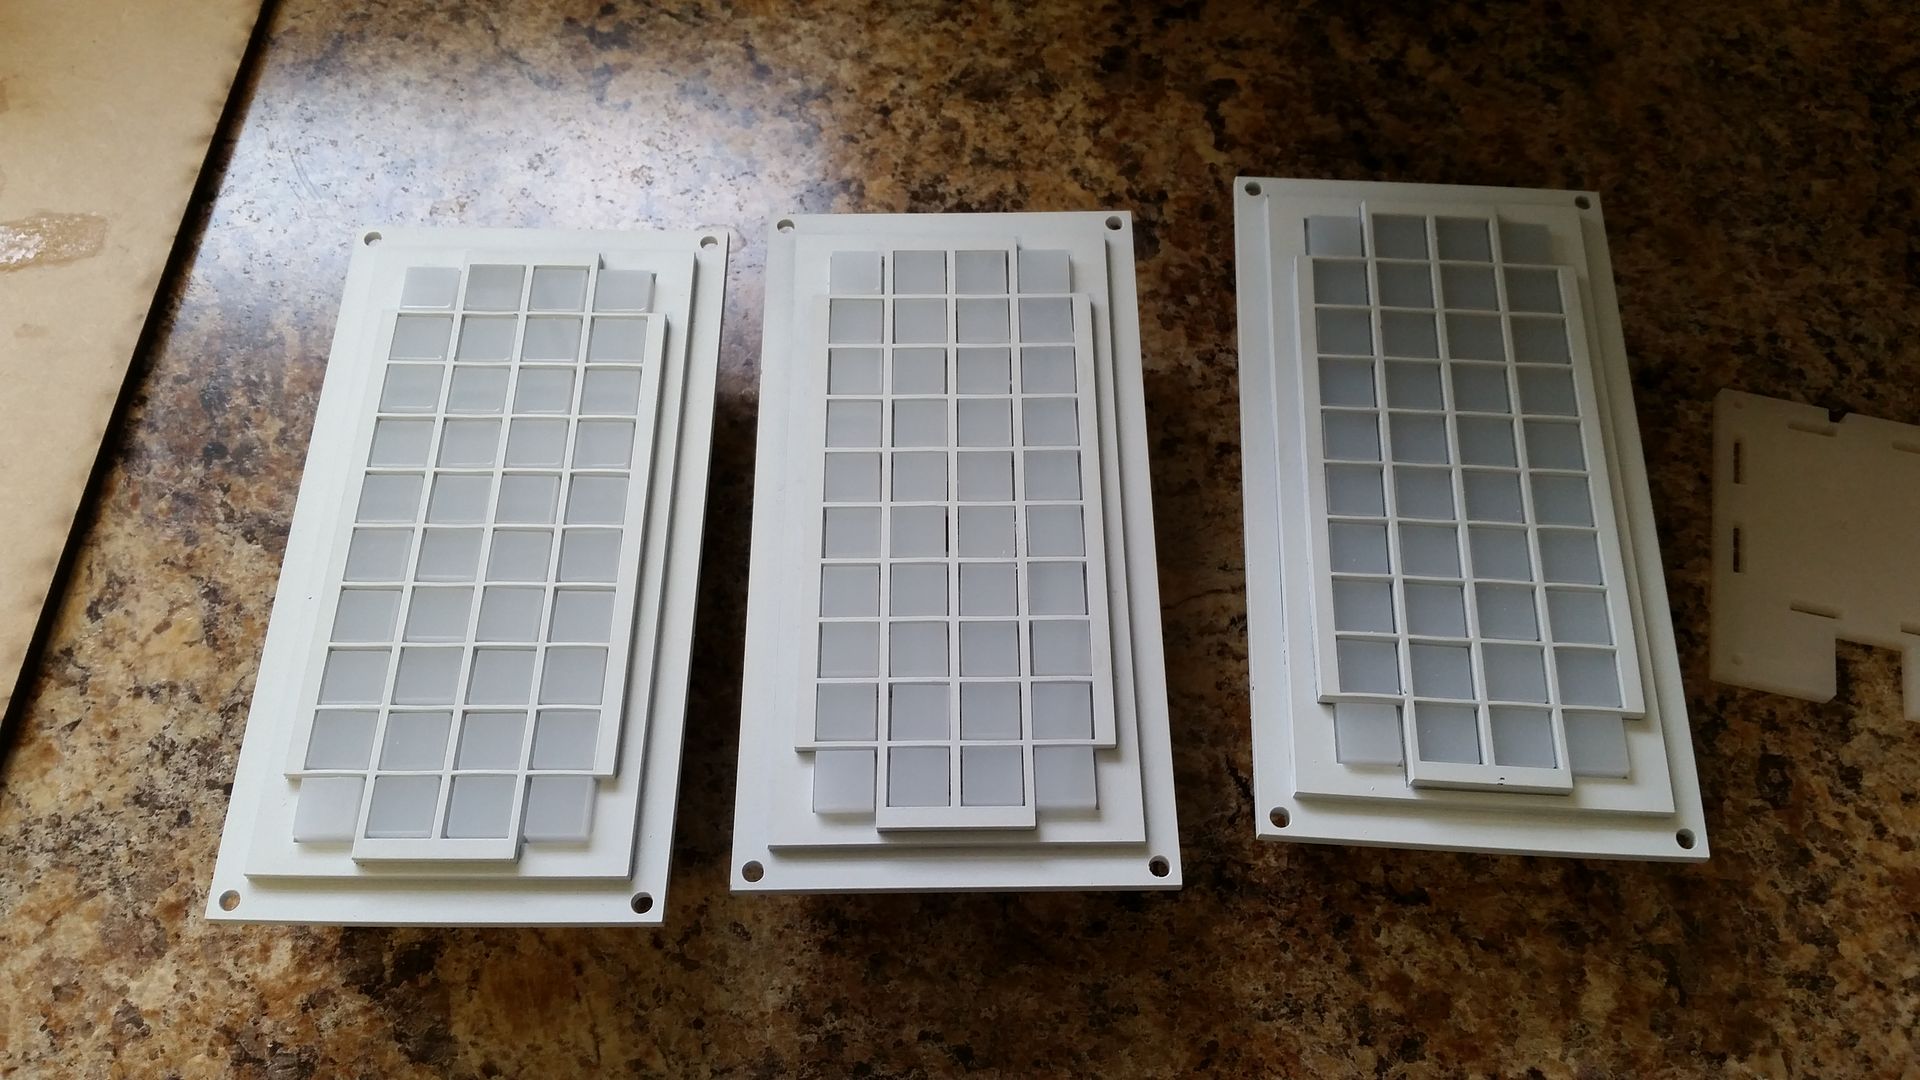
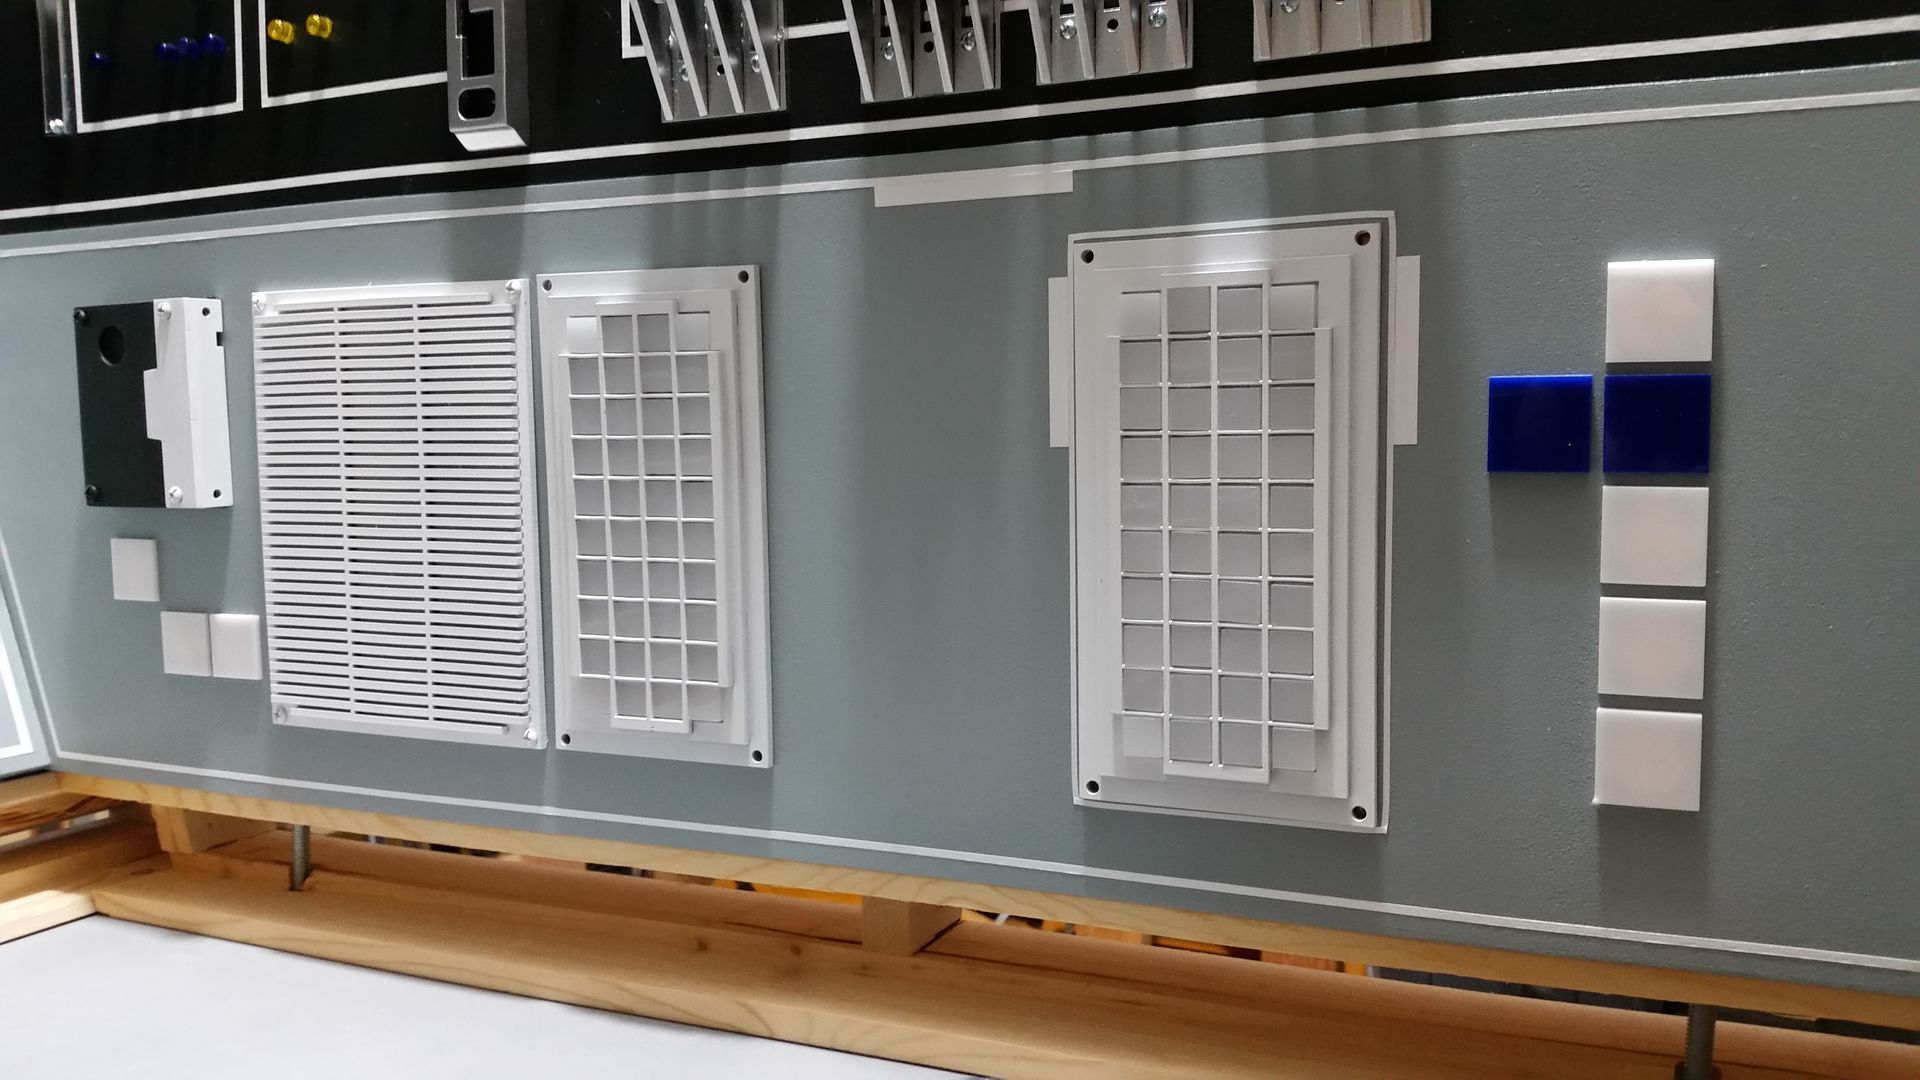
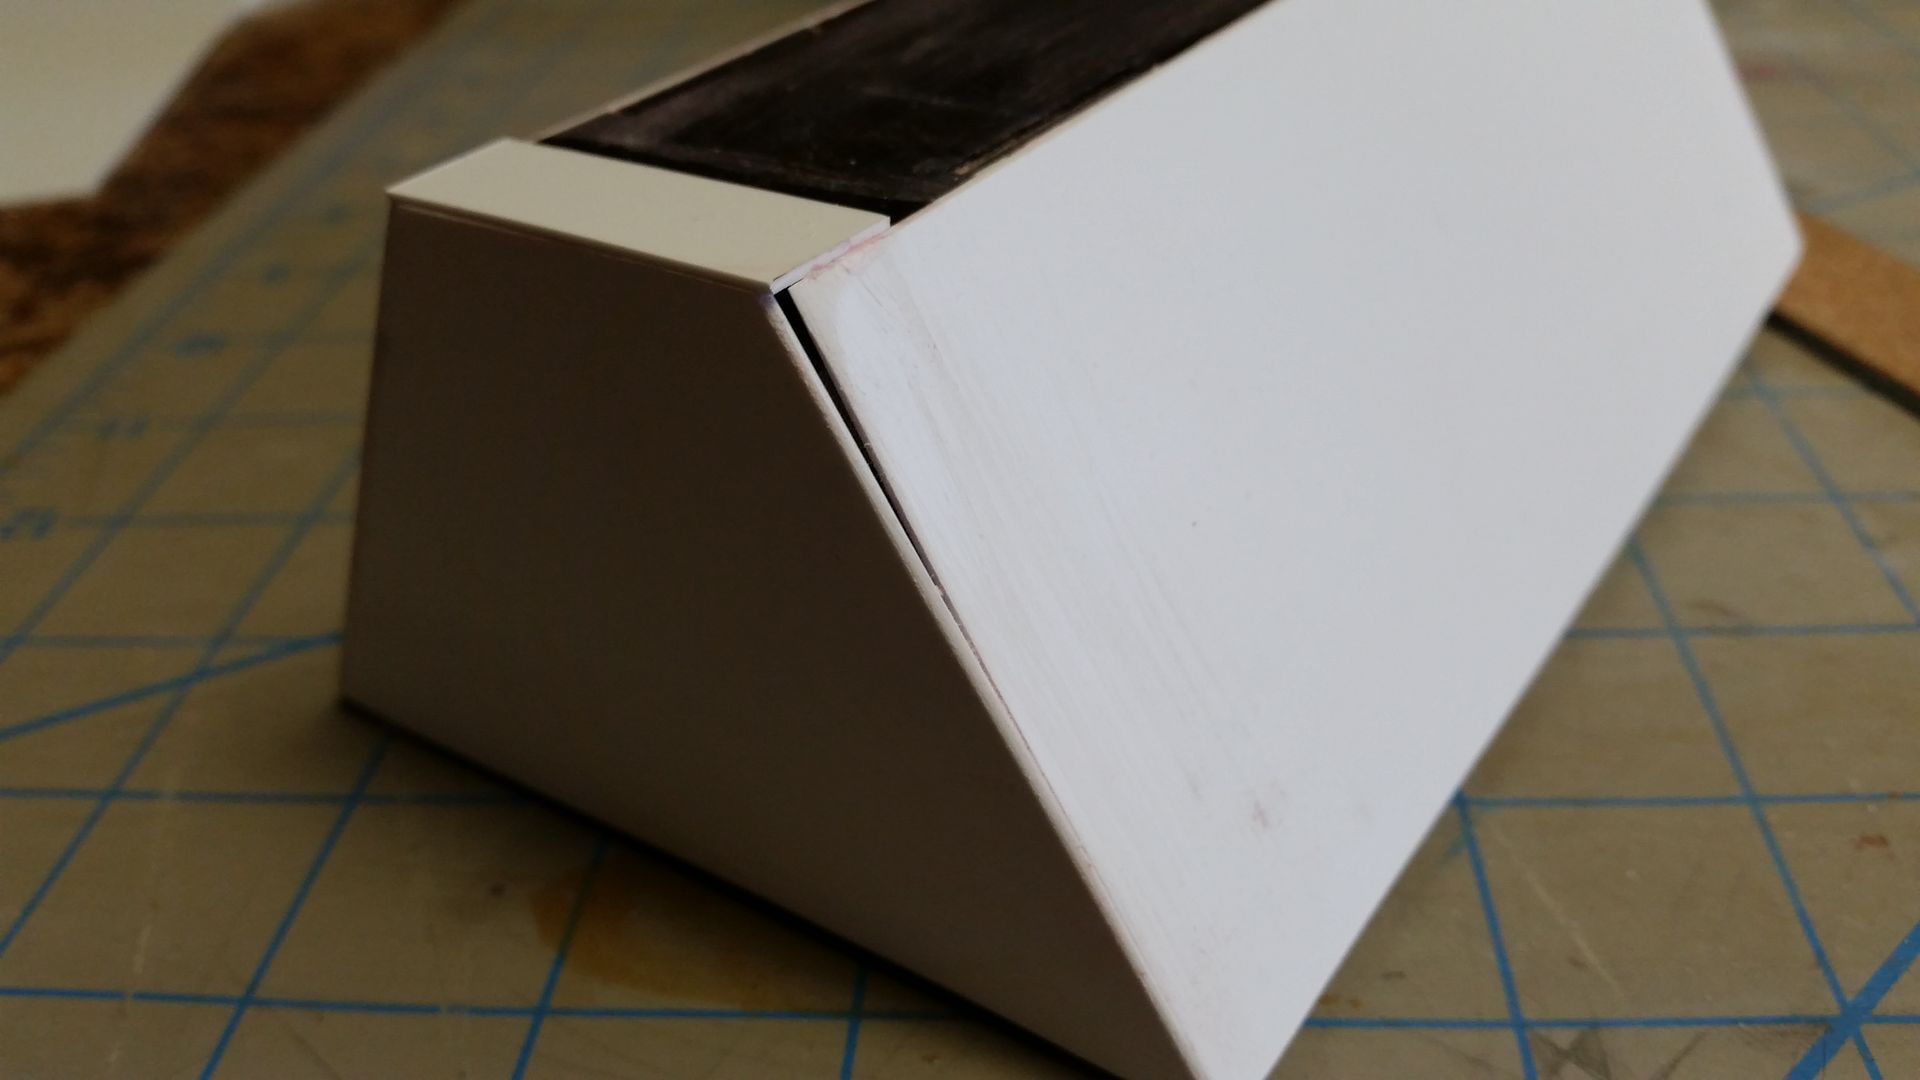
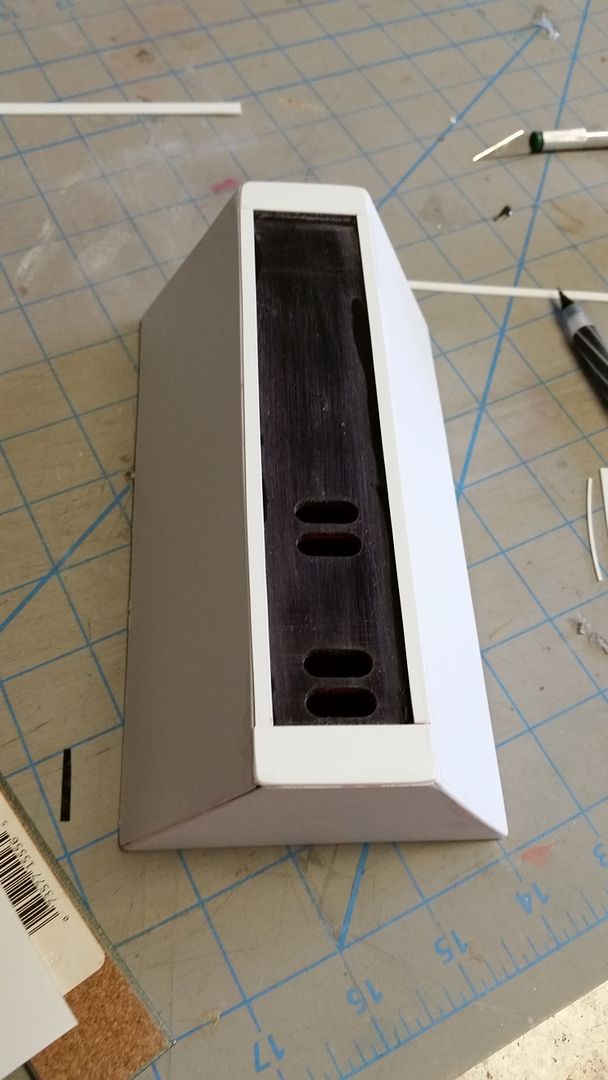
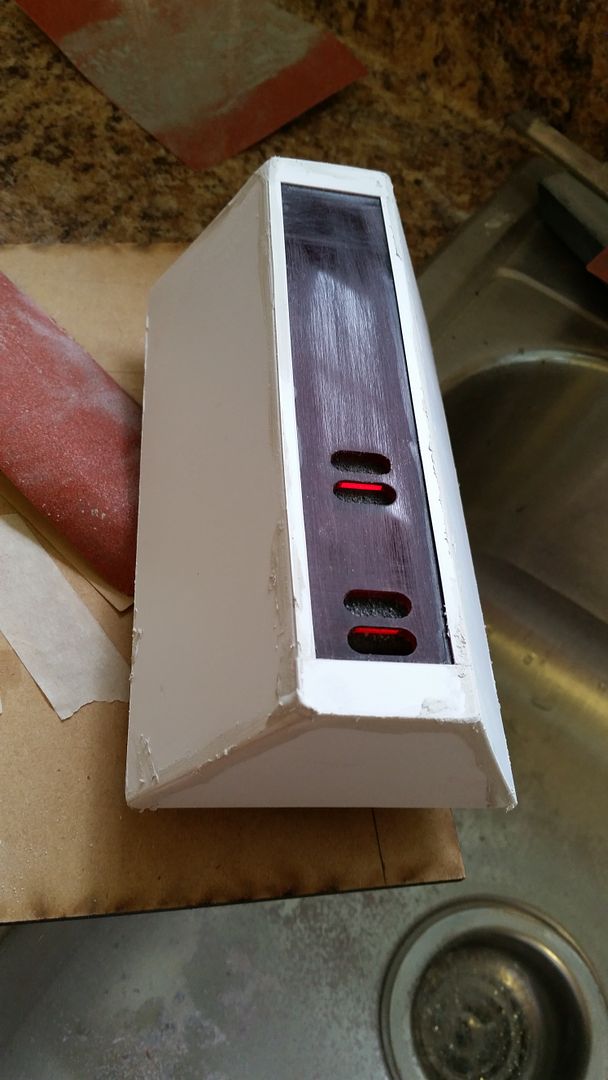
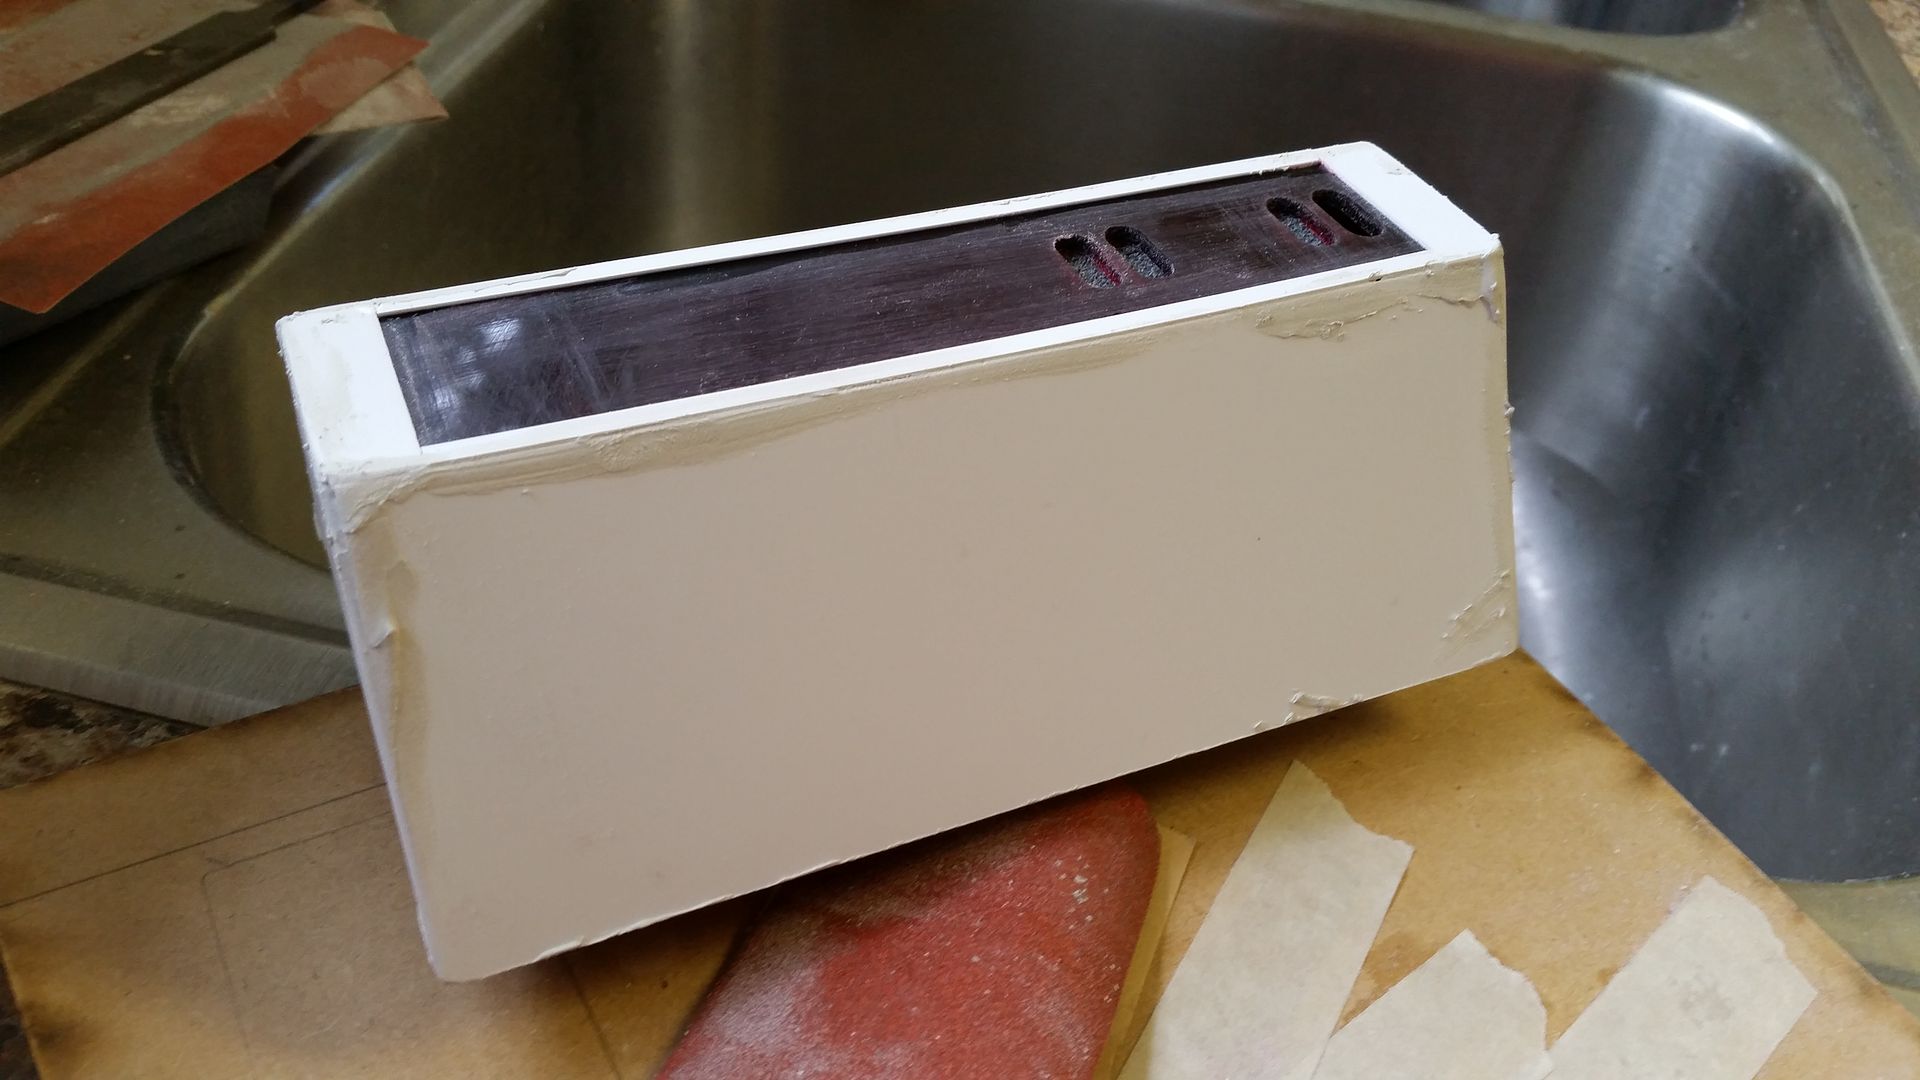
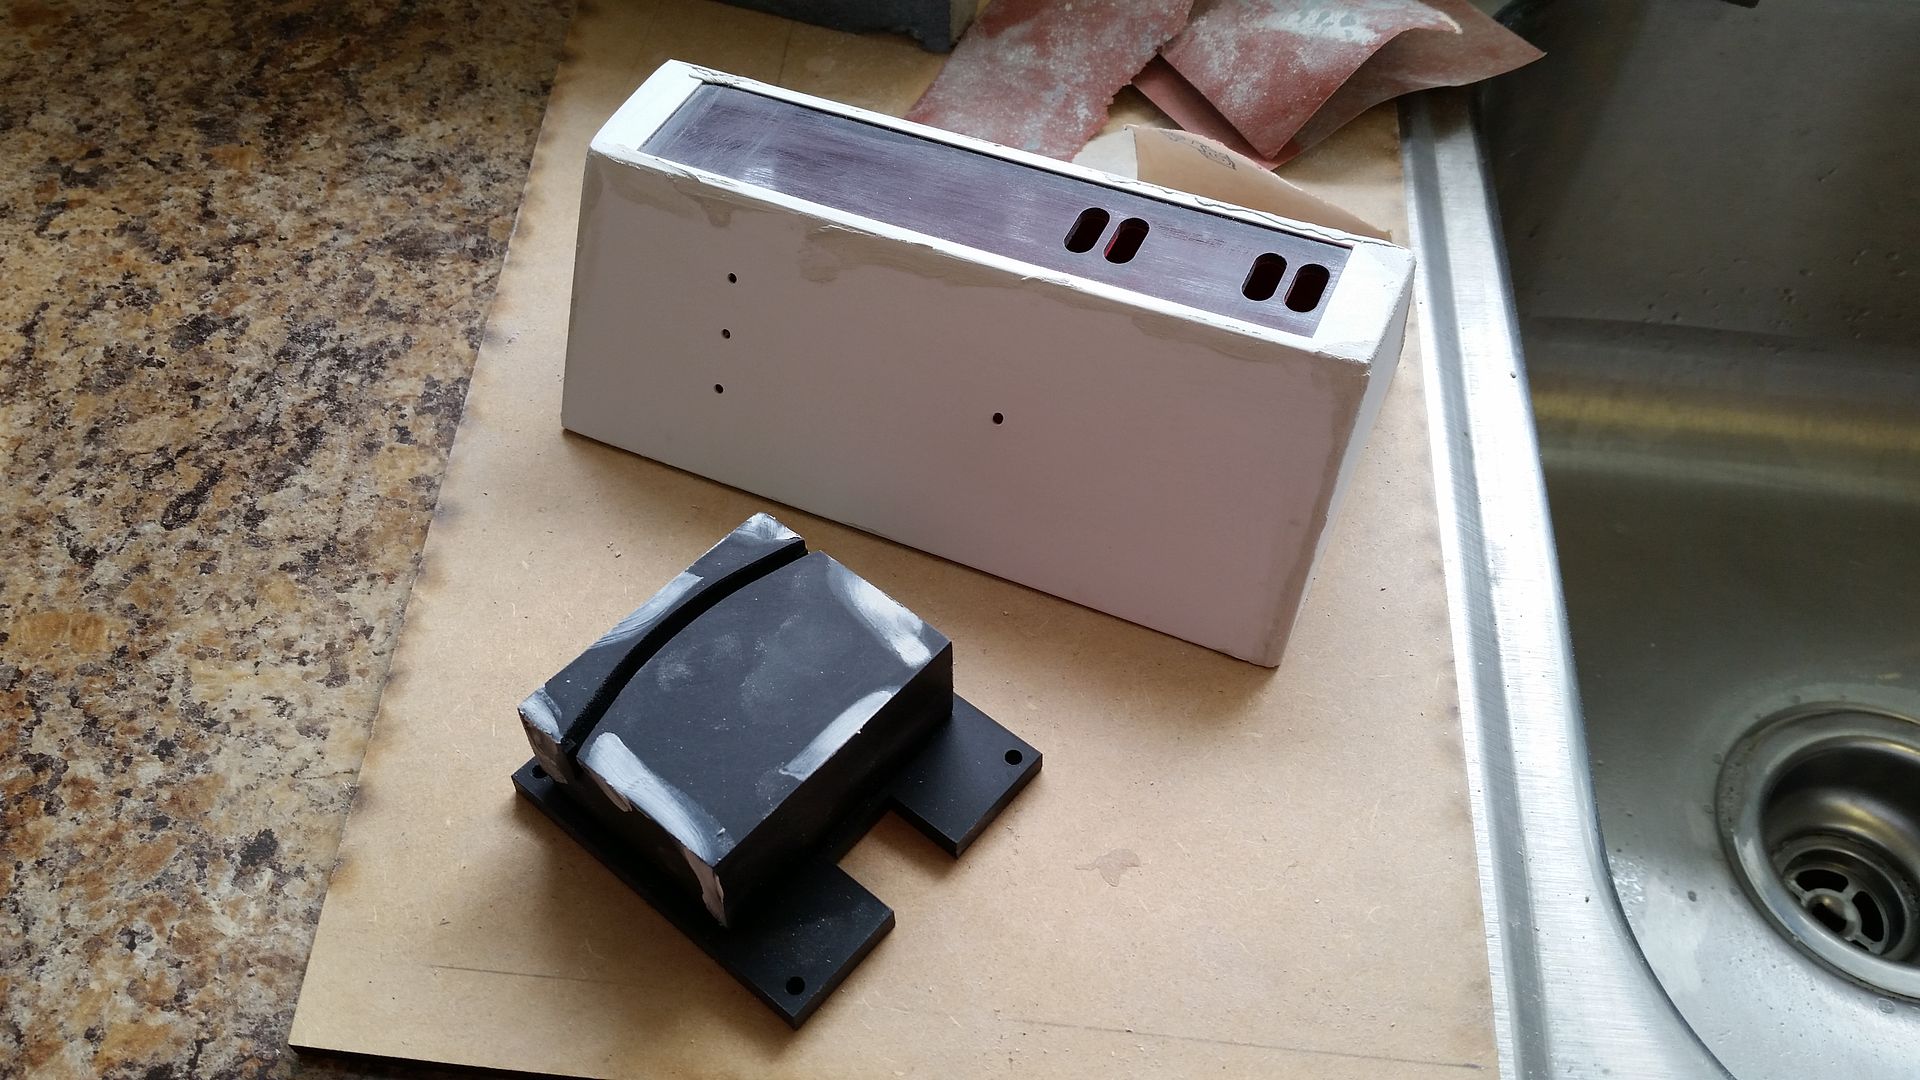
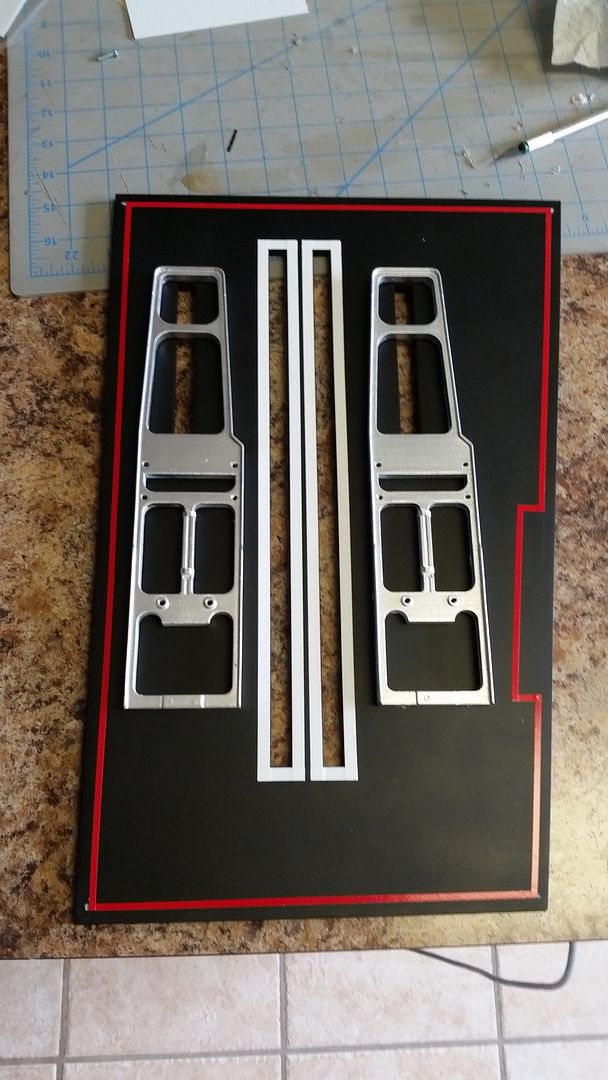
Thanks so much! I actually started the build based on Steve Starkillers full scale 3D model of the MF. Starkiller based his build off of screen grabs and (if I'm not mistaken, the MF Haynes Manual).

I'm not sure if this will help you but you never know --

http://i564.photobucket.com/albums/ss84/oslm99/Falcon Cockpit Schematic_zpsbrloqhvc.png

I found this in my storage closet (I need to really clean it out more often) It comes from a set of 15 individual blueprints of different set pieces -- The only other one in the package of the falcon is the landing gear assembly, but if you eventually need it, let me know --

Later

Oslm
 
Last edited:
This is looking great! If you ever plan on building more stuff in the future, you should try something from the prequels. They have the best designs.
 
This is looking great! If you ever plan on building more stuff in the future, you should try something from the prequels. They have the best designs.

Hi A,

Thanks! There are plans to do SO MUCH MORE! But they will be more ESB focused - Flight deck equipment, maybe an XWing, Snow Speeder, etc... Would love to see a full scale BWing! :)
 
View attachment 495571

I'm not sure if this will help you but you never know --

http://i564.photobucket.com/albums/ss84/oslm99/Falcon Cockpit Schematic_zpsbrloqhvc.png

I found this in my storage closet (I need to really clean it out more often) It comes from a set of 15 individual blueprints of different set pieces -- The only other one in the package of the falcon is the landing gear assembly, but if you eventually need it, let me know --

Later

Oslm

Hi O,

Awesome find! I would def hang on to those! We have several blueprints in hand to include Starkiller's full scale 3D model to use as reference.

Thanks!
 
Thanks Sofa...some of the patterns can be repeated but it's difficult to make molds for just one or two sets...time is of the essence. For the tensing cables I'm using the teeth of a comb; works well for sure;)
 
Hi O,

Awesome find! I would def hang on to those! We have several blueprints in hand to include Starkiller's full scale 3D model to use as reference.

Thanks!

Thanks Sofa.

If you don't have a copy of this go ahead and keep a copy for your own records. I scanned it at almost 1 to 1 scale (the actual print size is 13" x 19") so you could read the details.

Looking forward to your next updates.

Later

Oslm
 
Hi Sofaking (and the rest of the team).
I am really impressed by your work (*insert several pargraphs of admiration an praise here*) and would love to be part of such a undertaking and lend you a hand - unfortunately the distances involved are quite prohibitive...
But maybe this helps:
I think i identified the part used for the control yoke handles:
handle.jpg

Good news: apparently they can be found occassionally via ebay or other sources.
Bad news: they are already rare collectors items and prices are accordingly
Maybe not another Graflex, but aquiring 4 of them for each of the consoles/cockpits might be too expensive, if not impossible

I'll keep further details less public.
 
Hi Sofaking (and the rest of the team).
I am really impressed by your work (*insert several pargraphs of admiration an praise here*) and would love to be part of such a undertaking and lend you a hand - unfortunately the distances involved are quite prohibitive...
But maybe this helps:
I think i identified the part used for the control yoke handles:
View attachment 496127

Good news: apparently they can be found occassionally via ebay or other sources.
Bad news: they are already rare collectors items and prices are accordingly
Maybe not another Graflex, but aquiring 4 of them for each of the consoles/cockpits might be too expensive, if not impossible

I'll keep further details less public.

WOW!!!!!!!!!!!!!!!! Hey Bug!!!!

Thanks so much! : ) HOLY MOLY!!! I think this might be what we're looking for! We have been trying to identify that part for a LONG TIME!!!!! All we would need is one - we could mold and cast the rest. Do you know what this particular handle is called?

I know you just threw Wavey into a tailspin! :)

WOW!!!
 
Hi Gang,

WHAT AN AMAZING FIND on the Yoke Handle! Now to track that baby down! :)

UPDATES!

I got around to figuring out the issues with the foot well platform - remeasured and cut the edges down to their correct dims
20150702_134935_zpszgtv8a6i.jpg


Much better!
20150702_145503_zpswjlqrjva.jpg


I had to loosen the panels around the nose - the warping has caused ALL sorts of issues (which I should have known better). This allowed me to reposition, find center and take correct measurements
20150702_145538_zpsj8xn2fqe.jpg


20150702_145542_zps1kpxestk.jpg


20150702_145547_zpsfr7zpgym.jpg


Greeblies!
20150701_062028_zpsavmjpcfa.jpg


Once again Jessie was a Saint and cut a new batch of greeblies! Decorative Throttle Panel and New Button Panel for Wall Art Piece
20150702_175157_zpst8dxf1ea.jpg


20150702_175237_zps5uavhafq.jpg


Going to give this guy another shot!
20150702_184920_zpscxdkj2xl.jpg


Nav Chair greeblies
20150702_184925_zpso1bgd4aq.jpg


Nav Chair
20150702_185039_zpsnqtjjms4.jpg


I'm so excited about this guy!
20150702_184938_zpsskcxchyx.jpg


20150702_184947_zpsw50jttnd.jpg


20150702_185000_zps8rljhpis.jpg


LOTS of work to do on this oddly shaped, oddly placed and mystery greeblie that suddenly appears in ESB!
20150702_185017_zpsntcxeyq5.jpg


New button panel for the new console
20150702_185057_zpseuteatf0.jpg


NEW Door panel greeblies
20150702_185112_zpsw4zojk4j.jpg


Stay Tuned!
 
Looking at your pics, I know what I want for my birthday: a Laser cutter, a CNC machine, a 3-D printer, a vacu-form machine, a...(in my dream:cry) Very good job once again and looking forward seeing that cockpit whole!
 
WOW!!!!!!!!!!!!!!!! Hey Bug!!!!

Thanks so much! : ) HOLY MOLY!!! I think this might be what we're looking for! We have been trying to identify that part for a LONG TIME!!!!! All we would need is one - we could mold and cast the rest. Do you know what this particular handle is called?

I know you just threw Wavey into a tailspin! :)

WOW!!!
I did a reverse image search on that picture of the yoke handle, and the search indicates that it's an early-'70s Cal Custom "El Toro" shifter handle, also known as a "Batwing." The Cal Custom model number is #30-11-1B.

Screen Shot 2015-07-03 at 4.57.33 PM.png$_57.JPG

From what I can find, they range from anywhere between $70 and $130 on eBay.
 
Last edited:
Hi Gang,

Quick morning update! I feel like I'm stuck in greeblie purgatory! These little suckers will never end! Also... RAIN RAIN RAIN so I'm stuck inside or limited to the back patio.

This little guy is almost done!
20150703_061743_zpso4ynex0x.jpg


20150703_101755_zpstbjky99b.jpg


Finally closed up the holes on the main panels
20150703_060047_zpsvifpguve.jpg


120 squares cut to be back lit. Removing all the paper backing is a PAIN and a killer on the fingers
20150703_095925_zpsipbgh449.jpg


I taped all the squares to a piece of tape then simply peeled the backing off with the tape
20150703_095943_zpsktnxbsb8.jpg


20150703_101721_zpsnmlivjoc.jpg


20150703_101822_zpse2n6jmvn.jpg


120 squares later
20150703_155200_zpsjt1ahmtd.jpg


20150703_163413_zpsacqt14g1.jpg


20150703_163423_zpse7itzfln.jpg


More greeblies
20150703_102450_zpsj8oddab2.jpg


20150703_102502_zpso8airqbk.jpg


Wall Art Panel almost finished
20150703_161233_zpsrbhczu3n.jpg


Primed / Sanding the Wall Art Throttle Plate
20150703_143910_zps9ivonqzb.jpg


So MUCH to do... And a new phone! Nice looking picture, huh? ;)
20150703_163633_zpsd3kntuku.jpg


Get some primer on these greeblies!
20150703_060019_zps5dmpd5xx.jpg


Now some paint!
20150704_083522_zpsqs3tchza.jpg


OK... So... this oddly shaped greeblie requires some attention. The acrylic edges, because it is so thick, aren't meeting up perfectly. This requires me to cover with sheet styrene and filler. Filler alone wouldn't do the trick
20150703_165009_zpsw5majlpv.jpg


20150703_170355_zps0ipkpxp3.jpg


20150703_170405_zpstqejesss.jpg


Here you can see how many gaps need to be filled - why not just cover it up! :)
20150704_074906_zpstcem8xm2.jpg


20150704_074918_zpspfitr81l.jpg


20150704_081321_zpsqeavwhmu.jpg


20150704_081340_zpswhw5soke.jpg


20150704_081348_zpsvmpc08a5.jpg


Closer
20150704_082203_zps8vvjffz9.jpg


Add some filler!
20150704_082722_zpskntonyqk.jpg


20150704_082728_zpsxlgvzeb0.jpg


More to Follow!
 
Last edited:
Hi Gang,

Work continues... an so does the rain... UGH
20150704_111234_zpsk1mcjqwu.jpg


Primer
20150704_111253_zpsfj7hbcww.jpg


After a light sanding - another coat of primer
20150704_114925_zps5dpzwdpr.jpg


Test out the 34 pin connector
20150704_131840_zps6mfnfxum.jpg


I like it - might just work
20150704_131847_zpscxg2gwph.jpg


Back
20150704_131913_zpsgfs1fzj1.jpg


I'll probably mount the pin connector this way and then in through the panel
20150704_134539_zpss92deyki.jpg


Wall Art Throttle Panel painted
20150705_091303_zpsmhtkuk9p.jpg


PS
20150705_092817_zps7rxszdby.jpg


UGH... Each corner had a screw up!
20150705_092825_zpsabehhqbo.jpg


20150705_093958_zpssu8mct1w.jpg


Touch Up
20150705_095214_zpsncs5l75b.jpg


Garrard Trim Plate Comparo
20150704_112542_zpsobglac3h.jpg


20150704_112554_zpsz8irkdvf.jpg


I have to figure out the best way to mount to the panel
20150704_112752_zpsz0p0n5ri.jpg


More greeblies
20150704_114930_zps8aizg8c4.jpg


Nice
20150704_122929_zpstnumdl2p.jpg


20150704_125229_zpsfjhhtgyy.jpg


20150704_125236_zpsiitgwk22.jpg


After sanding smooth I applied a coat of satin clear... UGH... today is not my day for paint
20150705_091543_zpsnl1cenzv.jpg


Sanding and filler continues... and a fly trying for a little screen time
20150704_114911_zpsgokvvay9.jpg


Yeah Primer!
20150704_125206_zps7p6cd19p.jpg


20150704_125217_zpsucy1vtb0.jpg


Test fit
20150704_132850_zps03judz26.jpg


Approx mounting location (just a little higher.... a little higher!)
20150704_132944_zpsxvichysj.jpg


Paint!
20150705_091319_zpsyzdie4fz.jpg


I think Krylon has changed their formula... not thrilled with it at all
20150705_094753_zpsxtwkyi00.jpg


Hi Buddzo!
20150705_094812_zpstdujps64.jpg


20150705_094816_zpsor0cwgif.jpg


Near final
20150705_145341_zps5drelcr3.jpg


I still have to fabricate a hinge but I'm going to look online for some options
20150705_145401_zps8kgpqm6z.jpg


I like it
20150705_145415_zps6poxsxsh.jpg


More to Follow!
 
Last edited:
Great weekend's work! I can't wait to see the cockpit assembled with all the new greeblies.

Thank you! I'm really excited to see it all come together as well. There is a new phase coming up. The two upper nose panels will be stripped clean and the top (window channel) is going to be mod'd with the angle I accidentally forgot to add. Once that's done, the new canopy beams will be fab'd at the same time. Once the beams shapes are finished... we start to greeblie those... WHEW...

- - - Updated - - -


Thanks! I have not seen this! Looking at the picture, it looks fairly close. It will be nice to see all those areas of detail we've been unable to see. I sure wish I had access to the real thing! :)
 
Hi Gang,

Not much of an update. Been feeling under the weather. But...

Sprayed a layer of primer on the acrylic and this happened
20150706_125135_zpsk5hmxljn.jpg


I've never seen this before...
20150706_125220_zpsjzustcfv.jpg


It took several layers to cover the "bleeding"
20150706_125141_zpslckx46rl.jpg


Once everything dried... this happened
20150706_154537_zpsmbypdn5c.jpg


20150706_154726_zps3h0i1qqs.jpg


20150706_154733_zpsbjilz9jb.jpg


This guy might be salvageable...
20150706_154740_zps7l2q3kkn.jpg


This guy is done
20150706_125204_zpsaqcqgywd.jpg


Done
20150706_125209_zpsptxgkyzu.jpg


This piece was cut using black acrylic so I didn't have that bleeding problem
20150706_153015_zpsjjppbauk.jpg


I then adhered the 1" tiles to the Wall Art Piece
20150707_185120_zpsskdssstj.jpg


Marking out more holes to cut!
20150707_185127_zpsqya6adom.jpg


20150707_185136_zpsw3usmnb5.jpg


A little weathering on this guy
20150707_185145_zpsb3nmslfz.jpg


Hang Tight! What's next? Destruction time! ;)
 
Great update Sofa! And a big thanks to Bug for identifying those pieces:cool Maybe the humidity is making your Krylon do funny things?..Possible. Keep on doing what you do; I swear, I'll never complained again about the amount of greeblies on my Space Station:D
 

Your message may be considered spam for the following reasons:

If you wish to reply despite these issues, check the box below before replying.
Be aware that malicious compliance may result in more severe penalties.
Back
Top