Hi Gang,
As always I never get as far as I would have liked... but I was able to get SO MUCH done on the console! There were many areas around the entire console that had to be addressed with either filler or more material or in some cases both...
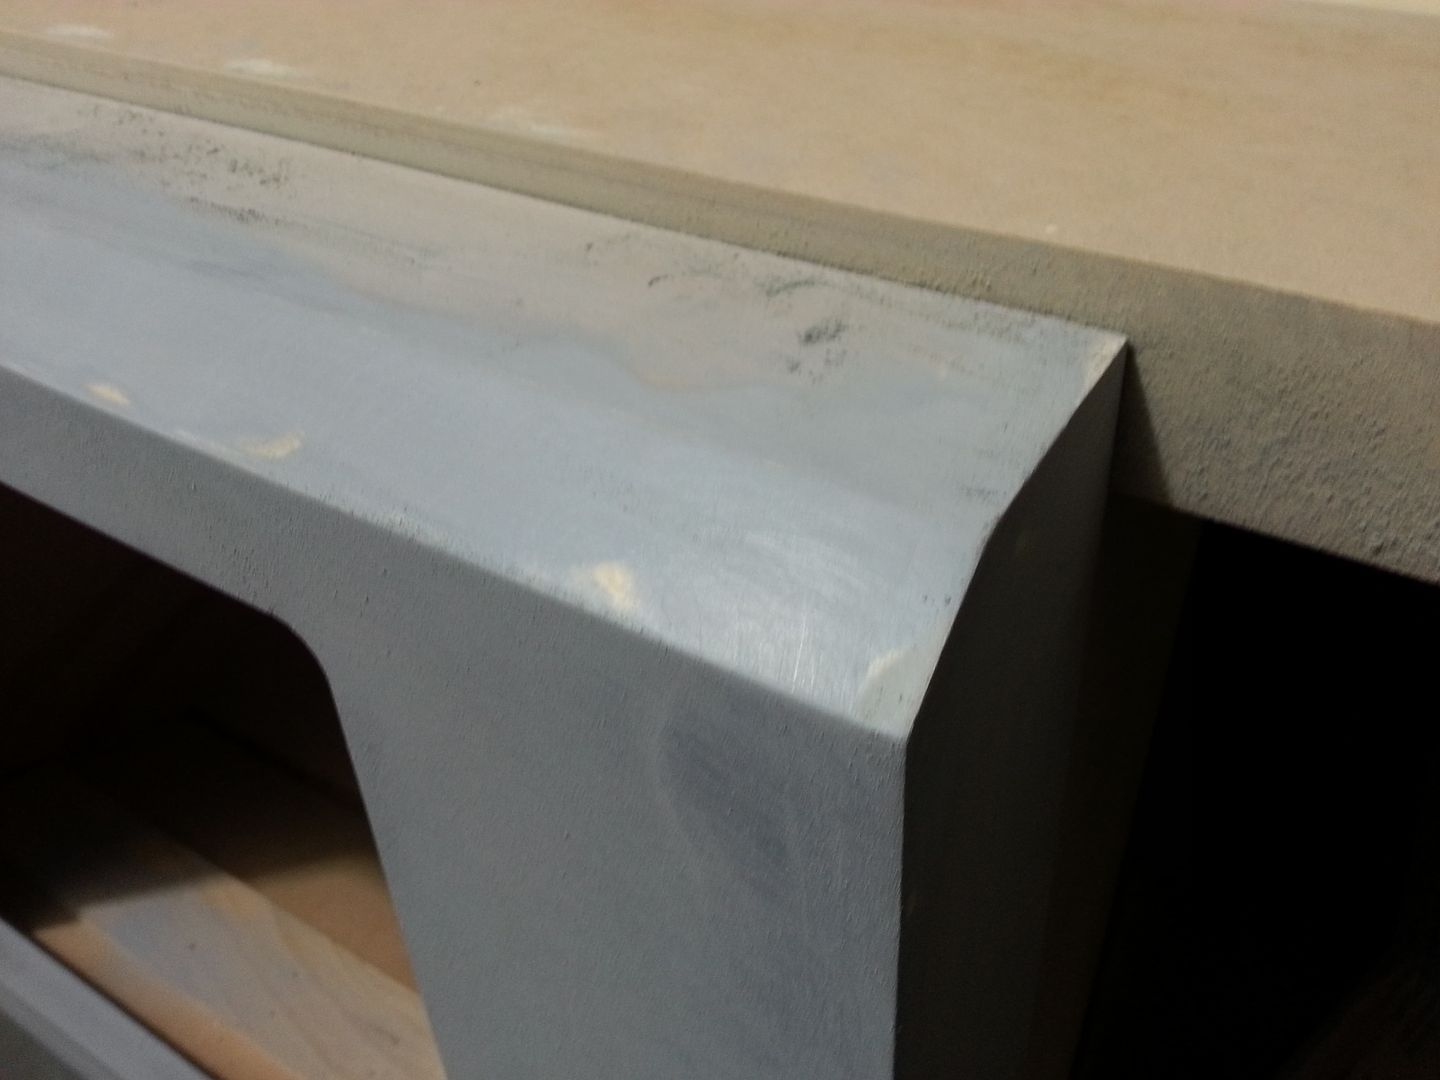
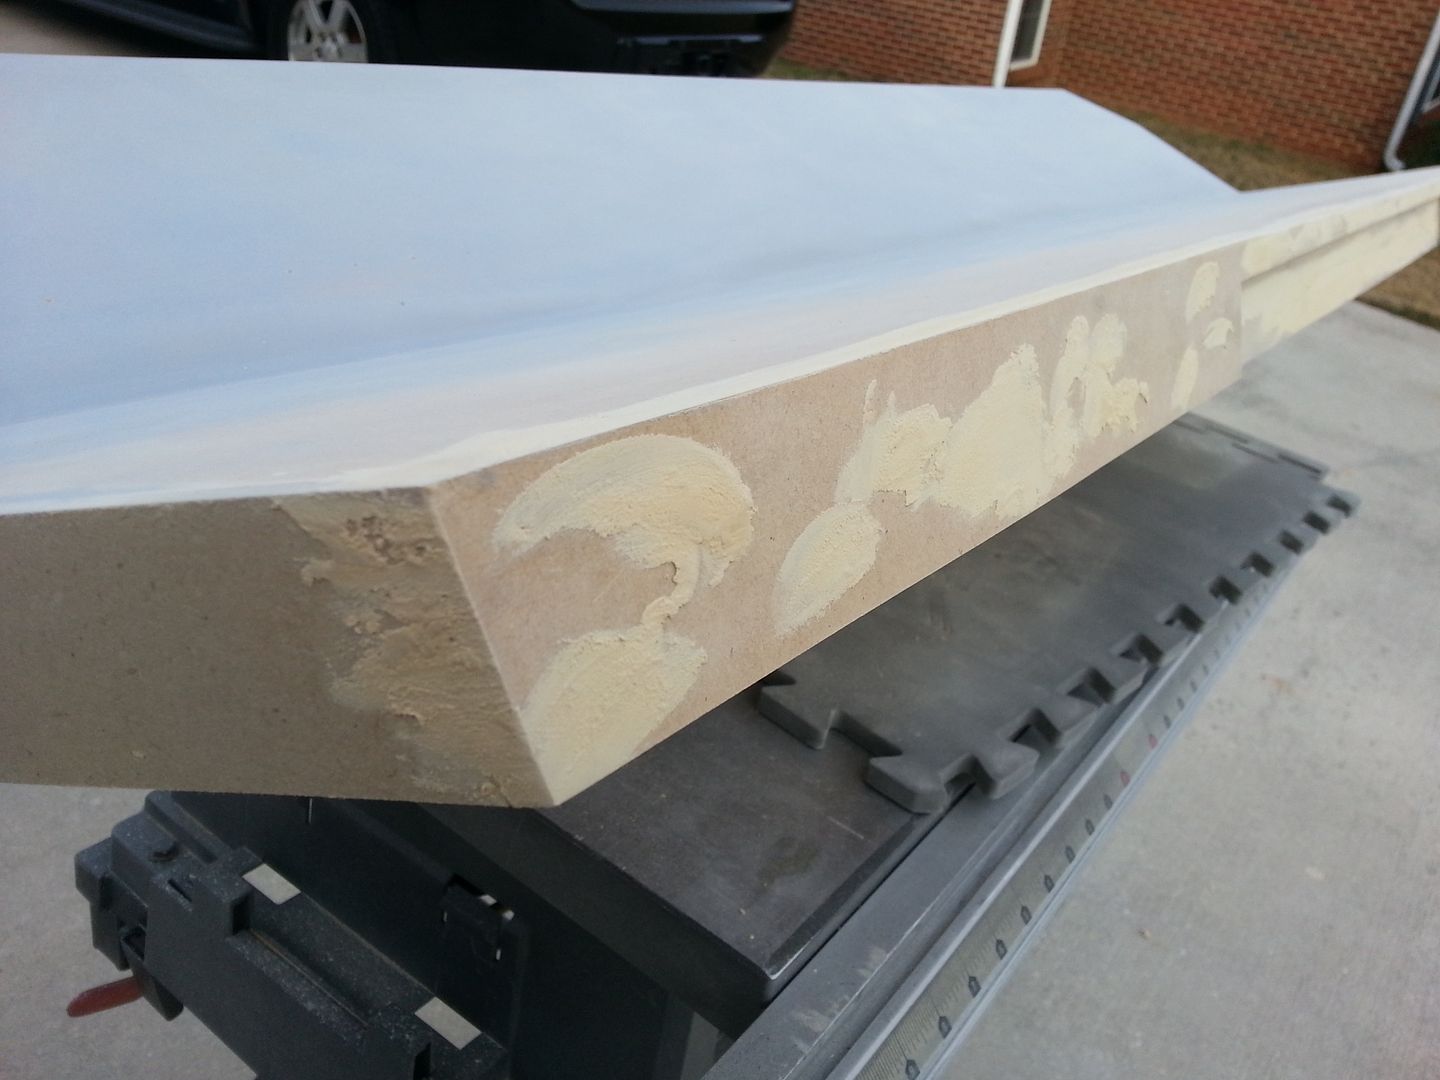
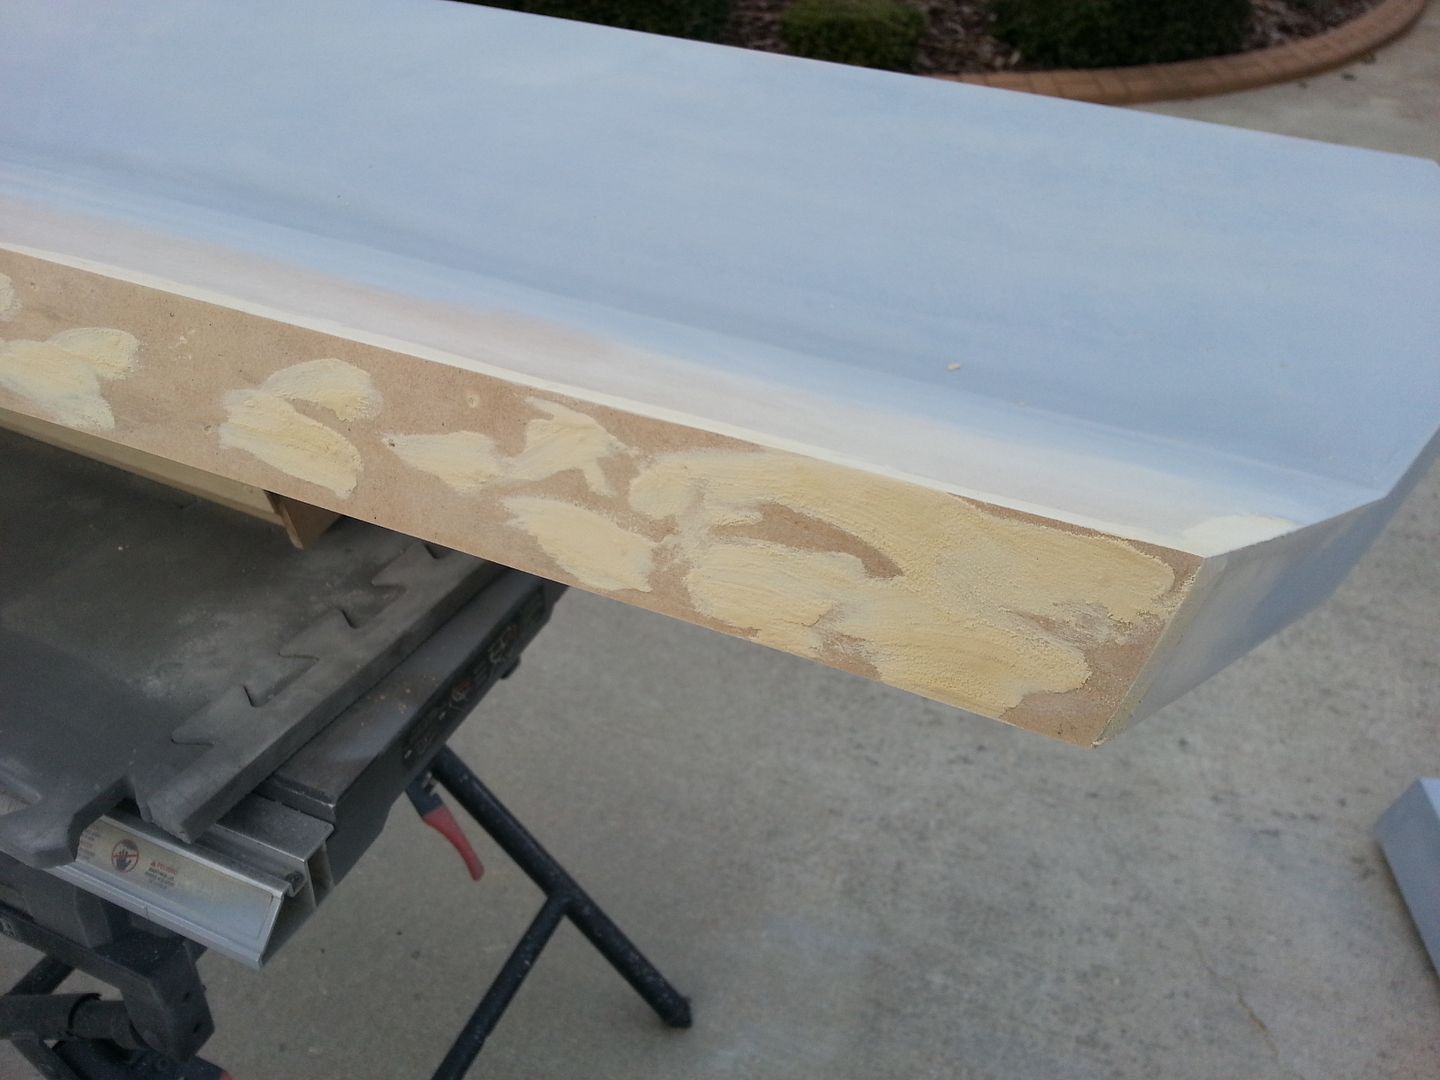
Adding primer/filler to the nose and instrument panels
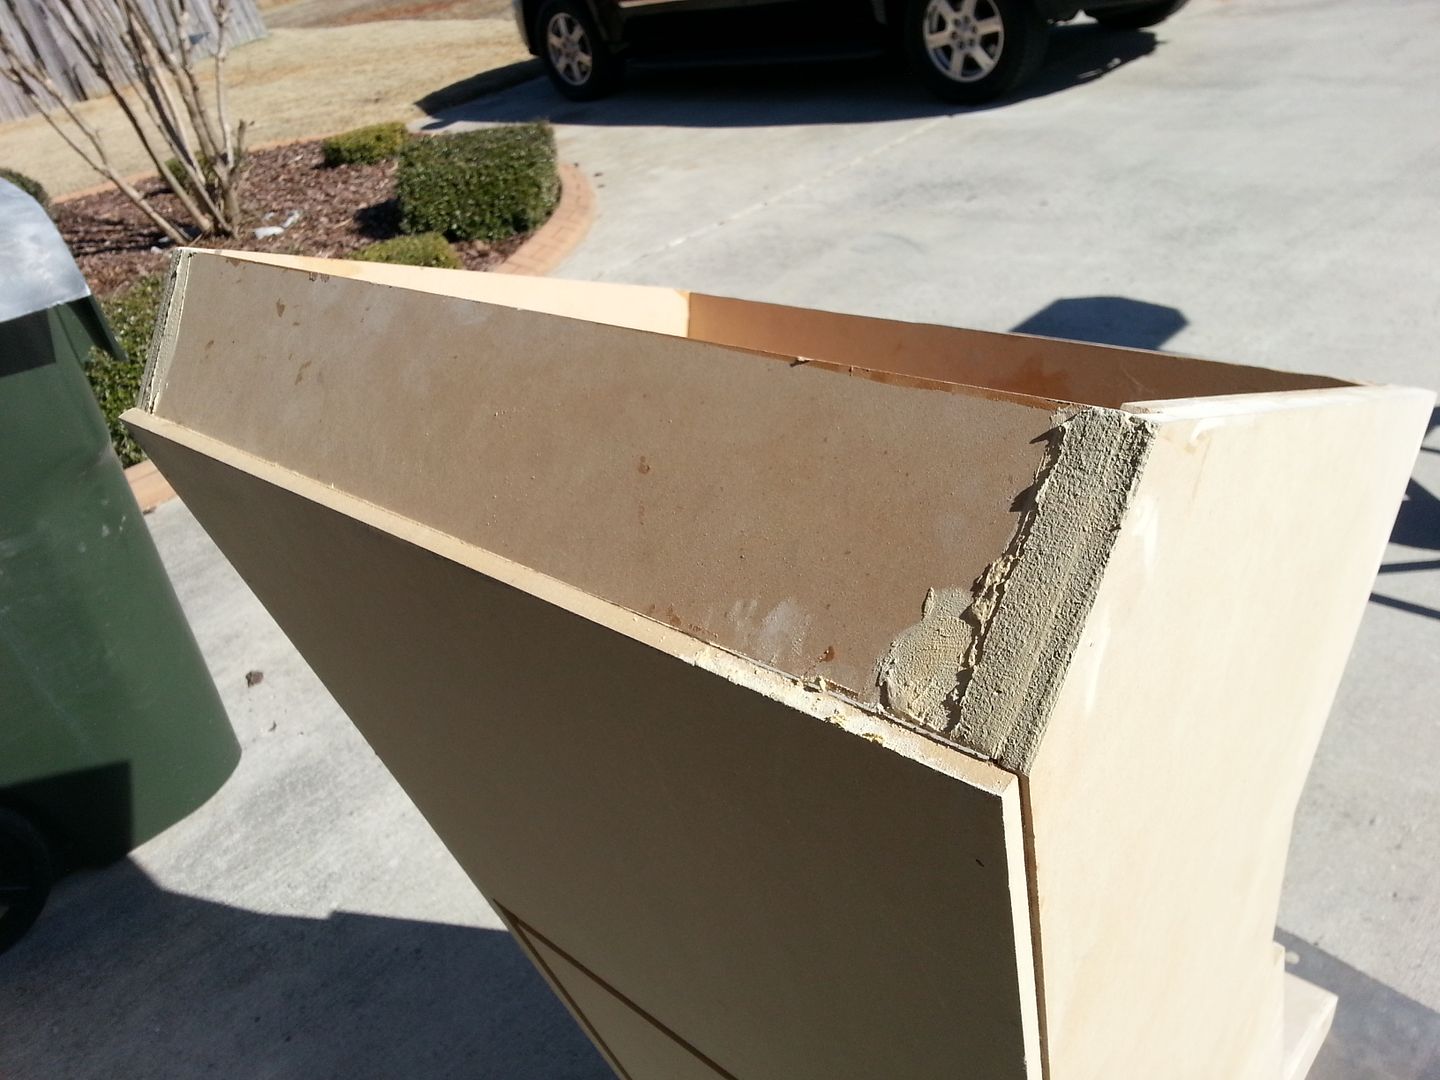
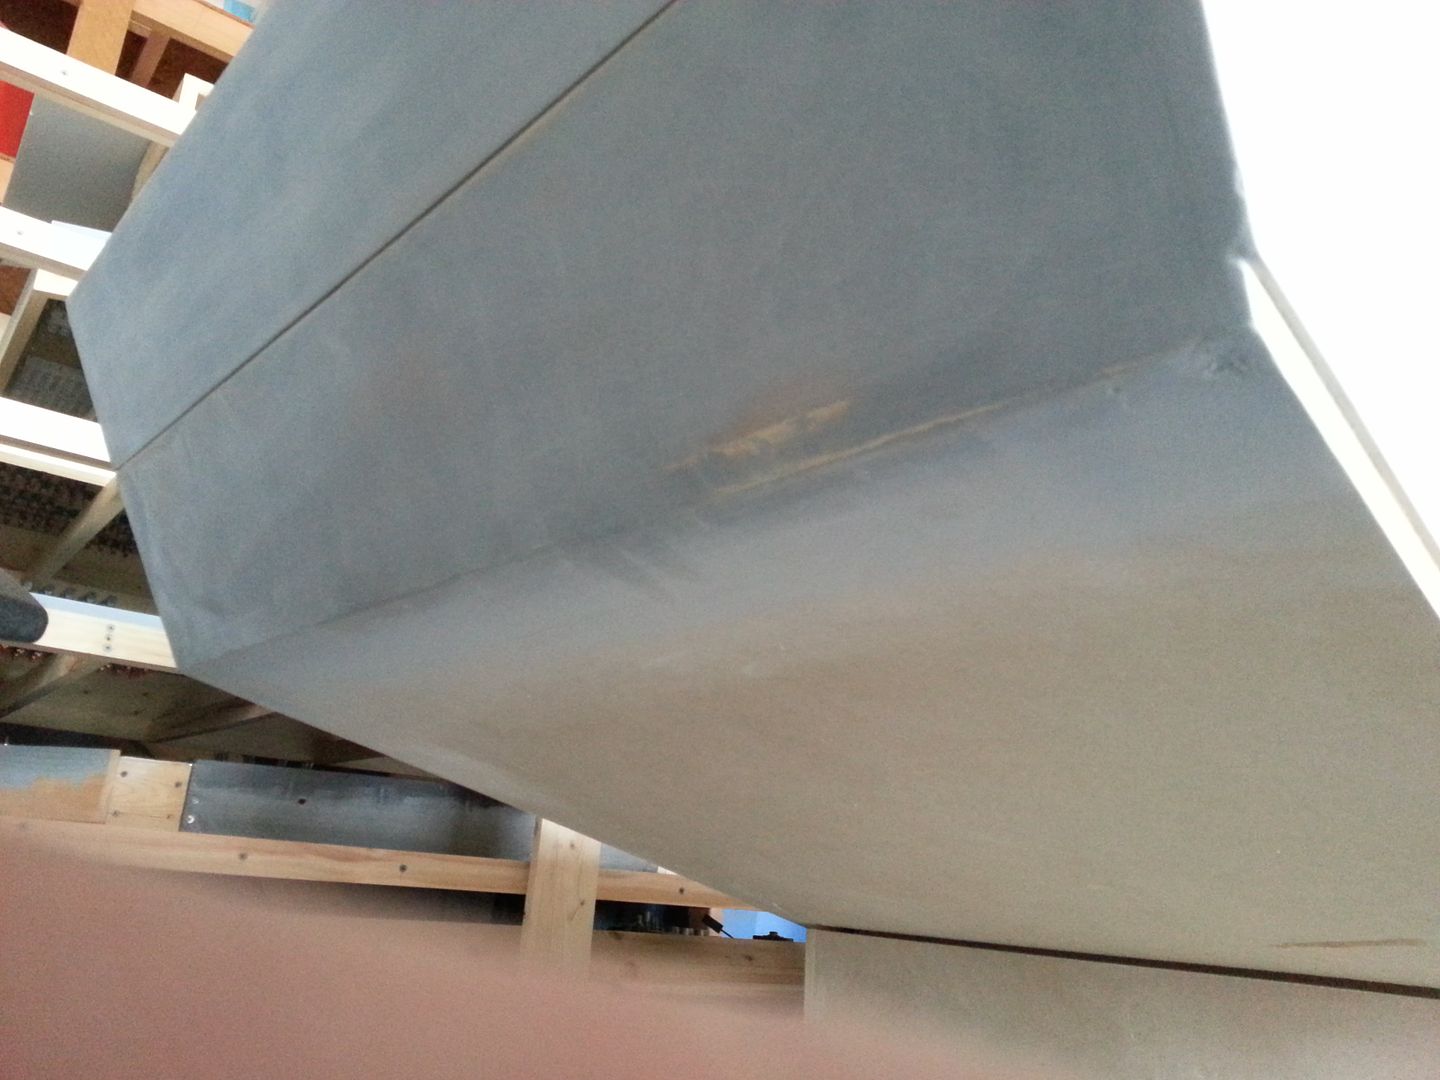
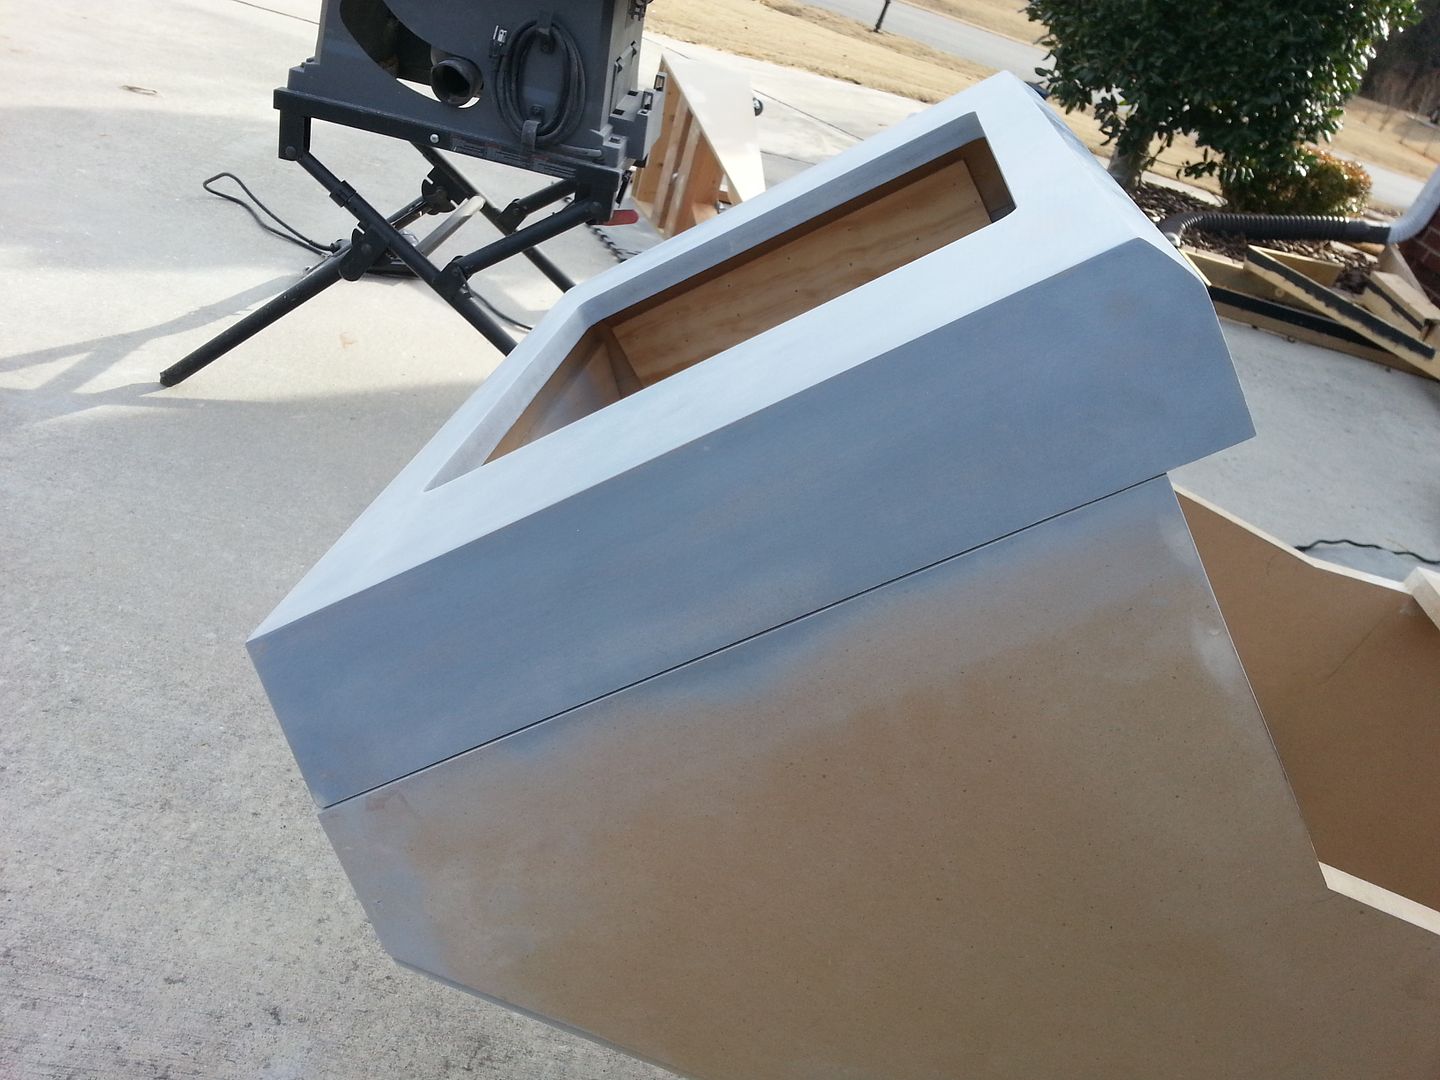
Then it was time to address to all the areas around the console... This is the lower part of the nose. Before
During
During
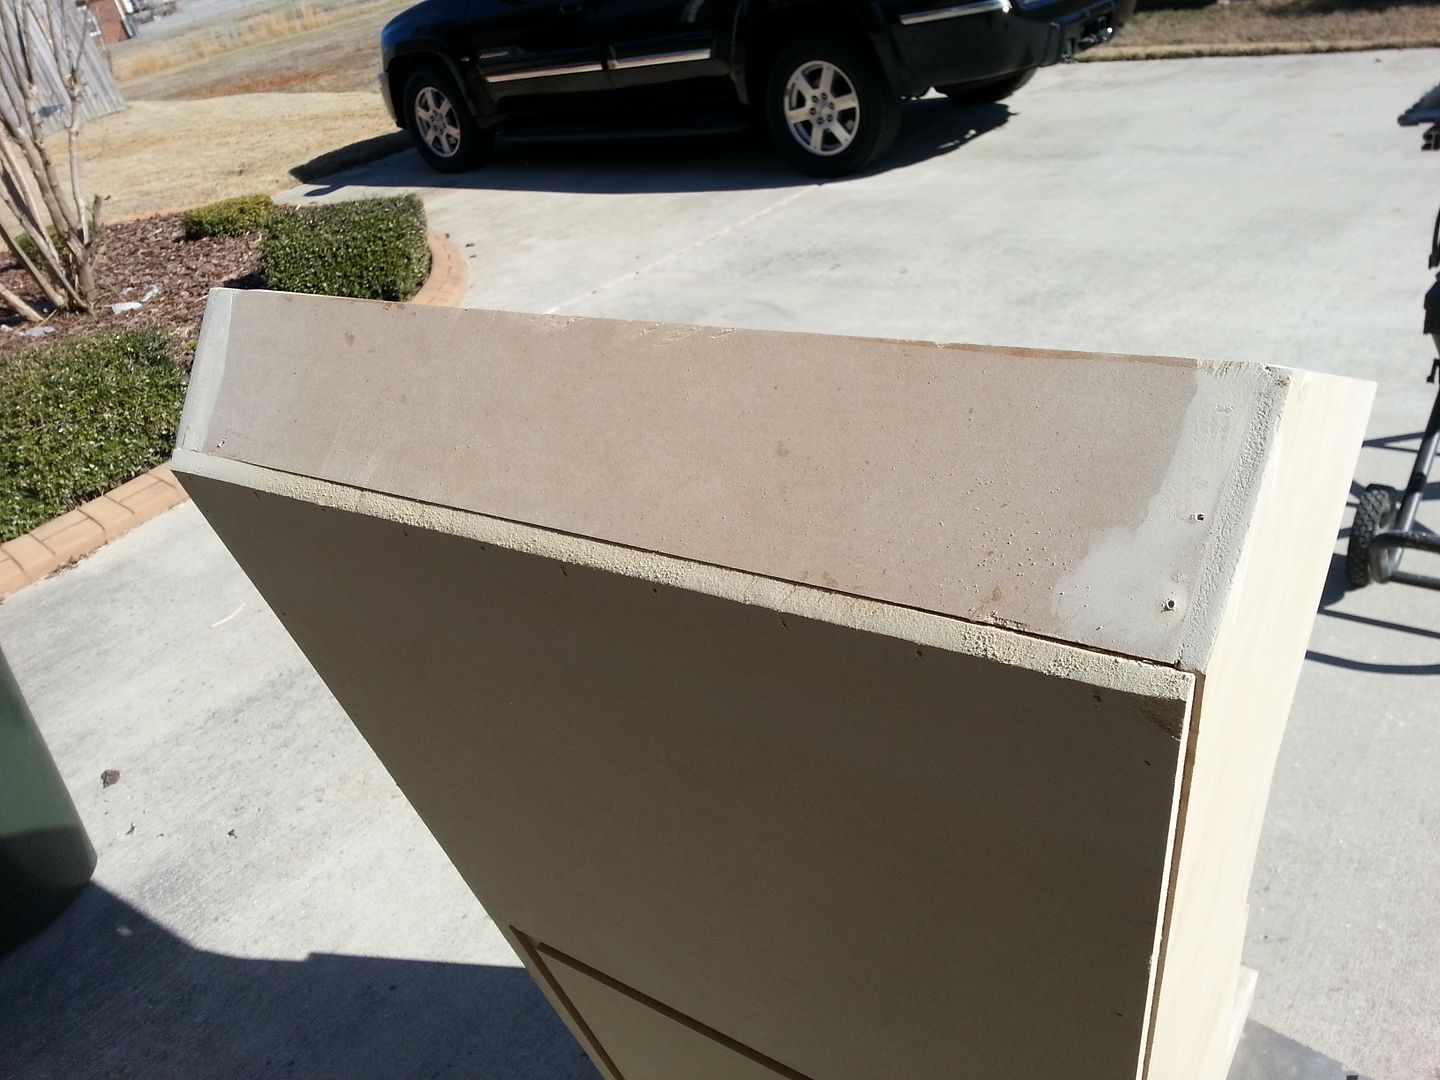
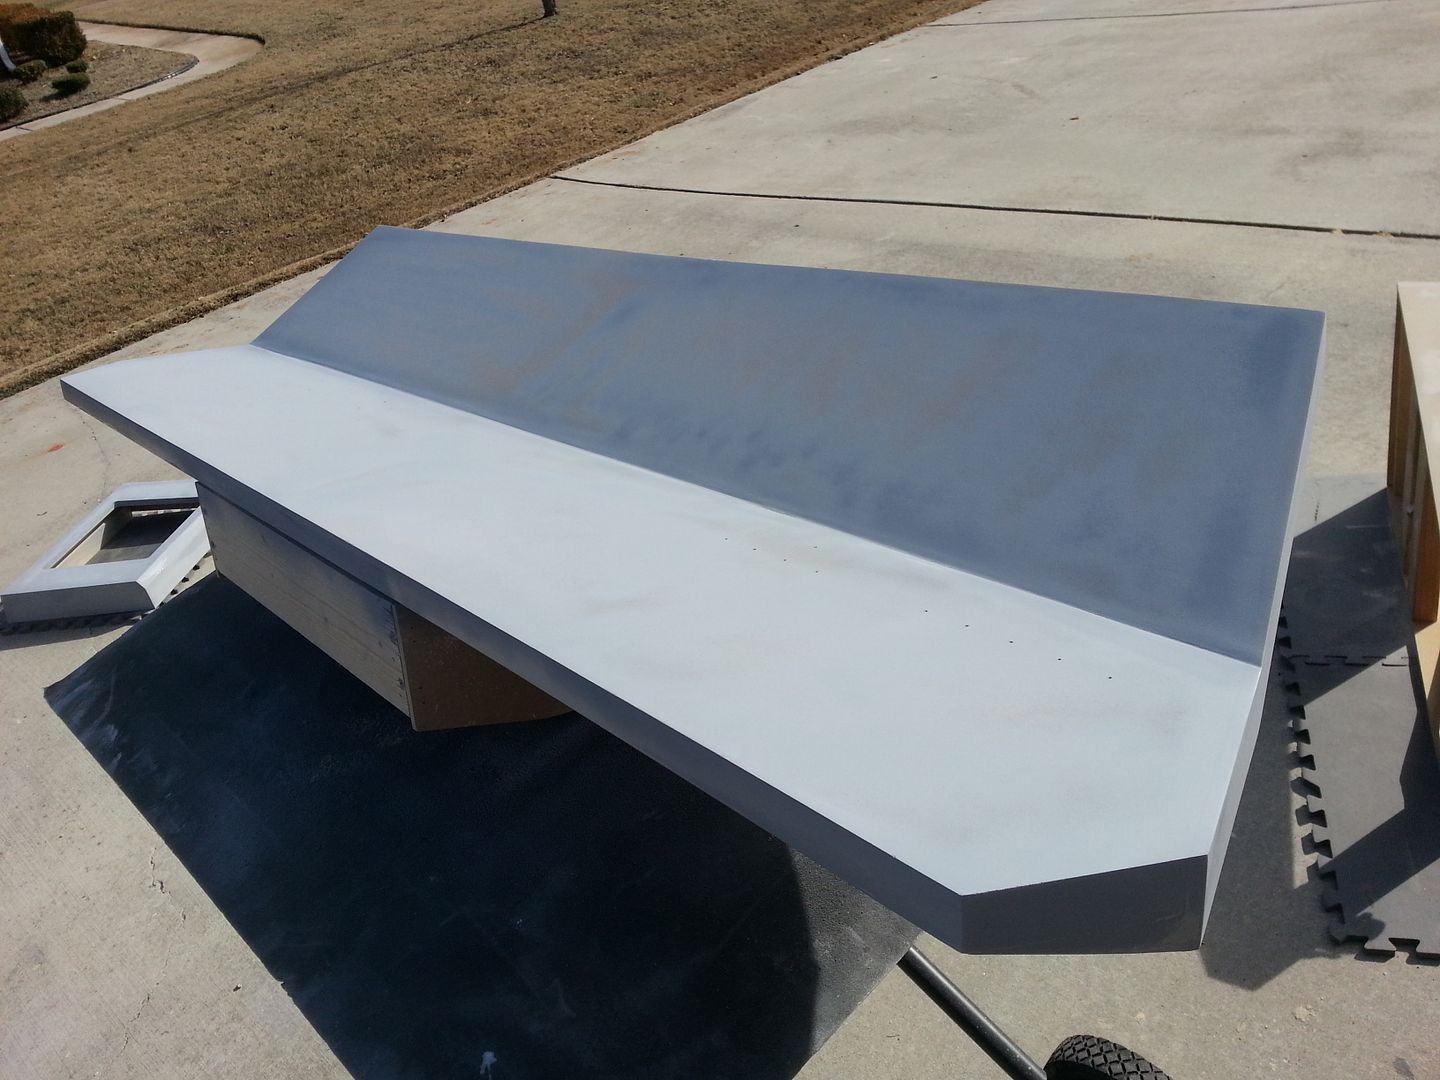
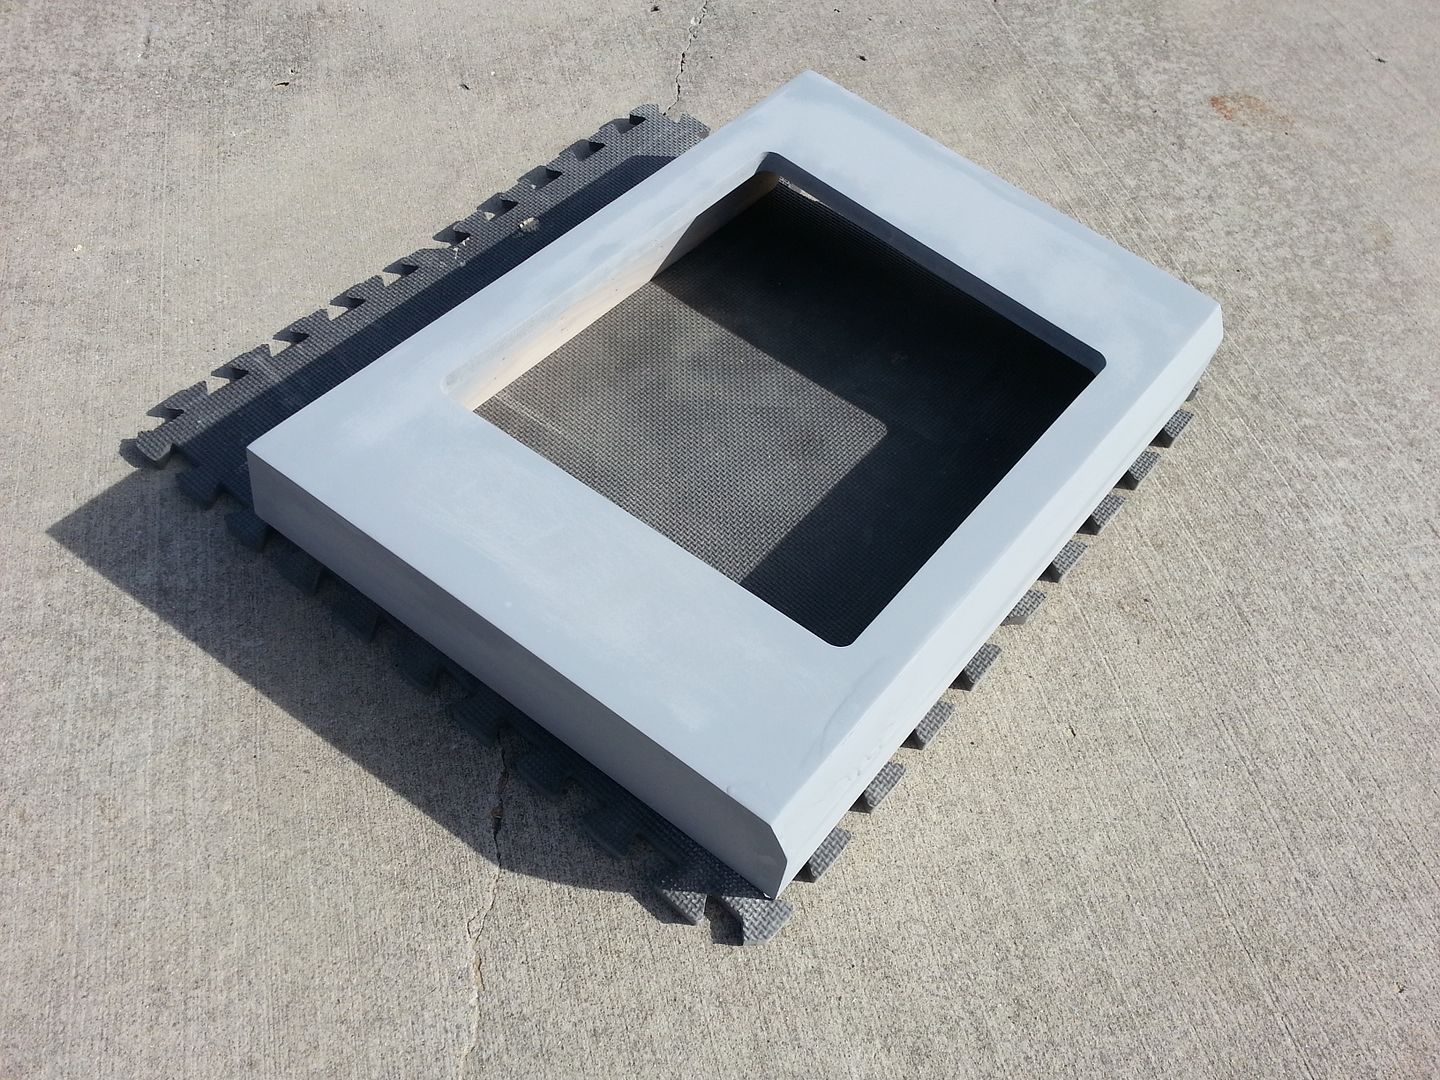
After! 95% Complete
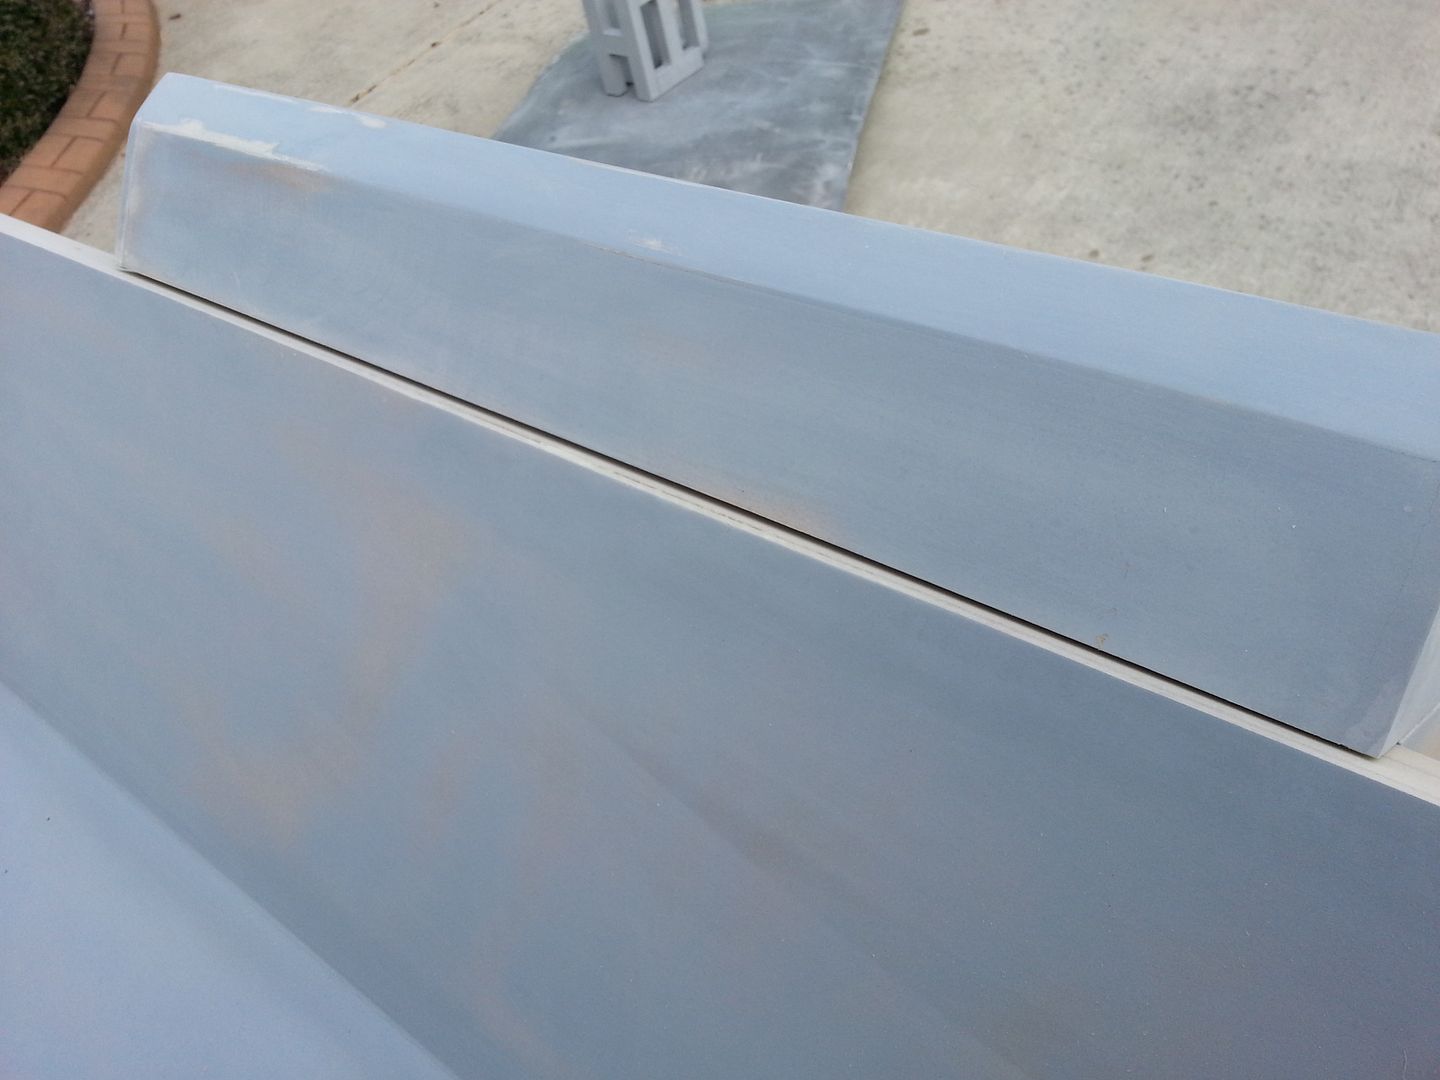
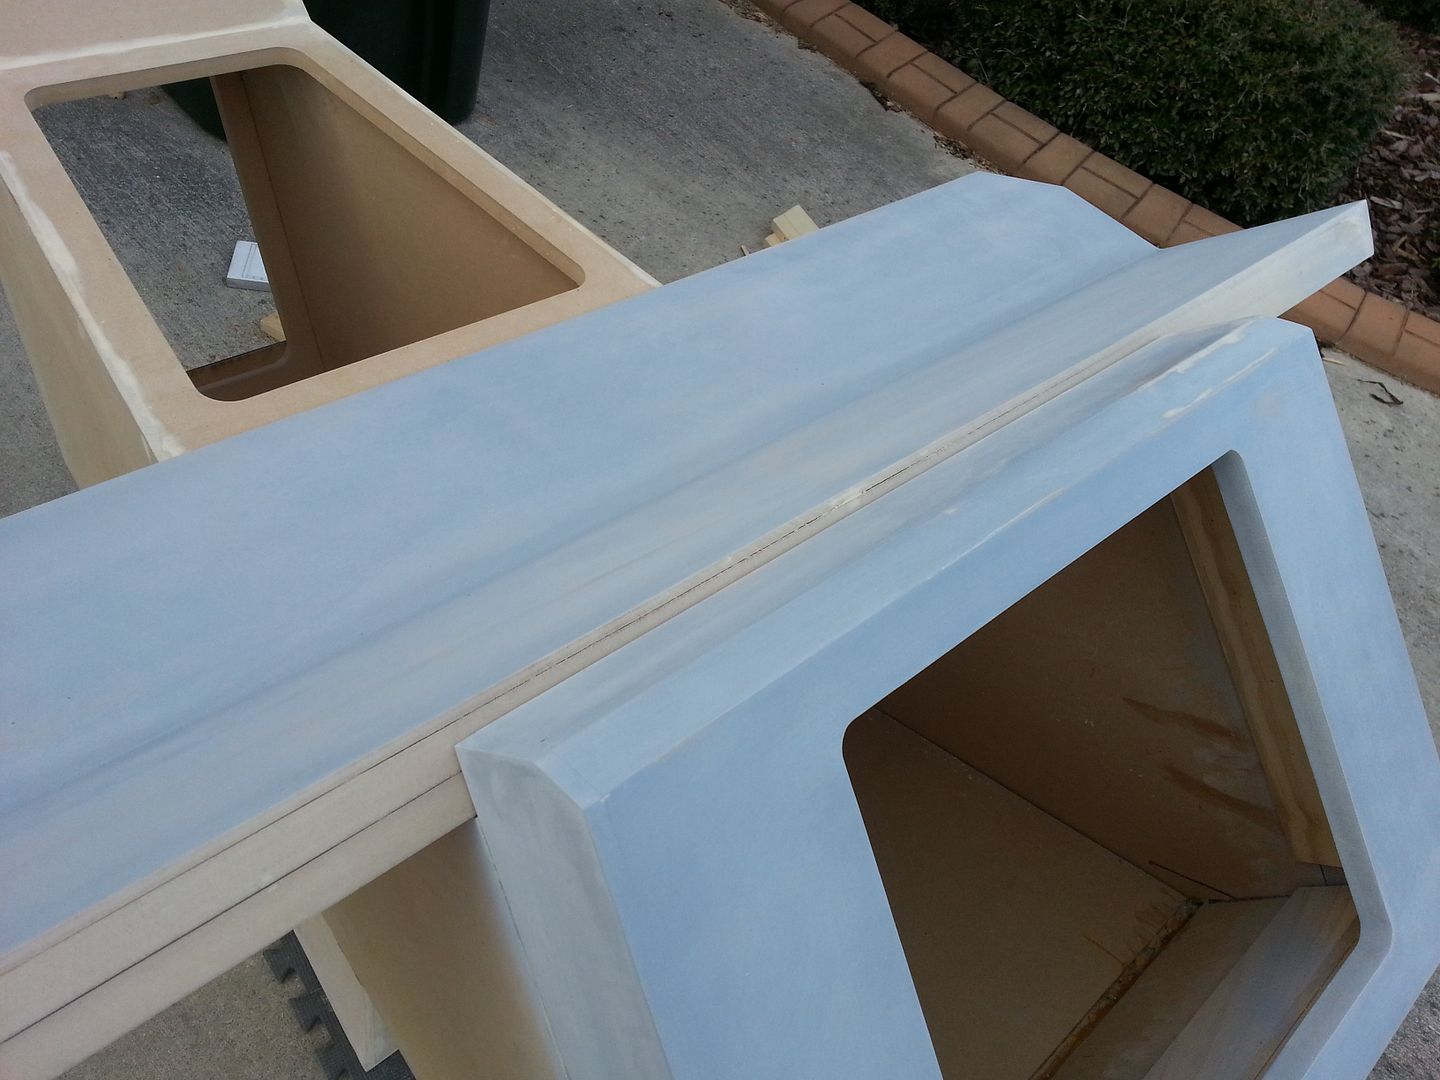
I decided to prime the entire instrument panel
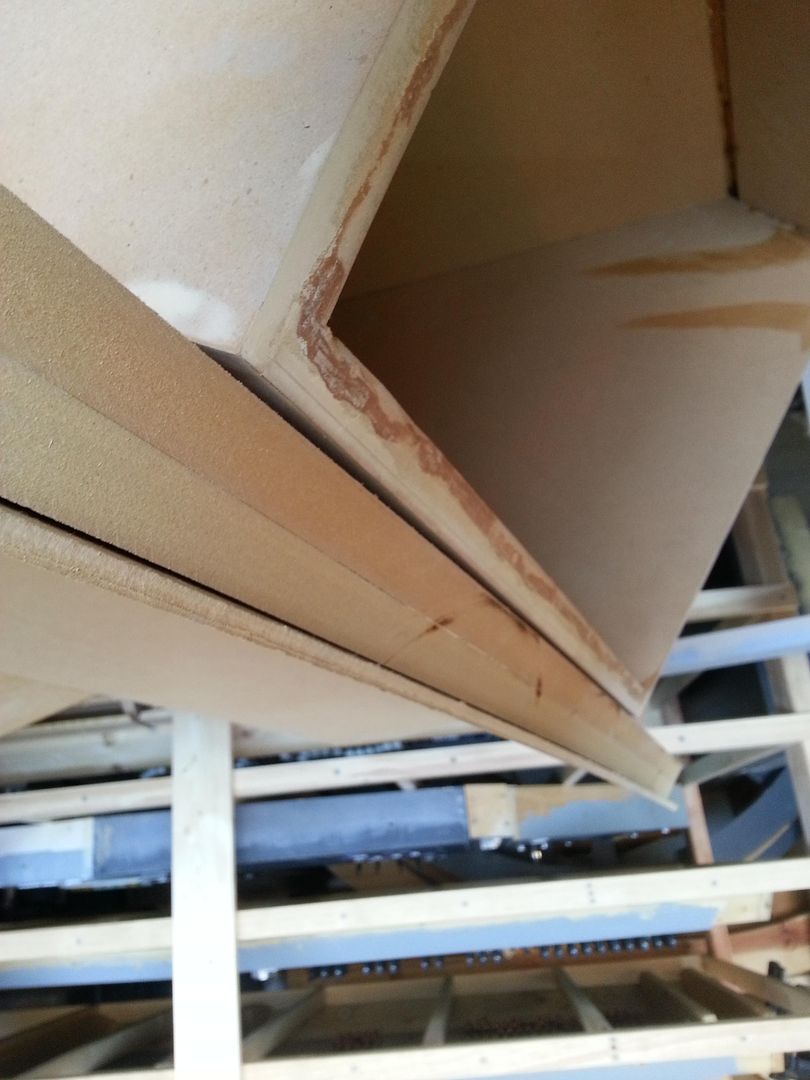
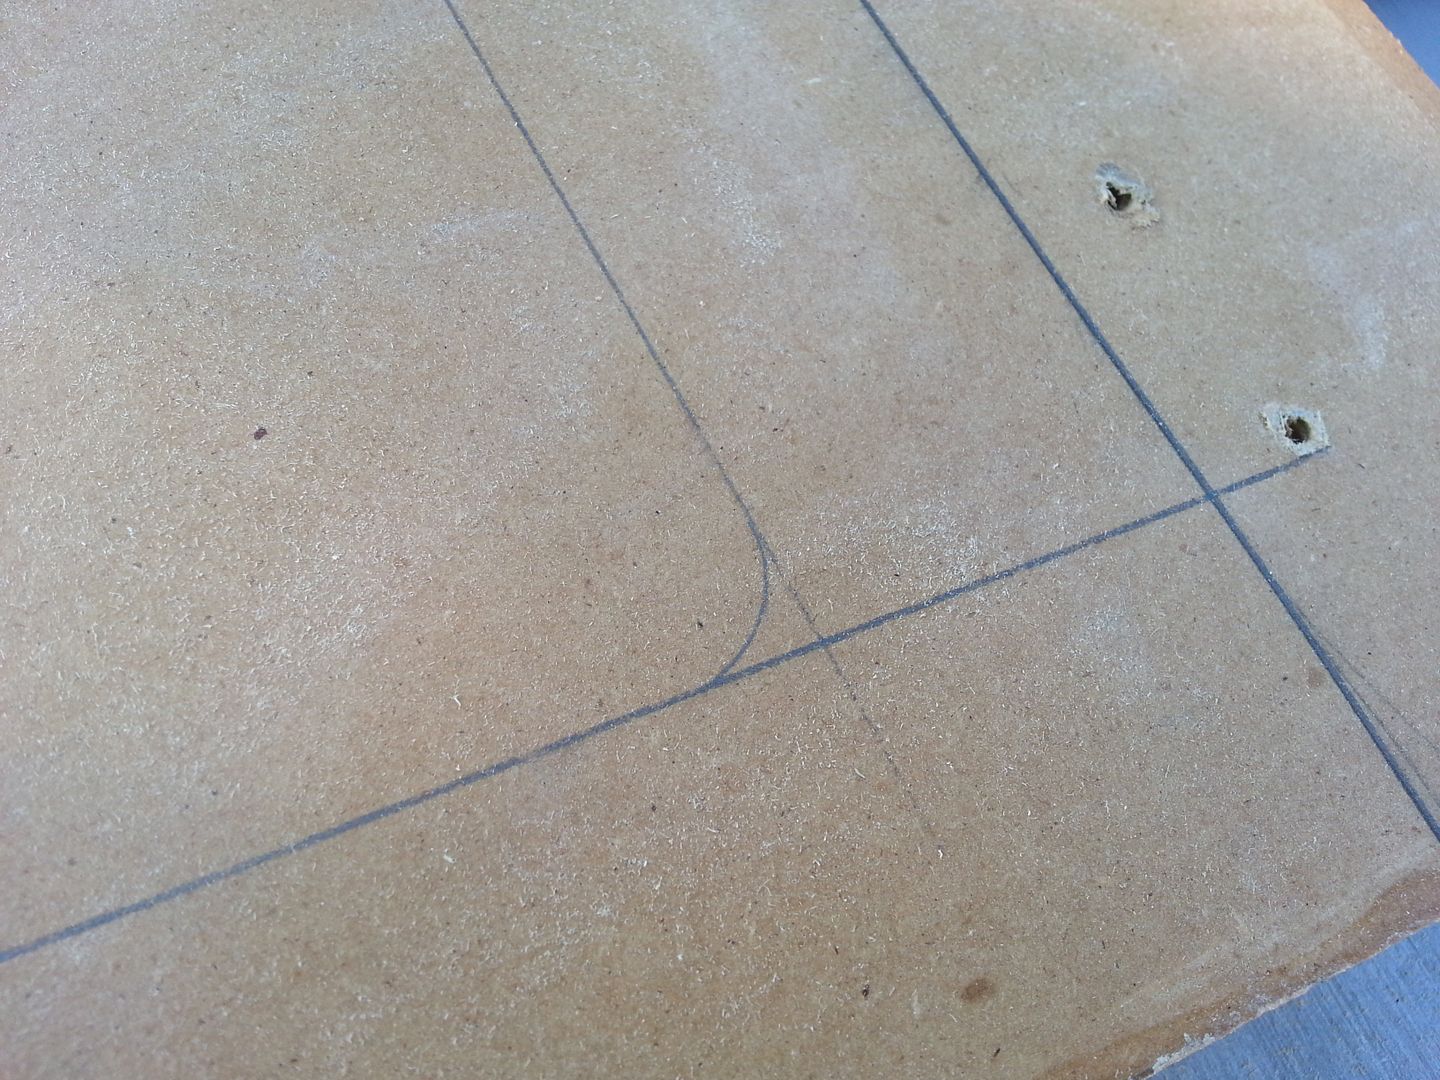
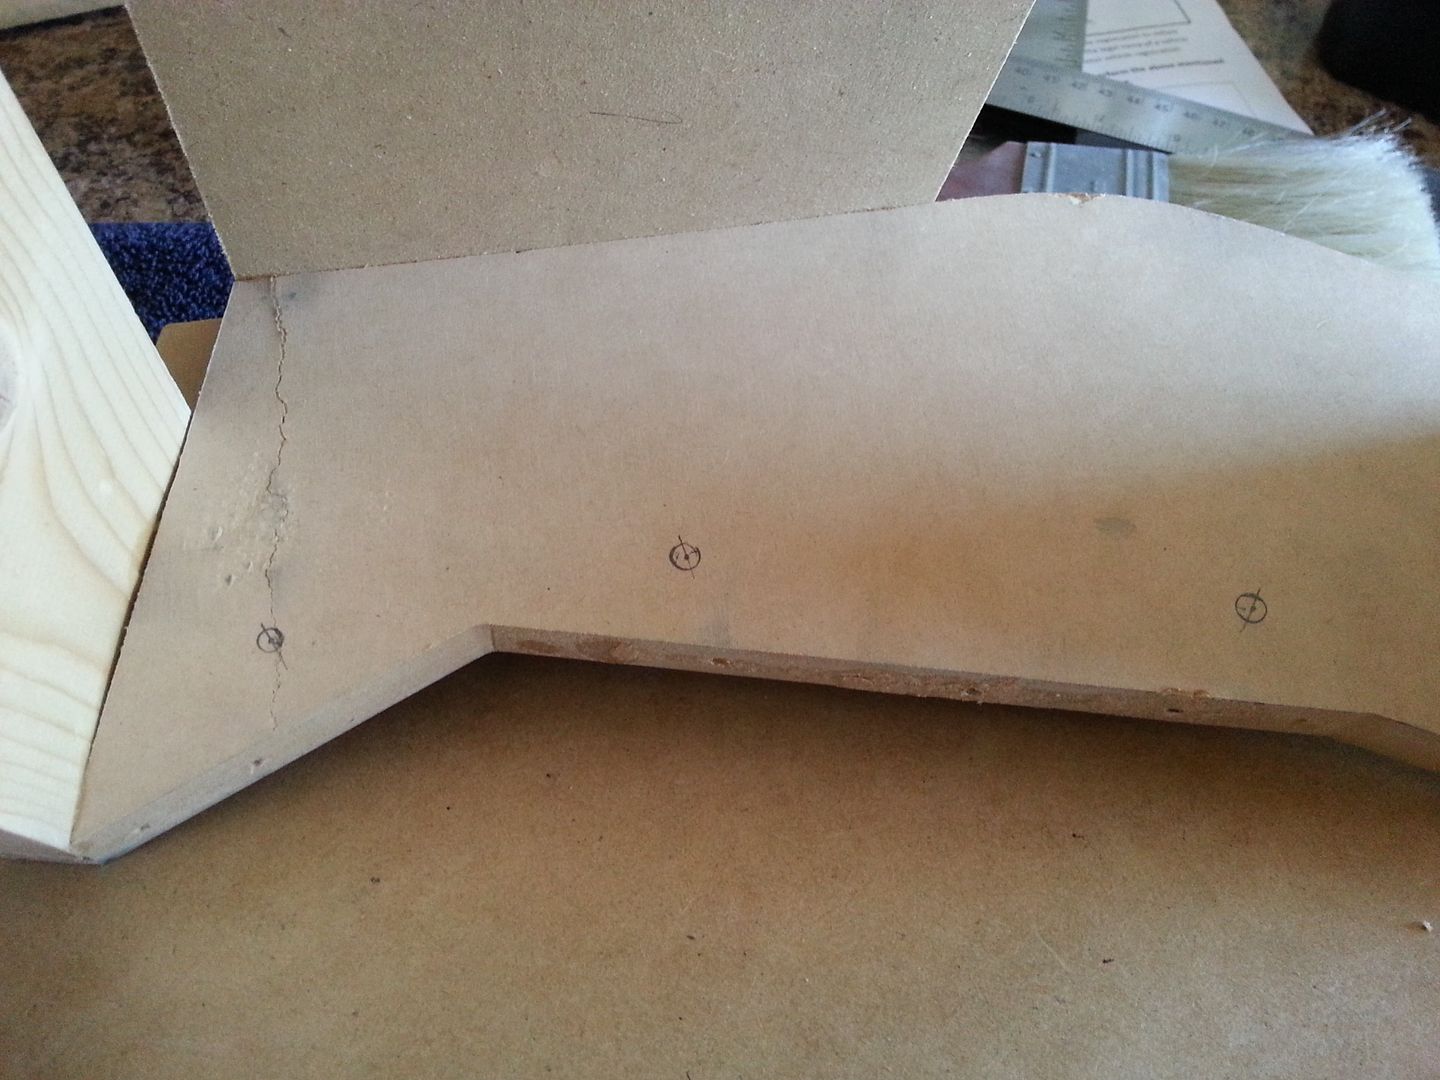
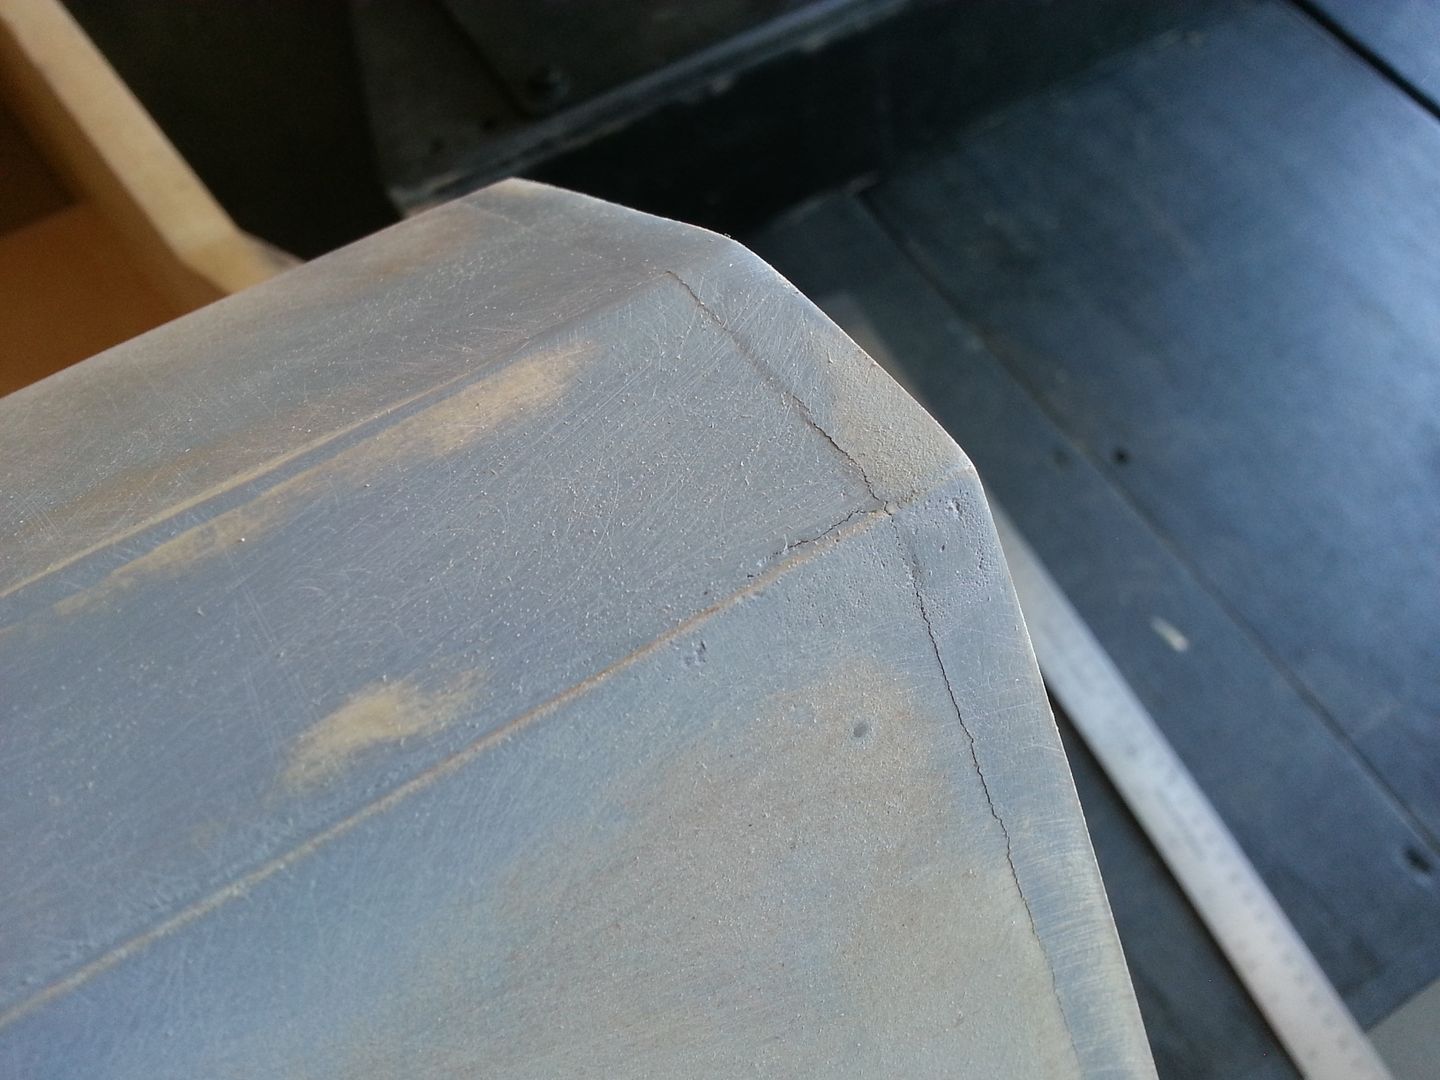
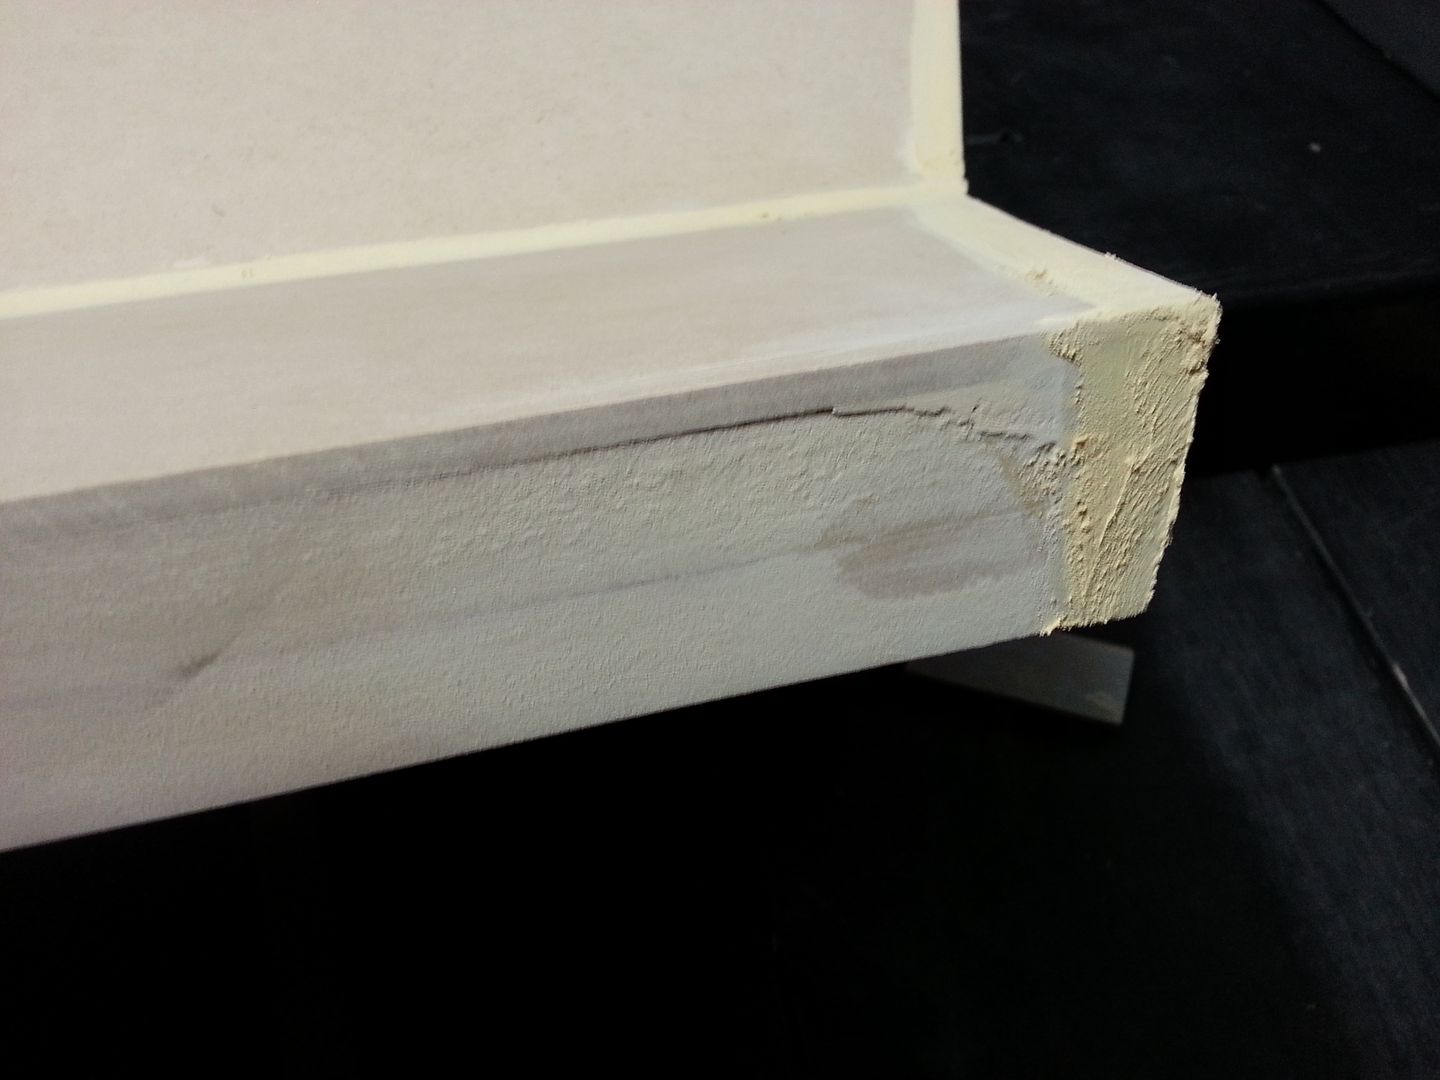
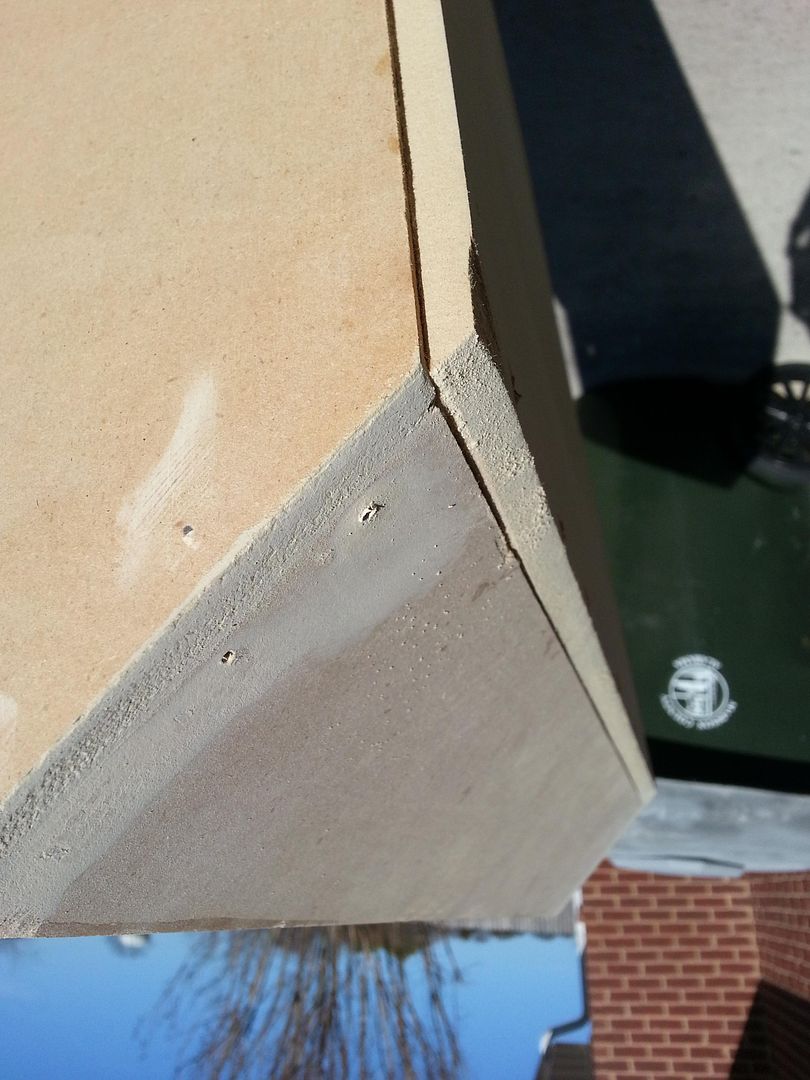
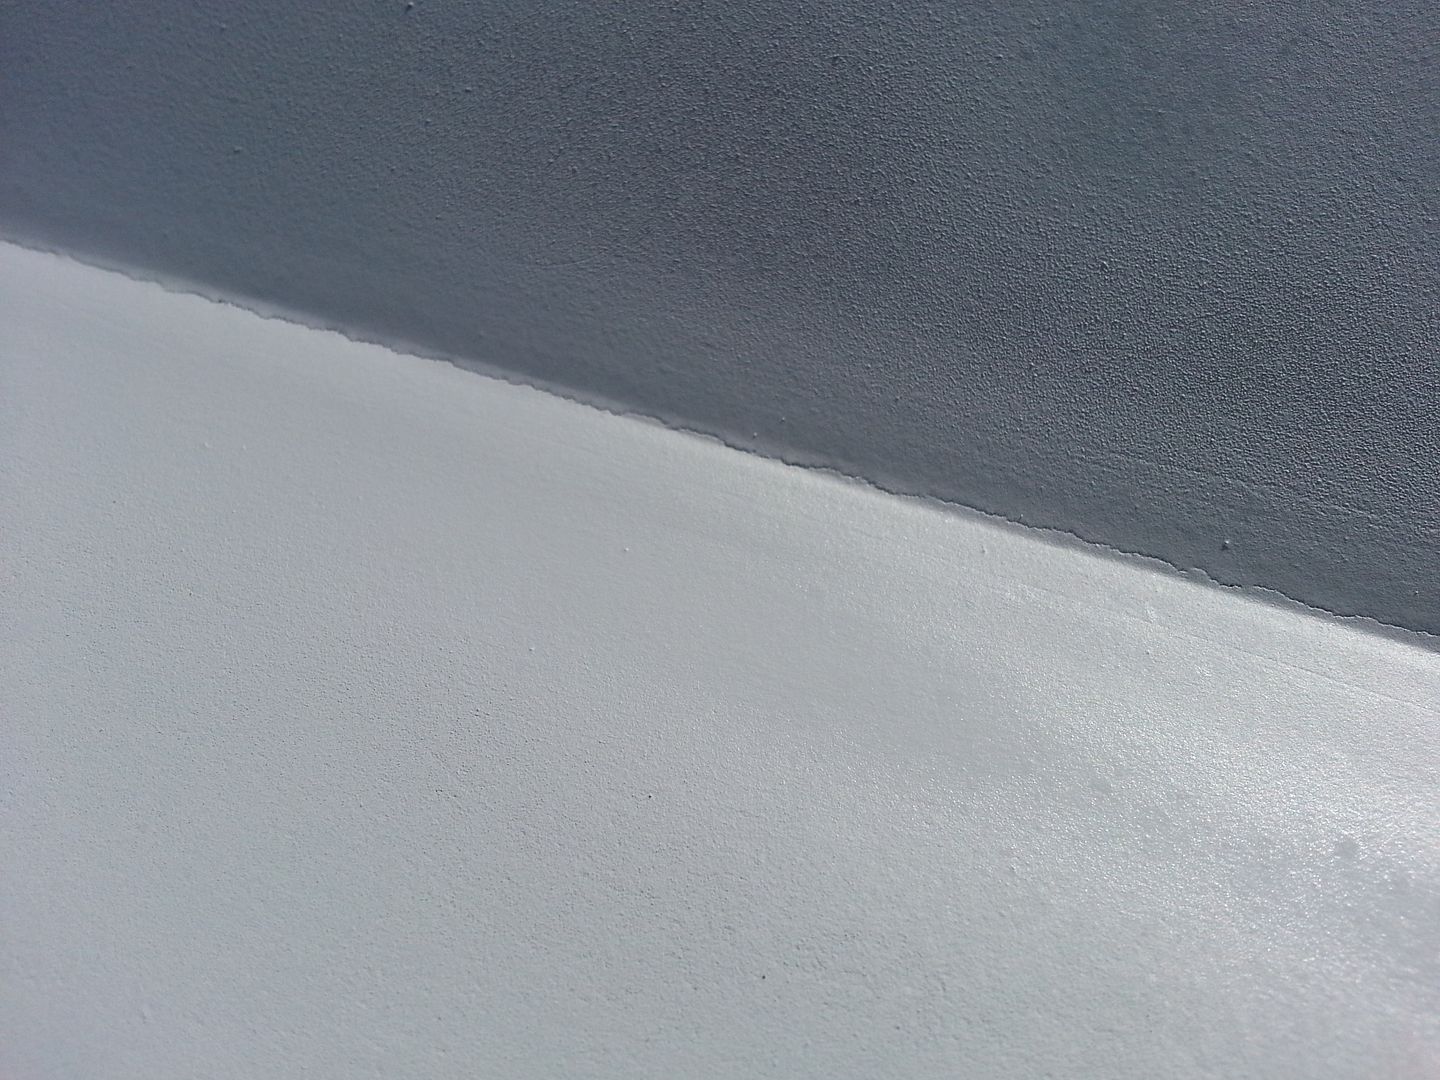
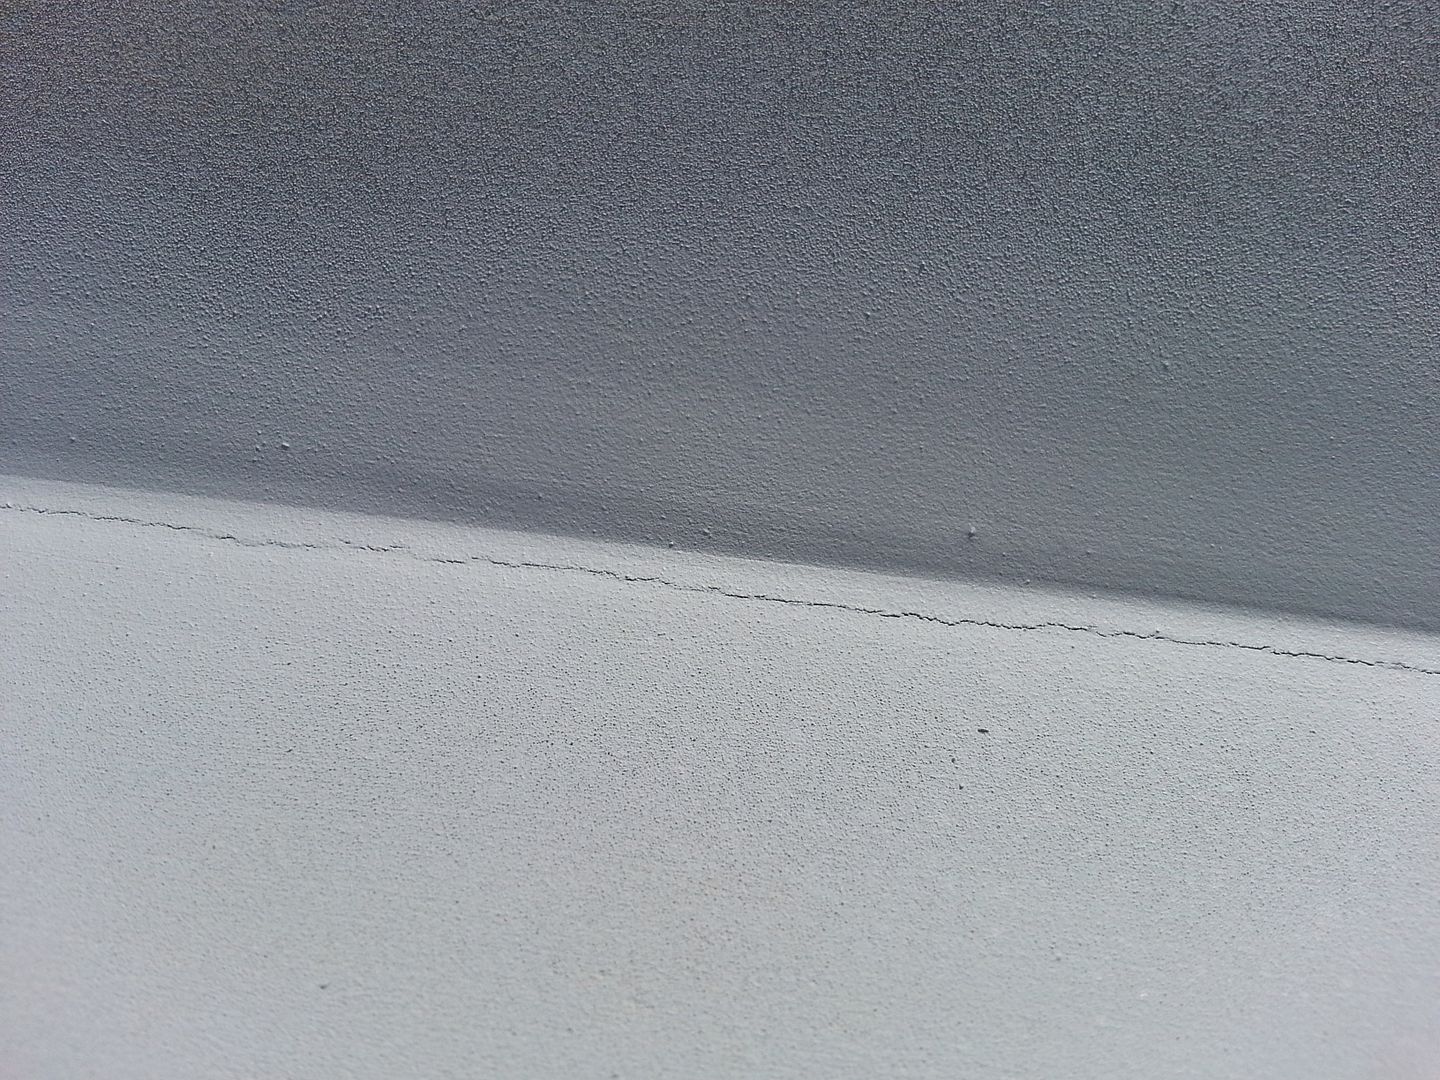
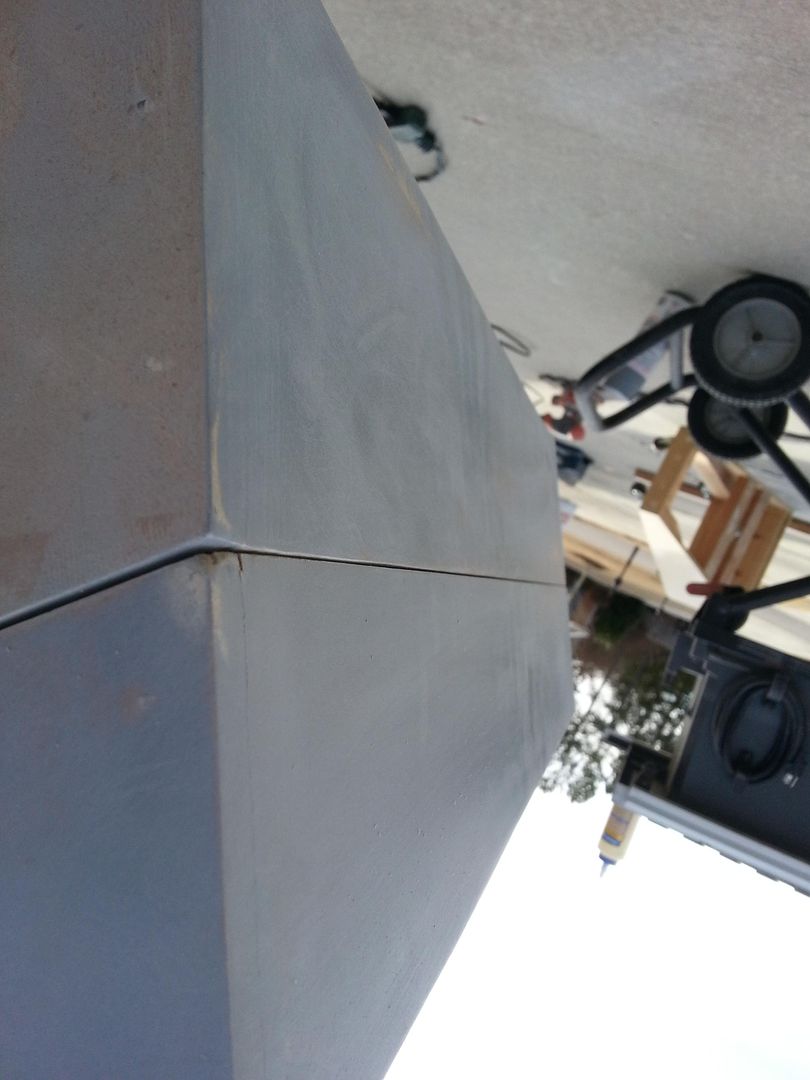
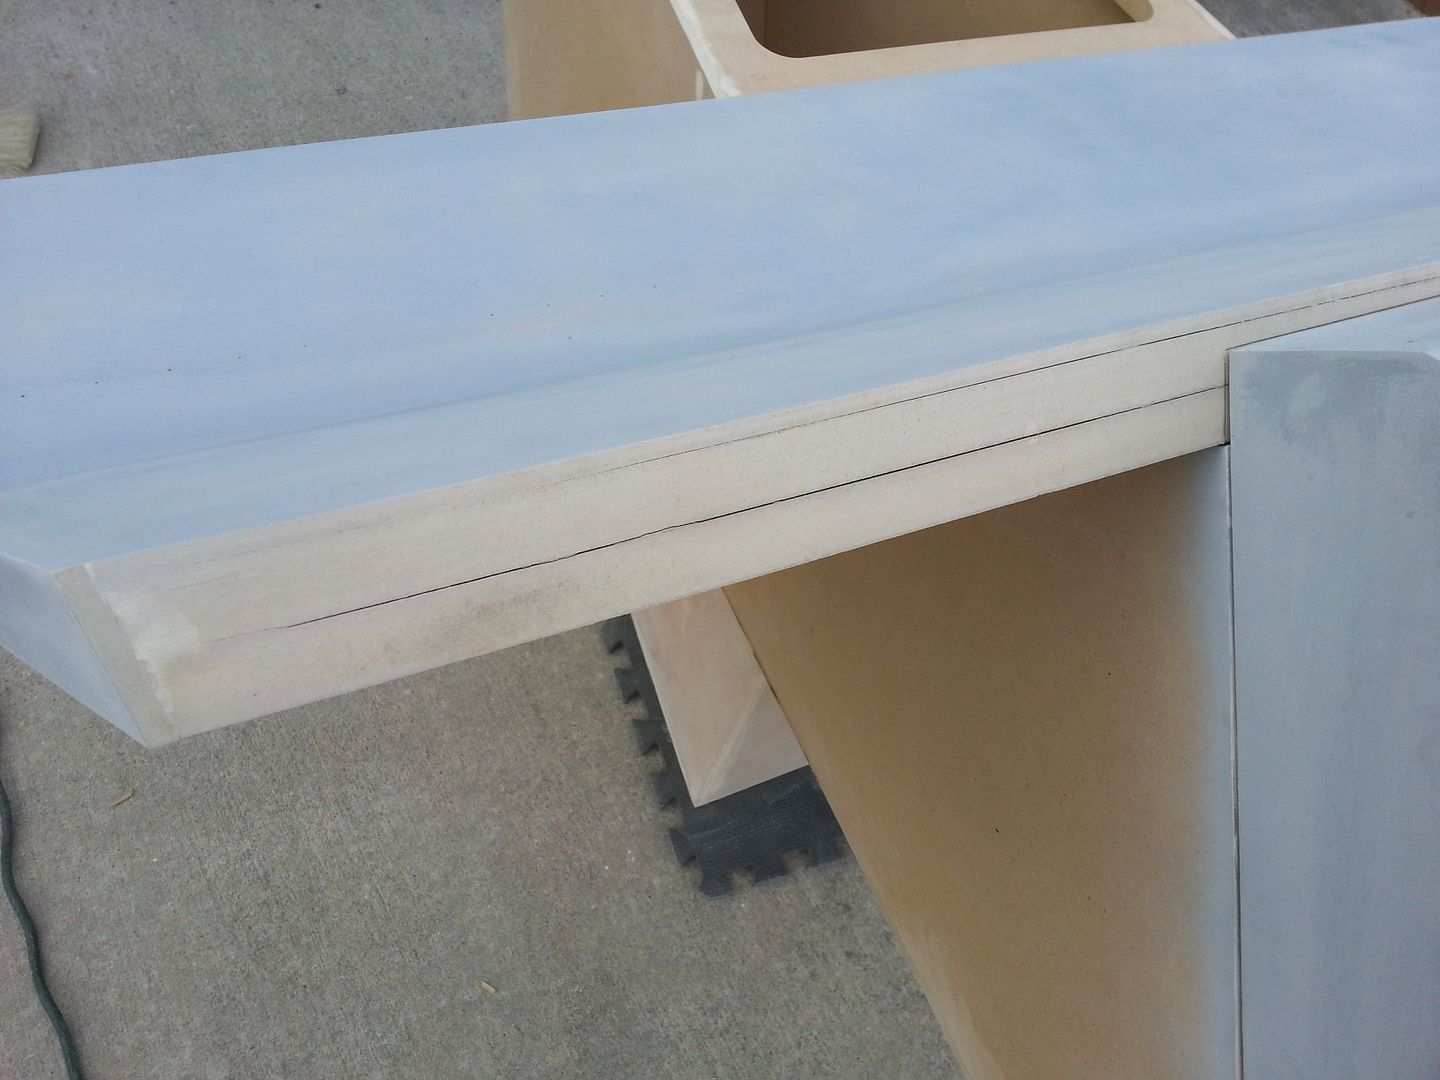
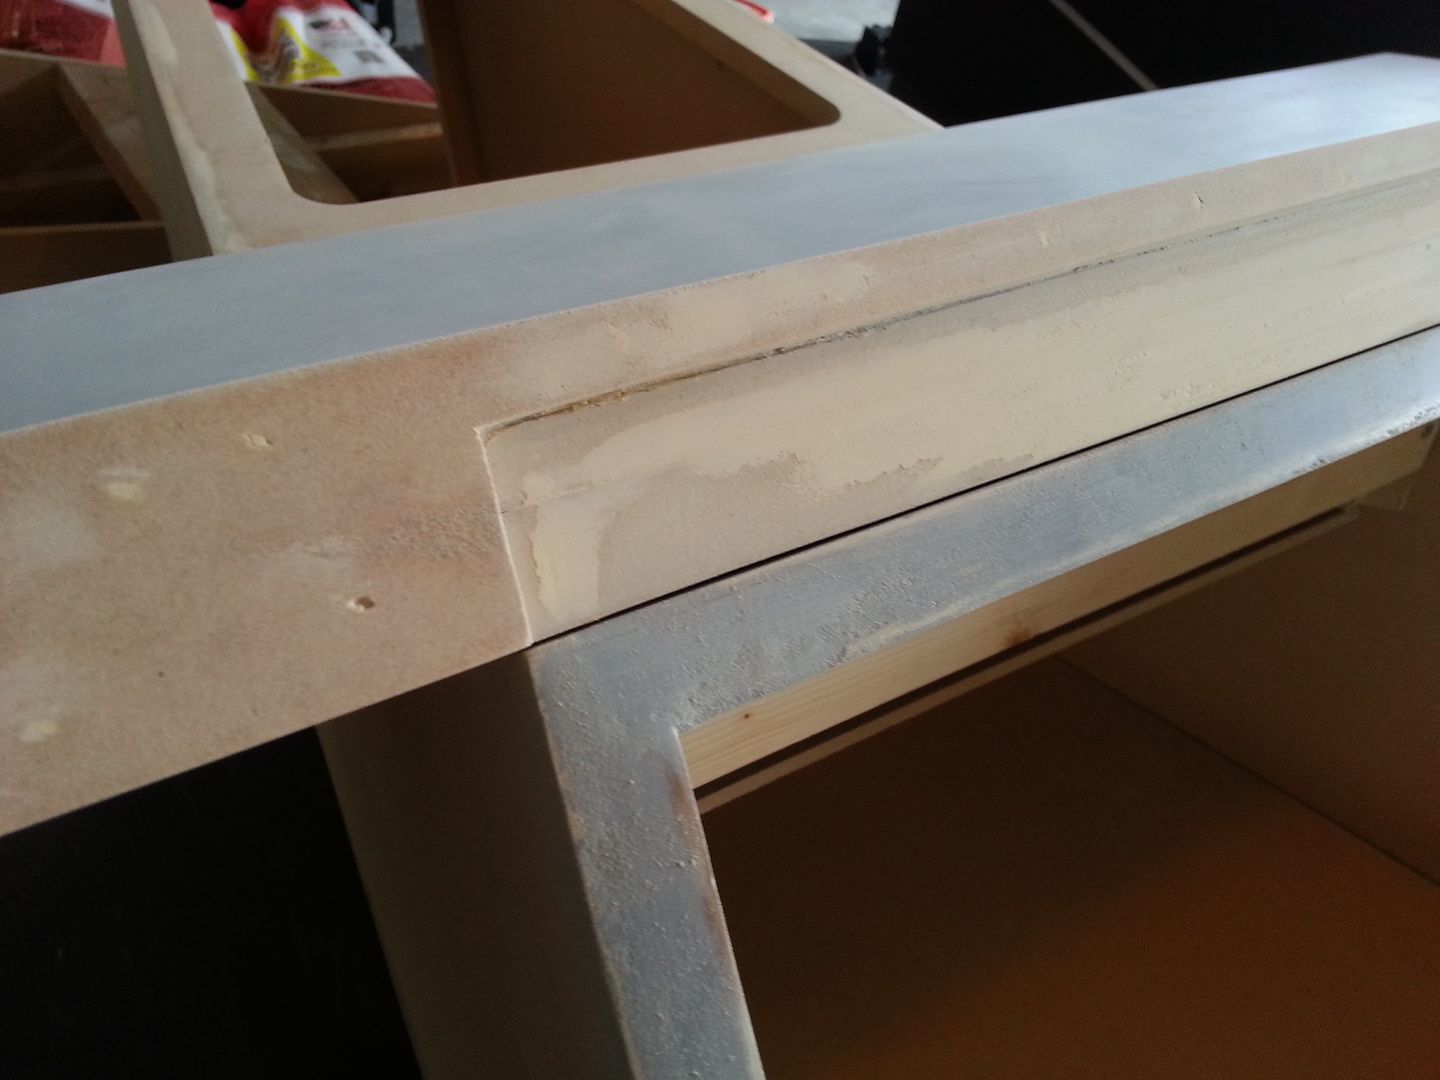
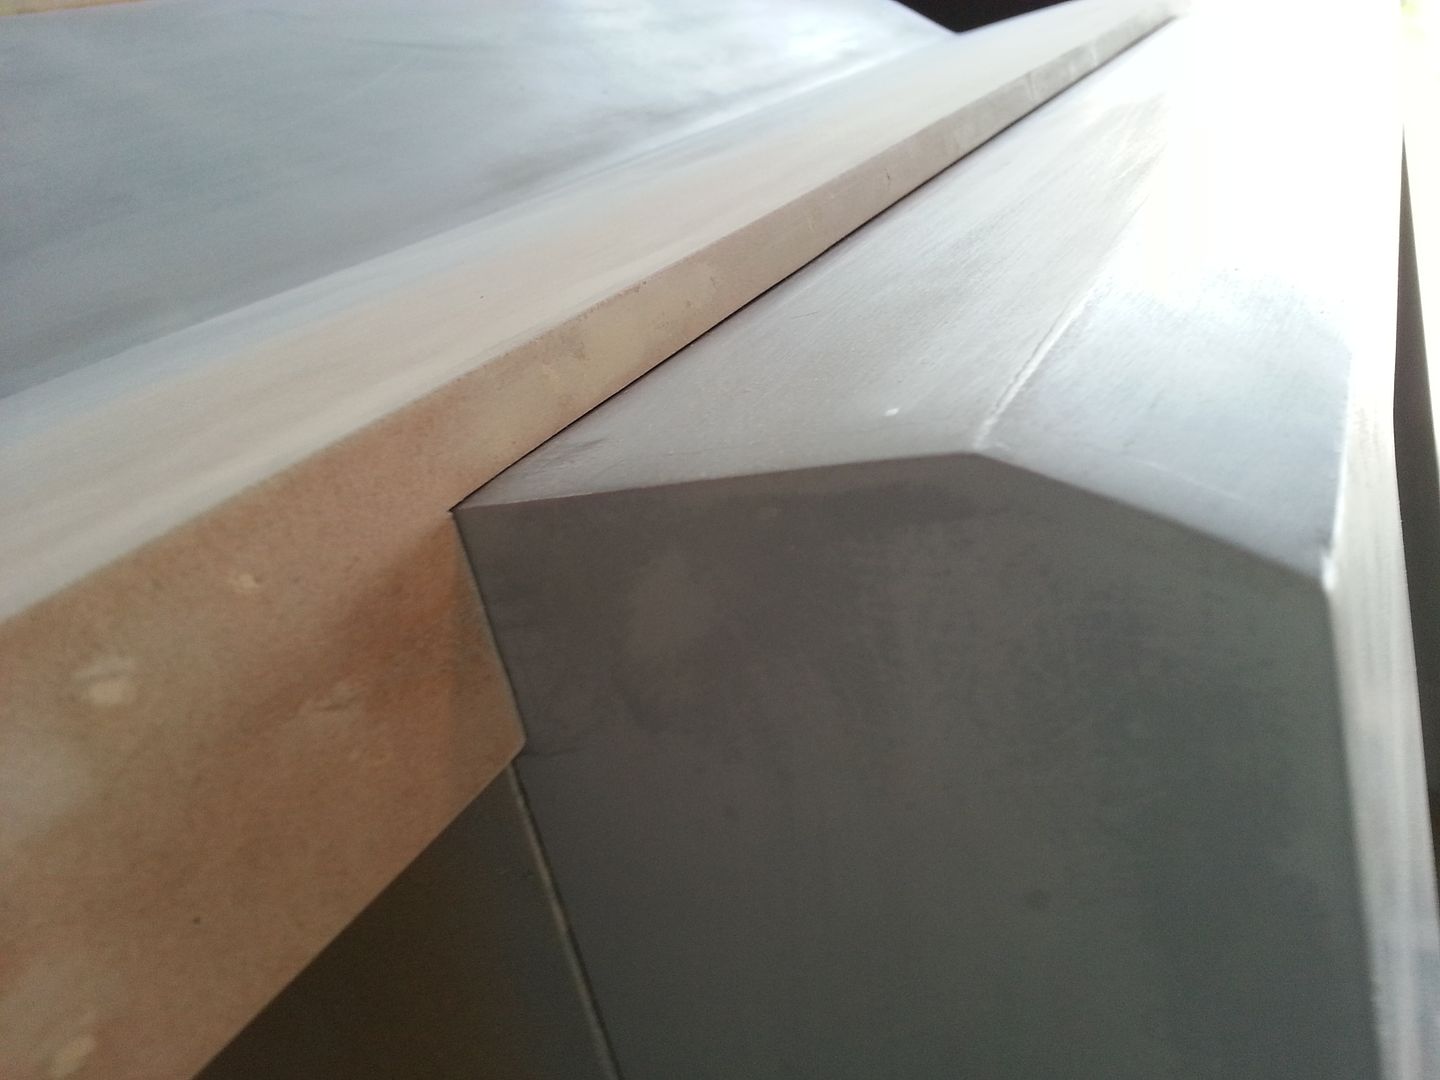
Does anybody have any suggestions on how to solve this little issue? It's cracking right down the middle where the two panels meet. I'm debating whether just to scribe a line down the middle to remove the stress from the primer/filler and paint when it flexes. Any ideas?
GRRRR
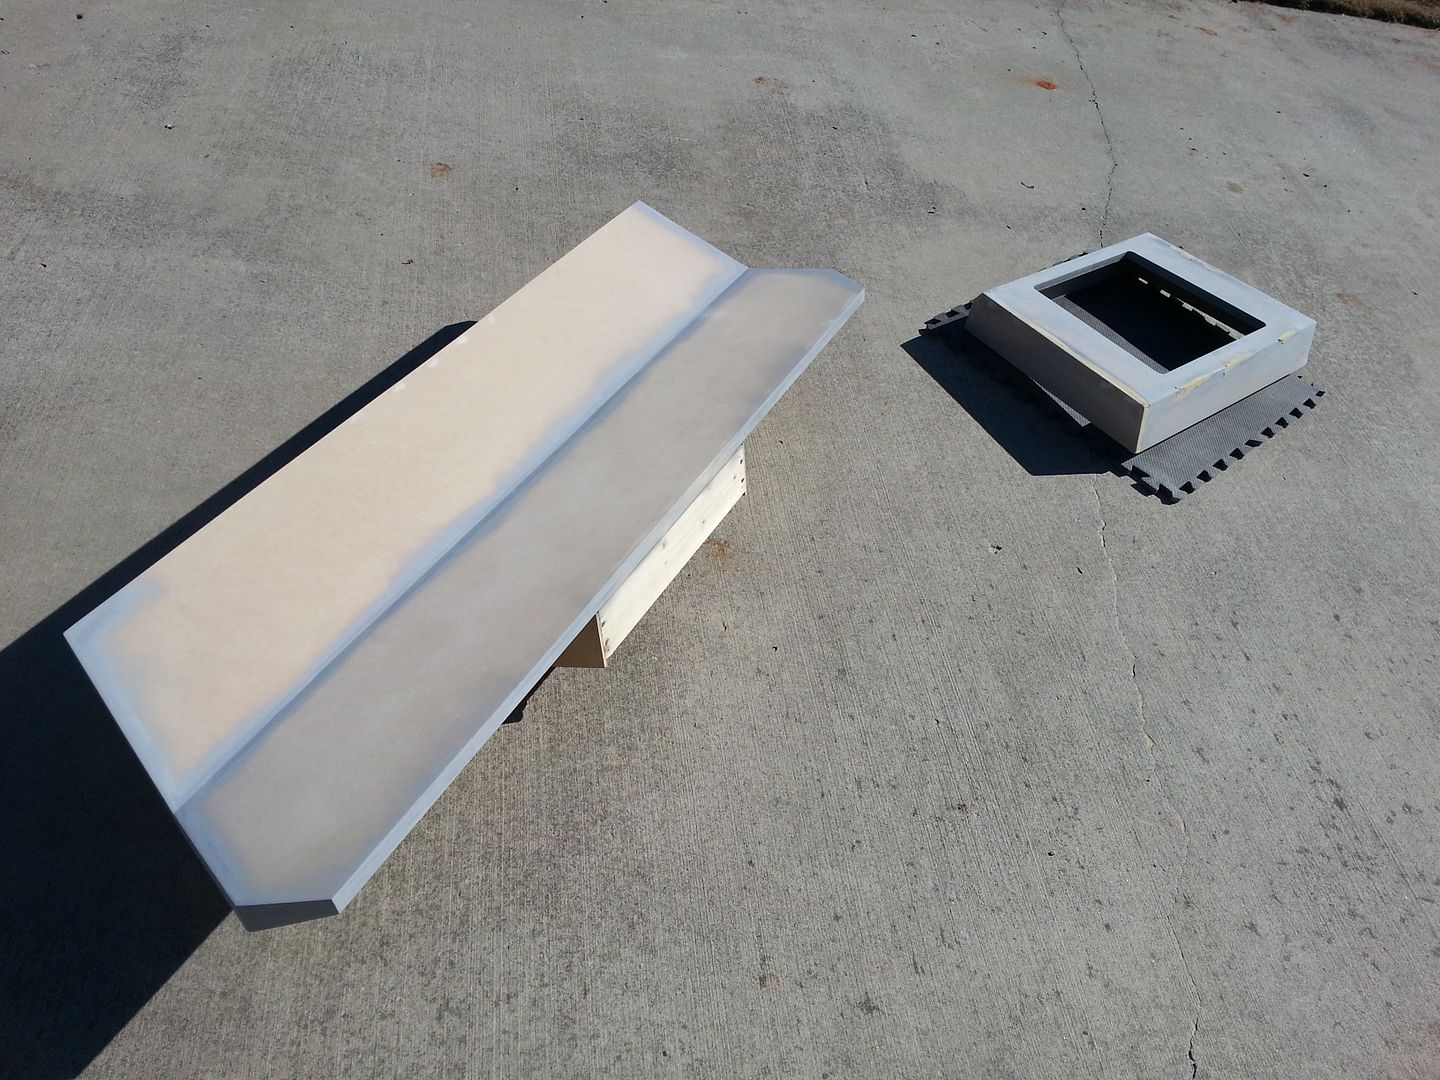
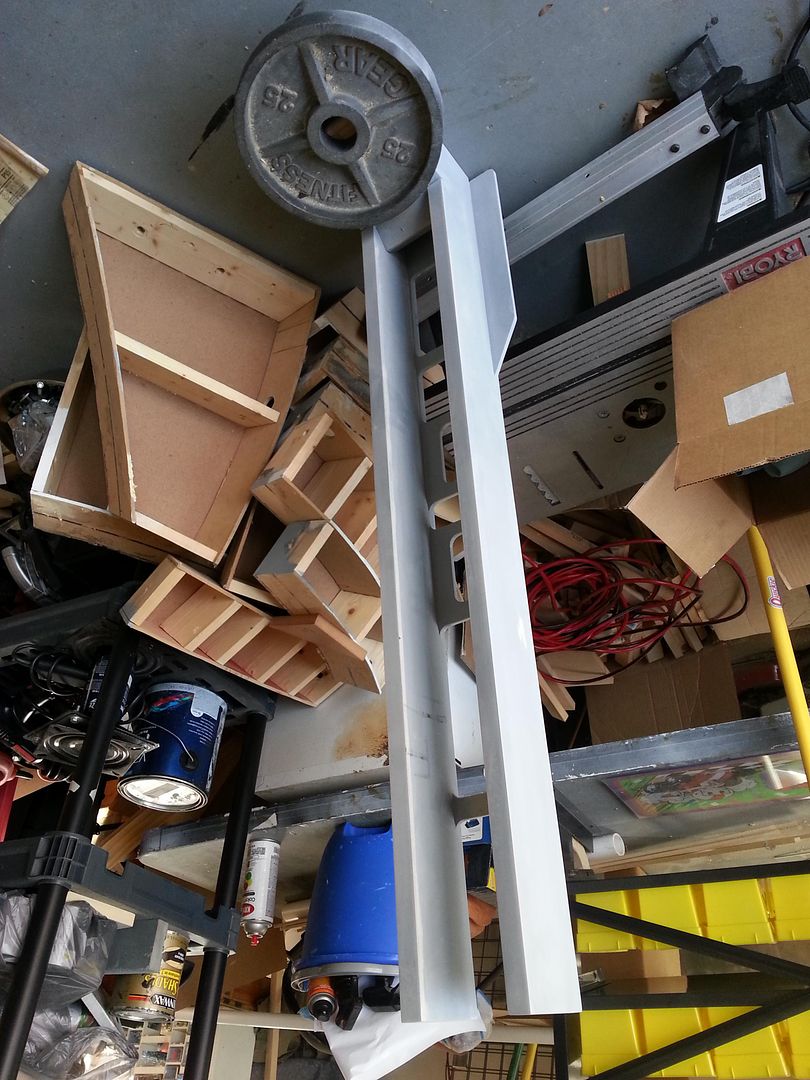
Nose catching some rays - it was chilly 60 degrees! It was awesome
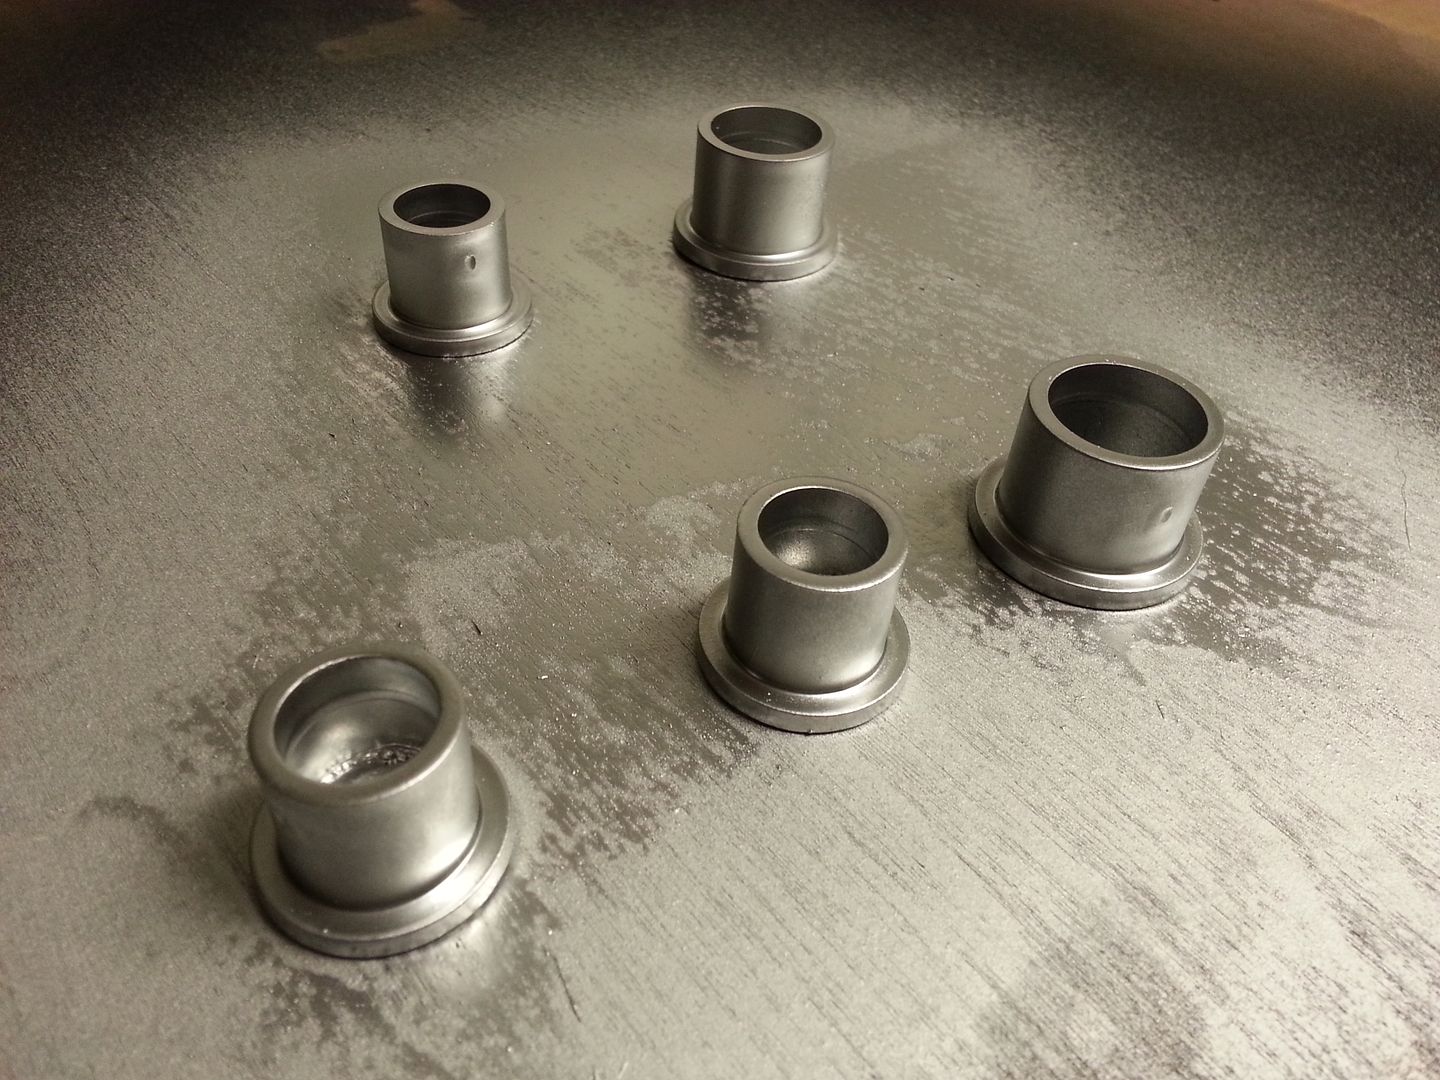
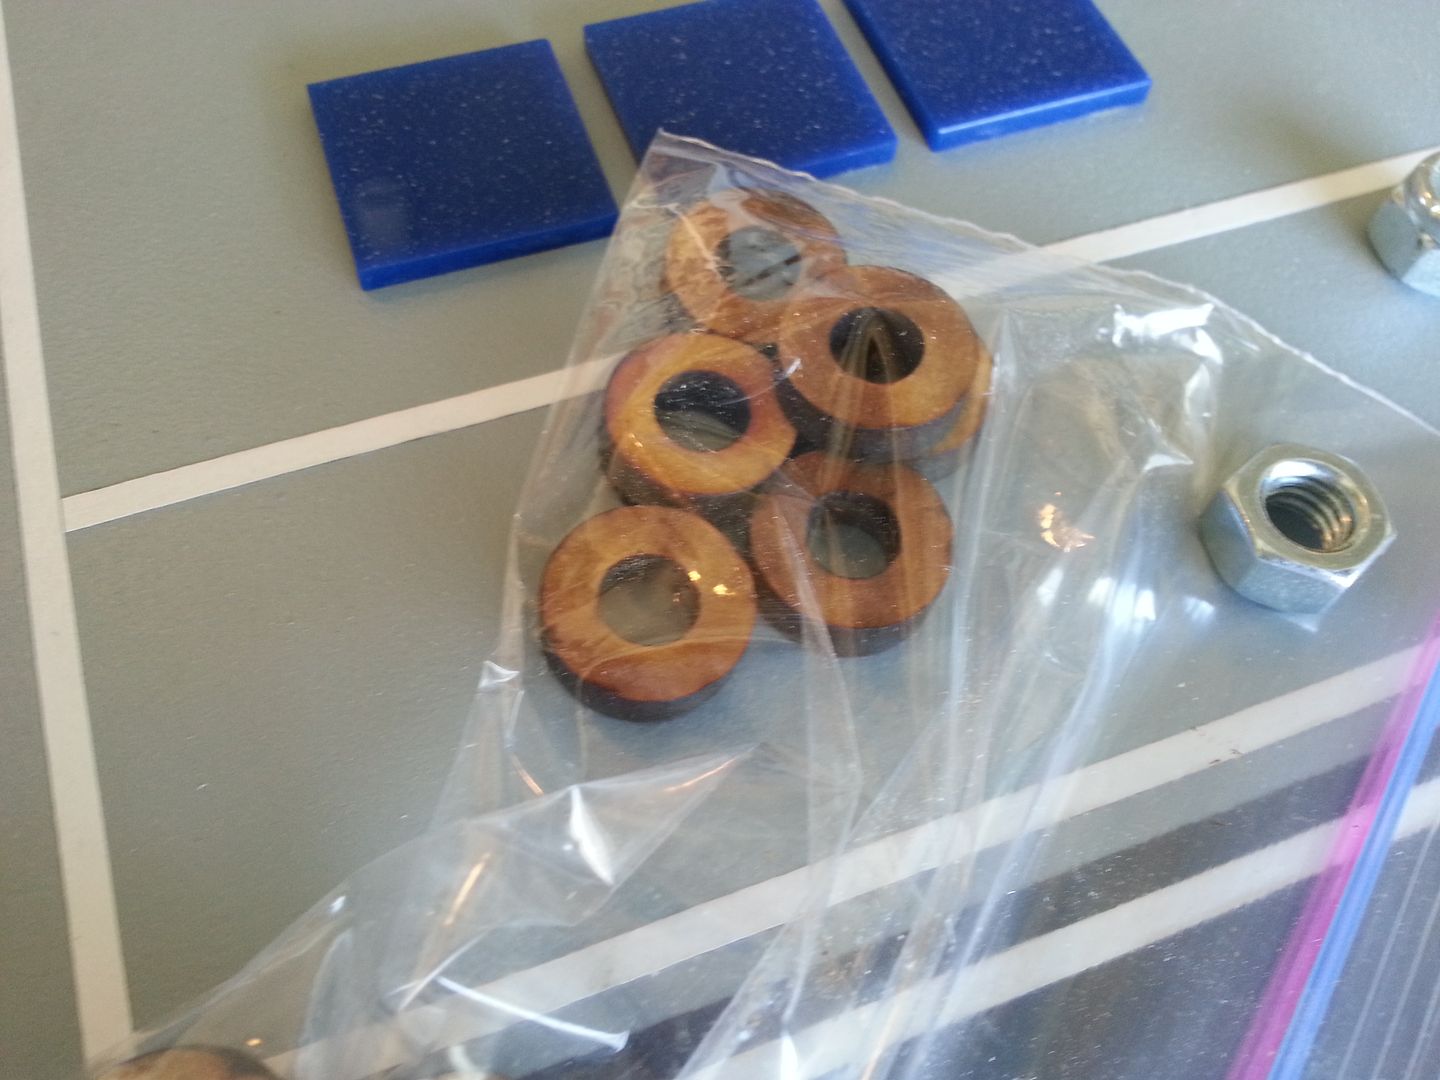
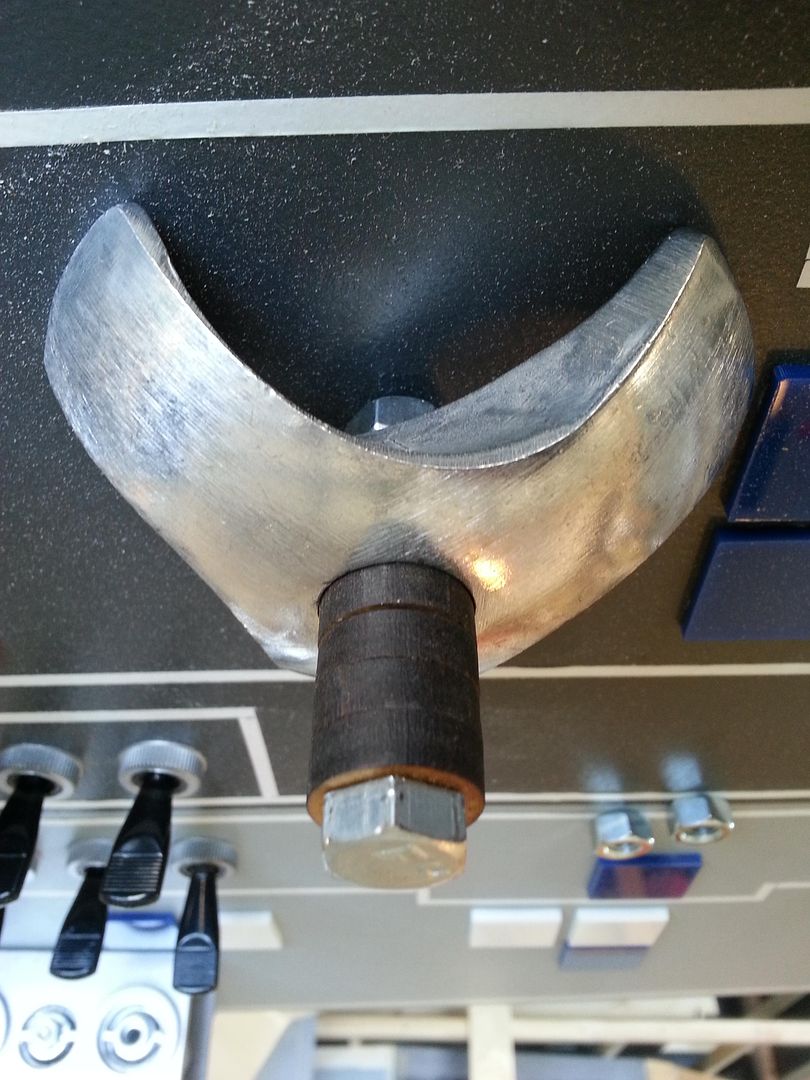
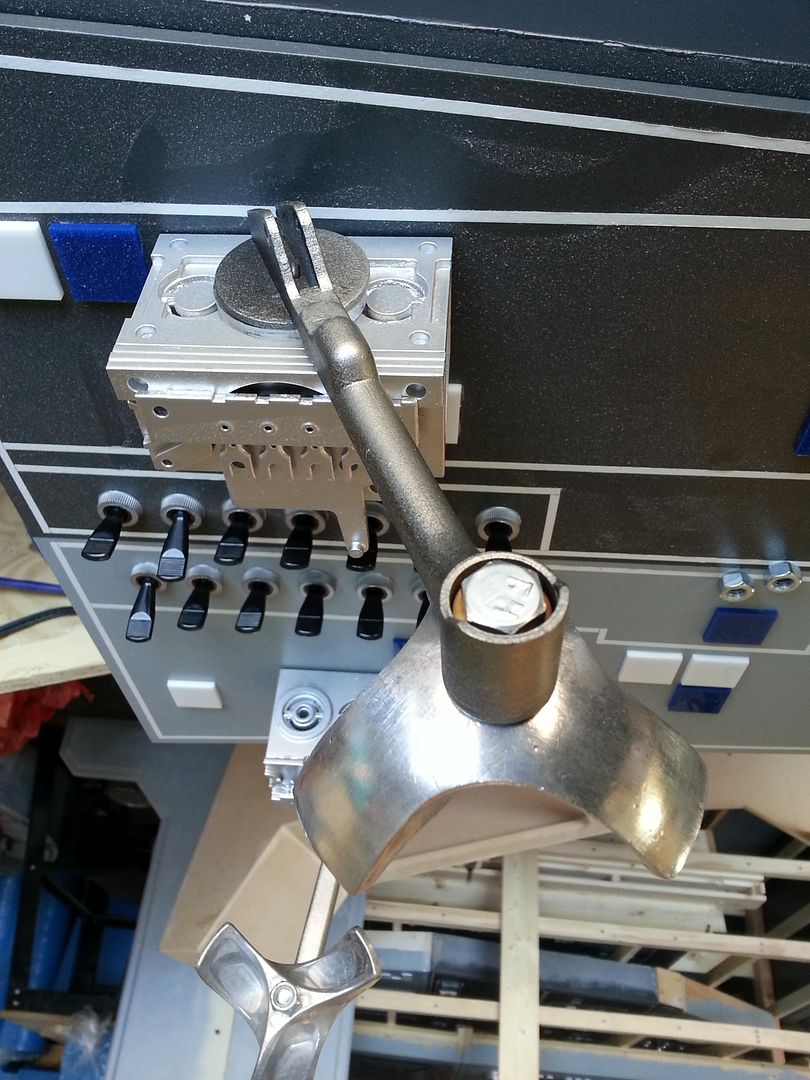
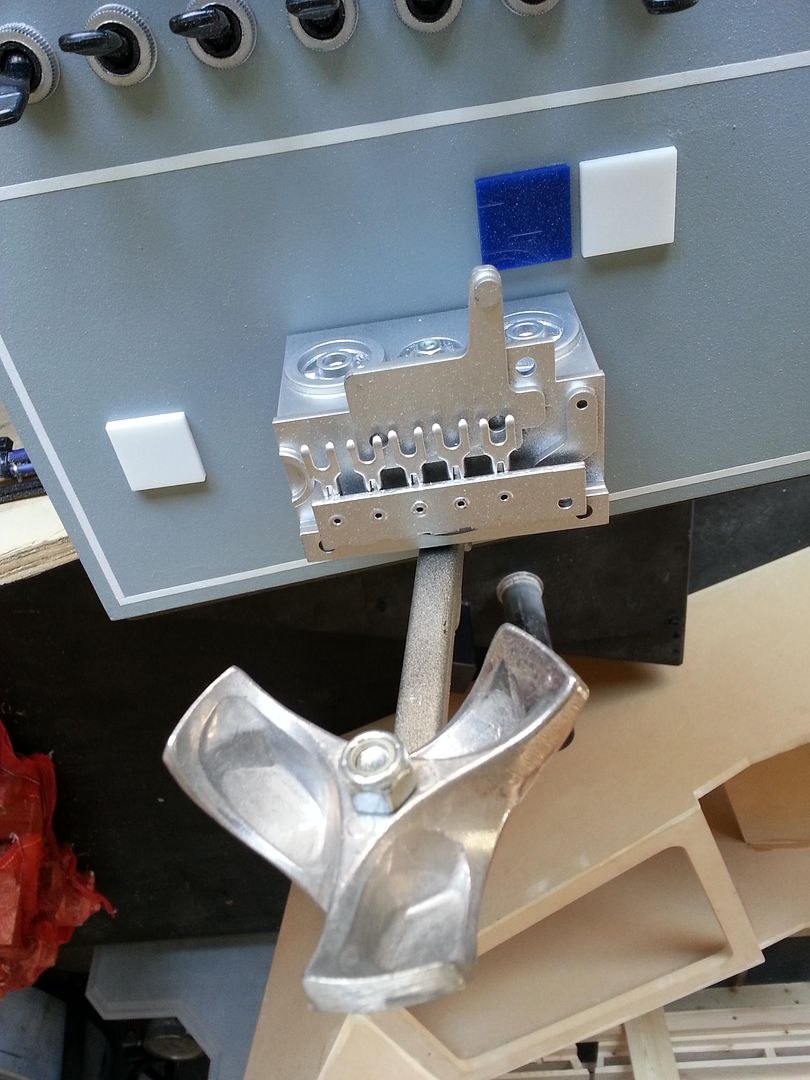
While all the filler/primer was drying I broke out these projects that have been collecting dust
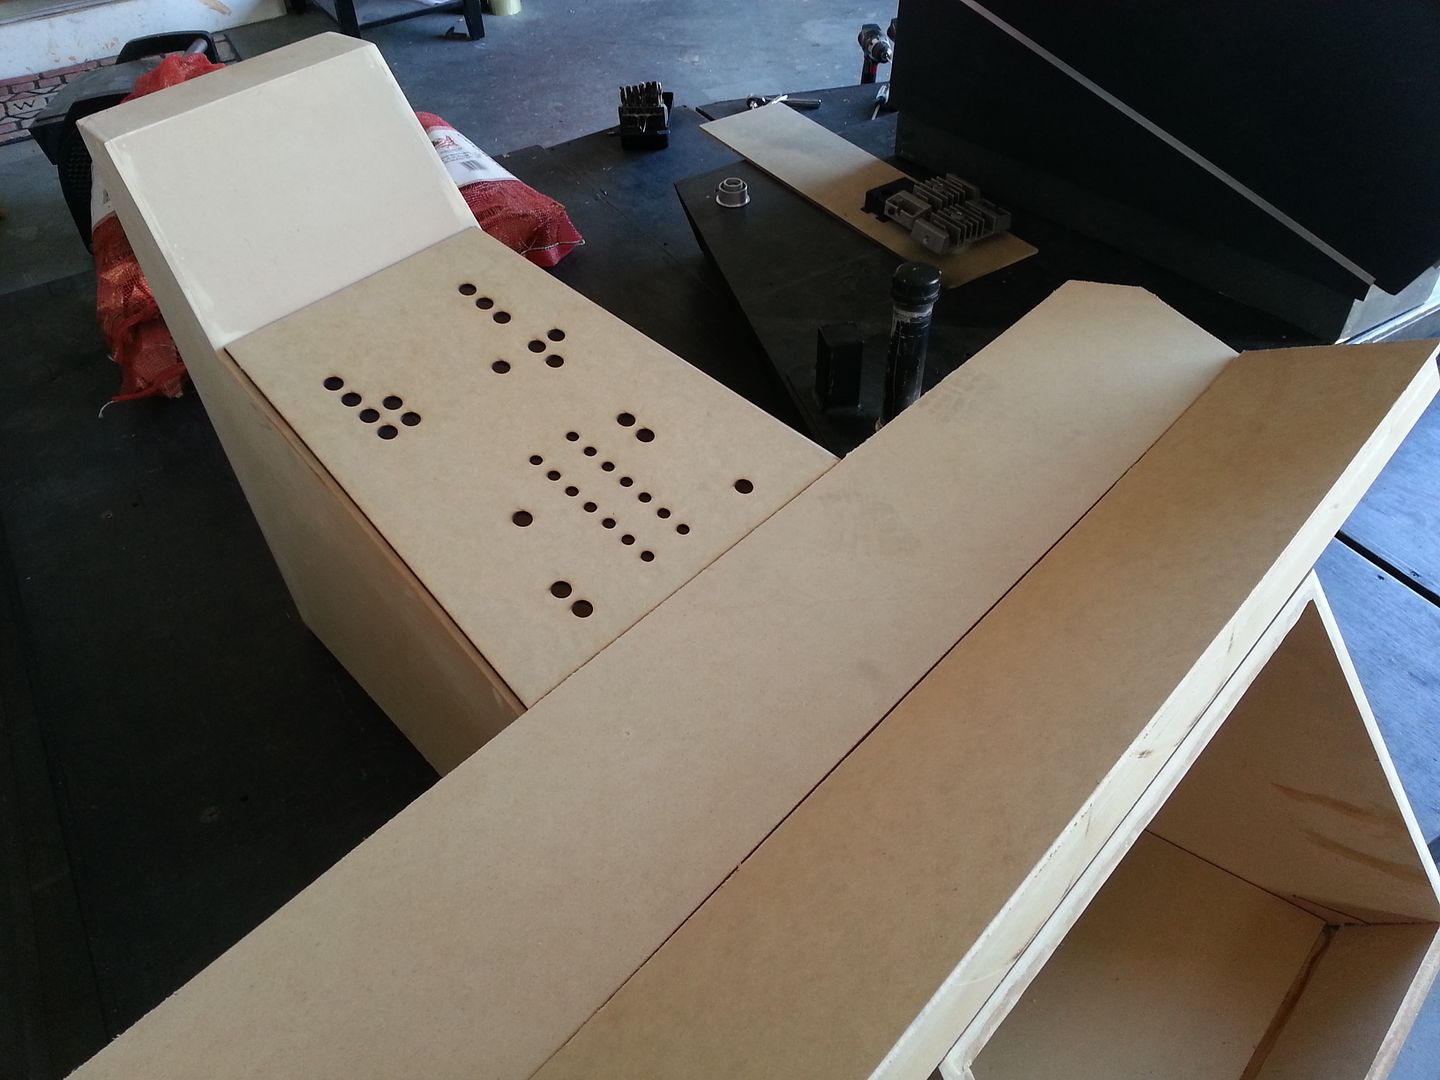
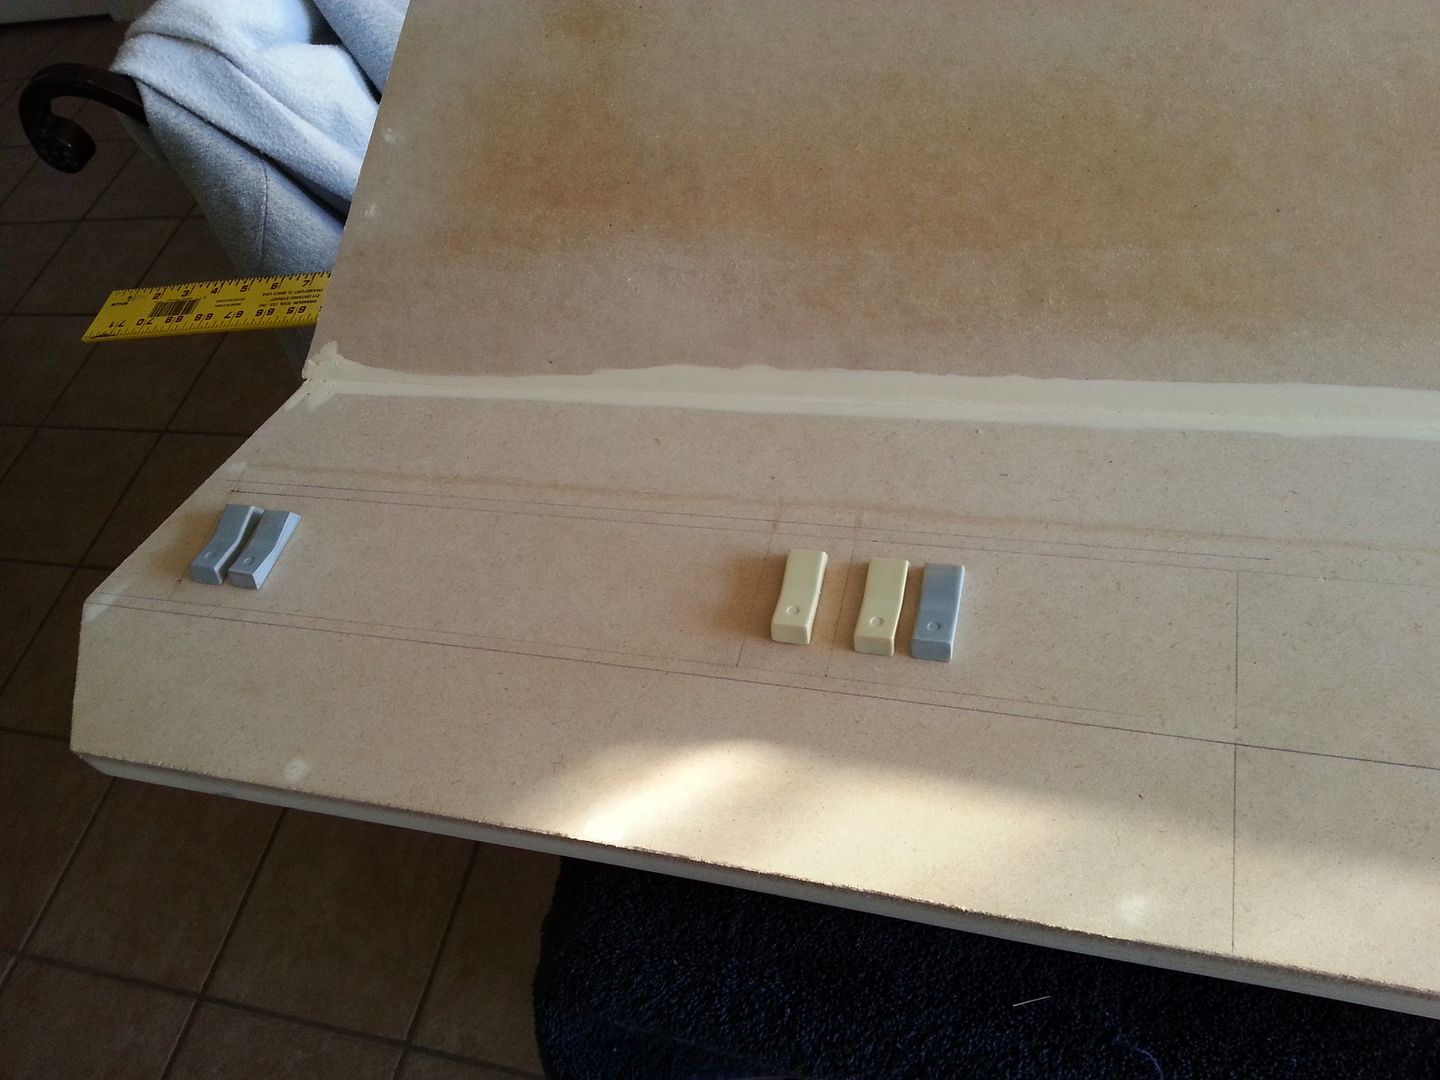
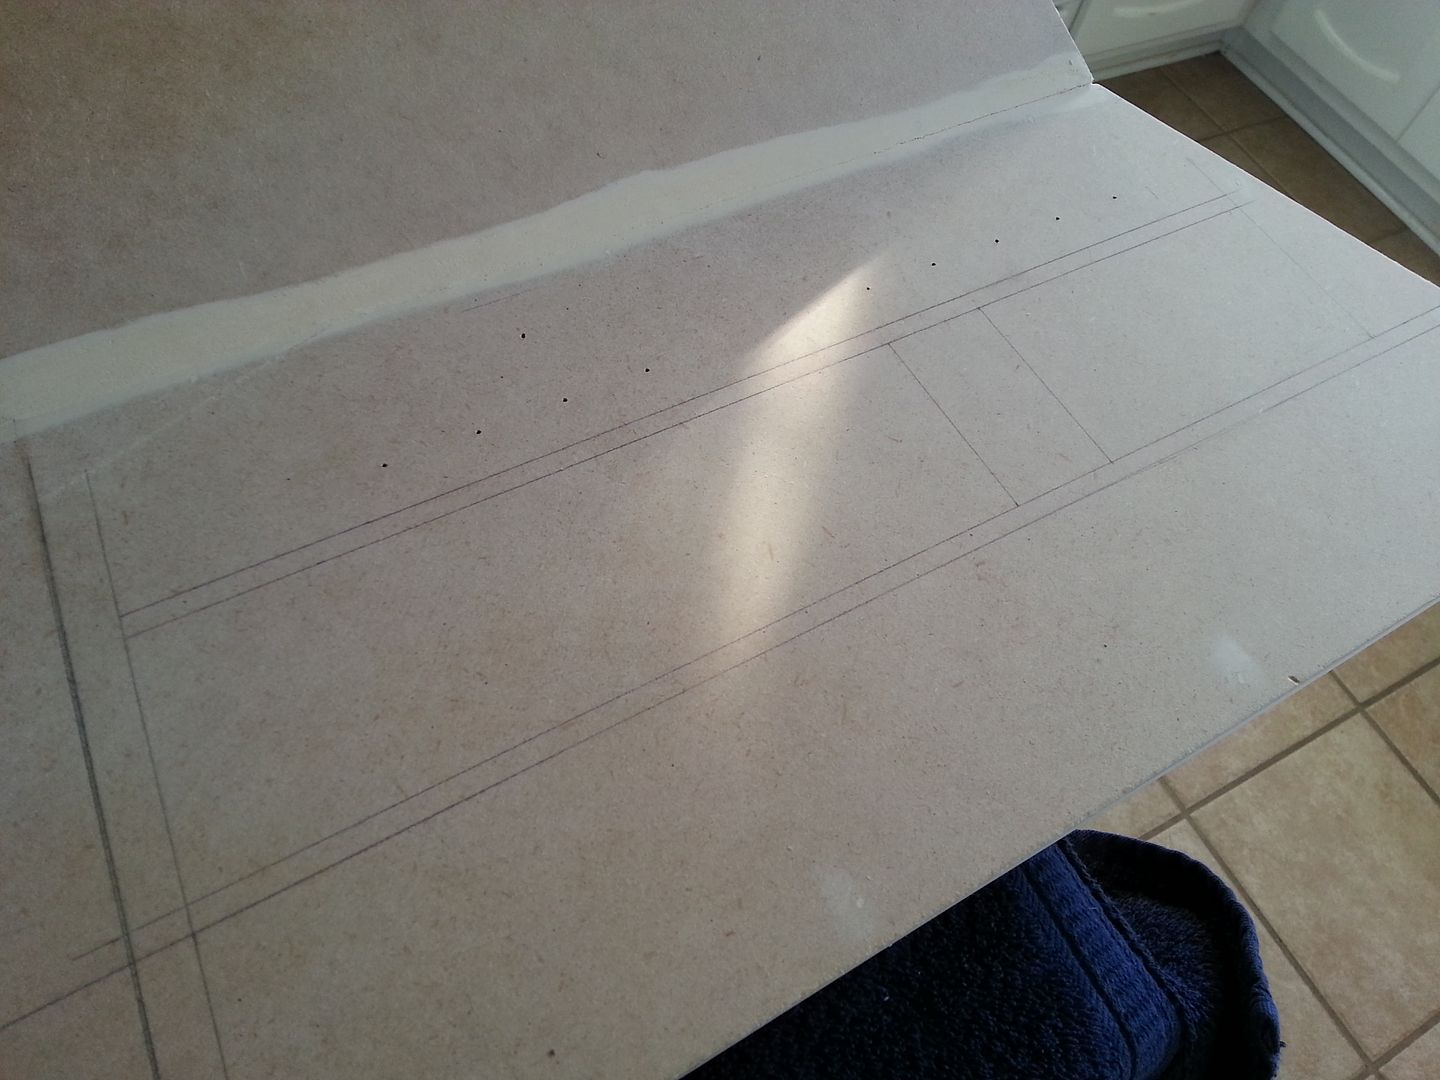
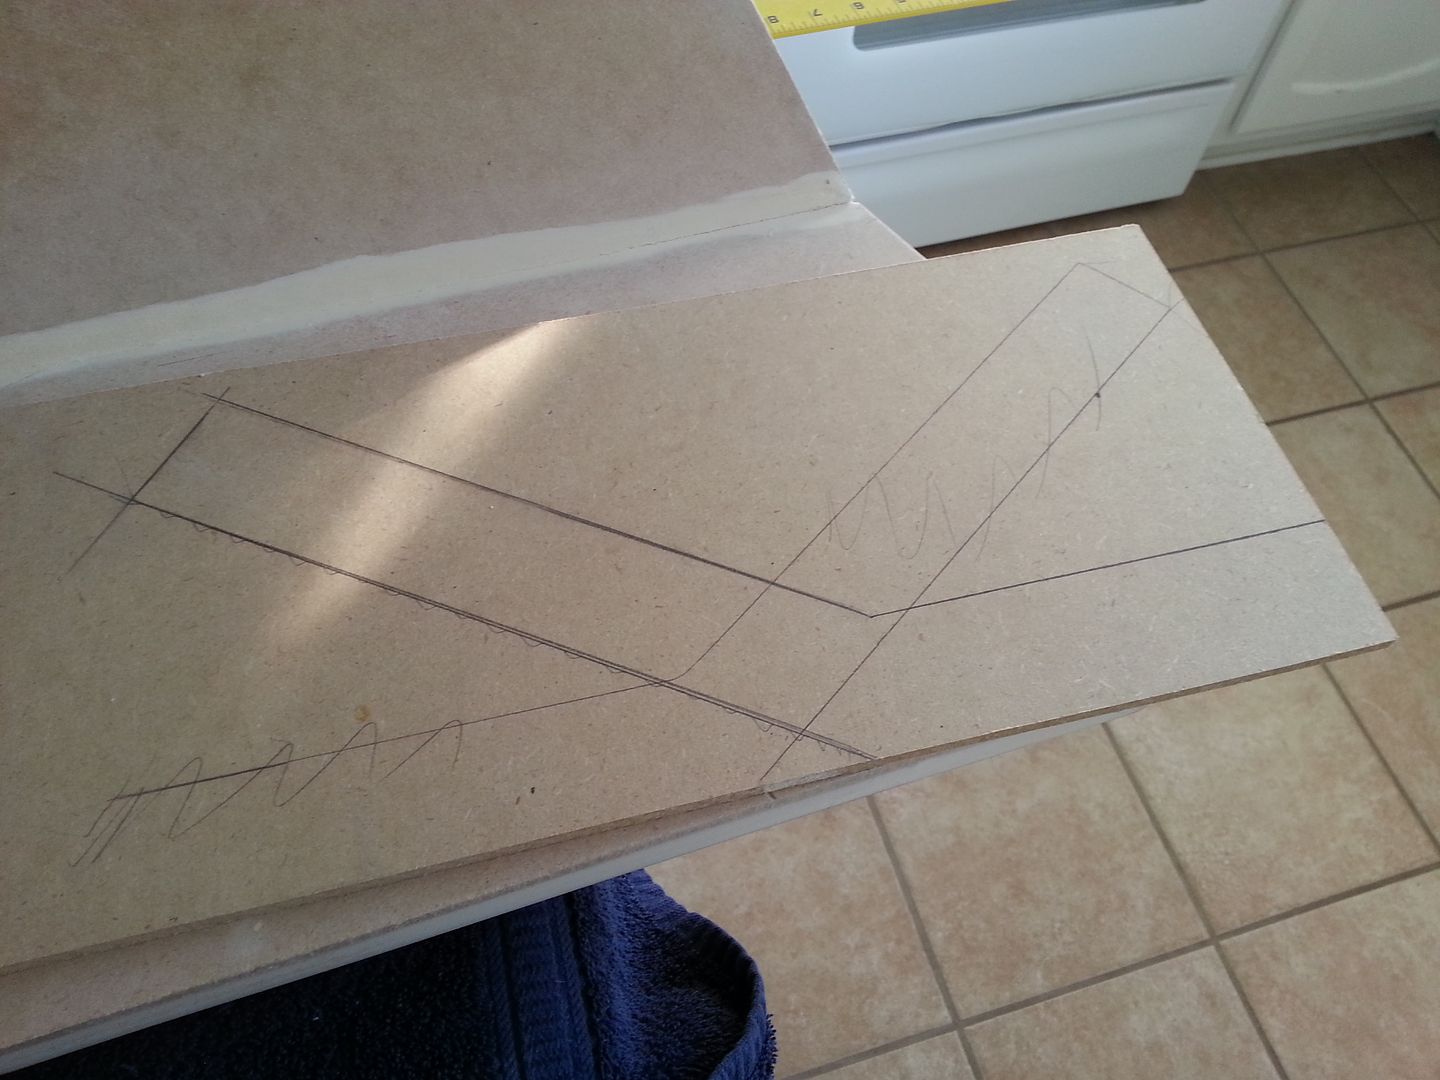
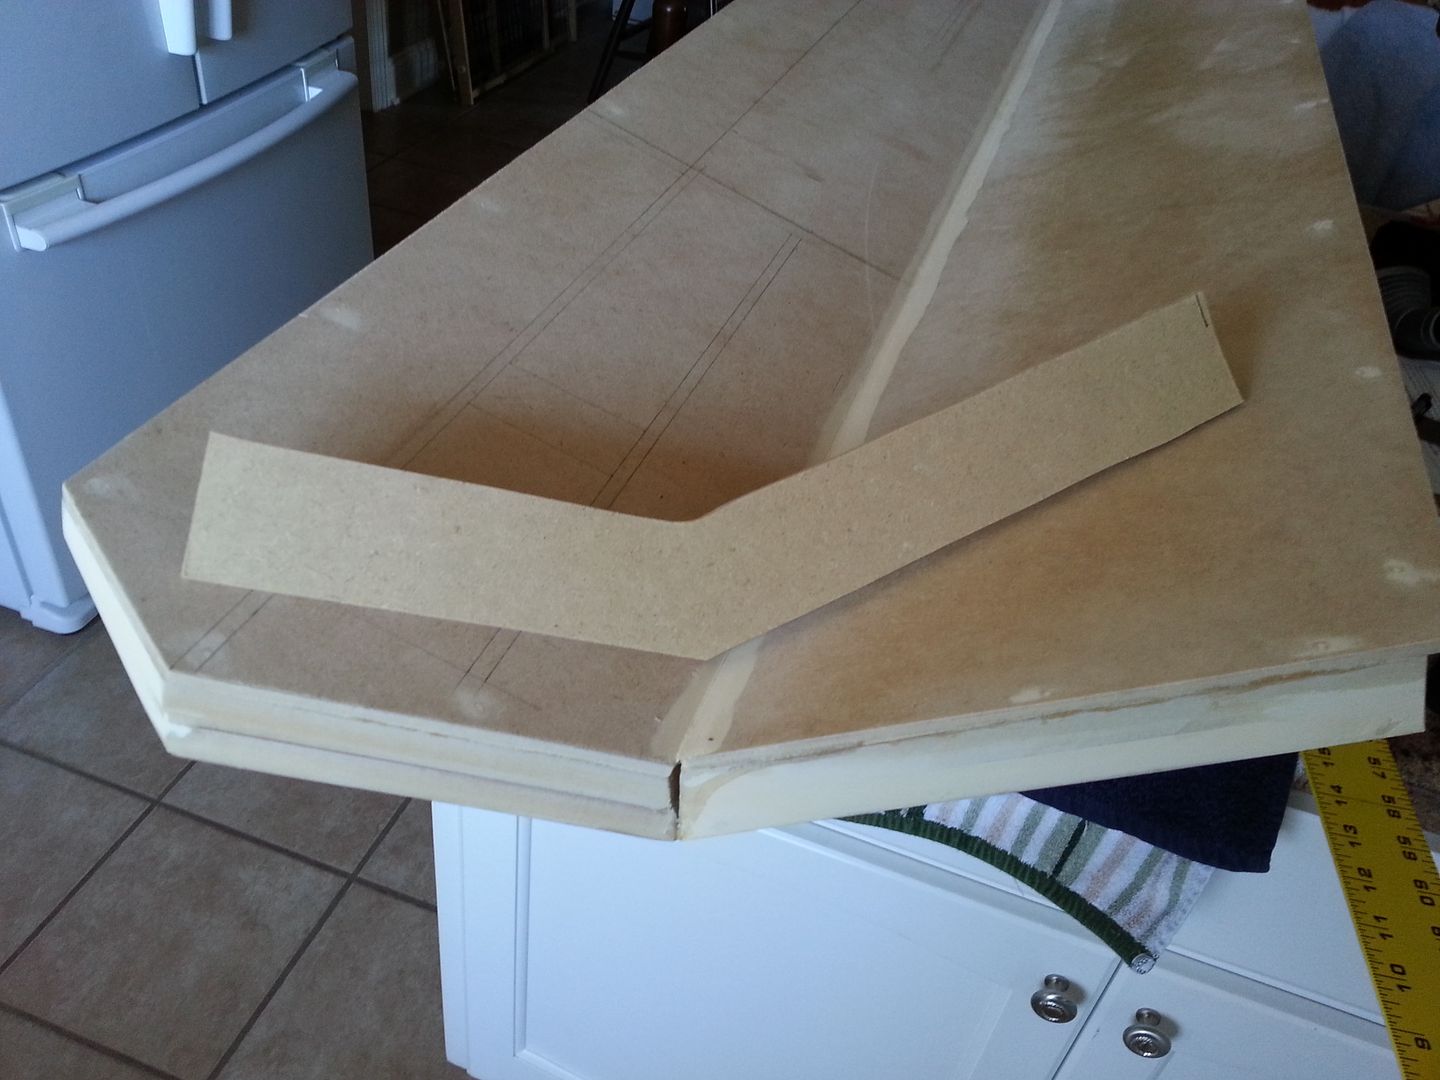
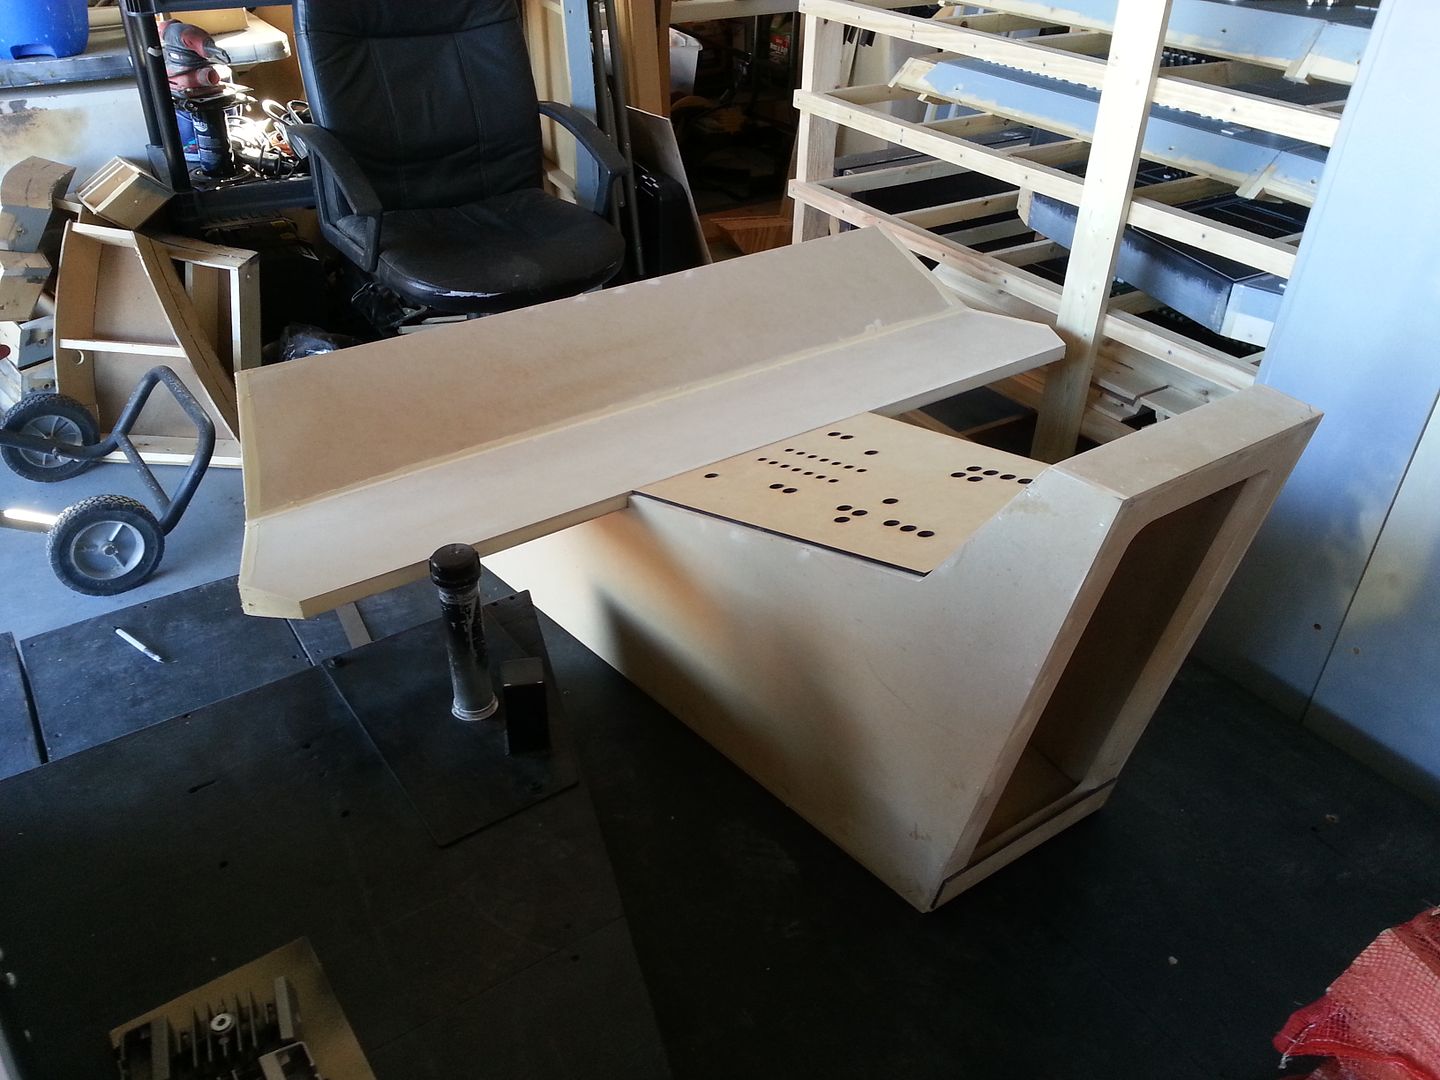
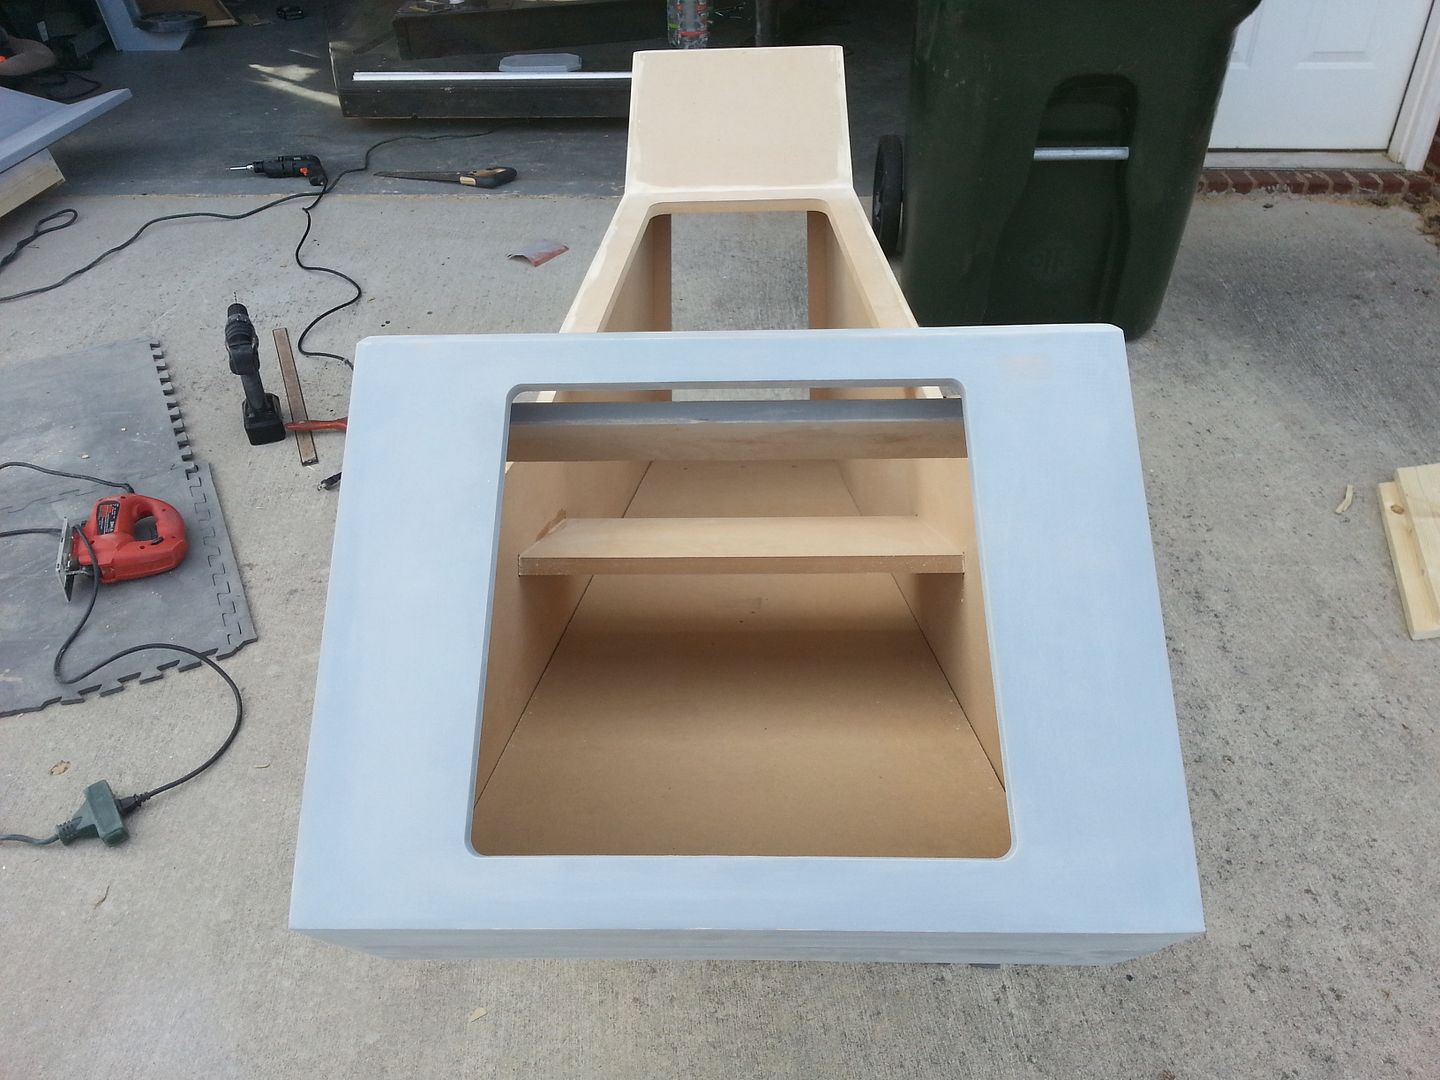
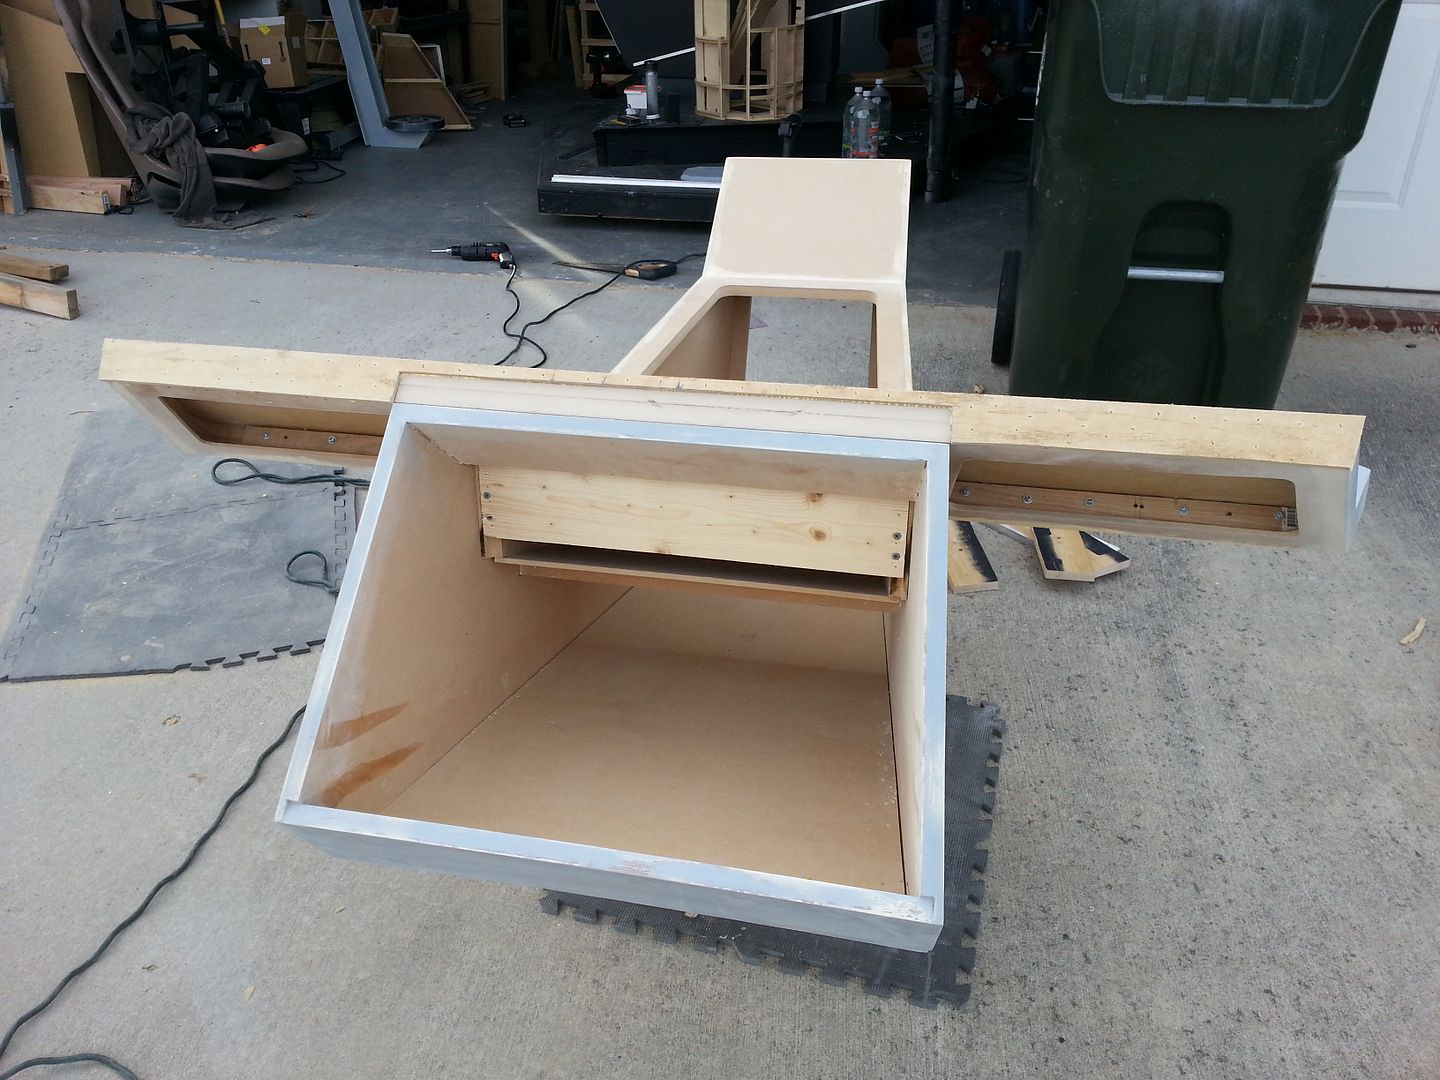
I then worked on the console base - creating templates
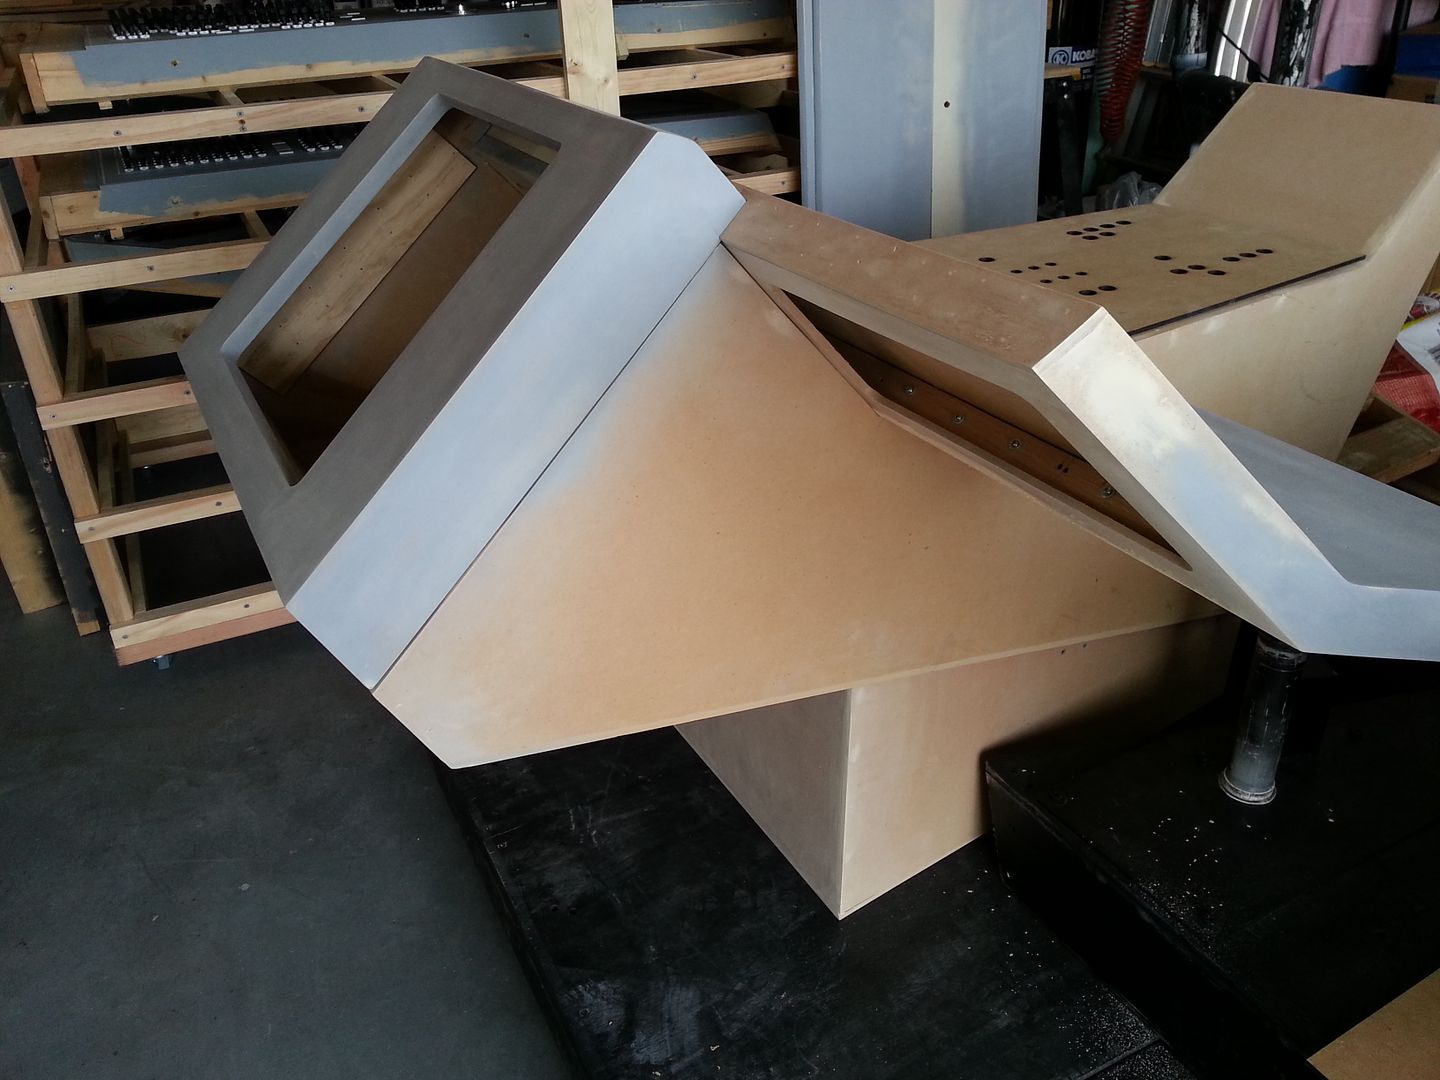
Making sure the nose still fits - nice
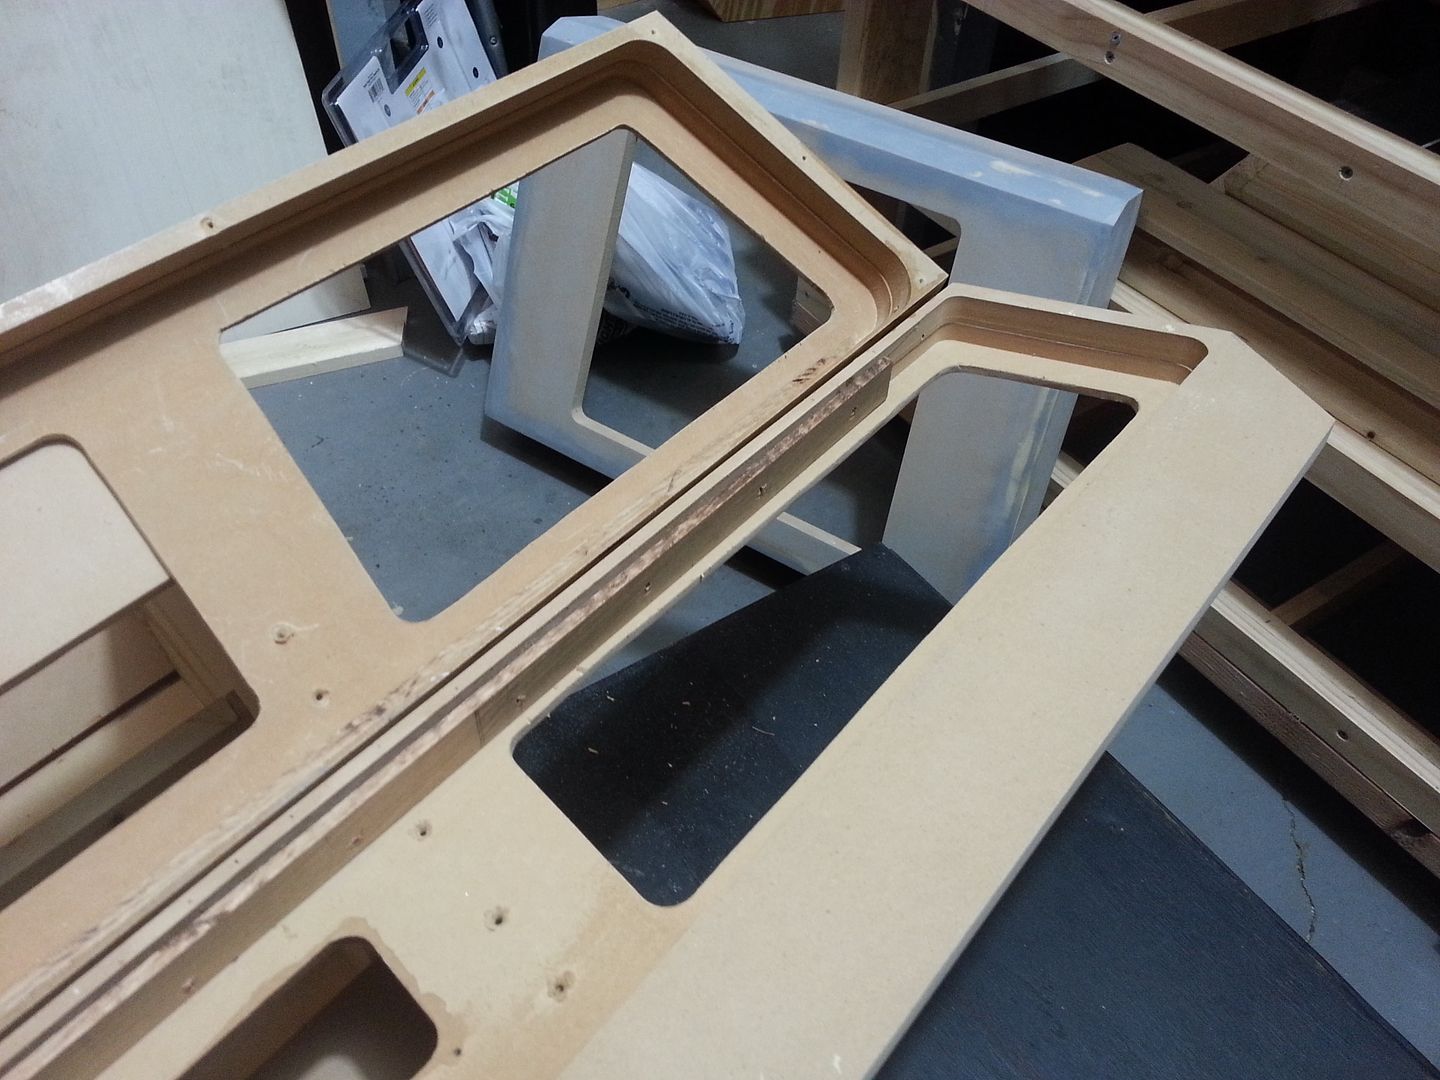
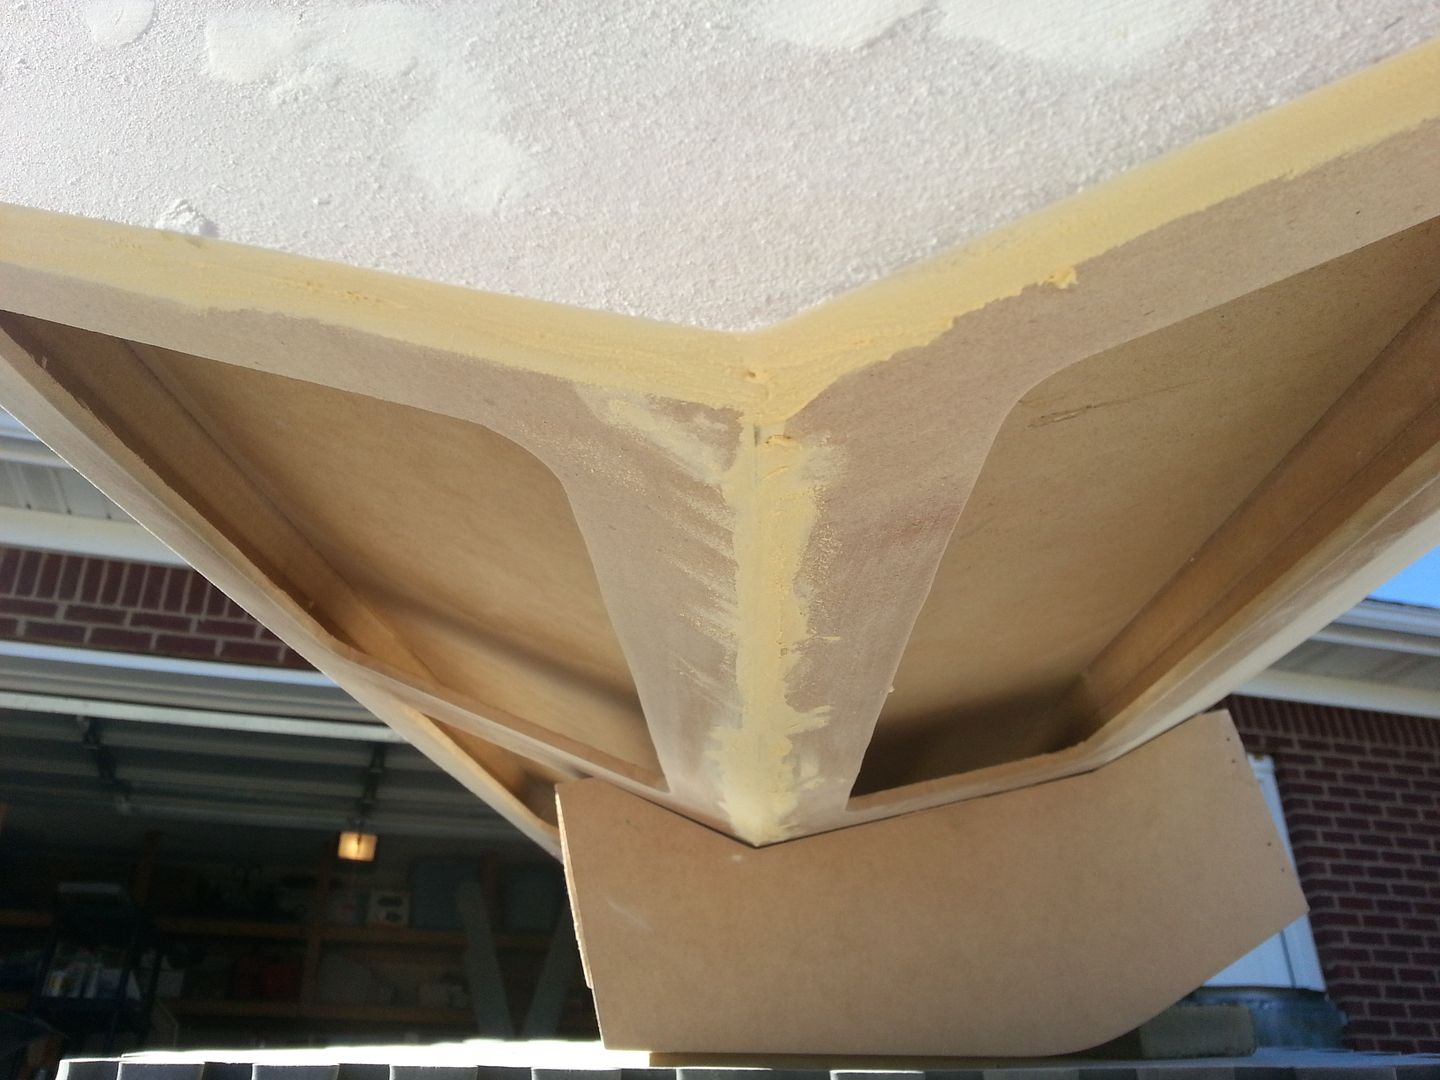
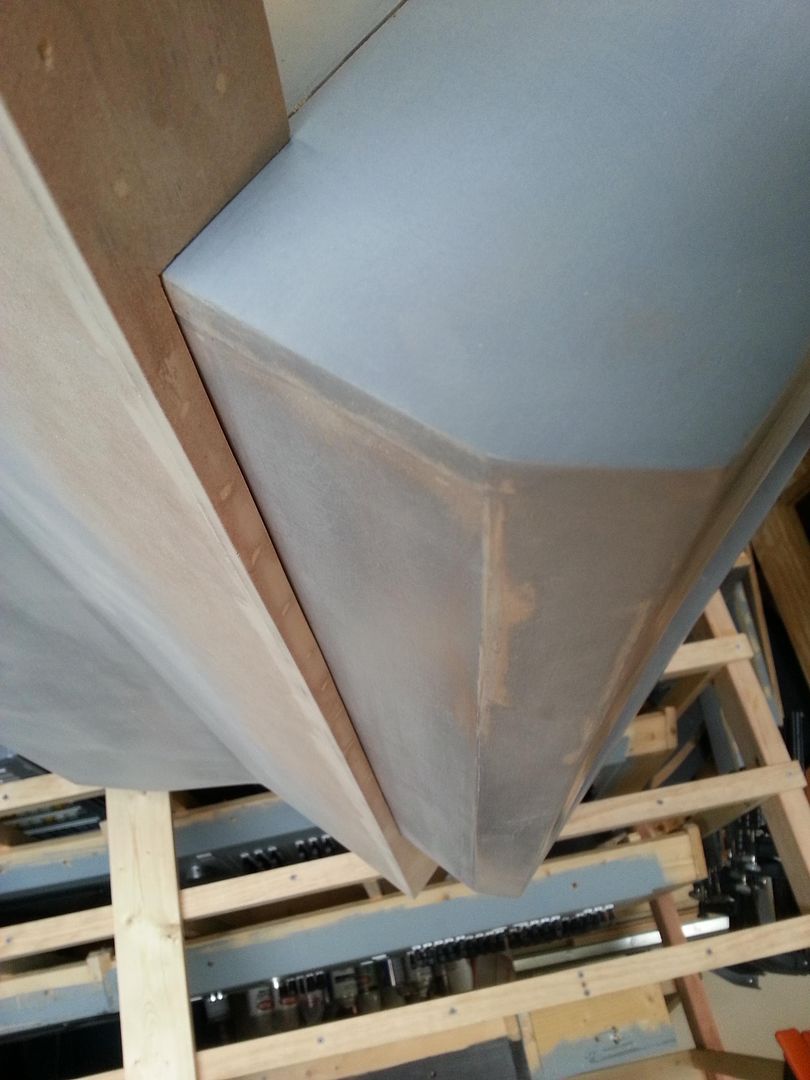
Still a little more work to do on those corners...ugh
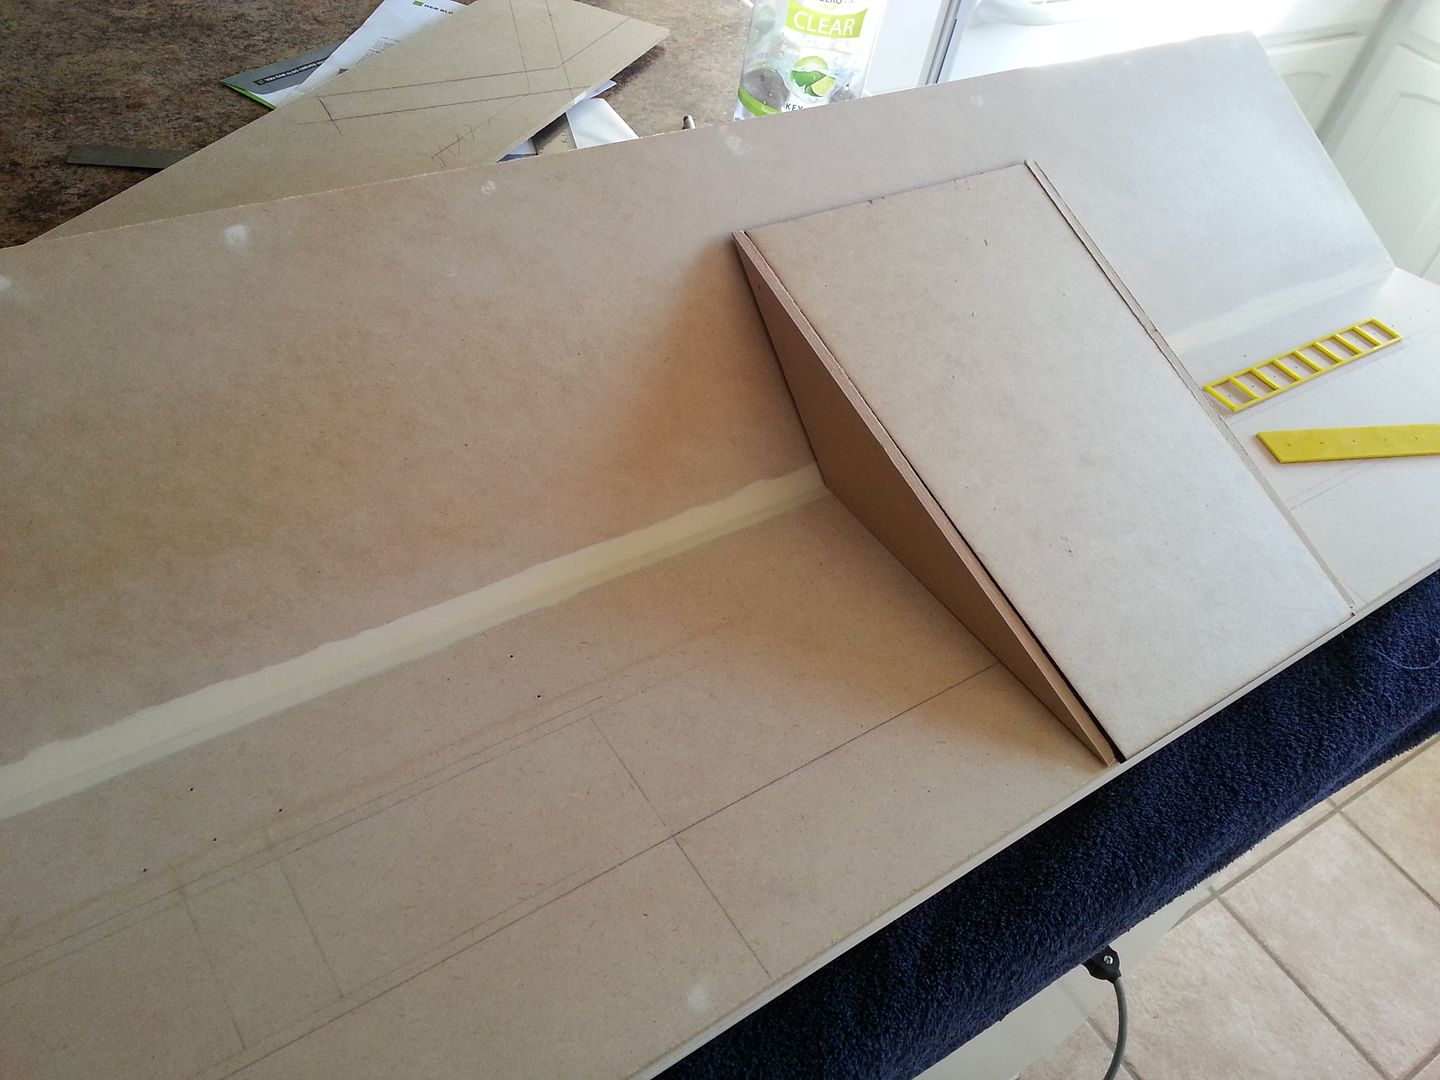
Everything is lining up
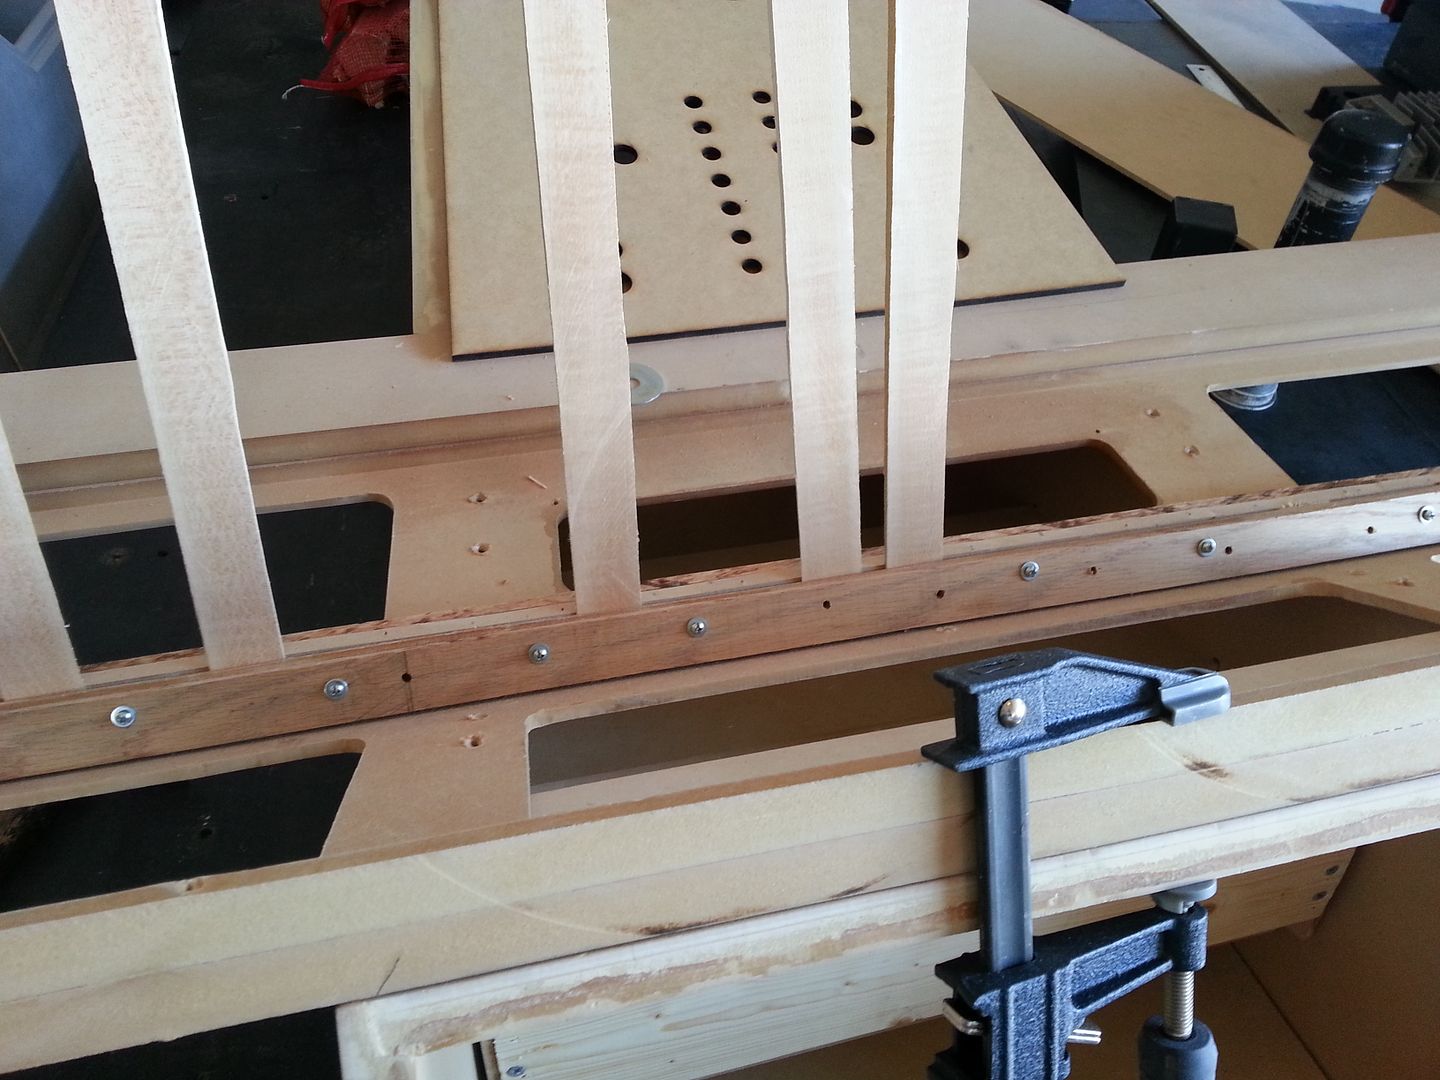
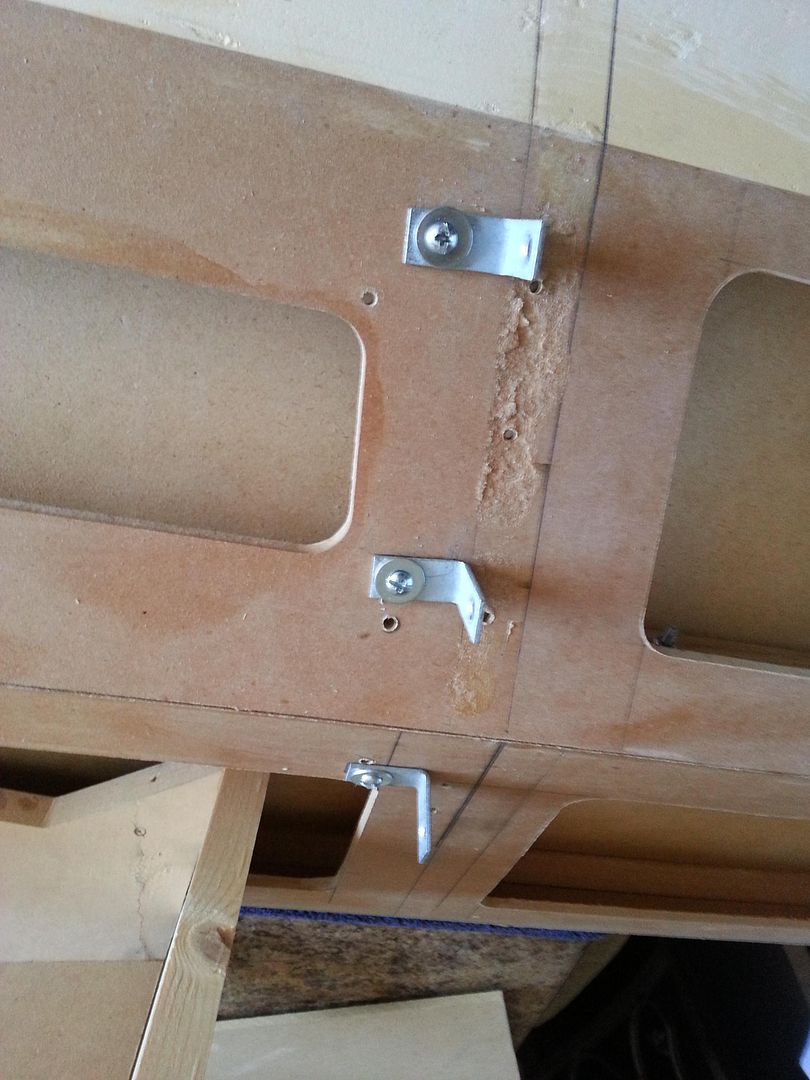
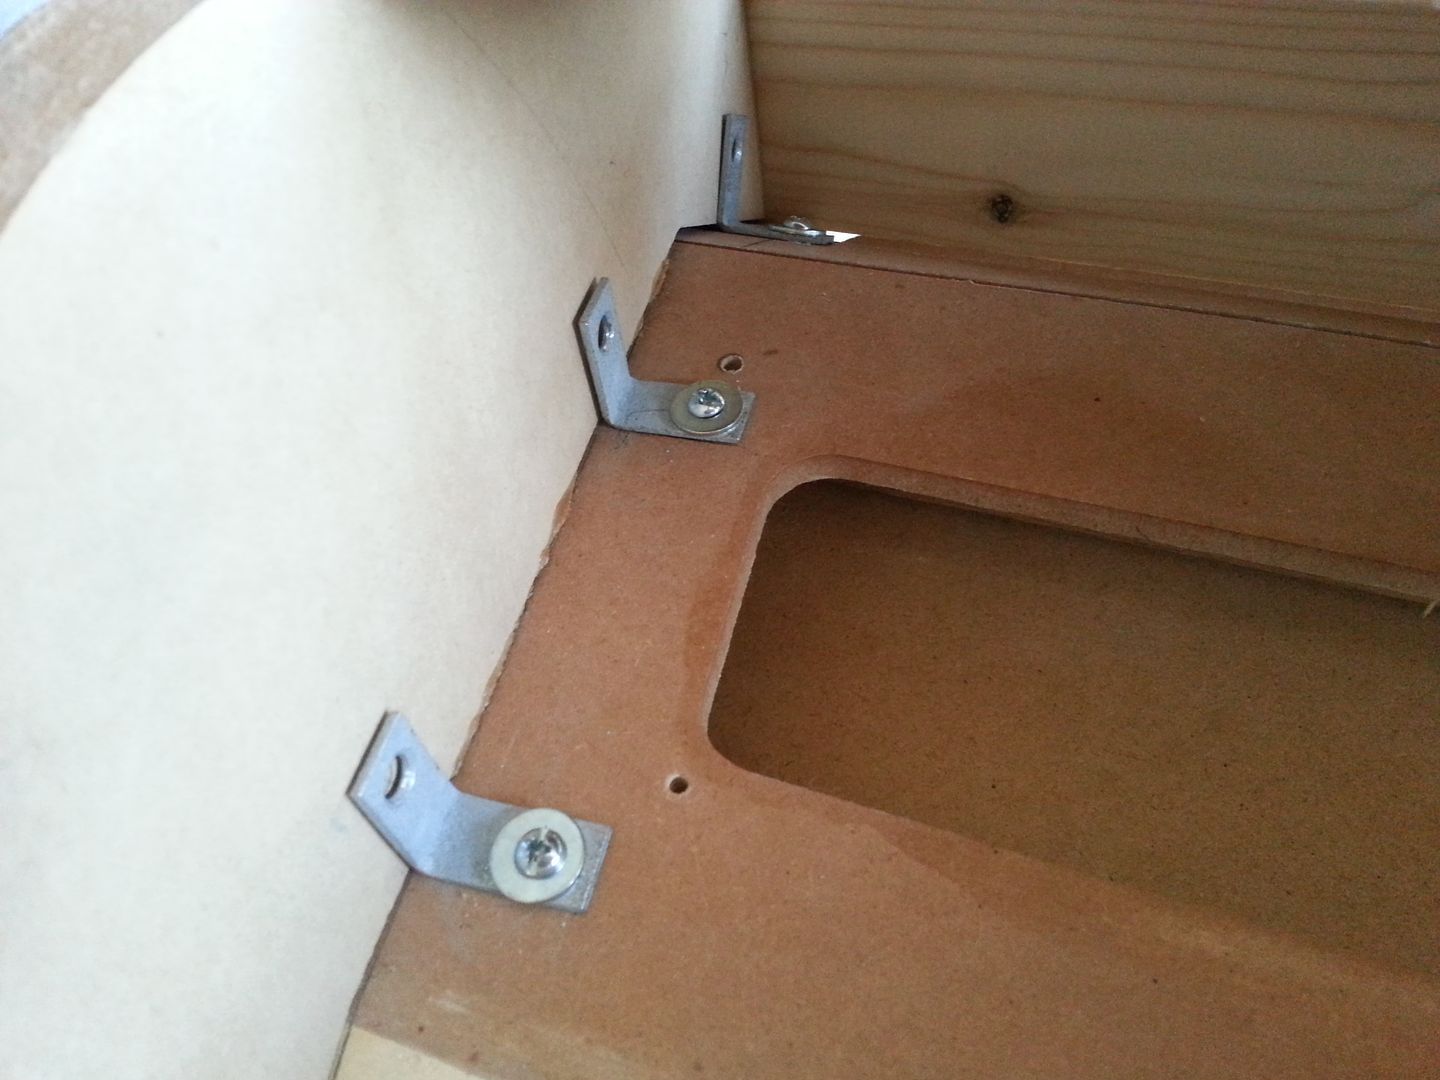
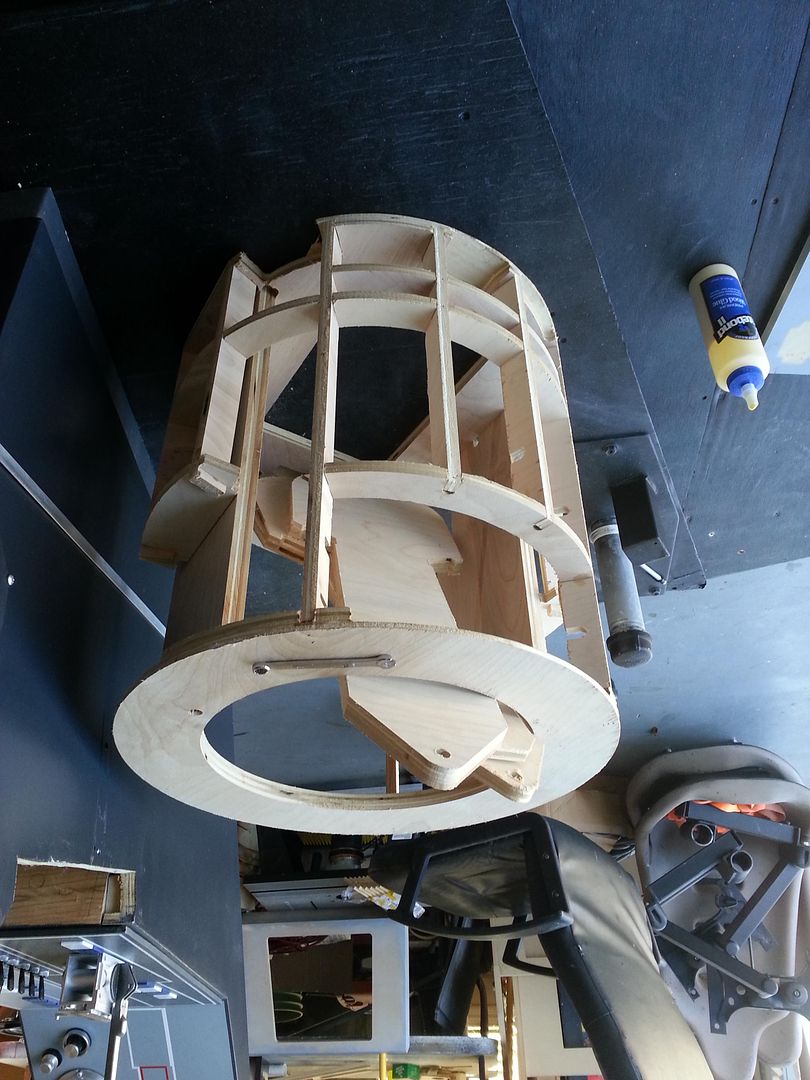
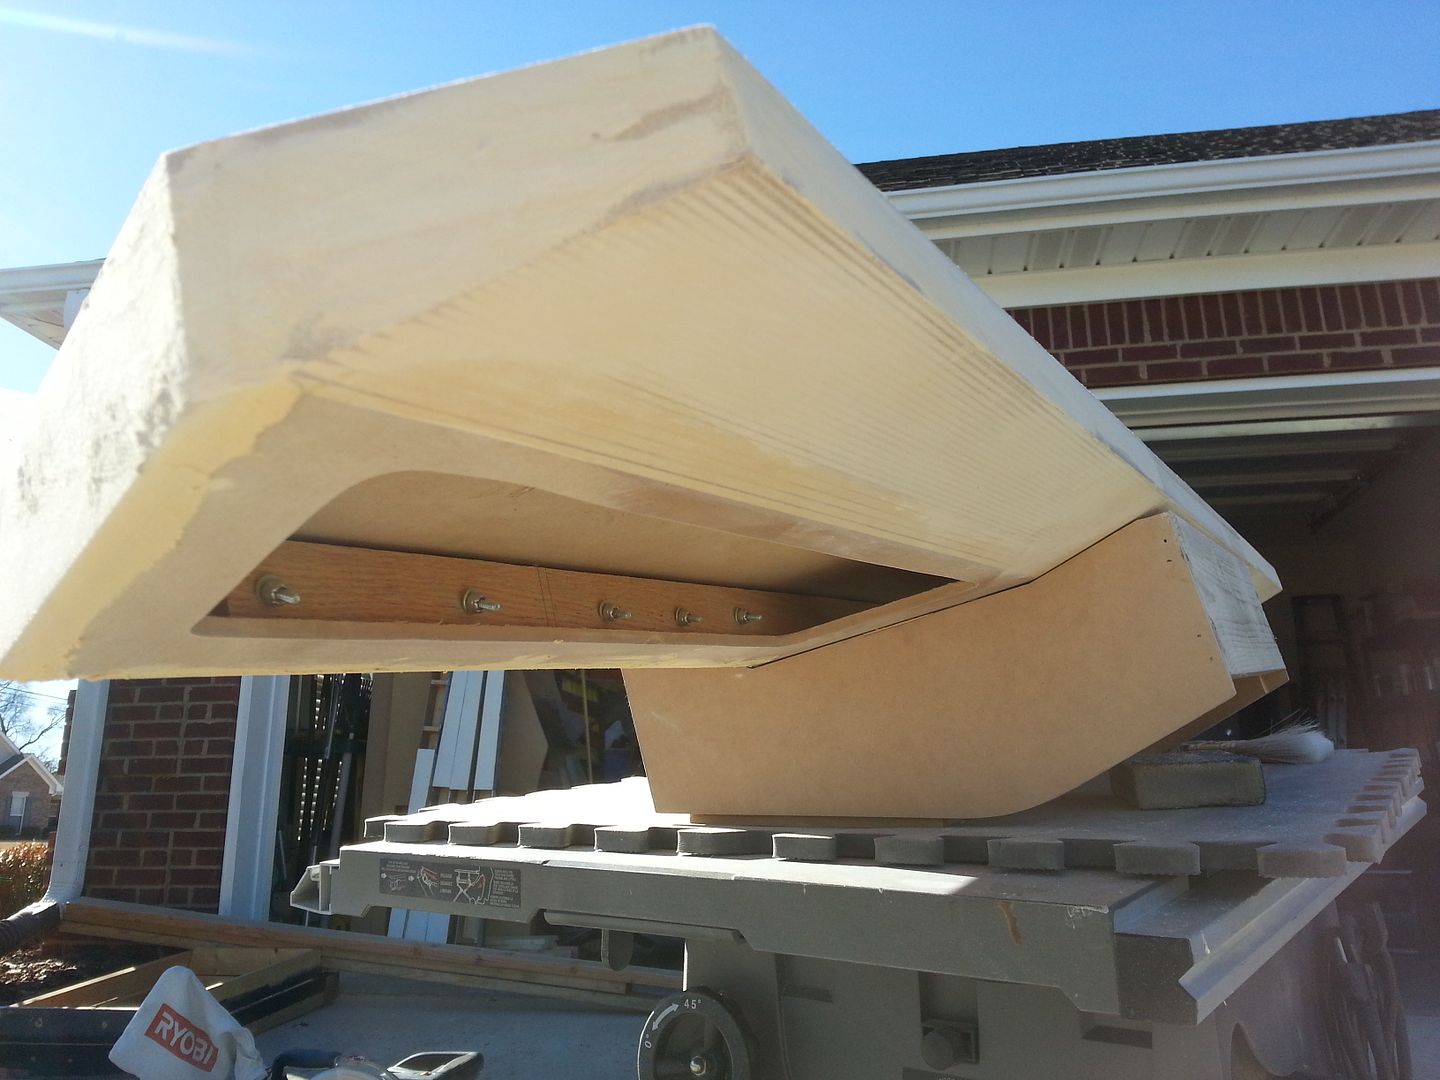
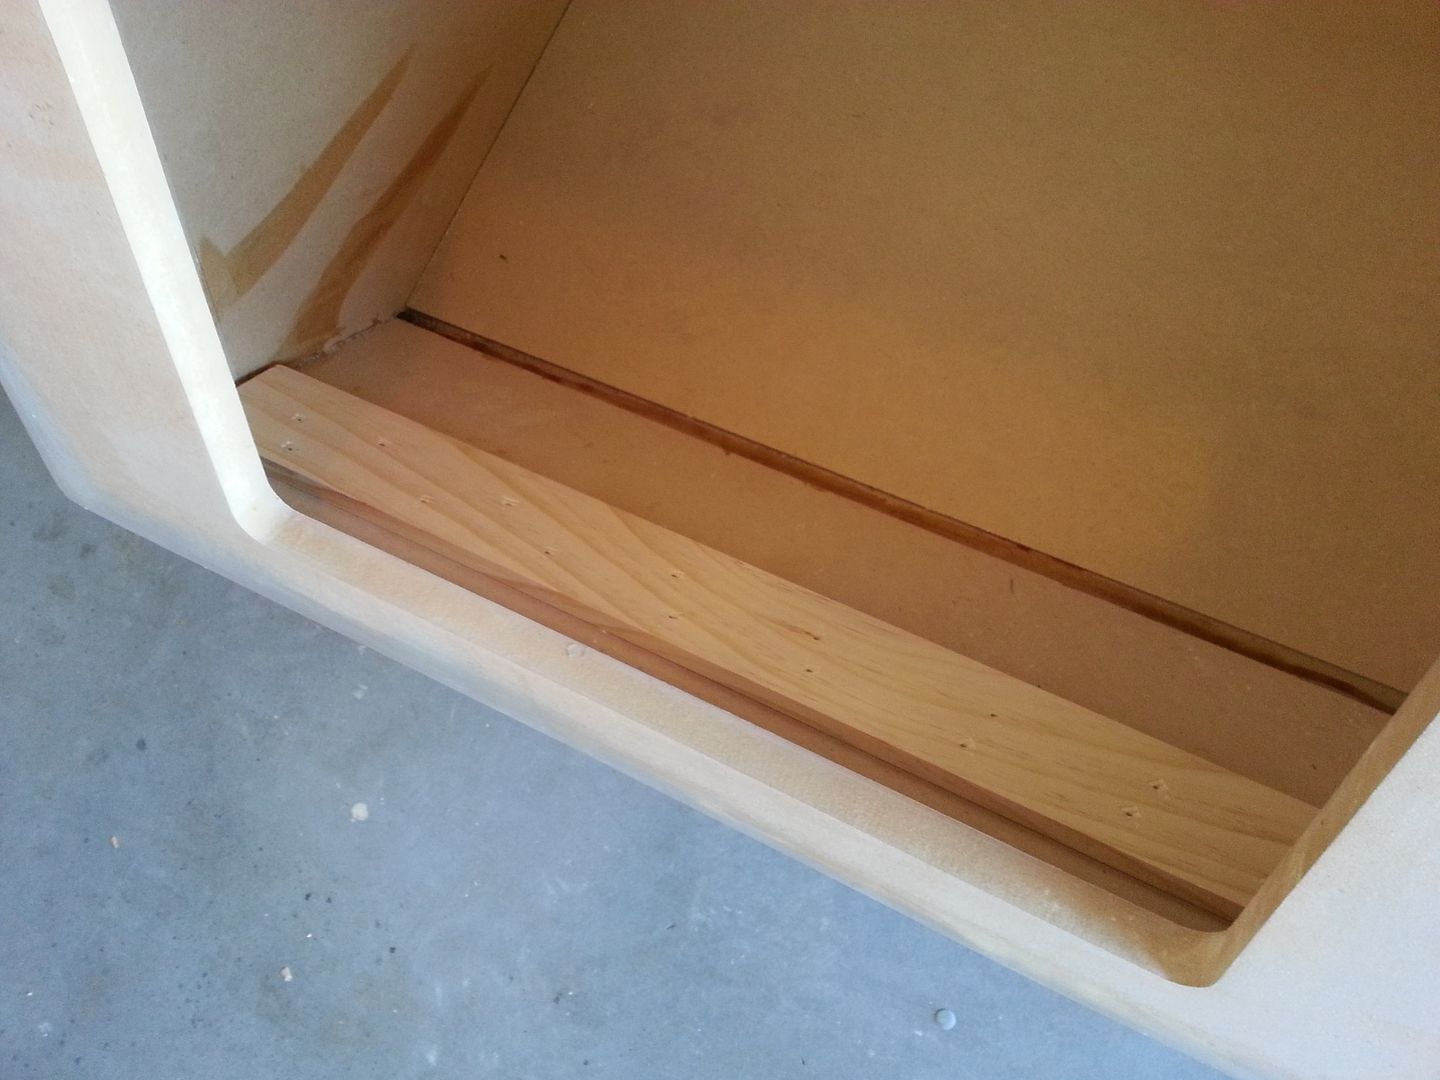
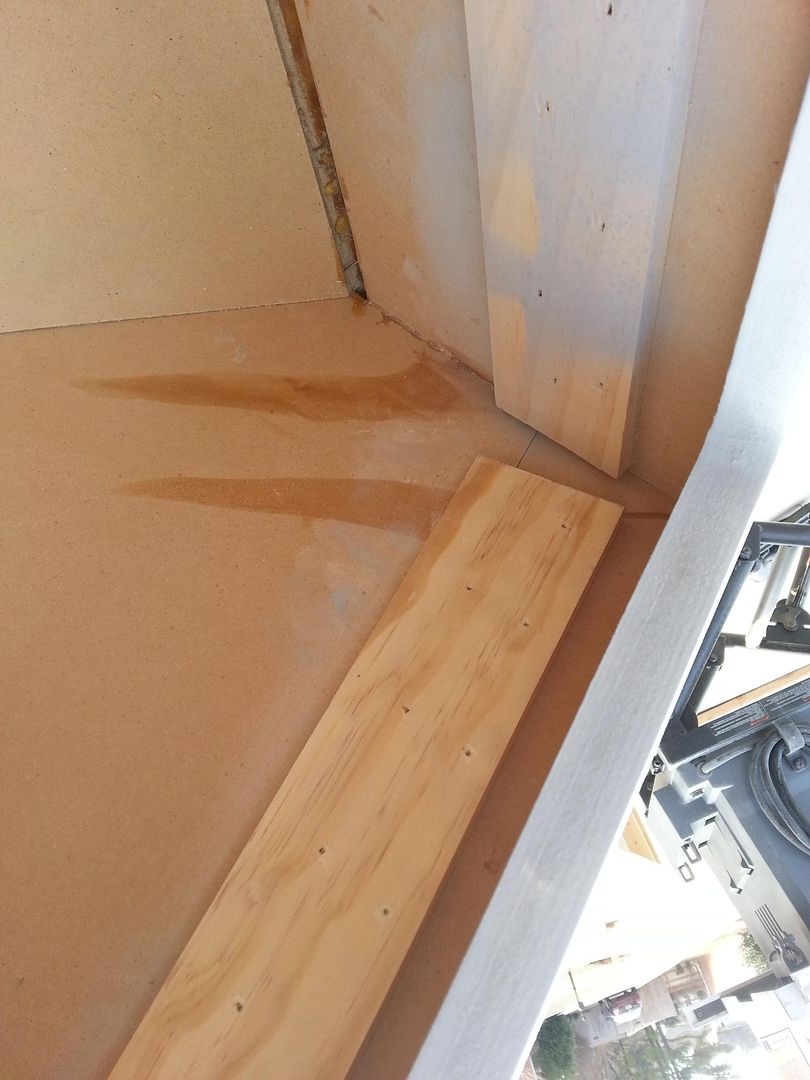
Created more support guides for the nose
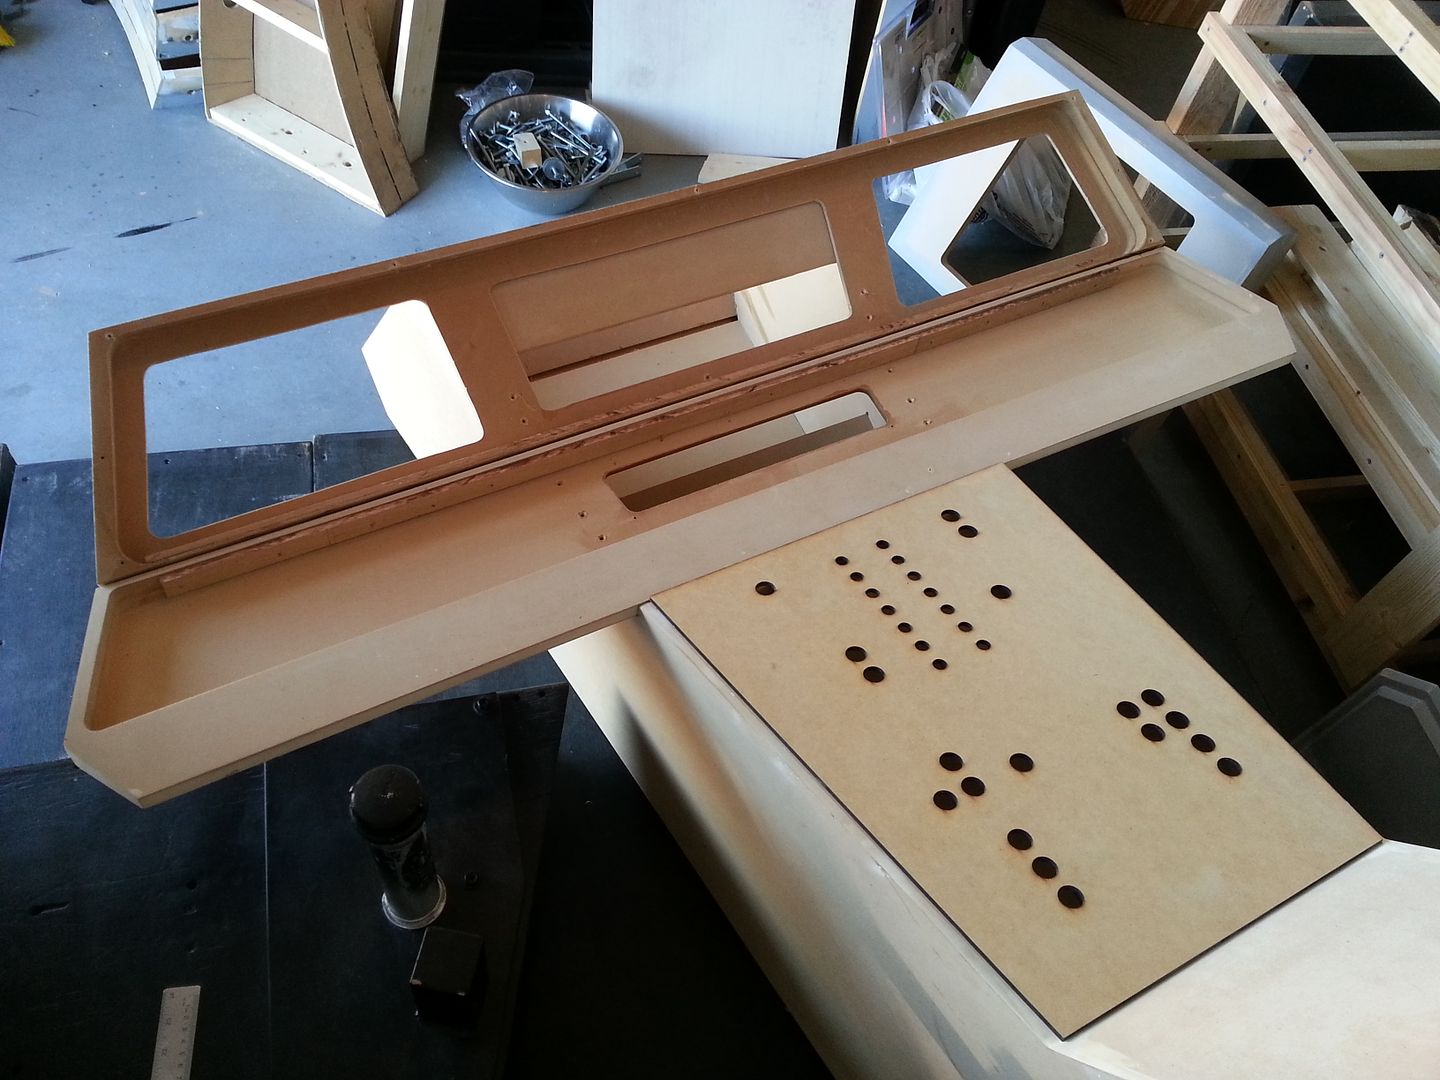
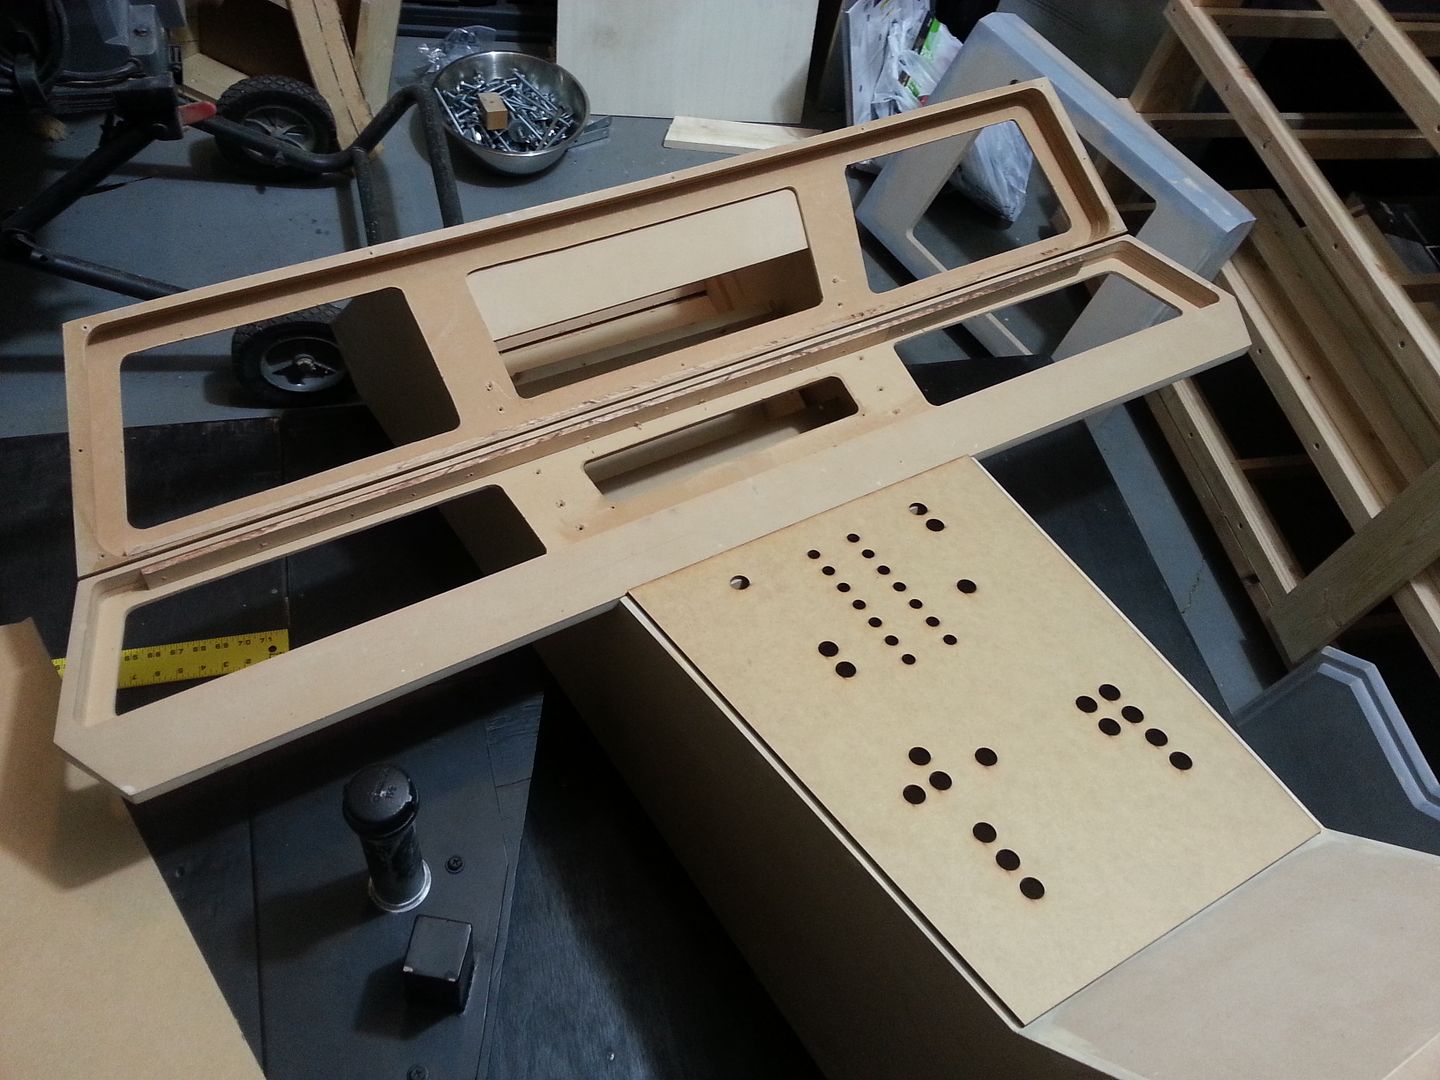
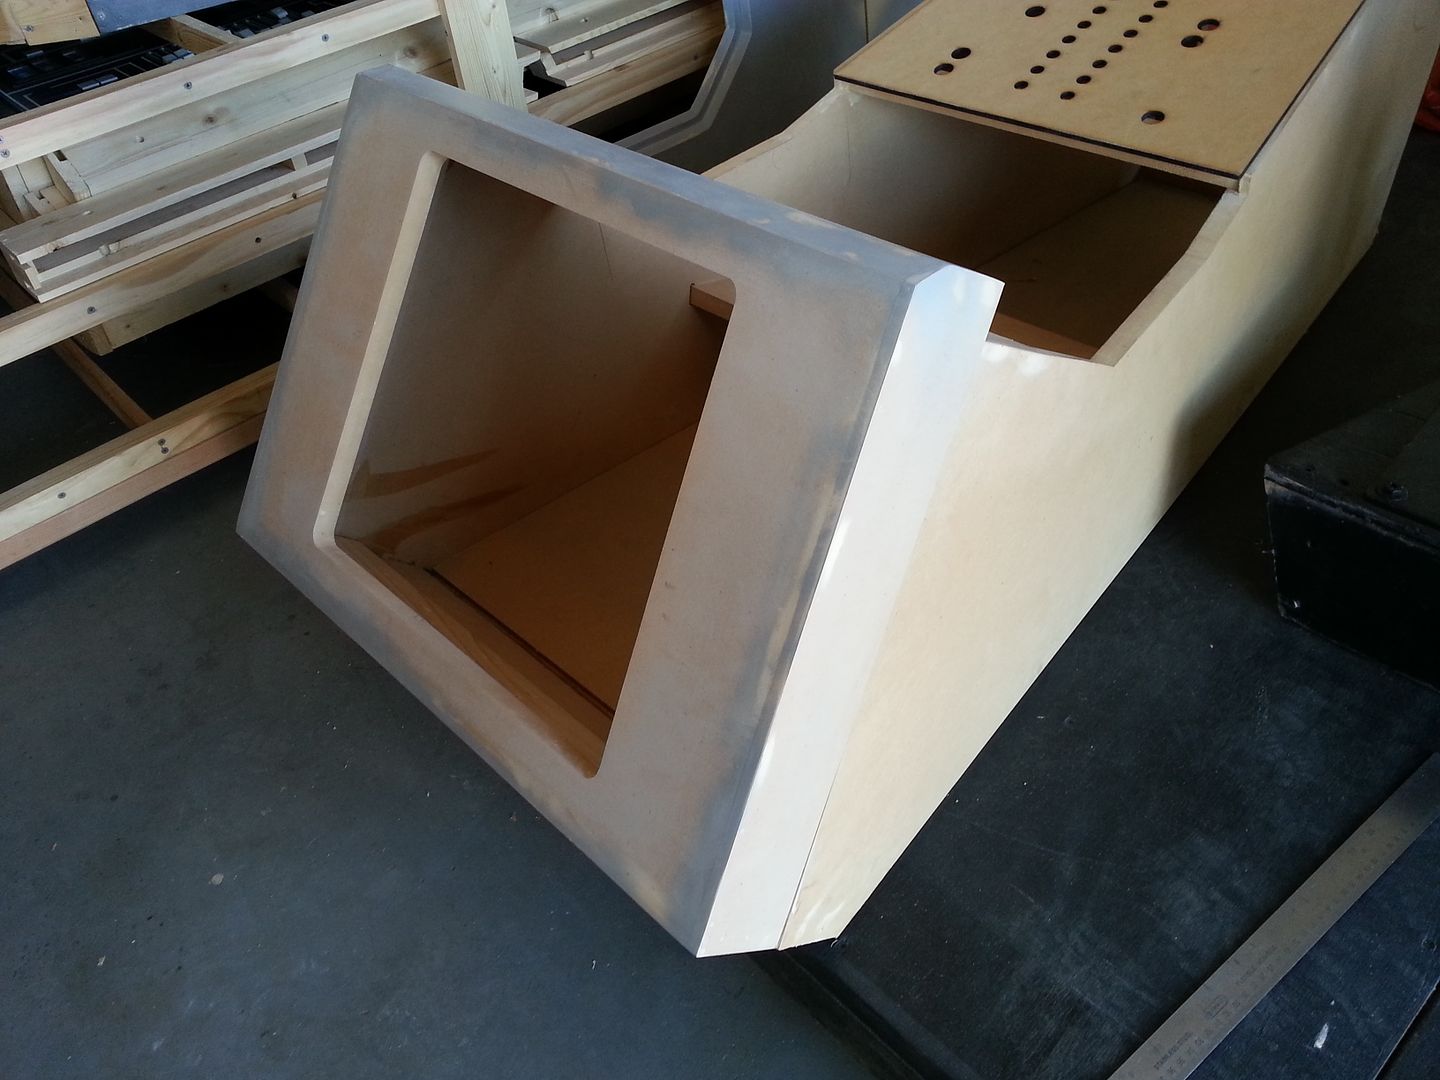
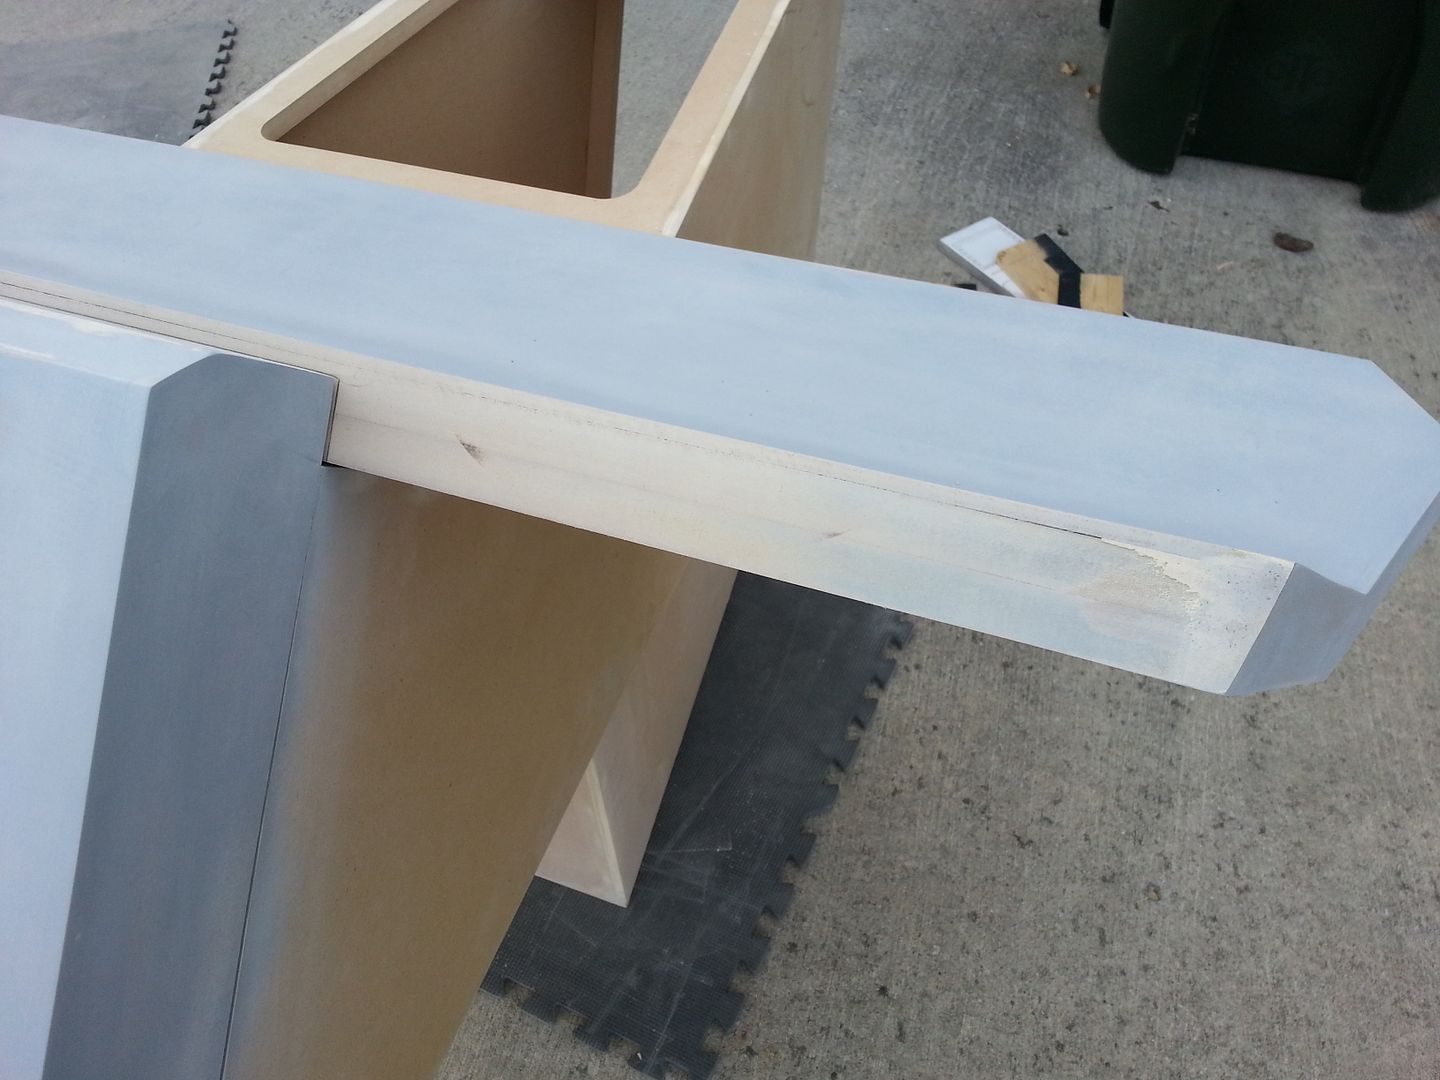
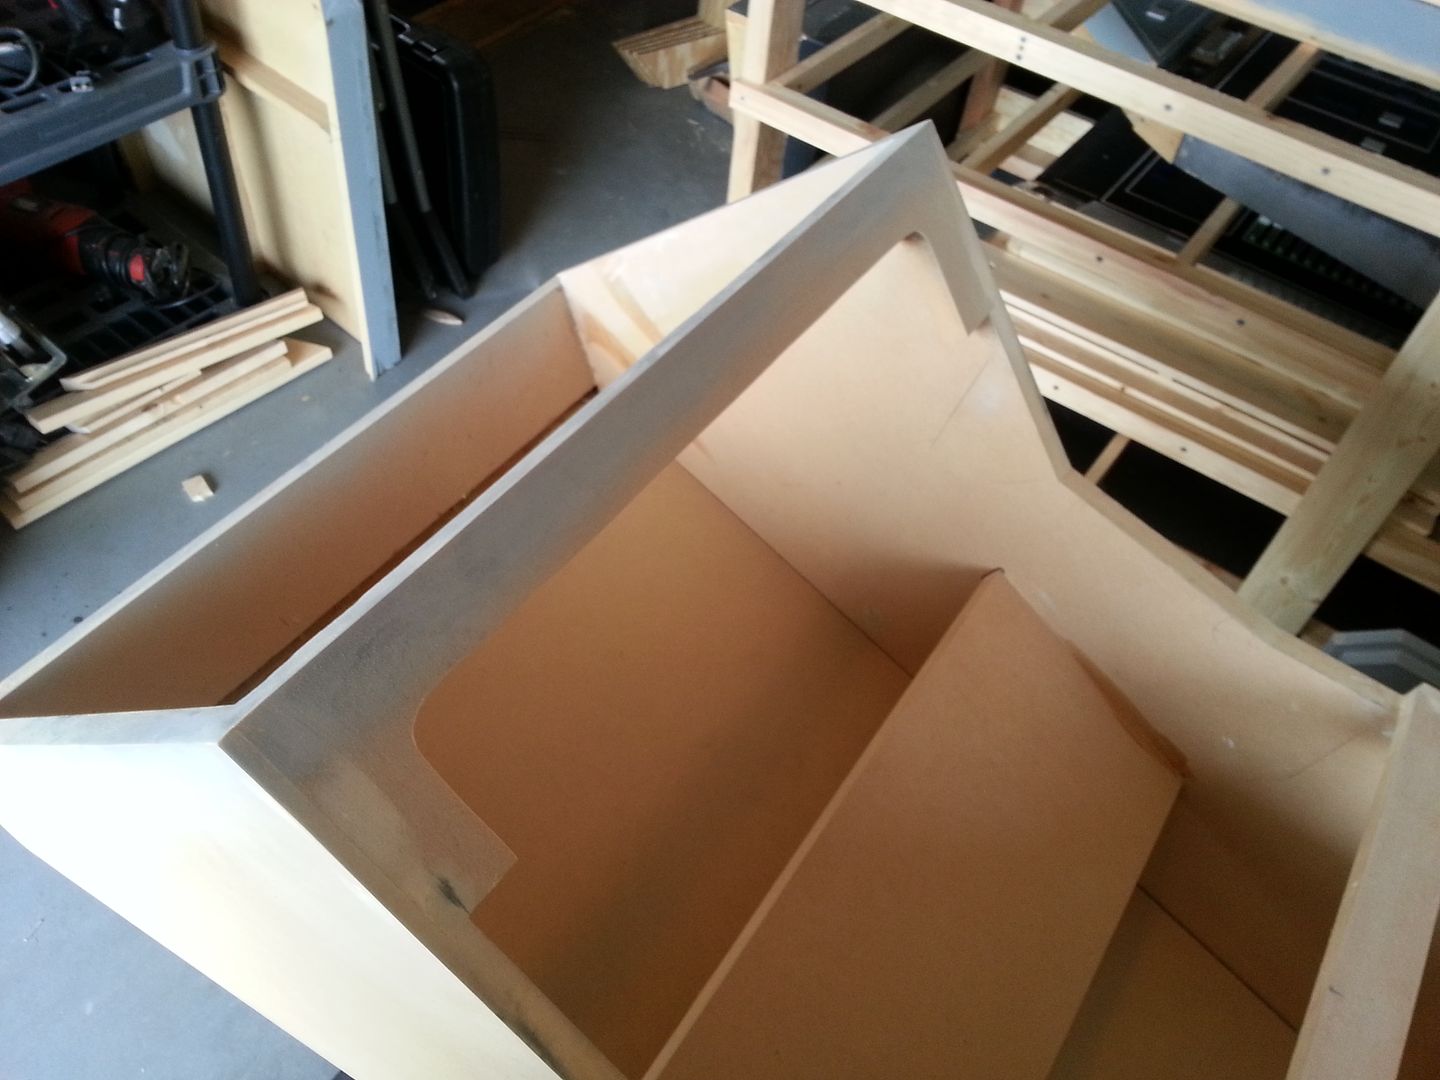
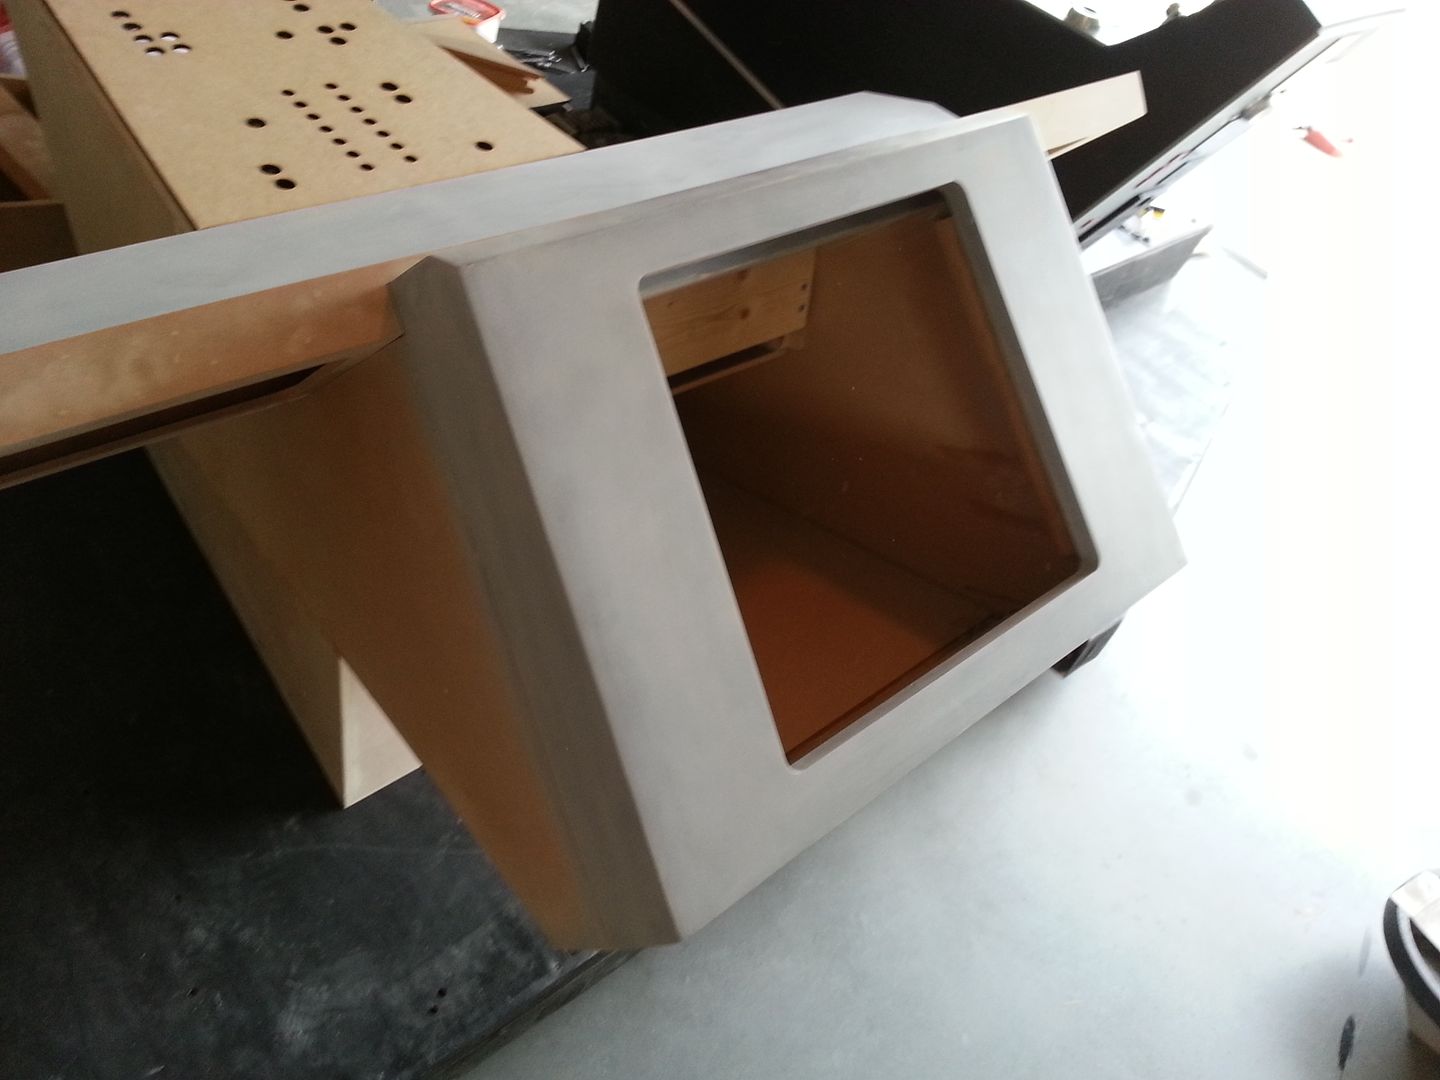
From the top looking down on the instrument panel and nose
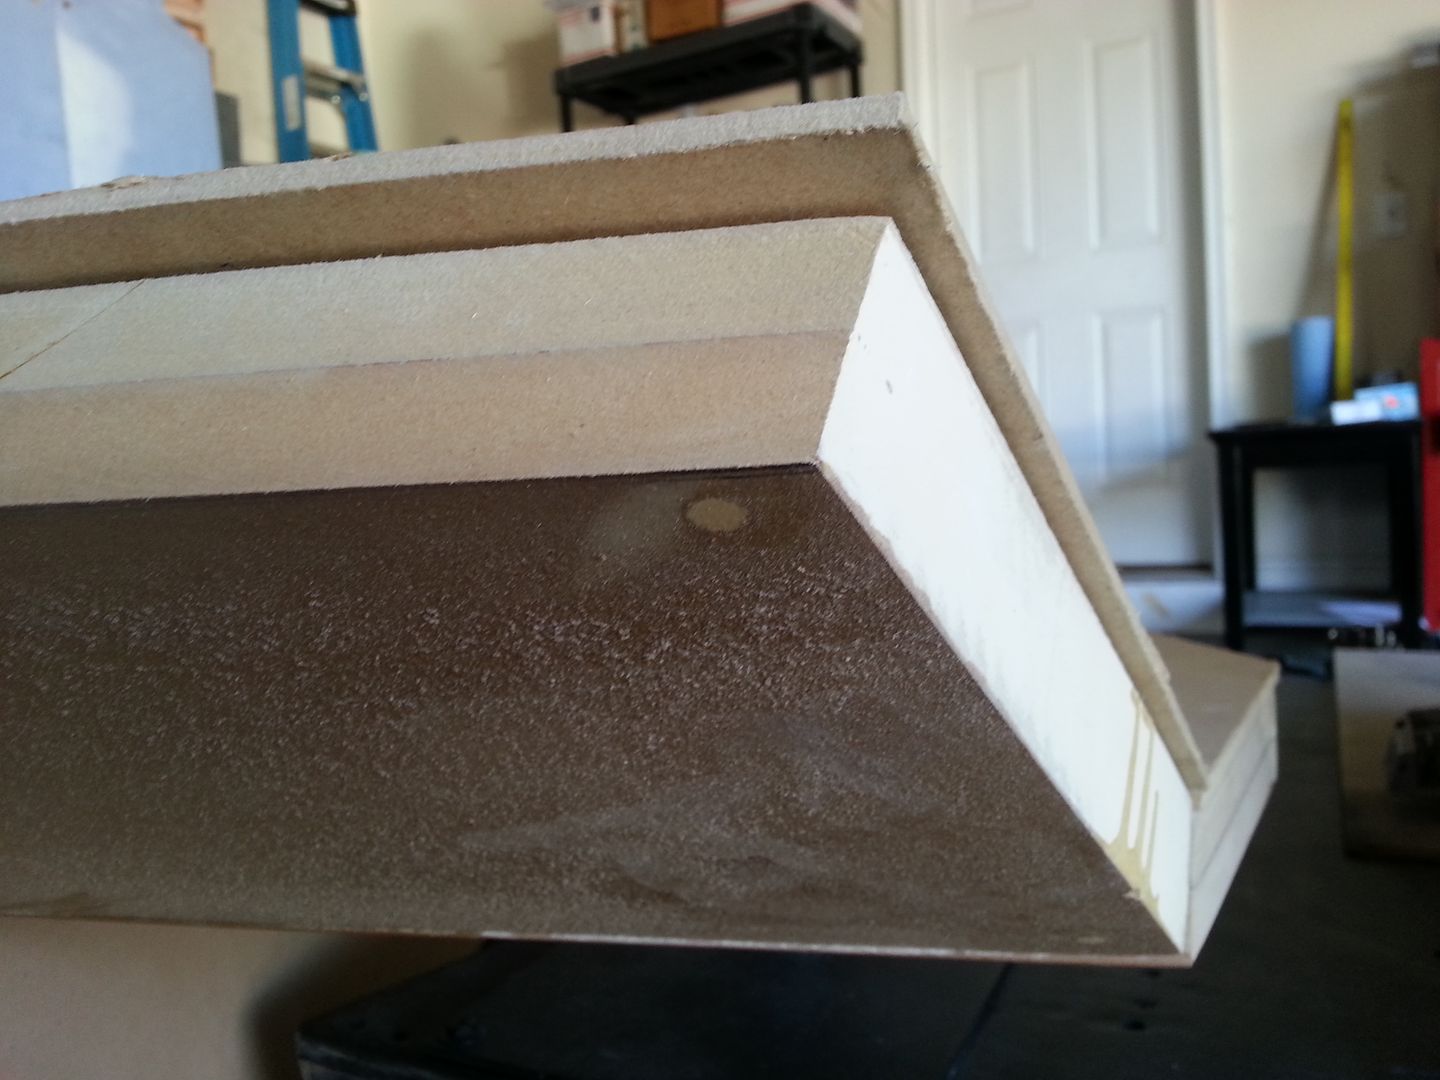
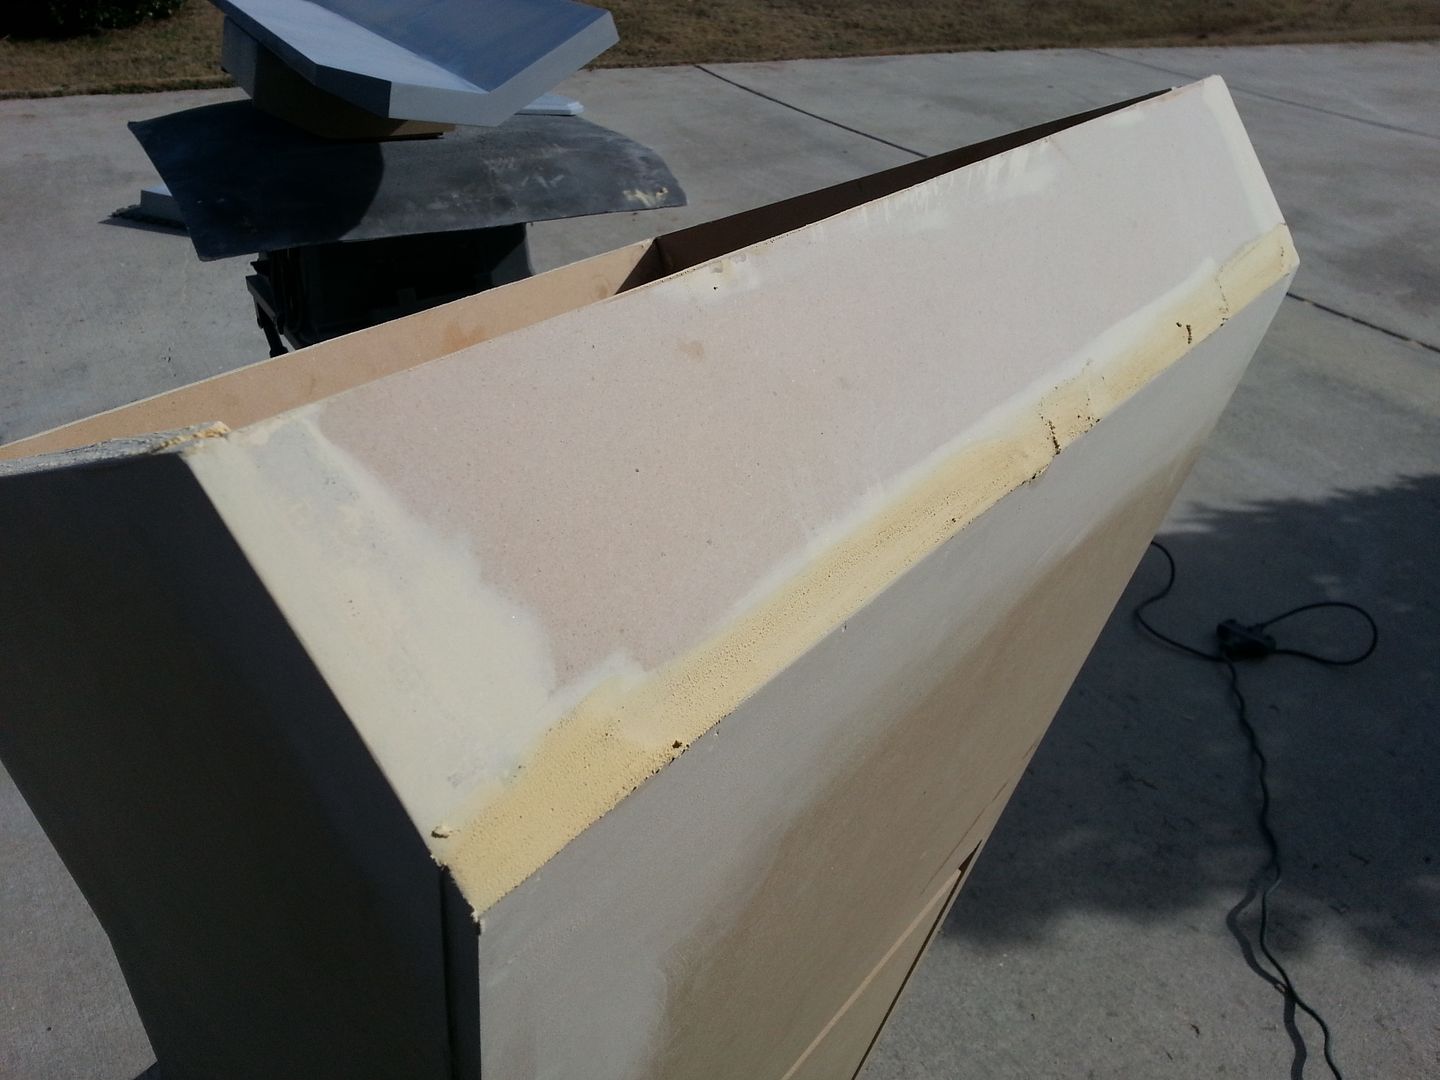
As you can see the instrument panels are several layers of MDF. It was time to address this issue - filler alone would not have worked
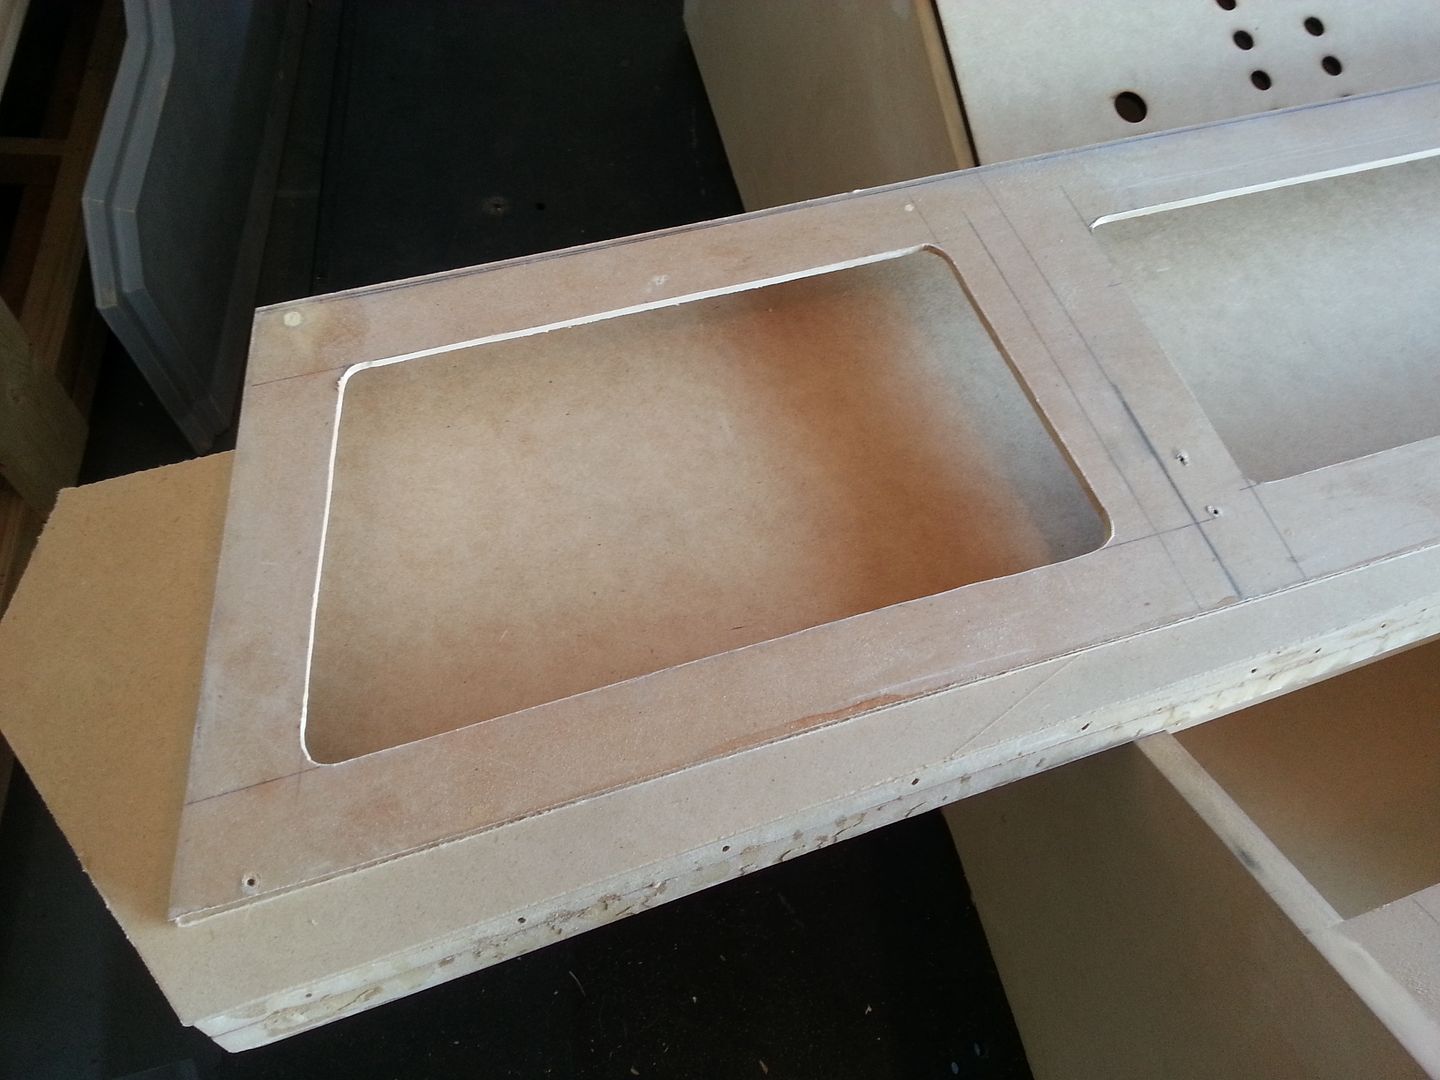
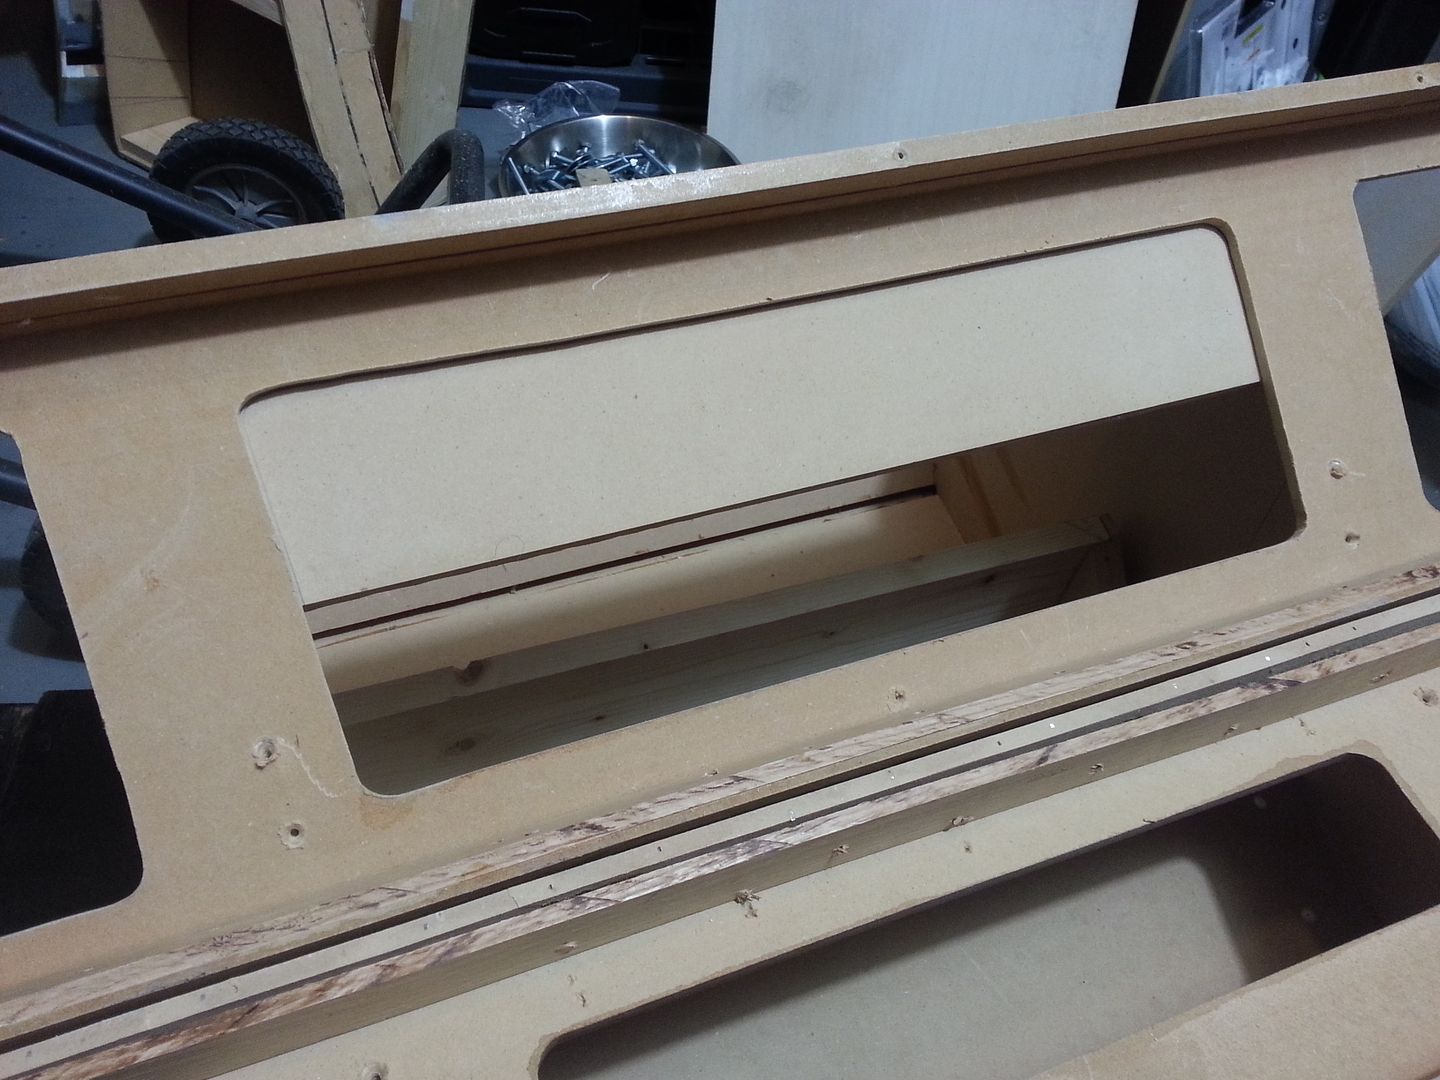
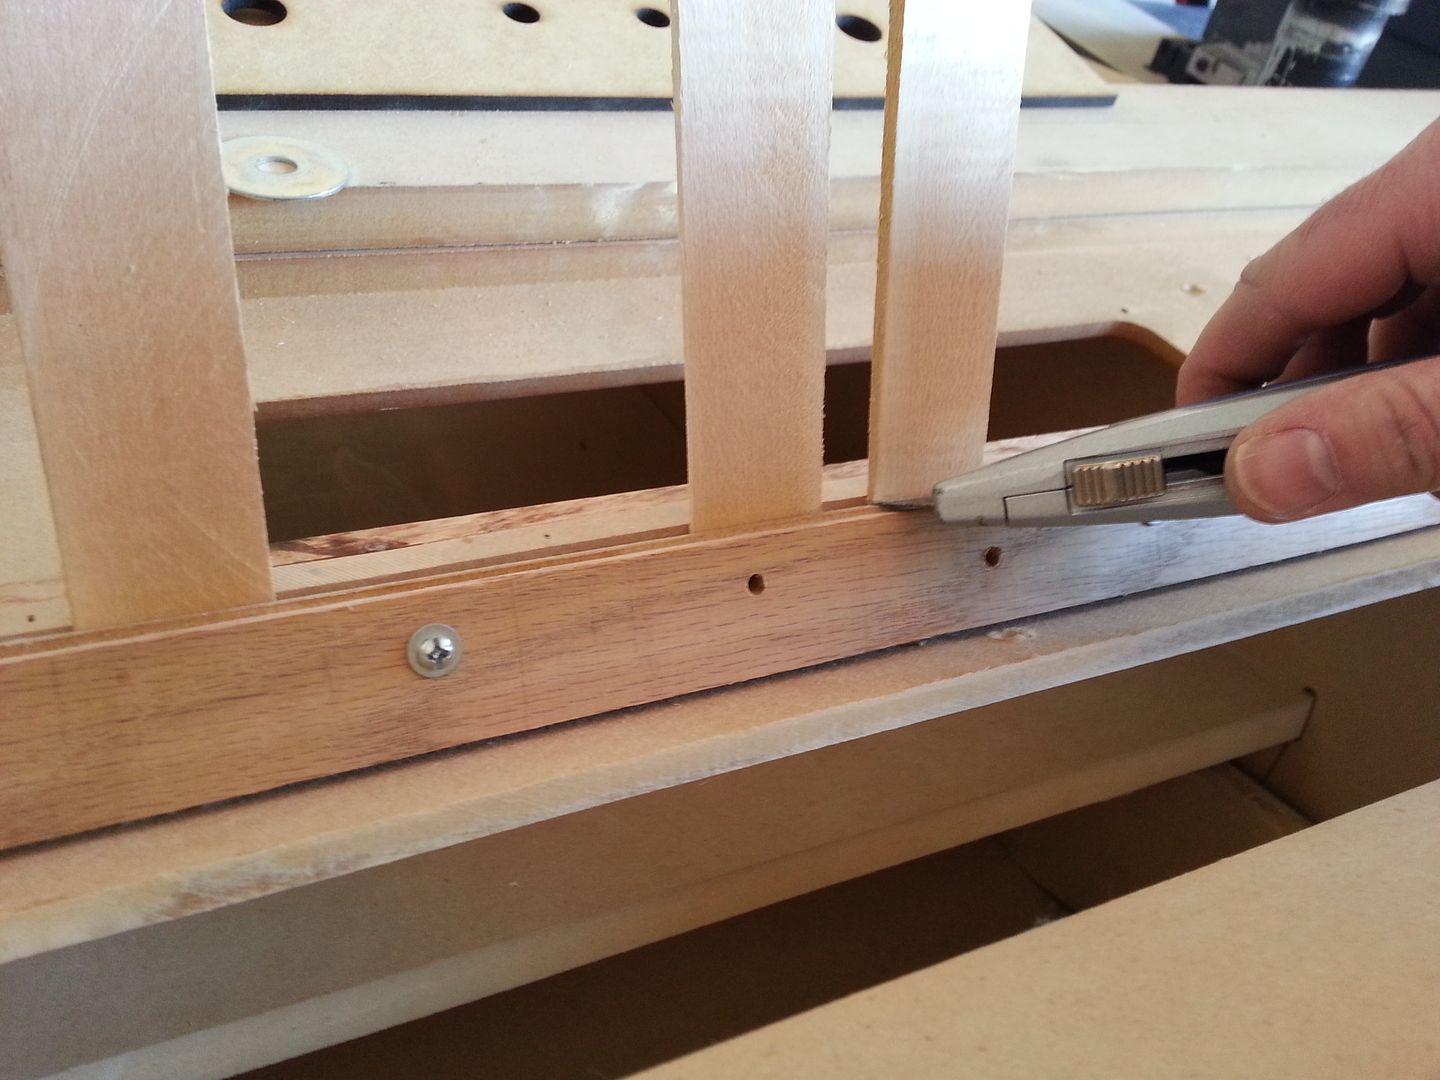
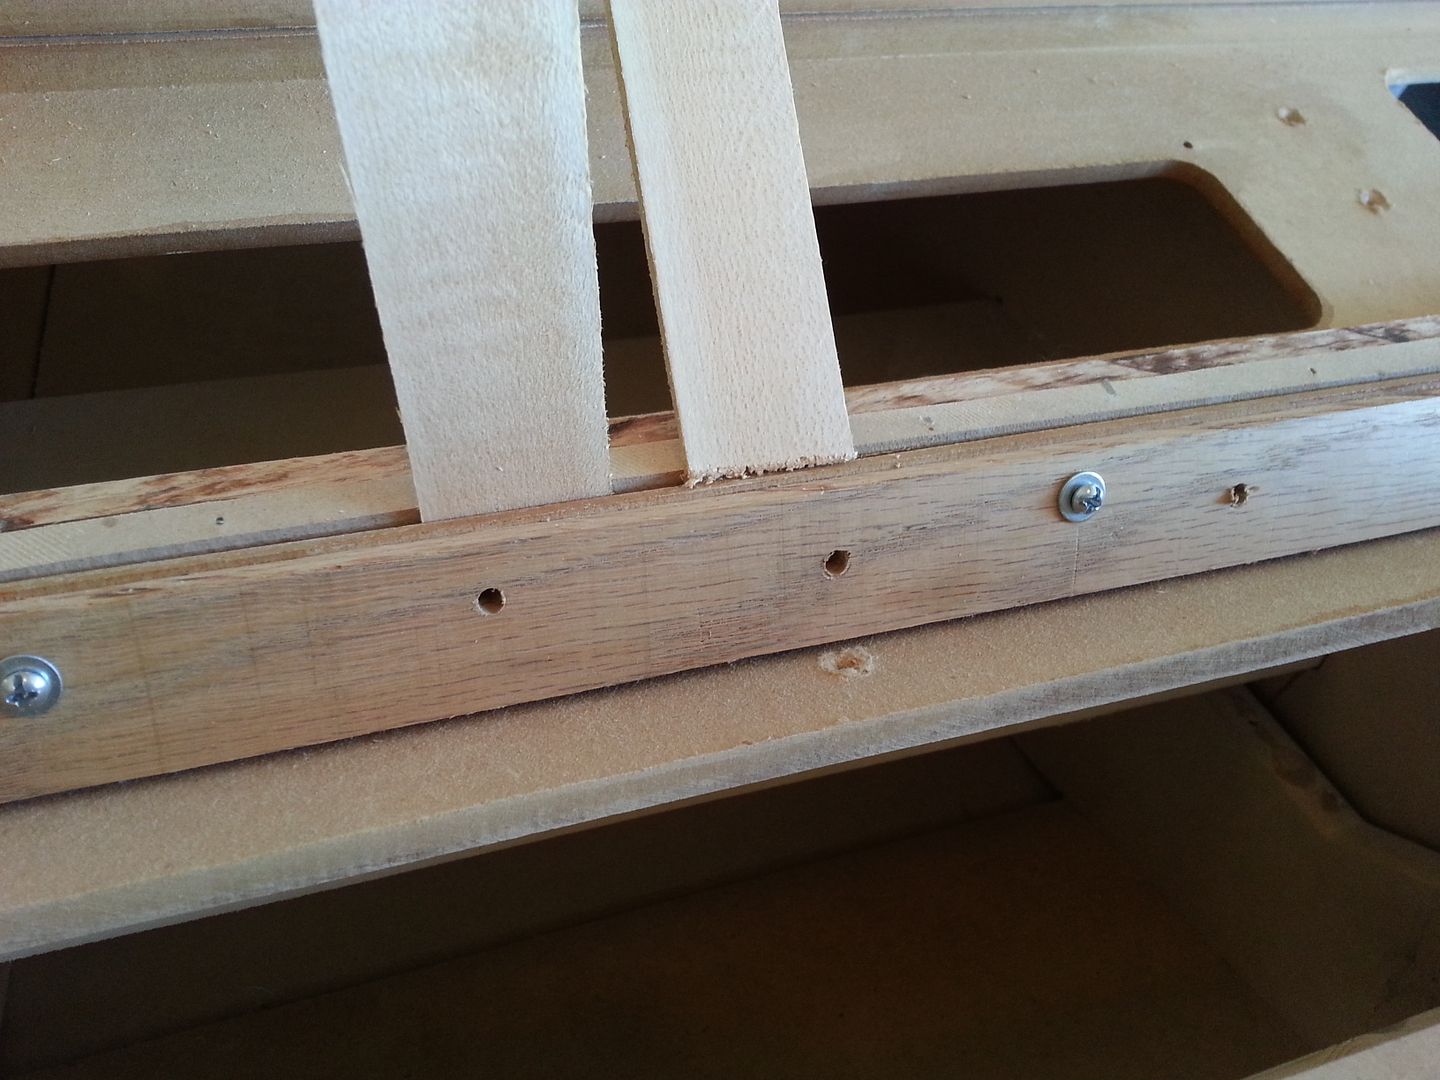
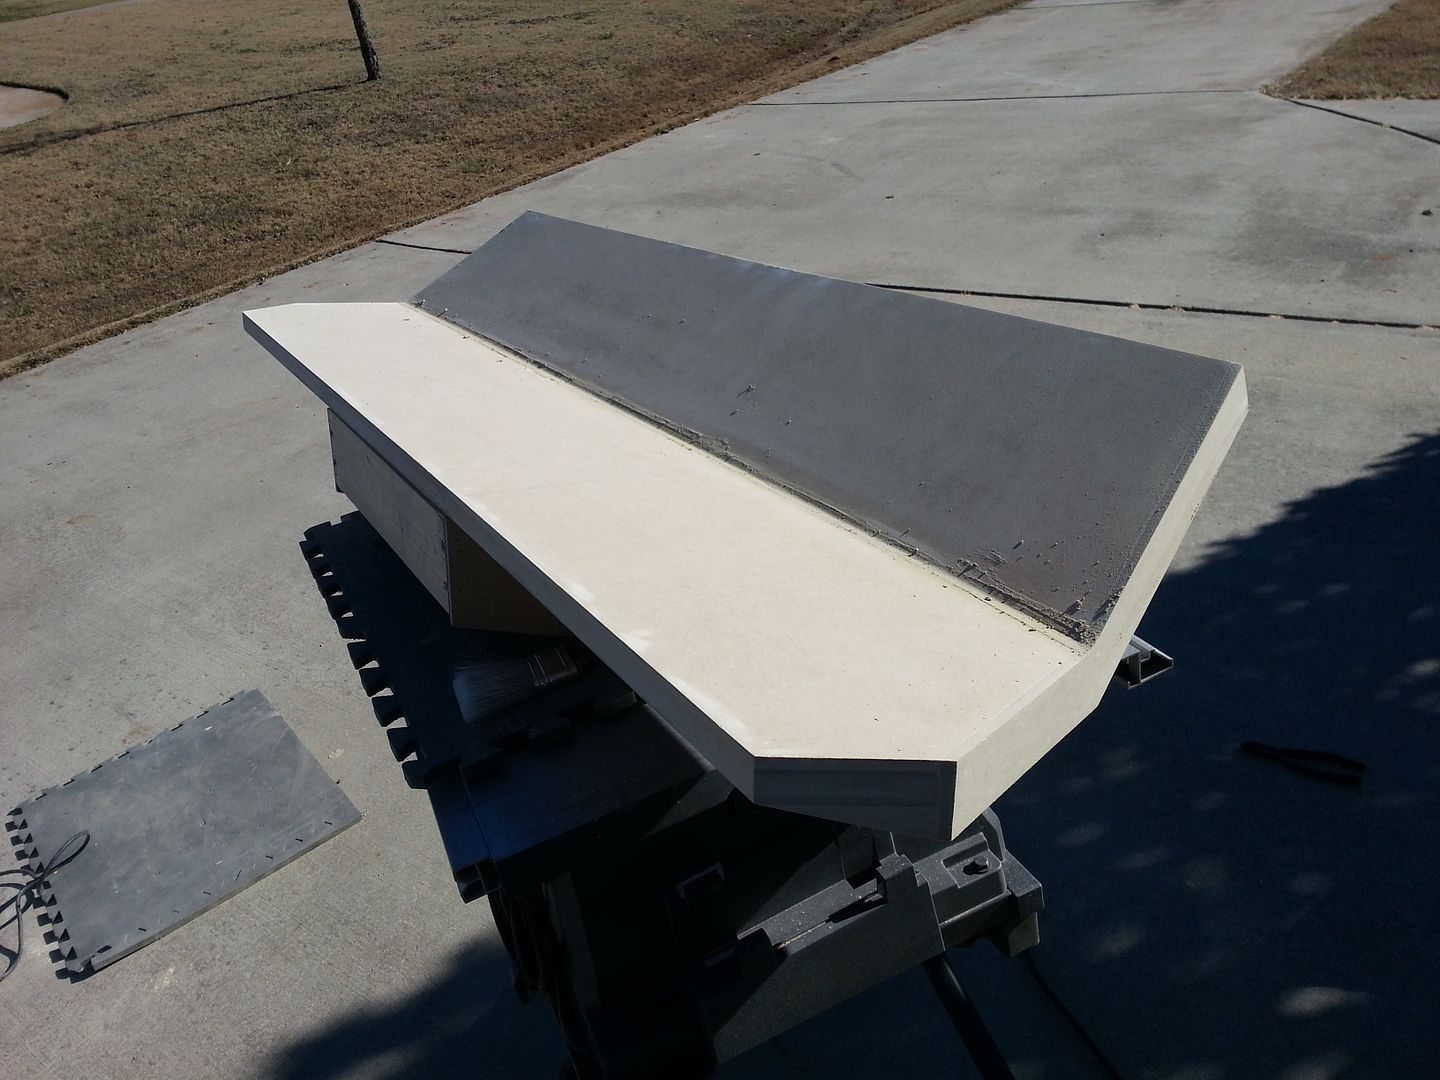
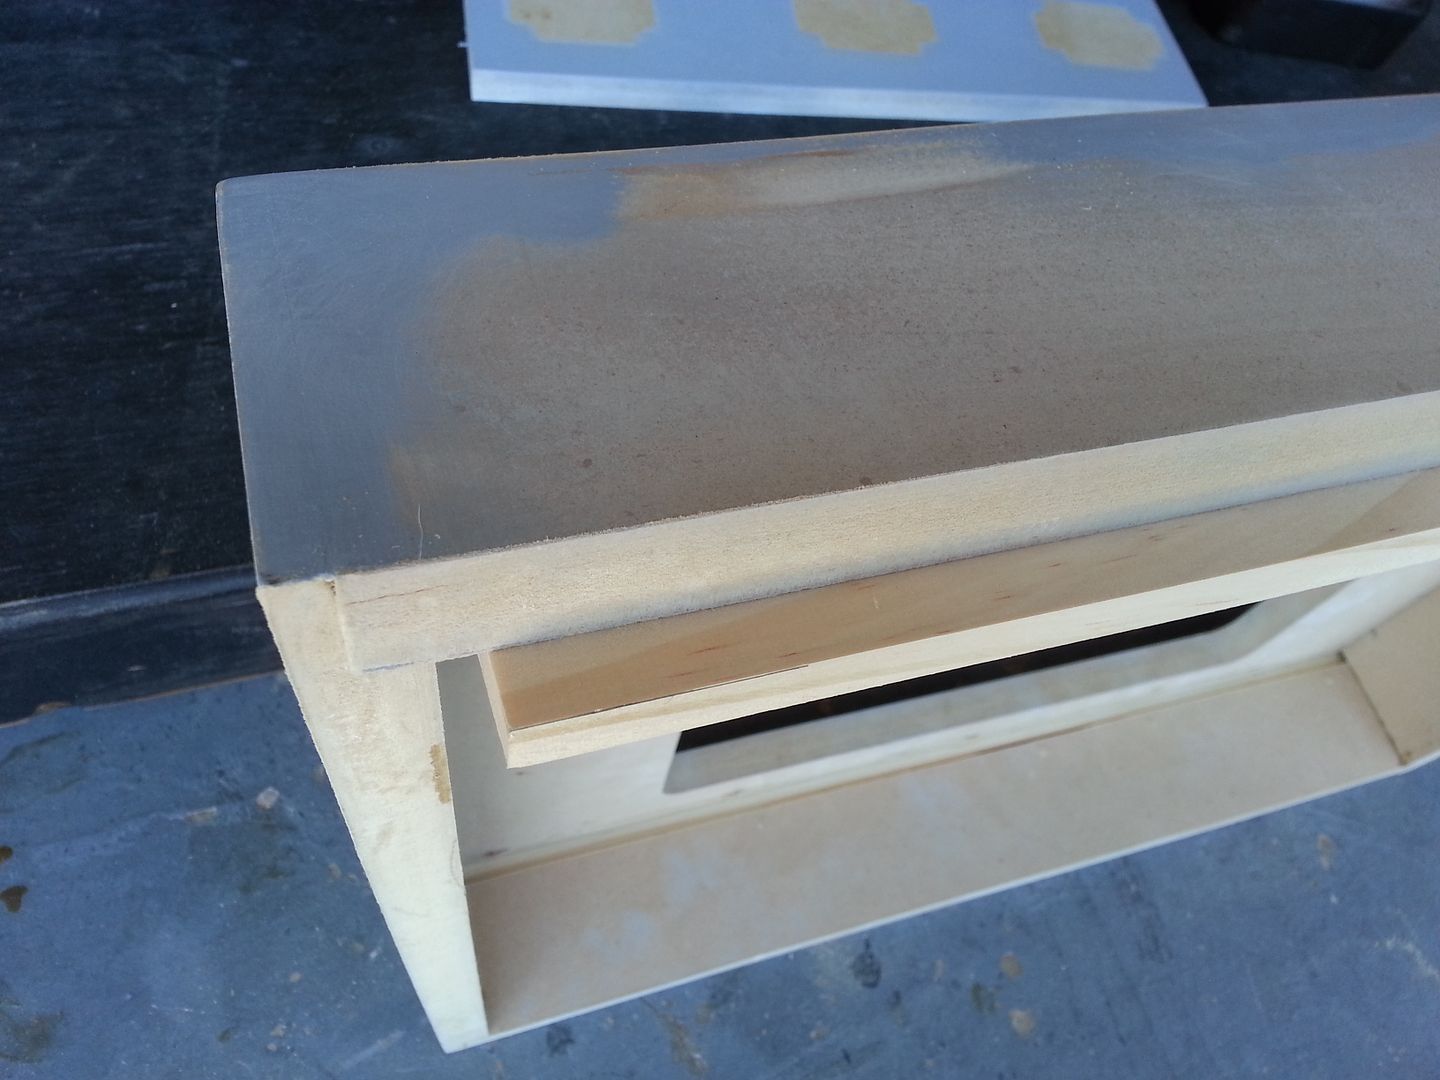
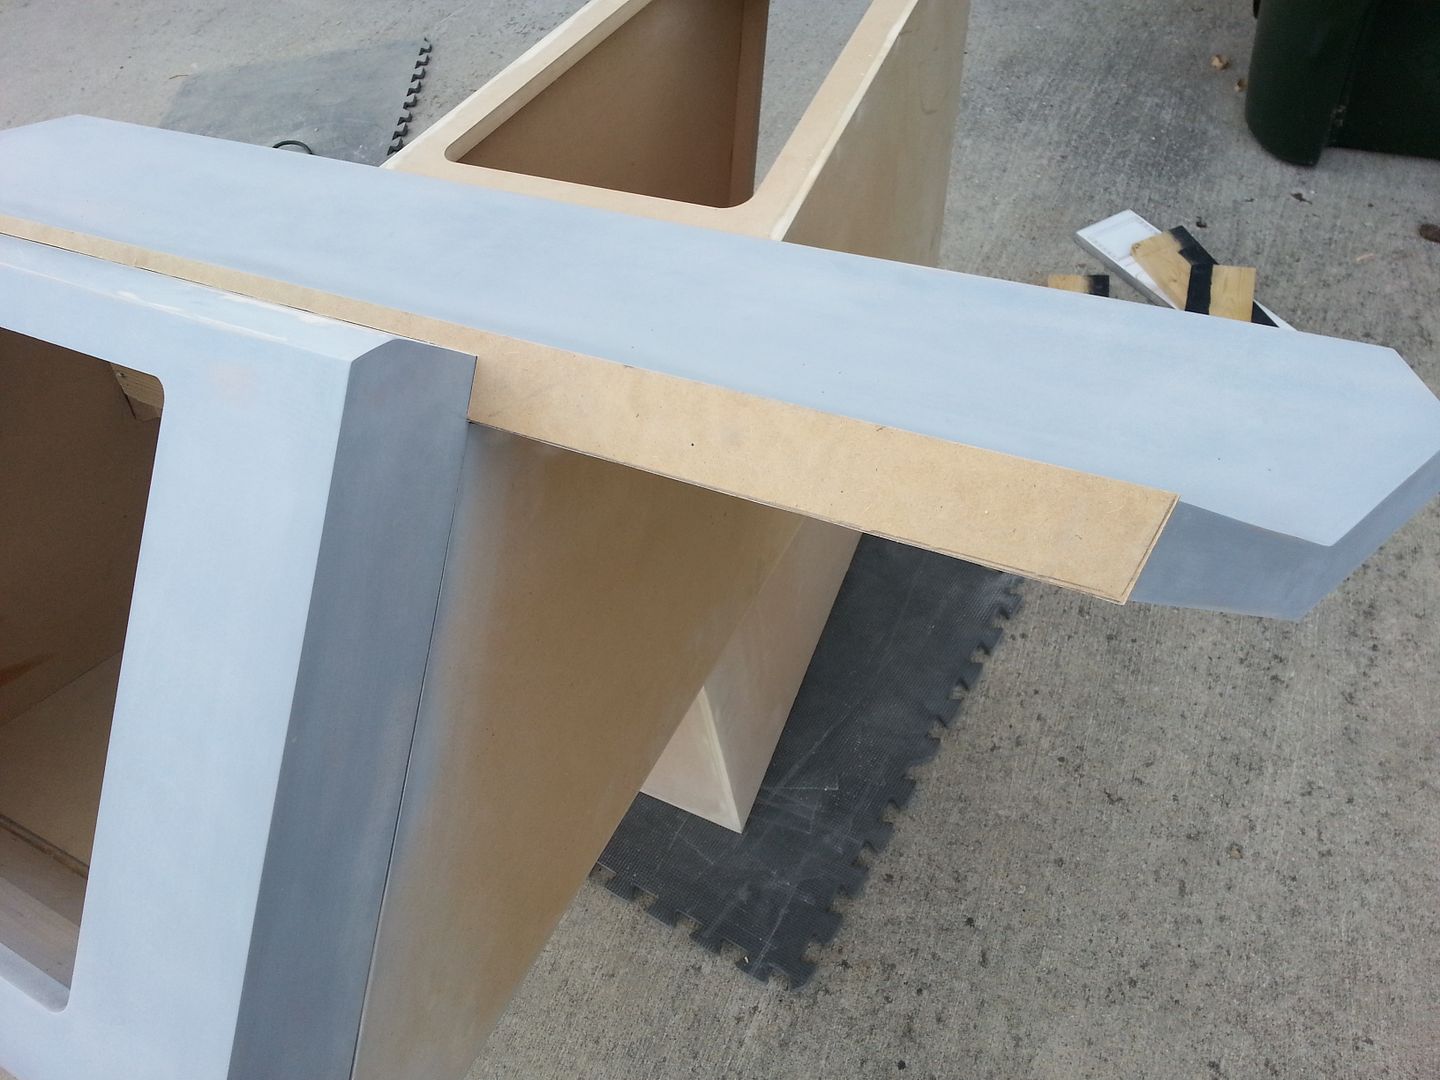
Cut a cover piece from MDF
Adhered with glue and braids
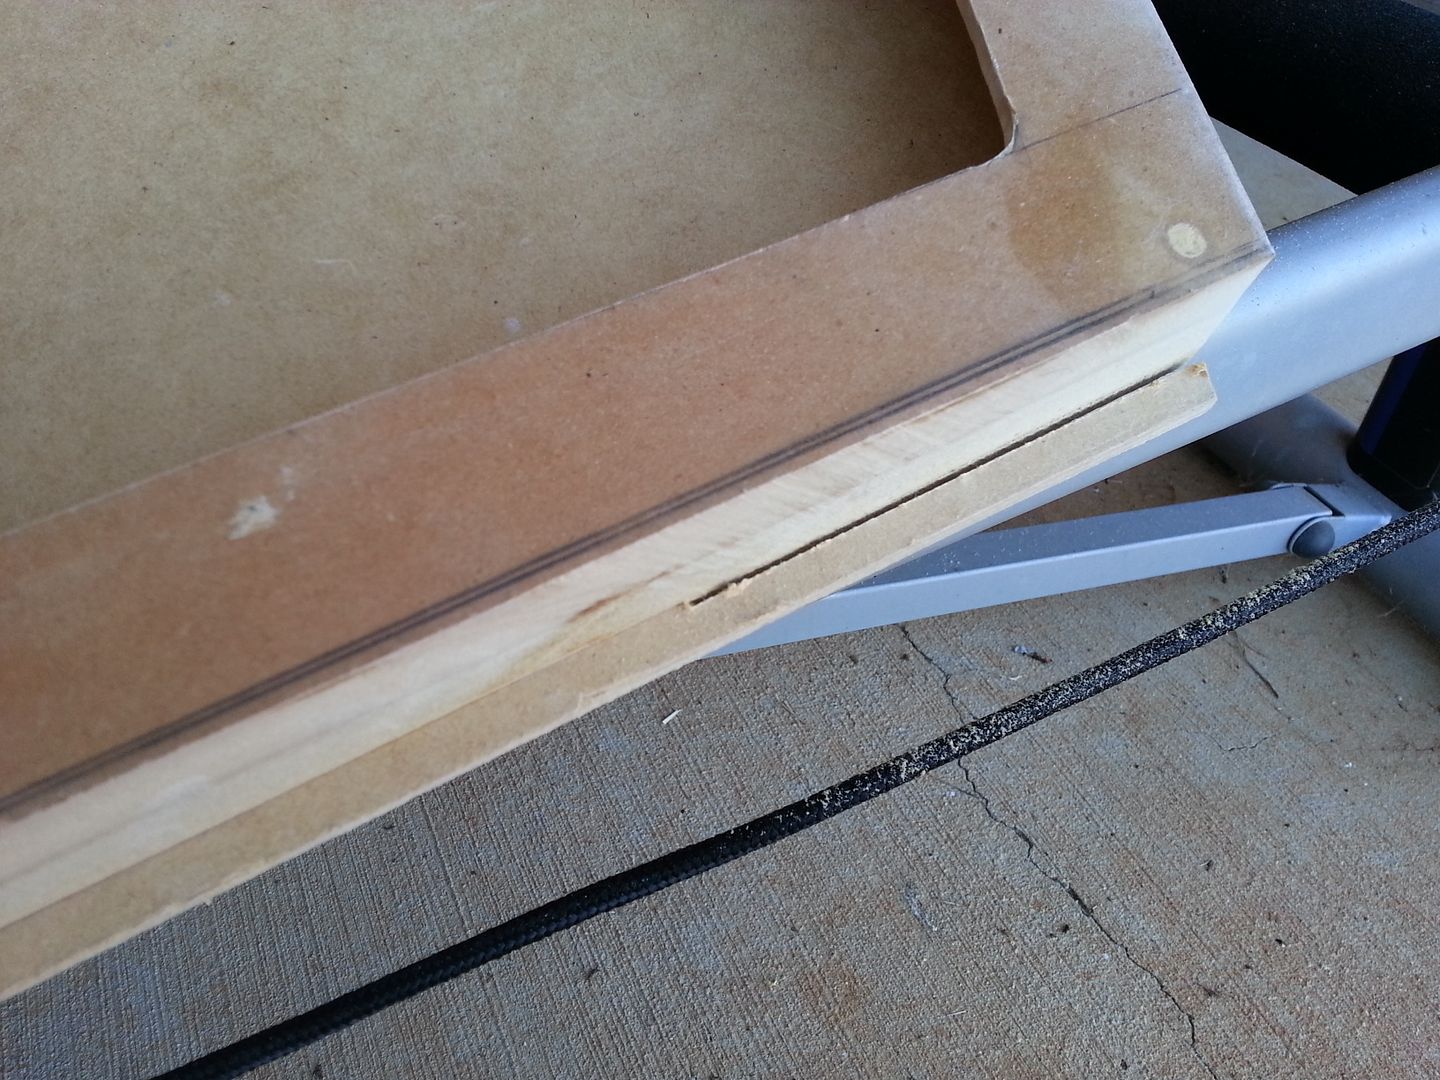
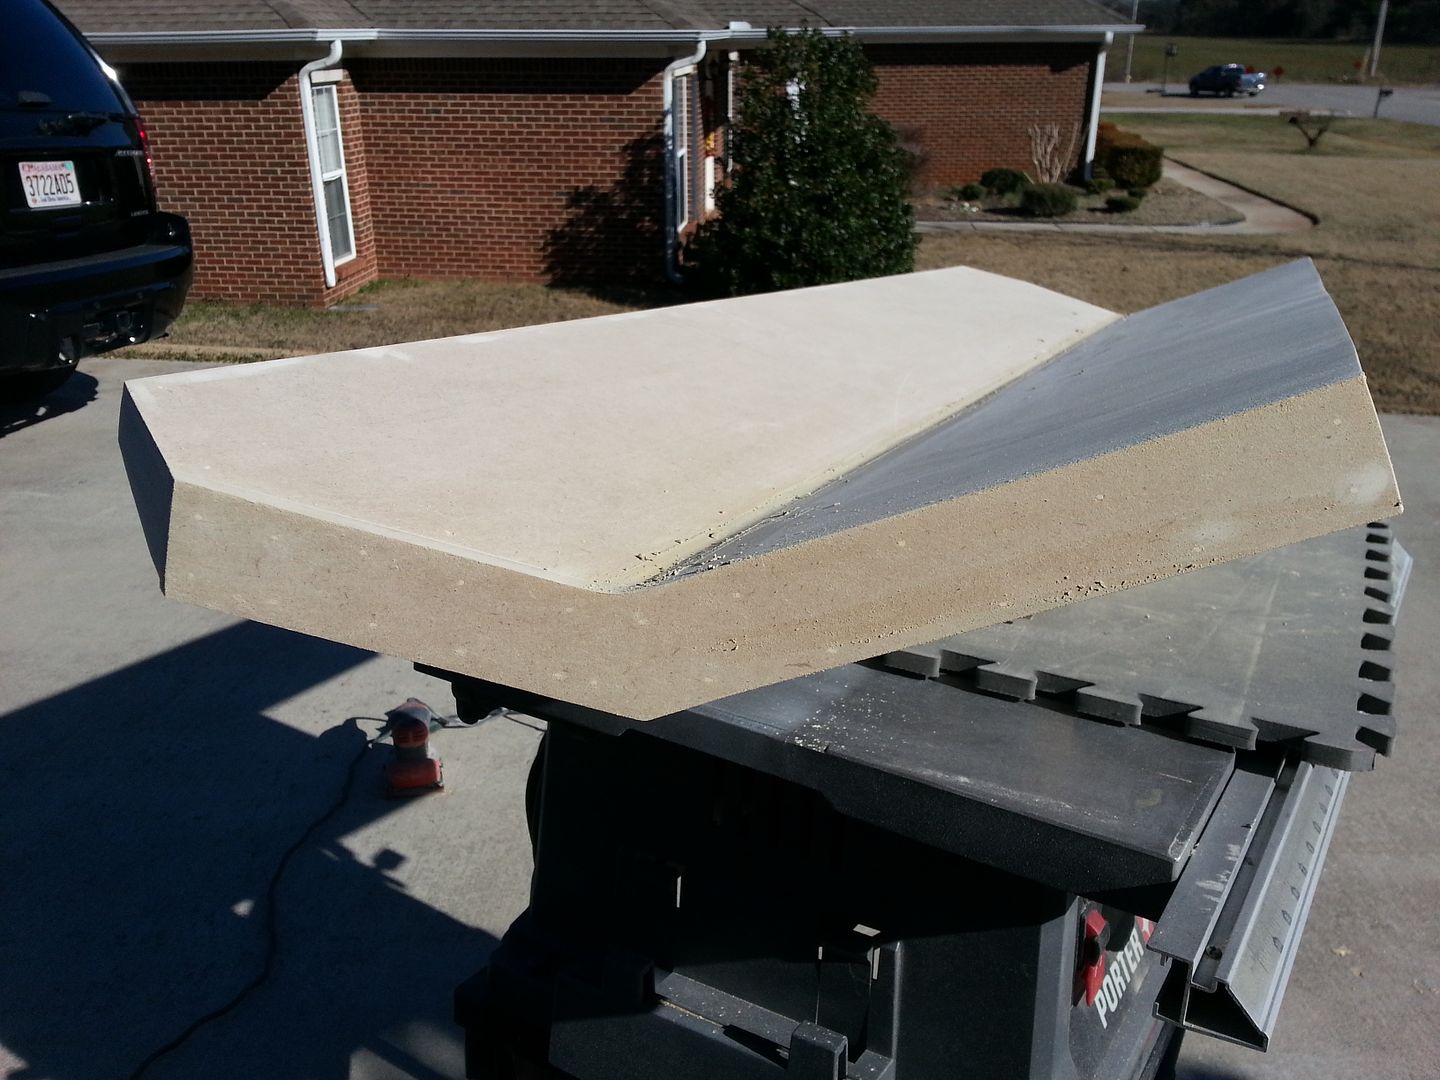
Time to sand down those edges nice and smooth then add some filler
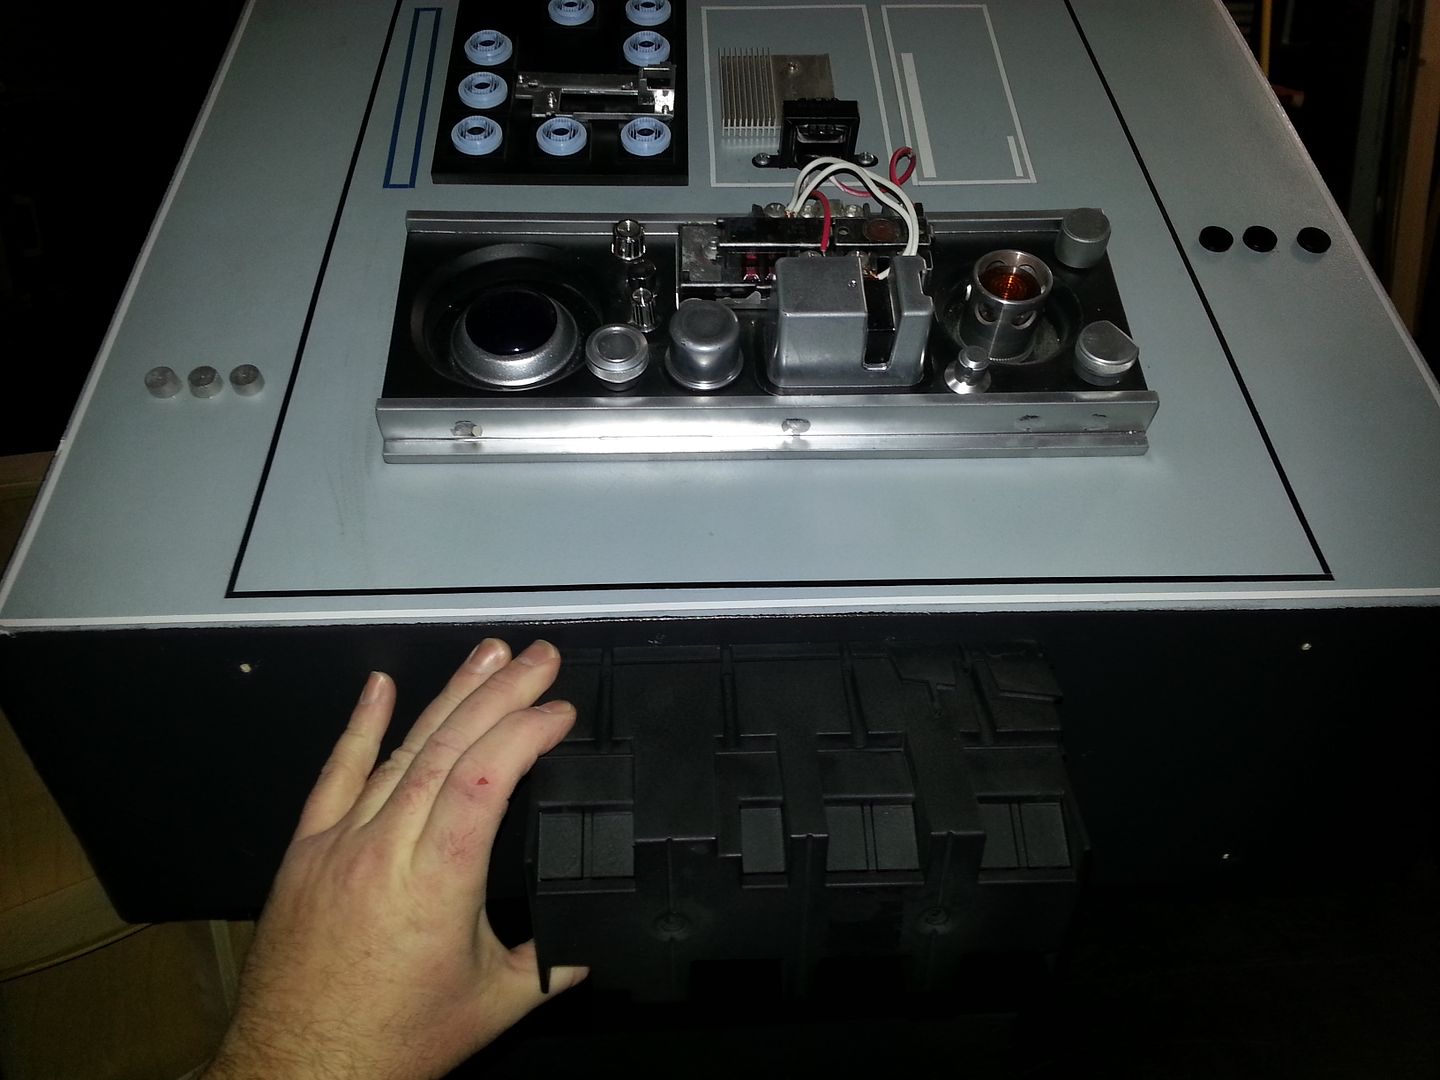
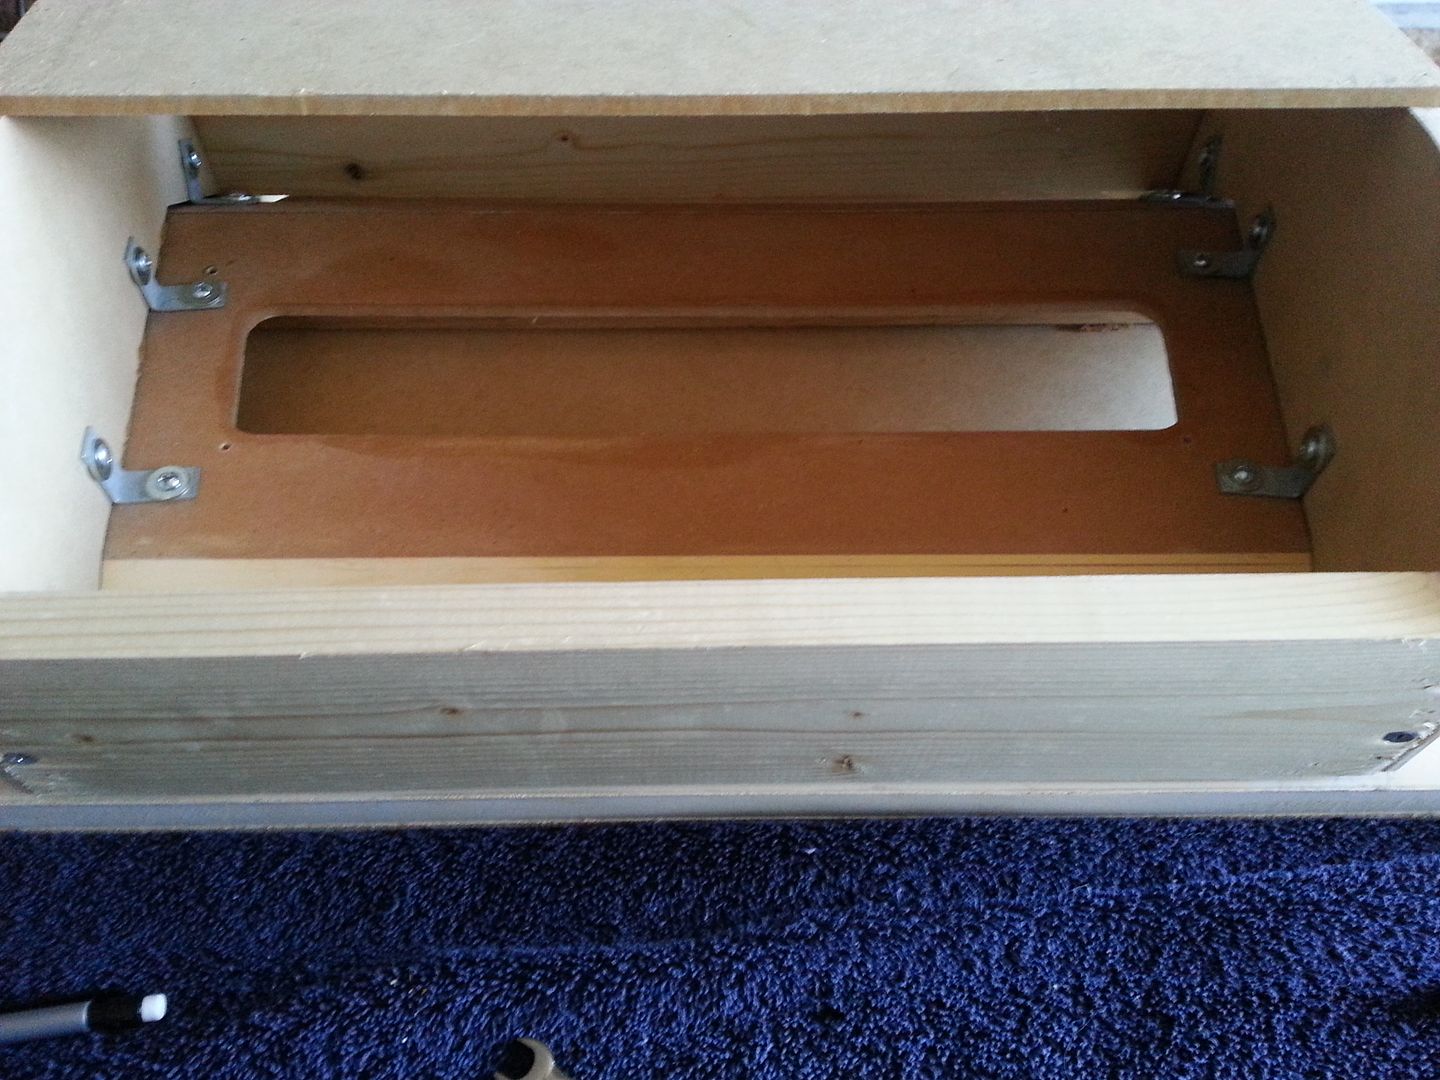
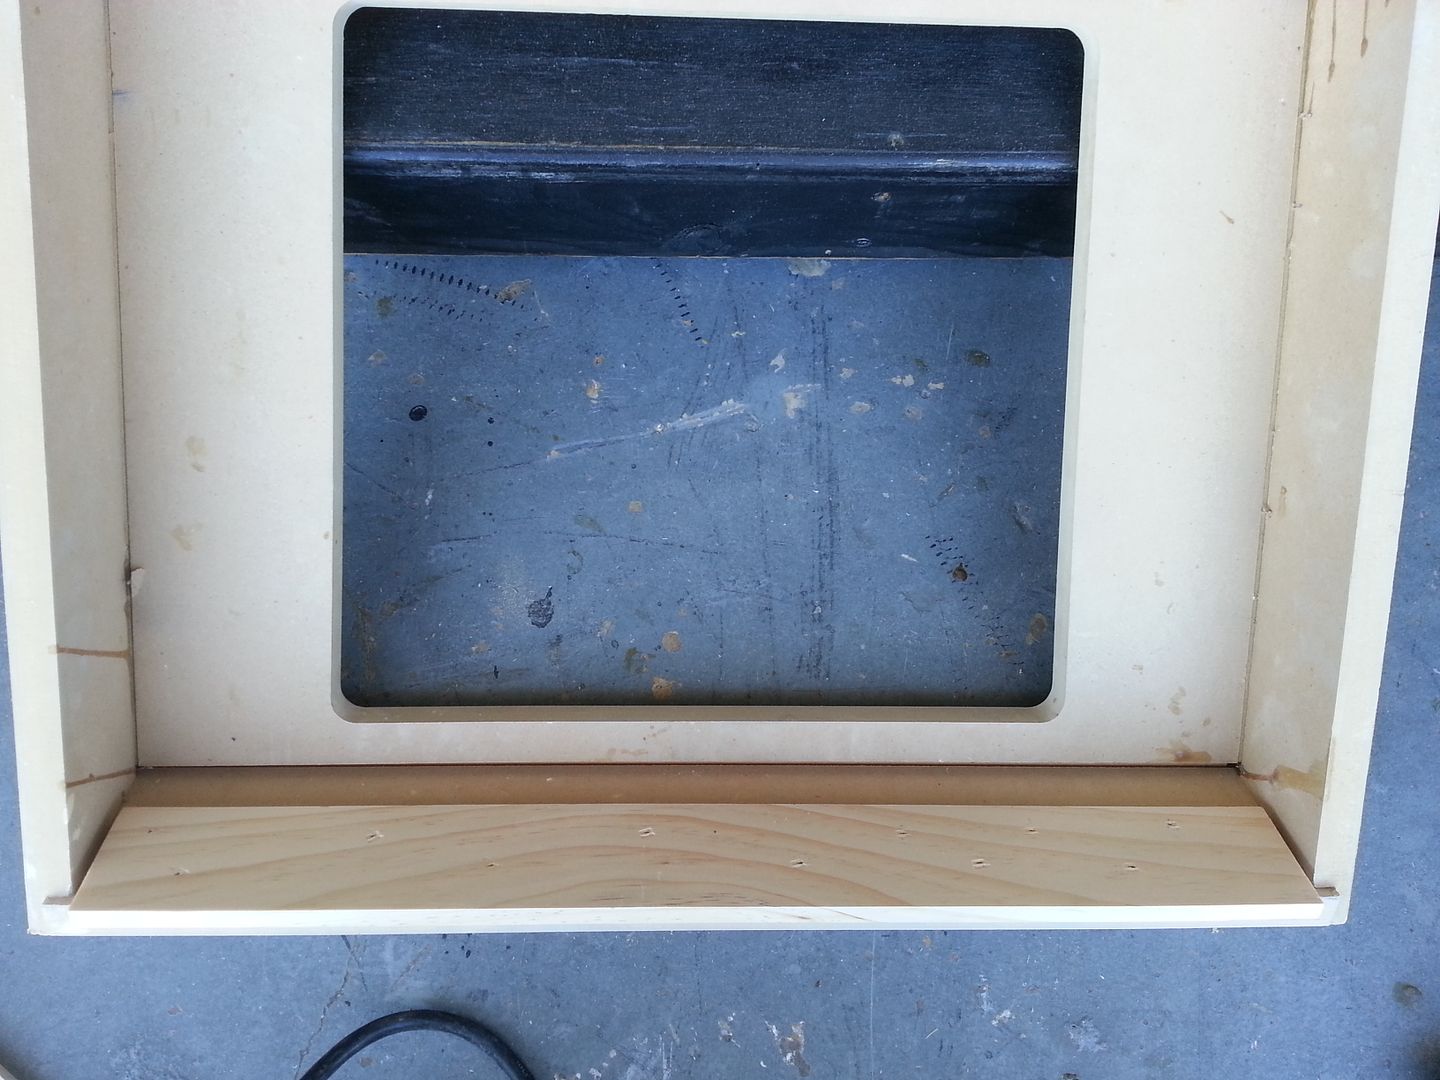
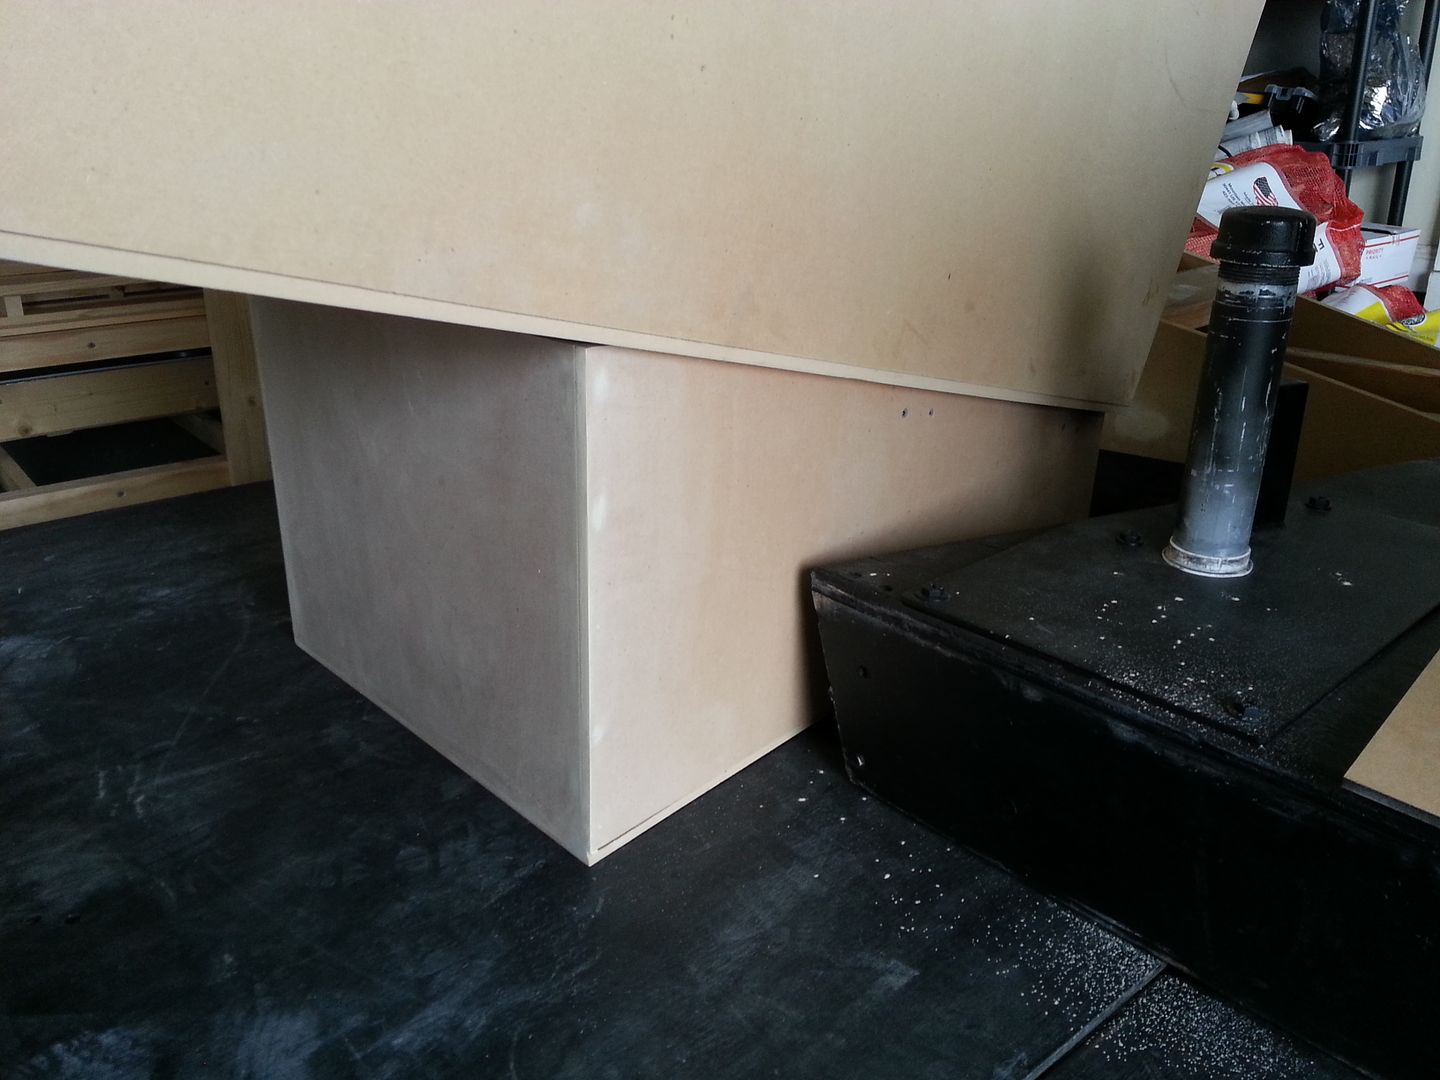
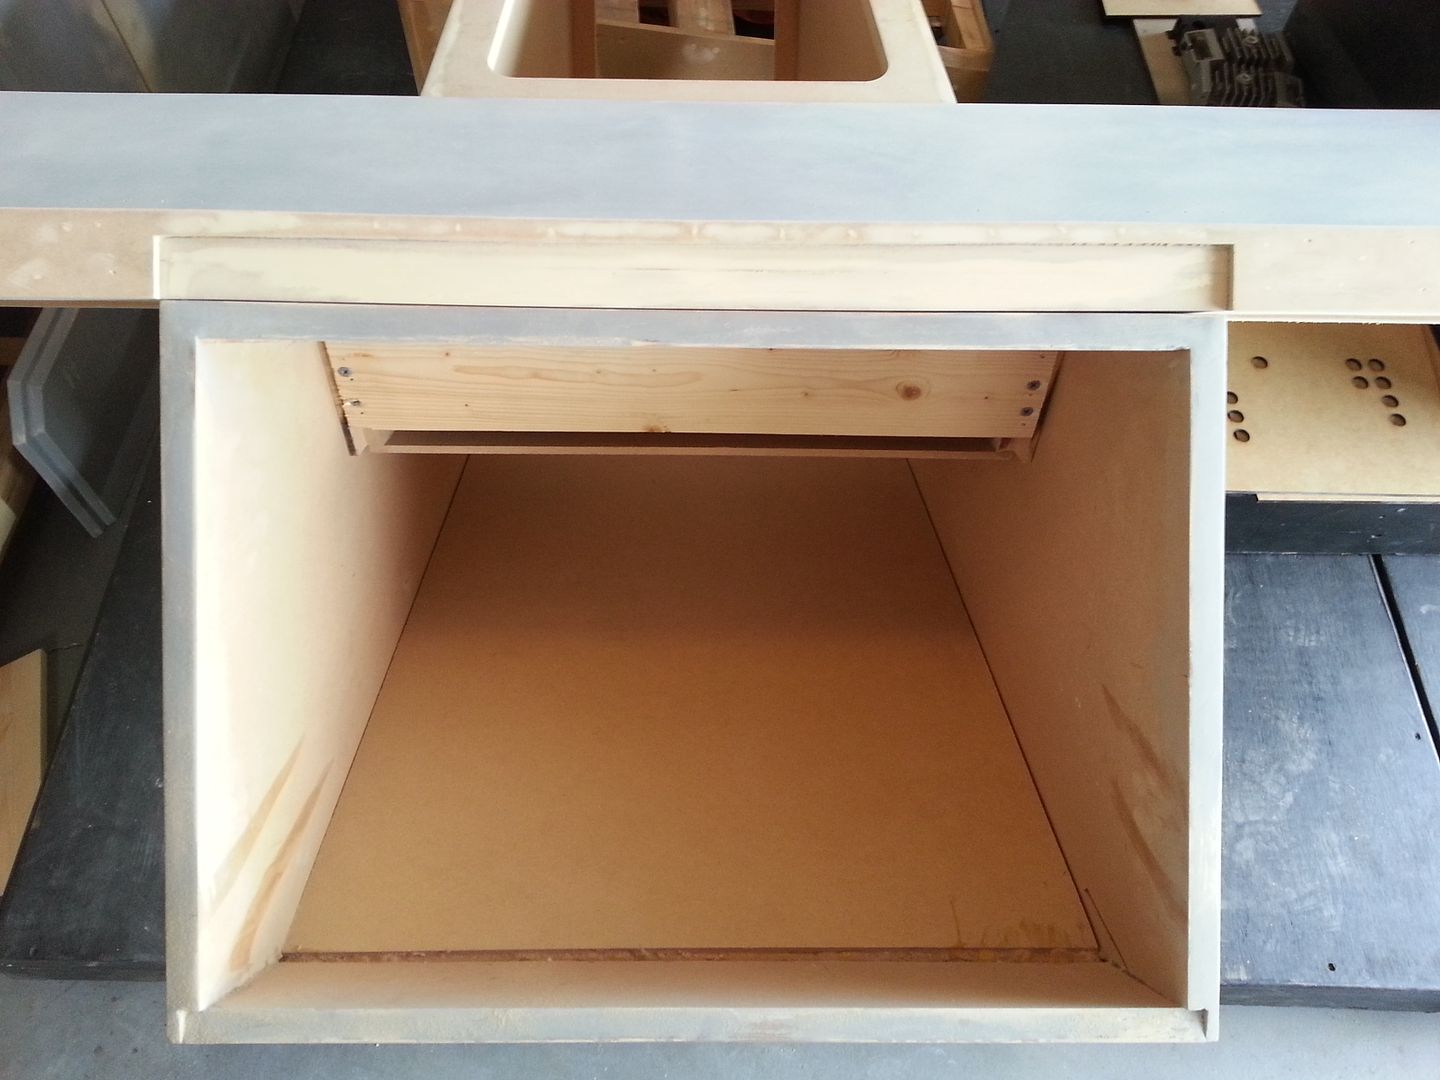
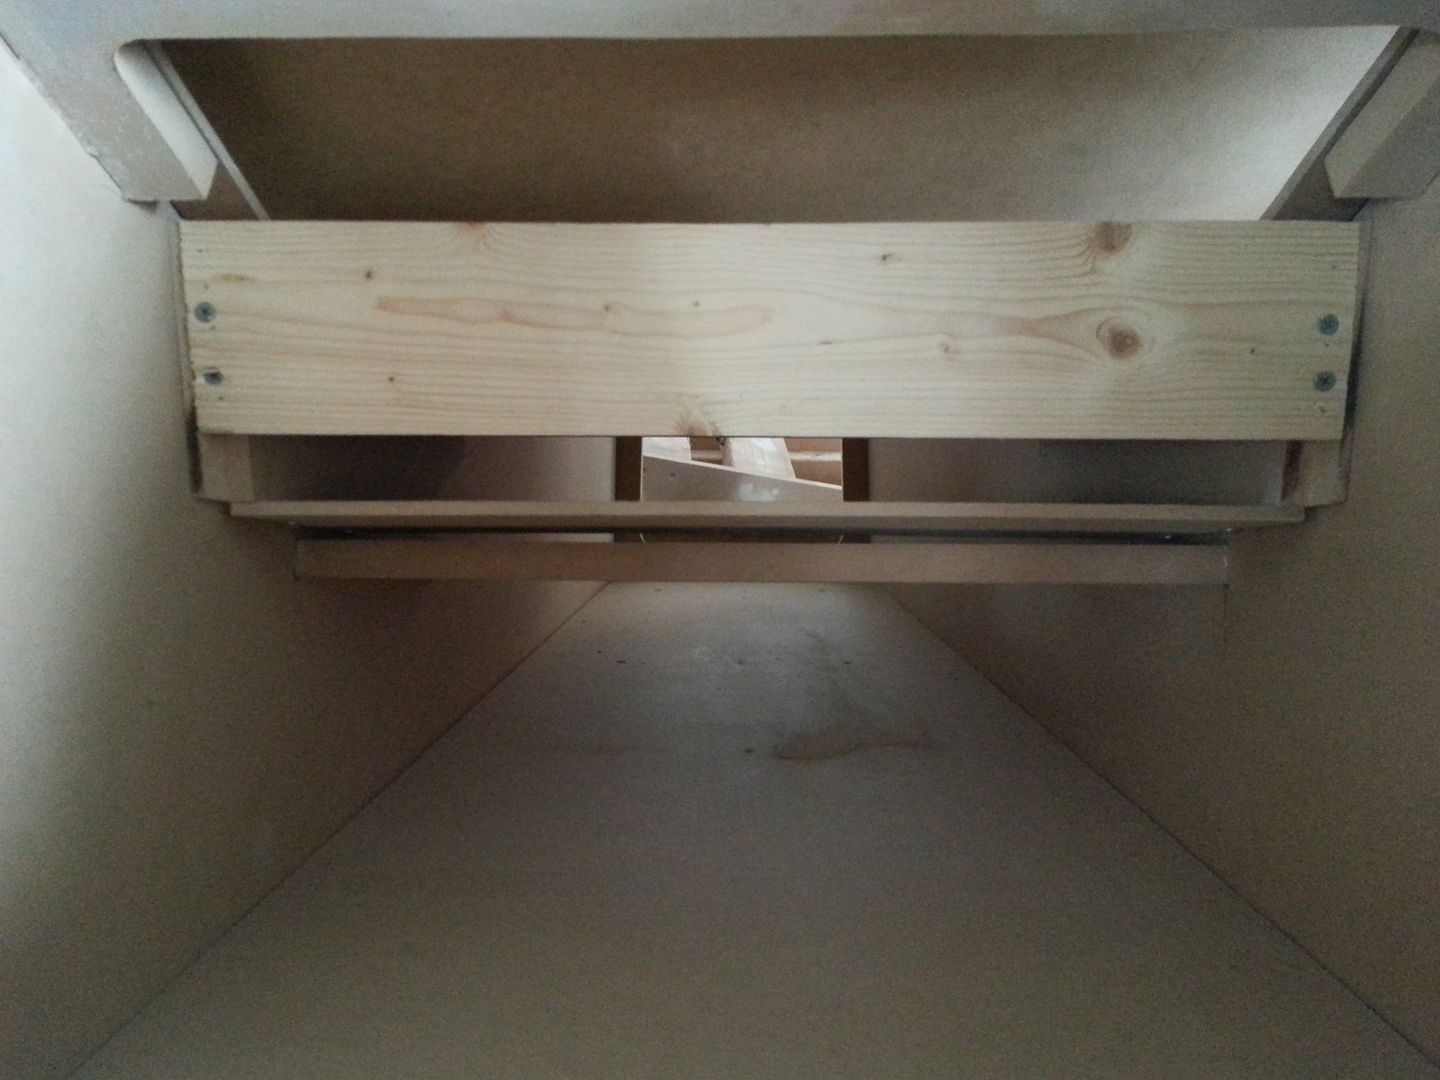
While the filler was drying I removed this piece of the console to match the instrument cluster back panel - no wires will get crushed
I also mounted the lower console base - this sucker is HEAVY!
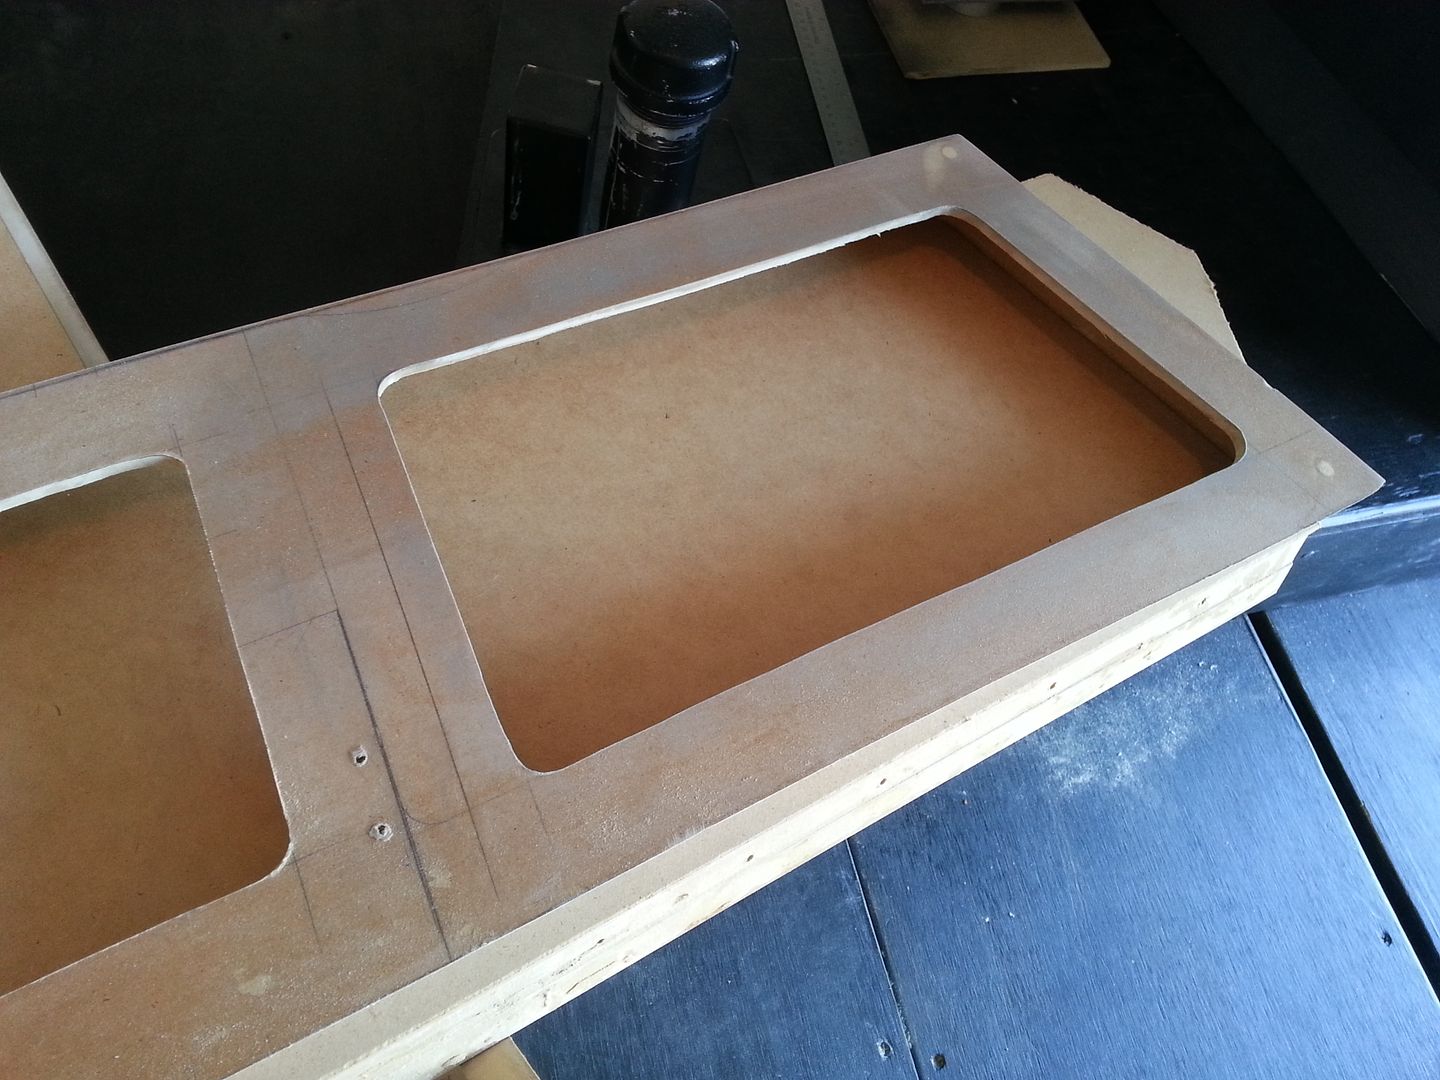
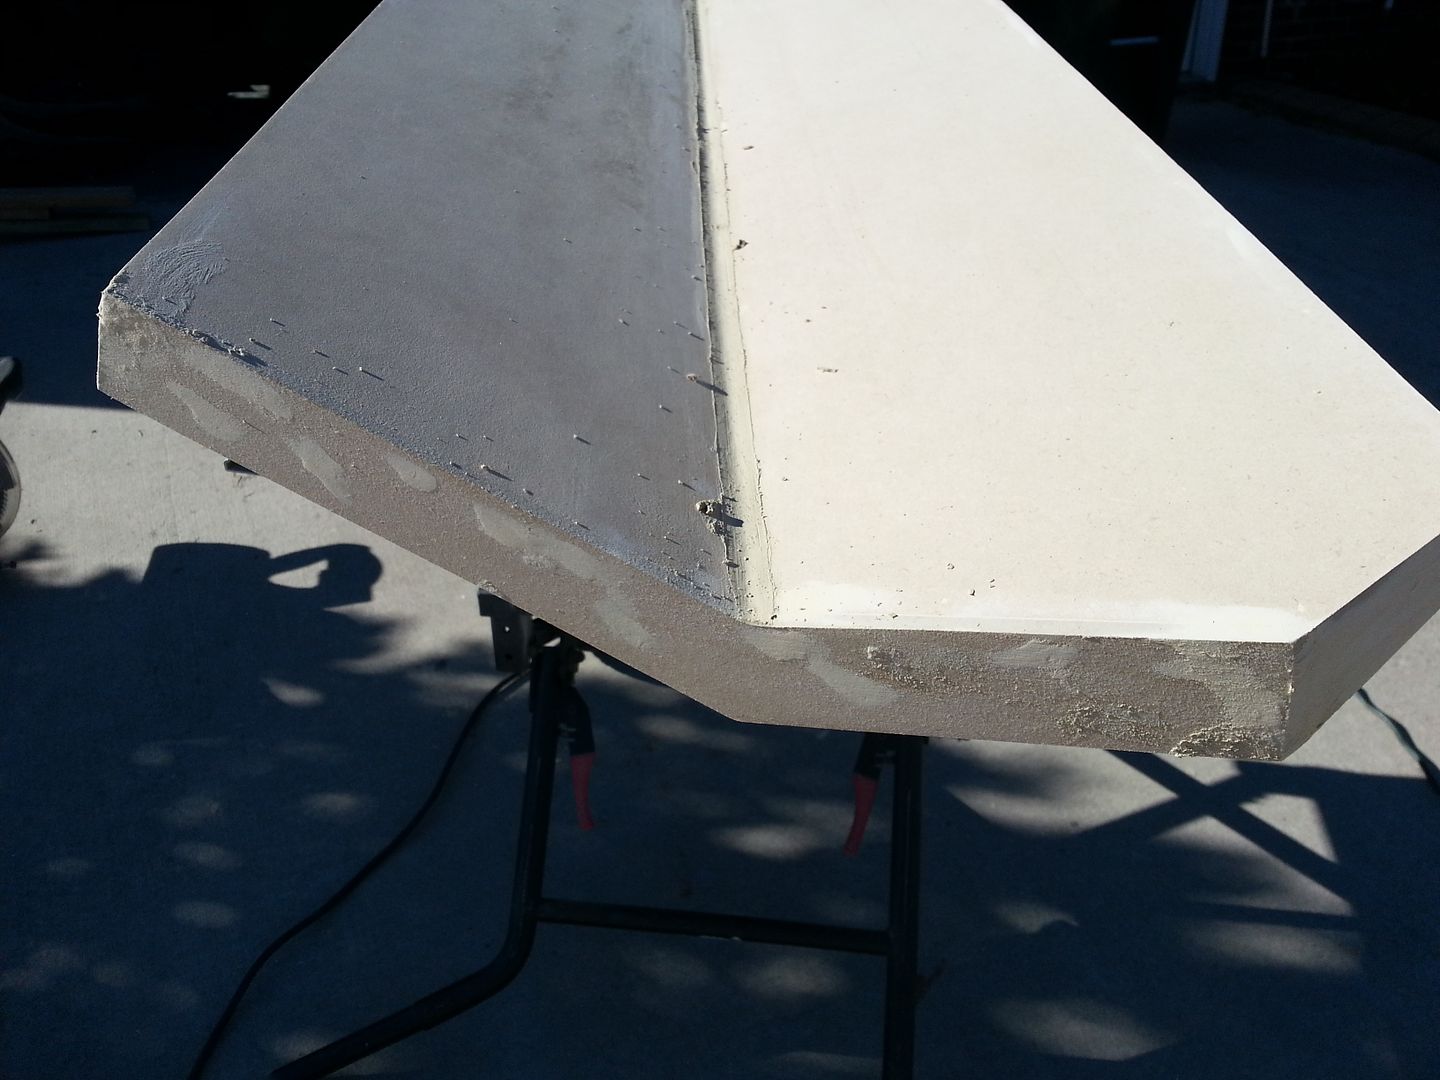
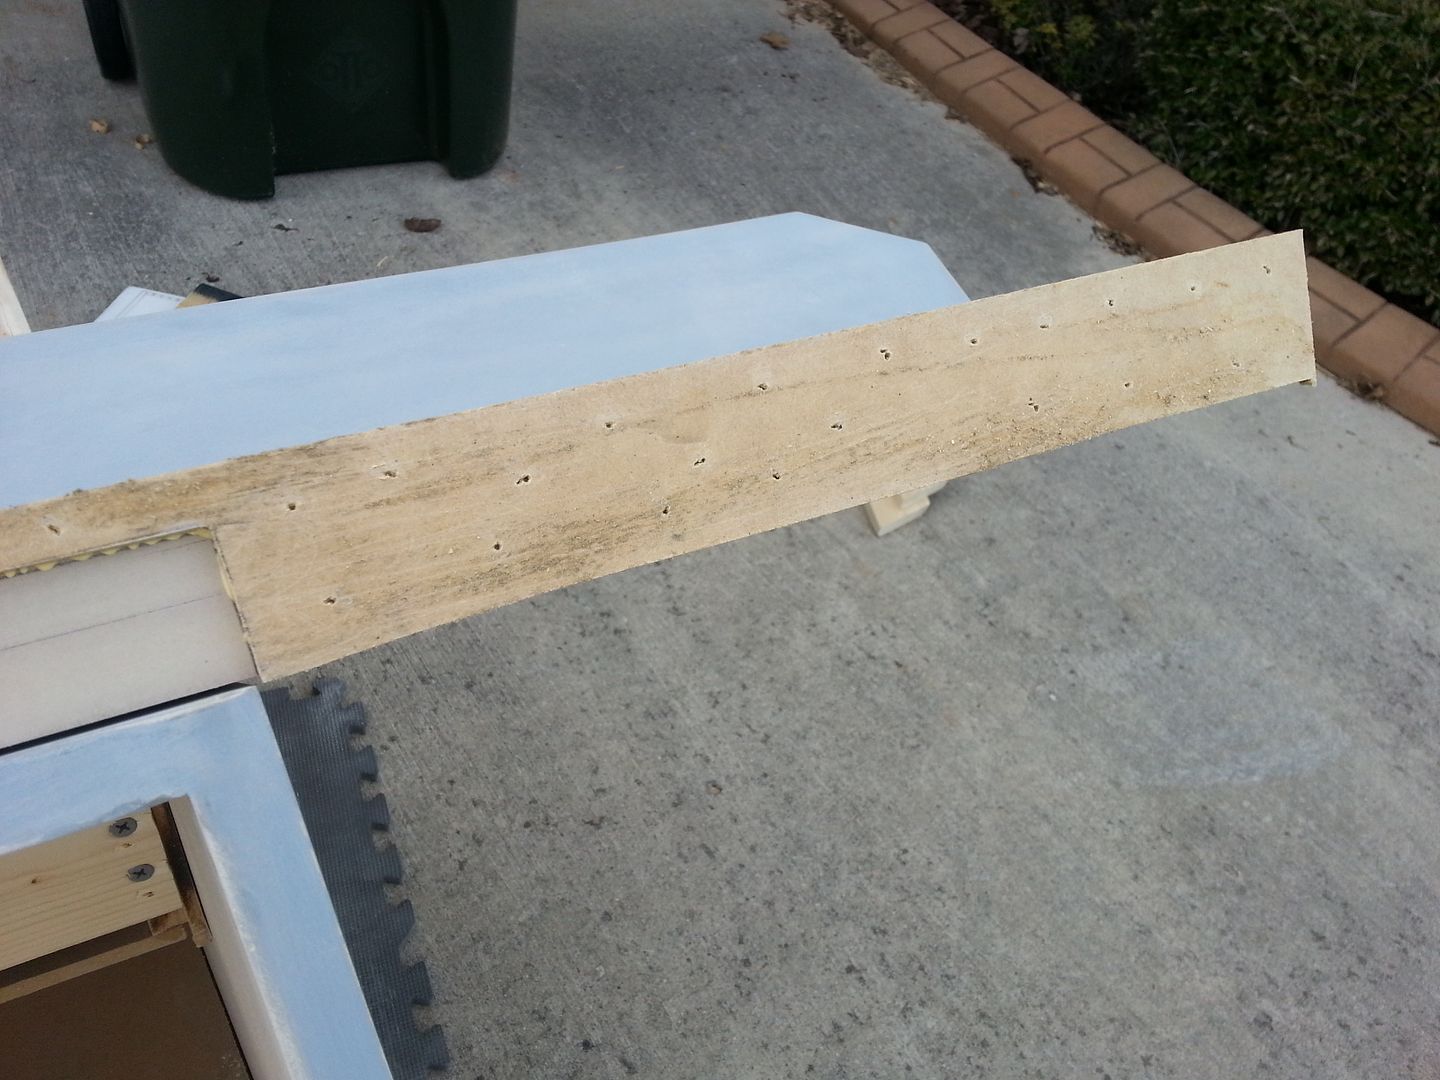
Time to sand some filler
Missed a few holes but the cover piece turned out really well. And it gives a little bulk and rigidity to the instrument panels
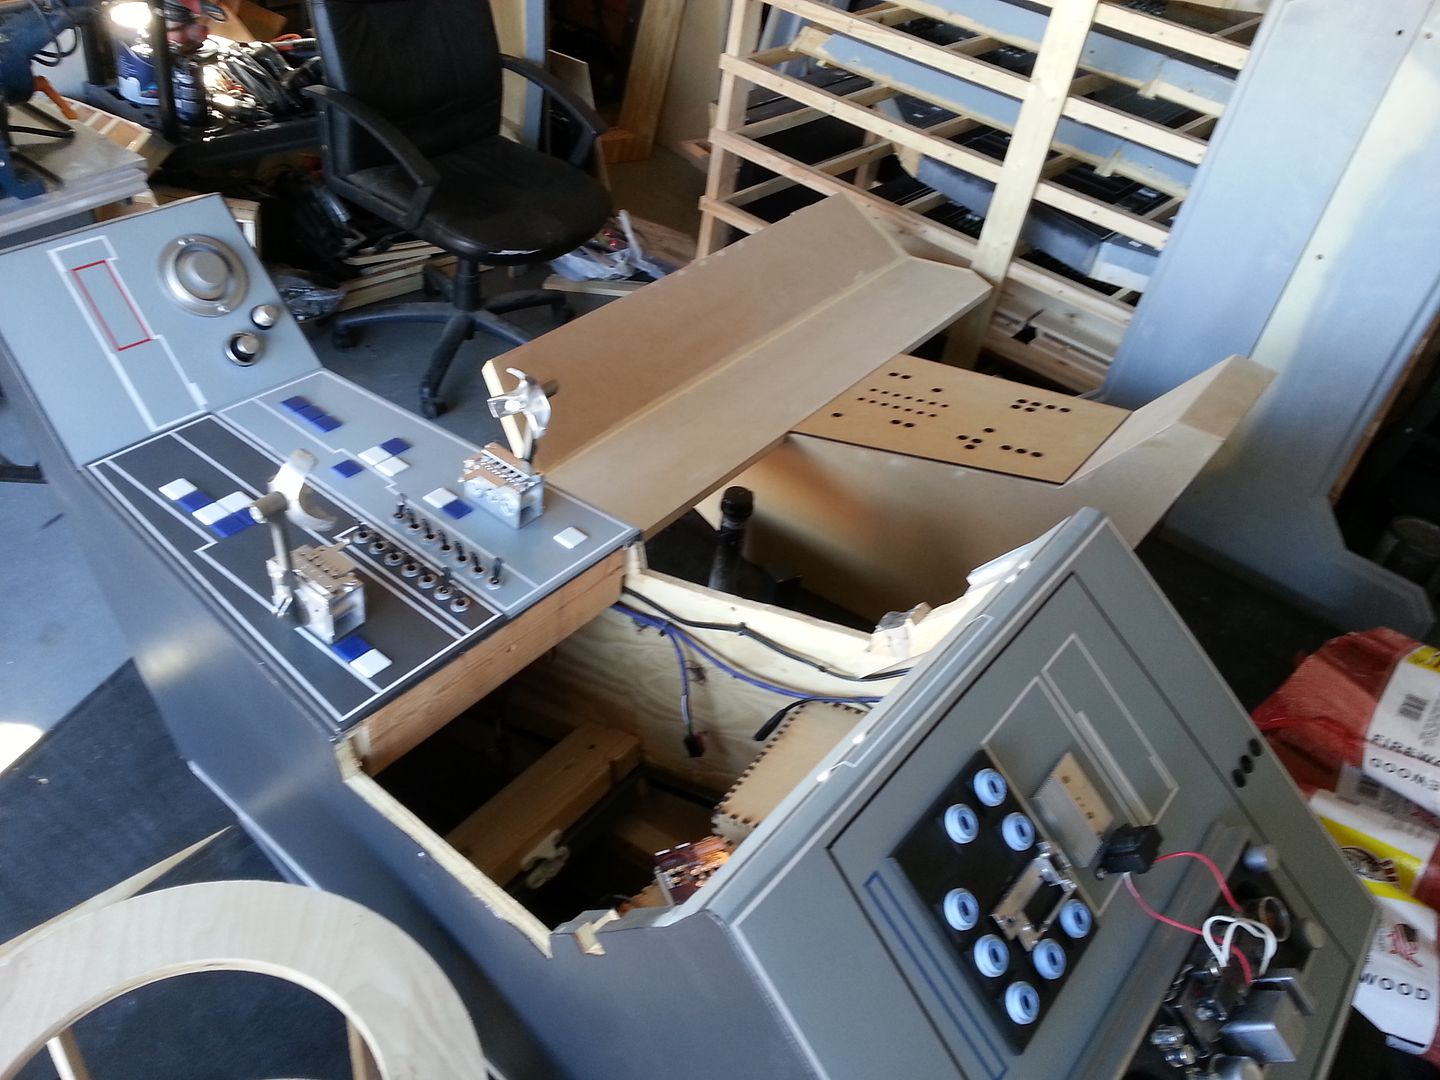
The nose piece simply slides into place
PERFECT! I love it when a plan finally comes together!
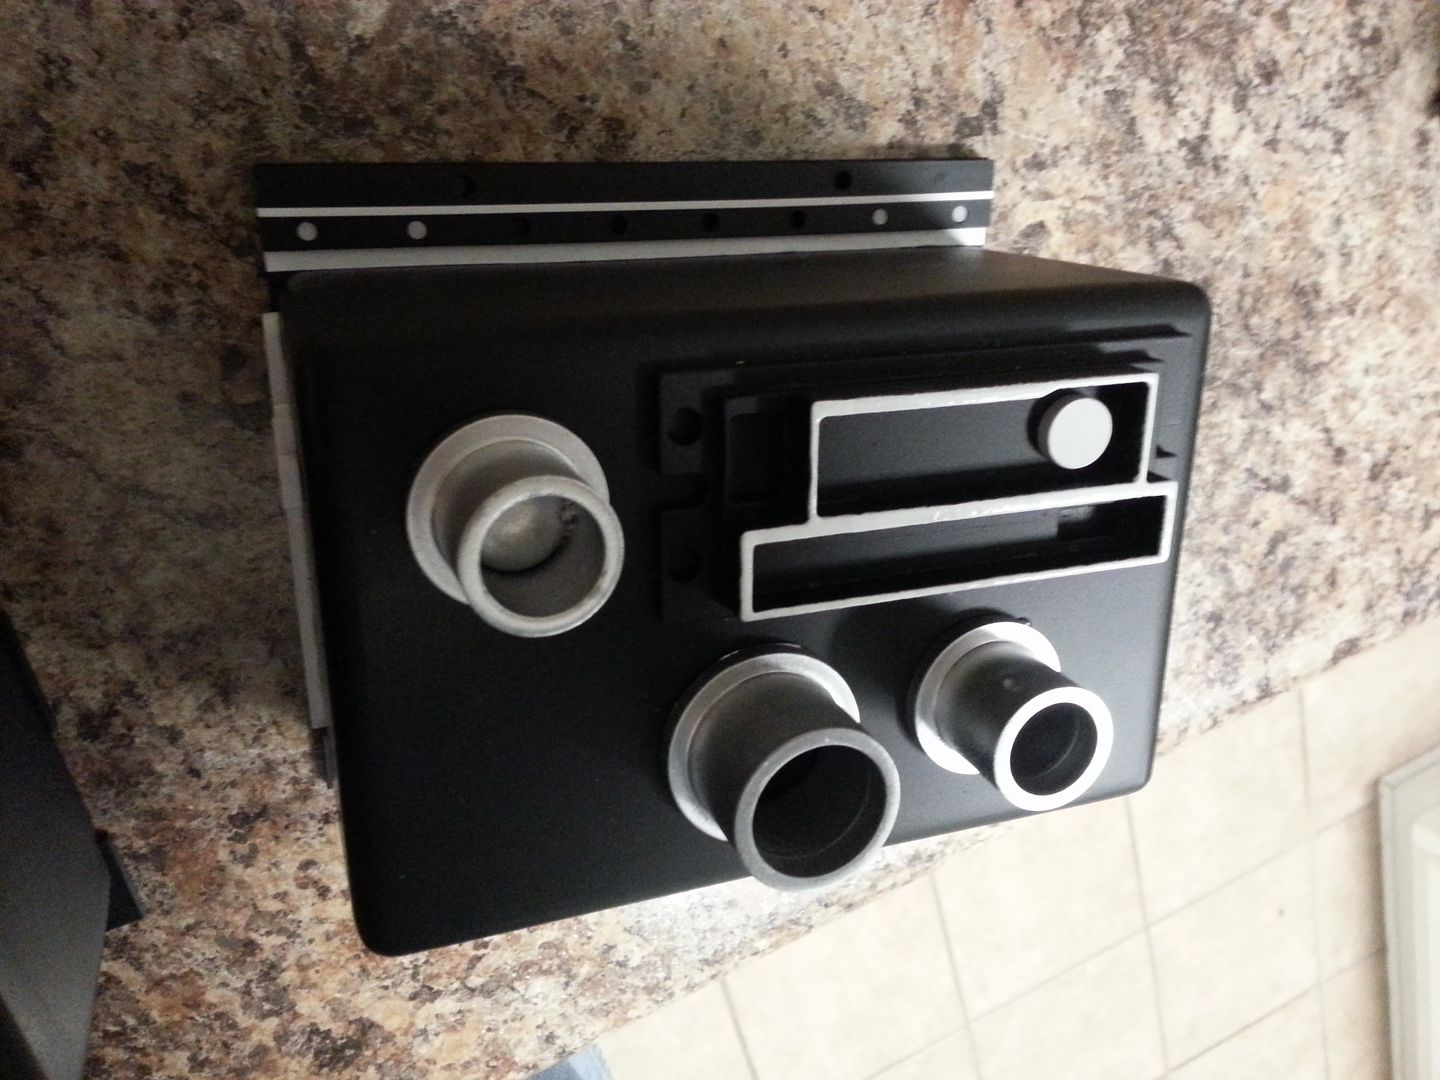
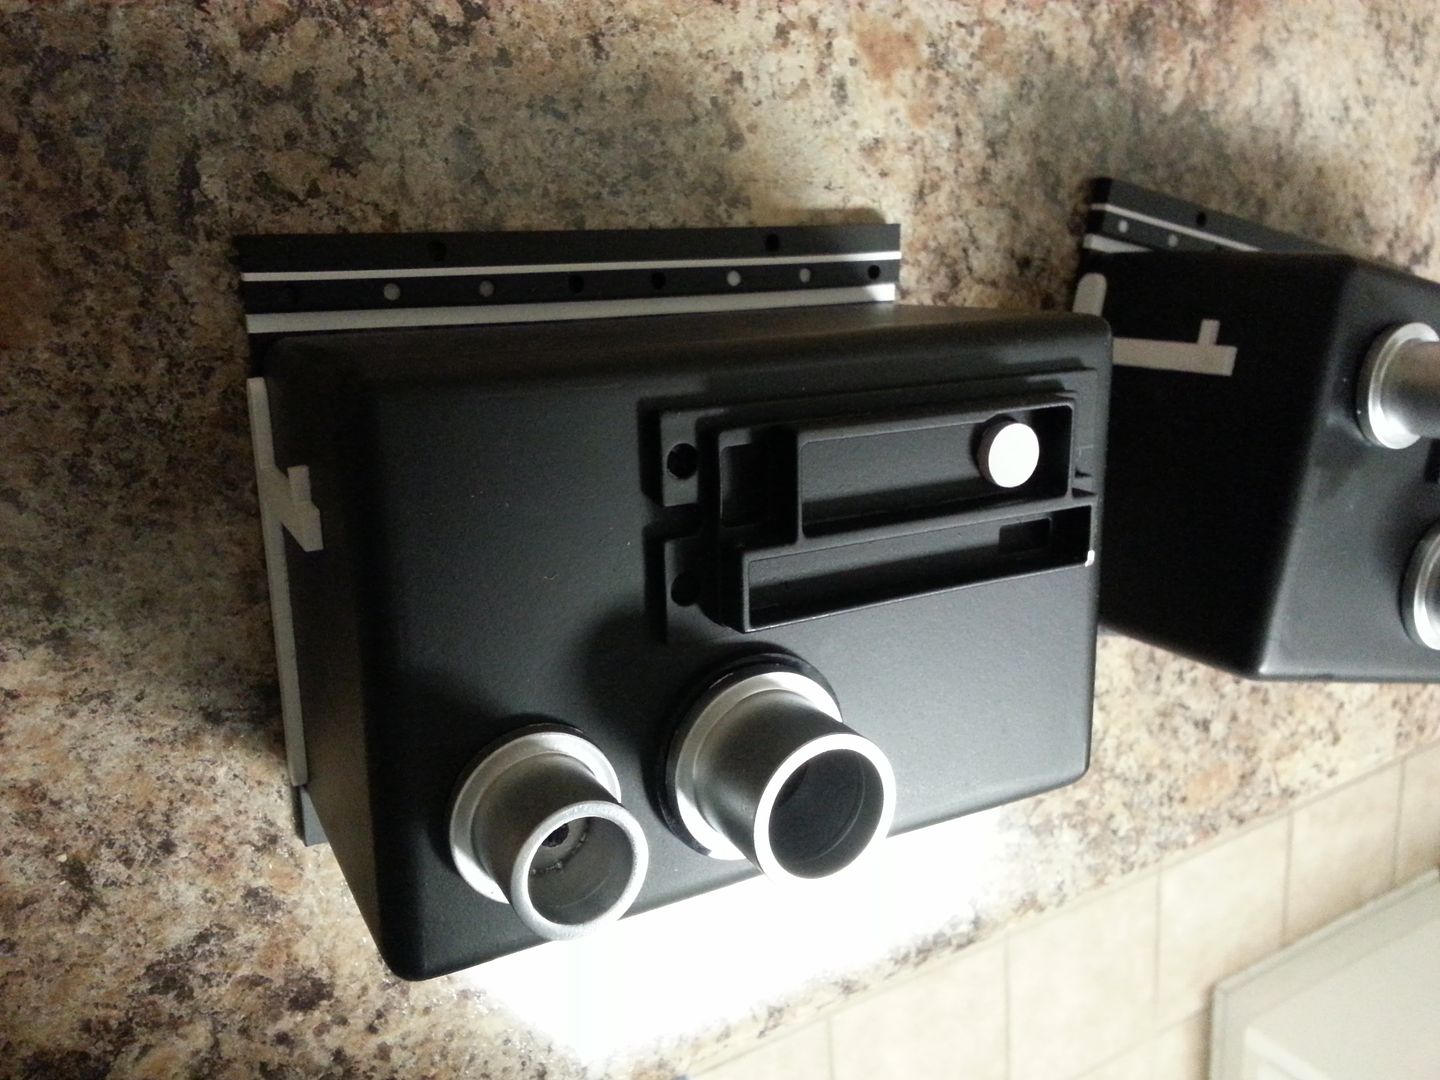
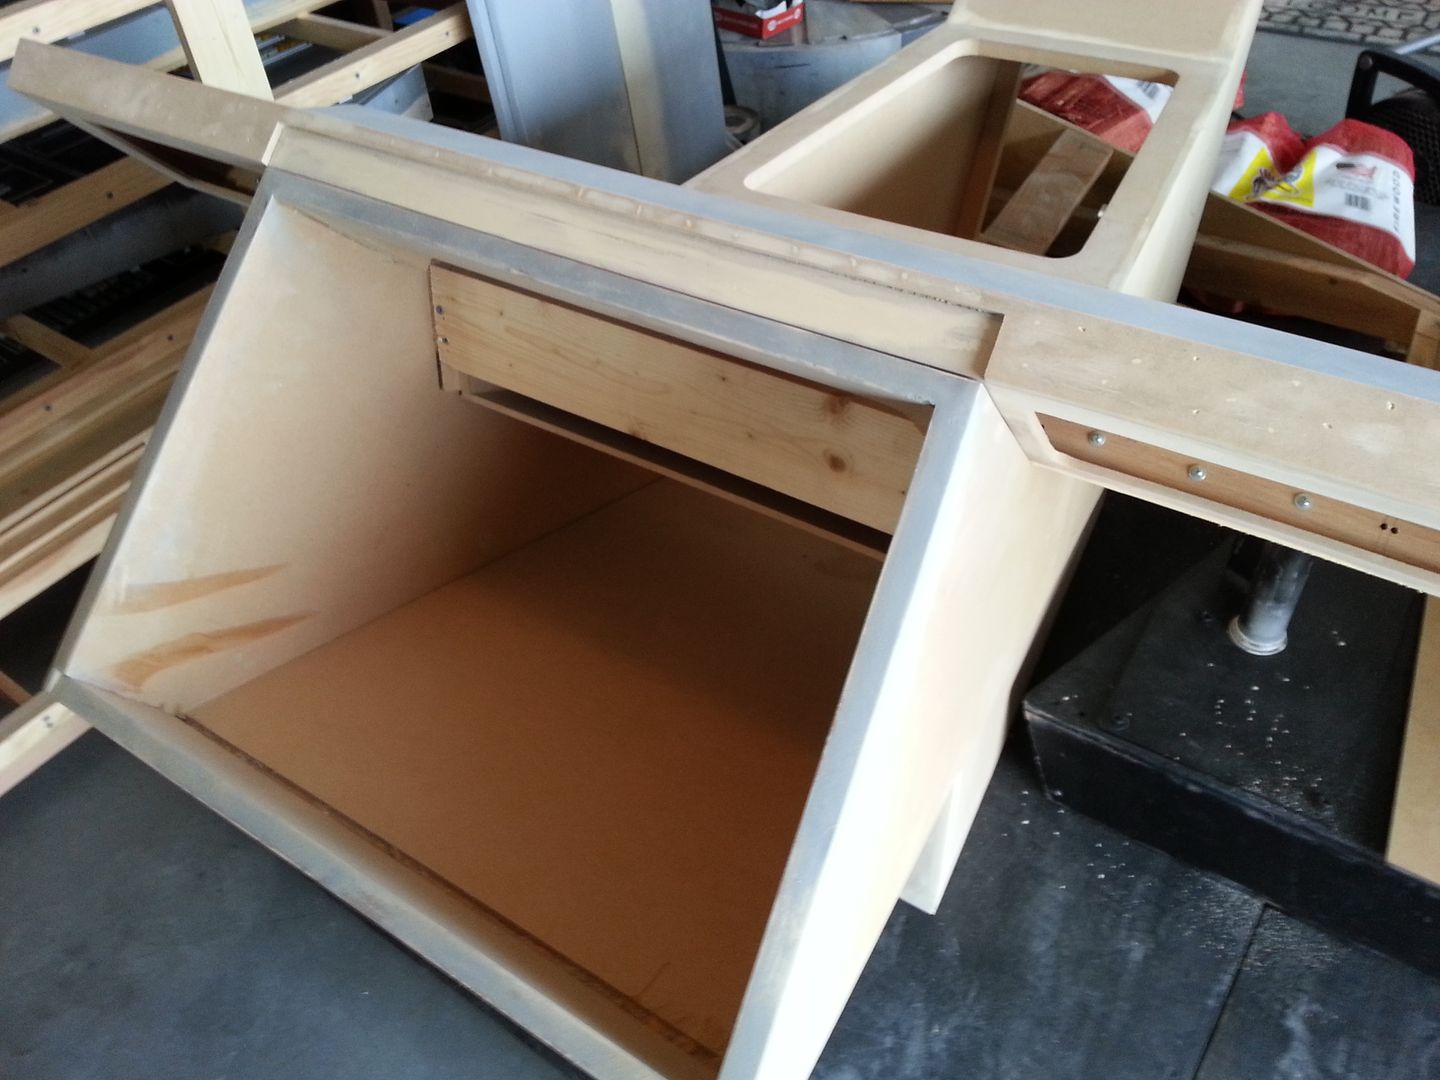
Now it's time to create some back covers/boxes for the new console!
Lots of room for electronic goodies!
Whew... HUGE kudos to Starkiller, Maruska and Philip for making console #2 come to life!
")
Stay Tuned!