Moebius B-9 Lost In Space Robot X 3

I don't do kit bashing or modifications very well so i tend to do whatever is in the box,right or wrong.
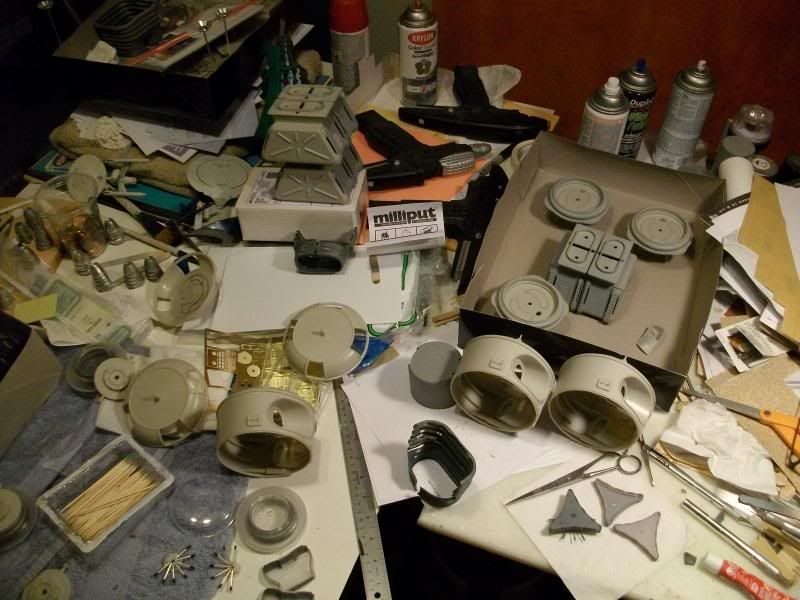
I sometimes wish I could do the same. I'm obsessed, I tell you!:facepalm

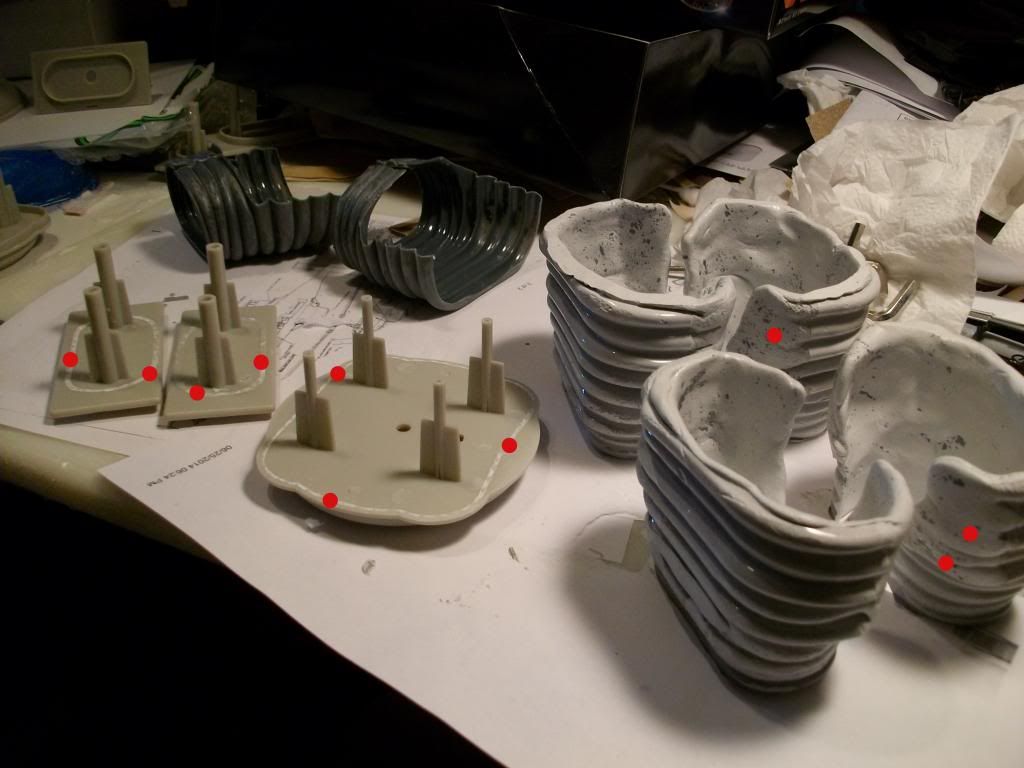
Good. Two sets cast. I have sculpting to do (red dot area) & I had to remove the guide tracks on the adjoining parts (other red dots) because the thickness of the new bellows parts won't fit around them.
 
Good stuff Chris, they are coming along nicely. My obsession i guess is doing the lighting myself,it causes me real grief but i do enjoy it. :)
 
Chris, what did you use to make the new legs etc? Just out of interest. I now have the lighting kit just about sorted on a breadboard so should be able to complete the feet section this weekend before i decide just how to fit the circuit boards that i haven't made yet in! Looking good there though and i'm looking forward to seeing you finish. Are you doing any weathering at all?


Got the ParaGrafiX brain additions on...


And after a little sanding, the primer...


This is a test on MY Robot brain- I cut lots of holes into the plastic casing so that I might have a straight visual for the lighting. Like Scotty said, I'll let ya know.:)

Edit to add: Yep. Just like I'd hoped.
 
Dammit, that's one piece i am not looking forward to doing and i do not want to buy any add ons, i got to have another look at how i might do this. I'm sure ill think of something lol
 
Here's something else: I initially coated the arms with a primer that didn't totally work, so I scraped it off & partially sanded it, then applied the vinyl automotive paint. It left imperfections, but I realized they look like actual rubber stretch imperfections on the real Robot...

 
It all looks good Chris, i'm finding different ways of doing things as i go along so actually have no idea how he will finally look,i guess that's all part of the fun! Electronics pretty much ready so i have just got to start fitting stuff and threading fibre optics.It will be interesting to see how that goes.
 
Presently I am prepping my test Robot (the one I'm NOT lighting just for me) to find the best colour scheme so that my client's builds will work well.
Notes:
Fine sand the sharp edges all around; the moulds were great, but these need to be softened a bit.
Mount the power pack upside down & cut off the tabs so you can glue it to the body about 2 mm to the left. The inner bits will be upside down, but the outer look will be more accurate. I plan to fudge it a little in the painting to make it appear that the inner bits are correct...;)

 
Nice work Chris, very nice indeed. More work on mine this weekend so hopefully he will start to look like a robot by Sunday evening :)
 
This thread is more than 9 years old.

Your message may be considered spam for the following reasons:

  1. This thread hasn't been active in some time. A new post in this thread might not contribute constructively to this discussion after so long.
If you wish to reply despite these issues, check the box below before replying.
Be aware that malicious compliance may result in more severe penalties.
Back
Top