Mark 46 build 3D print

No worries.. I'm not a 3D modeler wiz! :)


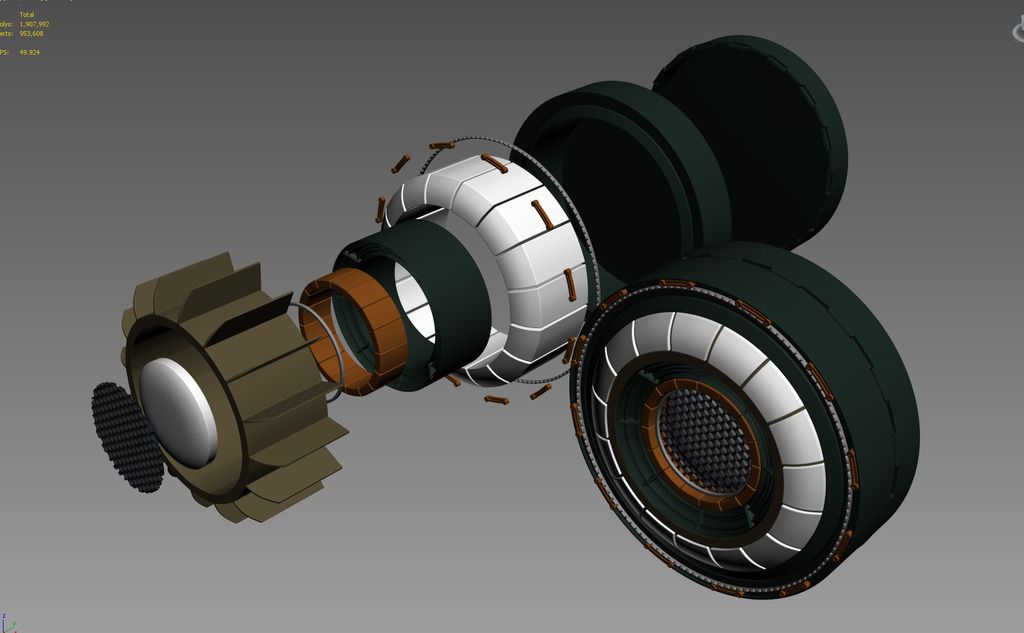
I'll be working with TKCC71 to make some repulsor stuff..

not sure where it will lead..

a kit for sale?
an open source 'post'.. for other to follow if they can/want

not sure yet.. (IMHO).. the repulsor is the most difficult as there is NOT a lot of room.. so usually a custom PCB design is required..
 
LOVING following this build. Im just about ready to start my attempt. I bought my files from do3d this past week. Any suggestions on how to slice the chest into different pieces? I have an 8x8x8 build plate. Little nervous on orientation, or how to slice some of these big pieces like the chest, back and abs. I also have a big butt. worried about that... Anyways! Everything looks great!
 
LOVING following this build. Im just about ready to start my attempt. I bought my files from do3d this past week. Any suggestions on how to slice the chest into different pieces? I have an 8x8x8 build plate. Little nervous on orientation, or how to slice some of these big pieces like the chest, back and abs. I also have a big butt. worried about that... Anyways! Everything looks great!

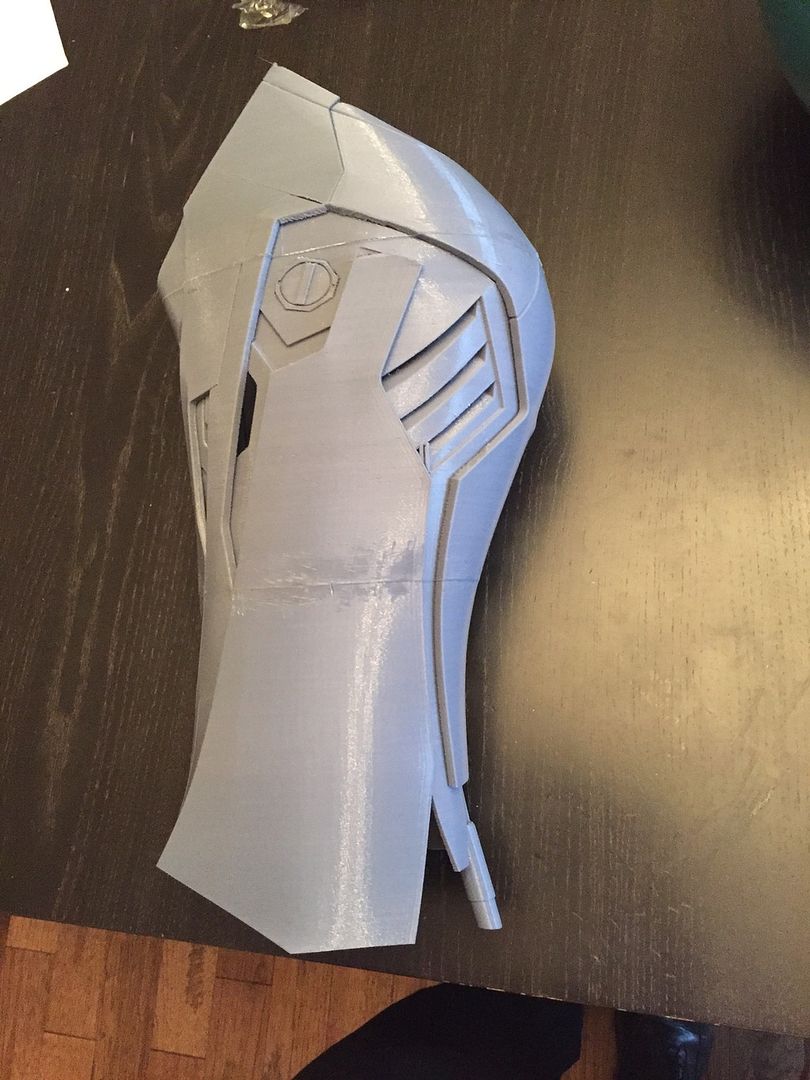
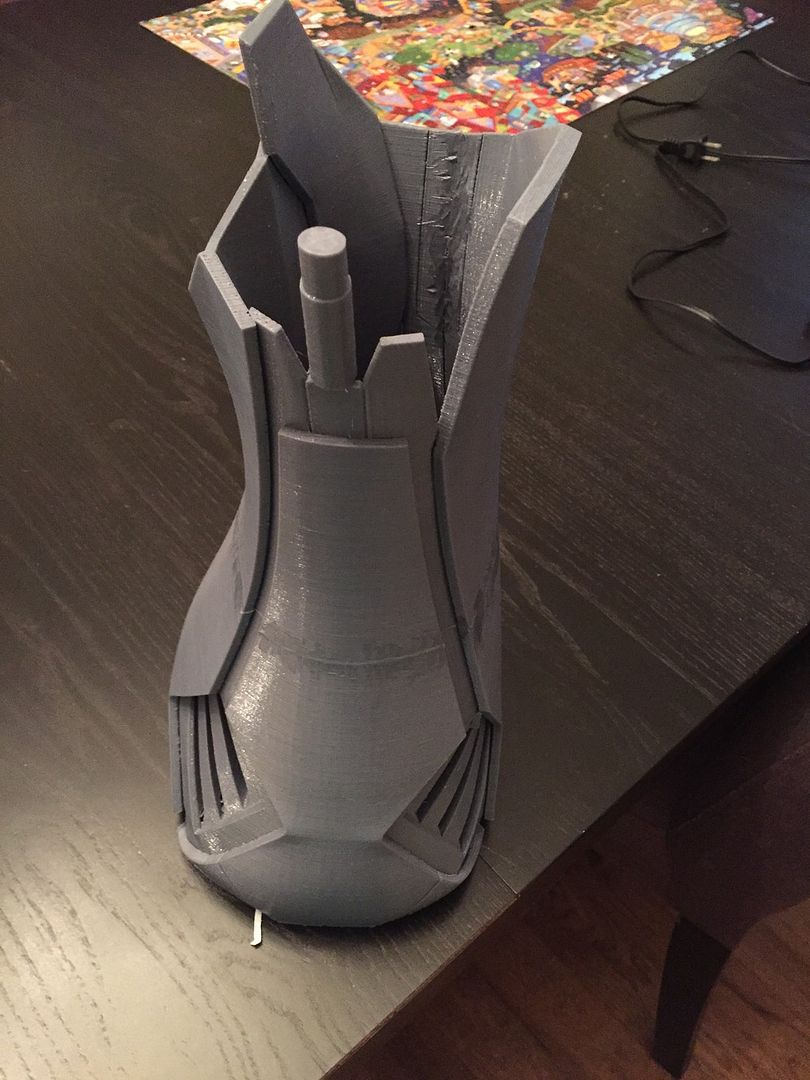
Thanks Jamundsen, For the chest I pretty much tried to print each shell separate and then assembled them all together in the end. However there were a few larger odd shape shells that I did have to slice to get them to orient right in the printer with minimal support structures ( the more curved pieces on the sides) Most of the shells are also tall and thin so i did print them with a raft so they don't tip over mid print.
 
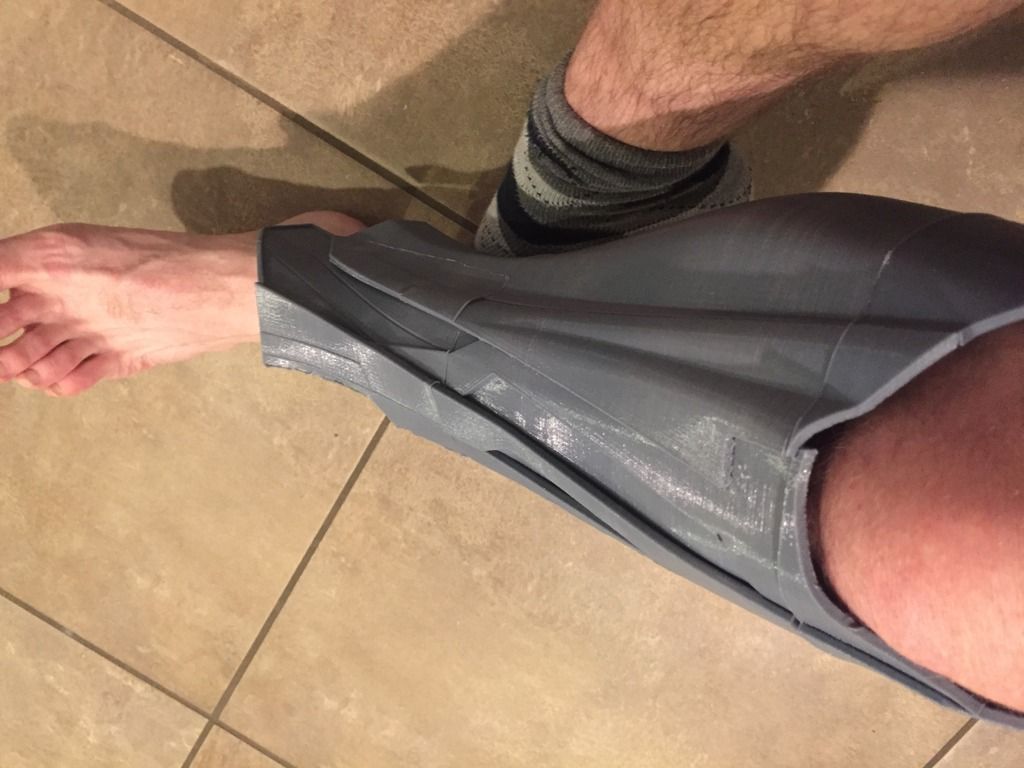
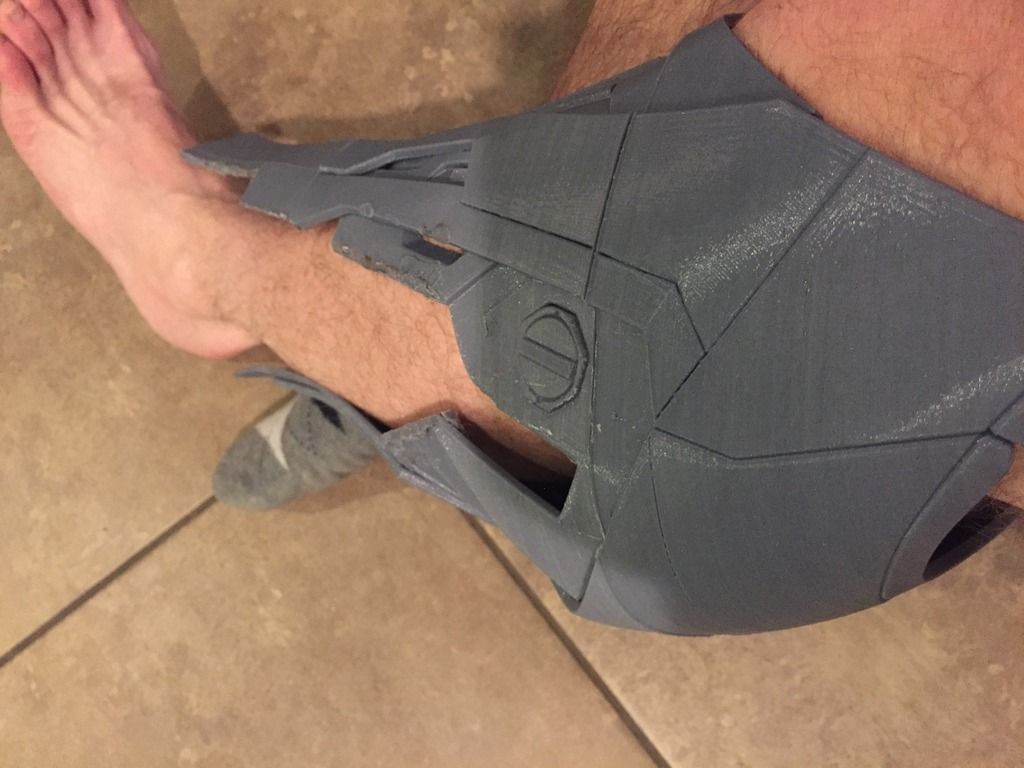
Not a good day. Total setback. First I just finished the left calf/shin. Took almost 3 days. I found that I scaled it too small, it was too tight around my calf. So much so that I couldn't fir the ball of my heel in past the shin area. I decided to remove a panel on the side to fit it in. Leg went in but my calf was still just a hair too big. Then as I was using the soldering gun the wires got stuck to the hot end of the gun and tripped the circuit breaker and turned off my printer that was running 14 out of 16 hours into printing the upper thigh. I think I said every word in the book. Well 2 days of printing a calf, 1 fried soldering gun and lots of plastic down the drain. Urghhh!!!!!


Eyes are done and GTG. Sorry for the background noise. Kids are watching Micky clubhouse. :)

<iframe width="420" height="315" src="https://www.youtube.com/embed/t9OxjNuq2Ag" frameborder="0" allowfullscreen></iframe>

https://youtu.be/t9OxjNuq2Ag
Excellent video!!!!!!!!!! can you post any picks of the connecting circuit? it looks spot on!! The picture premiere here today (I know the US is still for May 6) and your Eye-LED effect is perfect! how did you achieve it?

I'm very sorry for the problem with the solder and the printer, crap like that happens, I sure hope you can get it fix before the opening there! your colors are so cool, the armor looks great!
 
Had similar issues. Luckely with smaller parts but still. With the failed prints and the wrong scale I lost almost 1 rol of filament.

Just keep going, we learn each step of the way ;)
 
DSC_0058.jpgDSC_0059.jpg
this my have
after hit cap and bucky,how do you think ?
 
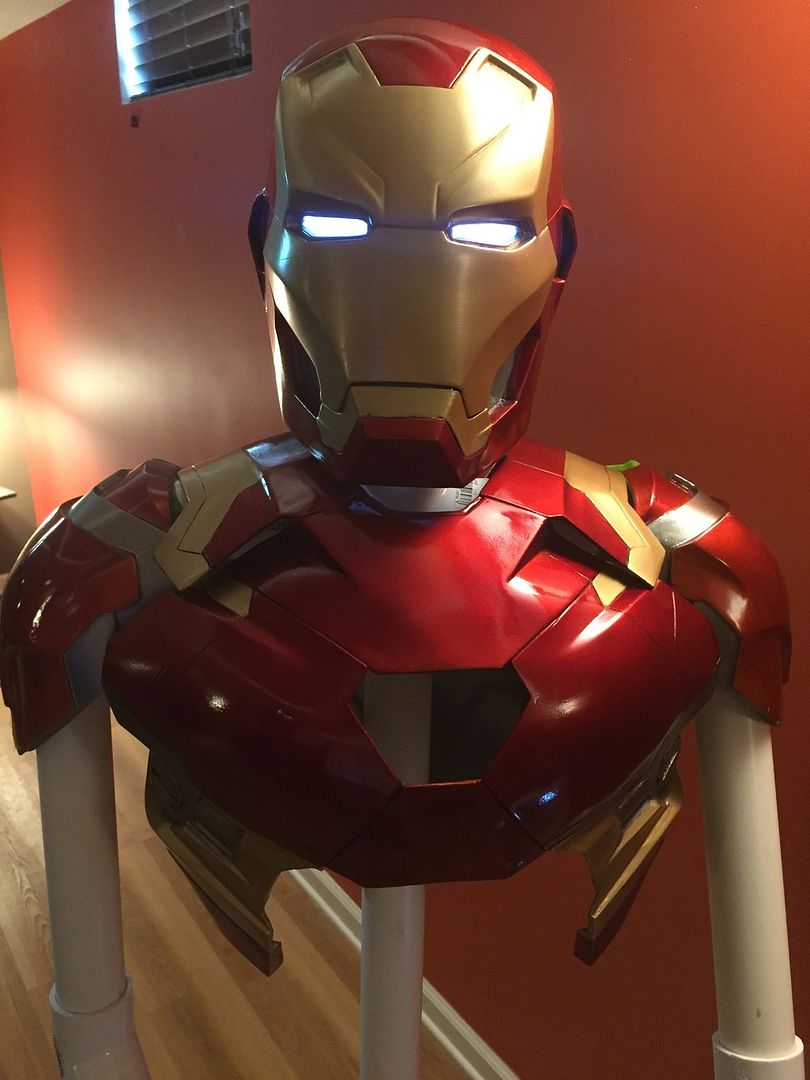
Brucekenobi - Will post some pictures in a bit. My facemask wiring is very basic, it just uses a magnetic switch to turn the lights on. The LEDs run off a 9V. Im probably going to change it up in the future to syncronize it with the hinges if I decide to add servos to the helmet. Im going to wait to see what the movie has in store before I do anything further on it.

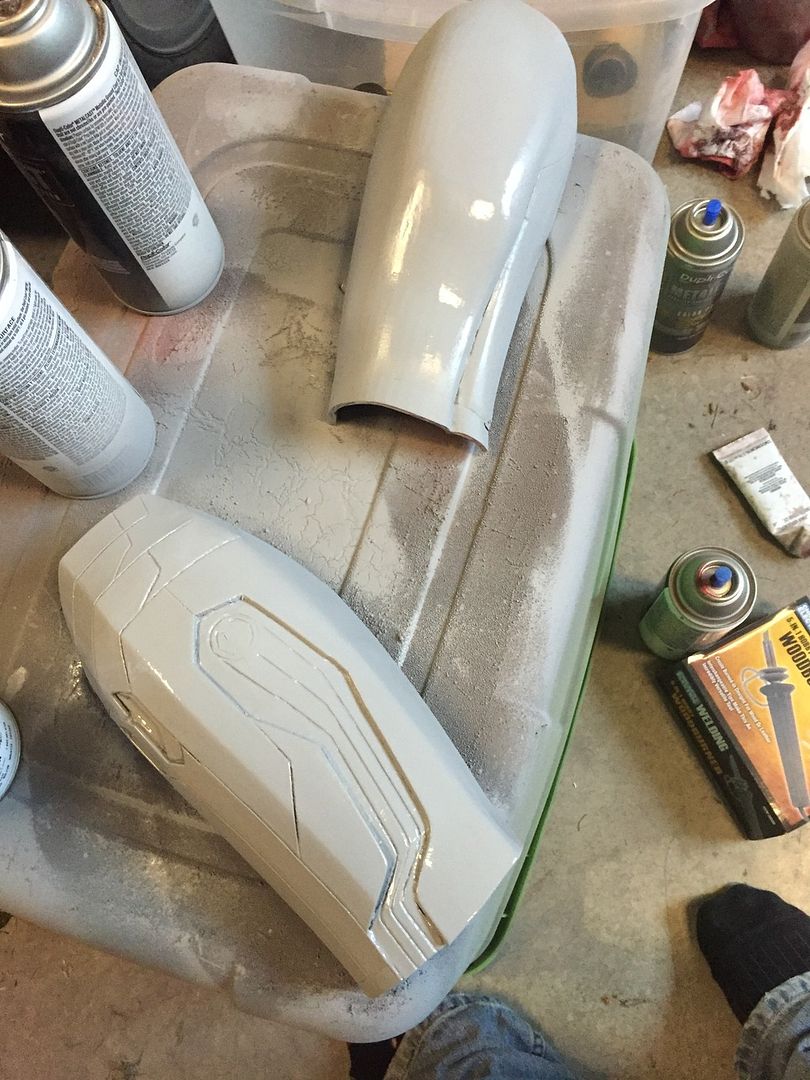
Thanks Laylander, it was definatley a lesson learned for me. Things have been progressing slow but starting to make a little more progress. Just finished doing the bodywork on the gauntlets. Hopefully will put some red and gold on these shortly.

 
Looks fantastic. Did you airbrush that?

yes..i use airbrush, pentbrush and sandpaper for litte damage
 
Last edited:
Finally got the left shin/calf reprinted and fits perfect. Going to work one leg at a time. Also I repainted my chest peice to better match up with the movie shot. Had to move some lines around on the upper flaps. Will post an update photo on the chest soon.


Scaling this model is proving to be pretty difficult, at least for me. How does your helmet fit? What was your scale on that? Im going about 8 inches wide, but Im a little worried it might be too small. Hard to tell until half the thing is actually printed.
 
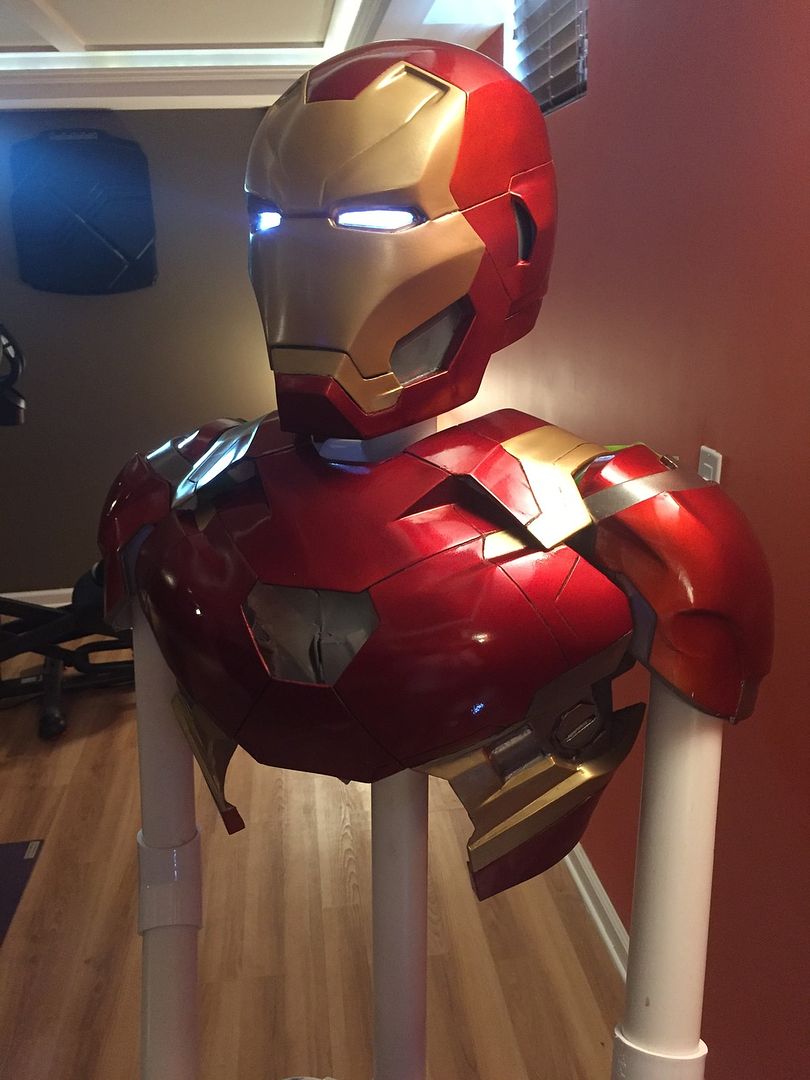
Paint job #2. Revisited and repainted the chest. This time I tried to make some of the lines a little more movie accurate. The previous lines I had on the chest flaps were straight and based on the screen shot they actually were slightly different. I also added 2 gold sections underneath the flaps that was difficult to see in the shot. I also darkened some of the lines to highlight some of the detail. Anyways hopefully this will be the last paint job for the chest.


TKCC71 that paintjob is excellent! You went for the glossy finish. I used some pearl effect to remove too much reflection. Sometimes people don't see all those details if it's too reflective

P.S. Can I have the helmet? [emoji39]
 
Last edited by a moderator:
Thanks guys. Painting it is my favorite part. :)

New project in the works. Do3D made a really nice unibeam for me to add to the center of this chest to add some detail. Those guys have some serious talent.

Part of the unibeam is currently printing it as we speak. I scaled it to fit in the center circle of the arc. Then I will plan making a mold of it in clear cast aryclic. Also just picked up my Arduino Uno starter kit to start experimenting with some of the electronics. (with the help and guidance of x197). :)

 
This thread is more than 4 years old.

Your message may be considered spam for the following reasons:

  1. This thread hasn't been active in some time. A new post in this thread might not contribute constructively to this discussion after so long.
If you wish to reply despite these issues, check the box below before replying.
Be aware that malicious compliance may result in more severe penalties.
Back
Top