youngwm
Active Member
As many of you I have a few items on the bench but after picking this up on the cheap at a used toy store I could not wait to start this project. First off, I want to thank everyone that contributed to past posts on the shuttle tydirium that gave me the ability to research other's builds and gather information from the RPF forum. I also found the image of the tydirium in , "Sculpting a Galaxy", fantastic. This is one of my favorite ships from Star Wars and I hope that I am able to learn from this build and have a nice model that I am proud of in the end.
I started with the main center wing and decided to work from primarily a clean slate not only removing the raised panel but I scraped and removed most of the raised detail from both sides of the main wings.
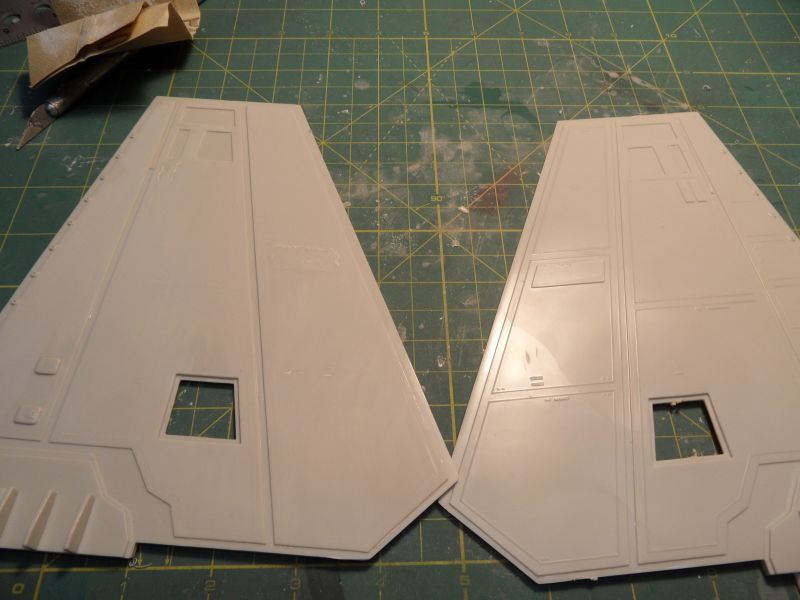
After scraping and sanding I was left with a clean slate to work with. I even removed the little round detail going up the side. I have not been able to find a clear image from the book or my research but decided to replace with small bits of styrene.
A pic with kit detail on one wing and the other cleaned.
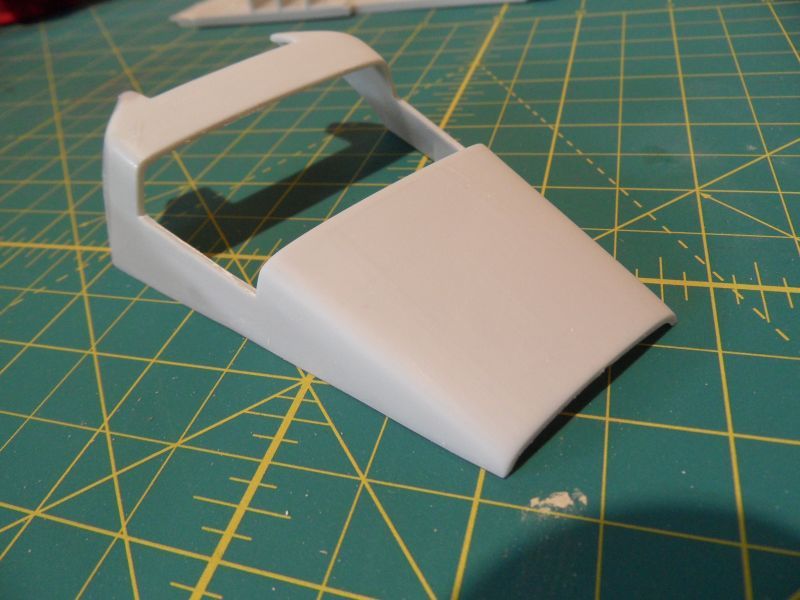
I also scraped and sanded the front part of the ship and managed to get a nice sanded smooth look to start scribing lines in.
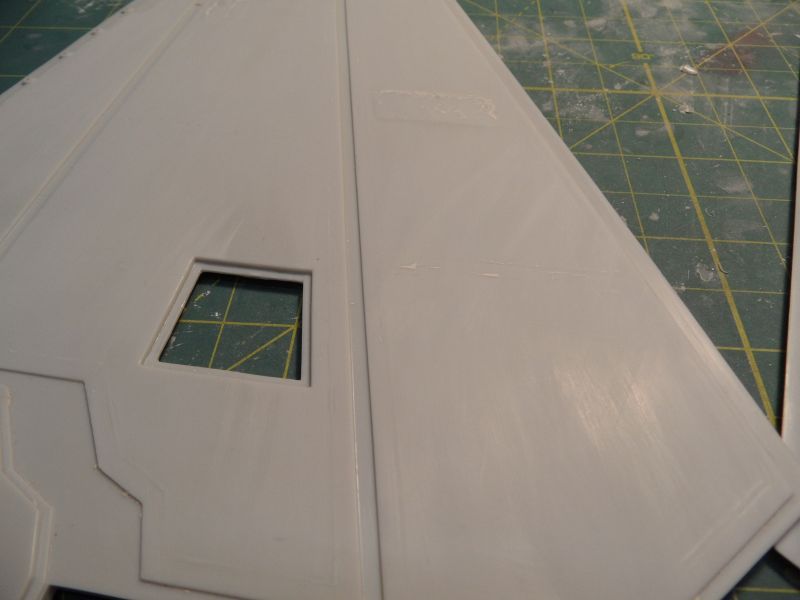
After filling in some mistakes and using styrene for detail I primed the first center wing and still have some detail to add and also still some minor scratches to fill. This is the first model that I have ever scribed of this size. I used several tools but found for this project so far that the Tamiya Scriber is doing a pretty good job. Here is some images of the primed wing. I still have some more detail but wanted to put a coat of primer on and see how it looked.
I am having problems trying to replicate the small retangle holes on the wing if they were round my pin vise would work well but even using my exacto I have failed to create small rectangle type holes. Any suggestions that may help?
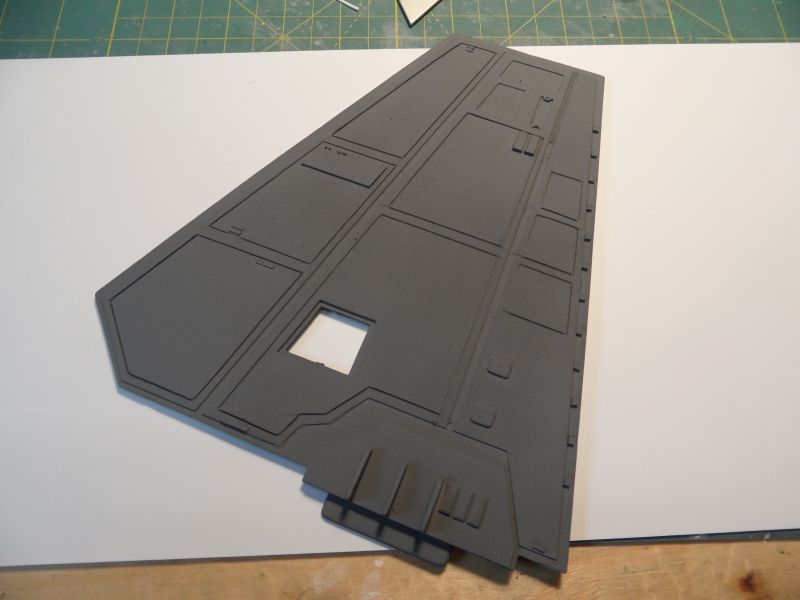
I also started to scribe the main shuttle compartment
I will continue working this Weekend I have put a lot of time in the wings and hope to make more progress.
Thanks for looking any suggestions is really welcome!!!
_Mike
I started with the main center wing and decided to work from primarily a clean slate not only removing the raised panel but I scraped and removed most of the raised detail from both sides of the main wings.
After scraping and sanding I was left with a clean slate to work with. I even removed the little round detail going up the side. I have not been able to find a clear image from the book or my research but decided to replace with small bits of styrene.
A pic with kit detail on one wing and the other cleaned.
I also scraped and sanded the front part of the ship and managed to get a nice sanded smooth look to start scribing lines in.
After filling in some mistakes and using styrene for detail I primed the first center wing and still have some detail to add and also still some minor scratches to fill. This is the first model that I have ever scribed of this size. I used several tools but found for this project so far that the Tamiya Scriber is doing a pretty good job. Here is some images of the primed wing. I still have some more detail but wanted to put a coat of primer on and see how it looked.
I am having problems trying to replicate the small retangle holes on the wing if they were round my pin vise would work well but even using my exacto I have failed to create small rectangle type holes. Any suggestions that may help?
I also started to scribe the main shuttle compartment
I will continue working this Weekend I have put a lot of time in the wings and hope to make more progress.
Thanks for looking any suggestions is really welcome!!!
_Mike
Last edited: