Jargonking
Active Member
Hi folks, been lurking here for a while so thought it was time I posted something.....
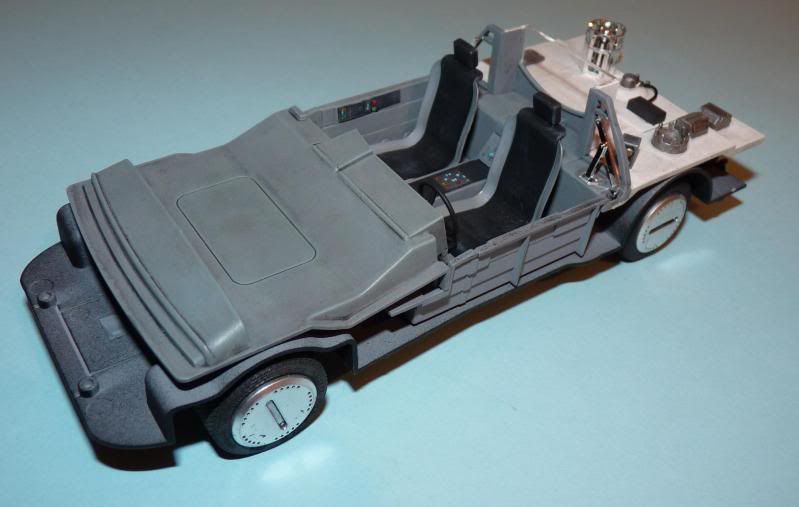
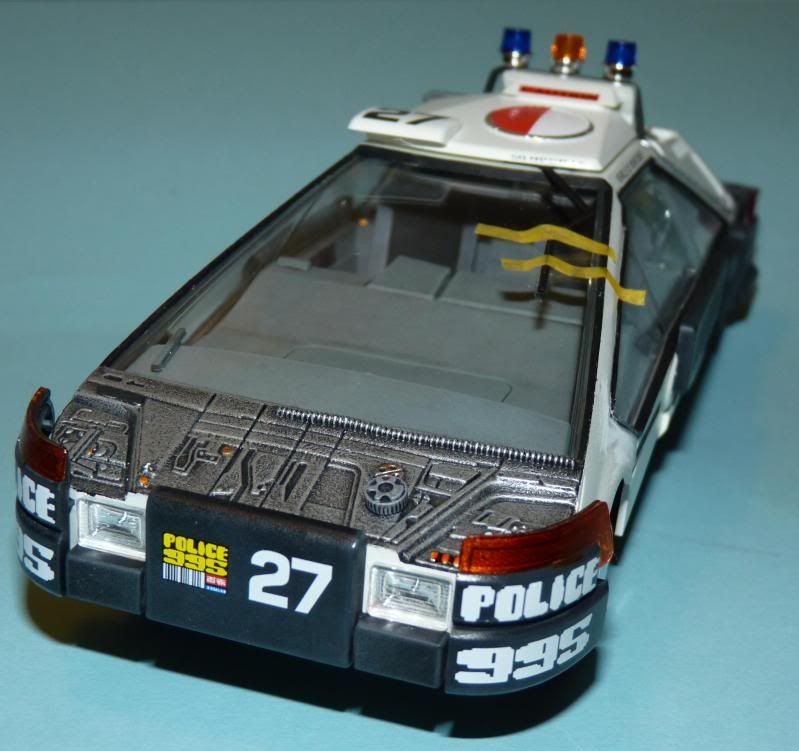
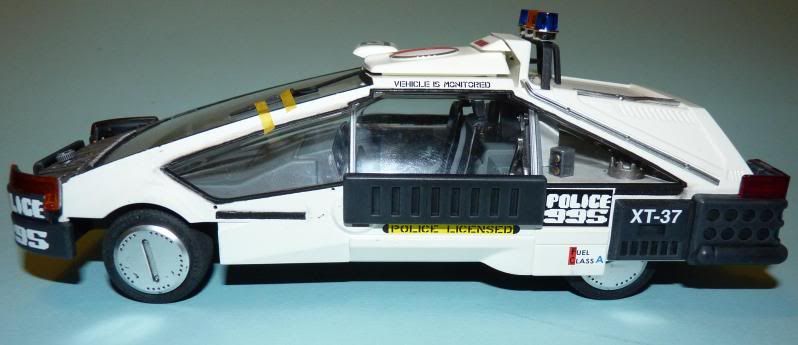
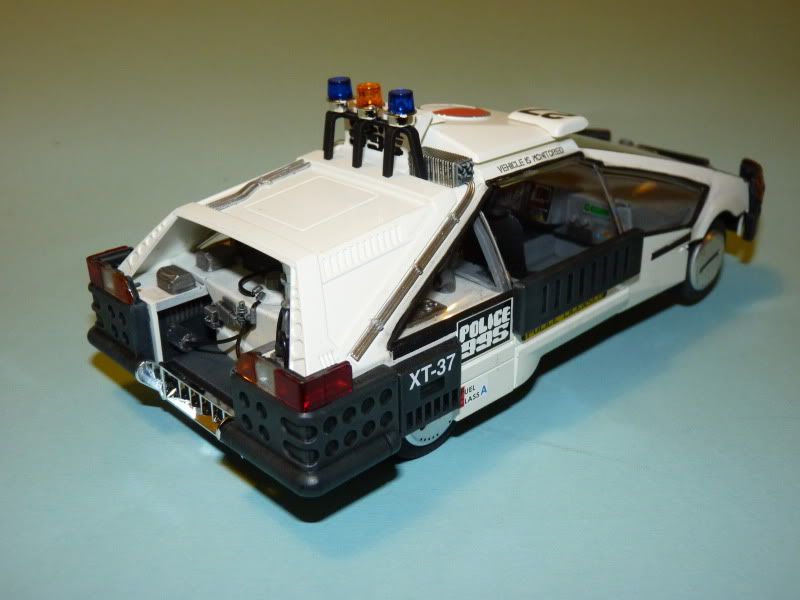
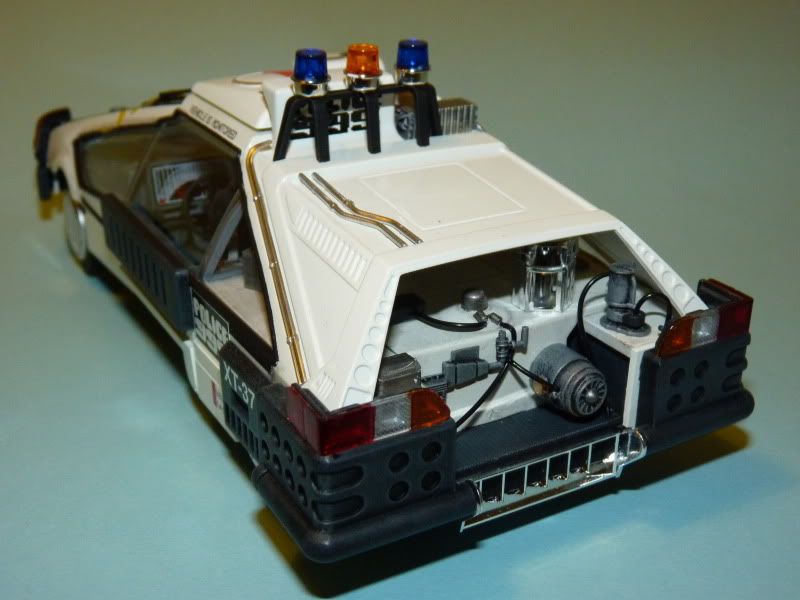
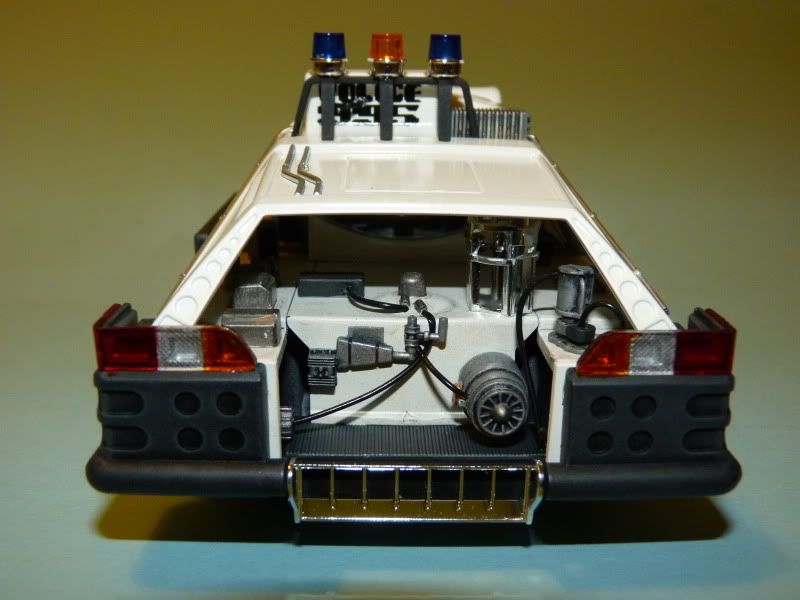
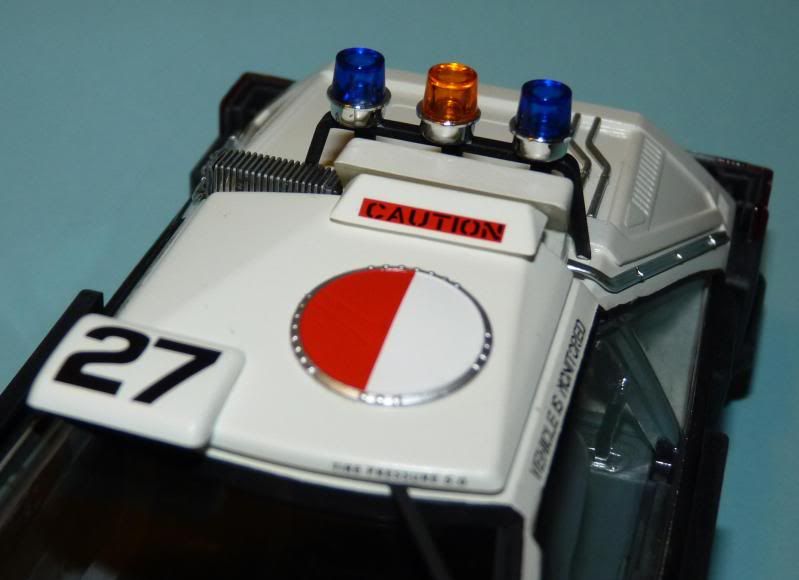
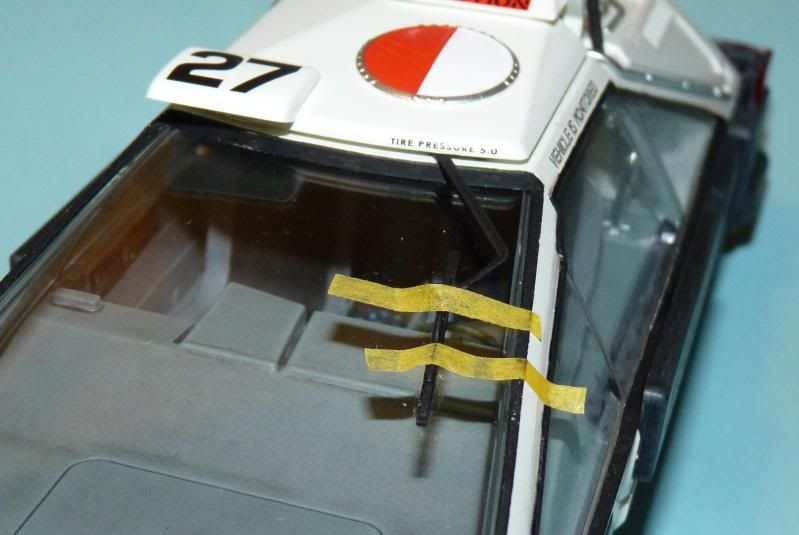
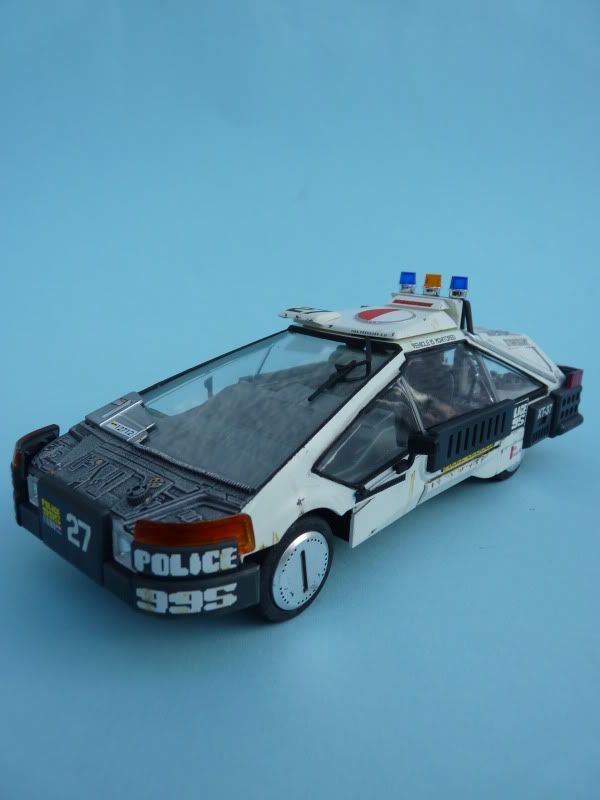
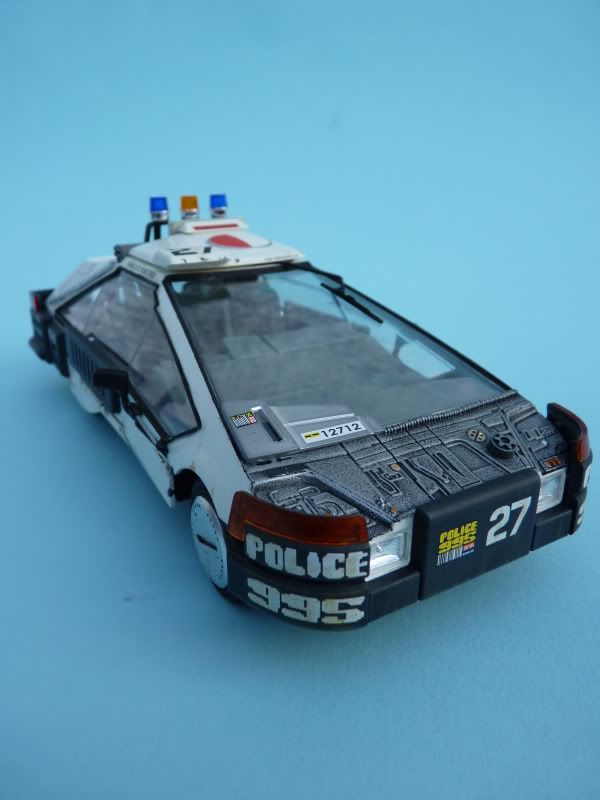
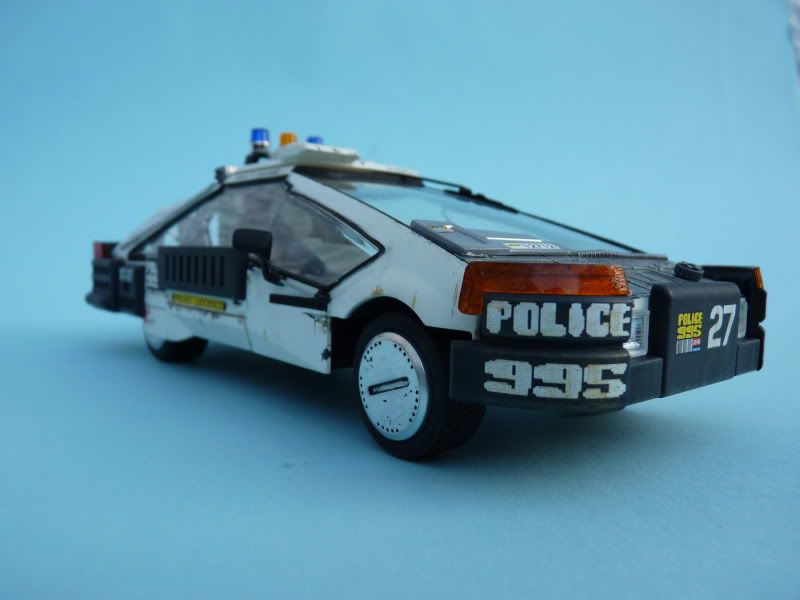
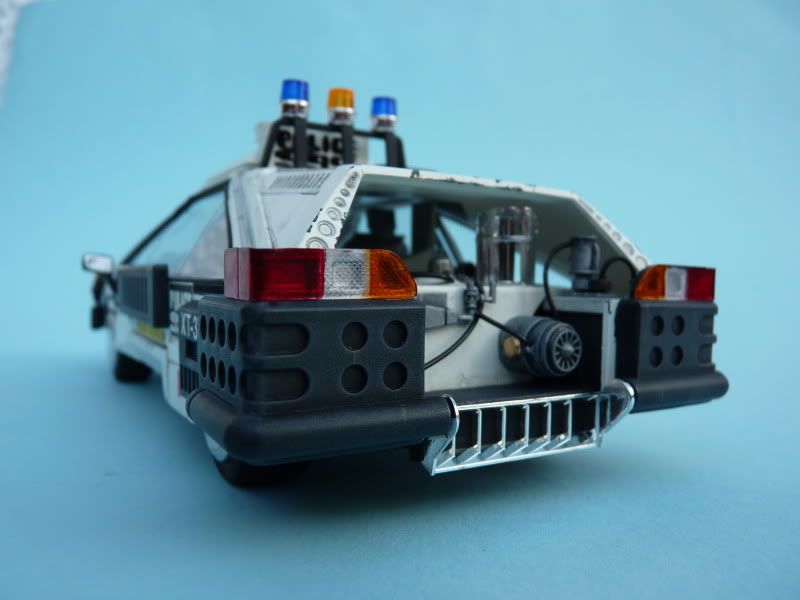
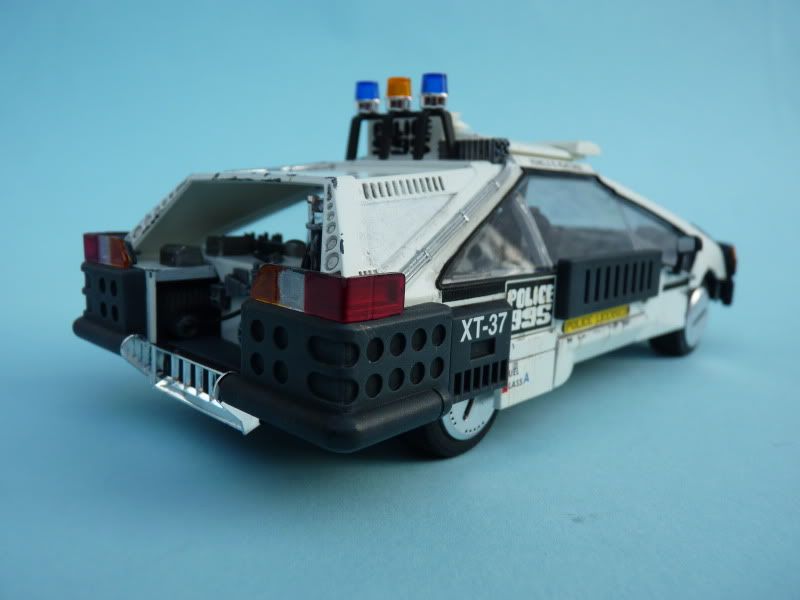
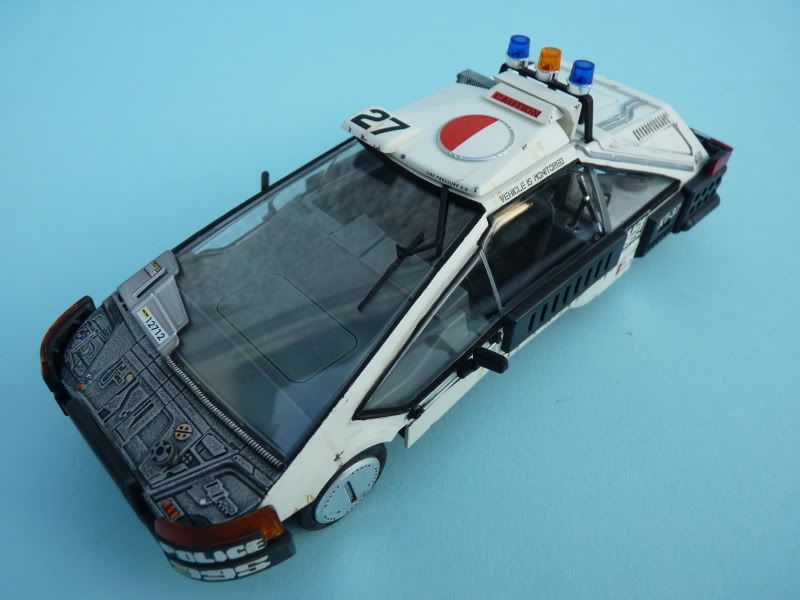
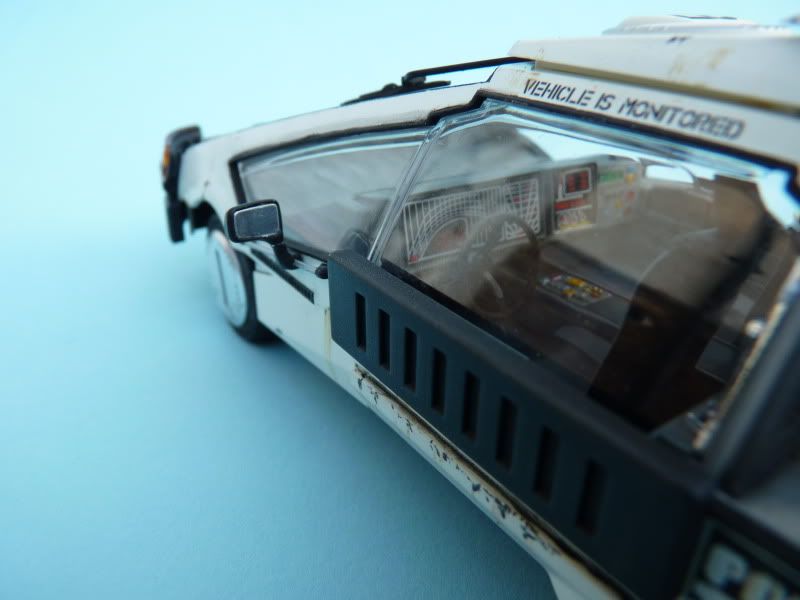
Here's my latest build, the Fujimi Police Car 27 from Blade Runner built straight from the box without lighting....
So first a breakdown of the parts....
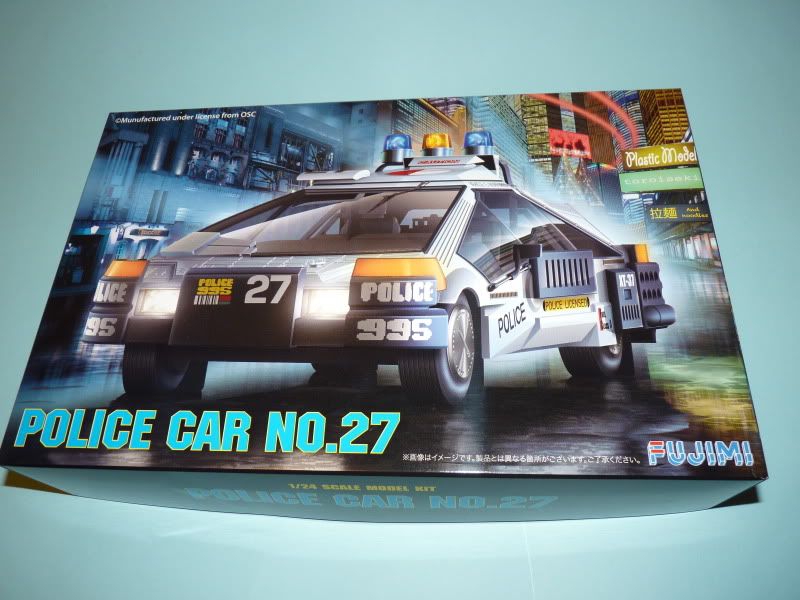
Boxart...
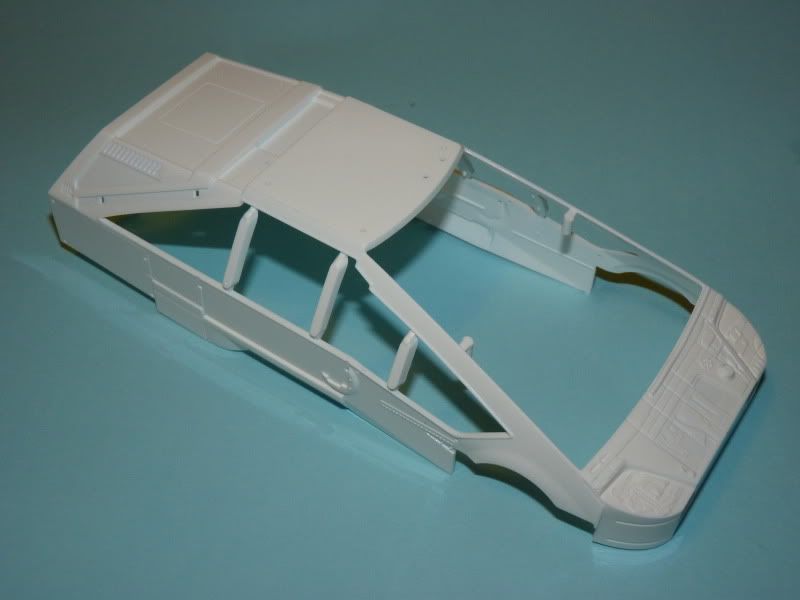
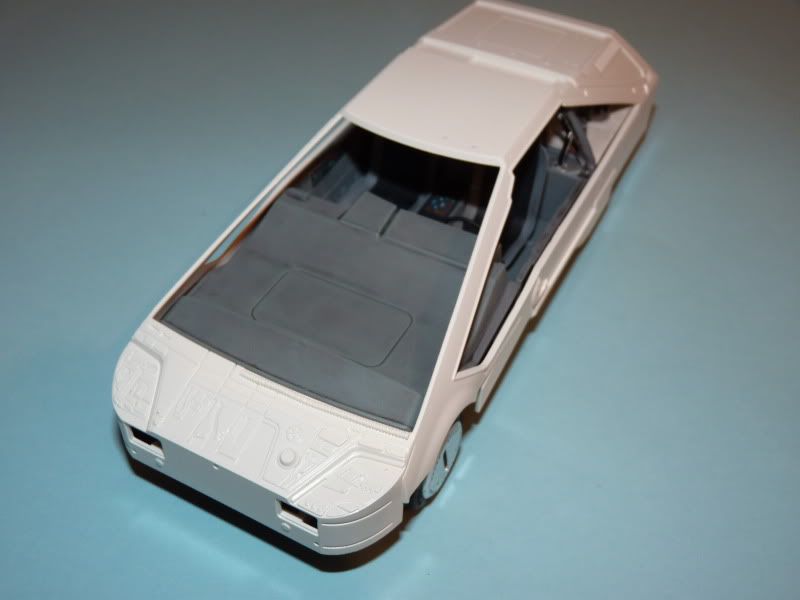
Bodyshell has sprue struts that require careful removal from the windows...
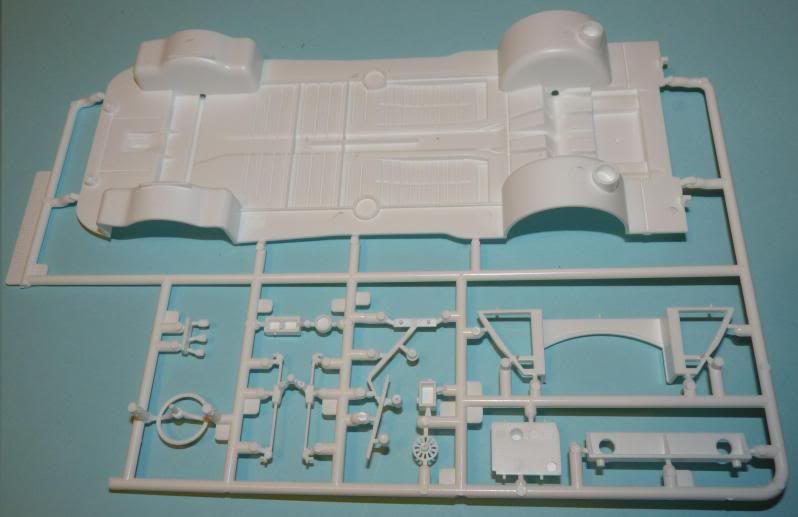
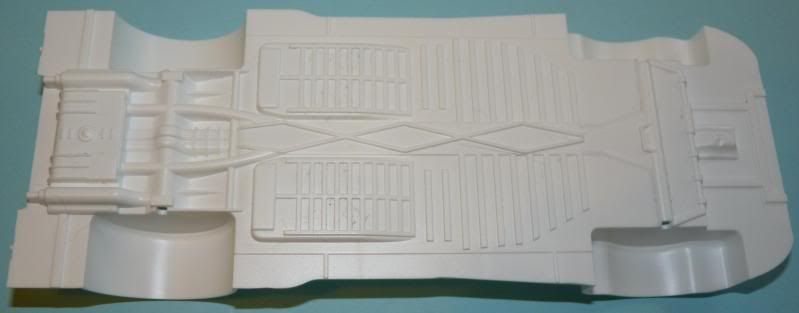
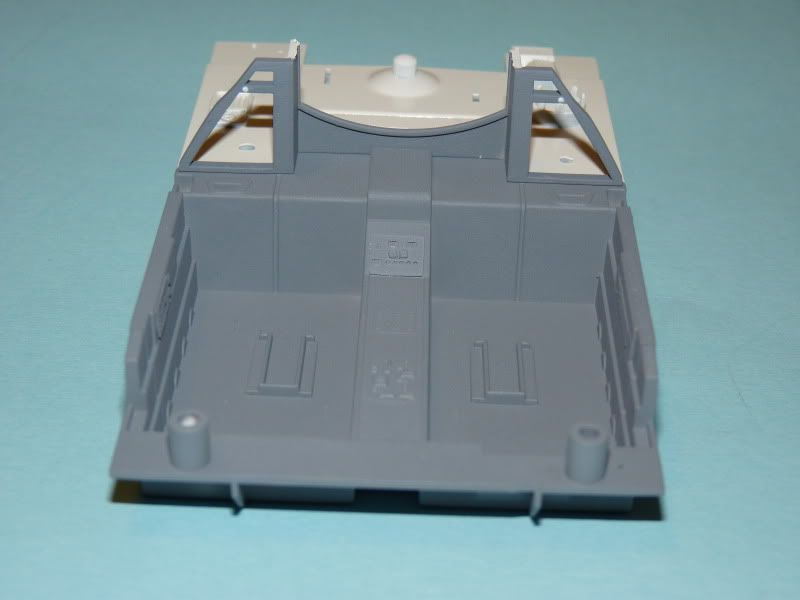
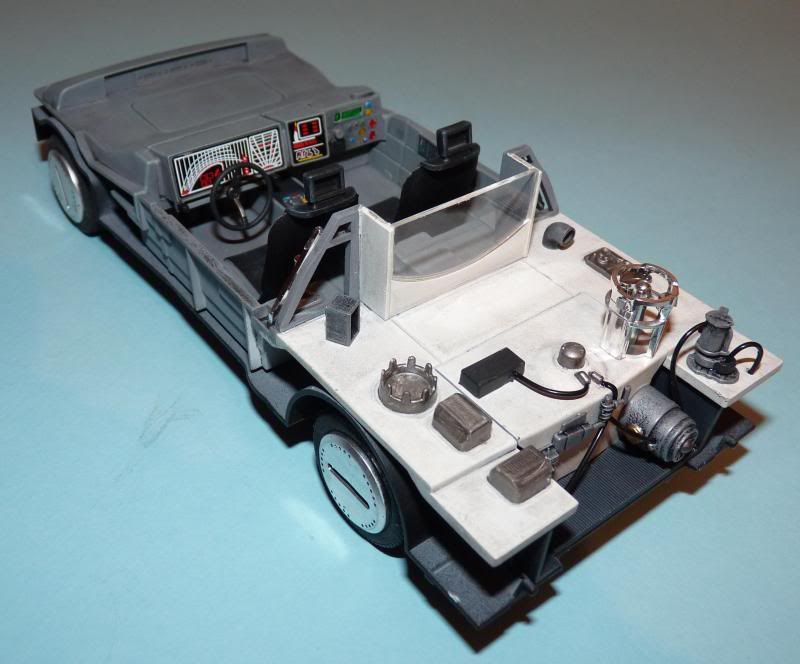
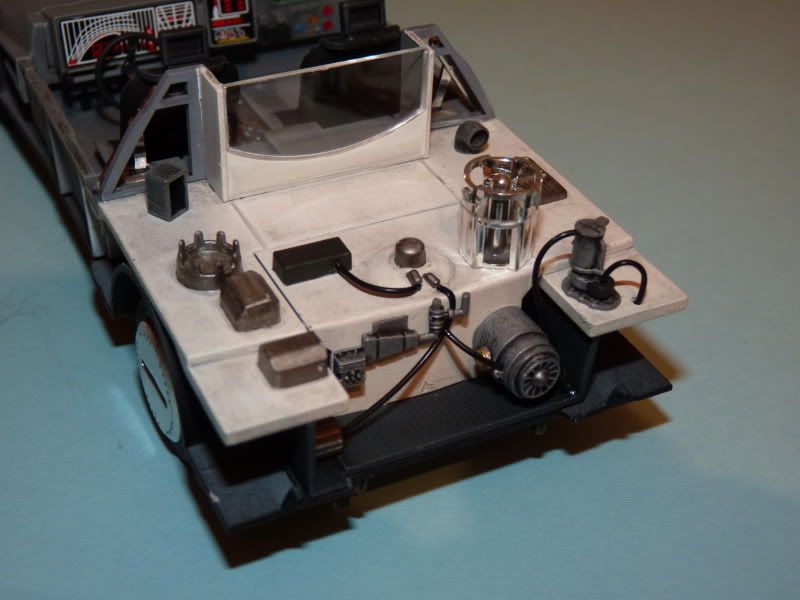
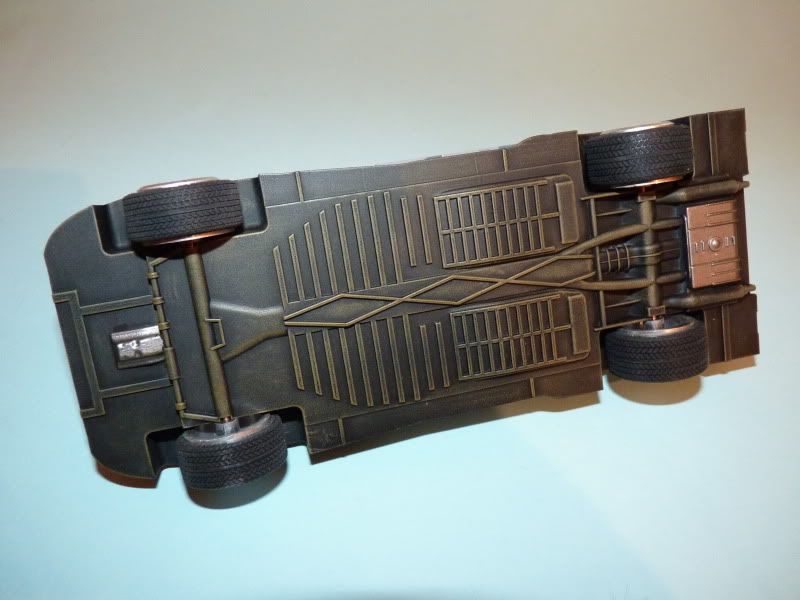
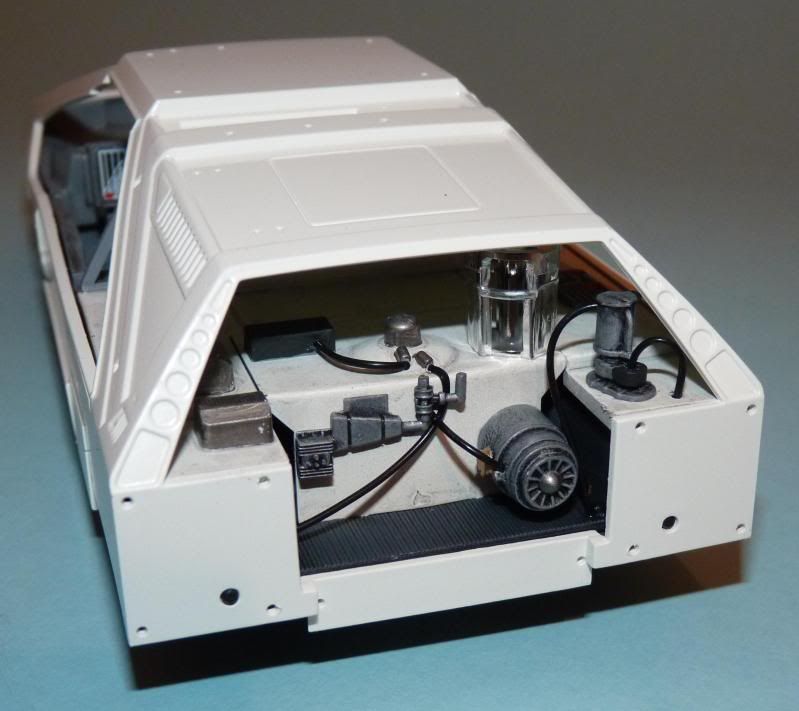
Floorpan is in one piece...
Bumpers, cladding and mirrors...these all need painting black...

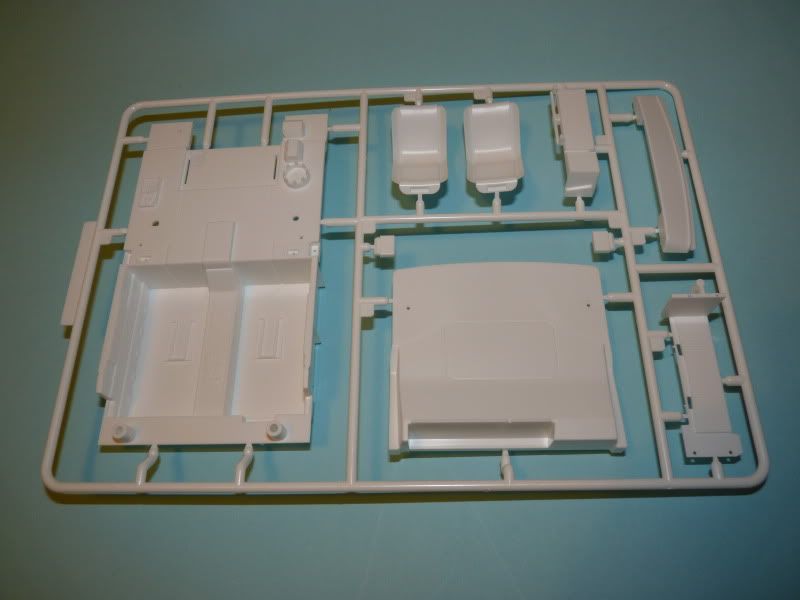
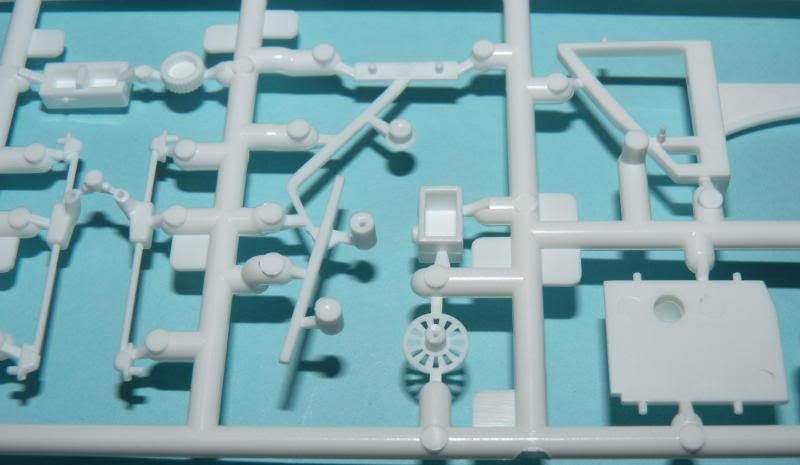
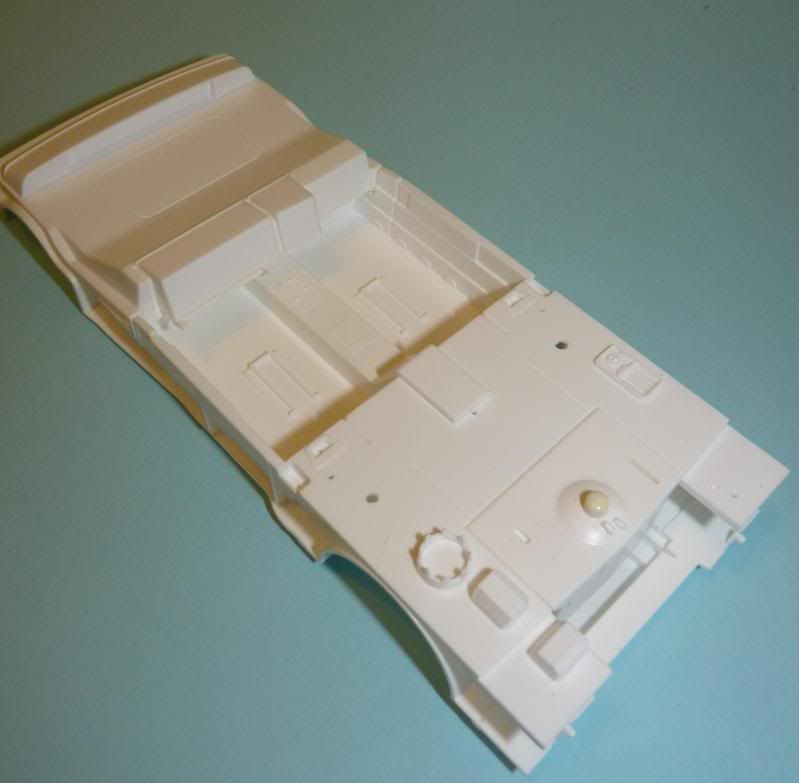
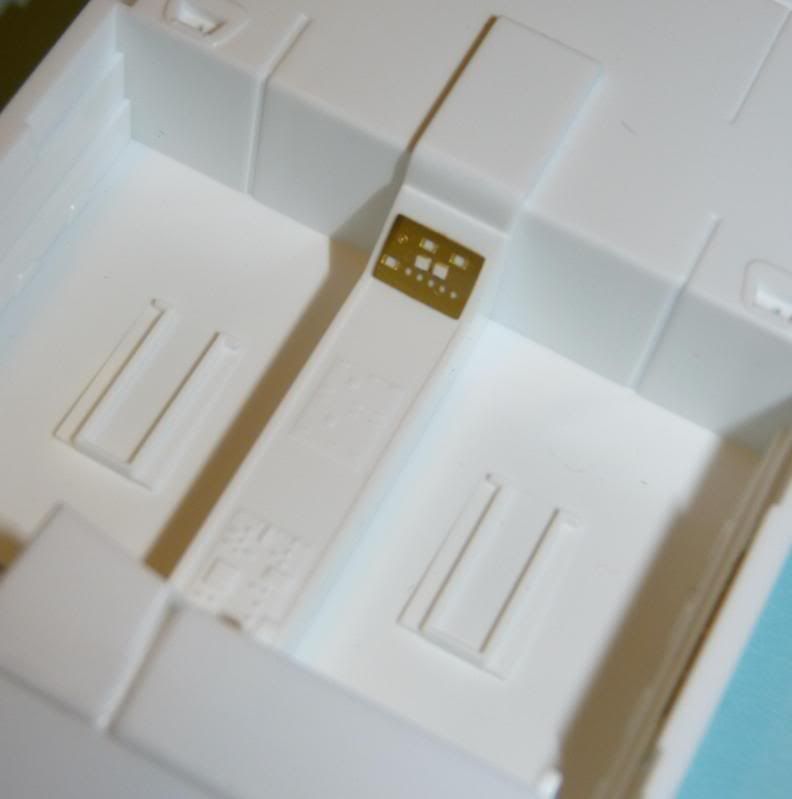
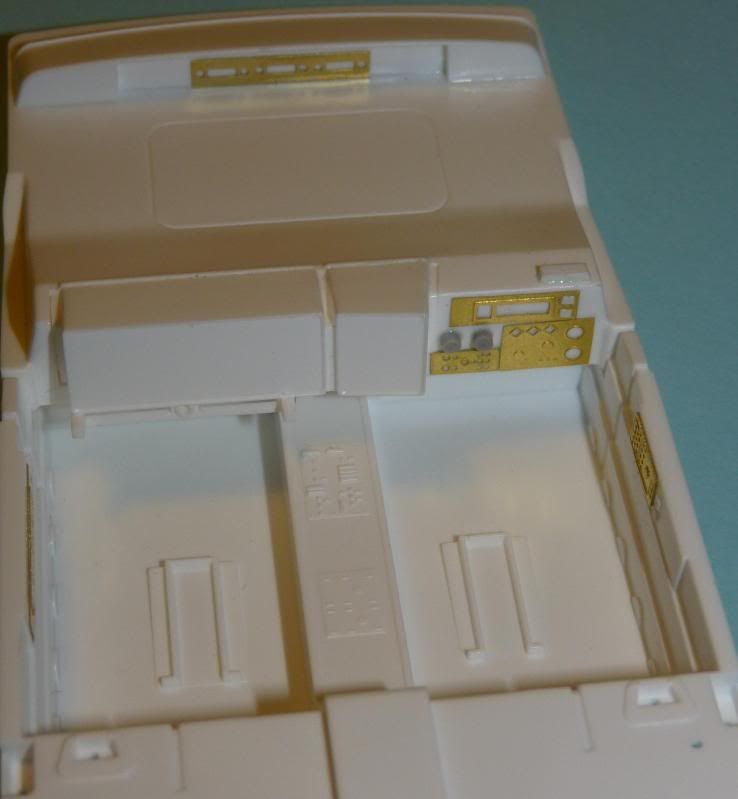
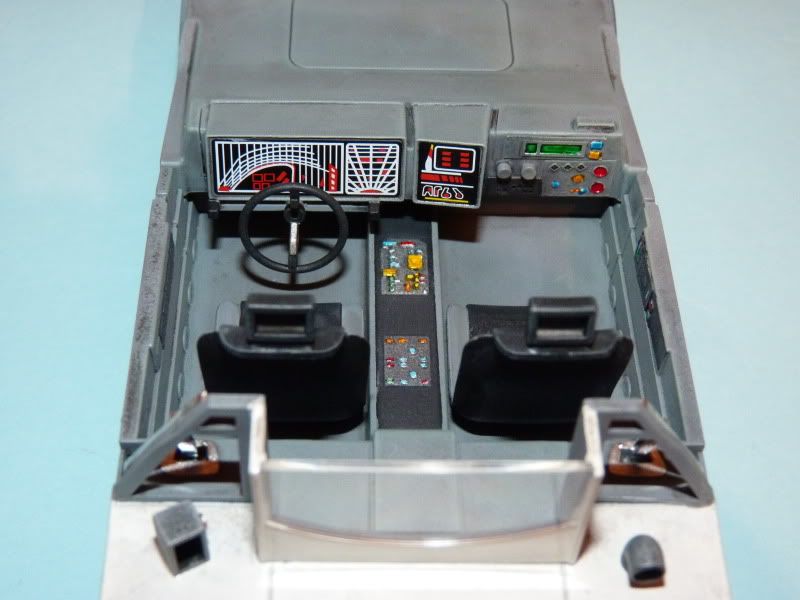
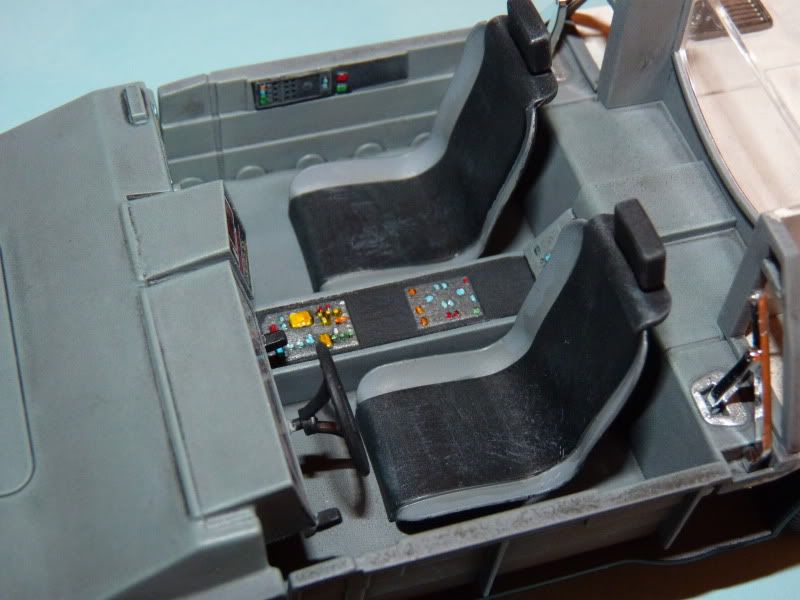
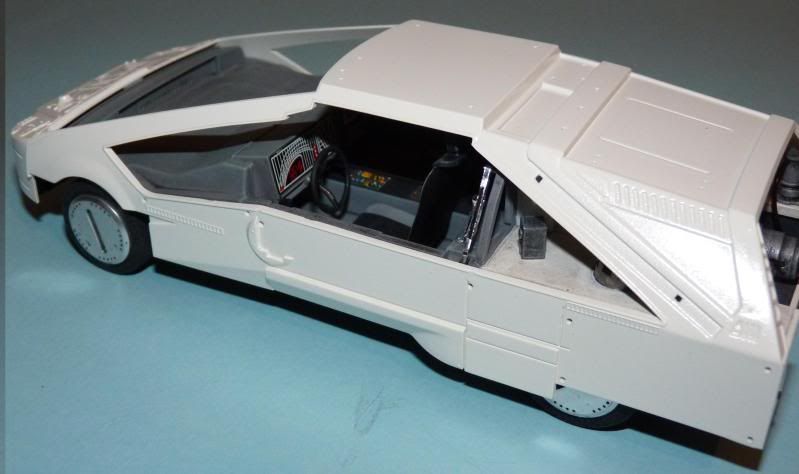
Interior parts...
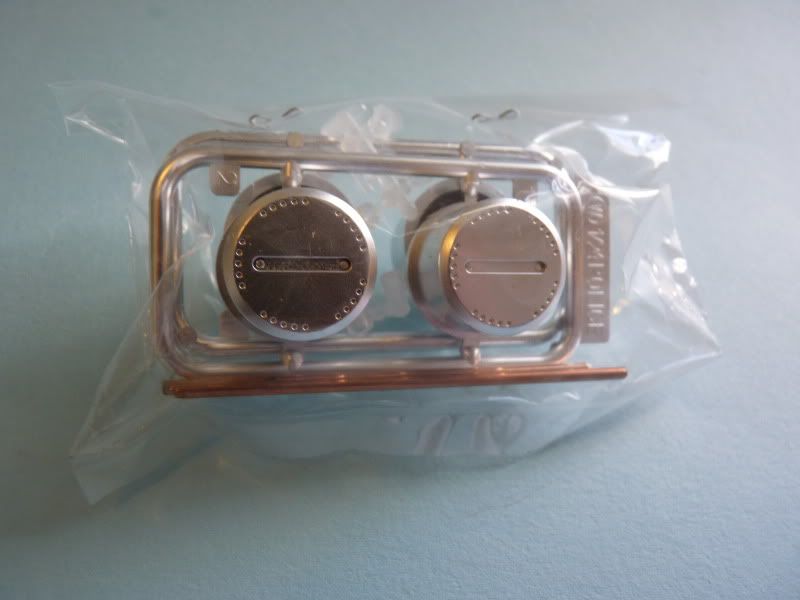
Chrome sprue...much of this I'm going to de-chrome and paint...
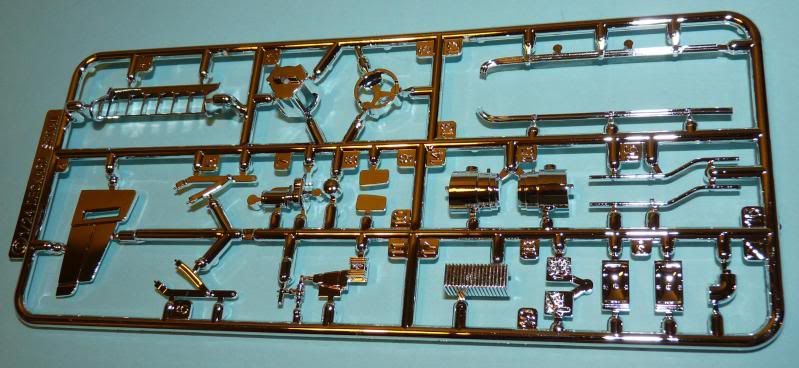
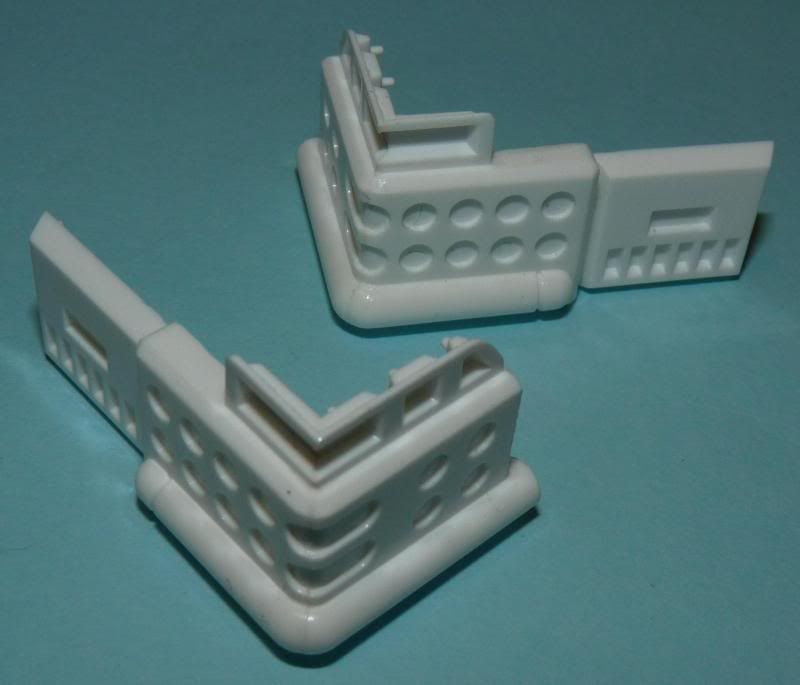
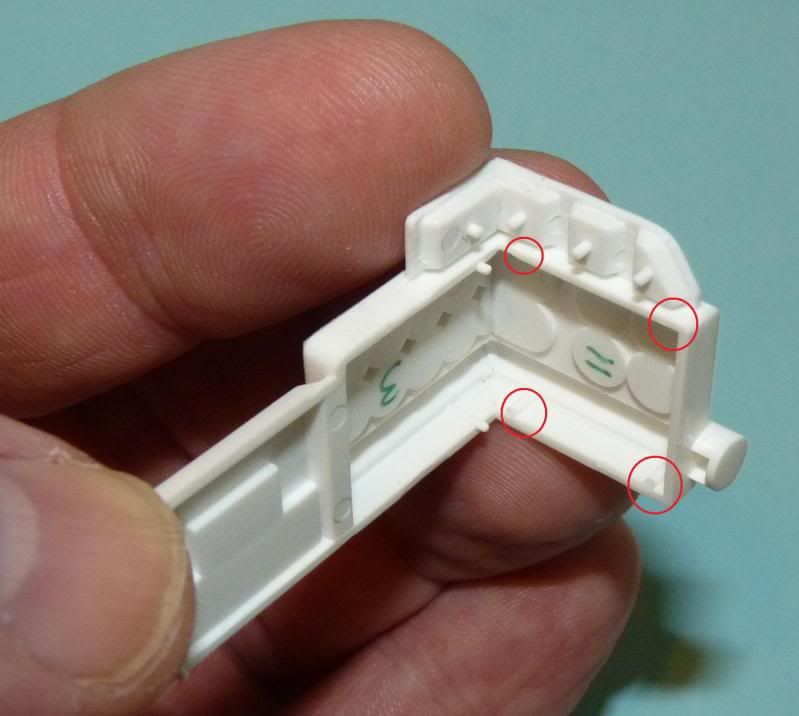
Some great detail on the parts....
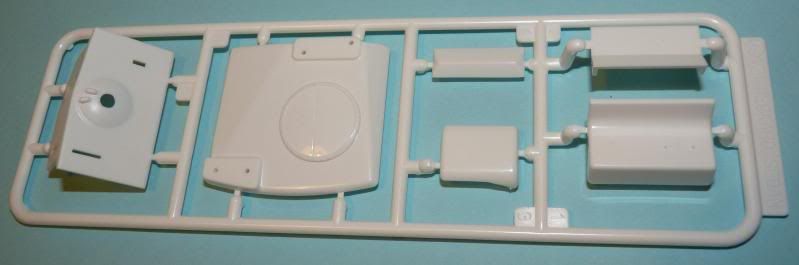
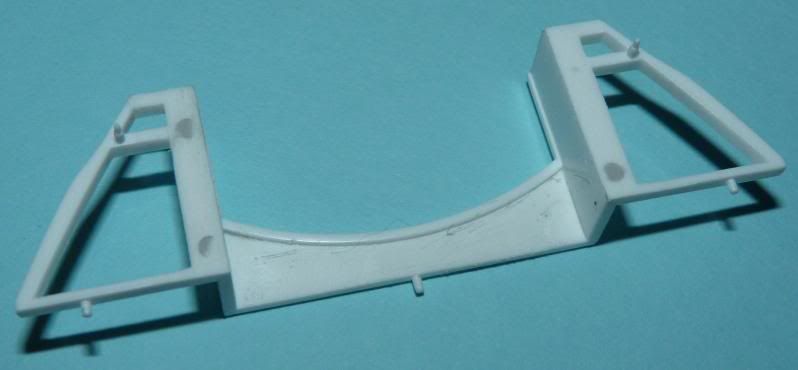
Roof parts....
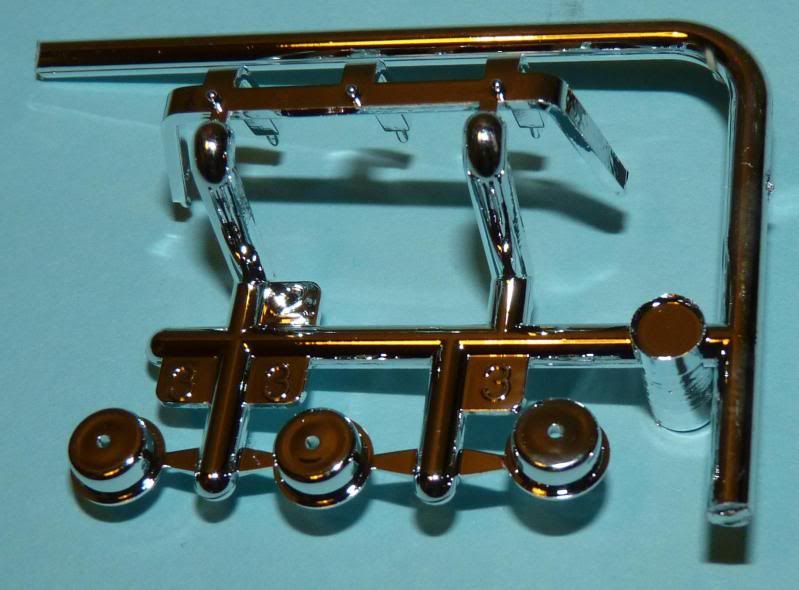
Roof lightbar....all chrome although the frame should be black....
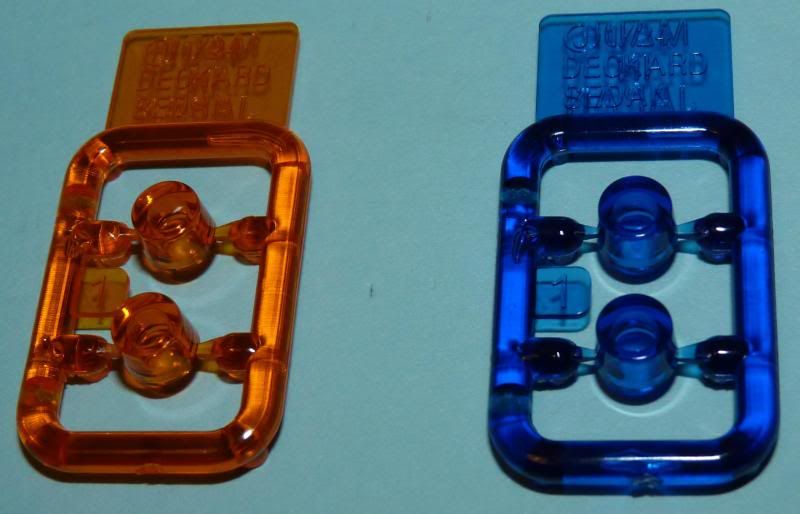
Roof light lenses....
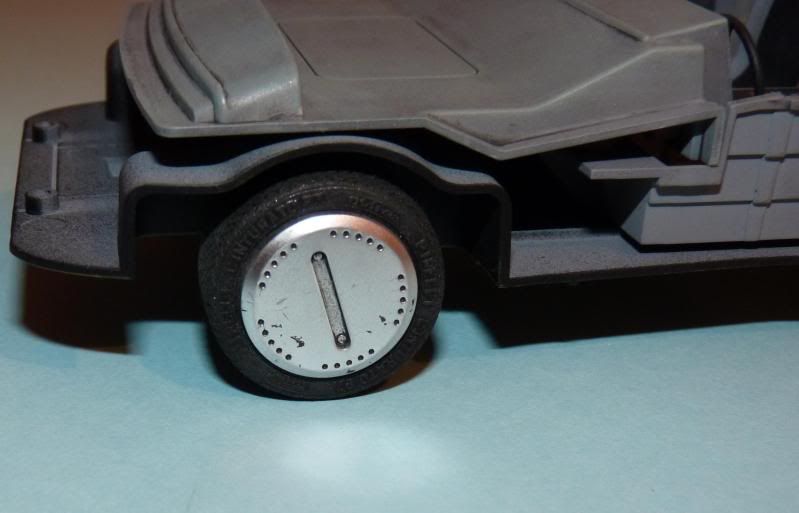
Wheels and axles...
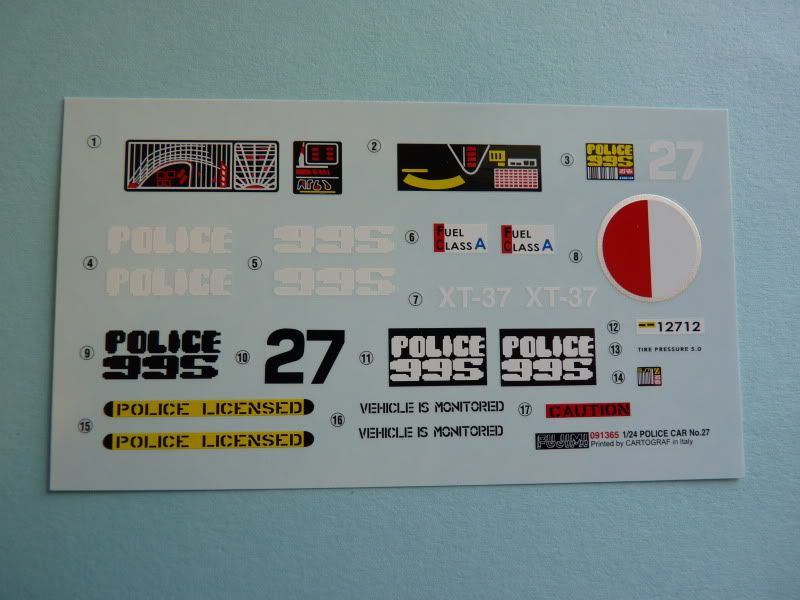
Decals....
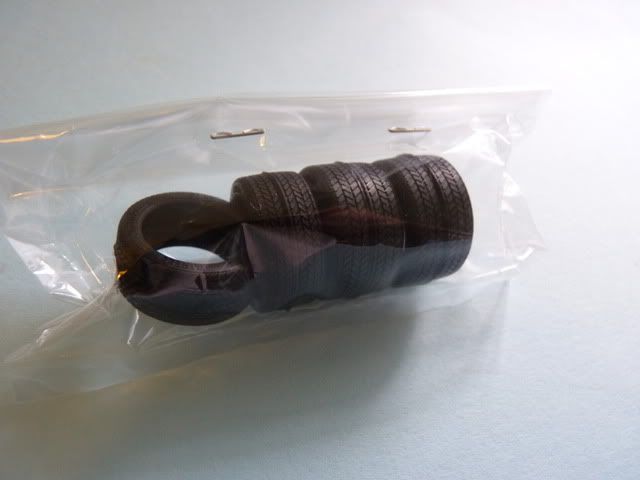
Tyres...
Here's my latest build, the Fujimi Police Car 27 from Blade Runner built straight from the box without lighting....
So first a breakdown of the parts....
Boxart...
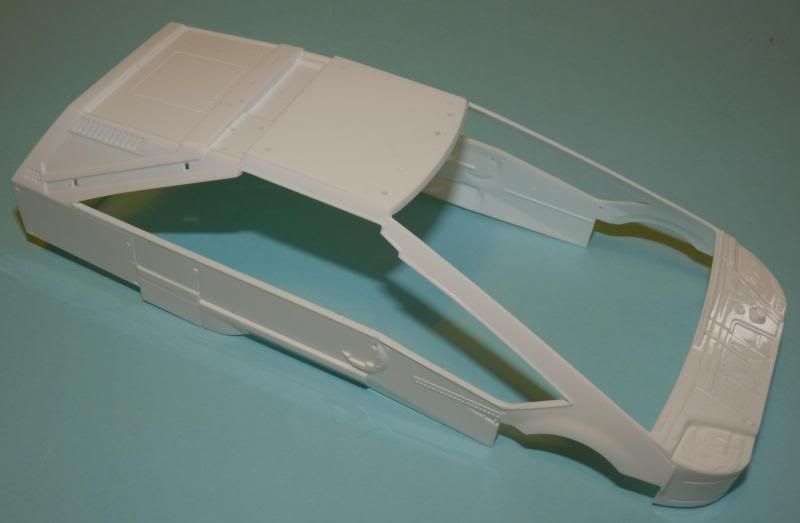
Bodyshell has sprue struts that require careful removal from the windows...
Floorpan is in one piece...
Bumpers, cladding and mirrors...these all need painting black...
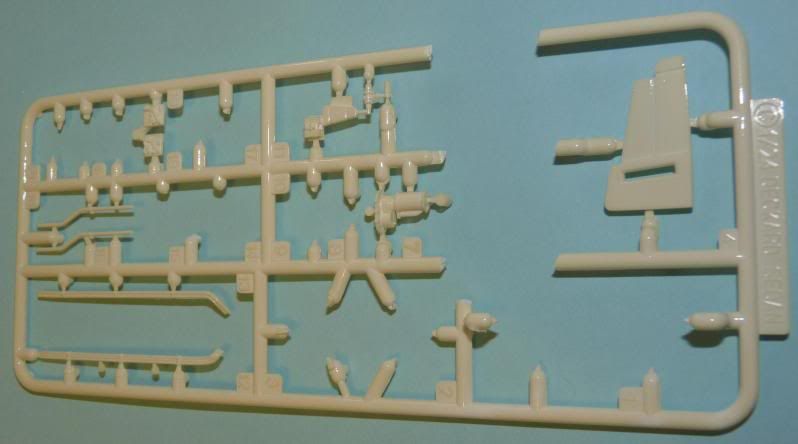
Interior parts...
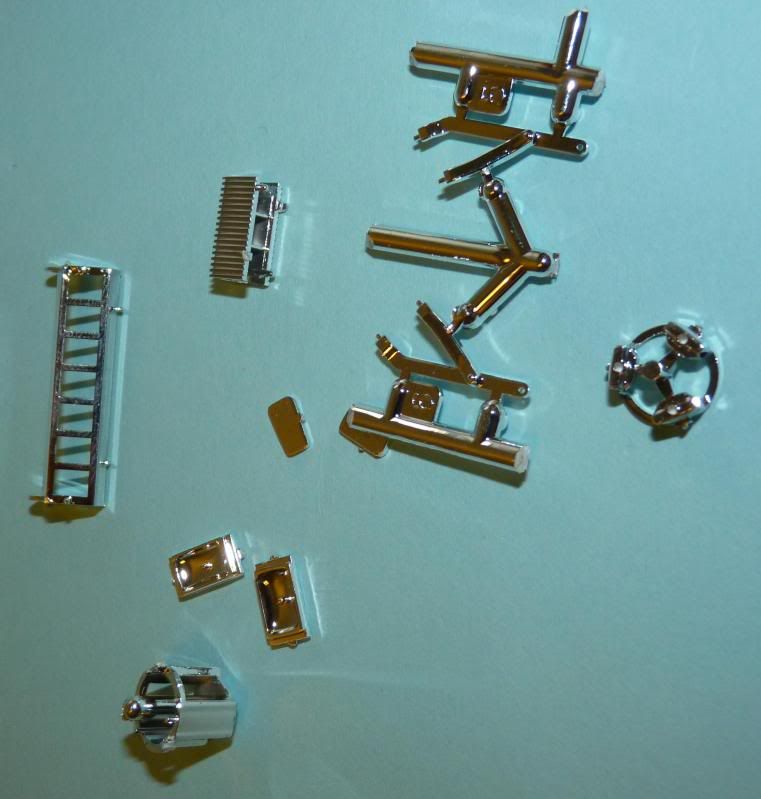
Chrome sprue...much of this I'm going to de-chrome and paint...
Some great detail on the parts....
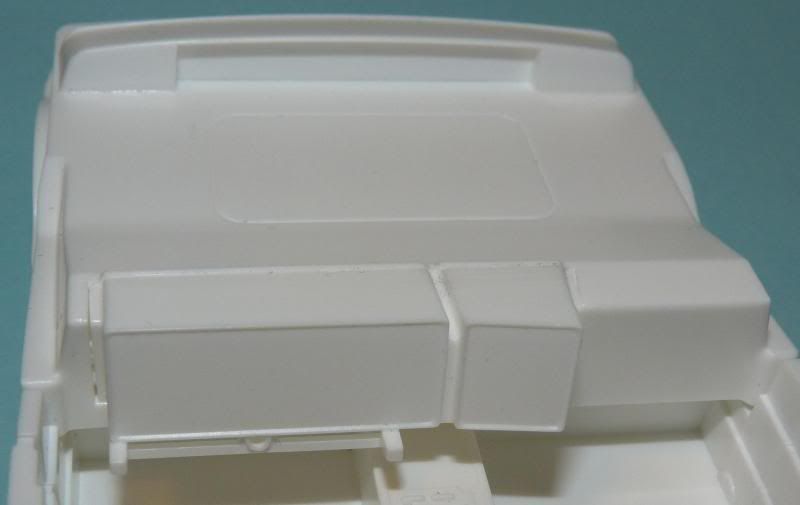
Roof parts....
Roof lightbar....all chrome although the frame should be black....
Roof light lenses....
Wheels and axles...
Decals....
Tyres...


") looks like a lot of work, very well done.
looks like a lot of work, very well done.