You are using an out of date browser. It may not display this or other websites correctly.
You should upgrade or use an alternative browser.
You should upgrade or use an alternative browser.
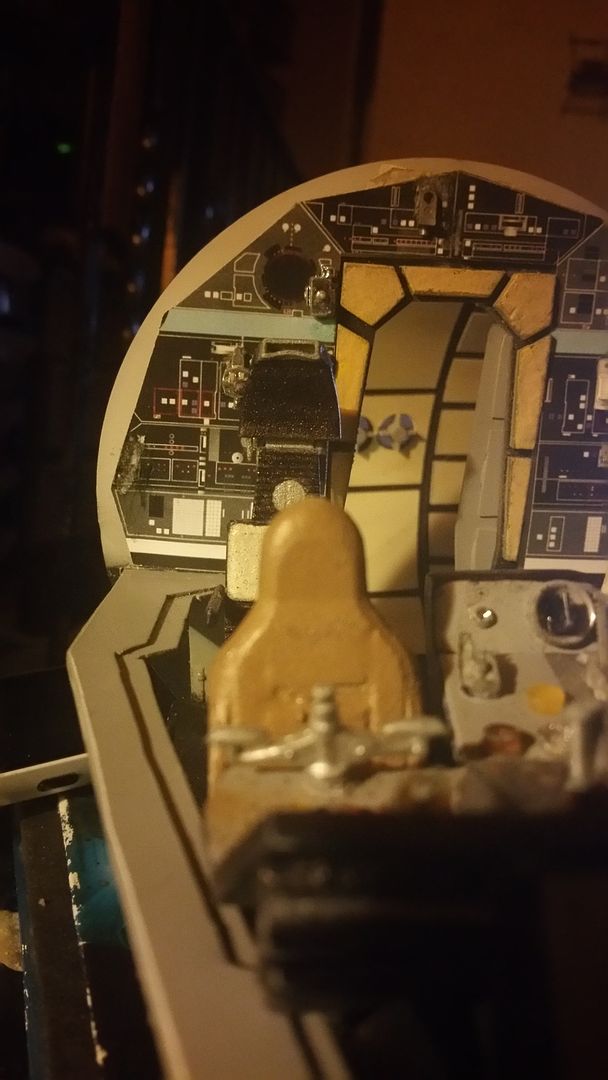
1:1 Millennium Falcon Cockpit Replica - Group Build
- Thread starter SteveStarkiller
- Start date
Hi Gang,
Time for the "End of the Weekend Update"! Enjoy!
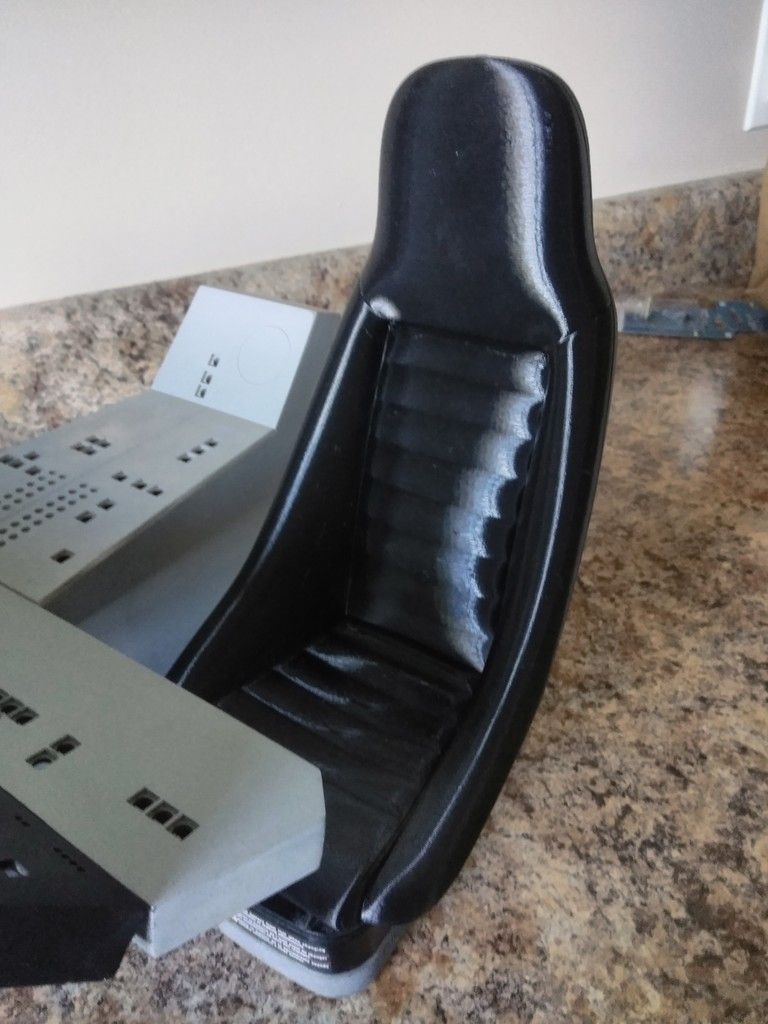
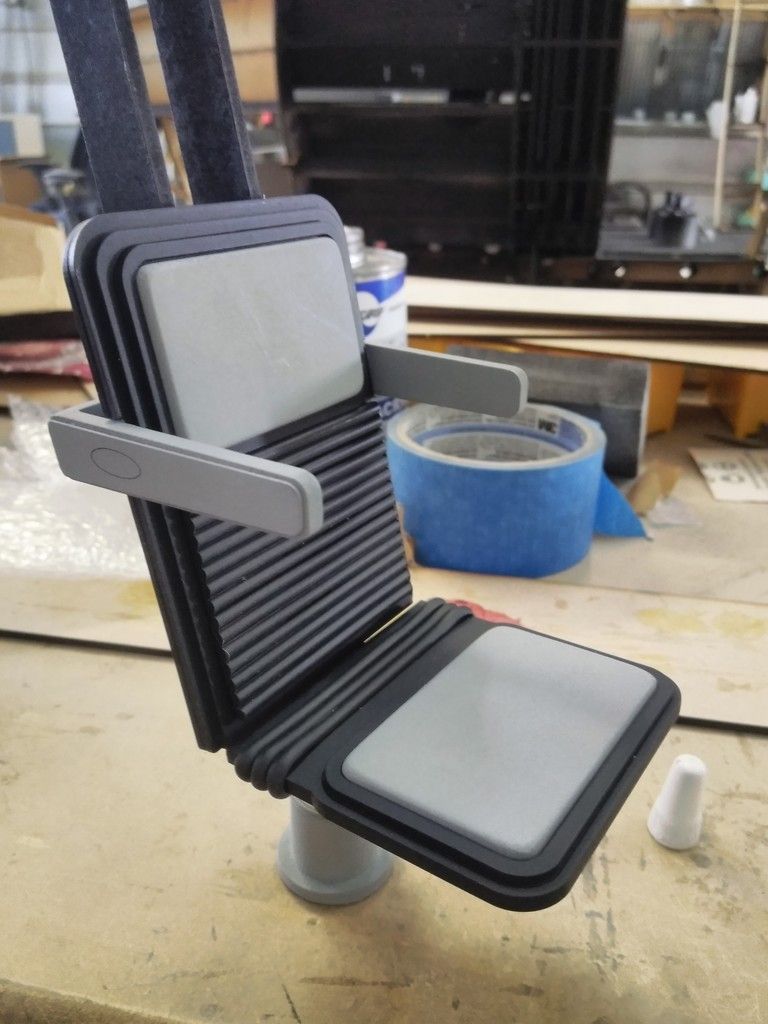
Fellow RPFer and 1/6th Scale Enthusiast Izzy was nice enough to 3D print a 1/4 scale captains chair and some full scale MF related tools!
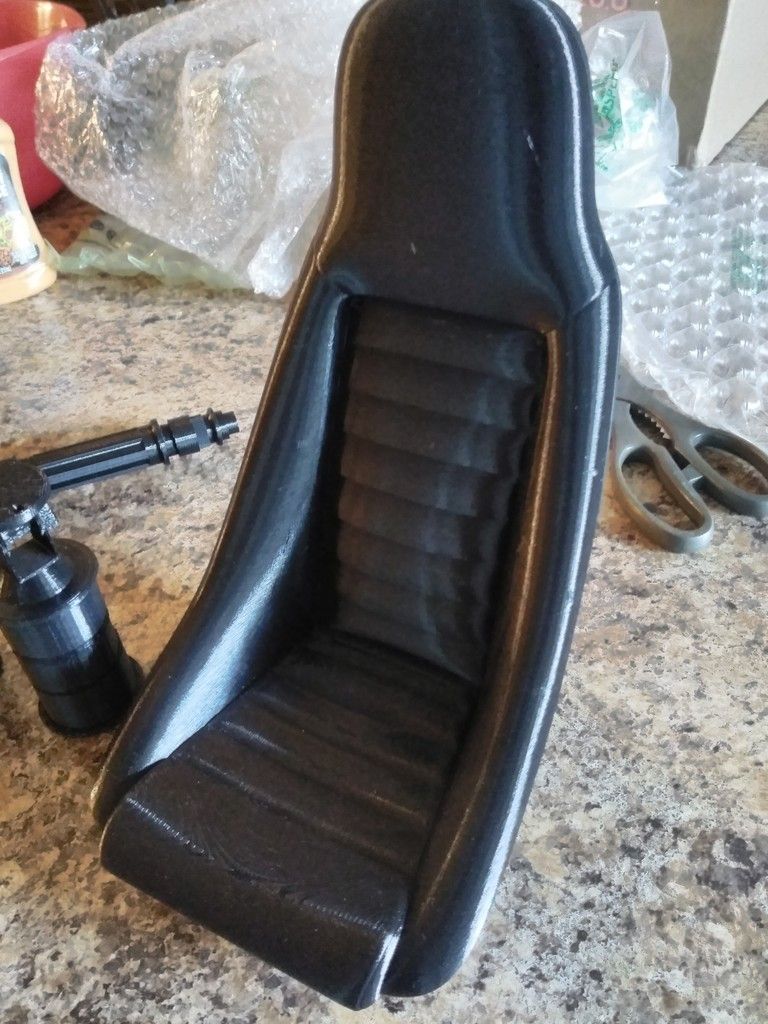
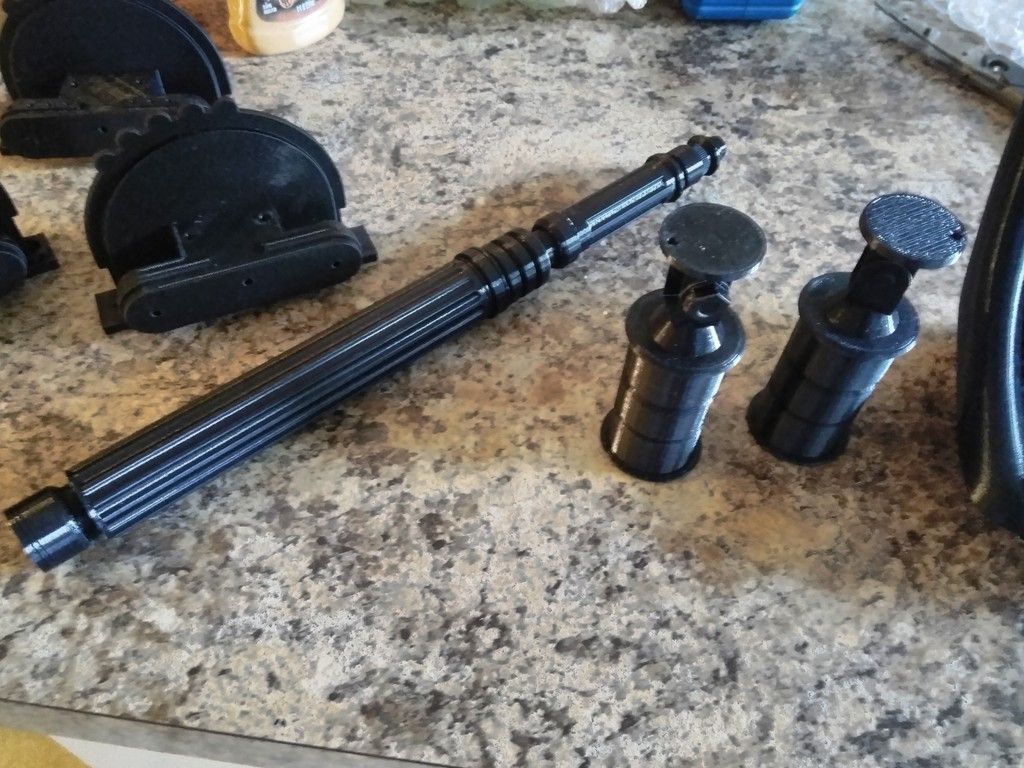
1:1 scale ESB tools
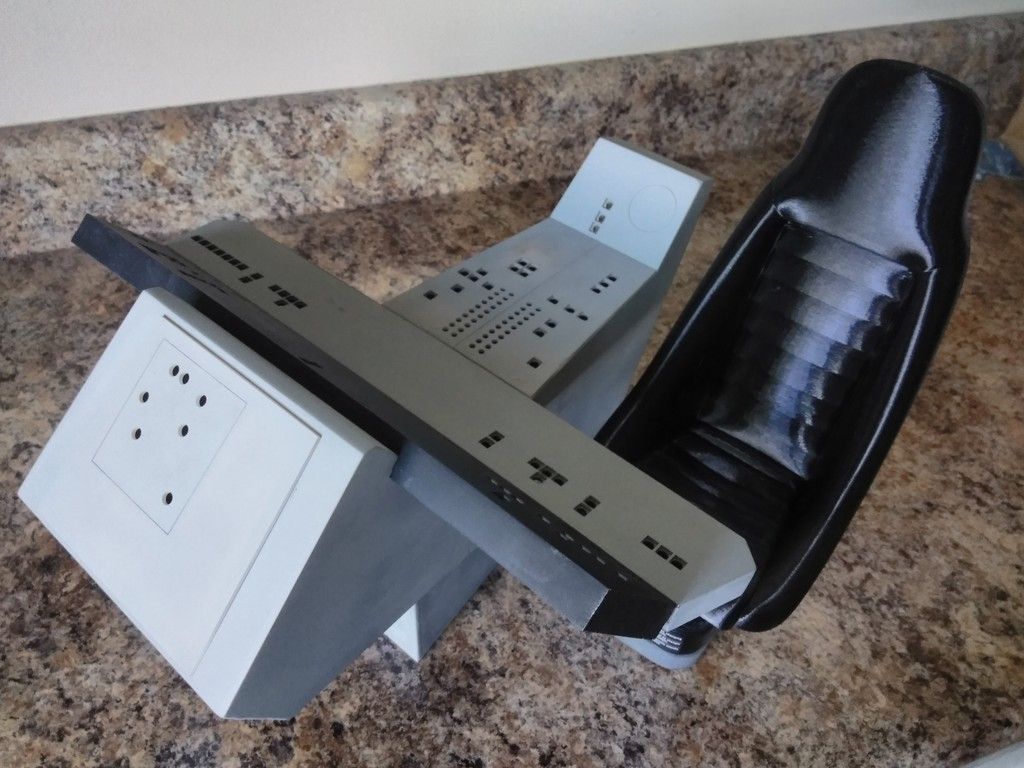
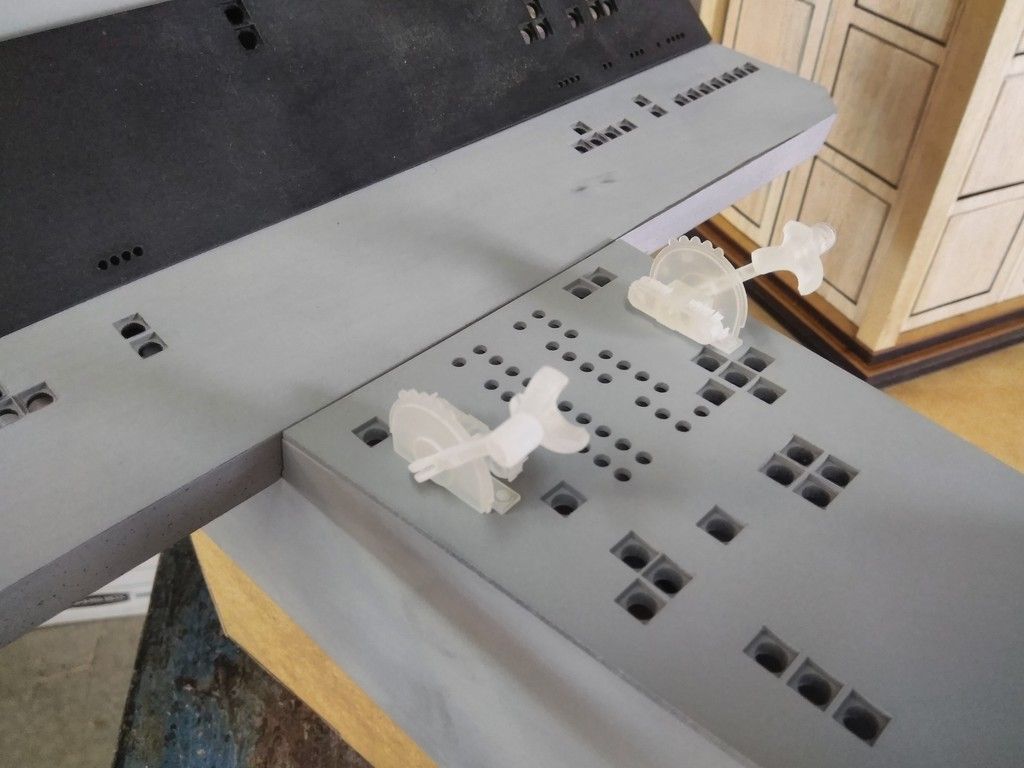
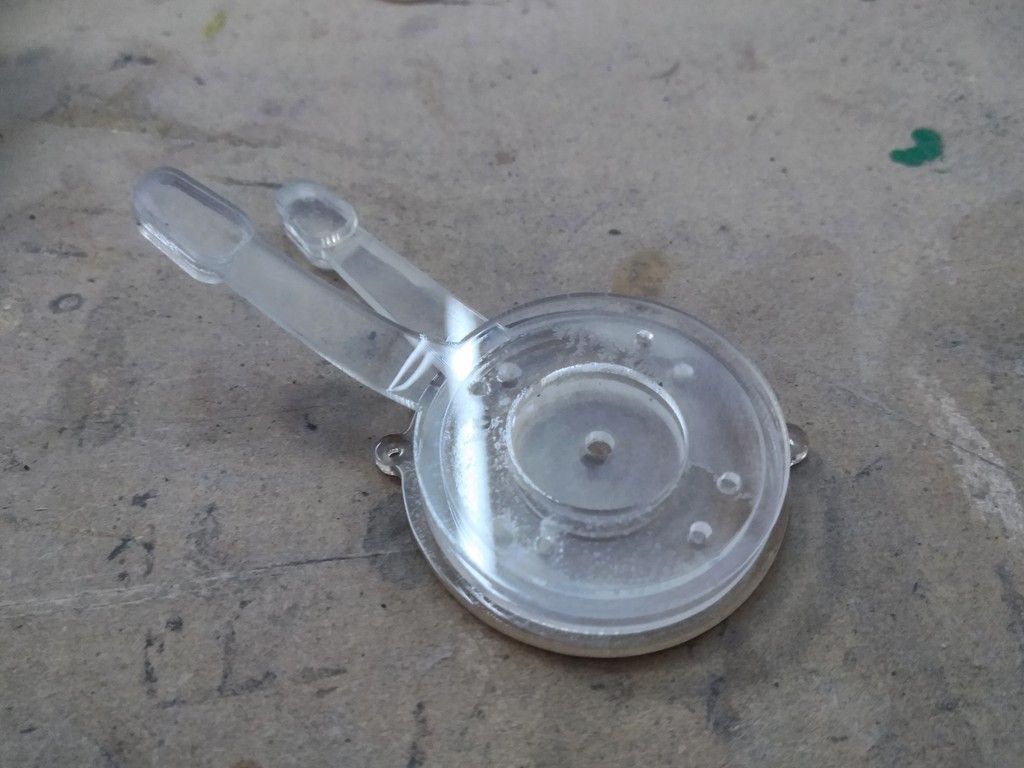
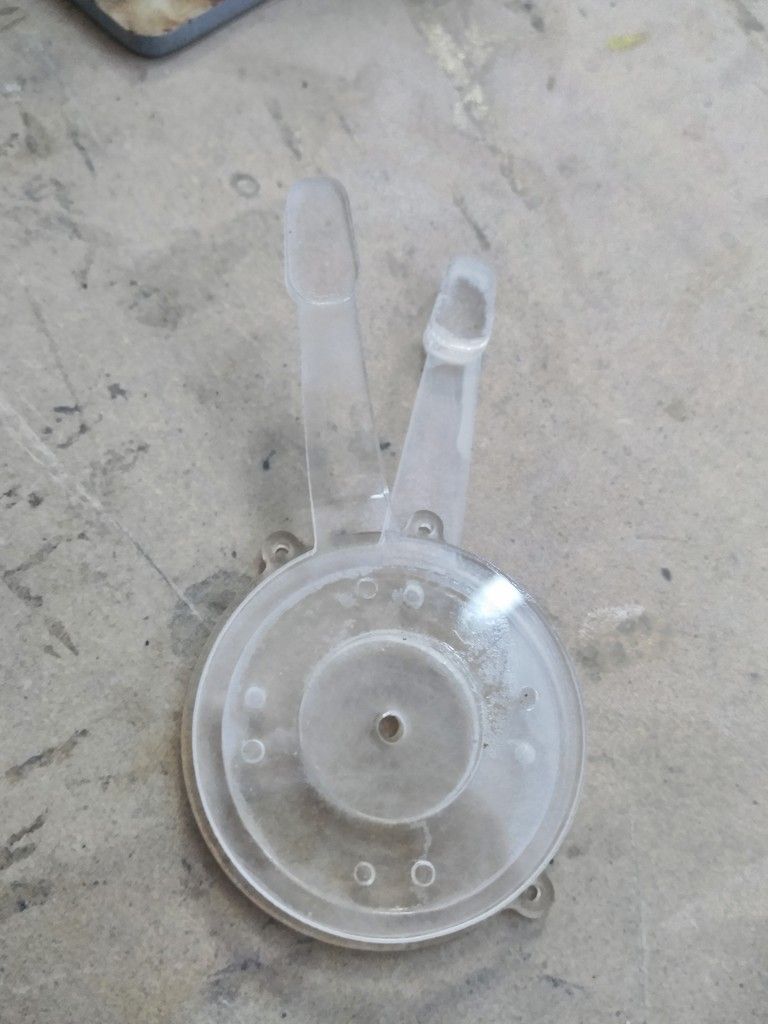
New console armrest greeblies - the older acrylic versions were constantly breaking!
Chair next to console
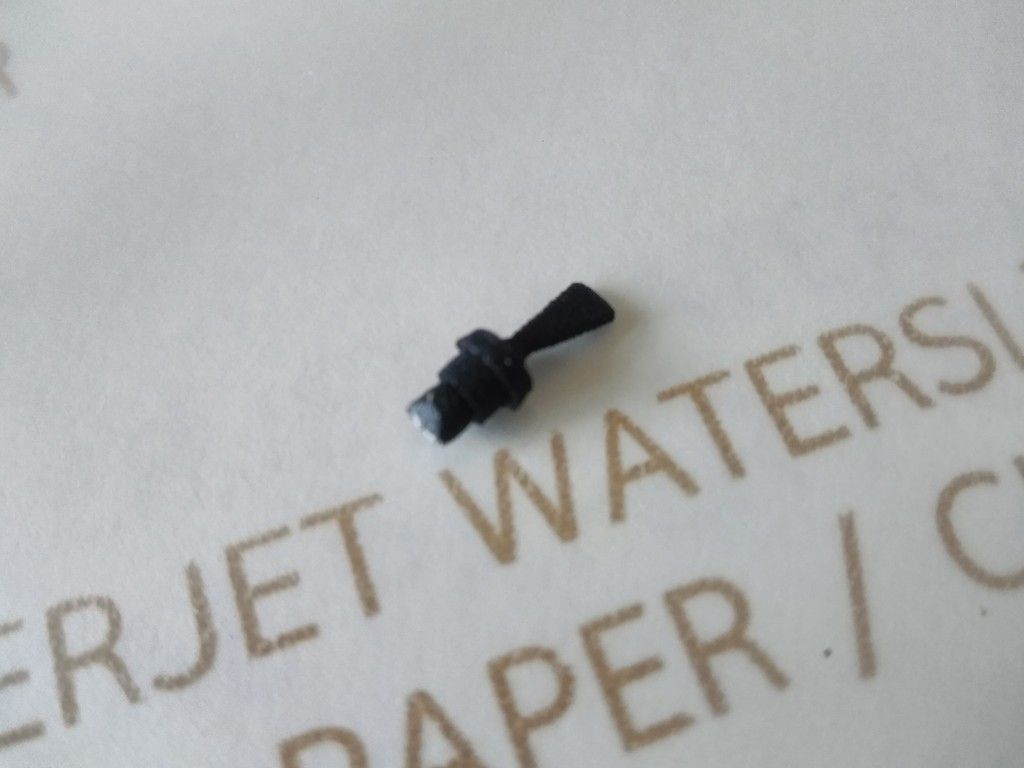
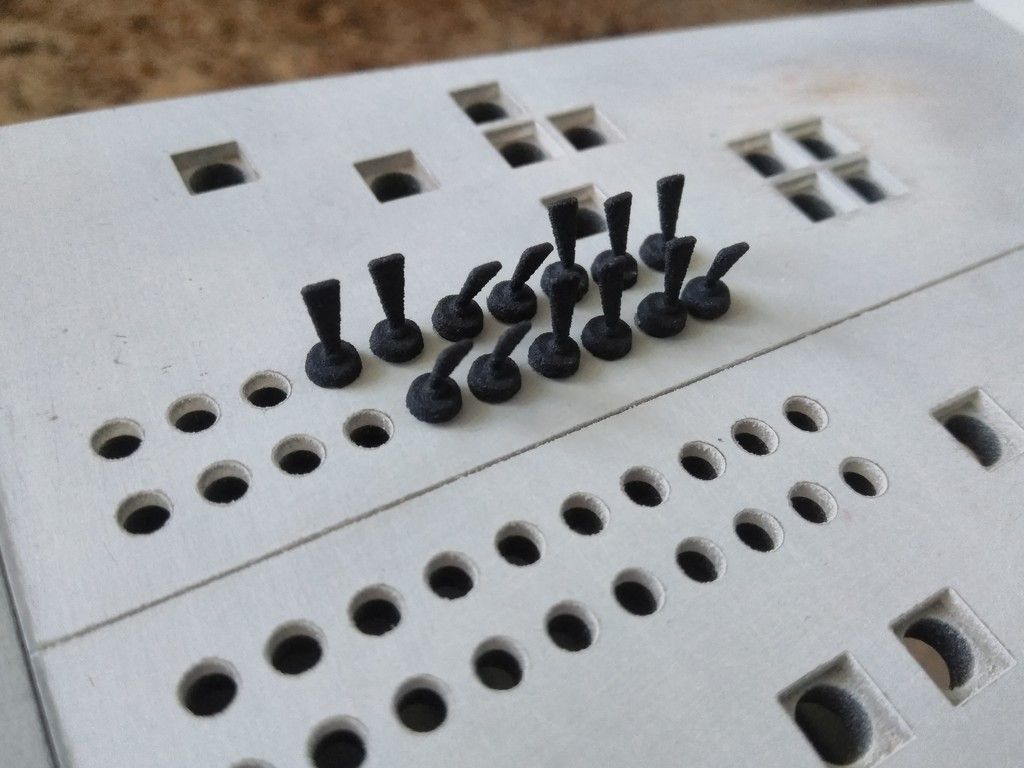
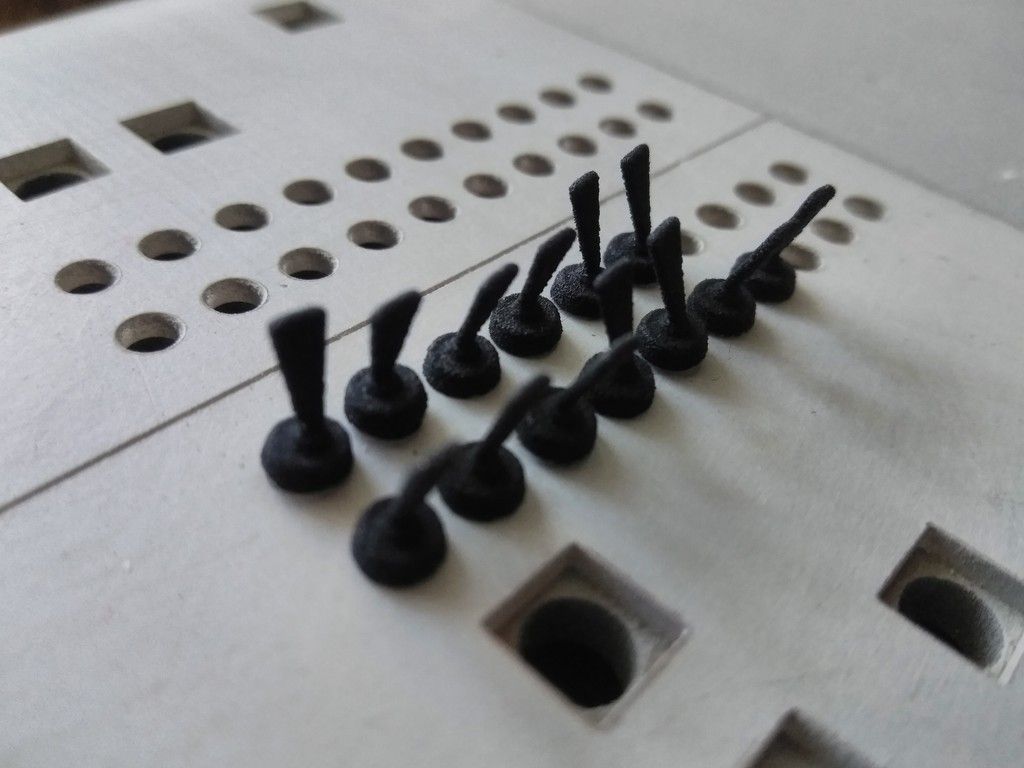
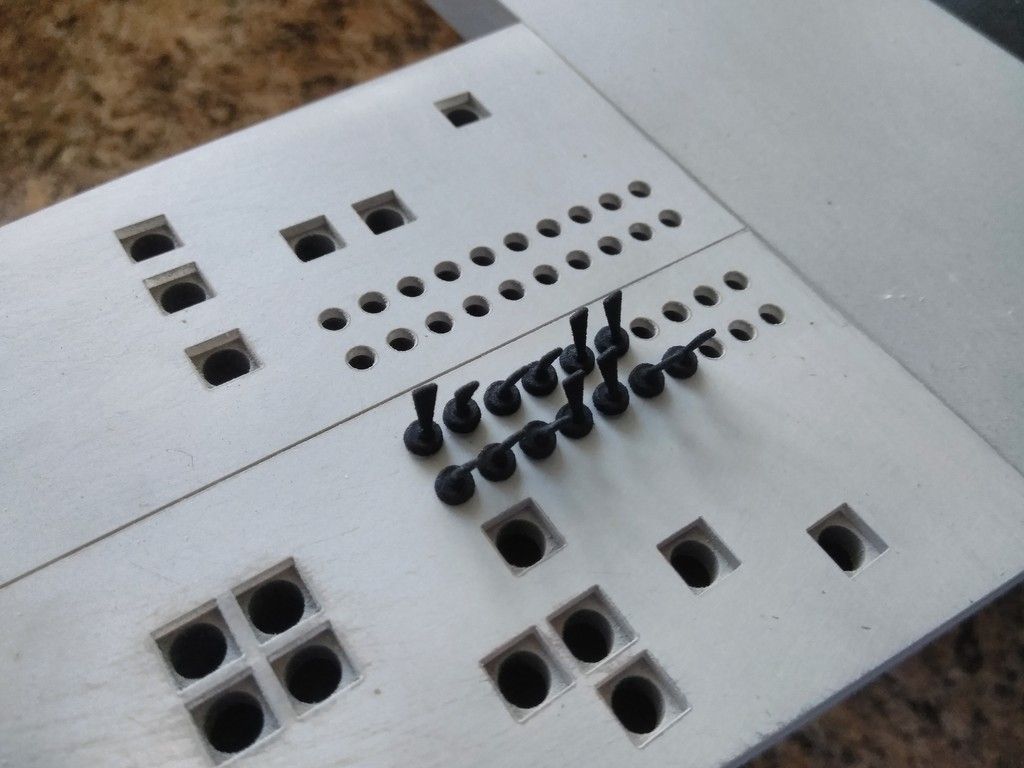
Check these out! Iz took the full scale toggle switches and scaled them down...
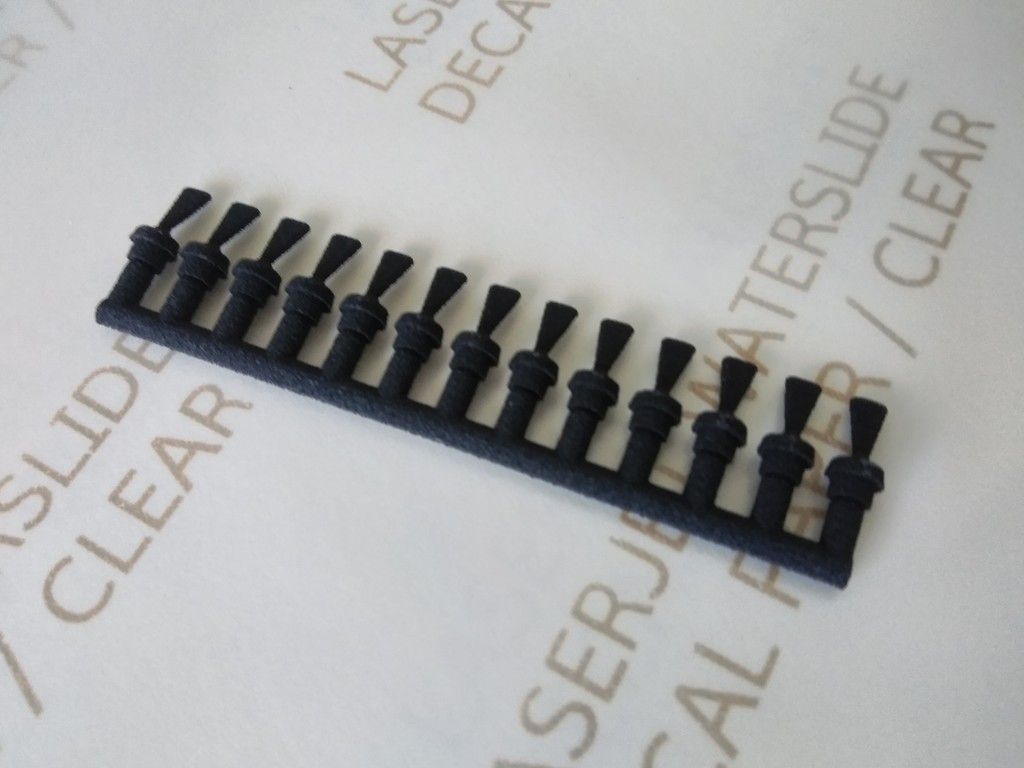
ShapeWays did an AMAZING job printing these
In place on the console armrest - they fit perfectly!
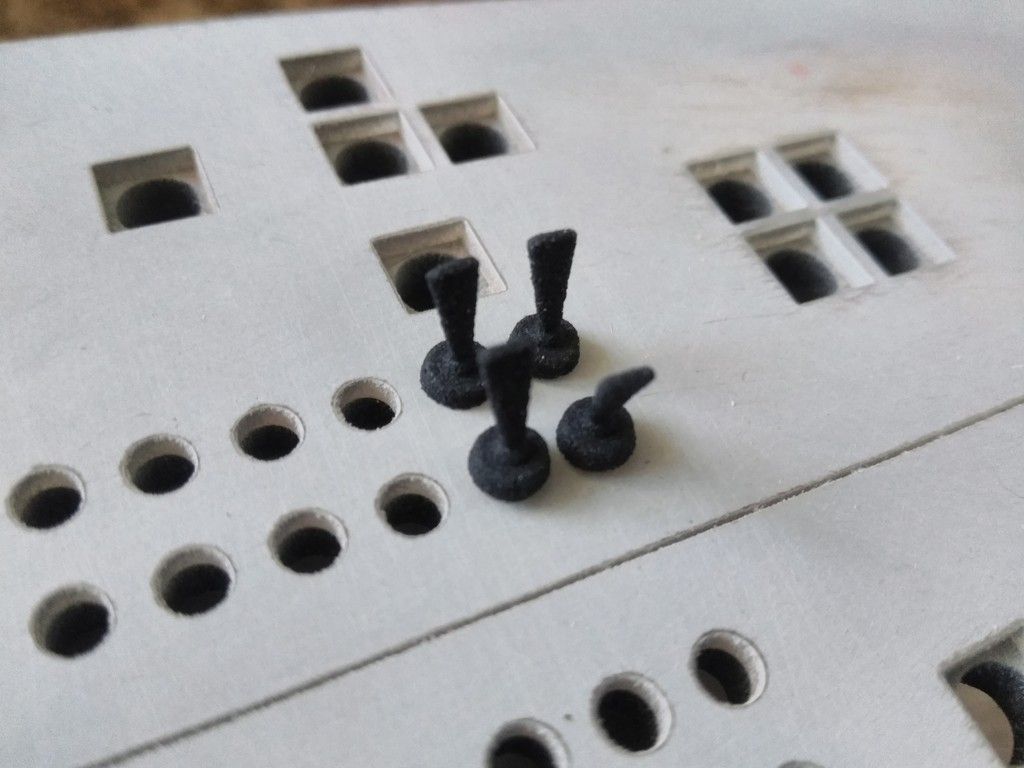
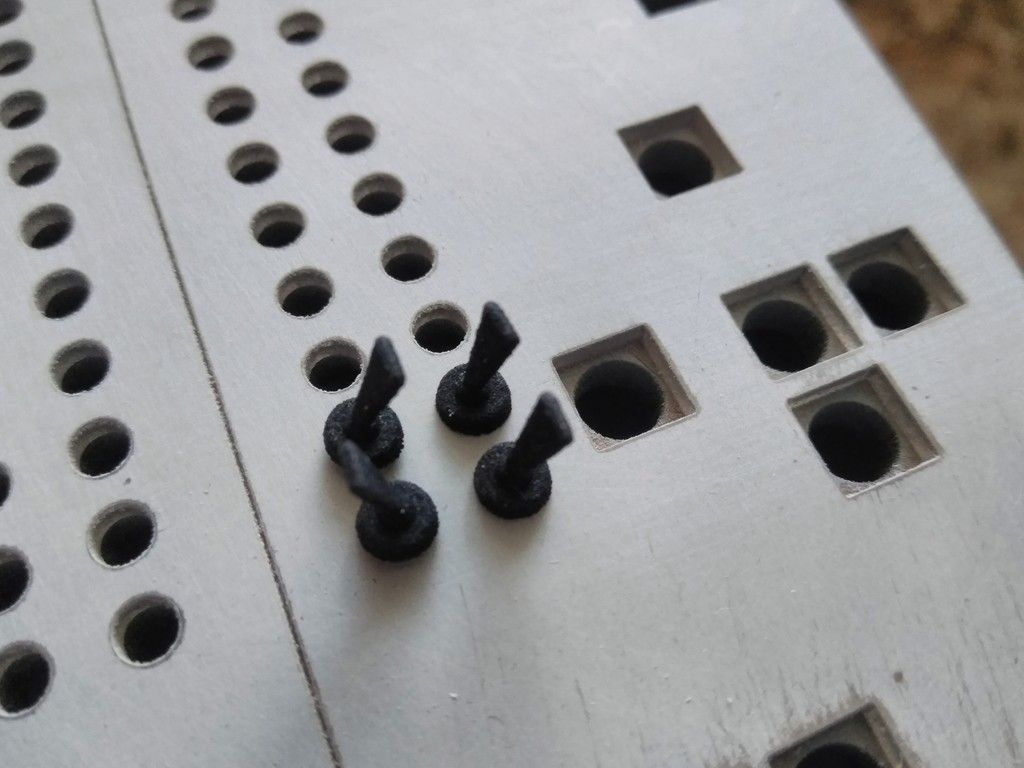
Might reprint them at the highest settings but they look awesome!
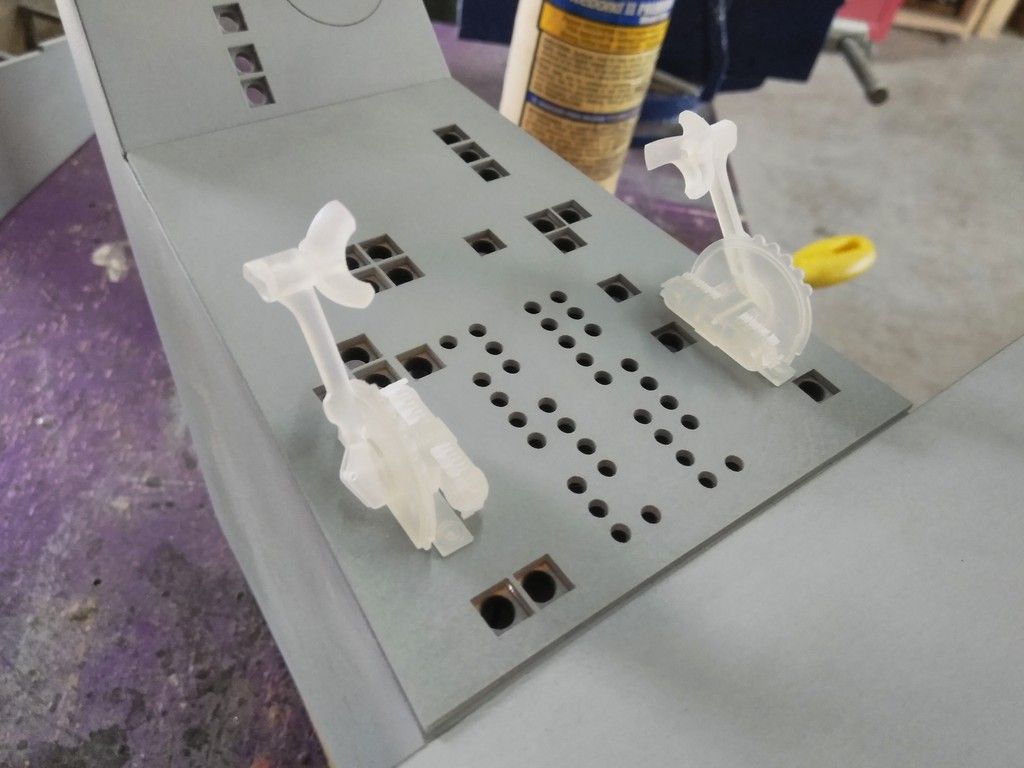
New armrest greeblies
Another amazing "Izzy model" and ShapeWays print!
The armrest panel has to be redesigned to make room for the new greeblies
COOL
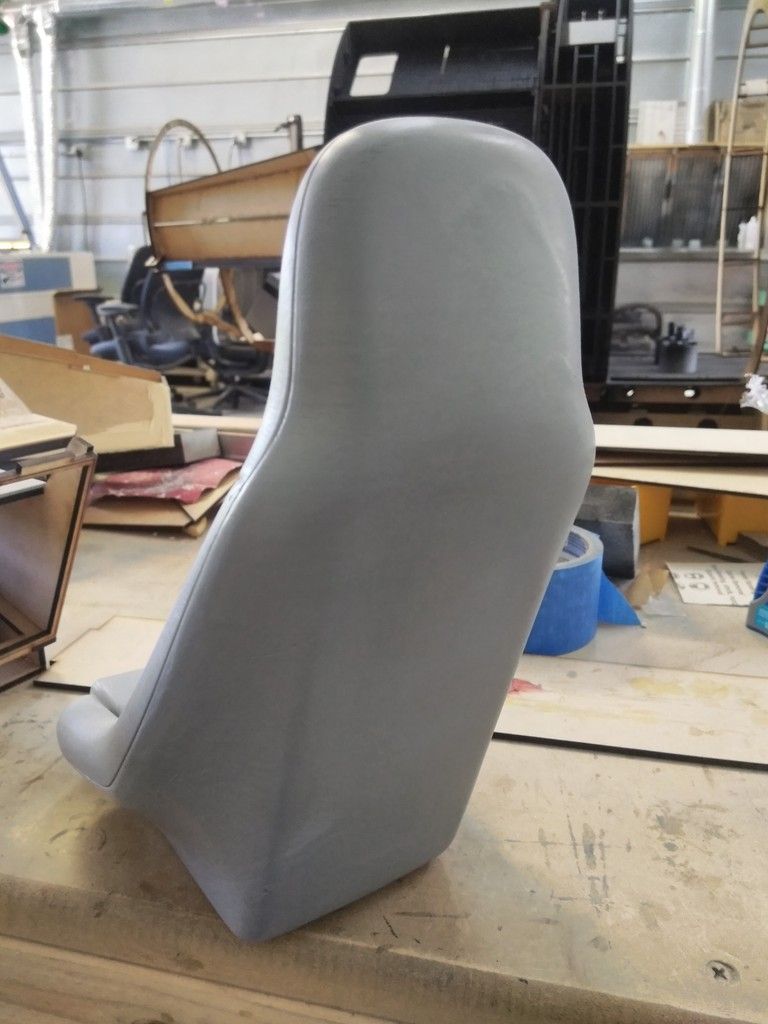
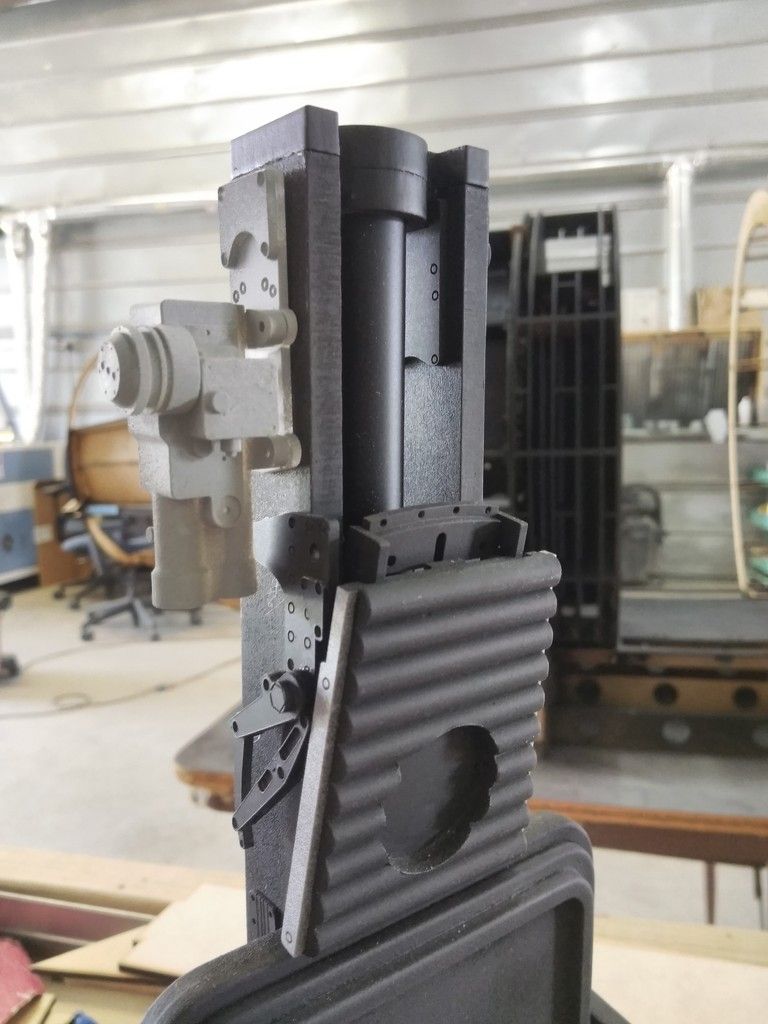
Let's get working on the seat!
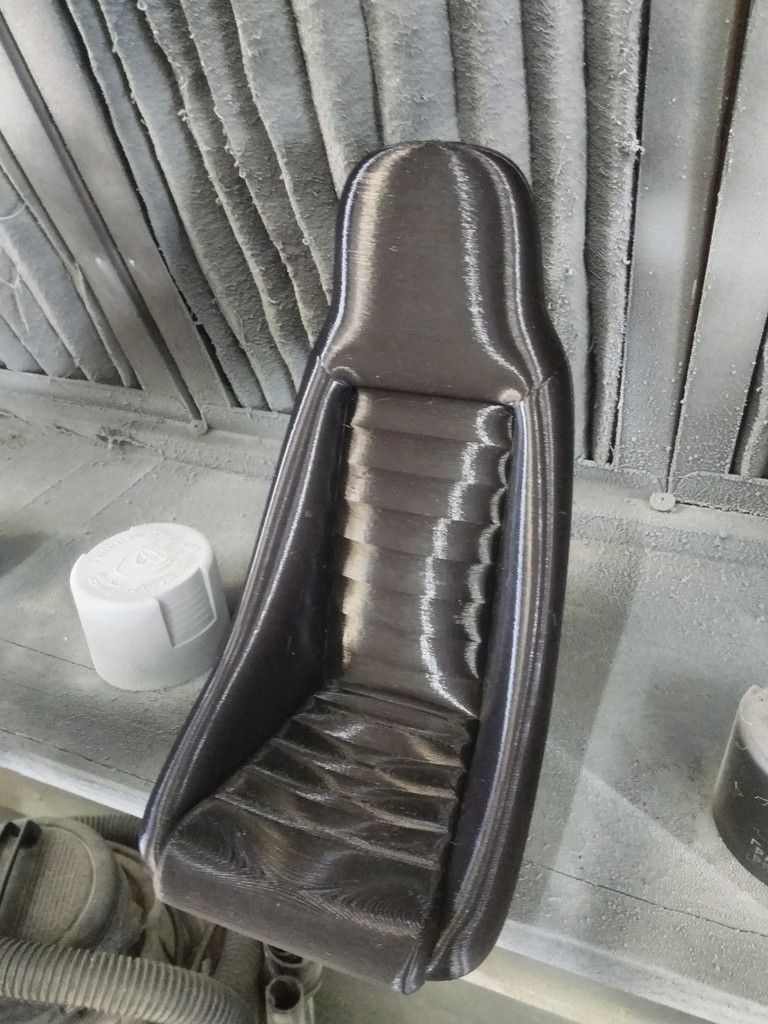
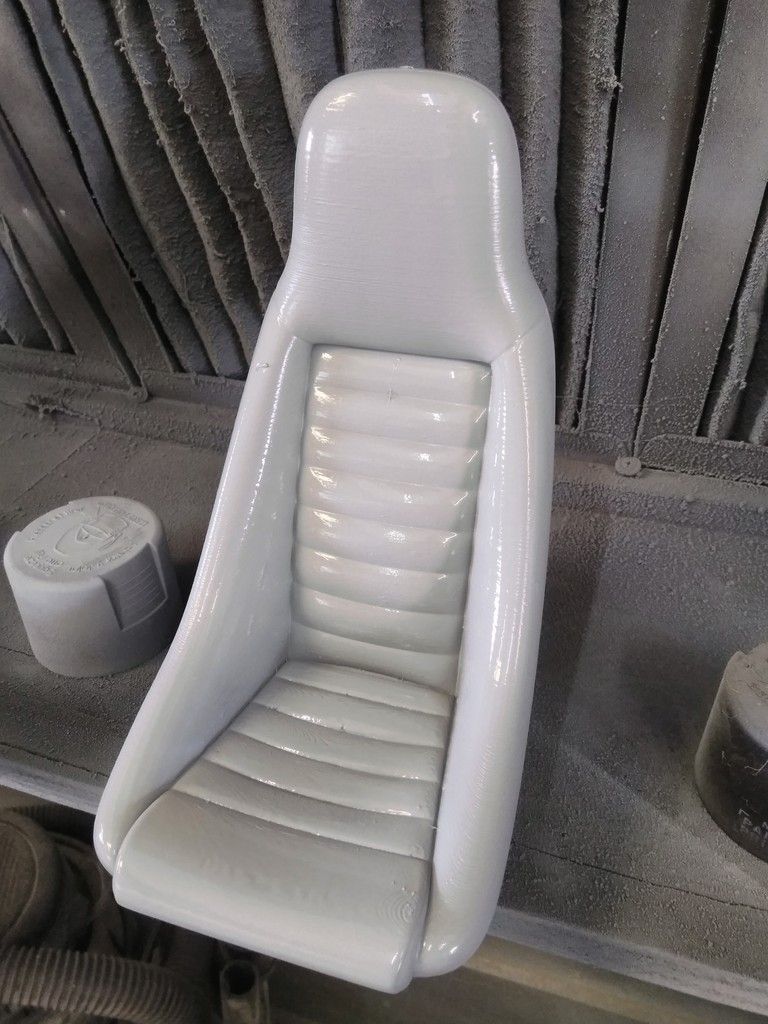
Primer
YUCK!
We'll get that covered up and smooth
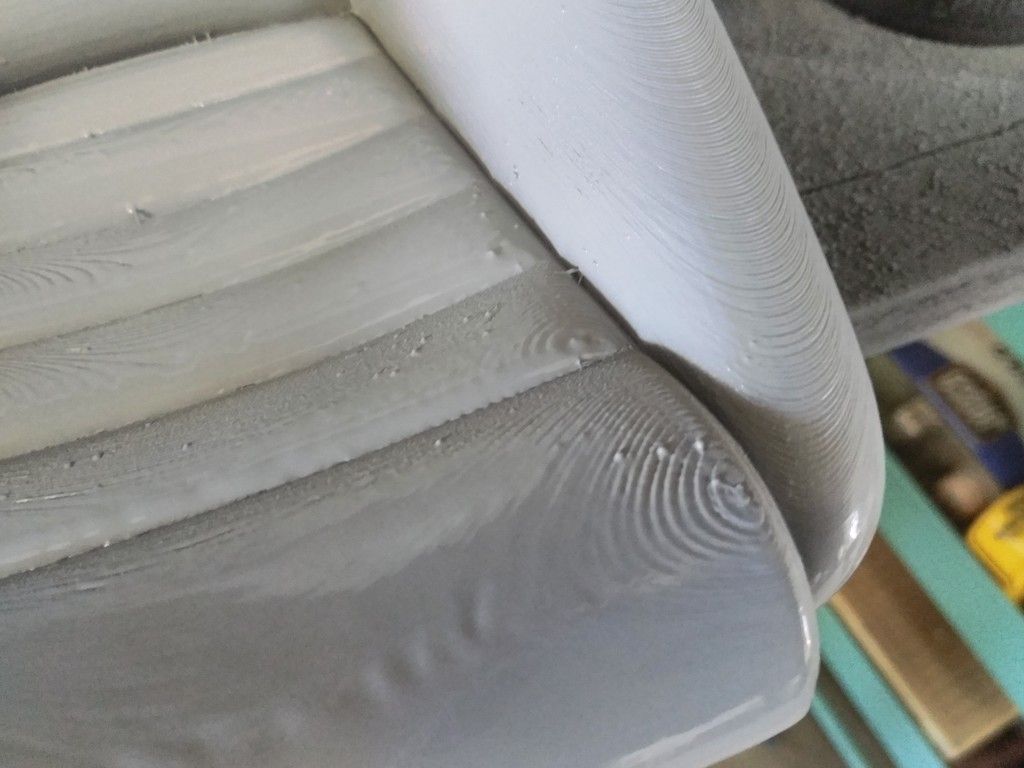
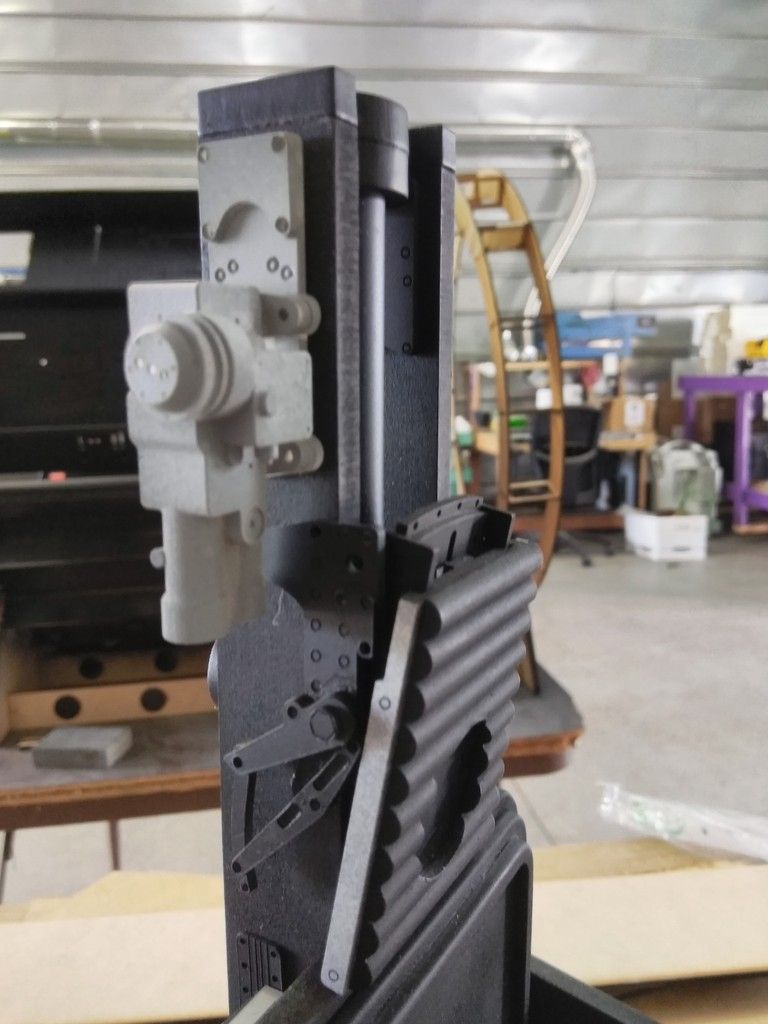
As much as I LOVE 3D printing... I wish there was an easier way to avoid all the sanding without loosing too much detail.
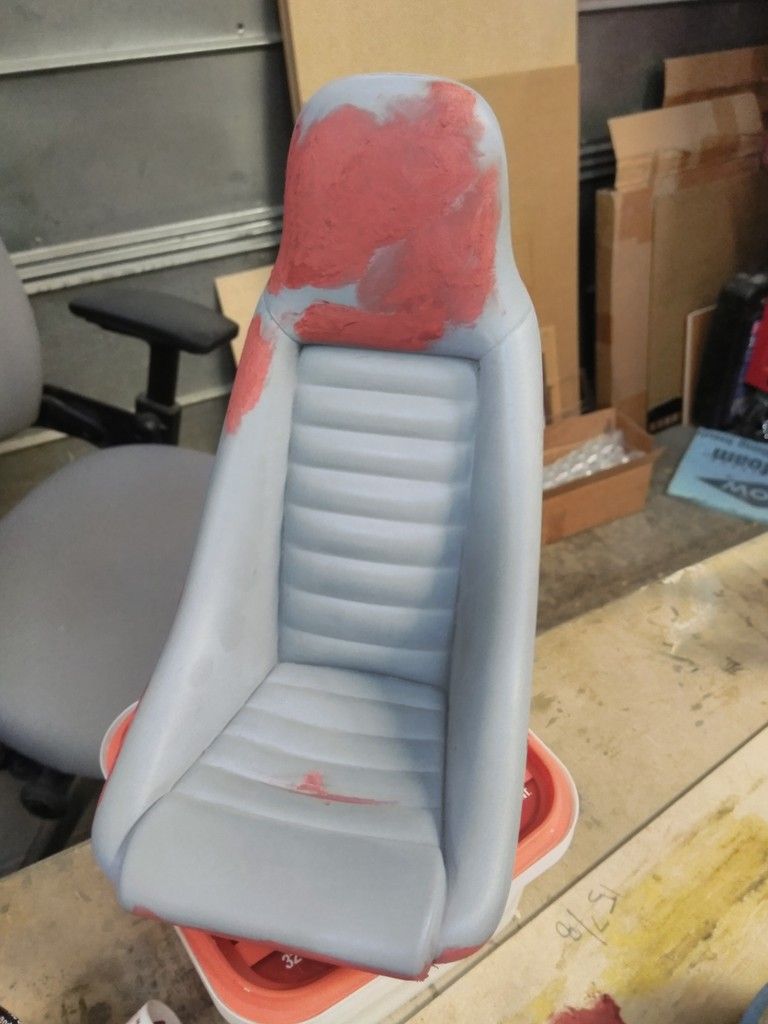
3 coats of primer so far
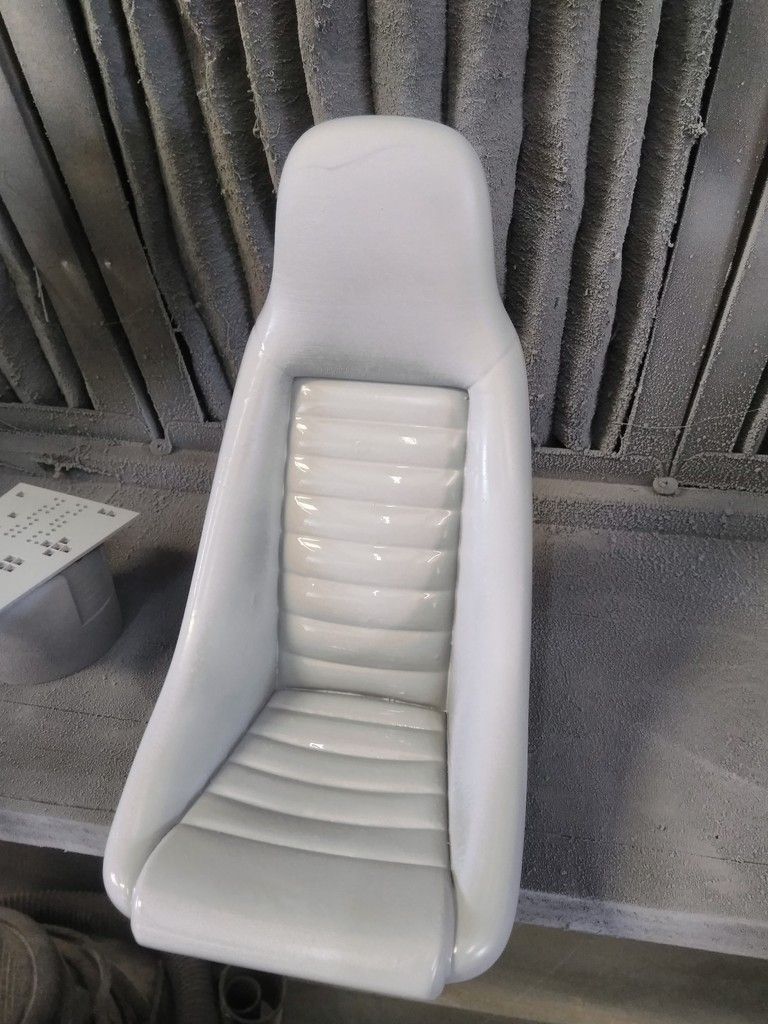
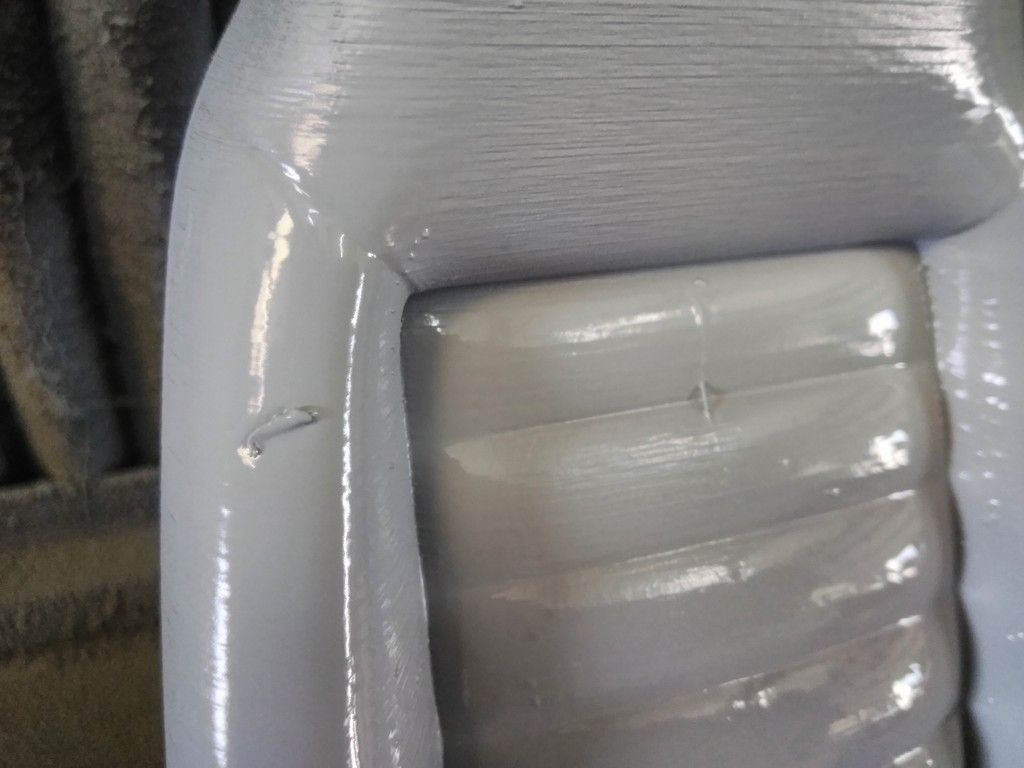
First pass with the sanding block
I had to rescribe some of the lines
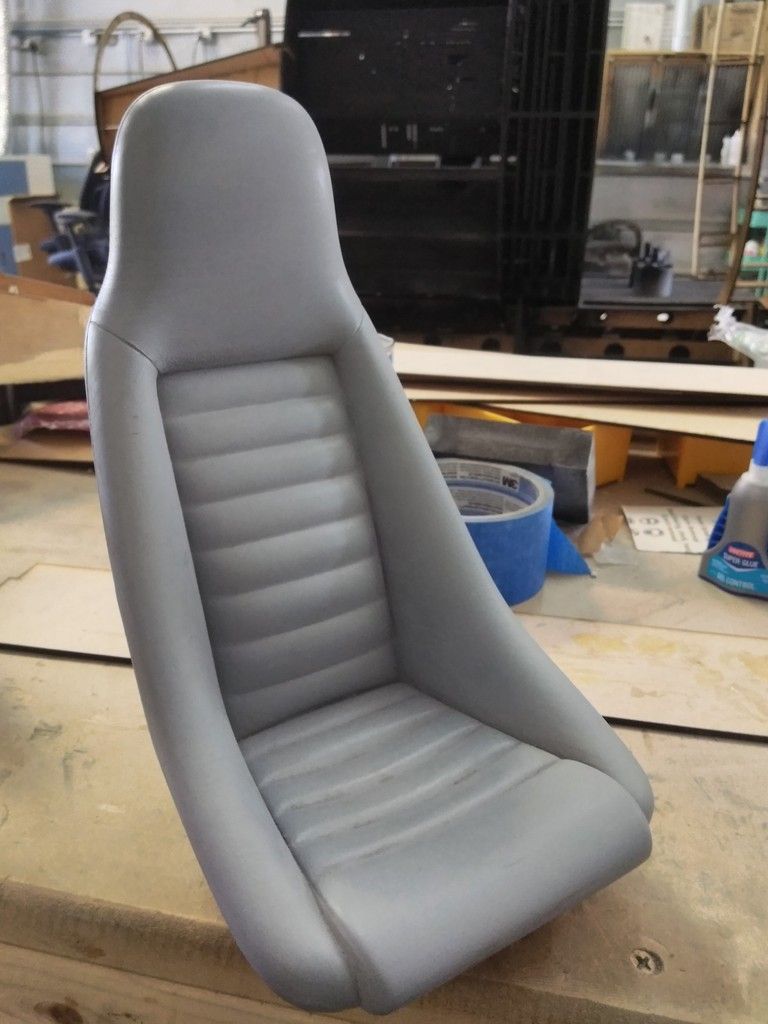
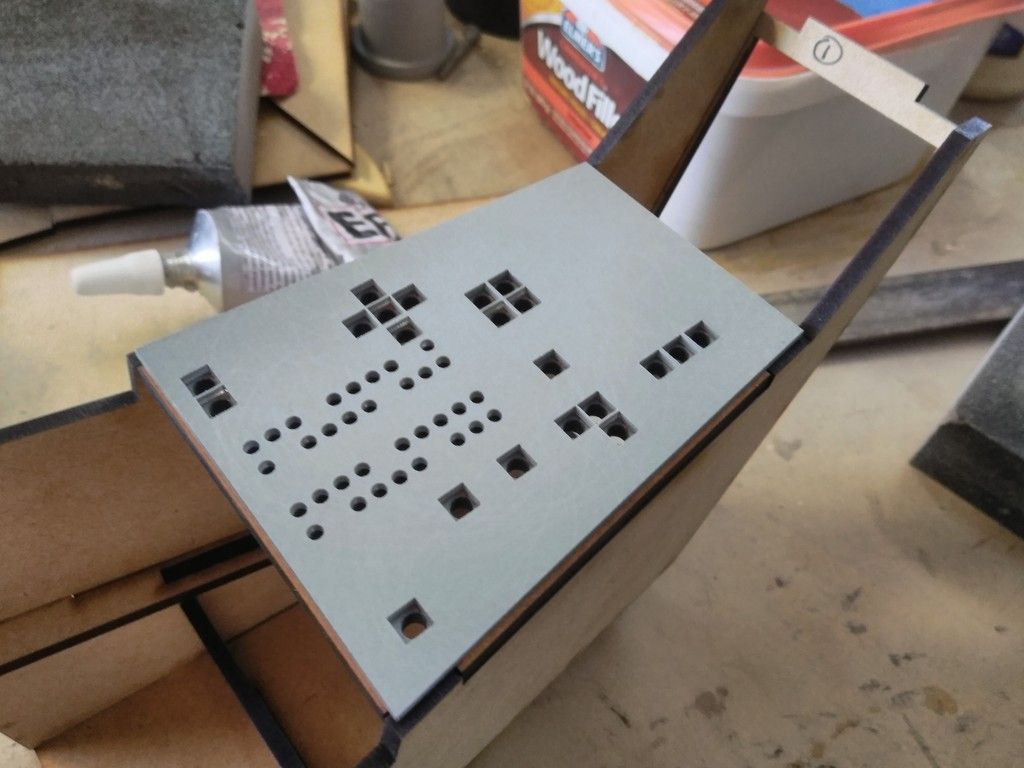
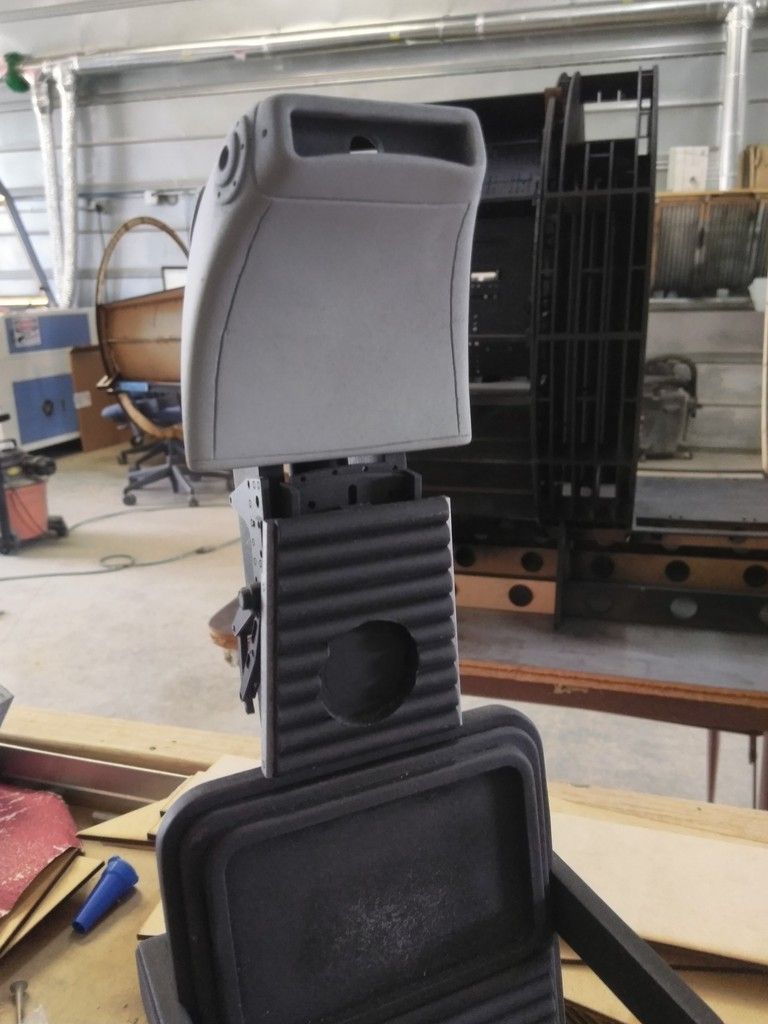
Filler
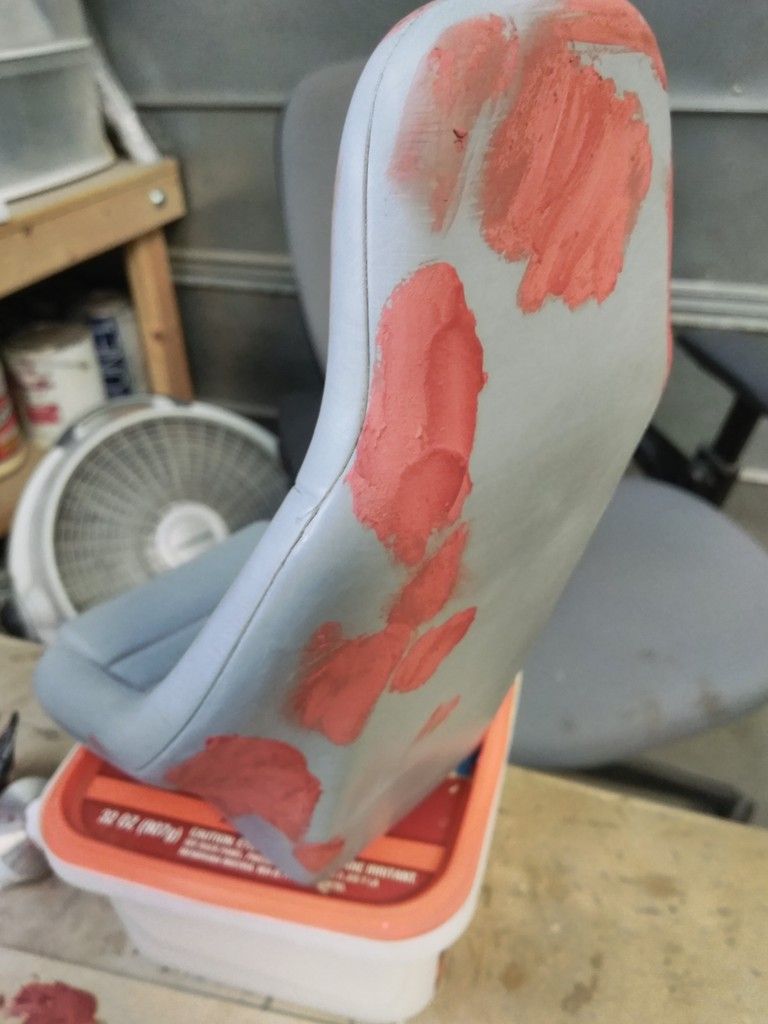
Sit back and let that dry
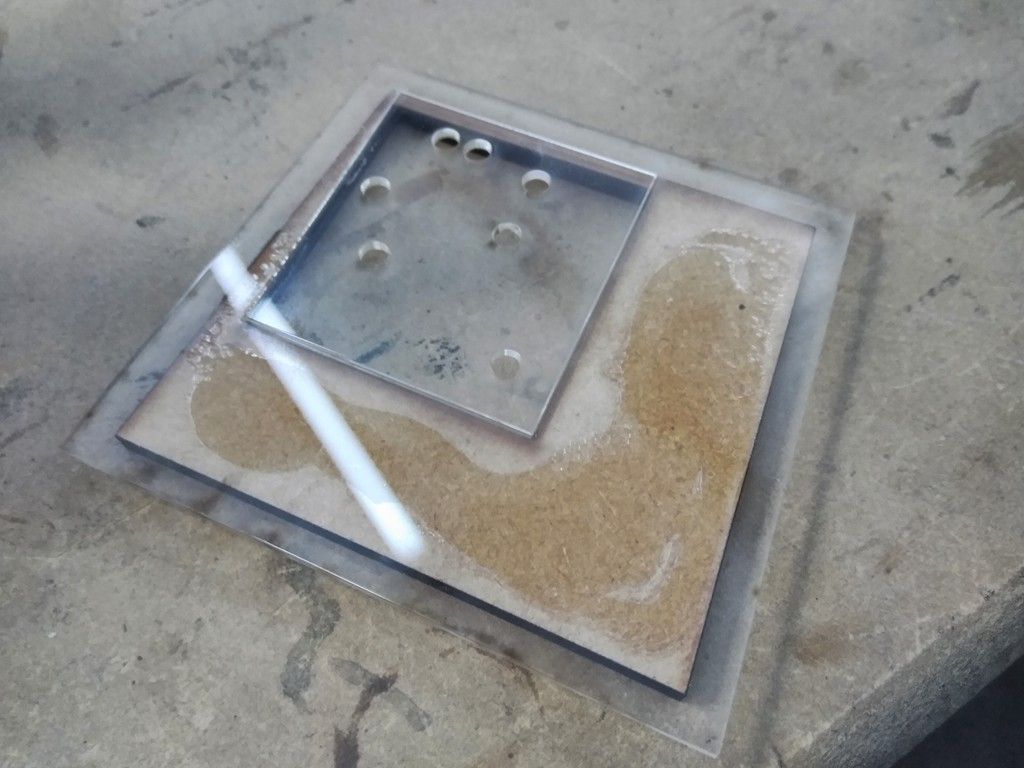
As I said earlier I had to recreate / redesign the console armrest... 1/6th Scale
1/4 Scale
Adhere the two together
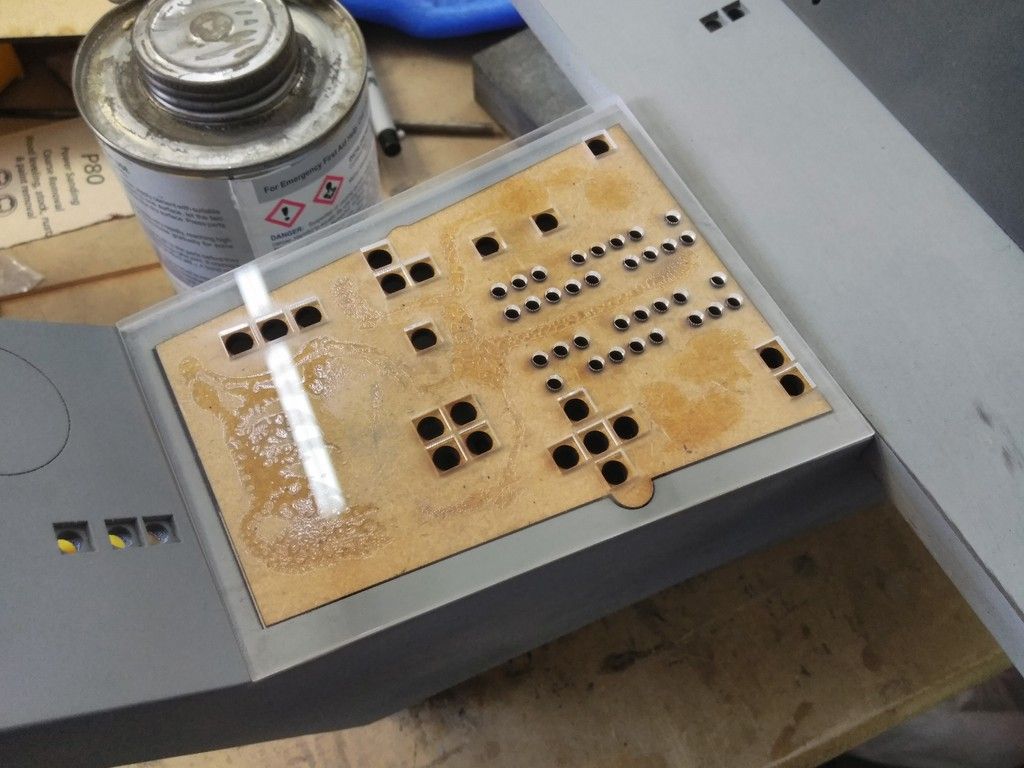
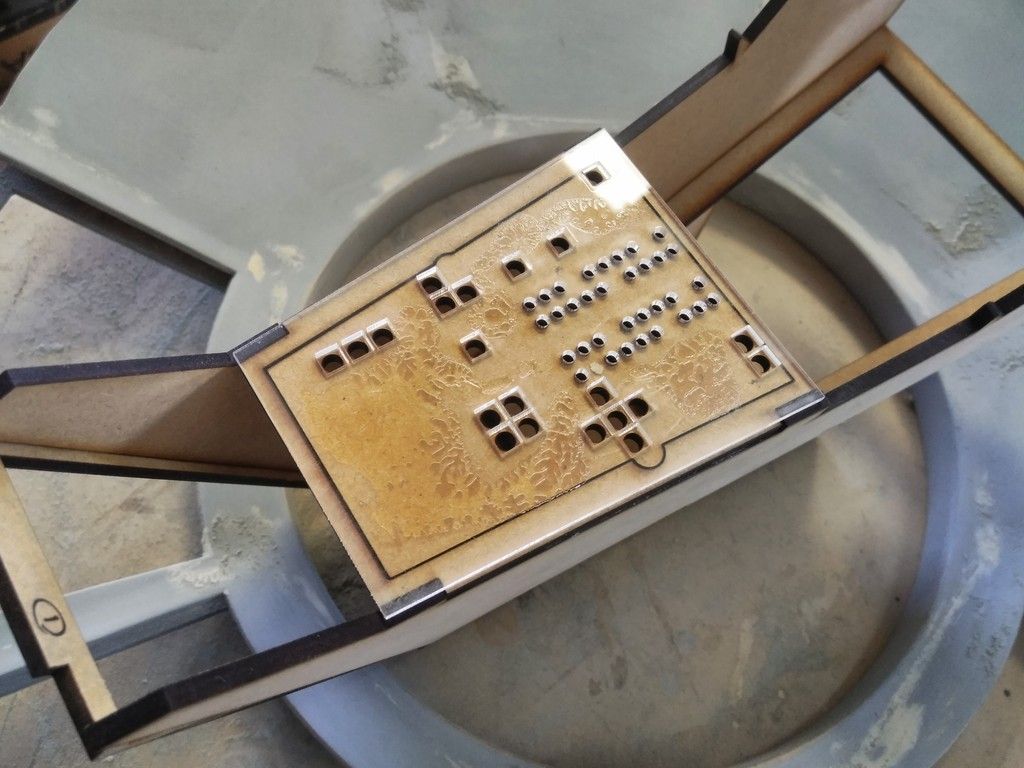
1/4

1/6th

Talking to Iz, we decided to put this one 1/6th console together as a master for Iz to follow when he puts his together. We'll work out the bugs and then maybe offer up a kit!
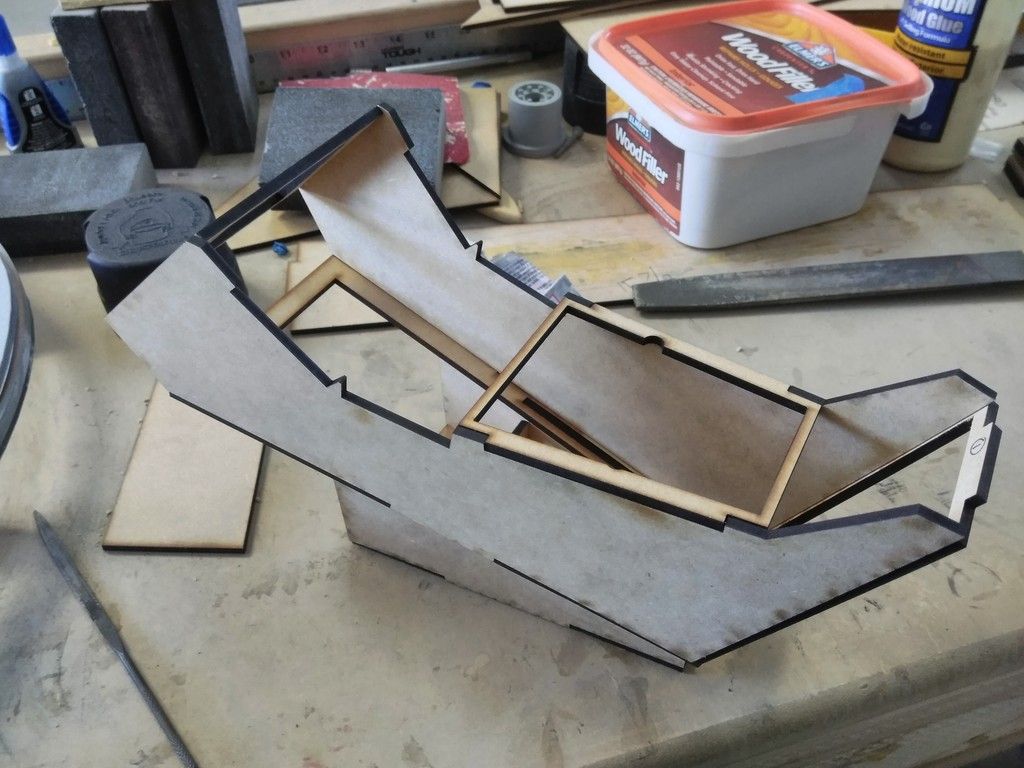
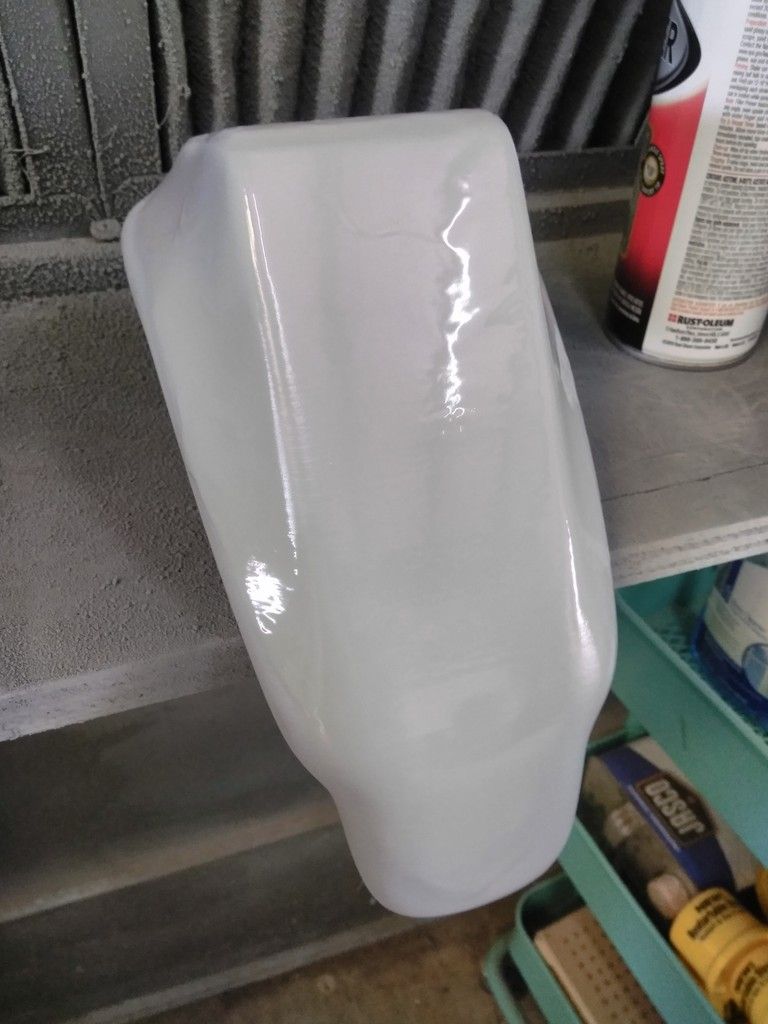
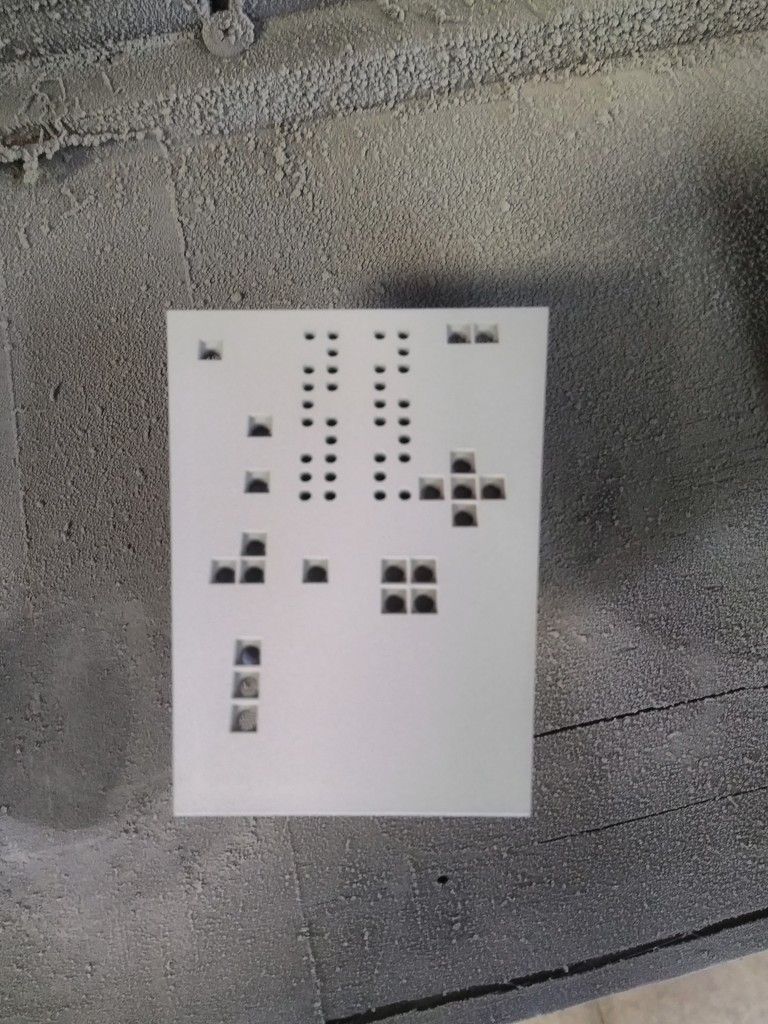
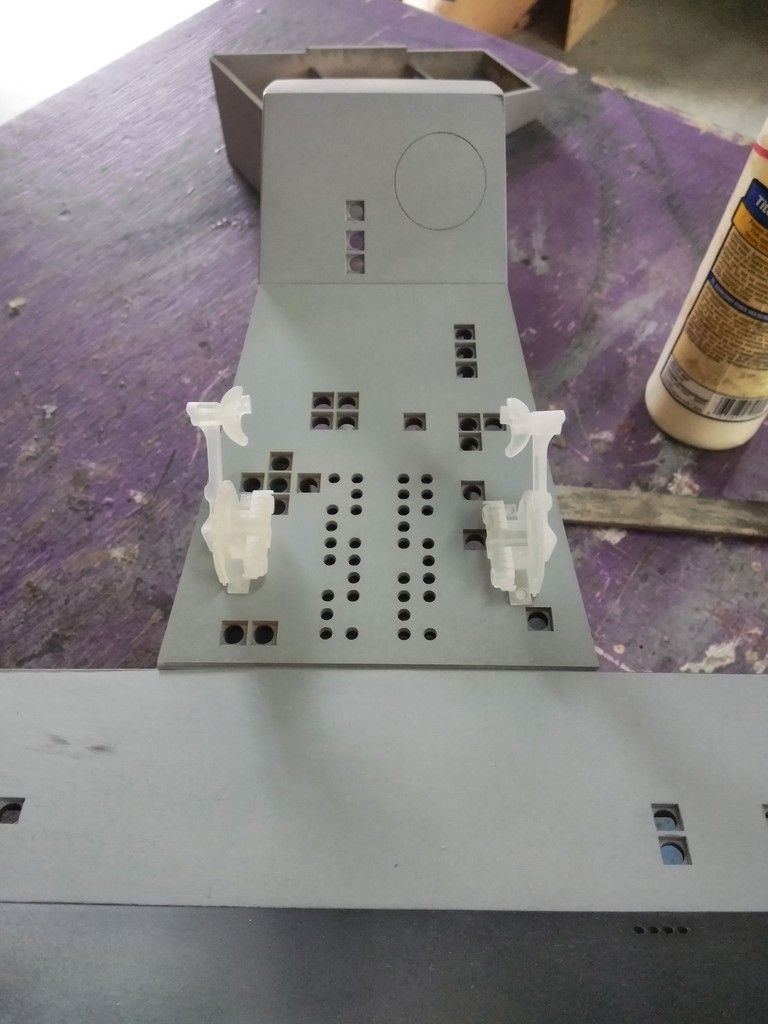
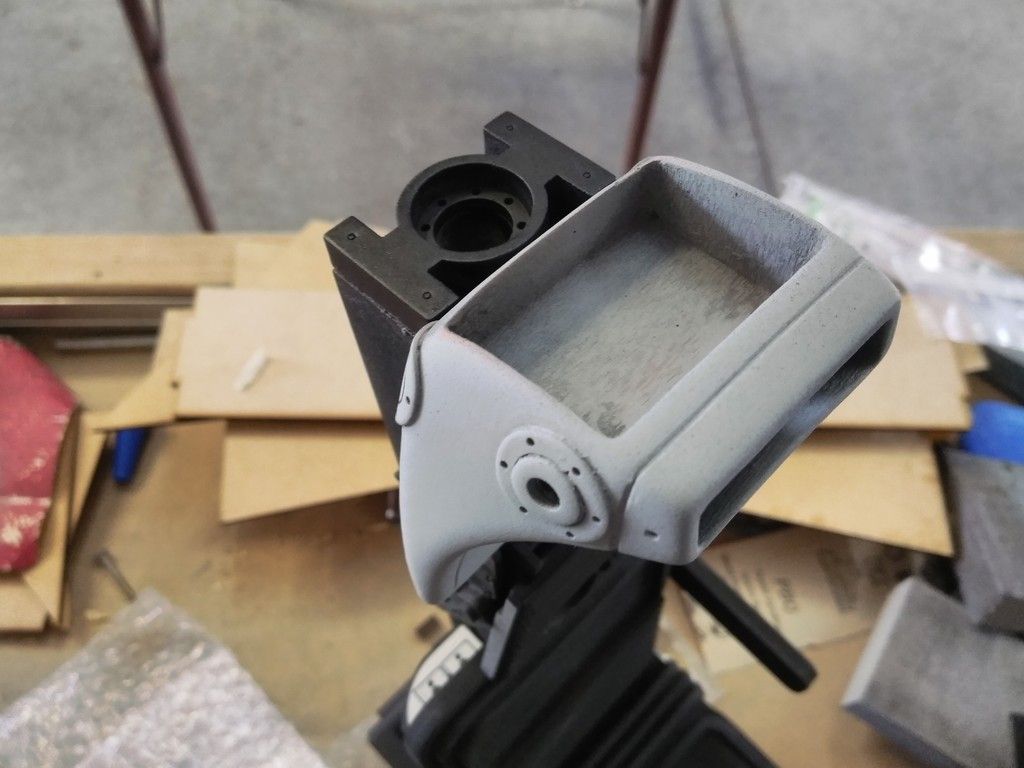
Nose
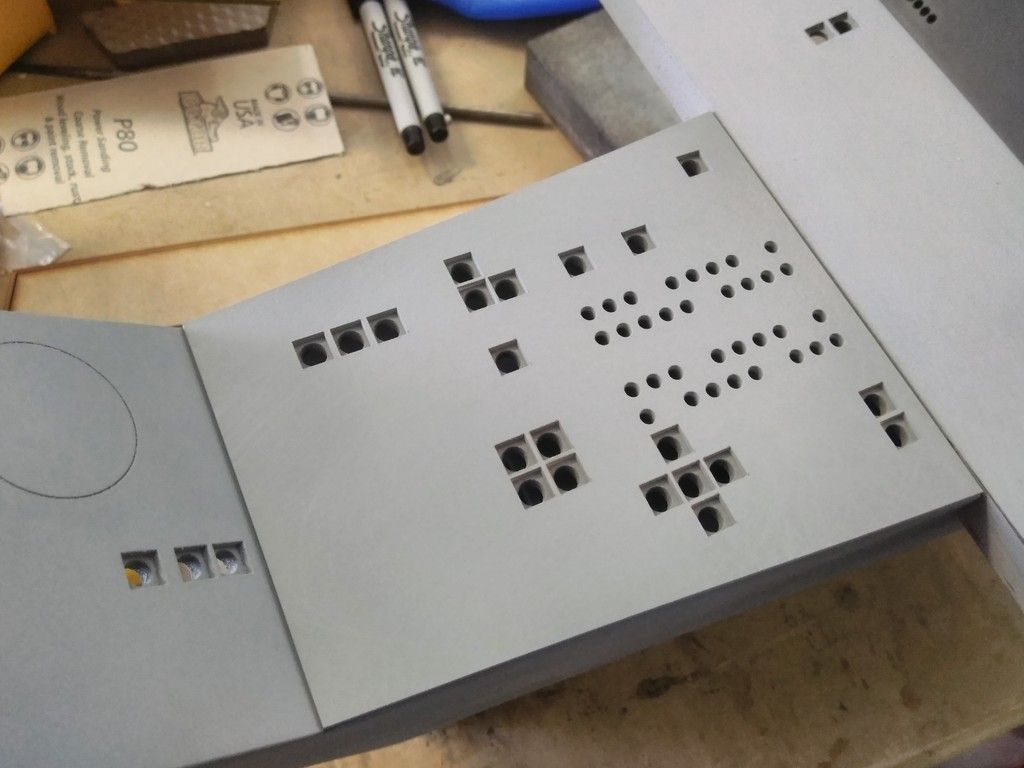
Primer
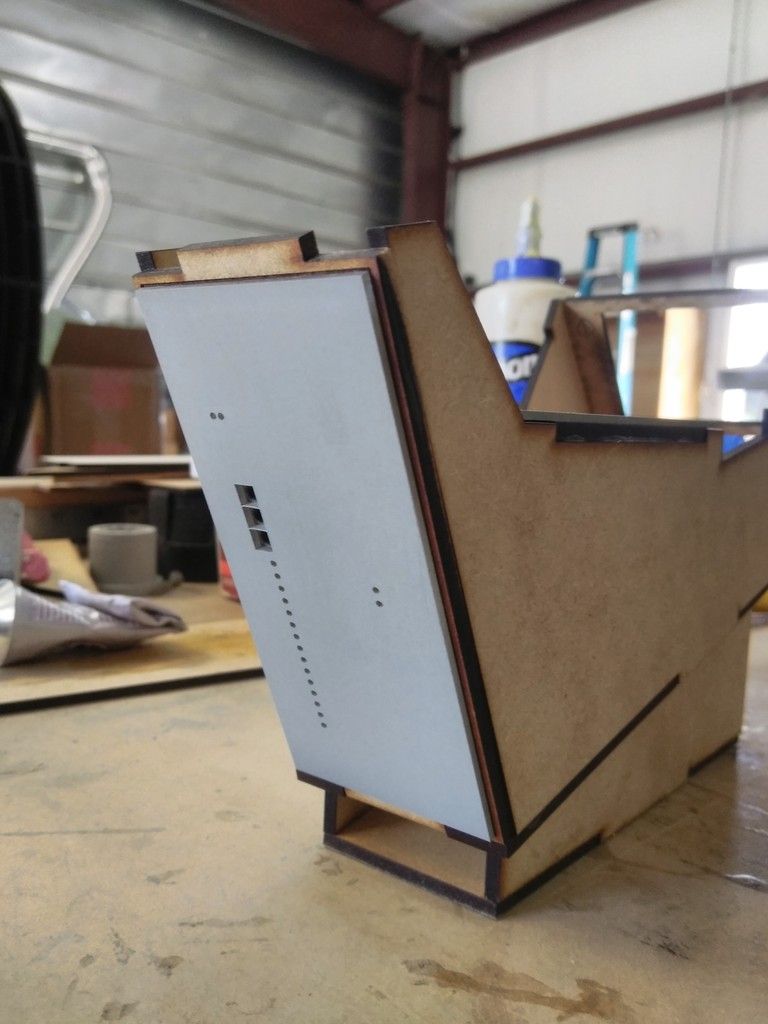
1/4 Scale
Side by Side
Every surface that has pinstripes will receive a water slide decal showing all the details - I'm hoping for success on this idea!

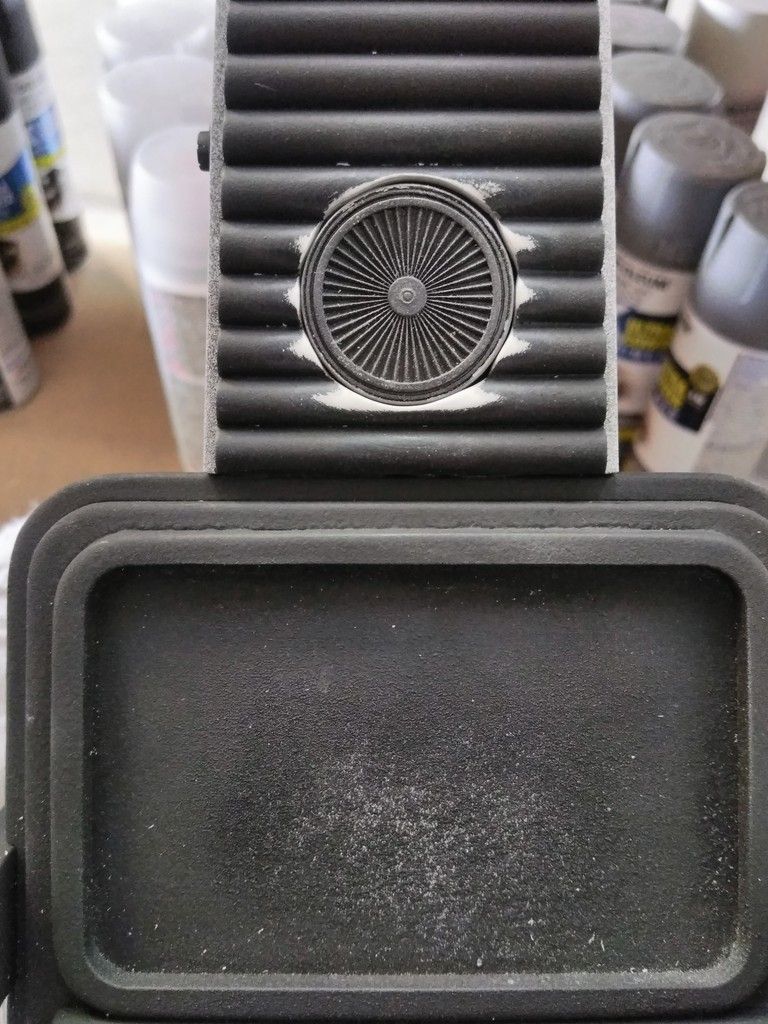
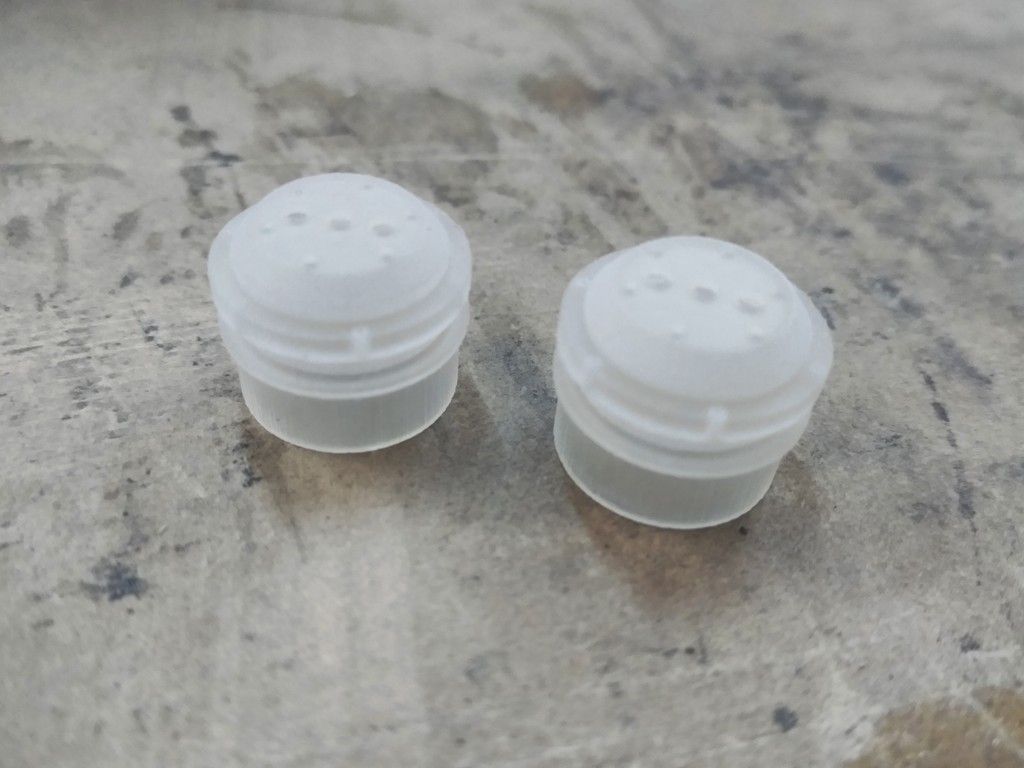
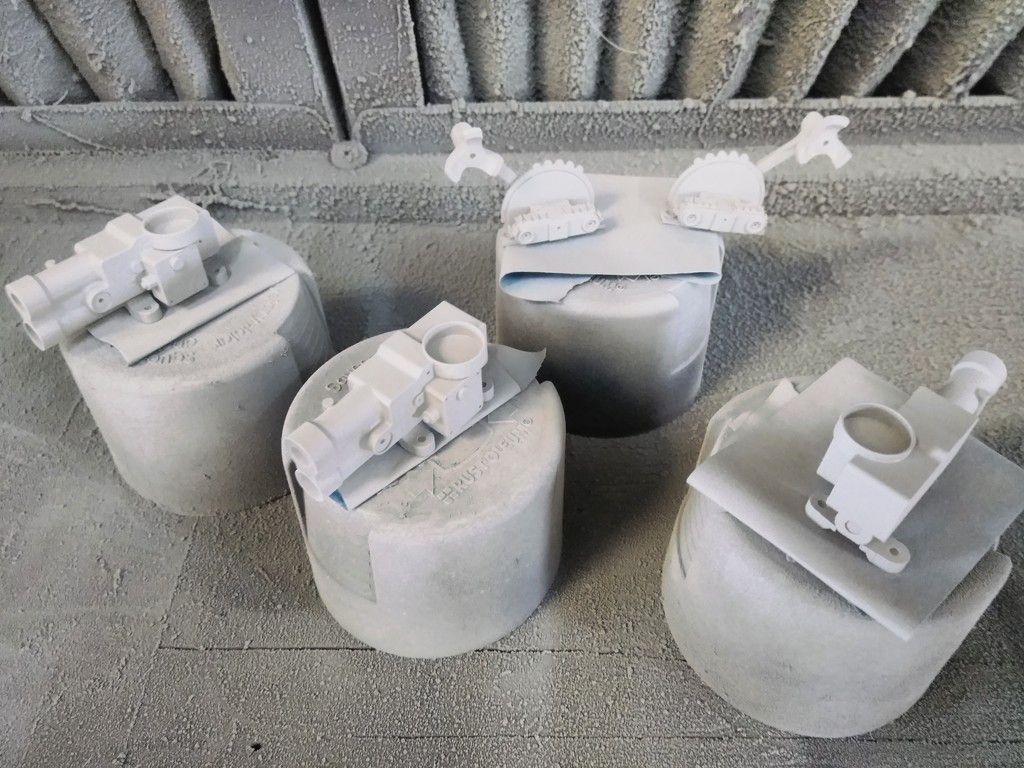
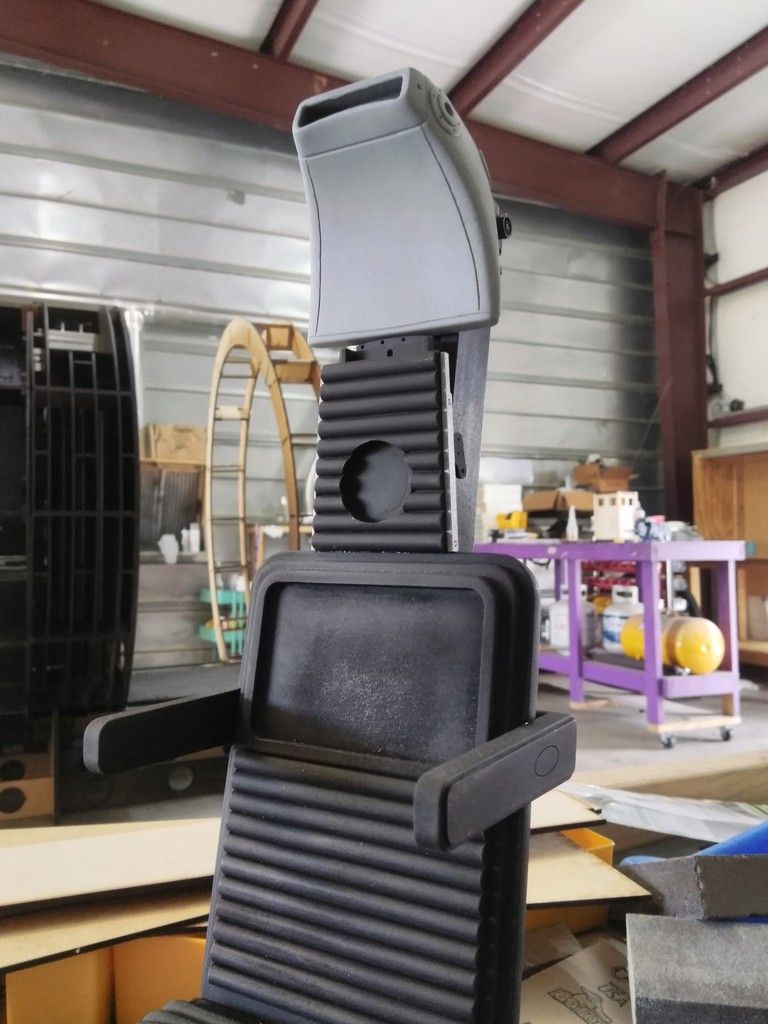
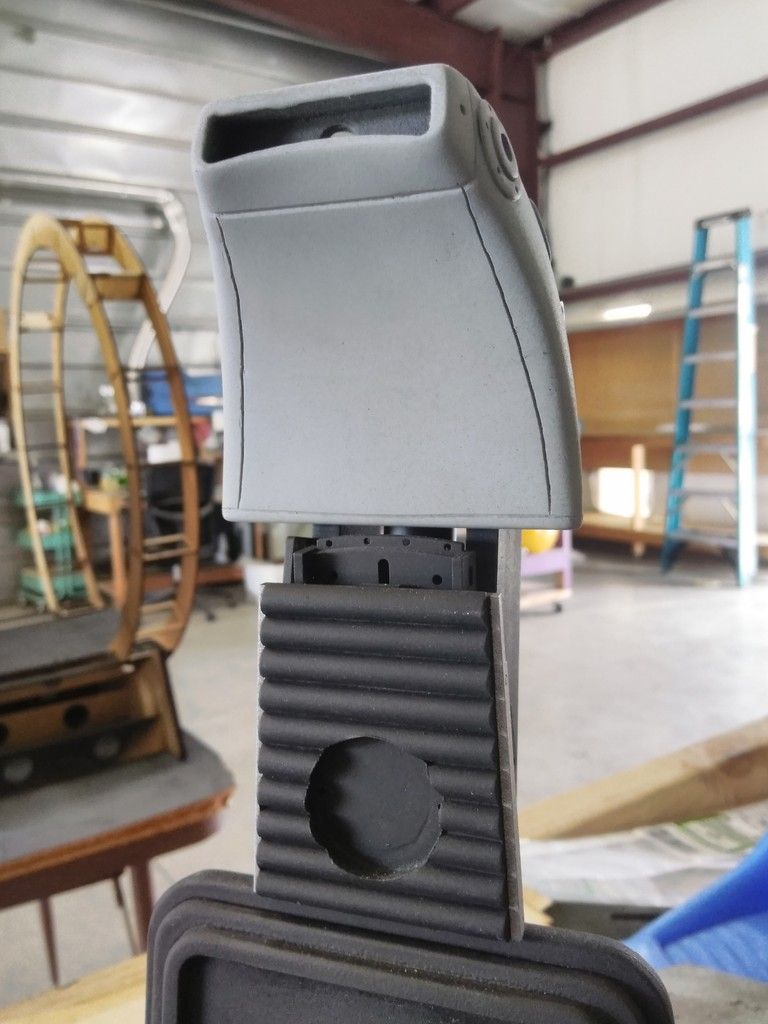
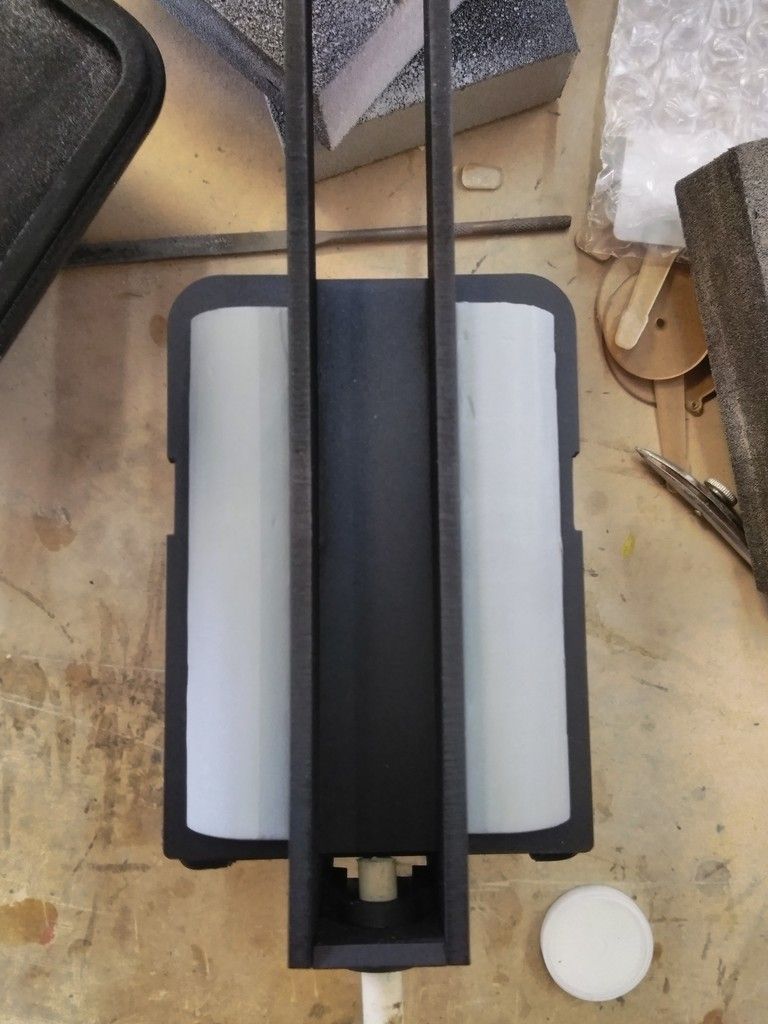
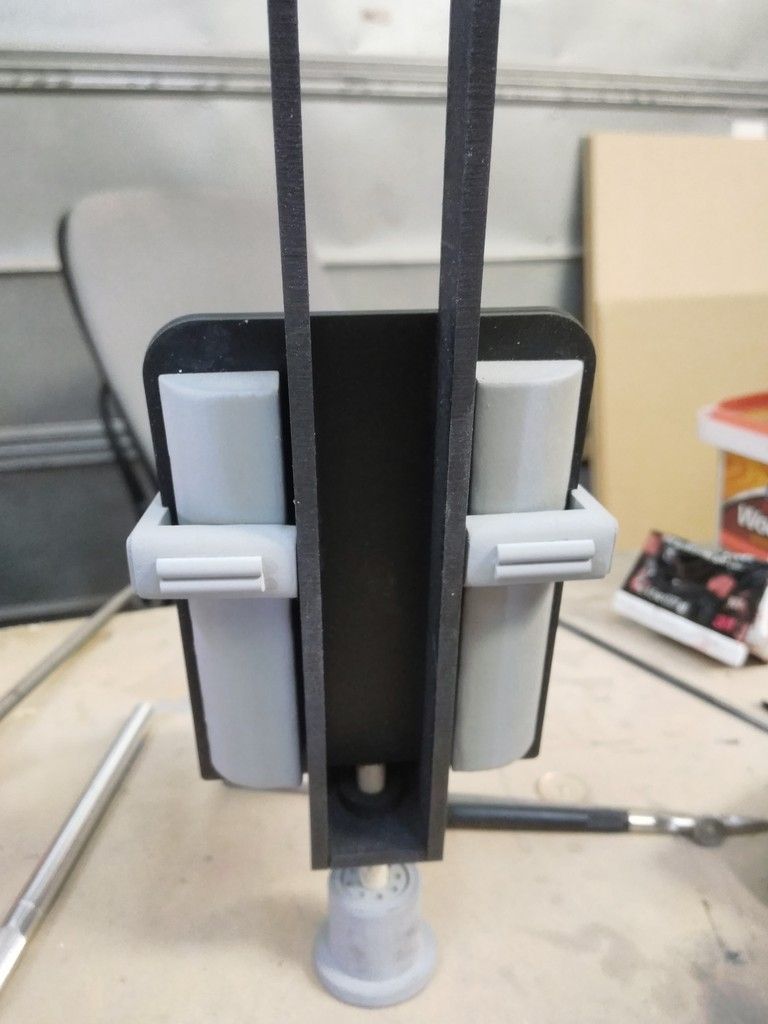
Let's get to some 3D details! The Tupperware lids for the nav chairs
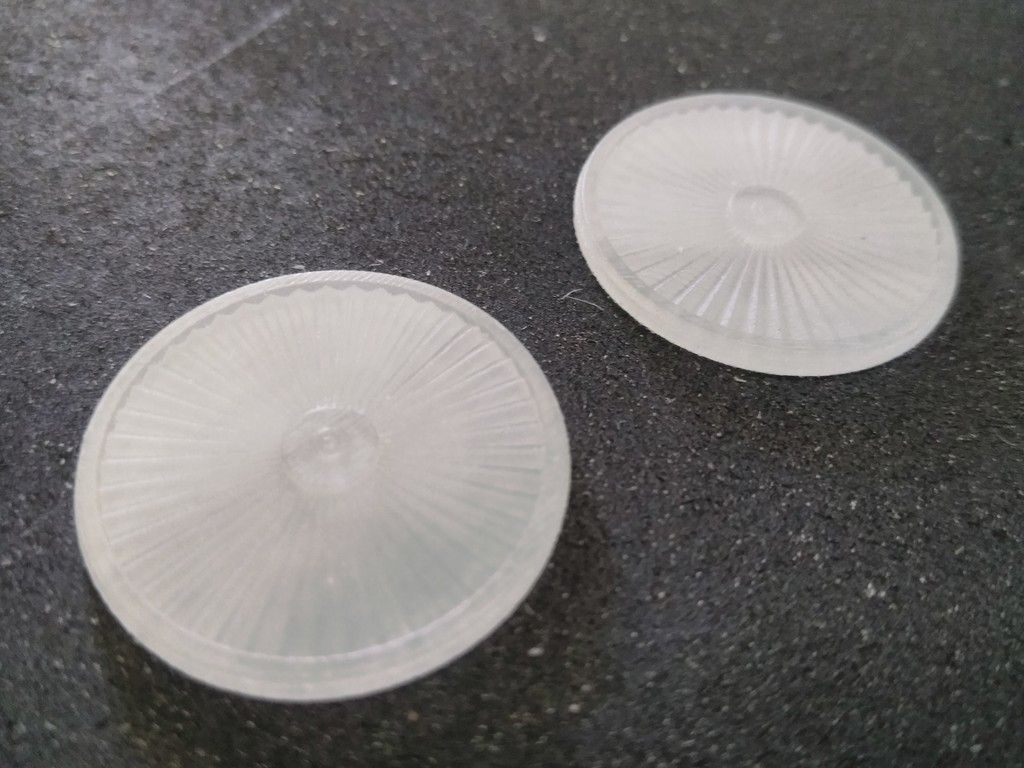
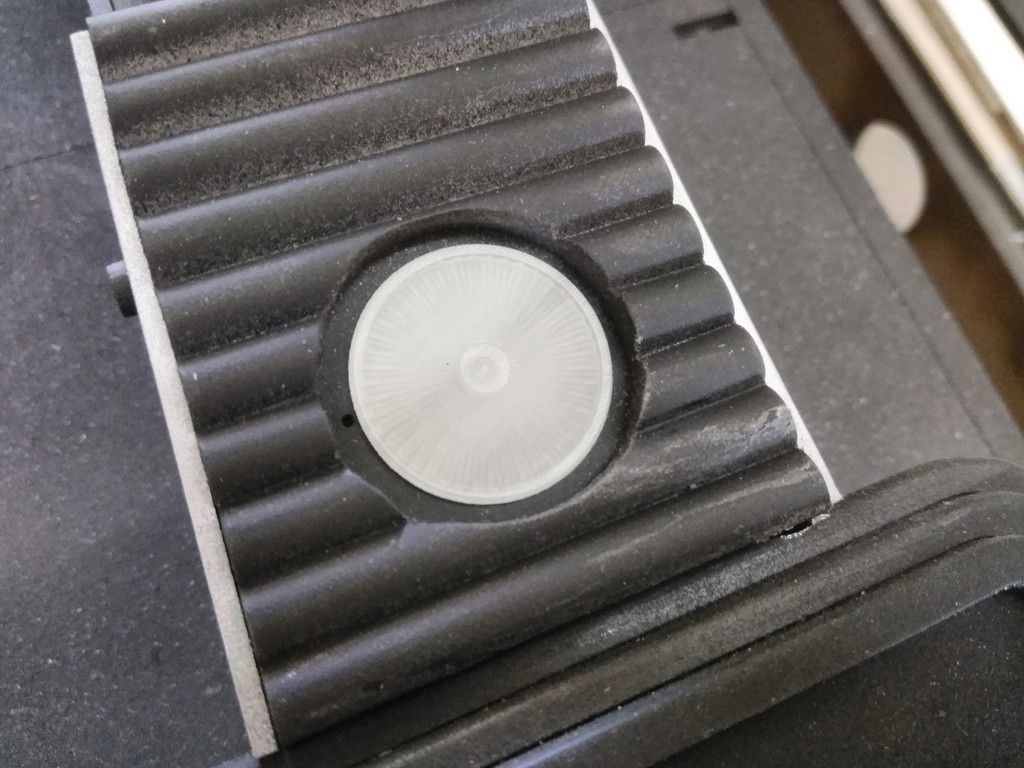
In order to fit I designed a housing
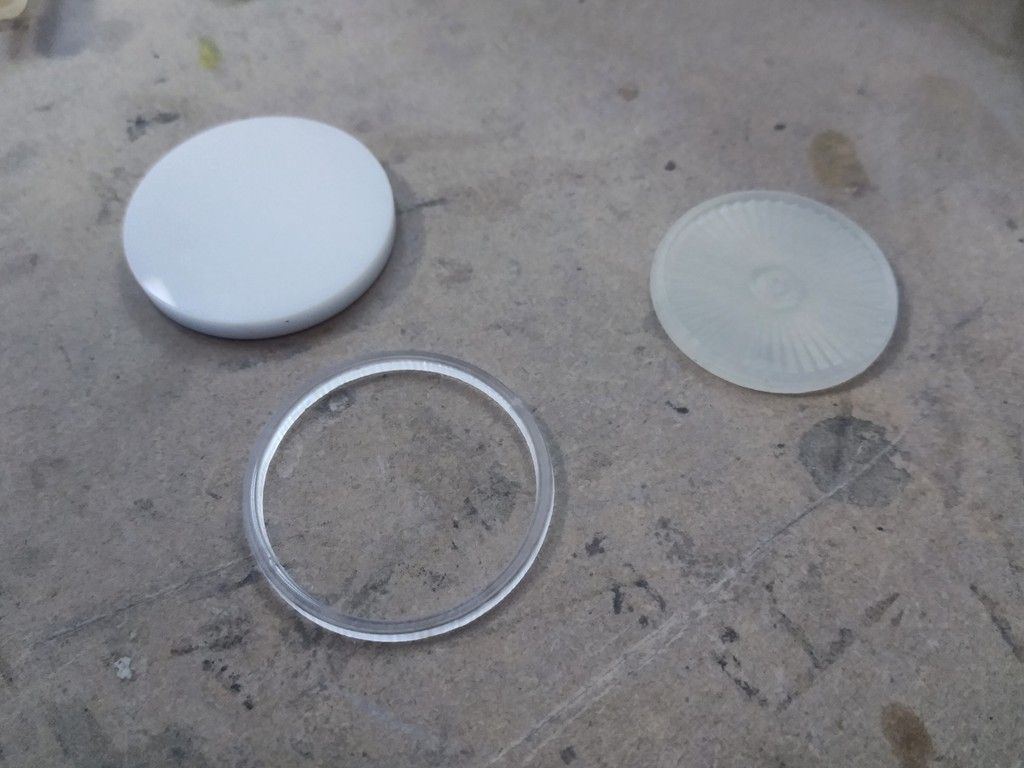
Kudos to Izzy for the amazing and spot on 3D model!
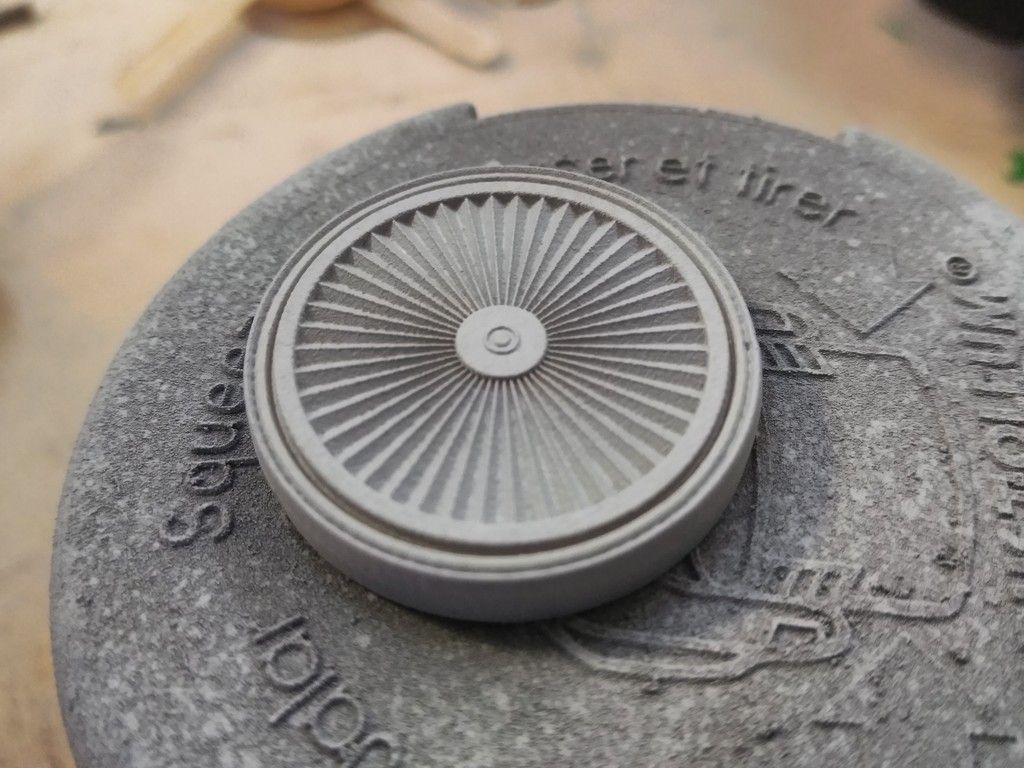
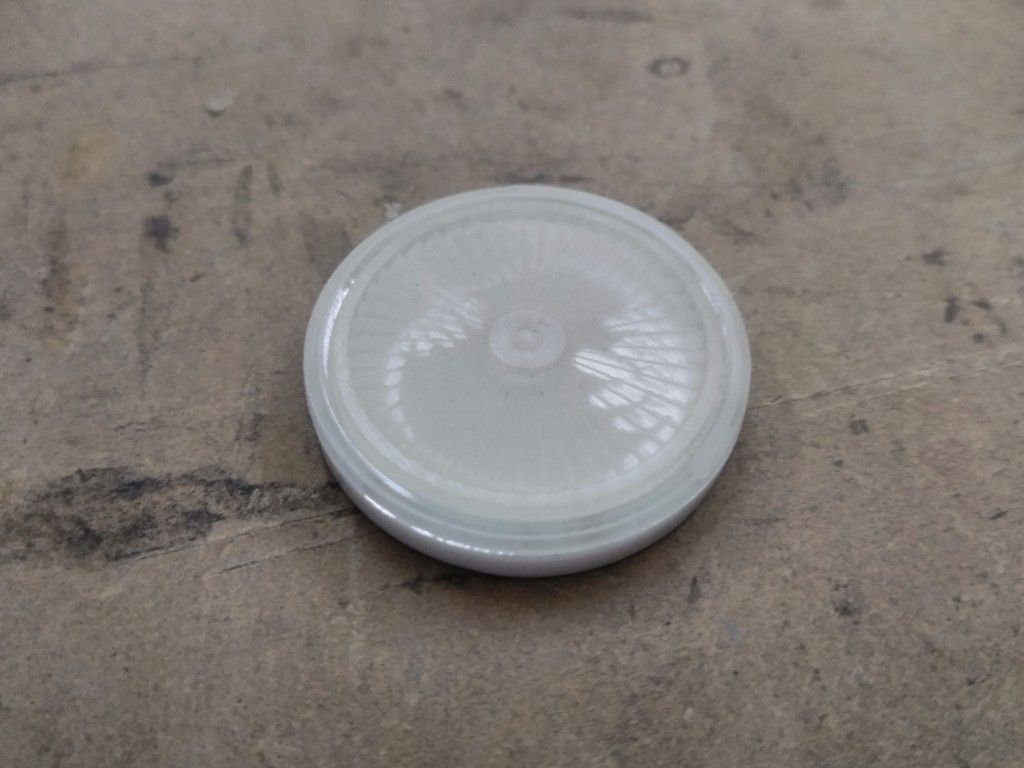
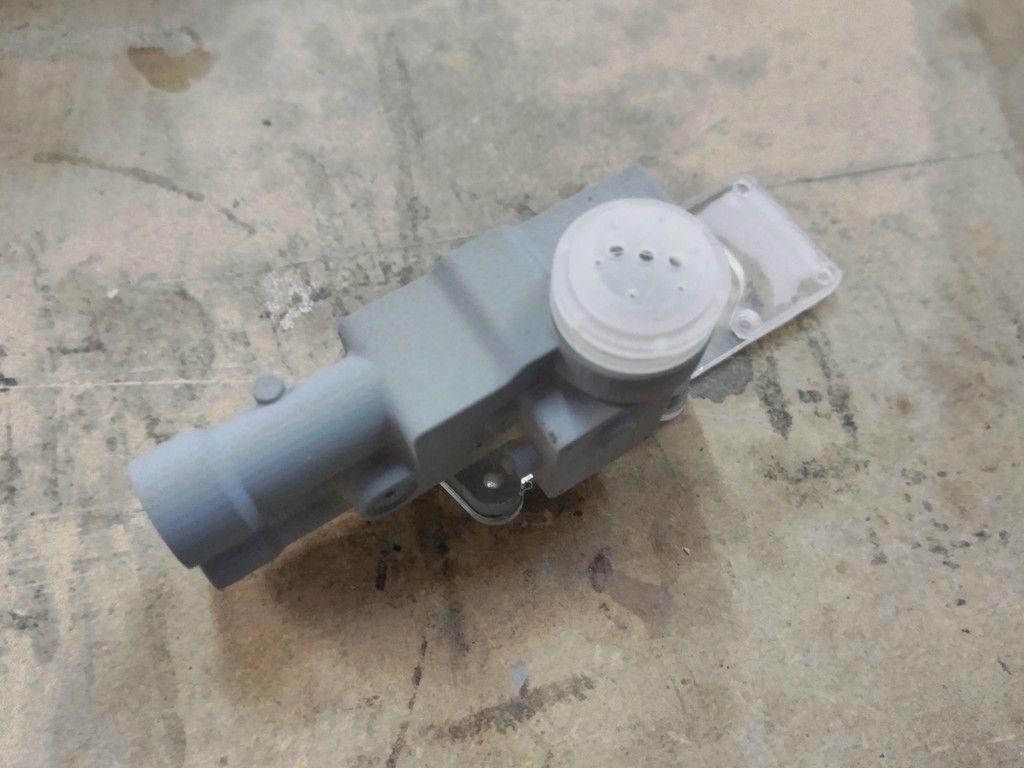
Primer - that is so pretty
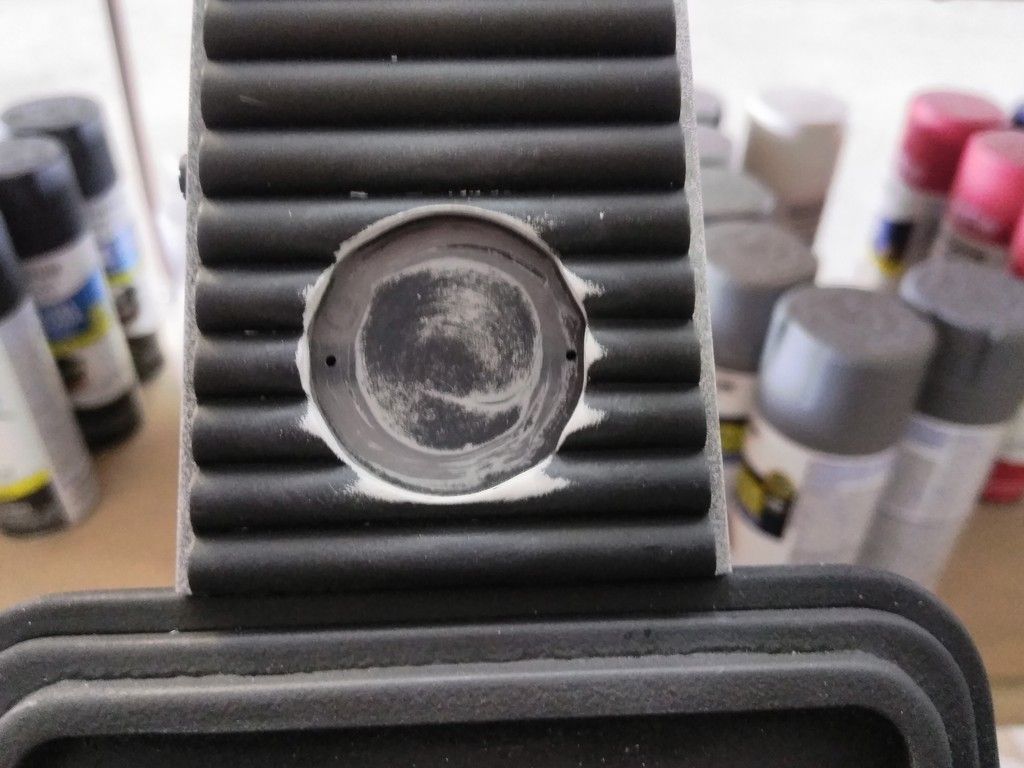
The other chair saw some MAJOR sanding/filing in order for the lid to fit

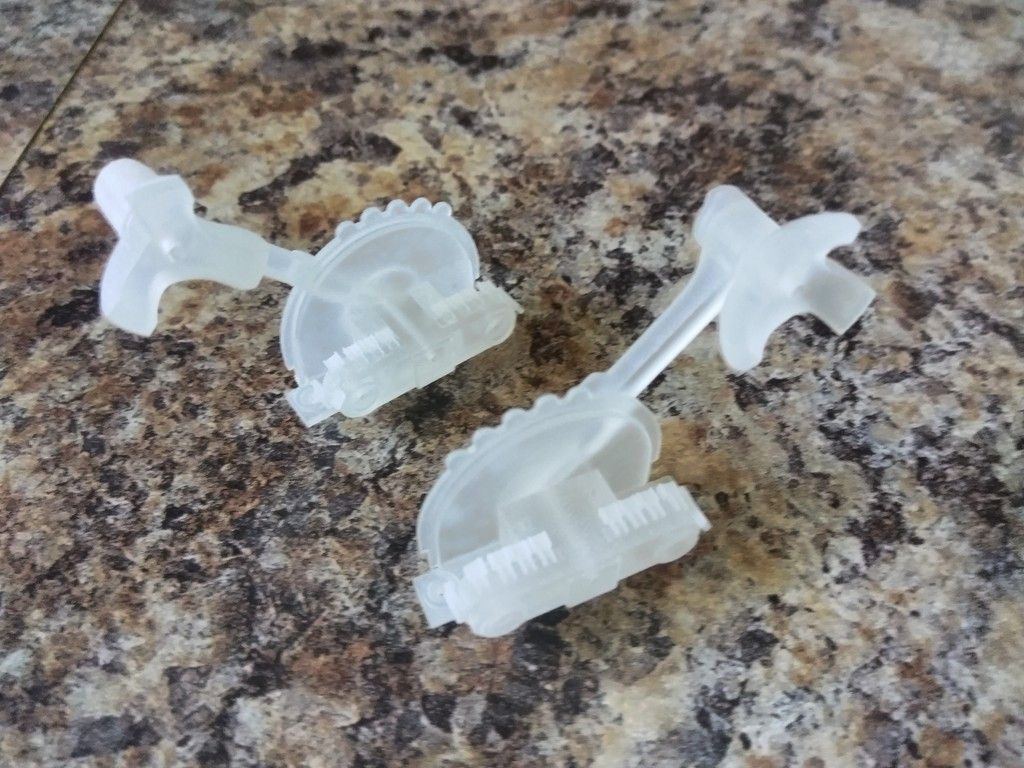
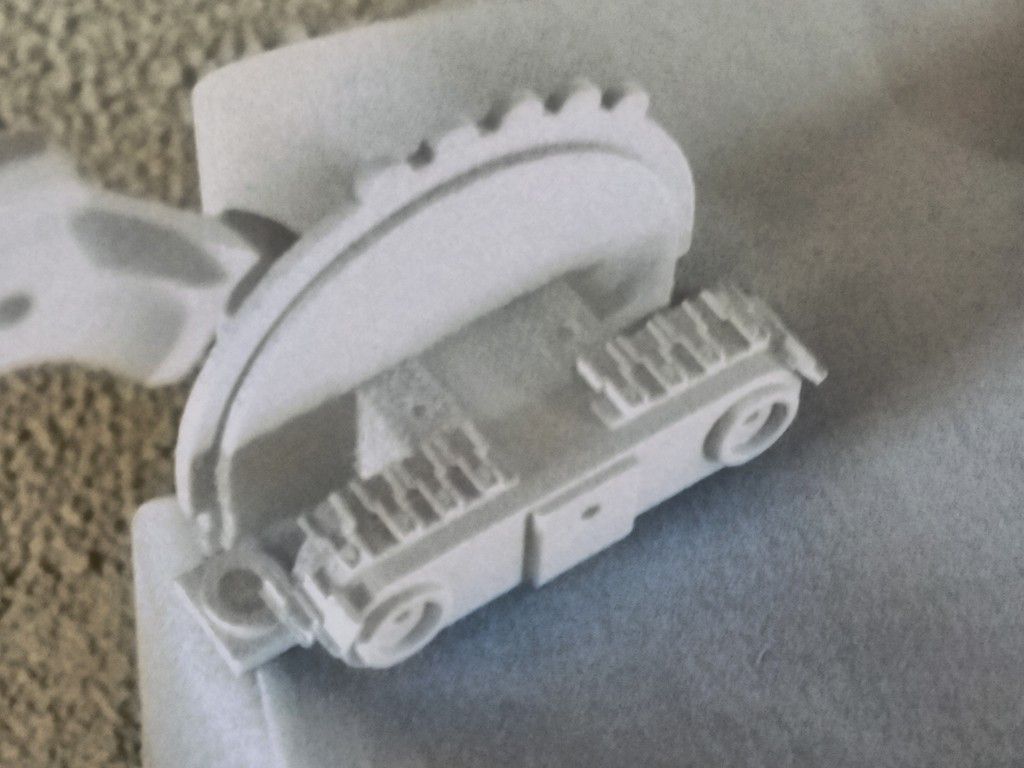
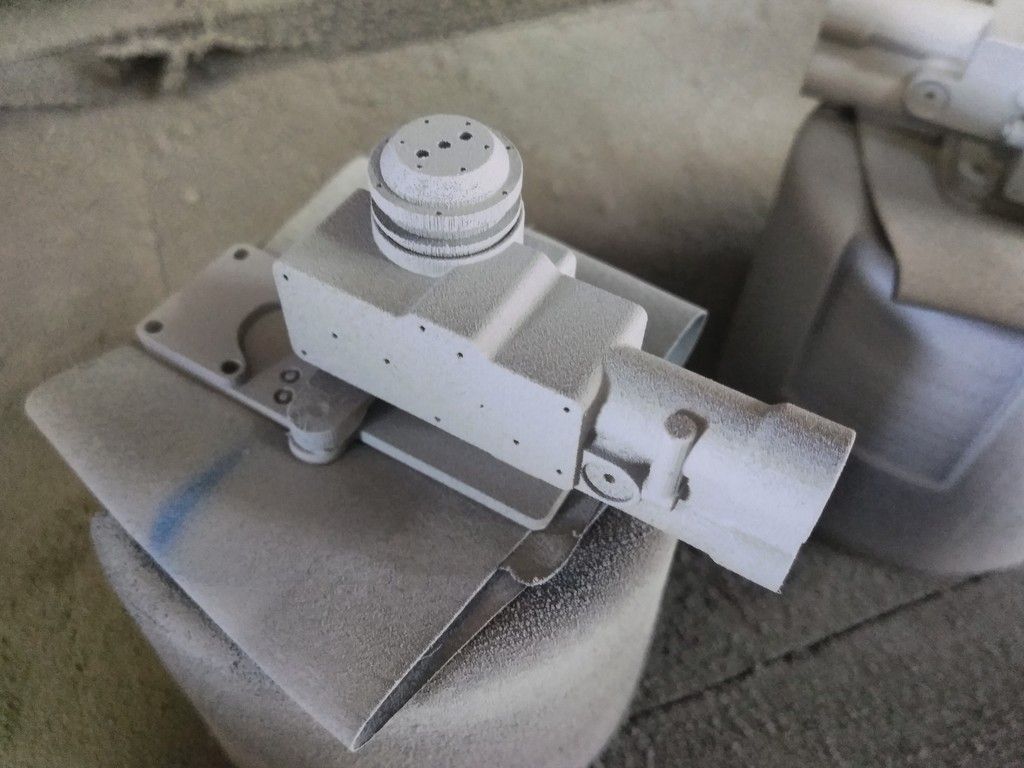
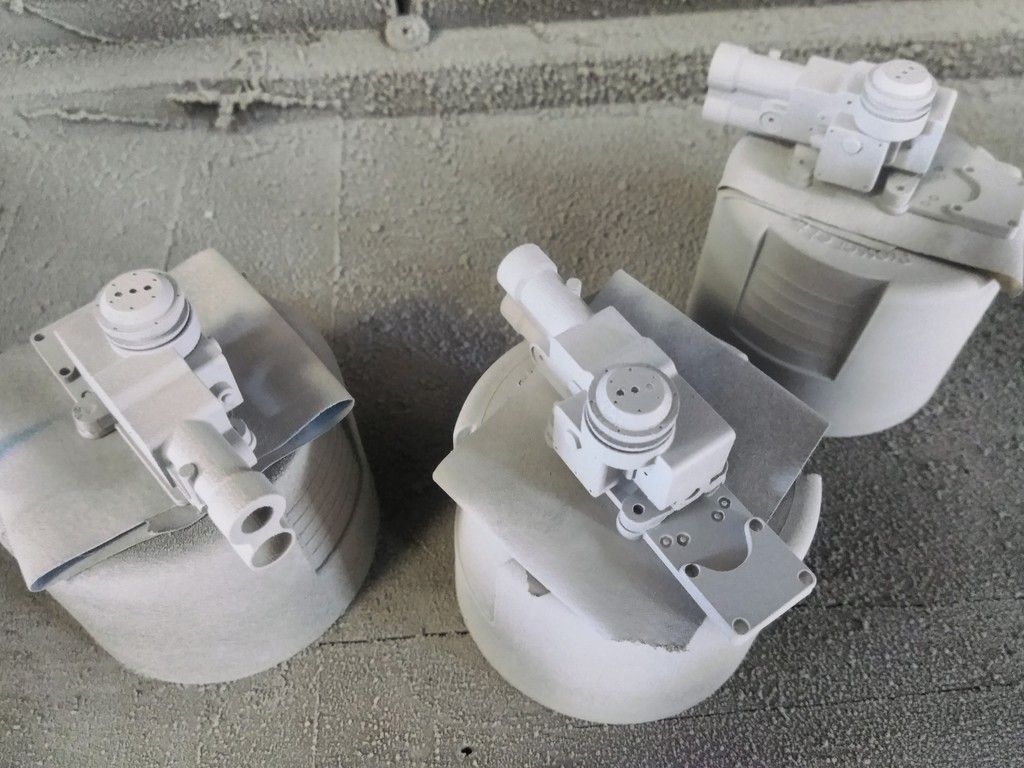
More 3D model goodness
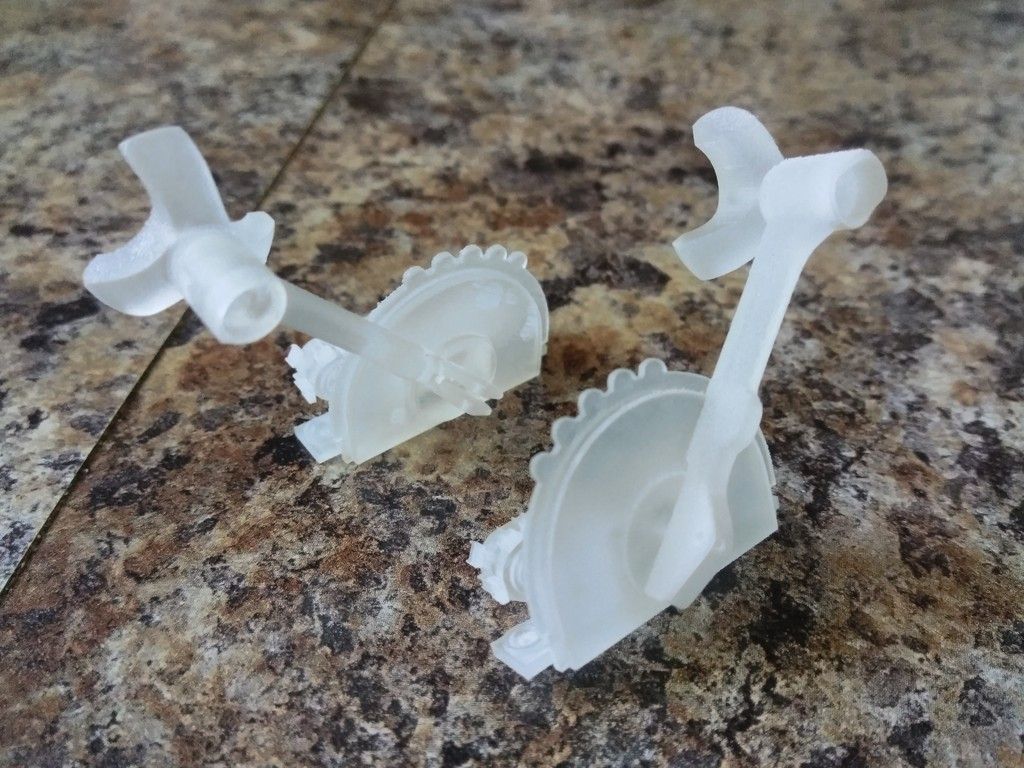
Izzy's 1/4 Scale TRM model for the nav chairs - WOW!!!
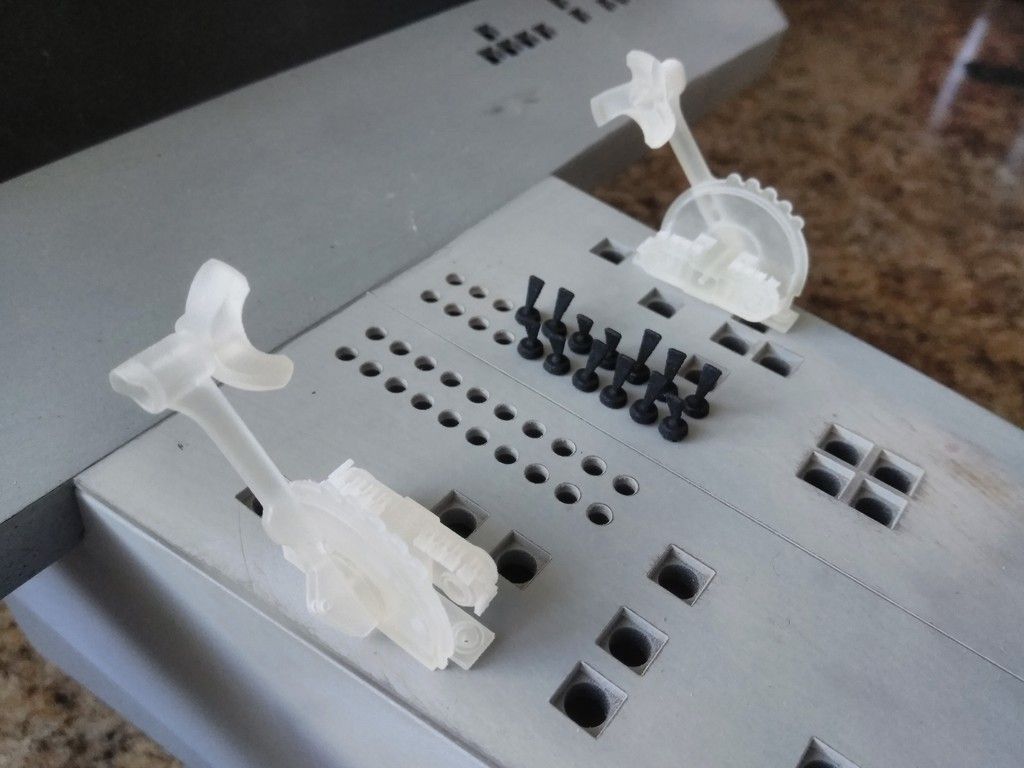
Primer time!
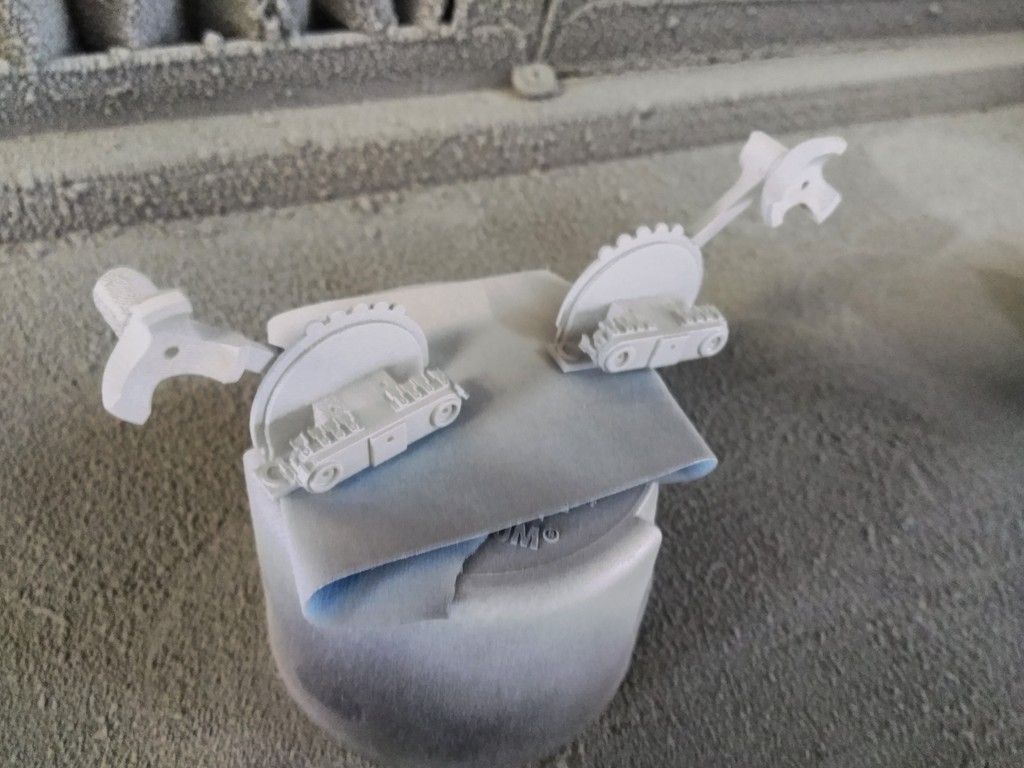
Look at the details!
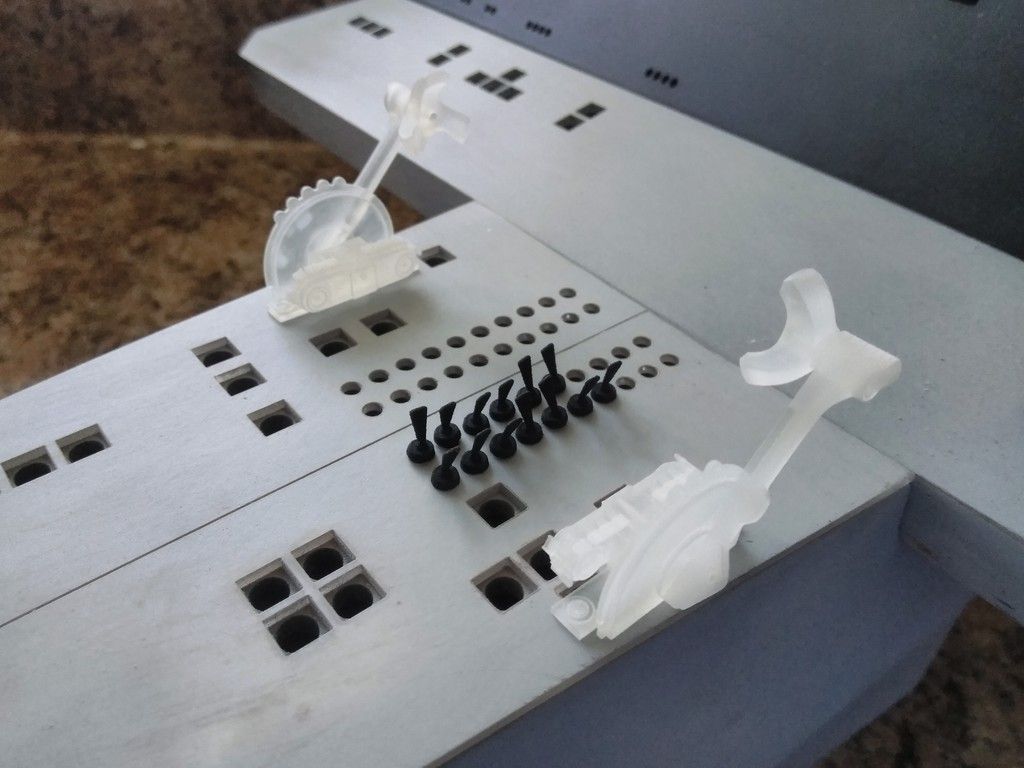
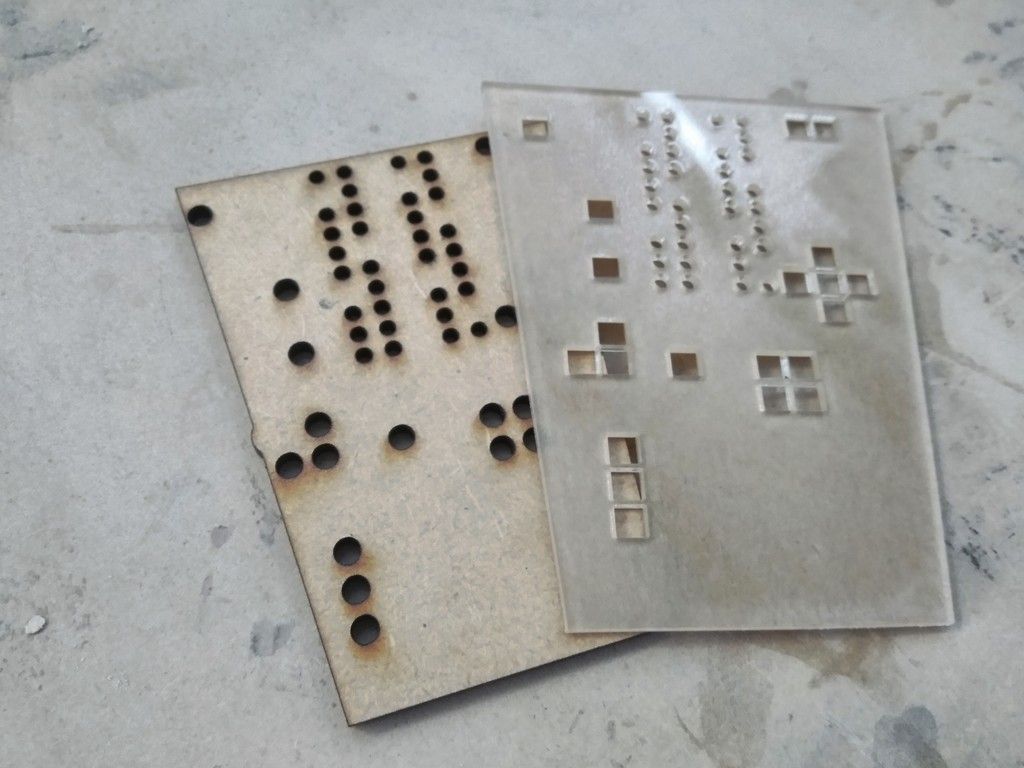
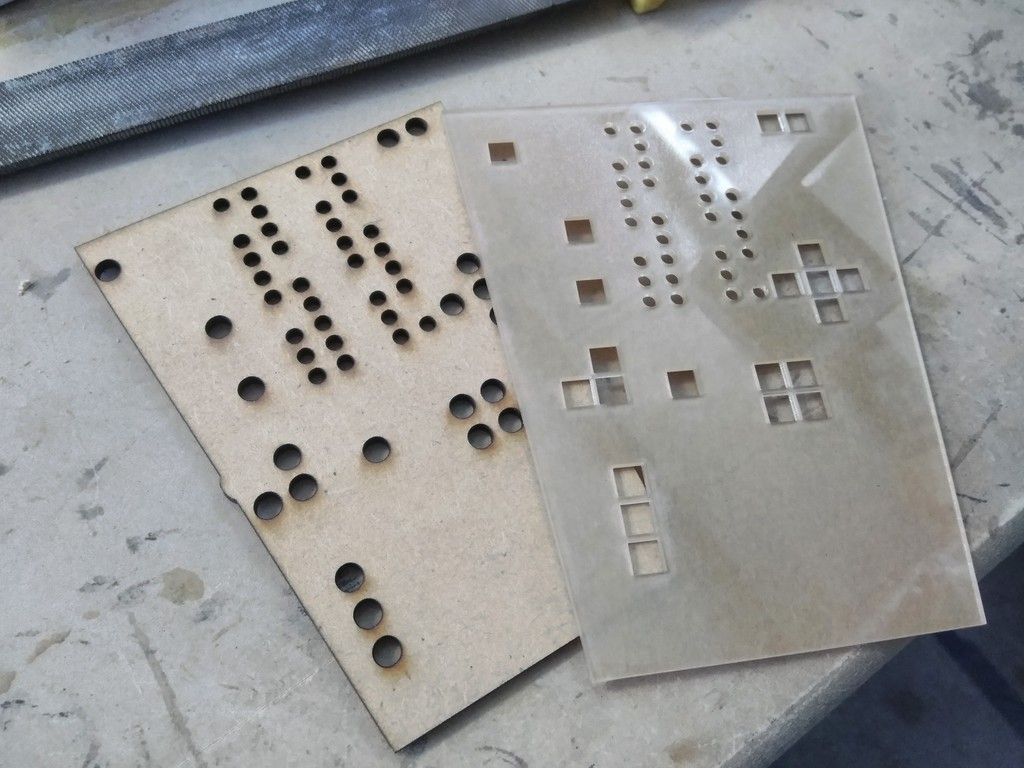
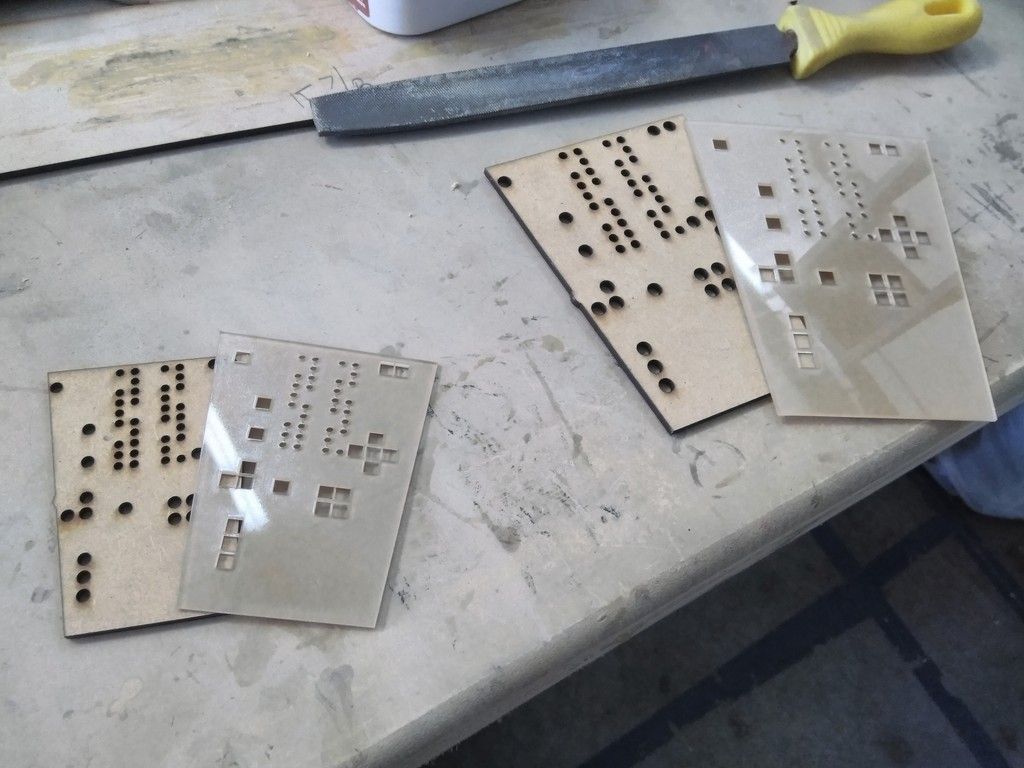
I then laser cut the base for the TRM
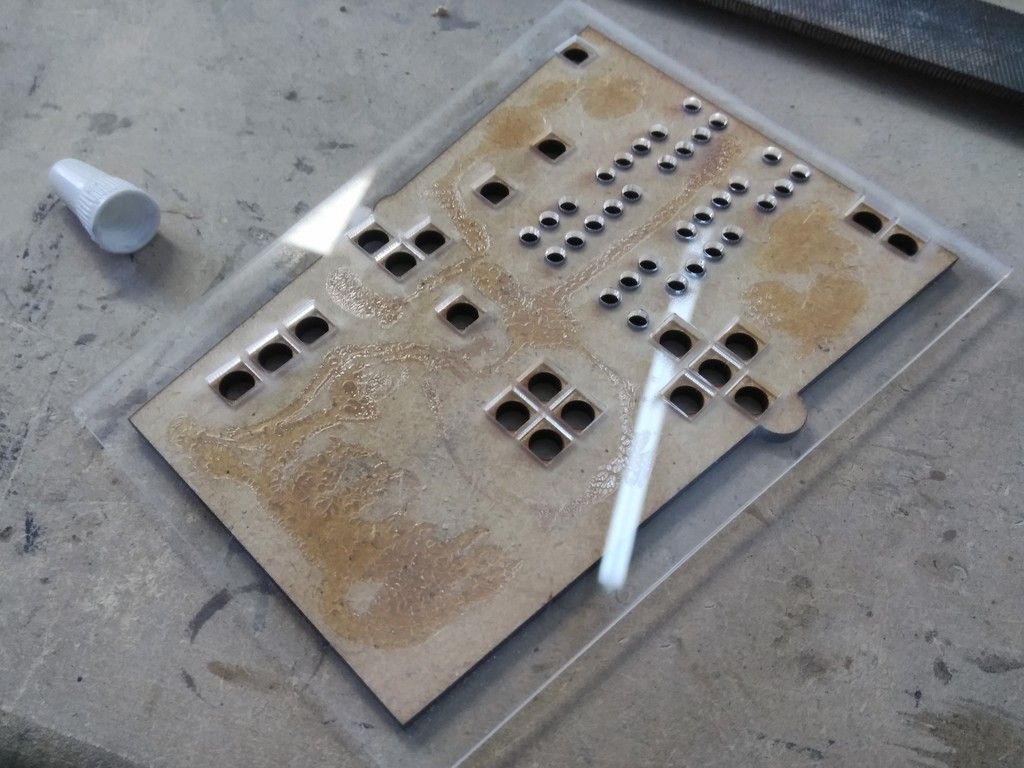
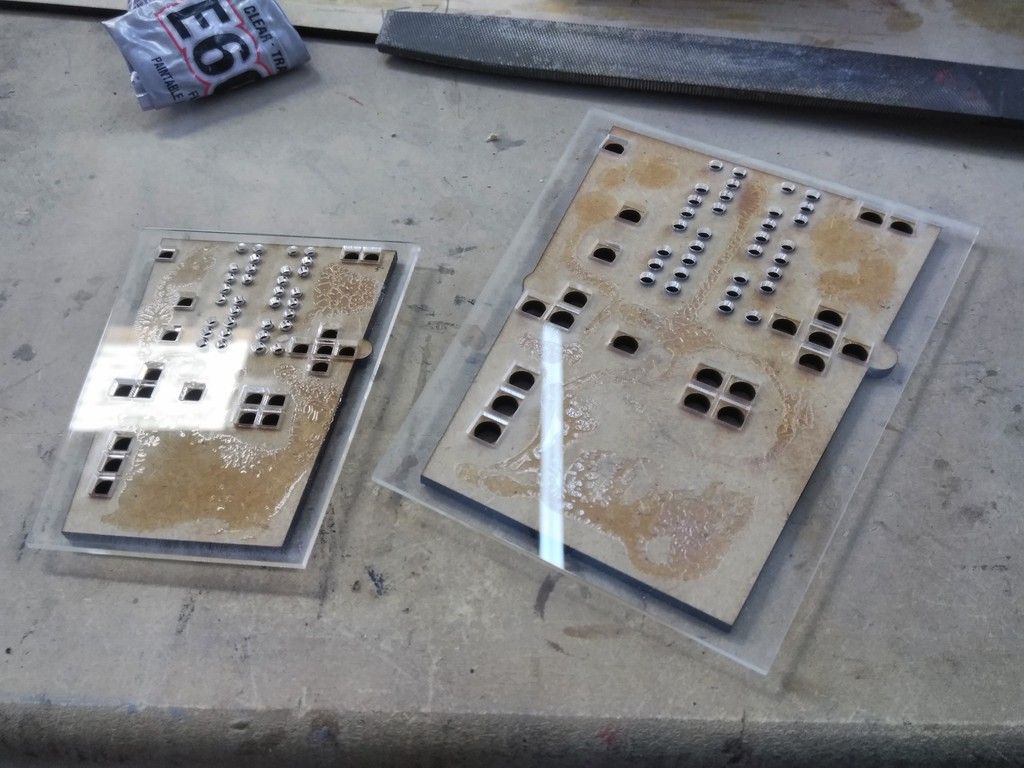
I adhered the silver nacelle lids
Primer
DEF needs a VERY light sanding
Still needs to be painted black
So pretty!
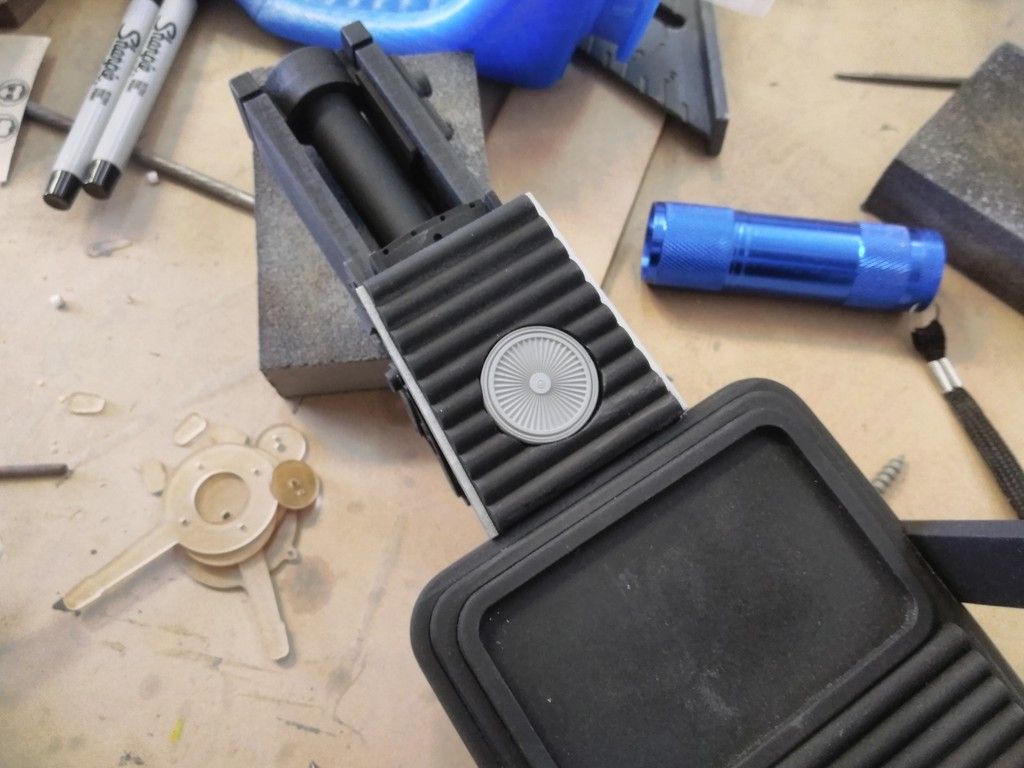
For funnzies I taped the cowl in place - can't wait to get this guy molded and finished up!
The TRM was painted and drying...

This pic was taken before I added the Tupperware lids

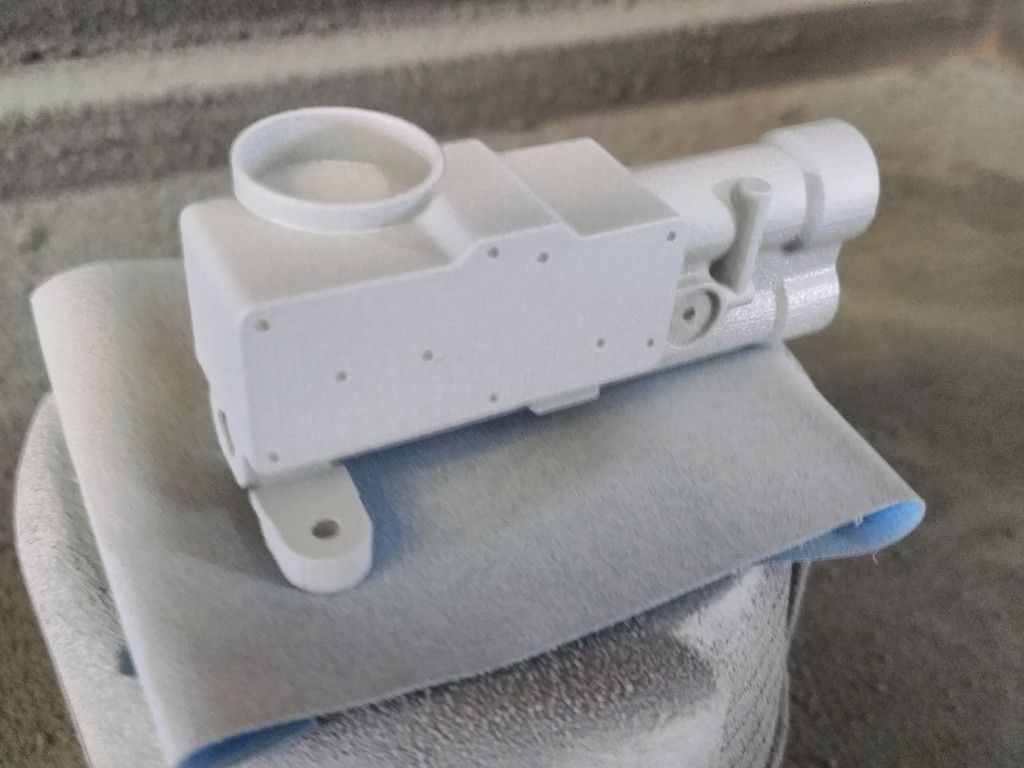
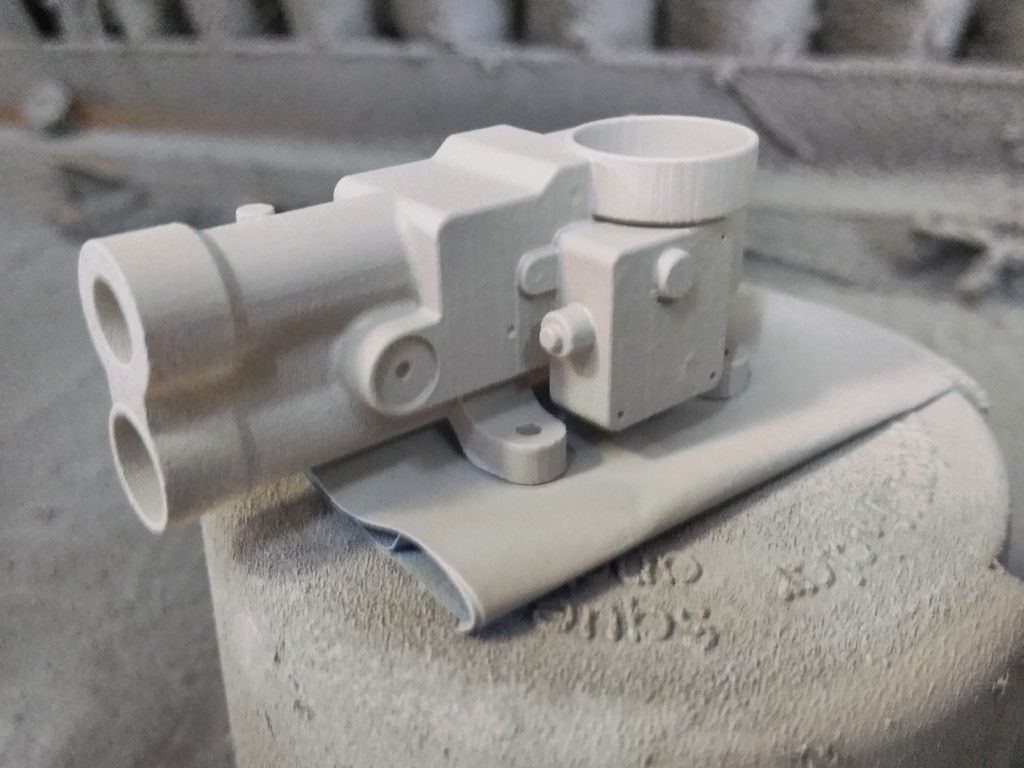
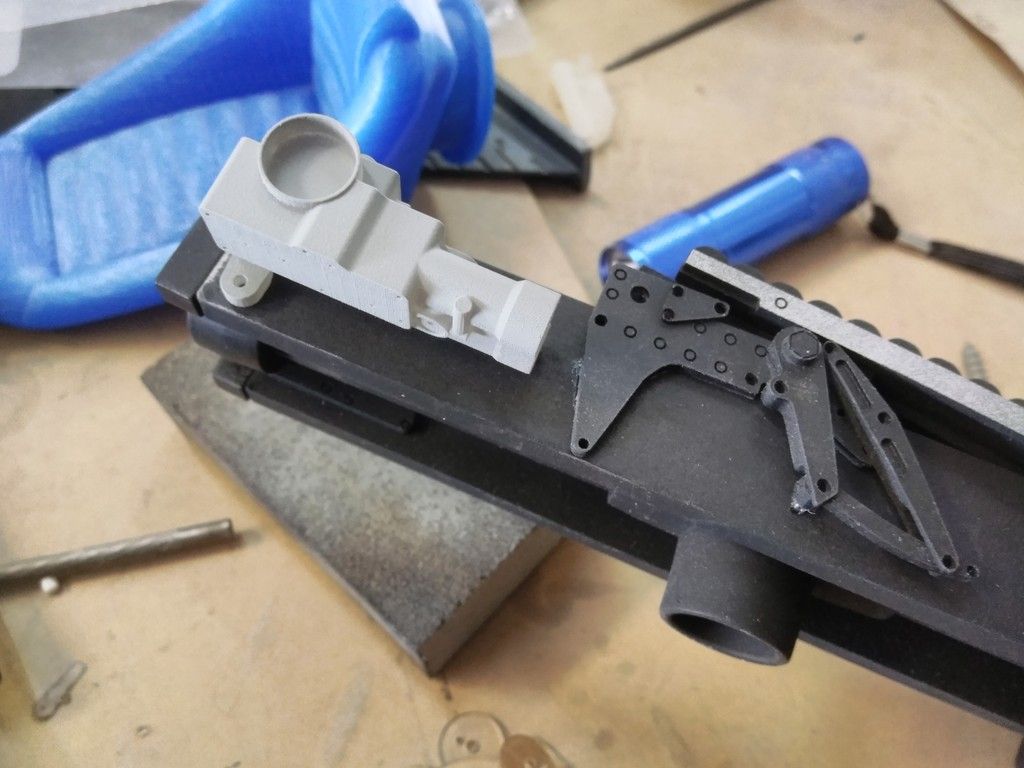
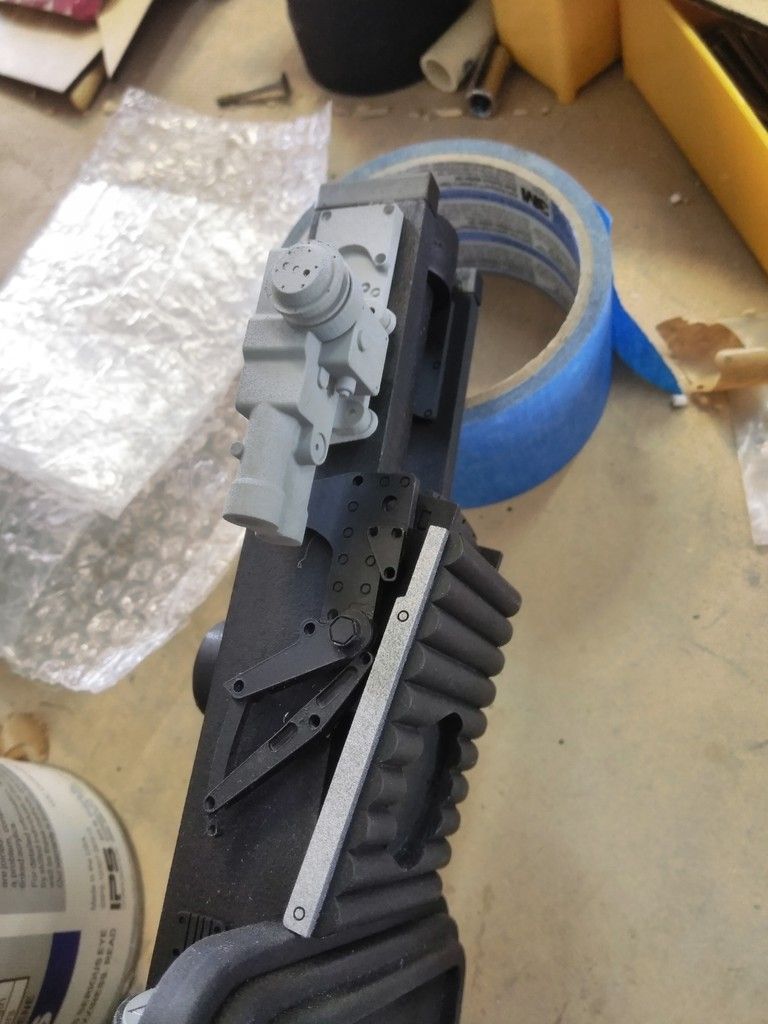
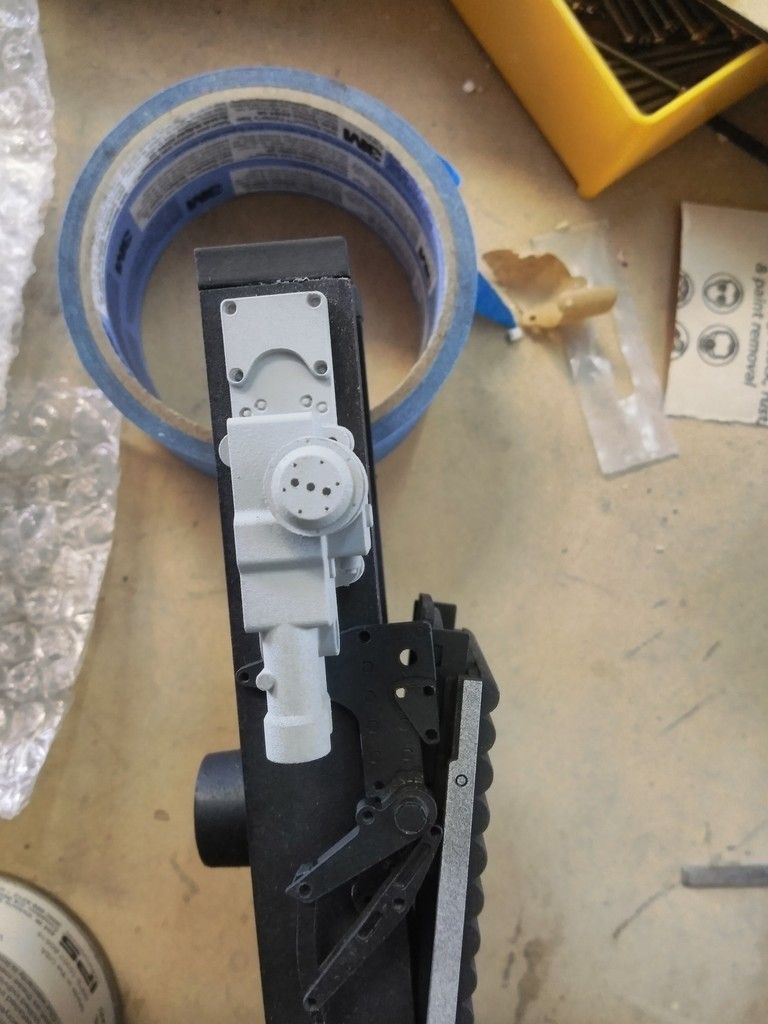
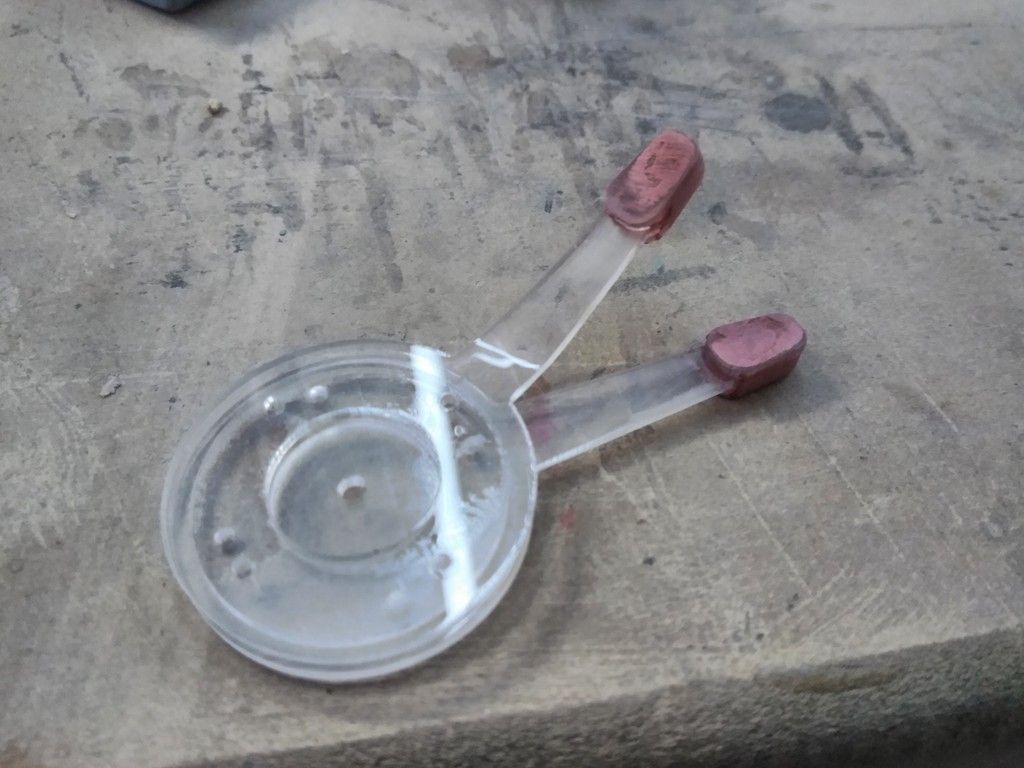
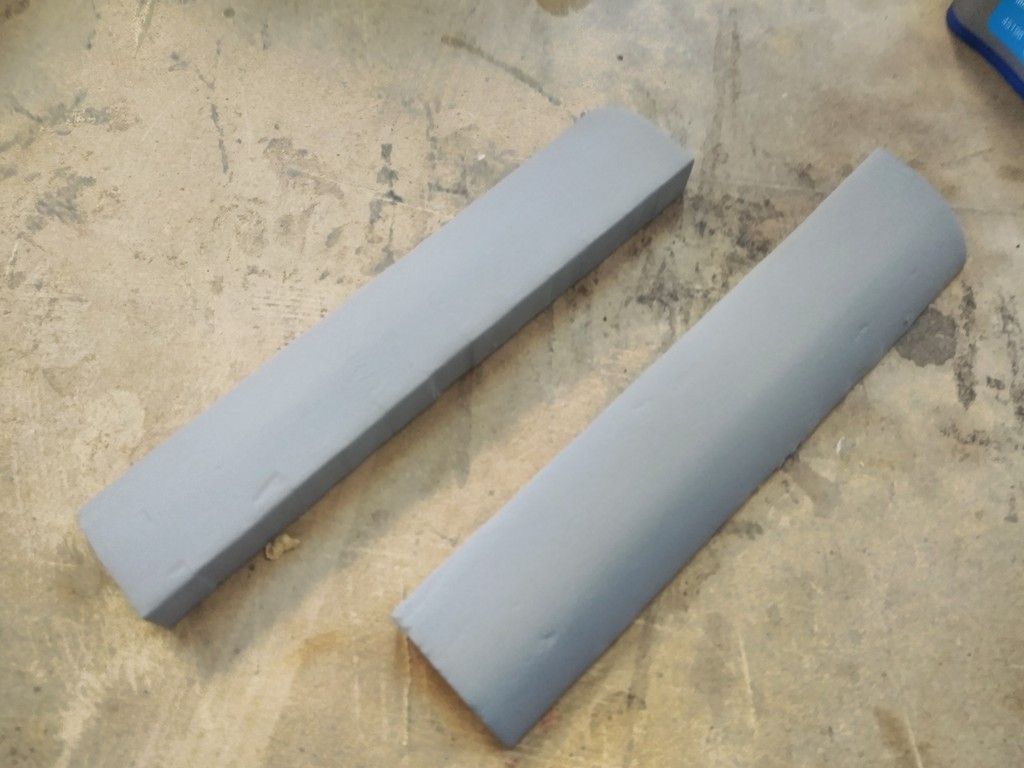
Center console dual lever greeblie
Filler
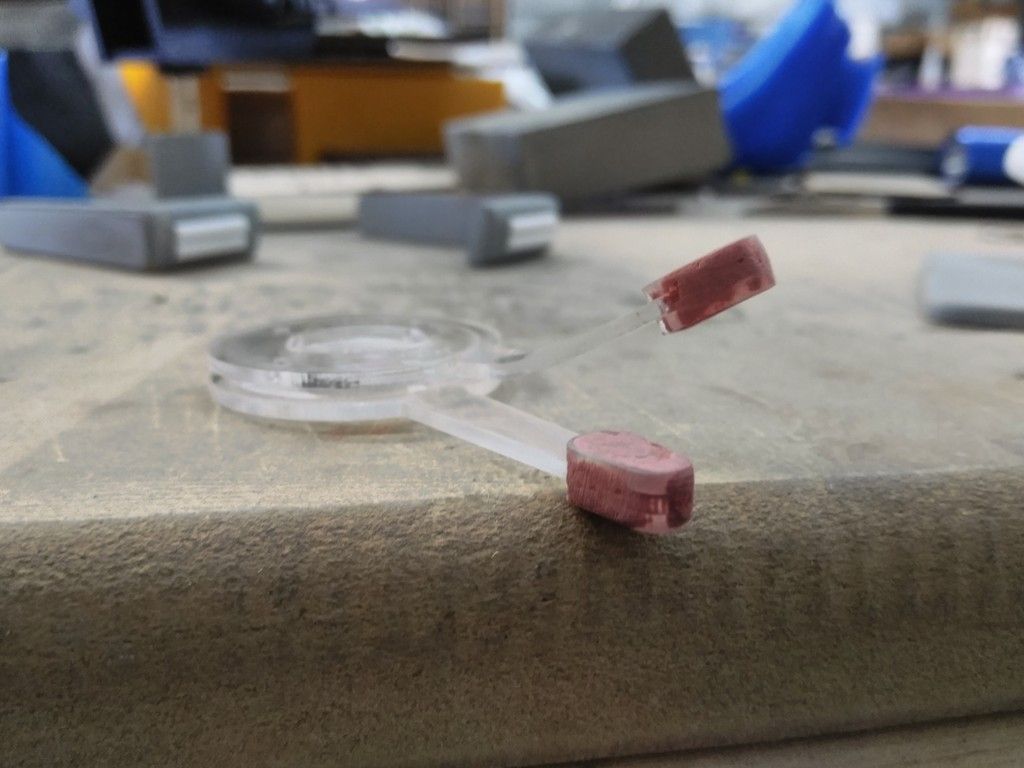
First of a few coats of primer/filler/sanding
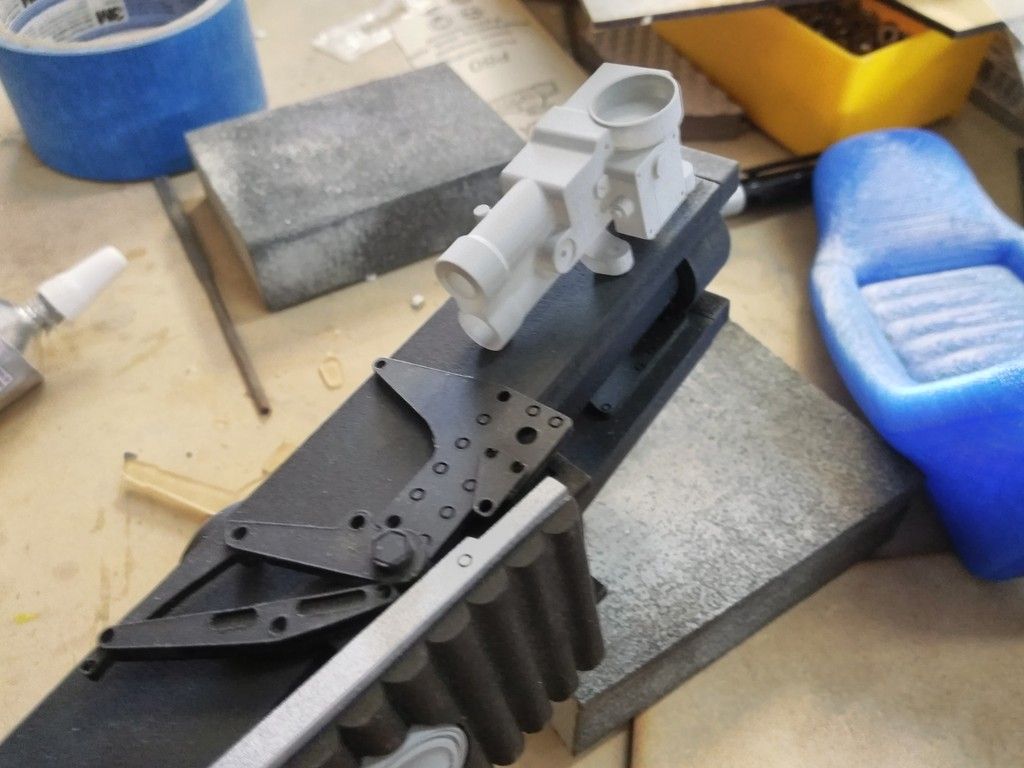
I then designed a new base for the console
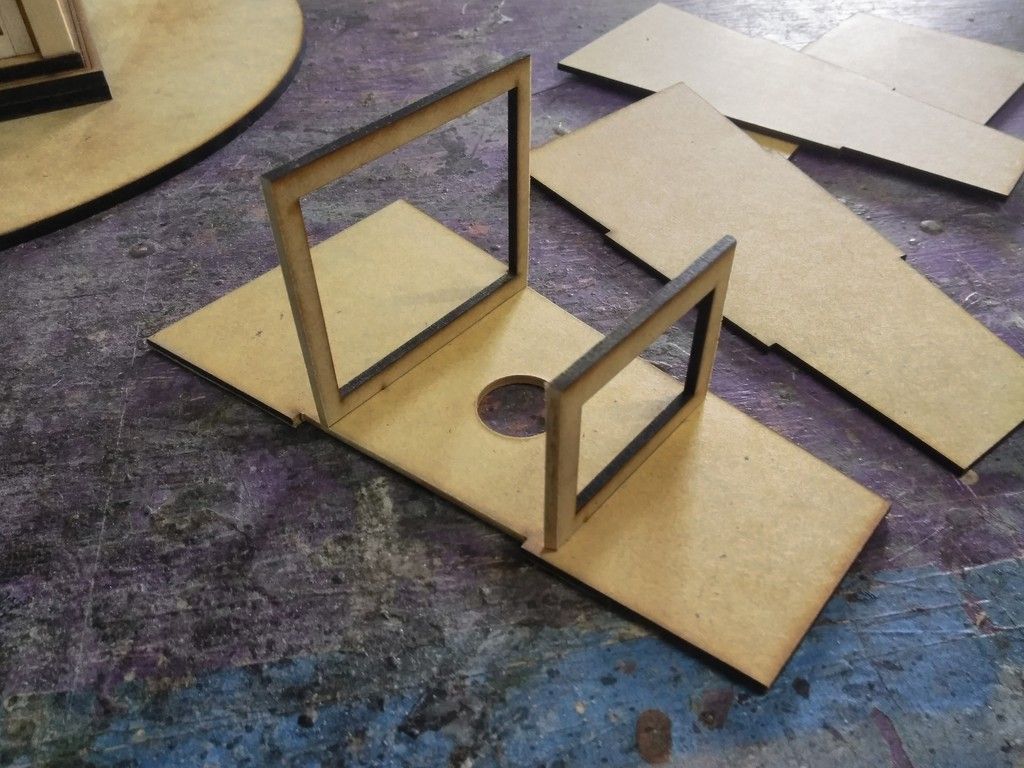
I had to raise it up 1" in order to clear the shelves
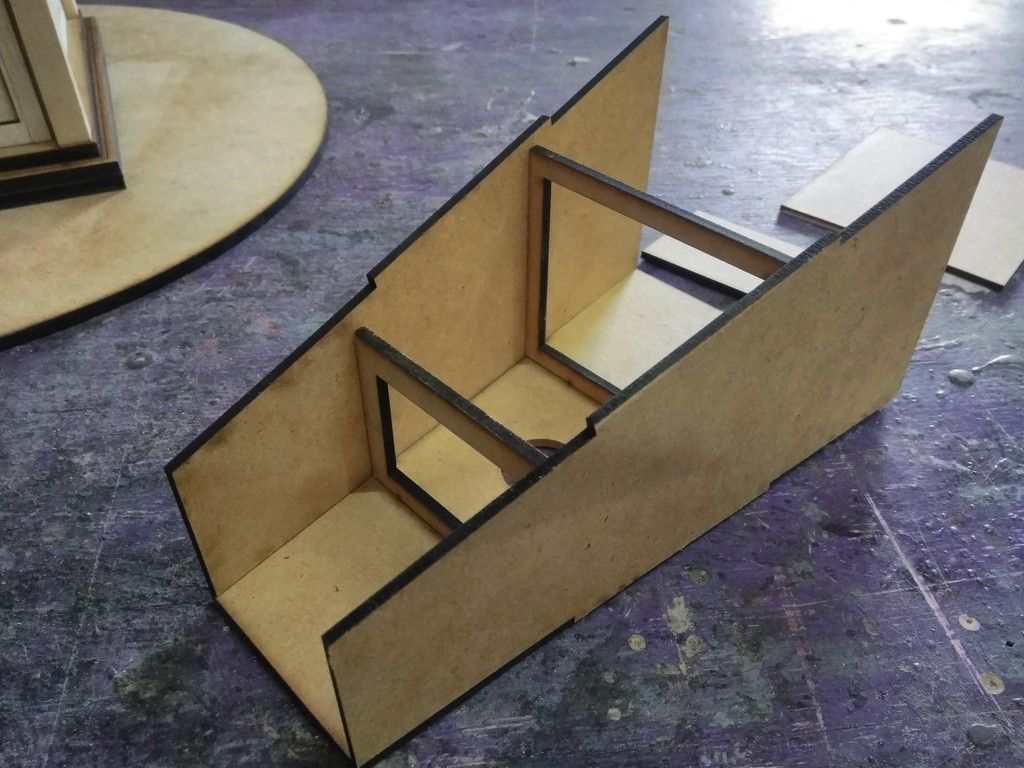
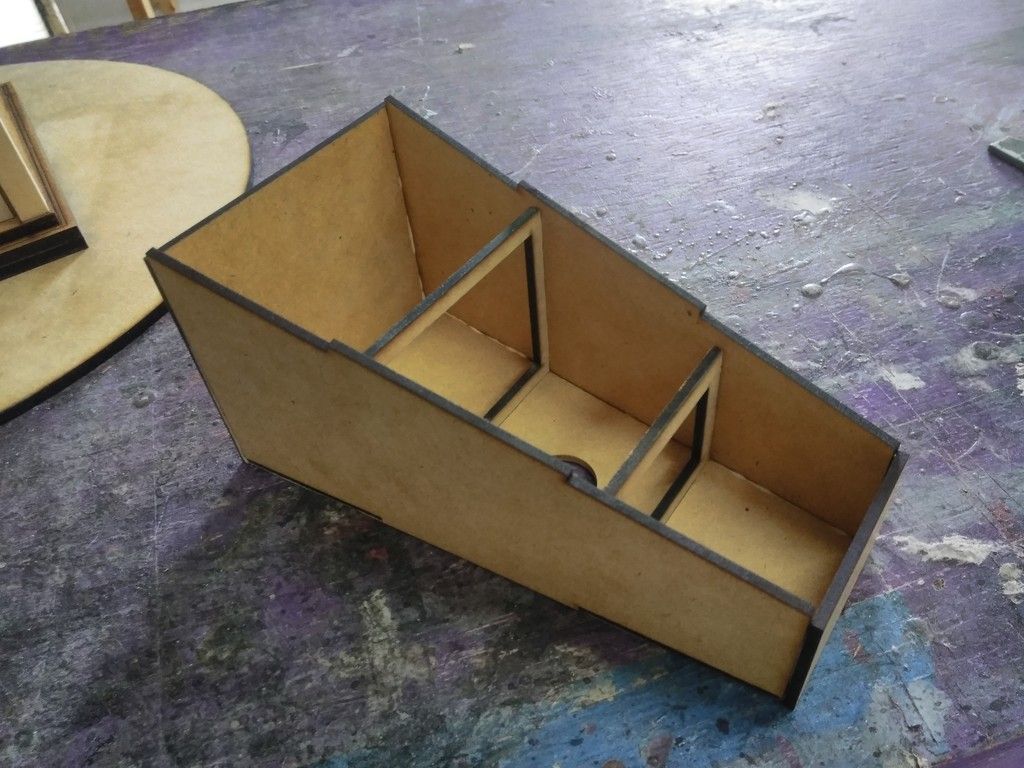
Adhered together and waiting filler/primer
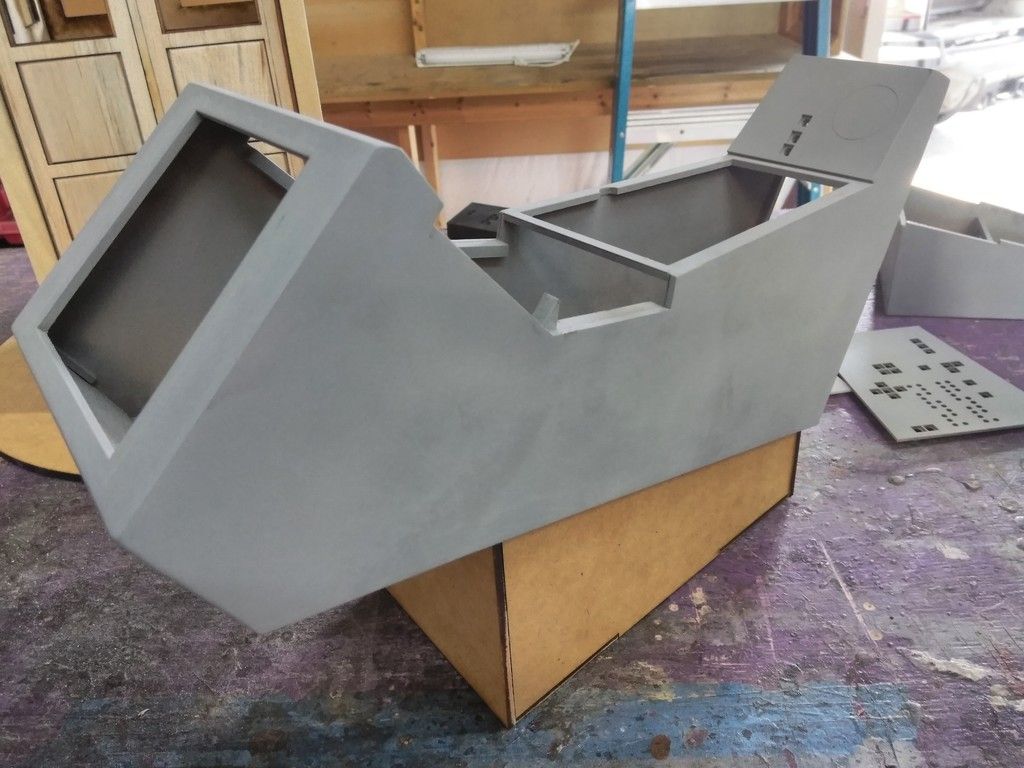
First coat done
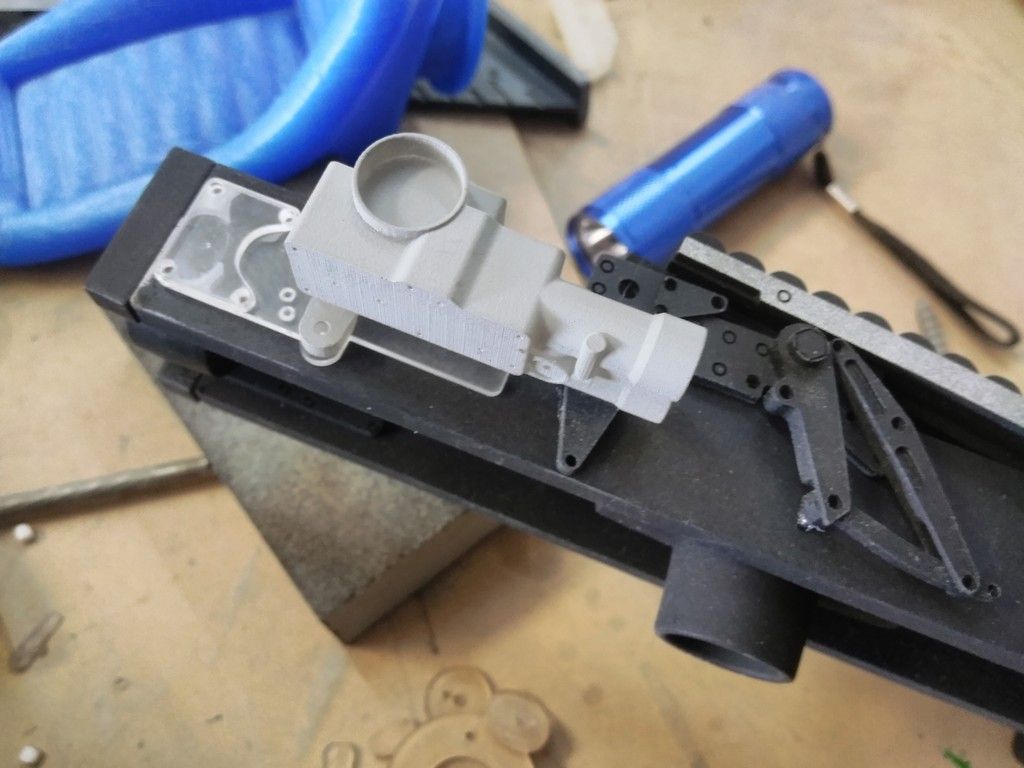
This is DEF the ship of Riddles... Each version changes")

Clears the shelves
Finally... I got back to work on Izzy's 1/6th scale nav chair prototype - nacelles
I then cut four of these little 1/8th inch plastic half round pieces
Adhered them in place on the armrest
Primered and adhered into position
1/6th scale chair coming along
This is just a prototype
Size comparo
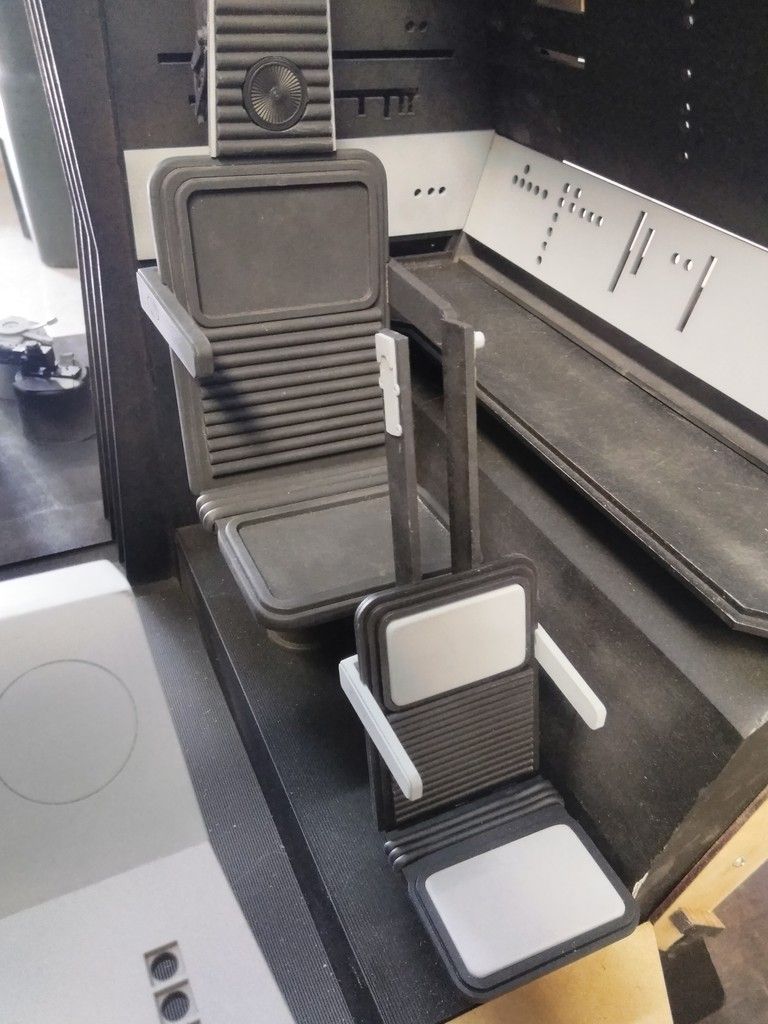
And this is where we are!
Waiting for a few more goodies to arrive so I can begin to move forward with the interior details. Also... sadly, the laser cutter needs a new tube so she'll be down for a short while... And a HUGE thank you to Izzy for taking the time to model all these awesome greeblies! Thank you, my friend!
More to Follow!
EDIT: I know these are not images of the 1:1 scale cockpit. Those pics are coming!
Time for the "End of the Weekend Update"! Enjoy!
Fellow RPFer and 1/6th Scale Enthusiast Izzy was nice enough to 3D print a 1/4 scale captains chair and some full scale MF related tools!
1:1 scale ESB tools
New console armrest greeblies - the older acrylic versions were constantly breaking!
Chair next to console
Check these out! Iz took the full scale toggle switches and scaled them down...
ShapeWays did an AMAZING job printing these
In place on the console armrest - they fit perfectly!
Might reprint them at the highest settings but they look awesome!
New armrest greeblies
Another amazing "Izzy model" and ShapeWays print!
The armrest panel has to be redesigned to make room for the new greeblies
COOL
Let's get working on the seat!
Primer
YUCK!
We'll get that covered up and smooth
As much as I LOVE 3D printing... I wish there was an easier way to avoid all the sanding without loosing too much detail.
3 coats of primer so far
First pass with the sanding block
I had to rescribe some of the lines
Filler
Sit back and let that dry
As I said earlier I had to recreate / redesign the console armrest... 1/6th Scale
1/4 Scale
Adhere the two together
1/4
1/6th
Talking to Iz, we decided to put this one 1/6th console together as a master for Iz to follow when he puts his together. We'll work out the bugs and then maybe offer up a kit!
Nose
Primer
1/4 Scale
Side by Side
Every surface that has pinstripes will receive a water slide decal showing all the details - I'm hoping for success on this idea!
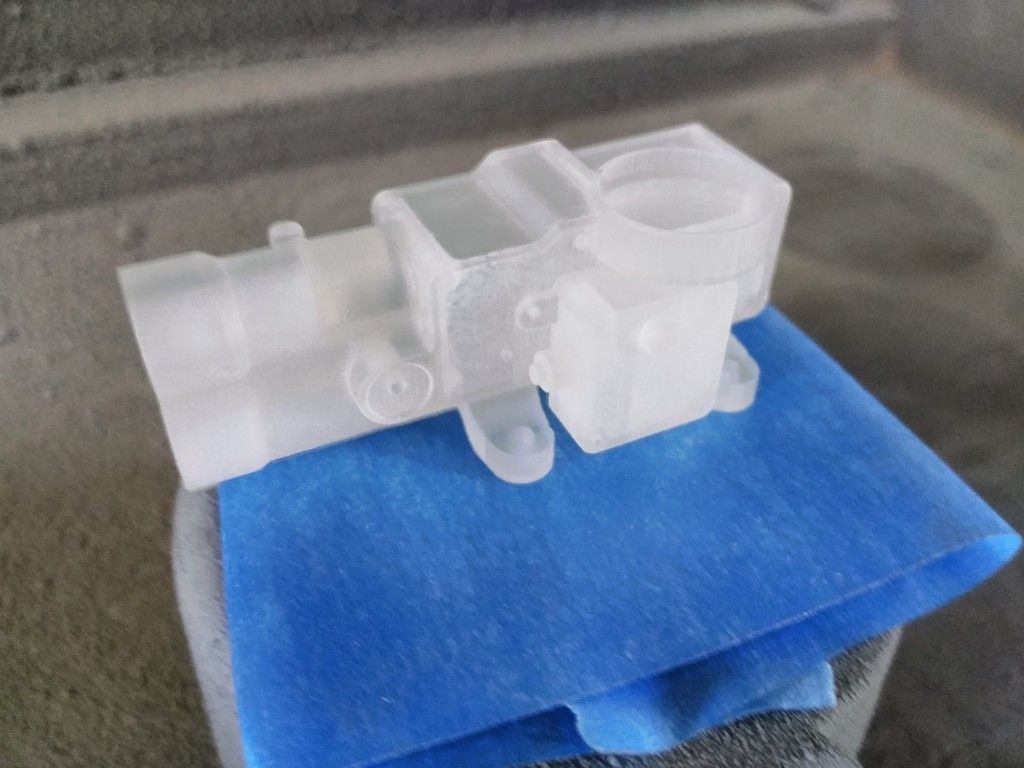
Let's get to some 3D details! The Tupperware lids for the nav chairs
In order to fit I designed a housing
Kudos to Izzy for the amazing and spot on 3D model!
Primer - that is so pretty
The other chair saw some MAJOR sanding/filing in order for the lid to fit
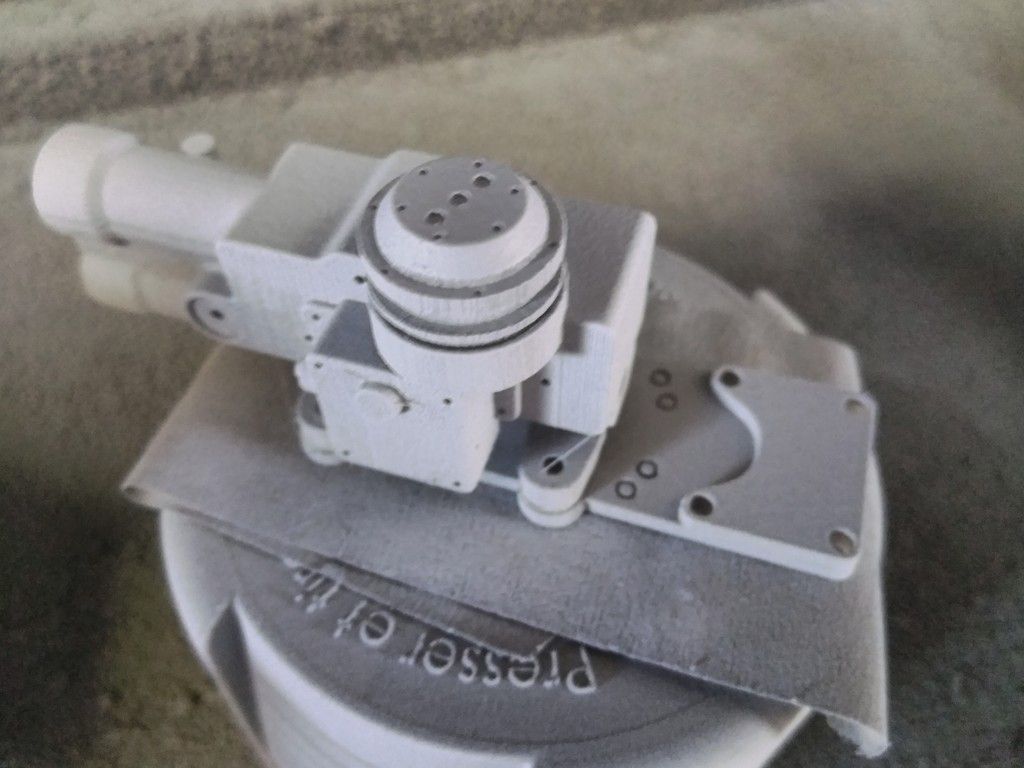
More 3D model goodness
Izzy's 1/4 Scale TRM model for the nav chairs - WOW!!!
Primer time!
Look at the details!
I then laser cut the base for the TRM
I adhered the silver nacelle lids
Primer
DEF needs a VERY light sanding
Still needs to be painted black
So pretty!
For funnzies I taped the cowl in place - can't wait to get this guy molded and finished up!
The TRM was painted and drying...
This pic was taken before I added the Tupperware lids
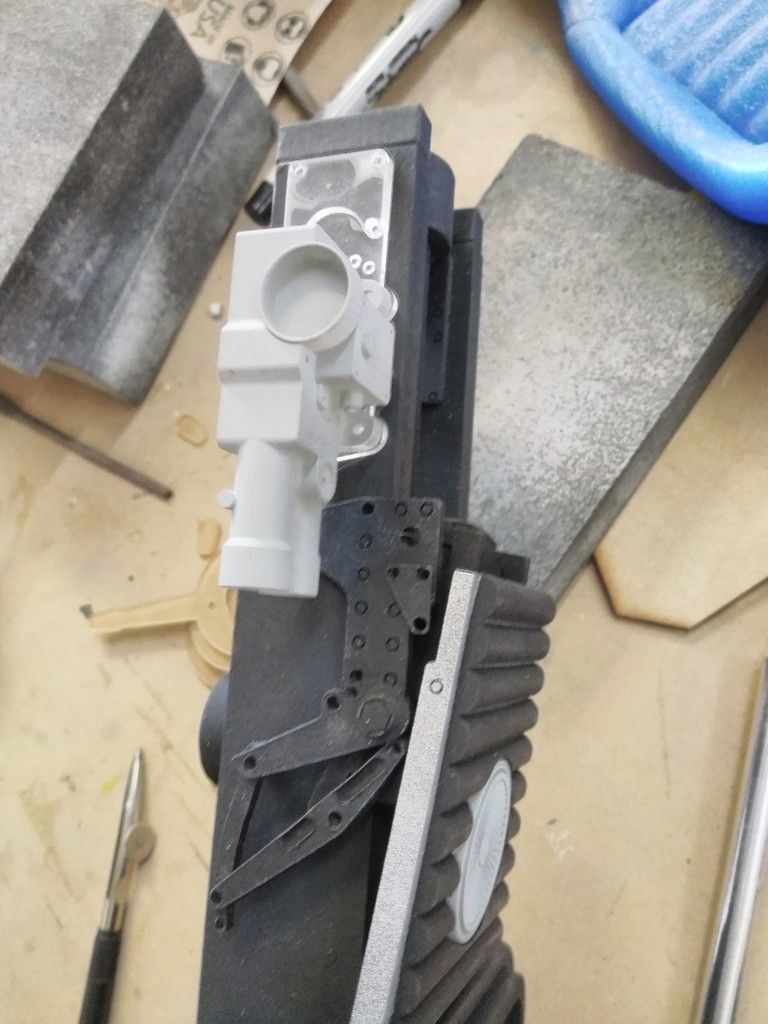
Center console dual lever greeblie
Filler
First of a few coats of primer/filler/sanding
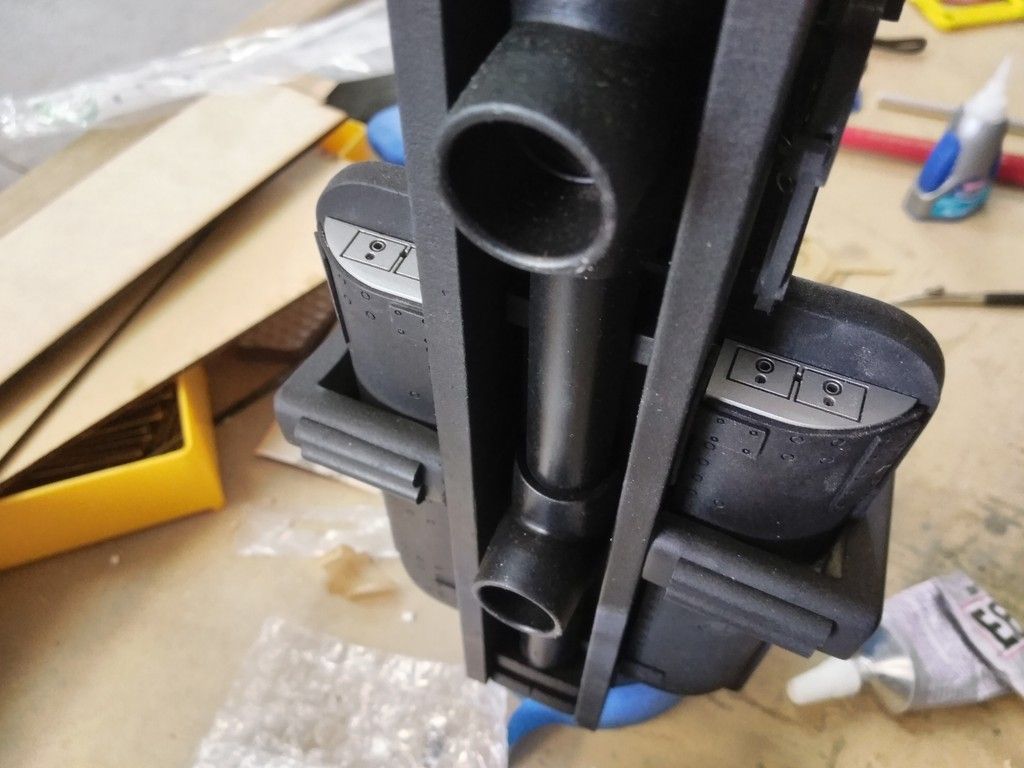
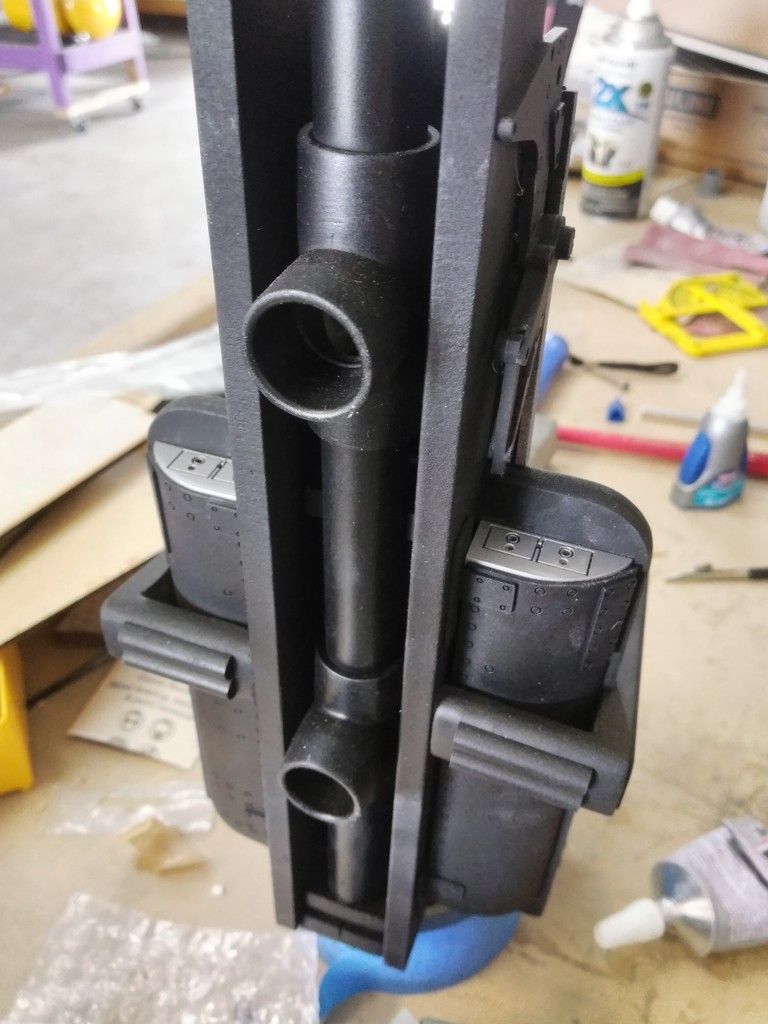
I then designed a new base for the console
I had to raise it up 1" in order to clear the shelves
Adhered together and waiting filler/primer
First coat done
This is DEF the ship of Riddles... Each version changes
Clears the shelves
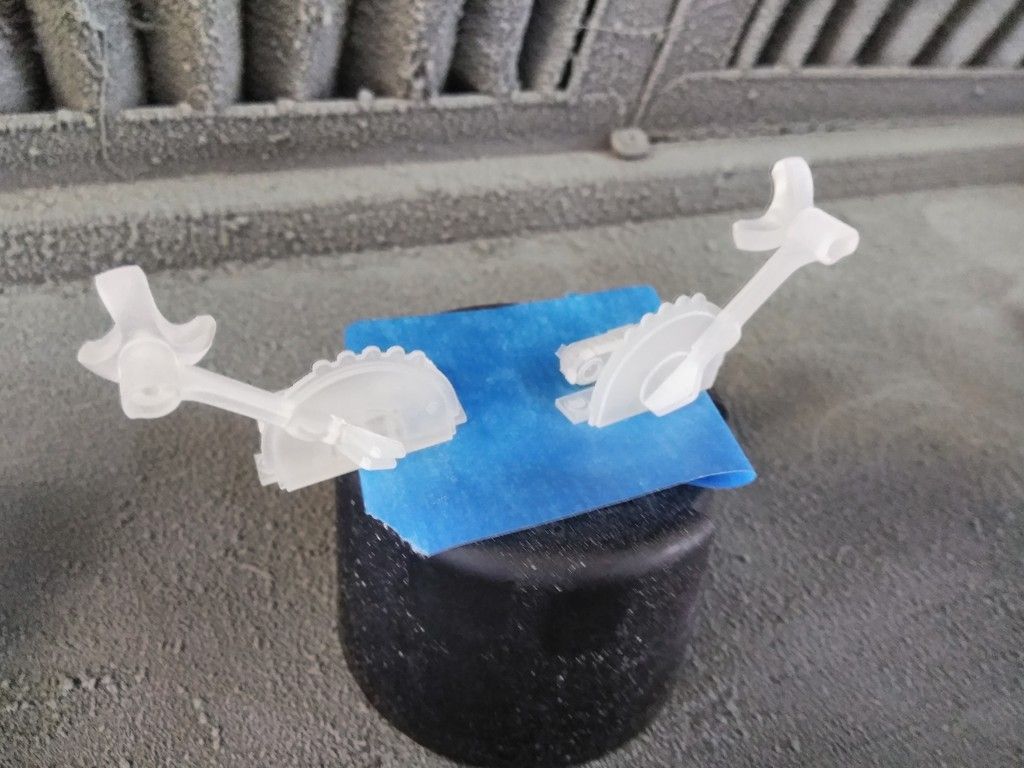
Finally... I got back to work on Izzy's 1/6th scale nav chair prototype - nacelles
I then cut four of these little 1/8th inch plastic half round pieces
Adhered them in place on the armrest
Primered and adhered into position
1/6th scale chair coming along
This is just a prototype
Size comparo
And this is where we are!
Waiting for a few more goodies to arrive so I can begin to move forward with the interior details. Also... sadly, the laser cutter needs a new tube so she'll be down for a short while... And a HUGE thank you to Izzy for taking the time to model all these awesome greeblies! Thank you, my friend!
More to Follow!
EDIT: I know these are not images of the 1:1 scale cockpit. Those pics are coming!
Last edited:
Man great work. Could I possibly buy the seat file? Really need it fory cockpit

Friendly flyer
Well-Known Member
I still thinks "SofaKing" is a misnomer, can't see you getting much time on the coach! FillerKing on the other hand....
It's amazing to see these mini-cockpits coming together! I can't wait to see what you get out of them!
It's amazing to see these mini-cockpits coming together! I can't wait to see what you get out of them!
IzzyMel
Sr Member
Man great work. Could I possibly buy the seat file? Really need it fory cockpit
[url]http://i57.photobucket.com/albums/g224/faustus100/Faustus%20Falcon/20150422_051409_zpsbzmv4ynl.jpg[/URL]
It is available here:
https://grabcad.com/library/millennium-falcon-captain-s-chair
The STL was designed by Joshua Maruska. Awesome work.
Seth Skywalker
Well-Known Member
Incredible work y'all!
Hey Gang,
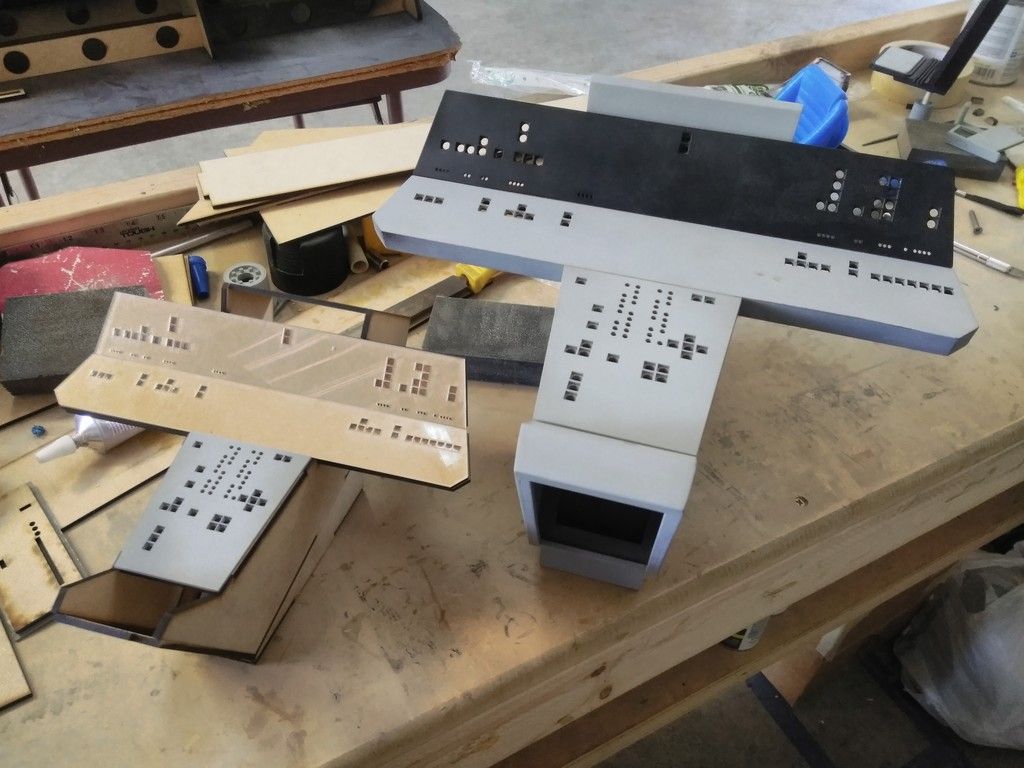
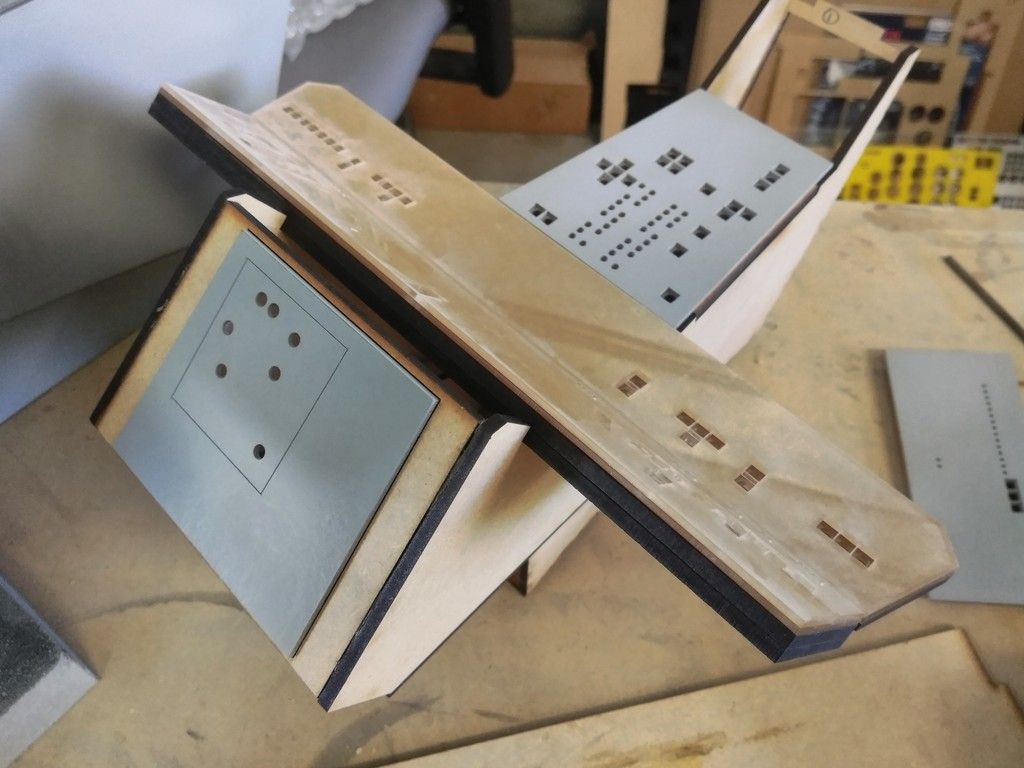
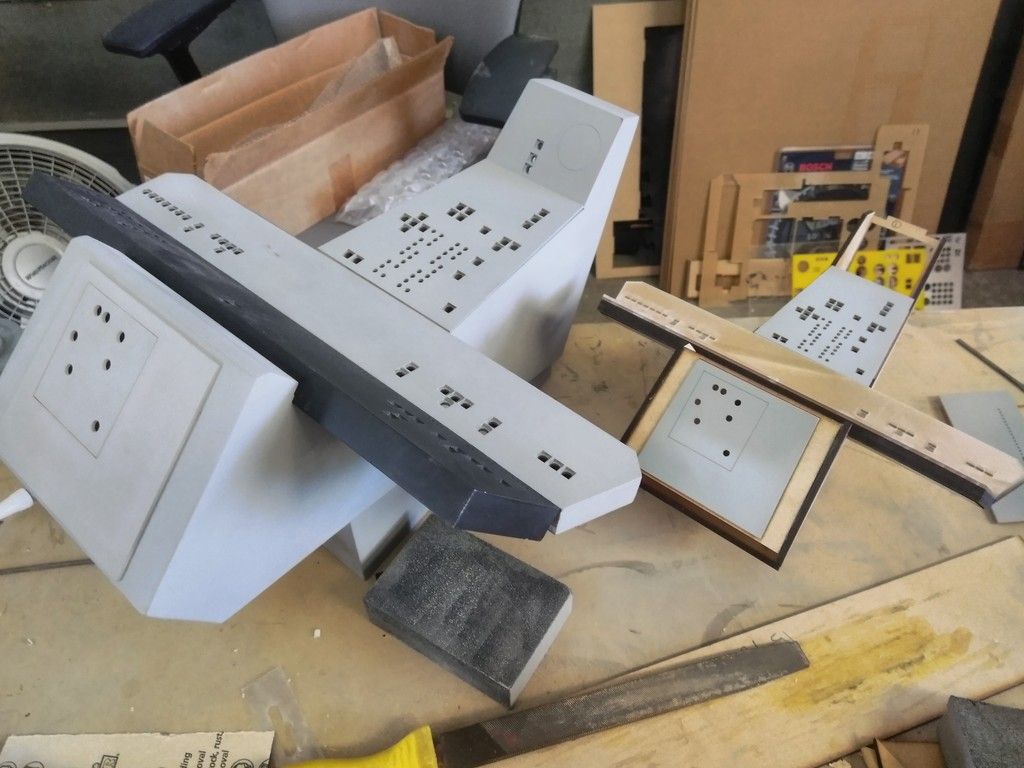
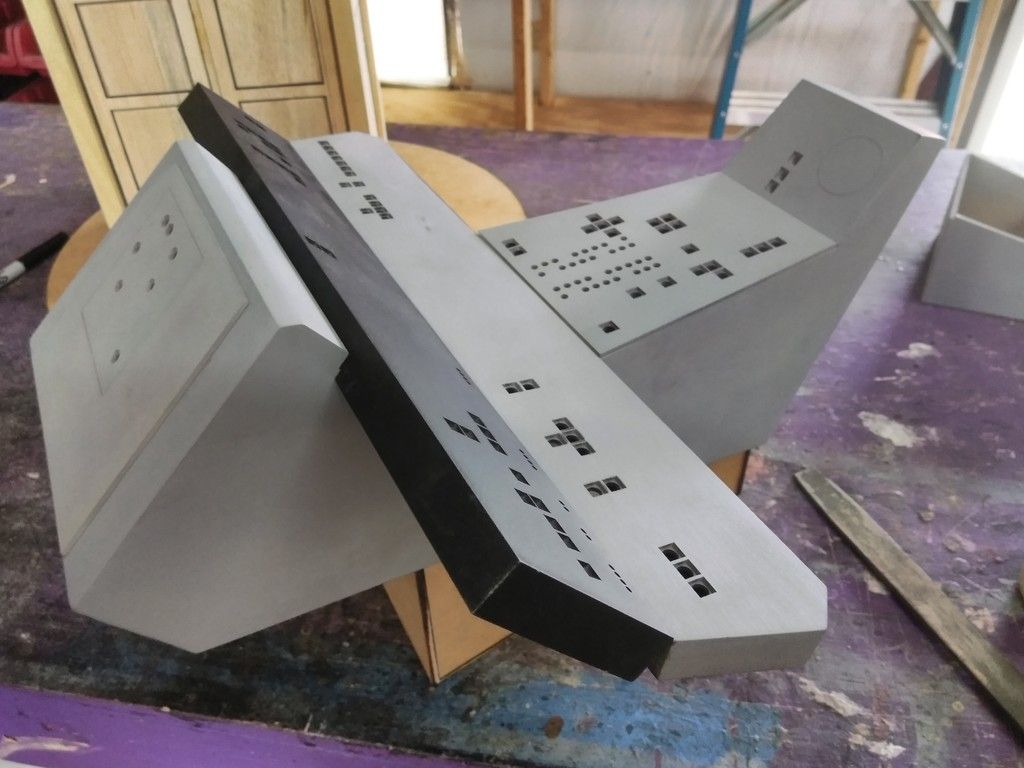
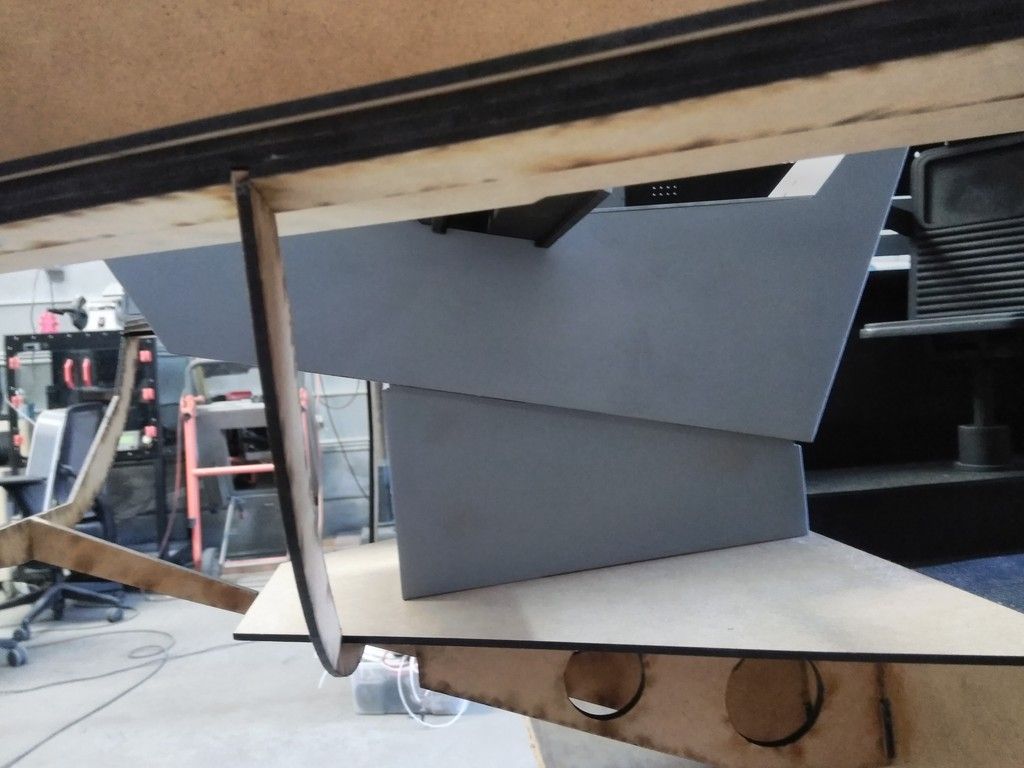
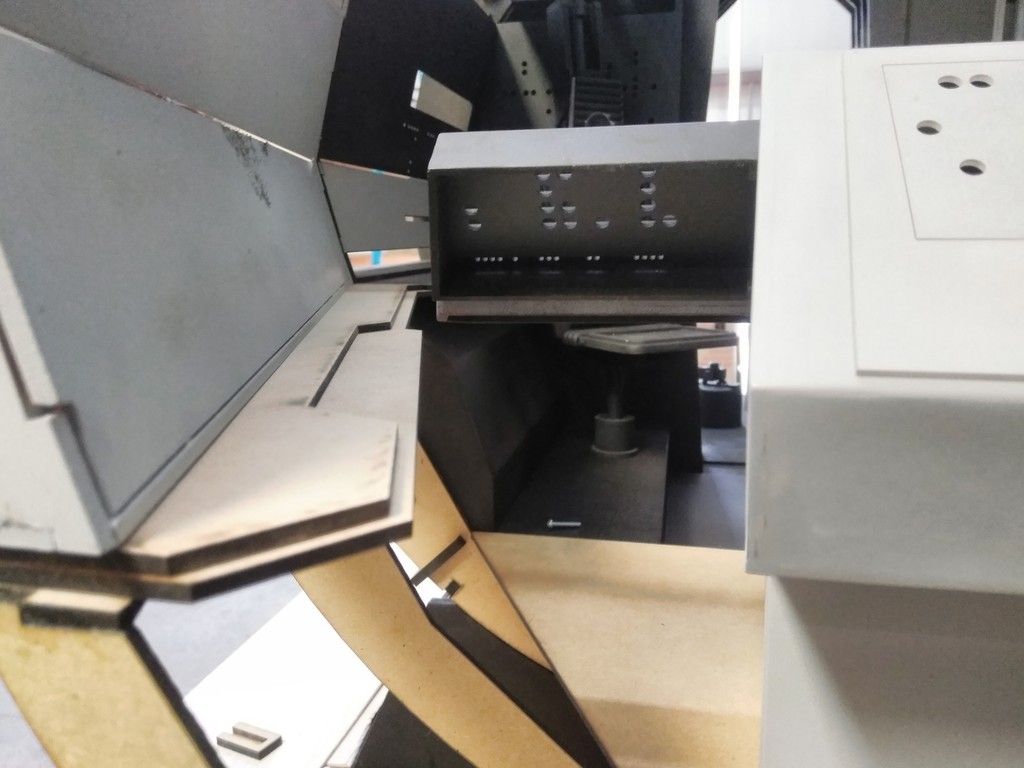
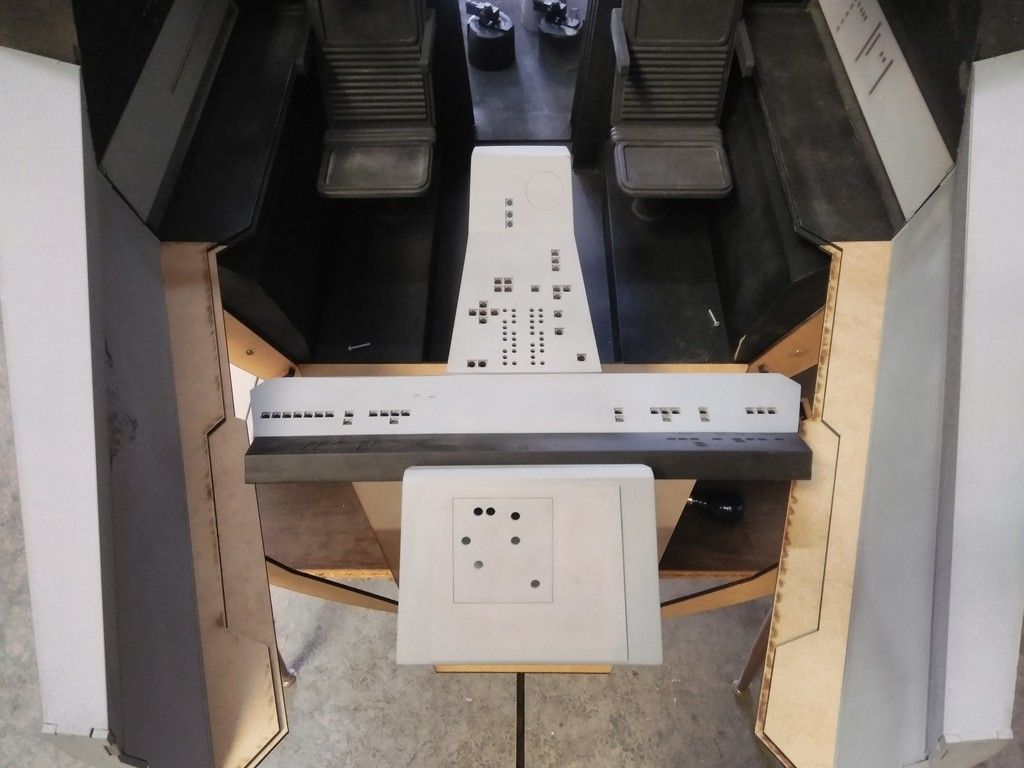
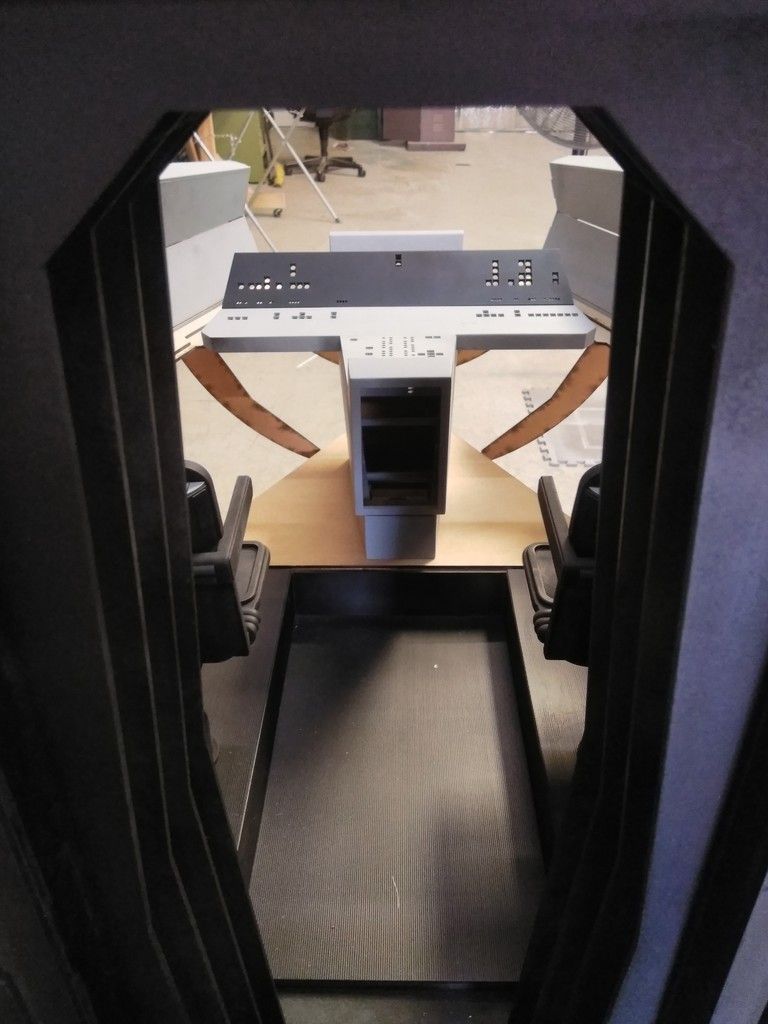
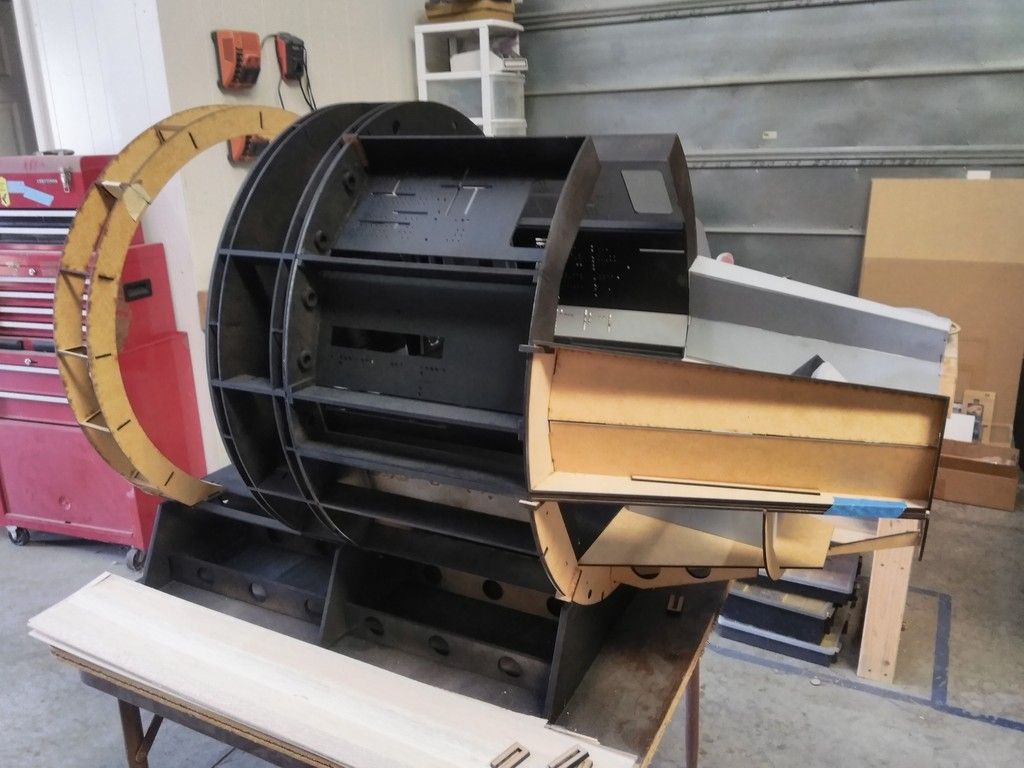
Just as I had promised... Images of the Full Scale Cockpit are slowly coming in!
Sitting in pieces at the warehouse with Real Movie Toys in Dallas, TX

I dont have to tell you that by looking around these images you see a LOT of interesting props!
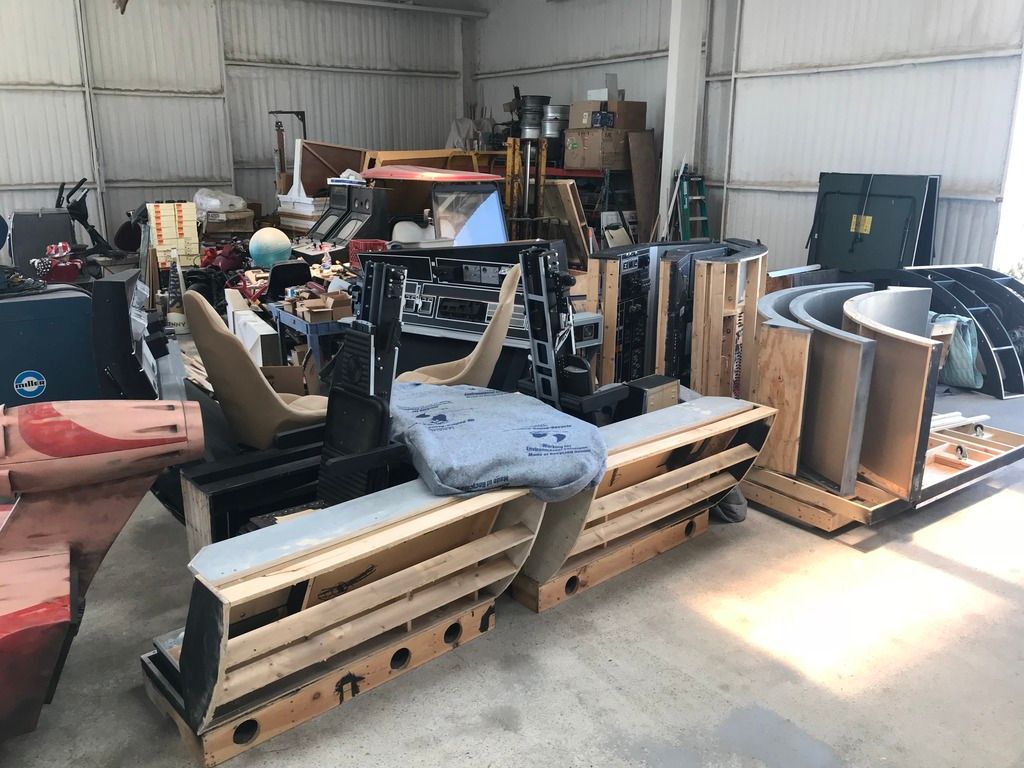
More to Follow!
Just as I had promised... Images of the Full Scale Cockpit are slowly coming in!
Sitting in pieces at the warehouse with Real Movie Toys in Dallas, TX
I dont have to tell you that by looking around these images you see a LOT of interesting props!
More to Follow!
SteveStarkiller
Sr Member
hey you could almost mistake those for behind the scenes shots at Elstree from back in the day...
Well done Sofa, as always. That chair looks sick!!! What a fantastic transition from the full scale to the 1:6th, love it!!!
Thank you, my friend! We're having too much fun with all these different scale models. It sure would be nice to get ONE of them finished!
- - - Updated - - -
I still thinks "SofaKing" is a misnomer, can't see you getting much time on the coach! FillerKing on the other hand....
It's amazing to see these mini-cockpits coming together! I can't wait to see what you get out of them!
LOL! The FillerKing. I LIKE IT!
I ordered a few packs of white 11x17 water slide decal paper. If the decal paper works, that will save time on my trying to lay pinstripes on the 1/4 scale version.
- - - Updated - - -
Amazingly sweet detail!! Wish I could buy a retail model like this.
Thanks, T! We're considering a kit... We just dont know what the demand would be
- - - Updated - - -
Stunning work by all involved
( giggles like a little girl )
LOL! We do giggle as well from time to time.
- - - Updated - - -
Great update once again Sofa
Thanks, J! It's really interesting seeing the different scale side by side. I've even tinkered with the idea of making a 1/2 scale chair just because... I'm mad!
- - - Updated - - -
Incredible work y'all!
Thanks, S!
- - - Updated - - -
hey you could almost mistake those for behind the scenes shots at Elstree from back in the day...
I never even thought of that but you are correct! You really have to look all around there are some nice finds in those images
BigBigDave
Active Member
Great progress SK!
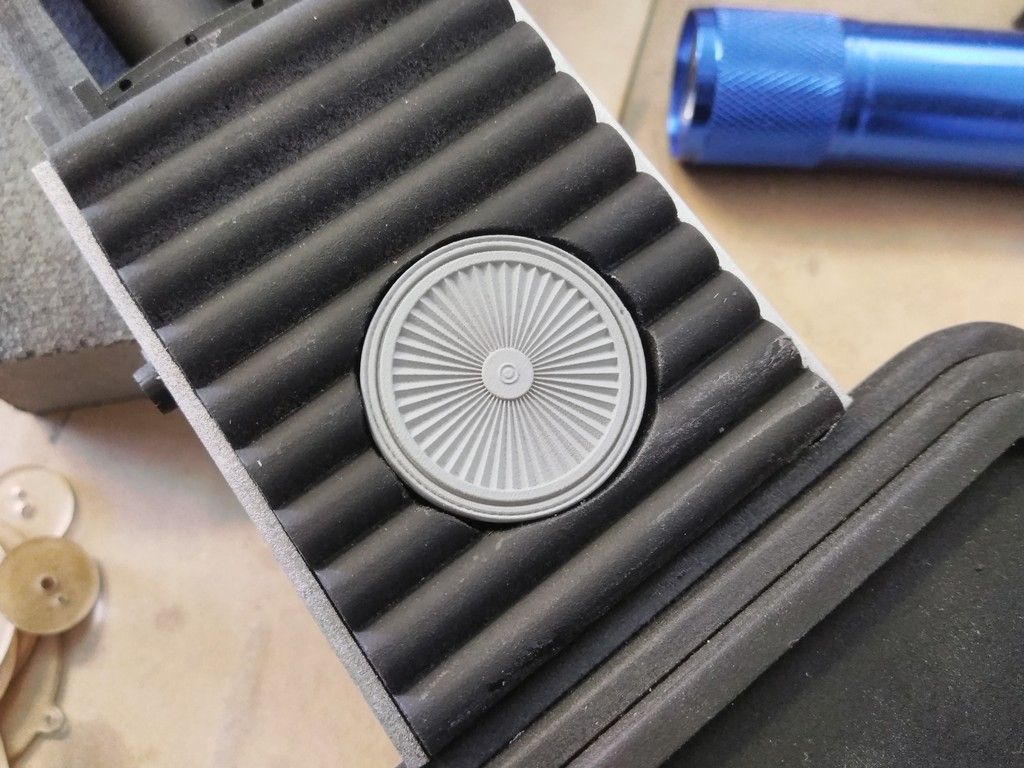
The only drawback to the 1/4 and 1/6 scale builds is because the level of detail is so good, I often lose the scale of what I'm looking at. That one Tupperware lid looks like a full-sized lid with primer on it. Big whoop. Then you realize it's sitting on a rattle can lid!!
Not to give you something ELSE to do, but if you could throw a quarter in some of those shots for scale every now and then, that'd be awesome.
Great progress SK!
The only drawback to the 1/4 and 1/6 scale builds is because the level of detail is so good, I often lose the scale of what I'm looking at. That one Tupperware lid looks like a full-sized lid with primer on it. Big whoop. Then you realize it's sitting on a rattle can lid!!
Not to give you something ELSE to do, but if you could throw a quarter in some of those shots for scale every now and then, that'd be awesome.
Hey BBD,
Thanks so much! The confusion between the two scales is exactly what I'm shooting for! While there will always be slight differences, I really want each scale to have the same level of detail(s) as possible. The Tupperware lid is an amazing example of Izzy's dedication to the project! If I could, I would go out and purchase the same 3D printer ShapeWays uses for those high end prints!
Can I include a quarter in some of the shots? You ask an awful lot of me but I'll go ahead and do it... this time!
Hey SofaKing01, I just bought some .2mm tips that fit a j-head hotend, supposed to allow for finer details on prints. If you want I can bring you one to do some test prints since I’m working in Madison now.
Sent from my iPhone using Tapatalk
Lt Washburn
Sr Member
Really great work. That seat looks incredible.
I'm curious about the process. I would think because you're working from a 3D model that all the parts have already been assembled virtually so you'd know whether there were problems with things fitting together. So why the need to redo parts (console top, and base)?
I'm curious about the process. I would think because you're working from a 3D model that all the parts have already been assembled virtually so you'd know whether there were problems with things fitting together. So why the need to redo parts (console top, and base)?
Hey SofaKing01, I just bought some .2mm tips that fit a j-head hotend, supposed to allow for finer details on prints. If you want I can bring you one to do some test prints since I’m working in Madison now.
Sent from my iPhone using Tapatalk
Hey W,
Shoot me a PM to discuss!
Really great work. That seat looks incredible.
I'm curious about the process. I would think because you're working from a 3D model that all the parts have already been assembled virtually so you'd know whether there were problems with things fitting together. So why the need to redo parts (console top, and base)?
Thanks, Lt!
I started the 1/4 project years ago and actually have the cockpit entrance greeblies finished up. I even had part of the console and main cockpit panels designed but nothing was ever finished minus the entrance greeblies. If I remember correctly, we redesigned the 1:1 scale armrest during this same time but I never updated the original 1/4 console scale files - thus my having to redo certain panels.
As far as the console base, whether 1:1 scale or 1/4 scale, the base has ALWAYS been in question due to the shelves AND the chair bases. We still have no idea what the original designers used for the base so we have to wing it. Winging means usually means 'something" has to be changed.
Hope that made sense?
Leopoldthegreat
New Member
I was thinking of building a section of the death star 1:1 scale (Hangar bay 327 control room as well as a corridor with some turbolifts), what materials could i use to build curved walls, would flexi-play be substantial enough?, by the way just discovered this thread and the stuff you do is absolutely incredible
Similar threads
- Replies
- 2
- Views
- 954
- Replies
- 6
- Views
- 728
- Replies
- 8
- Views
- 703
- Replies
- 20
- Views
- 1,646
- Replies
- 4
- Views
- 2,416