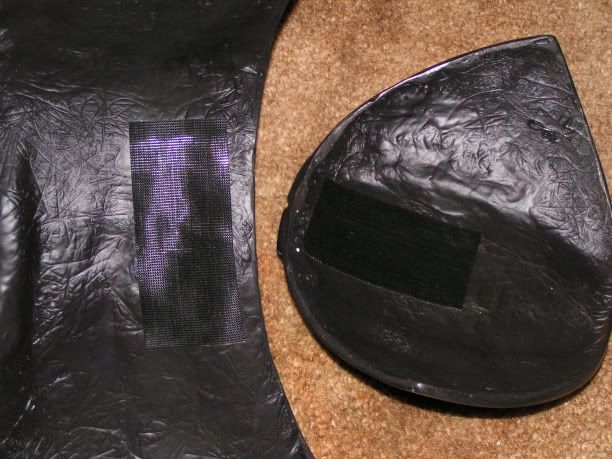
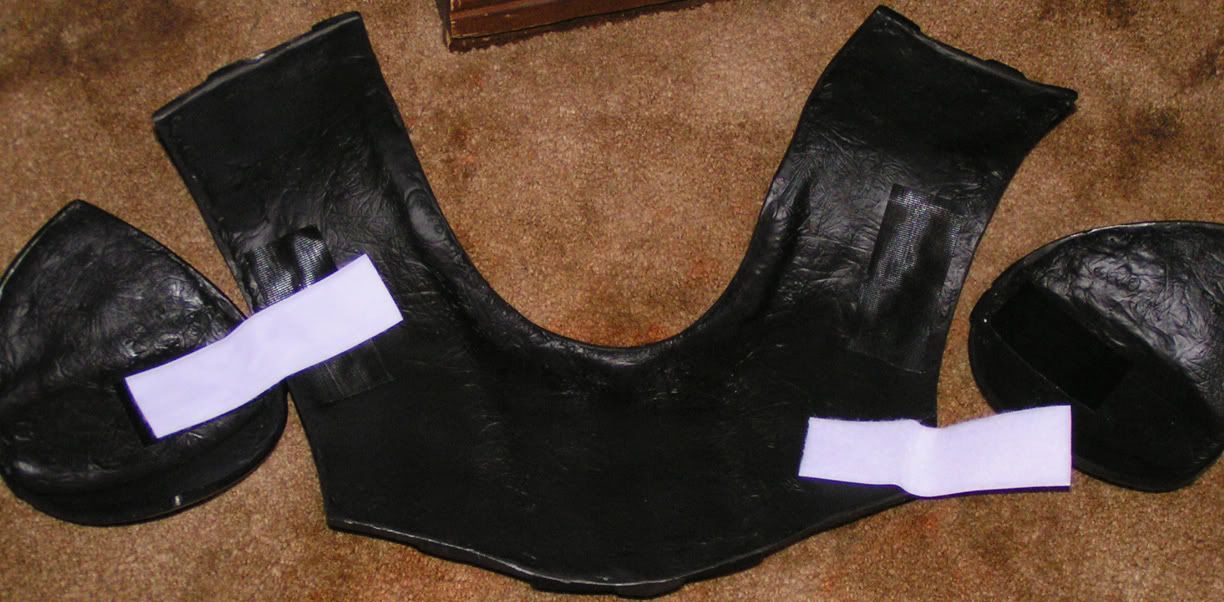
Some of you might have seen this armor up in the Junkyard - It's supposed to be rejected Ghost Host Armor so I bit & got it figuring it could be fixed up- Here are some pics of my progress so far:
Here is what it looked like when I got it - Raw edges, Uneven Gelcoat - Looks like it was pulled half out of the mold before it was ready - Huge voids.

First I trimmed the edges & got to work filling all the voids. I had to almost completely rebuid the left side of the collar. Everytime it started looking OK I found another thin spot of Gelcoat my finger would pop through- So I finally started with a sculpting tool & started probing every few millimeters looking for weak spots. Here is what the chest piece looked like after a week of Bondo work:

Finally I got the shoulder bells caught up today & primed the whole thing:

All in all I'm pretty happy with how its turning out, I was a bit despondant when I first pulled it out of the box, but I think it'll look pretty decent when complete.
I do have a couple questions for Vader ANH experts though:
What's the right way to attach the shoulder bells? I was thinking a leather strip on each side screwed into the bell & chest piece.
Should there be a bit sticking out below the center strip? I see it in some photos & not in others.
Looks like the bells should hand down so that the bottoms are even with the sides of the chest, but I don't know if these bells are big enough.
So any hints or feedback would be appreciated!
Here is what it looked like when I got it - Raw edges, Uneven Gelcoat - Looks like it was pulled half out of the mold before it was ready - Huge voids.

First I trimmed the edges & got to work filling all the voids. I had to almost completely rebuid the left side of the collar. Everytime it started looking OK I found another thin spot of Gelcoat my finger would pop through- So I finally started with a sculpting tool & started probing every few millimeters looking for weak spots. Here is what the chest piece looked like after a week of Bondo work:

Finally I got the shoulder bells caught up today & primed the whole thing:

All in all I'm pretty happy with how its turning out, I was a bit despondant when I first pulled it out of the box, but I think it'll look pretty decent when complete.
I do have a couple questions for Vader ANH experts though:
What's the right way to attach the shoulder bells? I was thinking a leather strip on each side screwed into the bell & chest piece.
Should there be a bit sticking out below the center strip? I see it in some photos & not in others.
Looks like the bells should hand down so that the bottoms are even with the sides of the chest, but I don't know if these bells are big enough.
So any hints or feedback would be appreciated!


