WIP-Proton Pack/wand tutorials/tips!Weathering! Update 10-17

Re: WIP - My first Proton Pack/wand - and a few tutorials/tips! Update 6-08

I've been pretty busy with the pack, but had no access to our camera. I took some pics with my phone, and will try to explain what was going on as best as I could :)

I still need to clean some things up, like glue that expanded overnight, etc. But here are some due updates :)

Here's the hole drilled for the loom tube.

1.jpg


Filler tubes:
Filler tubes were first attached inserting a wood dowel on the back and glued to the shell. Once dried they were bolted from the back. I filled/sanded the top for a smoother finish, but kinda screwed up a bit when I was putting the elbow Clippard elbow thingie. I fixed it with a Sharpie :) Since the pack will be weathered anyways, no harm done... In the pic you can see the L bracket used to give some strength to the injectors.

5.jpg


5a.jpg


Attaching Injectors:
I first drilled the bottom hole and had them secured to the shell by placing a rod inside glued with Gorilla Glue. Once dried, they were glued to the shell and then secured with a bolt from the inside.

After some tought I decided to cut a piece of an aditional mouting L bracket to and JB welded the bracket relieve some stress from the pack, like the originals. I couldn't add the socket head because the filler tubes were already glued and bolted in place. If I add a socket head, would be purely cosmetic, since the JB weld is holding them strong.

JB was also addded on top as a fake weld to give it some additional strength.

4.jpg


2.jpg


3.jpg


Booster tube and ladder
I attached it following Exoray's suggestion: using bolts from the back. I added some JB weld on the bottom for additional support. Holes were drilled and tapped to hold the ladder in place

6.jpg


7.jpg


8.jpg


Attaching N-filter
I used some aluminum screen mesh on the inside and a piece of white styrene. To attach the N-filter, I glued a round disc on the inside and inserted a rod with Gorilla Glue. The rod will help to hold everything in place from the back, in case the glue fails.
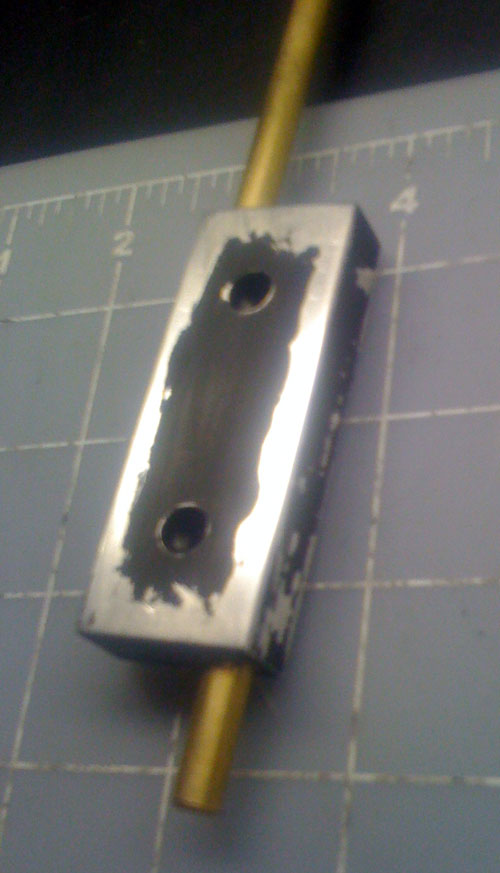
19.jpg


Side holes:
I didn't like the first drilled hole, so I drilled a new one and filled the other one with bondo. I made some scratches with the drill, so a bit more of bondo was used to fill and sand. It won't be noticeable once sanded and painted.

1a.jpg


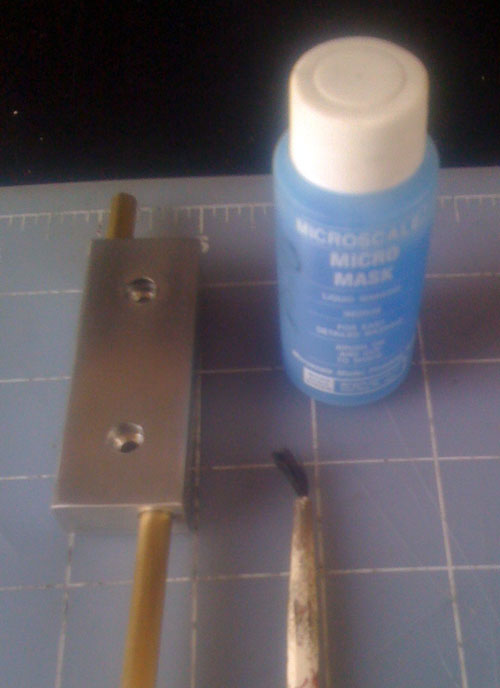
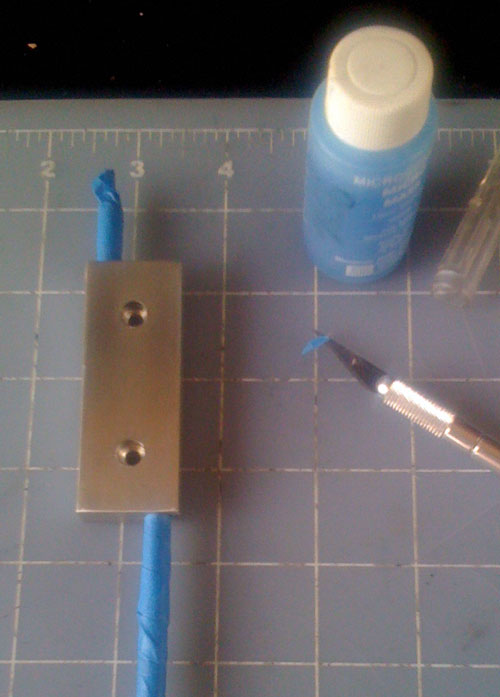
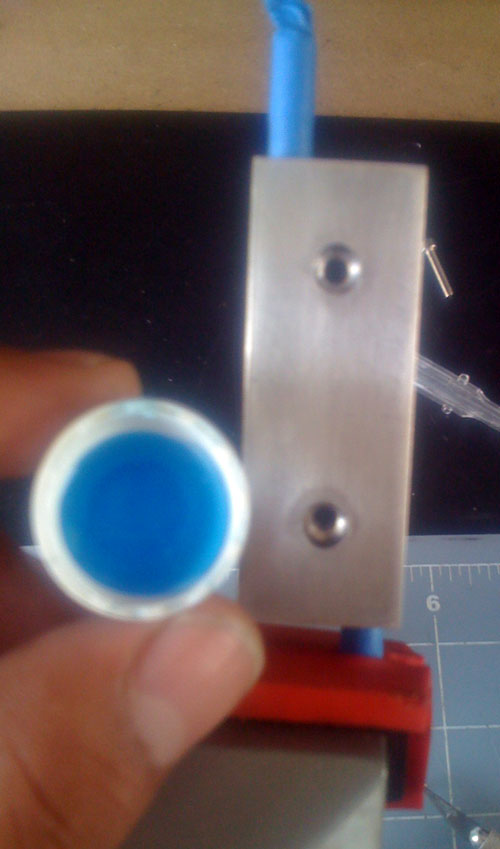
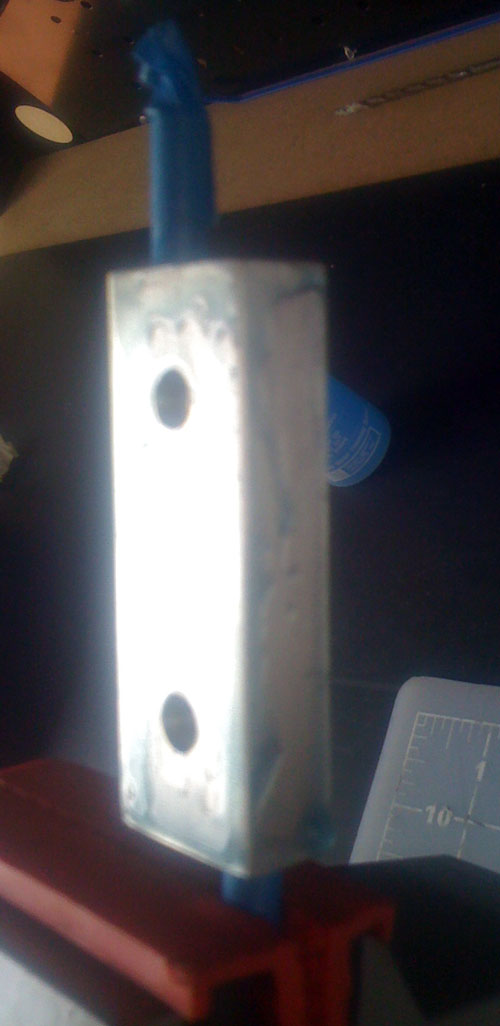
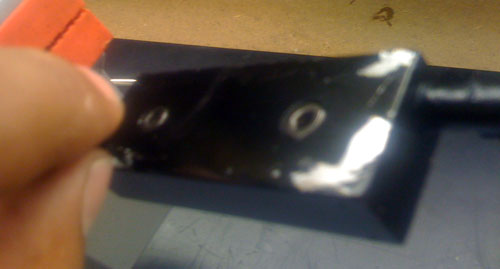
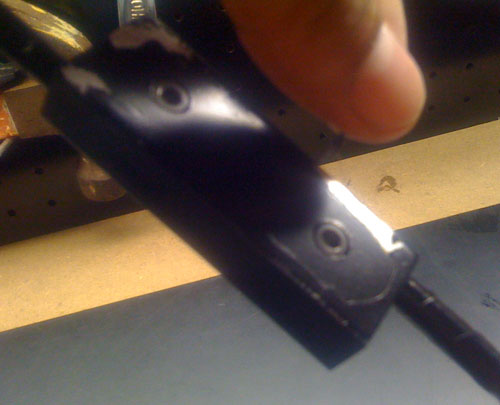
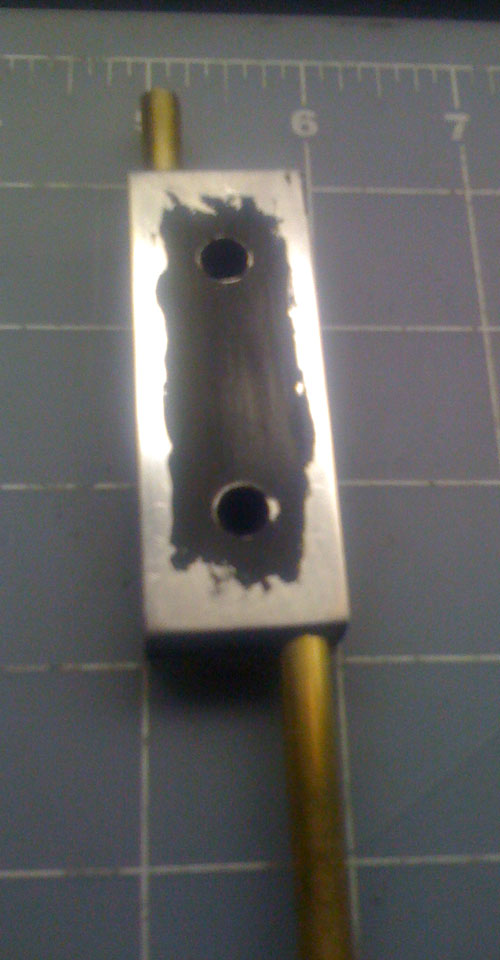
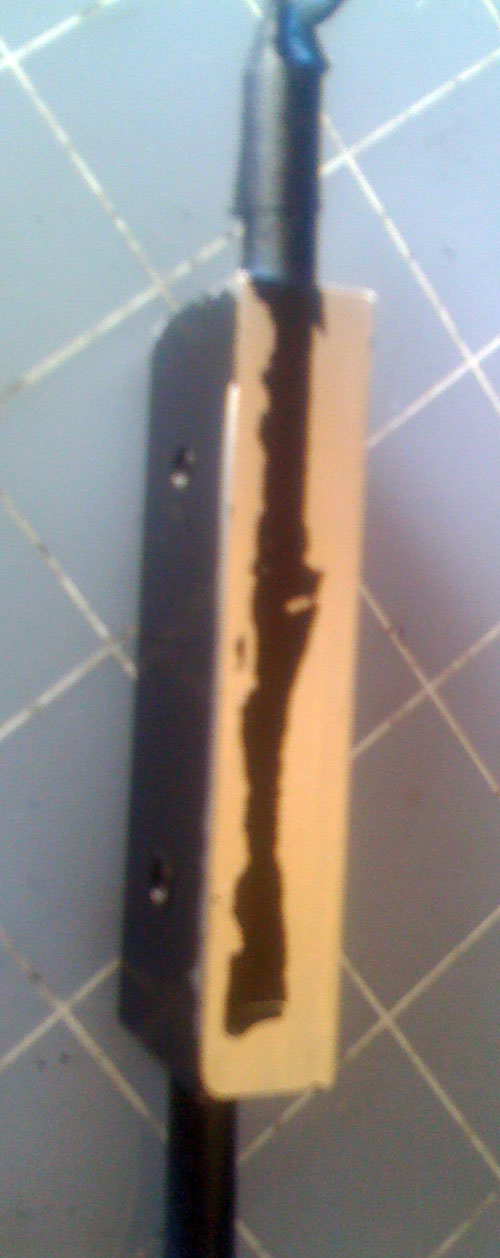
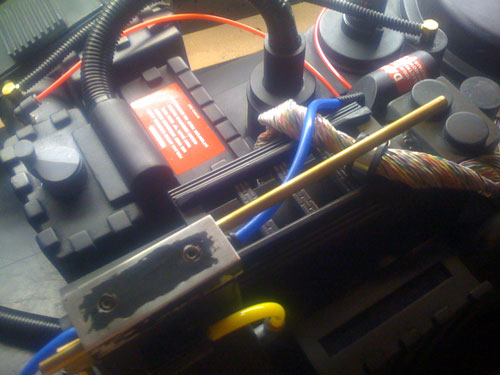
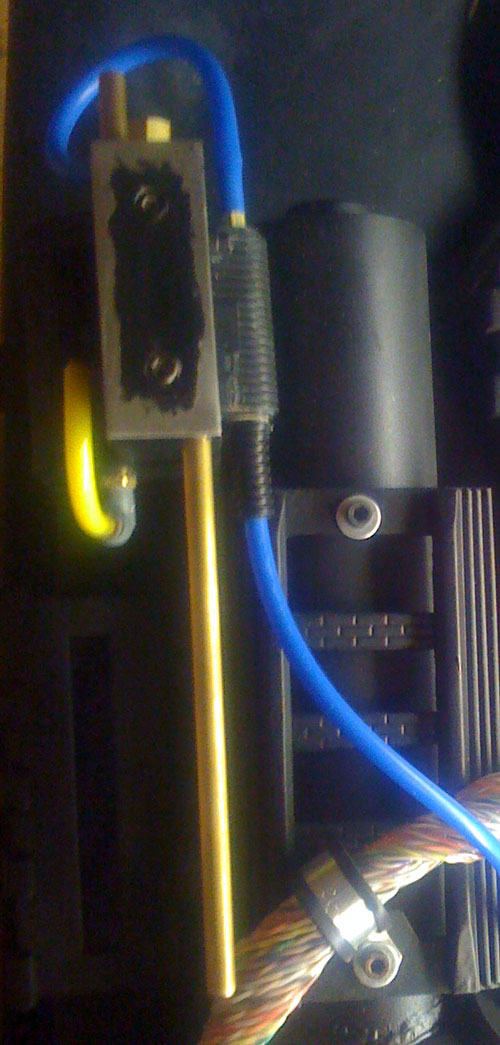
Attaching the loom tube to the wand.
I received great tips here on this one. Since I'll be running a light kit from the pack, I thought using a clear tube on the inside would not only help to cover and protect the cables, but would also give some "weight" to the loom. I then secured it by drilling thru the loom and tube and using a socket head screw to hold everything together.

11.jpg


12.jpg


13.jpg


14.jpg


Paint prep:

9.jpg


10.jpg


I was first going with flat black, but changed my mind and went with Semi-gloss. Once dried I wet sanded the pack and then used a very light steel wool to buff it.

15.jpg


16.jpg


17.jpg


18.jpg


Very first sticker placed:

20.jpg


I still need to add some loom boots, do some clean up, etc, but everything is taking shape now! :) Some thing were glued with hot glue to check how they look, that's why you can see some in a few pics, but that'll be cleaned later on.

21.jpg


22.jpg


23.jpg


24.jpg


25.jpg


26.jpg


27.jpg


28.jpg


This cable is set for position only, I'll cut a new one a bit longer

29.jpg


30.jpg


31.jpg


32.jpg


Thanks for looking!
 
Re: WIP - My first Proton Pack/wand - and a few tutorials/tips! Update 6-08

That is oustanding, you did a incredible job, thanks for the tutorial too, love the step by step!
 
Re: WIP - My first Proton Pack/wand - and a few tutorials/tips! Update 6-08

That is freakin' cool! I always loved the kludged together look of the proton pack, kinda drove the point home that these guys weren't licensed or 'official'.

"Why worry, each of us is wearing an un-licenced nuclear accelerator on his back."

:)
 
Re: WIP - My first Proton Pack/wand - and a few tutorials/tips! Update 6-08

That looks great! the only thing I BEG you to not do is ruin it with over weathering. Just sitting around in your room these things get scratched and worn and whatnot, Just do a really light weathering and then when it gets nicks and scratches, paint those scratchets with silver. I personally used a silver sharpie for weathering my gun.
 
Re: WIP - My first Proton Pack/wand - and a few tutorials/tips! Update 6-08

Lookin' fantastic! I can't wait to see it with the bumper attached!
 
Re: WIP - My first Proton Pack/wand - and a few tutorials/tips! Update 6-08

Man this is really something special. I would love to get the chance to build one of these someday soon. About how much did the entire process cost you? I wanted to thank you for the step by step as well. If I do get around to starting on a pack this will be extremely helpful. Nice work on this!!
 
Re: WIP - My first Proton Pack/wand - and a few tutorials/tips! Update 6-08

Awesome man. I'm going to be starting on my first pack next weekend, can't wait.
 
Re: WIP - My first Proton Pack/wand - and a few tutorials/tips! Update 6-08

was size wooden dowel did you use for the filler tubes and how long should each one be?
 
Re: WIP - My first Proton Pack/wand - and a few tutorials/tips! Update 6-08

Hi all!!!

silverskyes402, I tried to document as much as possible, but there are some things that slip my mind. :( My short term memory sucks! :lol :p

Wow, thanks a lot for all your great comments! I am sorry for the late reply. I've been out of for some time.

bobamatt: I just can't wait to attach it!!!! I'm waiting on a bumper shock mount thing and the wait is driving me crazy! :lol

Zodou: I can't agree more! I love the almost home made look of them! After all, it is an unlicensed nuclear accelerator!!! :lol I love that line!

Zombierepellent, don't worry... I won't! I'd add some dust here and there, and let nature take it's course. A light weathering sounds good, and "retouching" scratches sounds like a great idea! to me, is far more complicated to weather something accurately than creating a brand new item. Thanks a lot for your input. :) That is something I'd like not to mess too much with. I've seen awesome stuff that turn into well... not that awesome due to excessive weathering. The other day I was drilling to add the V-hook and I didn't like the hole placement, so I filled the holes. I decided not to remove any of the attachments, so when I sanded, they would receive a little of dust on crevices. It looked pretty good! It automatically added a few months worth of fake dust!

Eclipse, GBFan57, well, this can get pretty expensive in no time! It all depends on how accurate you'd like your pack to be, and also your building skills might come into account. If you like to build things, or have the tools, you can reduce your costs dramatically! If there's anything I can help you with, let me know! There are also awesome building tips, even on building budget packs on the gbprops.com forum. Those guys are great and I am eternally grateful to them for all the help and tips they gave me!

ItalianNinja, actually they are PVC pipes filled with resin in one end. I got them thru Colin at multimediamayhem.net. I do have an extra pair for sale that I won't be using. But if need the measurements, I'll be glad to help you with that as well. I''l try to measure them as soon as possible, but it is possible I'll get back to you with that during the weekend :)

Again, thanks a lot for your great input! I've not done with this, yet so I'll try to post recent pics as soon as possible.

One thing that has always bugged me on the real pack is the way the ribbon cable dissapears thru a hole on the shell: no fitting, nothing, just a poorly made hole. Not long ago I went to Home Depot and bought an extension piece to our yard hose. They came with neat rubber gaskets. I found them the other day and decided to put one on the board, covering the ugly hole that accepts the ribbon cable. I know it's not "screen accurate" but man, it gives it a new look!!! I'll try to post pics tomorrow and hope to hear your feedback :)

Again, you guys rock!
 
Last edited:
Re: WIP - My first Proton Pack/wand - and a few tutorials/tips! Update 6-08

Sorry for the late reply!

This is the little fella. It is made by a company called Microscale and it's called Micro Mask. I first taped the brass rods and used a little brush to paint the whole surfaced with liquid mask.

1.jpg


2.jpg


3.jpg


Liquid mask applied and drying. Once dried (takes about 30 minutes, probably shorter) After that, with an X-acto knife I removed all the pieces that required paint (middle area) and used regular semi-gloss spray paint.

4.jpg


5.jpg


Sit and wait for the paint to dry :p That's why I couldn't post earlier... weekend getaway with wifey :)

6.jpg


Now, just peel back the mask, which had turned into a rubbery layer.

7.jpg


8.jpg


Final piece

9.jpg


10.jpg


11.jpg


12.jpg


13.jpg


And that's it for now :)
 
Re: WIP - Proton Pack/wand - and a few tutorials/tips! Update 7-21

Here are some other updates. I thought I posted them!

A fellow board member (gareee) noticed that I used the wrong switches. I used mini instead of micromini, so I decided to fix that :) I filled, sanded, drilled new ones, sanded and repainted.

1.jpg


2.jpg


3.jpg


4.jpg


Setting up the booster plug:
I decided to add some JB weld inside, lay the pack flat and have the plug glued, but gravity was making things a bit harder. So, I used clothes pins around the plug until it was dry. It came out perfectly centered!

5.jpg


6.jpg


I also added some rub transfers and stickers. I messed a few letters, so slowly attached them one by one.

7.jpg


8.jpg


Securing the loom

I used frame wire (thanks for the suggestion!) and attached it to both ends: wand and pack. I secured the other end of the wire near the cyclotron area.

11.jpg


12.jpg


14.jpg


15.jpg


16.jpg


Securing the red and blue injector cables. Some hot glue and pins.

17.jpg


Here's what I did to cover a bit the cable hole. I used a small rubber gasket

28.jpg


Cyclotron lights

I added some red lighting gel, like the real deal. I'll be placing dollar store mini funnels covered in aluminum foil to help contain the lights emitted by the LEDs without contaminating the adjacent area. LEDs will be placed at the smaller end of the funnel.

18.jpg


19.jpg


20.jpg


21.jpg


I'm waiting on metal knobs, but man... I couldn't resist and added the resin ones until the other ones arrive!

23.jpg


24.jpg


25.jpg


26.jpg


27.jpg


30.jpg


31.jpg


32.jpg


22.jpg
 
Re: WIP - Proton Pack/wand - and a few tutorials/tips! Update 7-23

Looking great!

Thanks!!! :)


Here are som HUGE updates! That's because I practicaly dismantled everything and started from scratch... you'll see! I have some update photos and a youtube video with my first light testing. I haven't installed the pack lights at this moment.

I received a few items to upgrade my wand heavily. I got Irricanian's alum knobs, Exoray light kit and umoribawars tip converter, trigger tip and banjos and replaced the handles with a more accurate 1.25" OD. I'll also be adding a longer acrylic tip and a trigger lock that was missing from my original wand.

I first started playing with Exoray's light kit and it is outstanding! I had to find a way to fit everything inside, so I dremeled and dremeled and dremeled until I had a nice working space. I installed everything just to take a quick glance. In the process I broke the intensify momentary button. But thanks to some helpful members I was able to solder it back to a new momentary switch. If it happens to you, get the "open" kind. I had the "close" button and it was not working right.

I wanted to upgrade the handle with umorbawar's tip converter. Then we noticed that the handles are 1" OD instead of i.25", so it was cutting time. I cut my already attached grips and sanded them so I could just slip the new 1.25"OD on top. It was a good idea because I was not happy with my fake welds, so it was a good excuse to scrape the putty fake welds.

I put a wrong hat button on top of the bar, you'll notice that it was quite big. In order to use a smaller one, I had to fill and sand, and also had to fix Exoray's switches. While sanding the interior I weakened the resin hull and took a big chunk out, but it was an easy fix with putty.

So, here's the improved wand, still WIP. I am still waiting for the paint to dry. Perhaps I might go ahead and start working with the pack lights!\

Getting everything ready for the wand light kit:

1.jpg


2.jpg


3.jpg


As you may see, one could run out of space pretty fast inside the wand box

4.jpg


That's how it looked with the light kit on. Notice the big light cap on top. One of the things that will be removed and substituted the the one sent by MMM.

5.jpg


Testing the lights:

Here are some still shots and a youtube video. Not all lights were turning on at this moment.

Video:

Link: http://www.youtube.com/watch?v=GmJWT2bbjO4

6.jpg


7.jpg


8.jpg


9.jpg


10.jpg


Replacing the handles

In order to use the new tip it was time to upgrade to more accurate 1.25" OD handles. I just cut some of the old ones, sanded the hell out of them and just slipped the new ones on top.

11.jpg


I had to sand a lot on the inside so I could fit the new switches and the top hat light cap. At this moment the box has lost a lot of it's integrity. So I filled most of the holes to give some extra strength. I also reinforced with more putty on the inside.

You can also noticed that I already cut and sanded the front handle so I could slip the new one on top. Since I had already installed the alum knobs, I opted to leave them and just cover them with painters tape.

12.jpg


13.jpg


14.jpg


Fake welds removed :)

15.jpg


Rear barrel already cut to size

16.jpg


17.jpg


Testing the new handles. Perfect fit! And also happy because I got rid of the original fake welds! You may say that there's not much difference between 1" OD and 1.25", but there is! Overall the wand has now a more hefty look. I will also attach the trigger lock soon that was lacking from my front barrel.

18.jpg


19.jpg


Front handle attached

20.jpg


Prepping the area where the new holes will go and applying some bondo to smooth out some areas that were affected in the process.

22.jpg


23.jpg


I was going to apply another layer of paint. The first one without the new handles in order to match the new handles finish. I added painters tape to the older handles so I could still have a perfect fit. Having various layers of paint would have thicken the older grips again.

Event tho I epoxied the new grips in place, I also created new weld lines to help hold everything in place and for aesthetics.

24.jpg


25.jpg


26.jpg


Once the fake welds were done and everything was in place, I added a few thin layers of paint to have a more even match.

27.jpg


28.jpg


That's it for now! I'll be working with the pack lights later! :)
 
Re: WIP - Proton Pack/wand - and a few tutorials/tips! HUGE Update 8-05

I decided to start weathering the pack, I used different techniques and went with a subtle weathering. Some details were lost on the pics, tho. I mostly used dry brushing technique. But first I went and installed Exoray's light kit for the pack. I decided to attach the battery holder with tight zip ties instead of bolts and it is a very secure fit!

Here are some progress pics of the light kit. I used small funnels to hold the LED and help focus the light. I wrapped the funnel with tin foil to reflect the light a bit more. I am still deciding whether to keep the foil or not, as it got all wrinkled in the process.

The board was mounted on motherboard mounts. To hold the board in place on the pack I used a piece of scrap wood and motherboard mounts as well. I placed another piece of scrap wood to help distribute the weight of the board.

Oh, I also replaced the top hat button on the wand. In these pics I still haven't attached the grips, yet.

1.jpg


2.jpg


3.jpg


5.jpg


6.jpg


7.jpg


8.jpg


9.jpg


10.jpg


12.jpg


13.jpg


14.jpg


15.jpg


Now, for the weathering I used dry brushing, sanding, painting and some Fuller's Earth. I'll probably weather it a little more. I used sand paper to weather the labels on both the pack and wand. Please keep in mind that some of the weathering has been washed in the photos. It looks a little more used in person :)

16.jpg


16a.jpg


16b.jpg


16c.jpg


16d.jpg


17.jpg


17b.jpg


18.jpg


19.jpg


20.jpg


21.jpg


24.jpg


25.jpg


26.jpg


31.jpg


33.jpg


34.jpg


35.jpg


36.jpg
 
Re: WIP-Proton Pack/wand tutorials/tips! WEATHERING Update 8-12

Excellent work! :thumbsup

As for the funnels, what about spray painting them silver to get the reflection you want instead of using the aluminum foil?
 
Re: WIP-Proton Pack/wand tutorials/tips! WEATHERING Update 8-12

Fantastic work there. I have got to get off my butt and build my kit.
 
Re: WIP-Proton Pack/wand tutorials/tips! WEATHERING Update 8-12

Thanks fellas!

You know Tim, I think that is a much better idea than using tin foil! I think I'm going to do that instead. :)
 
Re: WIP-Proton Pack/wand tutorials/tips! WEATHERING Update 8-12

Yep, silver or even a red metalic paint on the funnels will do you well, you might want to look for Krylon Fusion paint so it sticks to the funnels...

Also don't be shy about pulling the cyclotron led further back up into the funnel, I use wider angle 40-45° LEDs for the cyclotron, so if placed back about an inch or so they should fill the whole cyclotron area... LEDs differ from regular lights in the fact they throw light in a single direction...

led_pattern.gif


Also the weathering looks nice, it's good to see finished shells coming to life...
 
Re: WIP-Proton Pack/wand tutorials/tips! WEATHERING Update 8-12

Hey Flynn! Thanks for the tip!

I had no idea, I was closing the LED as much as I could to the cyclotron. Now, I can add a bit of hot glue and place the LED back into the funnel. It will sure look a lot better! Man, I love those LEDS. They are BRIGHT!!!

If it stops raining, tomorrow I'll paint the funnels. The tin foil didn't come out as good as I thought.
 
Re: WIP-Proton Pack/wand tutorials/tips! WEATHERING Update 8-12

A few pics with lights added to the pack, and all lights added to the wand

37.jpg


38.jpg


39.jpg
 
Back
Top