Are you sure you have a good seal when the platen goes onto the vacuum box?
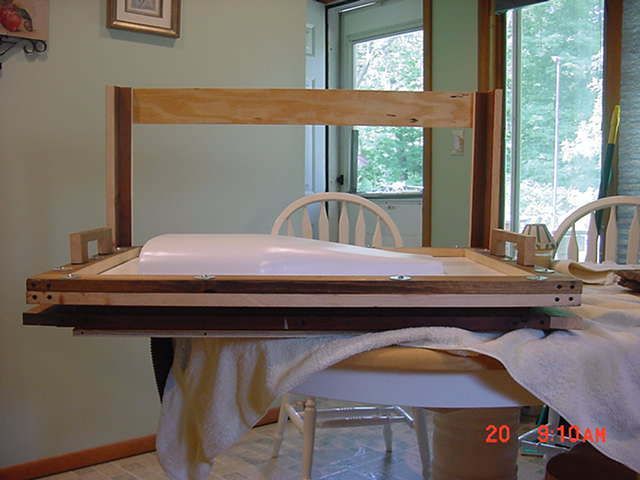
Not sure if I am understanding your question here, but my Platen and Vacuum Box are one sealed unit. The holes in the Platen are the top panel of the Vacuum Box and I made sure to seal the whole thing when I assembled it. I've run a few vacuum tests and I can not pull up the sheet that I am testing with once the seal is made.
You might try lining the vacuum form table top with some rubber (closed cell) weatherstripping. The weatherstripping should line up exactly with your frame and create a tight seal. It wears out but this might be your problem.
I did that yesterday. I used door rubber seals that have a sticky adhesive on one side. I then re-ran my vac tests and was convinced the seal was good.
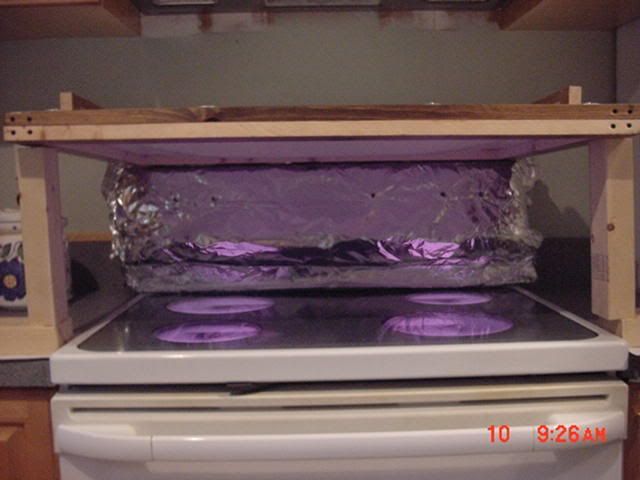
Also, when you heat your plastic sheet, try to put a foil or flashing lined lid over it. This will help keep the top of the plastic from cooling. Also, in the beginning, you might want to flip your plastic to help heat both sides.
That makes sense as I do think so much heat is lost off the top surface. I still think redesigning the heat box so that the heating elements (and I think I will need more than one for this) is maybe 4" off the plastic. It is quite a distance off now and I just don't think that my strip heater is as hot as the "patio heater" Jame of XRobots used.
What I noticed last night is that my heaters "low mode" only used one strip heat bar, so maybe a pair of these (they cost about $15.00, so not expensive to add a 2nd heater) on low side by side might give a wider heated area.
I also have some big draw slides, so might even make the heat unit inverted and slide away like many professional units do.
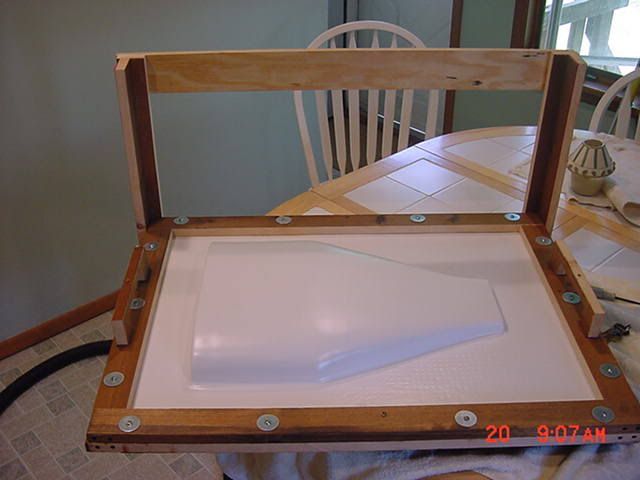
Last pull was cold before I had reached 50% of the Buck height, so it would not matter if I was using a Vacuum Pump for suction, the plastic would not be able to be formed as it simply was not hot enough.
Having a quick look in in regards to a comment made earlier on, I am thinking of adding a boarder out from the base of the platen/vacuum box and making new frames. This way the platen goes up and into the hot plastic as the frame is pulled down.
So far this project has cost just $100 and it almost works, so I don't mind if I need to spend more to perfect it.
")