USS Yeager Kitbash project

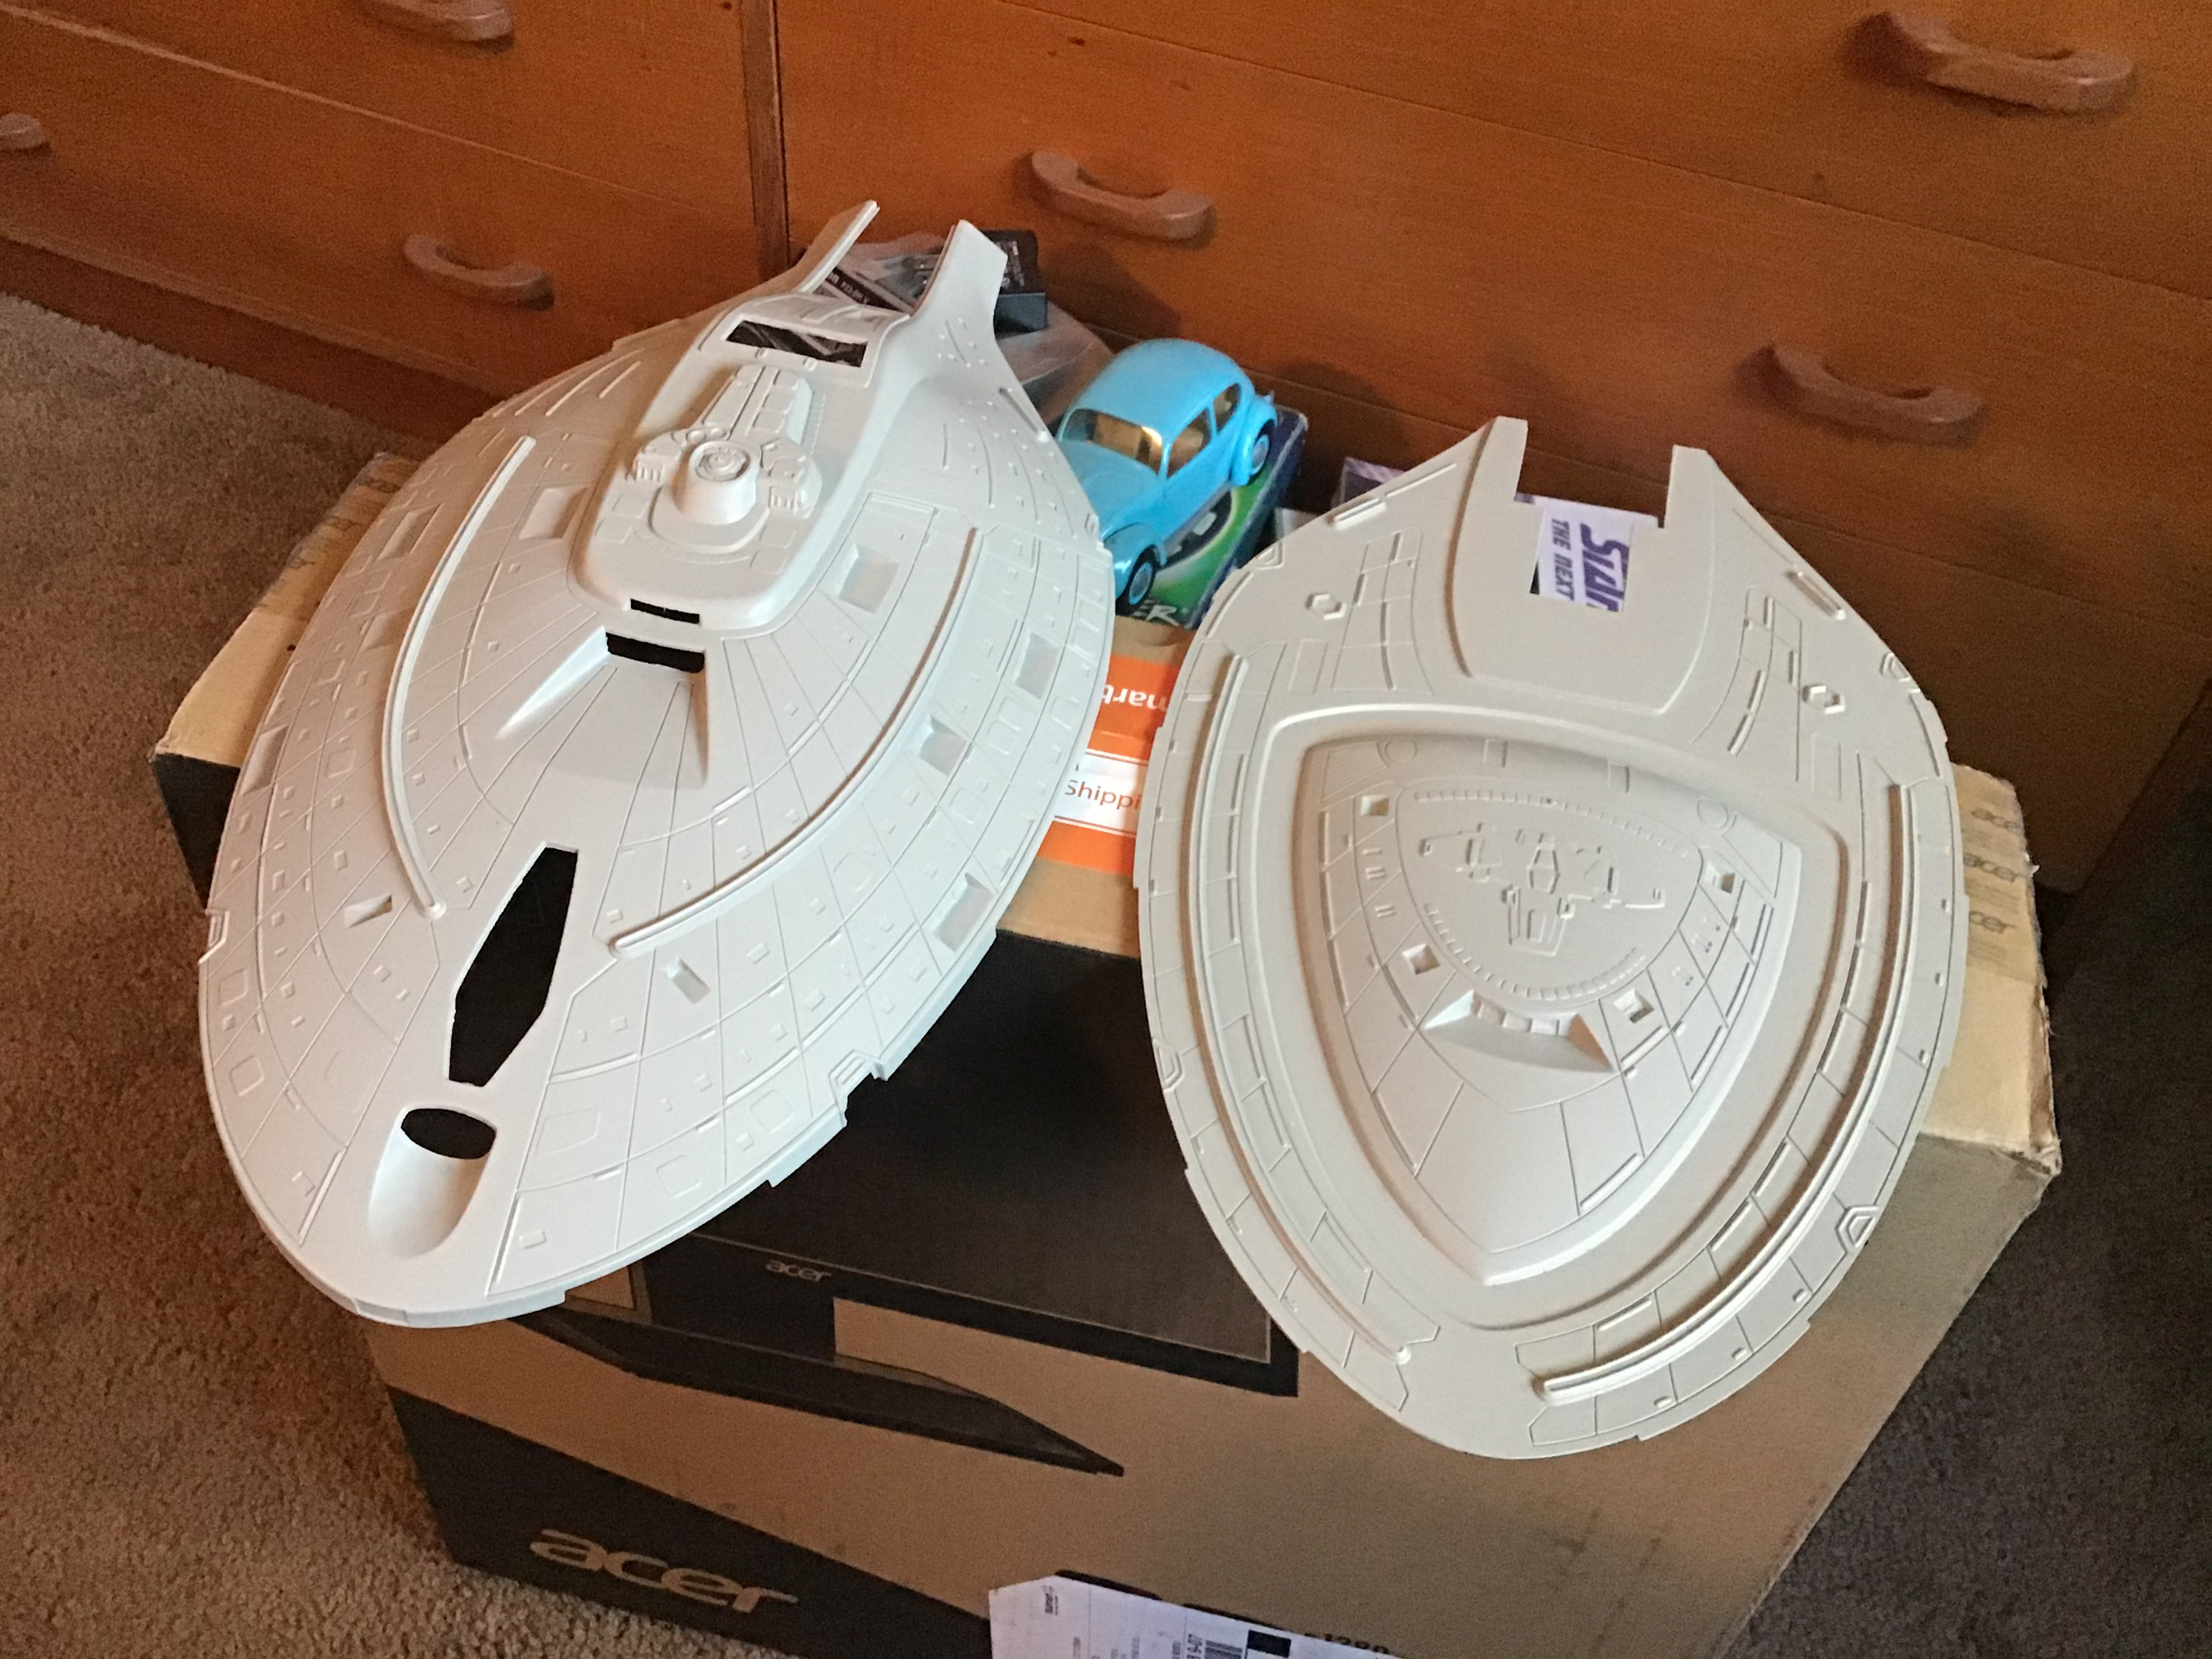
Update #3 - Just a short update today. I now have a proper stand for this build, it's from a 1/350th scale U.S.S. Enterprise Refit. I bought it on eBay. The model is not permanently fixed to it yet. Oh, you may have noticed in the pictures that I have removed a couple of parts from the Warp Engines. I will be filling these sections with clear sheet styrene that will be lightly sanded and lightly painted transparent Blue on the inside. I will be adding some detail on the outside of these areas as well. Speaking of details, I also replaced two detail parts on the Maquis section of the ship with the proper sized "U" channel strip. Here are the pictures:

WIgyhiF.jpg


XaktZCm.jpg


zyYkVXY.jpg


Thank you for looking. Comments or suggestions welcomed.
 
Just a sad update today... two days after my last post my mother passed away. She was 86. She was the last of thirteen children. The funeral service was this past Tuesday. I wasn't able to attend as it was two states away. I will resume this thread soon. Thank you for the comments so far.
 
stevielewis,
Condolences to you and your family. The Covid Pandemic has made funerals and grieving very difficult. Losing your mother, well that‘s a big loss and will take a long time to heal.
 
Thank you Pyramidrep and EKF5 for your messages. My family and I are taking comfort in that my Mother is no longer in pain and is at rest. I will be taking a trip to where my parents lived in a couple weeks to visit with my older sister and collect anything of mine yet at my parents home.

I need to get back to working on this project. I have the clear styrene cut out and I sanded the backside of the clear to keep it from being see through and to give it a better look.

I am working on a few other "Frankenstein Starships" as well. I will post those up in separate threads.
 
Update #4 - Finally got some work done on this build. I glued in the frosted clear strips in the rear of the ship. I used Testors Clear Parts Cement as it dries clear and does not fog the clear plastic. all I have left to do is add some braces like those used on the studio model over the clear strips. I also temporarily added a few detail pieces that are used on the studio model, six Panzer III/IV Tank Treads. The pictures at the end will show these pieces in place. Once warmer springtime temps return to Central PA I'll be able to paint this build and get it finished. Until then I will be working on a few other background ships from DS9. I will be posting those in their own build threads. Thank you for following along.

vCkdiWr.jpg


iWyRsh9.jpg


FxfOhgY.jpg


n8YpjqU.jpg


rMwkS35.jpg


Thanks for looking. Comments always welcomed.
 
An update to this build. I was able to get a primer coat, as well as the base coat of paint, on this build a few months back. Since then I have been getting paints for detailing this beast. The following picture was take a couple of days ago. I'm still working on the build (painting, then decals) so this is just a mock-up of what all I have gotten done. It's taken of the right side. The main hull is sitting on the lower hull using blue tack to keep the main hull from falling off.

ZouTTnY.jpg


I hope to have this one finished up later this year. Thank you for any likes or comments.
 

Your message may be considered spam for the following reasons:

If you wish to reply despite these issues, check the box below before replying.
Be aware that malicious compliance may result in more severe penalties.
Back
Top