robn1
Master Member
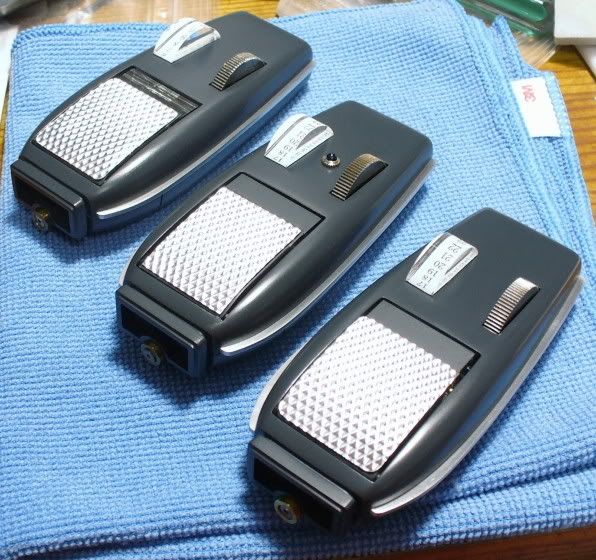
These are some Trek prop kits I was commissioned to build.
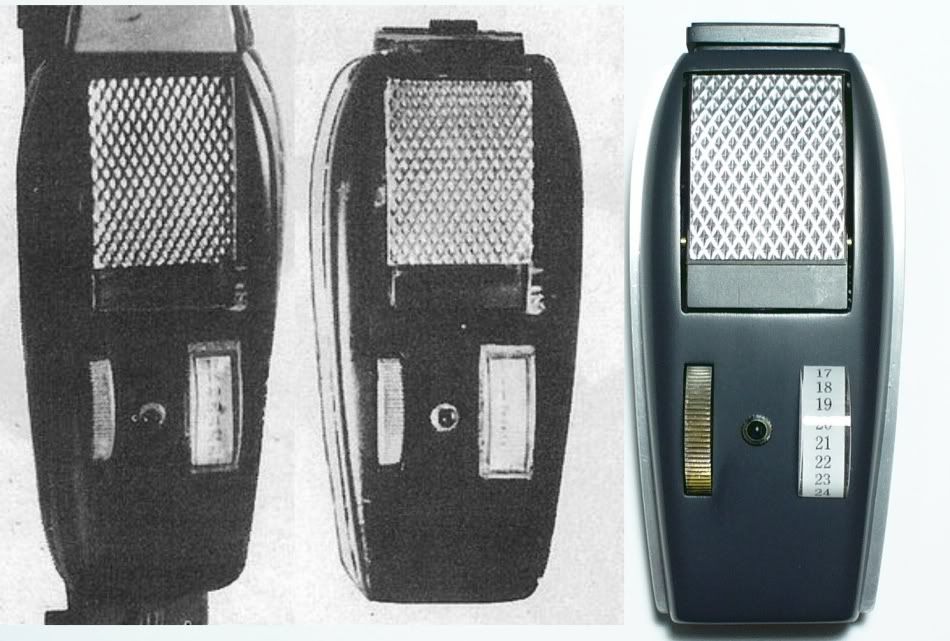
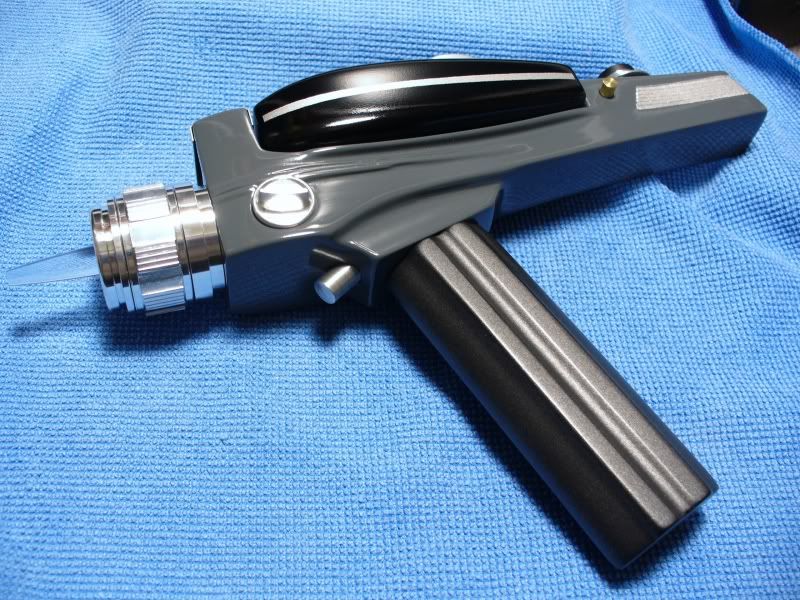
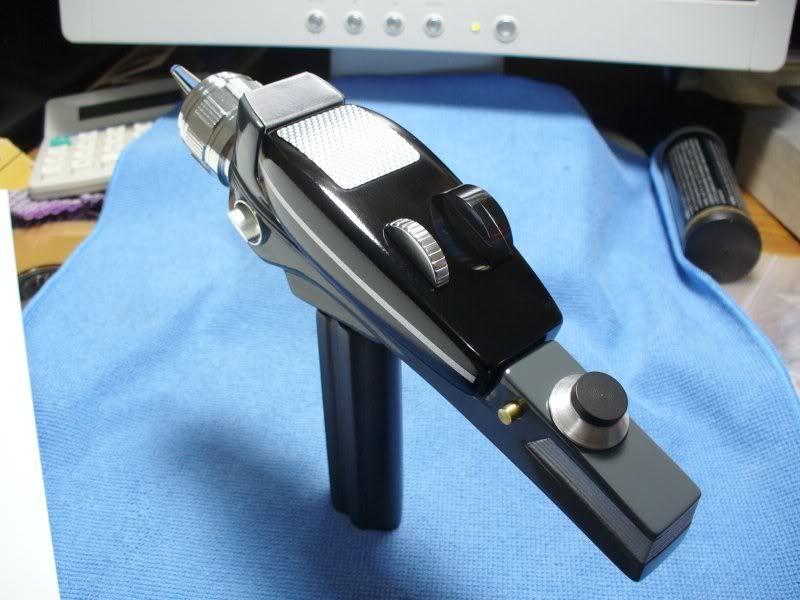
First is a mid grade TOS phaser. This was supposedly a cast of a cast of an original prop. It suffered some major shrinkage, but it's lineage is still pretty cool. The owner wanted it clean and shiny, all the metal parts and the paint were polished with Novus polish. I made the phaser 1 thumb wheel from aluminum, shaped on a grinder and filed and sanded by hand. The aluminum nozzle, side knob and ten turn were supplied by the owner.
The phaser 1 is painted in Duplicolor gloss black lacquer, the phaser 2 in Krylon shadow gray. The owner wanted a metallic charcoal color for the handle. I painted it in flat black lacquer, then sprayed silver lacquer over it. The silver was applied with a spray gun in a very fine mist. This gave it a nice metallic look, without the grittiness of most metallic paints.
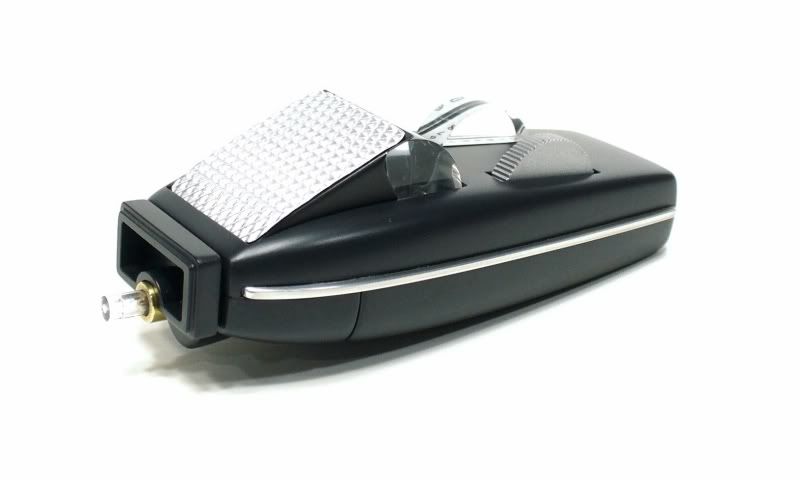
This is a phaser 1 from a resin kit, also painted in gloss black lacquer.
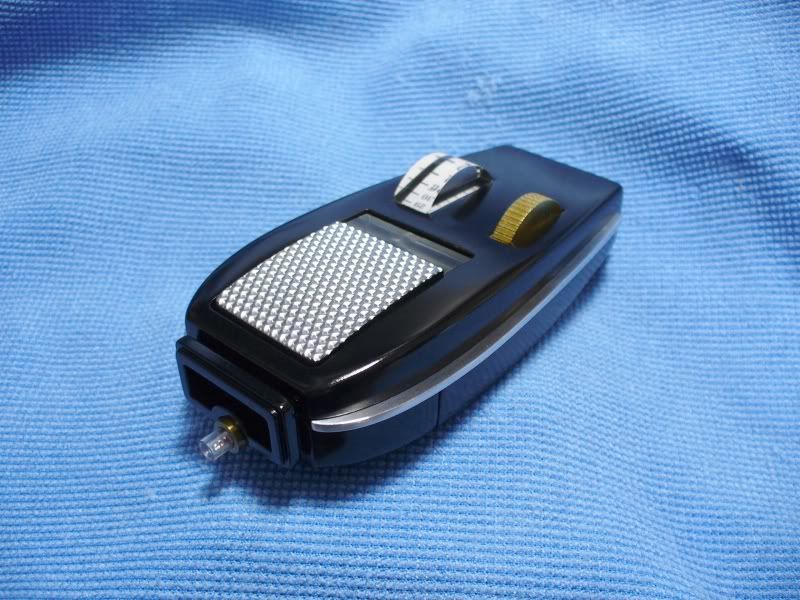
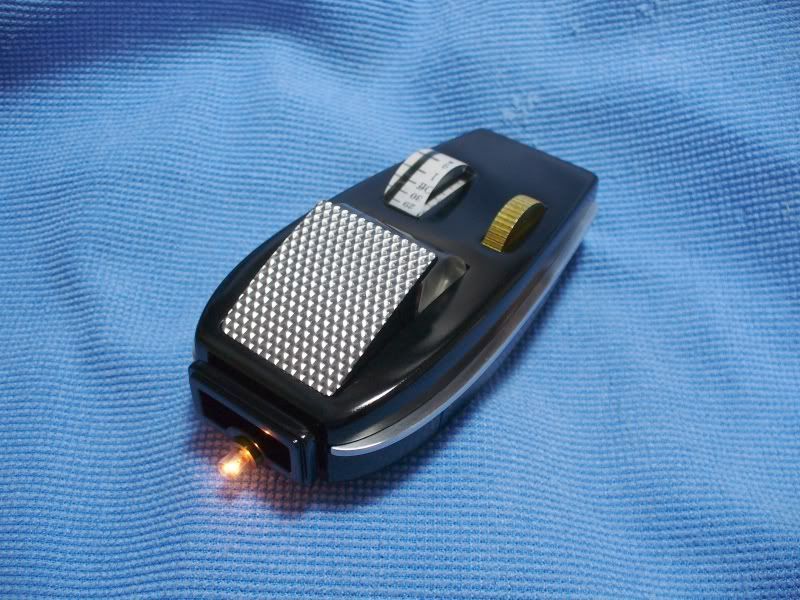
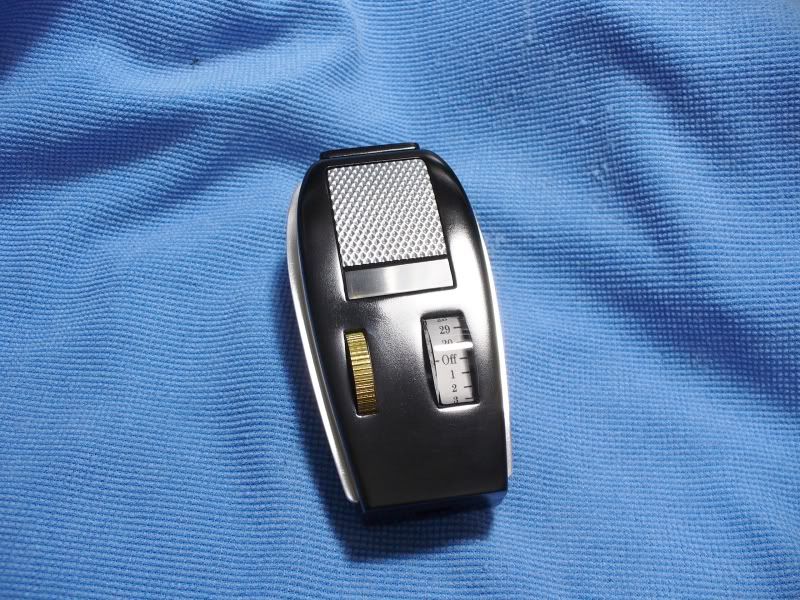
I trimmed away the emitter tube and made a new one from brass.
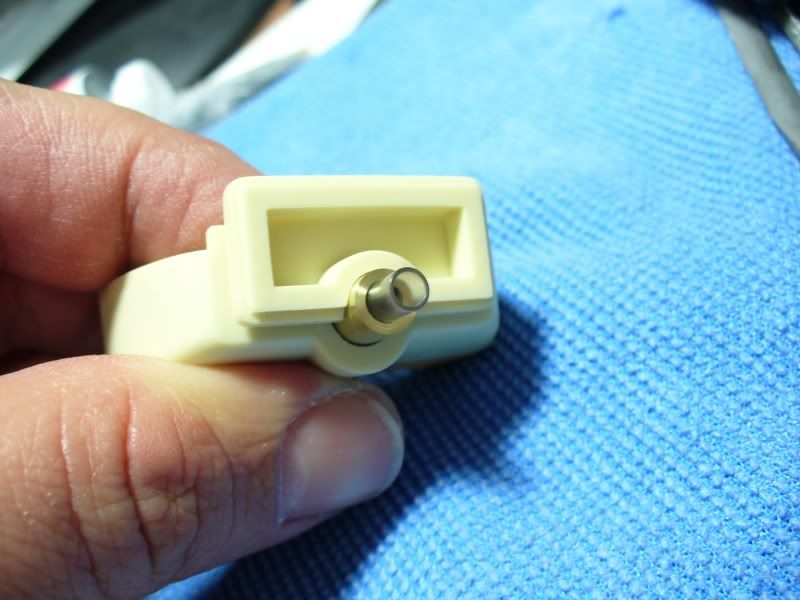
I also replaced the resin side rails with aluminum. These were cut with a coping saw, then shaped with a file and sanded. The resin rail is on the left.
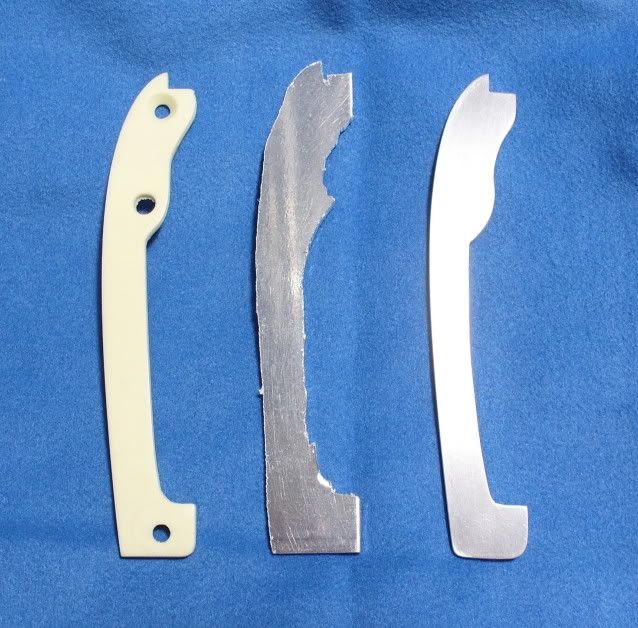
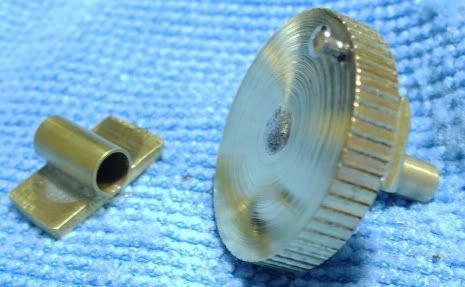
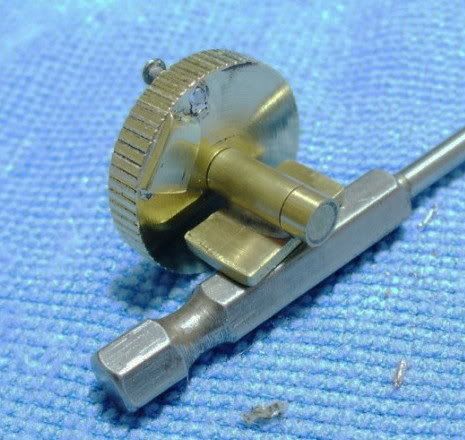
The owner supplied a brass thumb wheel, which he wanted left brass, not painted. I made a mount to allow it to turn. The mount is brass tube soldered to a piece of brass sheet. I also added a brad and a brass wedge for the switch.
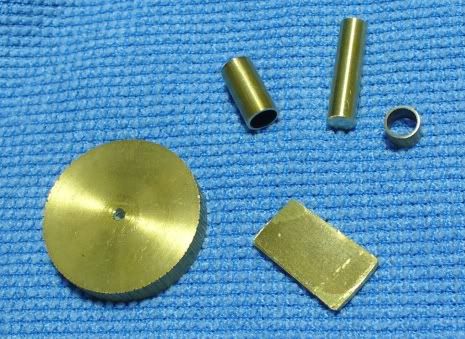
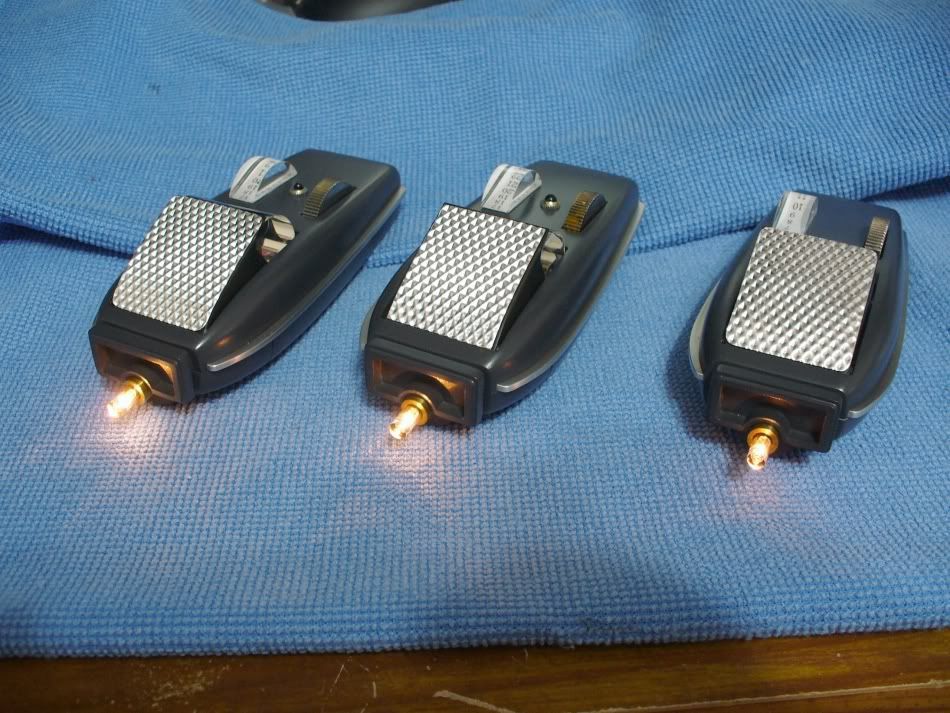
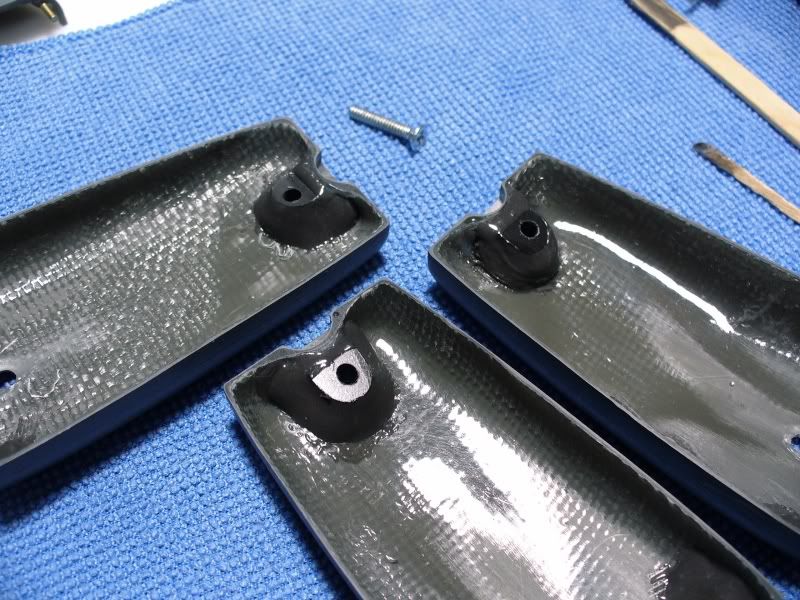
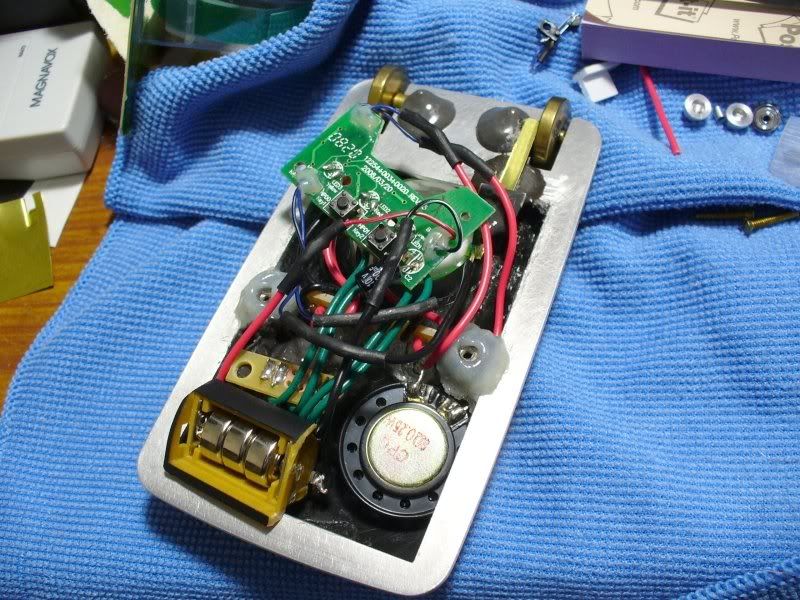
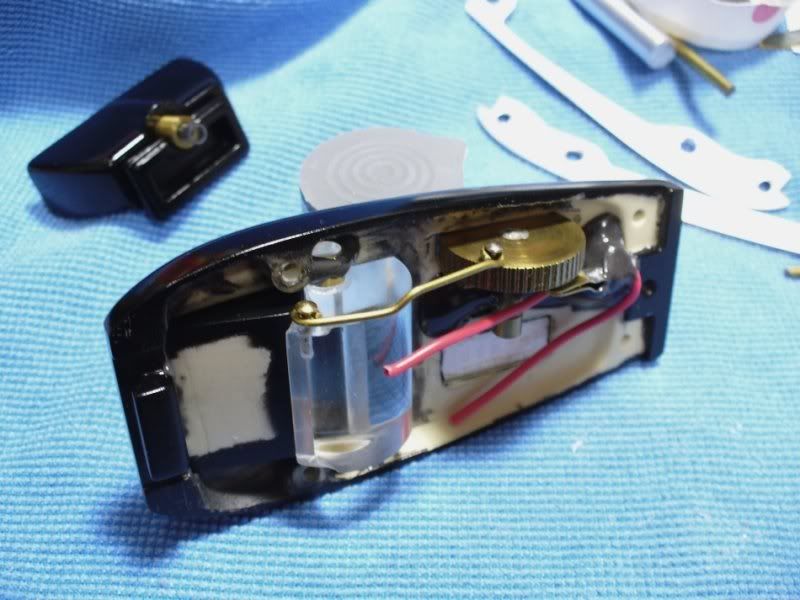
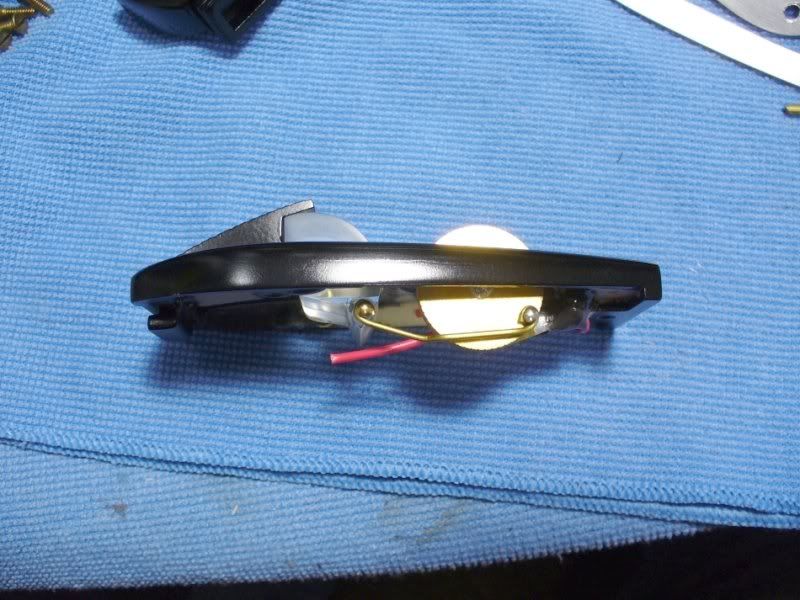
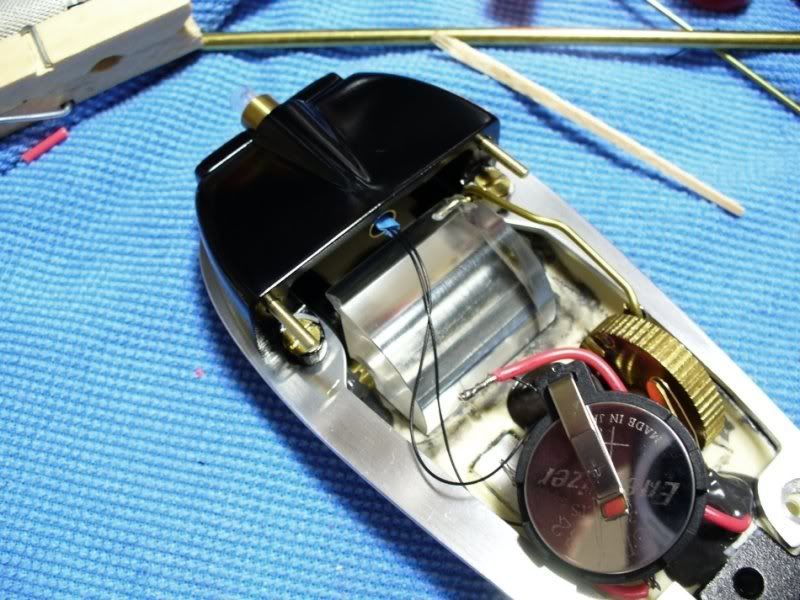
The kit included the clear rising sight. I added a light bulb for the emitter, powered by a button cell battery. Here are the works installed.
First is a mid grade TOS phaser. This was supposedly a cast of a cast of an original prop. It suffered some major shrinkage, but it's lineage is still pretty cool. The owner wanted it clean and shiny, all the metal parts and the paint were polished with Novus polish. I made the phaser 1 thumb wheel from aluminum, shaped on a grinder and filed and sanded by hand. The aluminum nozzle, side knob and ten turn were supplied by the owner.
The phaser 1 is painted in Duplicolor gloss black lacquer, the phaser 2 in Krylon shadow gray. The owner wanted a metallic charcoal color for the handle. I painted it in flat black lacquer, then sprayed silver lacquer over it. The silver was applied with a spray gun in a very fine mist. This gave it a nice metallic look, without the grittiness of most metallic paints.


This is a phaser 1 from a resin kit, also painted in gloss black lacquer.


I trimmed away the emitter tube and made a new one from brass.

I also replaced the resin side rails with aluminum. These were cut with a coping saw, then shaped with a file and sanded. The resin rail is on the left.

The owner supplied a brass thumb wheel, which he wanted left brass, not painted. I made a mount to allow it to turn. The mount is brass tube soldered to a piece of brass sheet. I also added a brad and a brass wedge for the switch.


The kit included the clear rising sight. I added a light bulb for the emitter, powered by a button cell battery. Here are the works installed.


