TOS Phaser Project

DaveG

Master Member
RPF PREMIUM MEMBER
I've been a Trekkie since high school in the 70's. Not a Trekker or a Trekkist, just a good old fashioned Trekkie. I'm a geek, and proud of it! I've always wanted to make a Phaser. During high school, and college, I tried on several occasions to make one, out of whatever materials I had on hand, balsa wood, plaster, foam... at the time my skill set just wasn't developed and none of these attempts came to fruition. The funny thing, is that I've been a professional movie and TV prop and model maker for more than 25 years now, and I never got around to making my phaser. Until now...

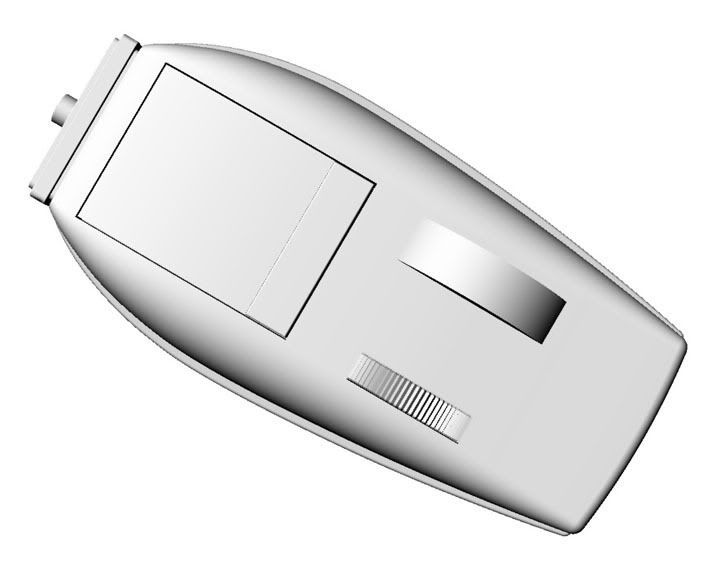
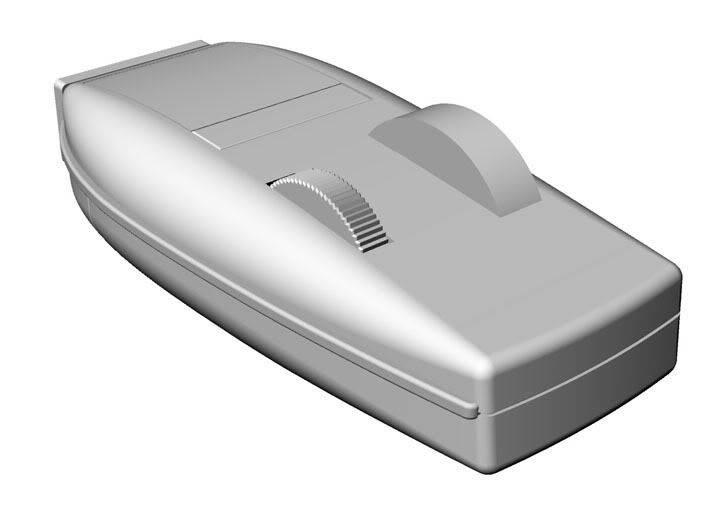
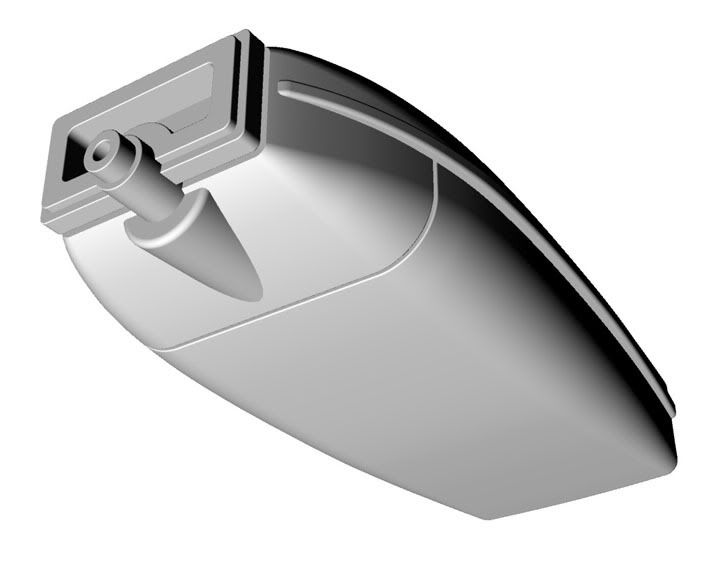
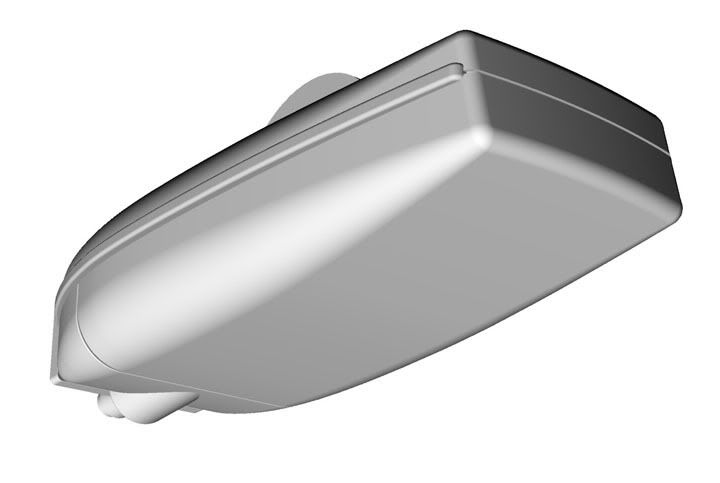
The first step is to make a CG model the phasers, both the Type One hand phaser and Type Two pistol grip in Rhino. From this model, the bodies of the phasers will be milled out of high density urethane foam on my CNC router. From those pieces, molds and castings.

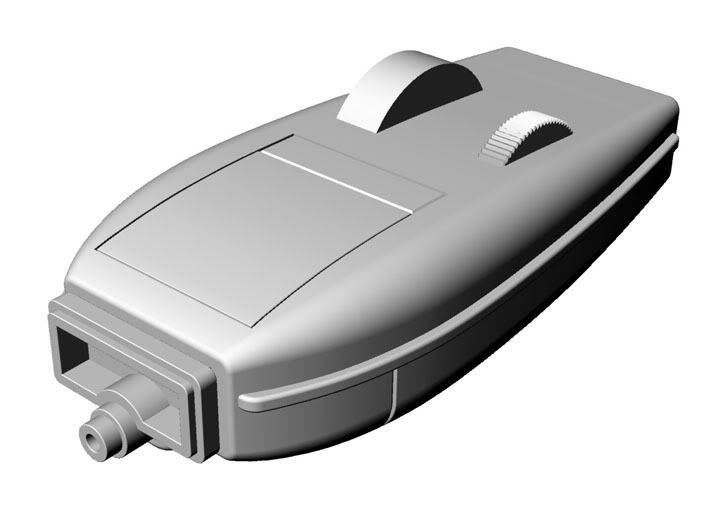
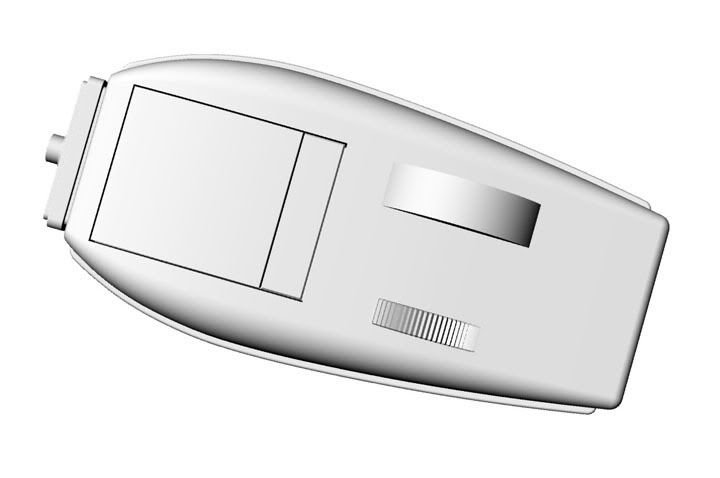
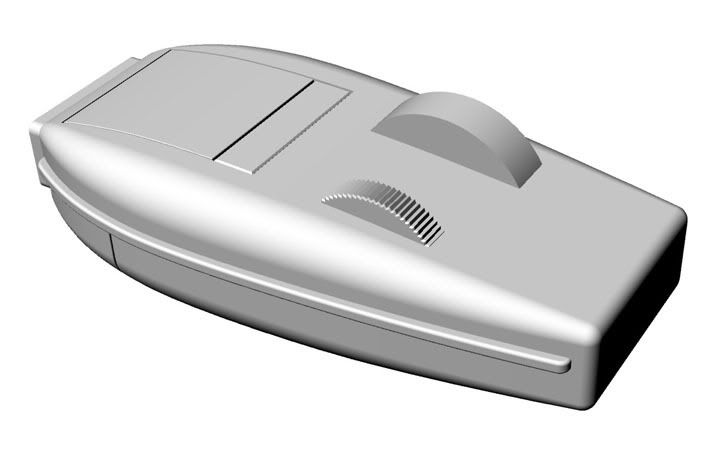
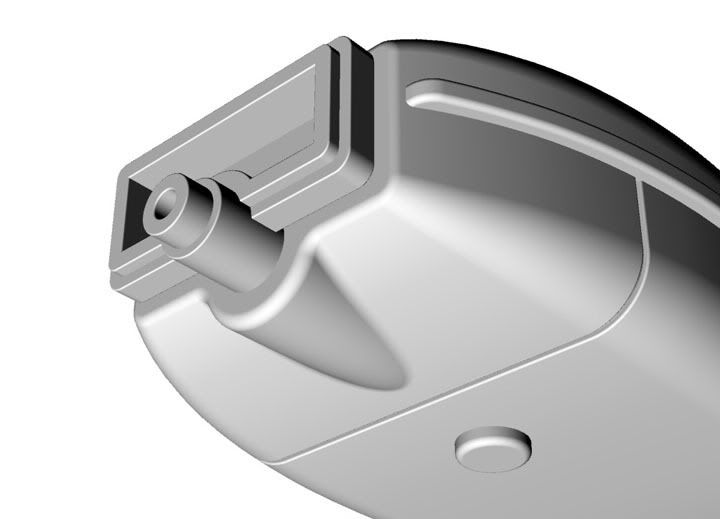
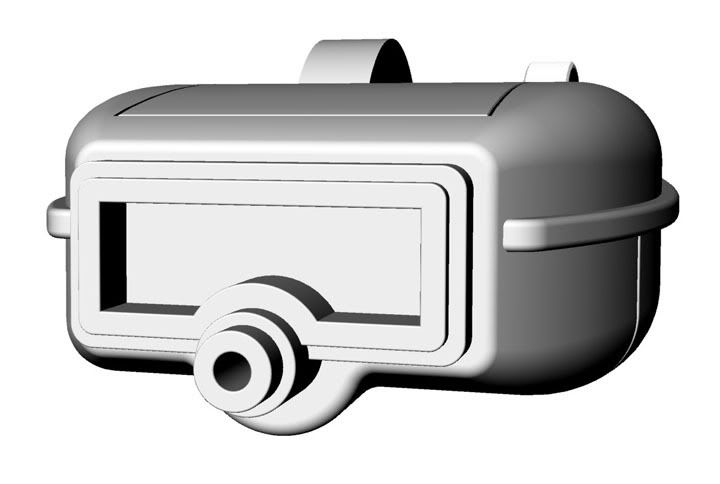
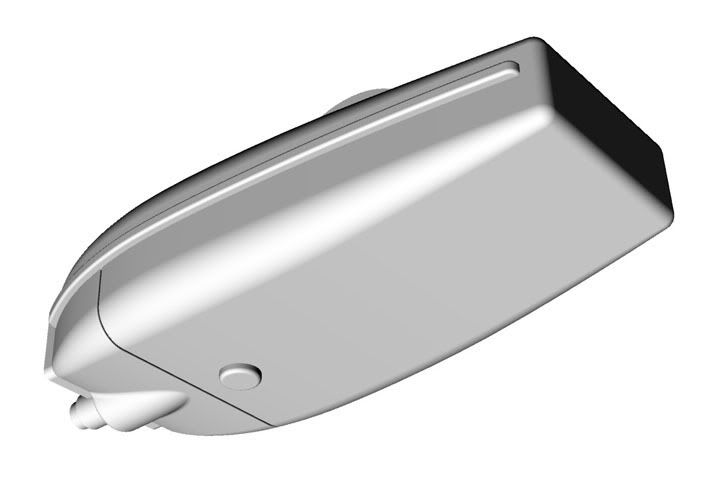
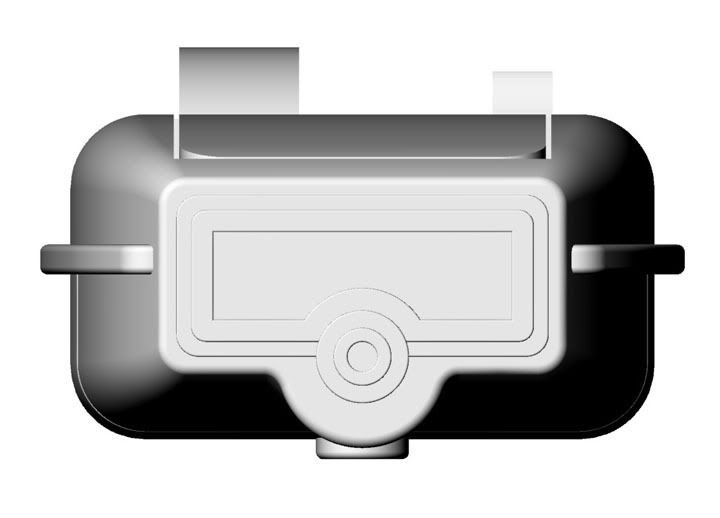
Here are some work in progress renderings of the Type One Phaser. It's not completely done. I'm not happy with the emitter fairing on the bottom and it still needs the latching recess modeled in as well as the screw on the bottom. The texture for the "crispy" grill will be modeled separately as a die that will be milled flat and used to embose the texture into thin aluminum sheet, which can then be gently bent to match the curve of the top surface. If any of you TOS experts out there see something that I did wrong, or missed, let me know.
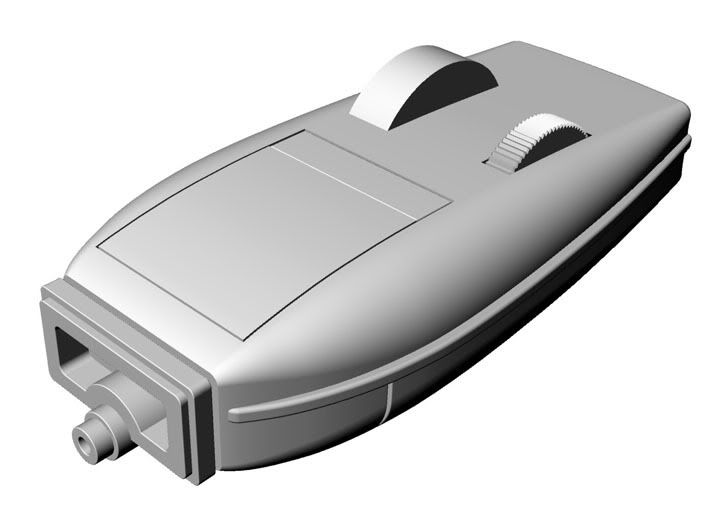
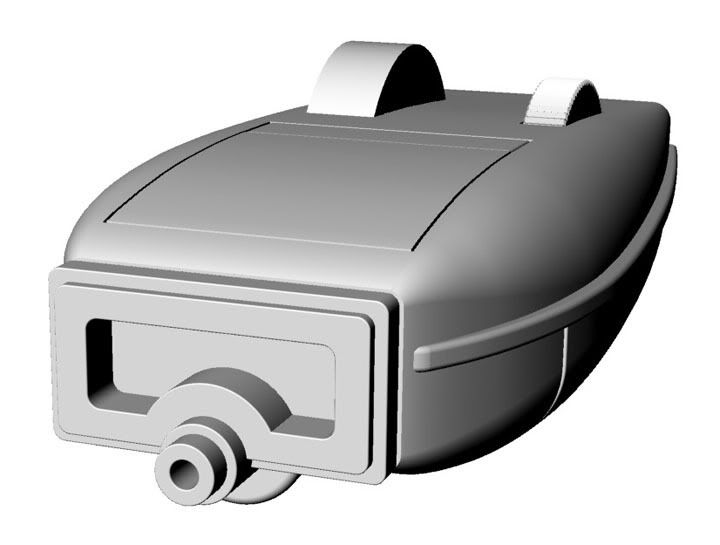
Type1View7.jpg


Type1View8.jpg


Type1View9.jpg


Type1View10.jpg


Type1View11.jpg


Type1View12.jpg
 
Last edited:
Cool! I'll be watching this one :)

A few things I see that need attention: the inside corners of the widow bezel should be sharper, and the front surface of the emitter "hump" should be even with the front of the body. Also the side rails should be more pronounced, and should be a more even width along the length. The look of the rail getting narrow at the front end reminds me of the DST toy, they didn't get that right. Looking good otherwise :thumbsup
 
Last edited by a moderator:
Rob, Thanks for the notes! In addition to those changes, I found some much better photos today of the original props and I ended up re-modeling most of the phaser. As much as I liked the "Chris Craft" curved sloped rear end it wasn't accurate, so that's been squared off. I also reduced the edge fillet radius along the middle and made the frame at the front smaller. Now on to modeling the pistol grip.

Type1View14.jpg


Type1View13.jpg


Type1View15.jpg


Type1View16.jpg


Type1View17.jpg


Type1View18.jpg
 
Rats! Now there are a couple of other details I have to change! :eek

It's all good, thanks for the reference. I'd found some other pictures of Greg's phaser but they weren't this comprehensive.
 
Version 3

Well... As the saying goes "If it's not worth doing three times, it's not worth doing at all!"

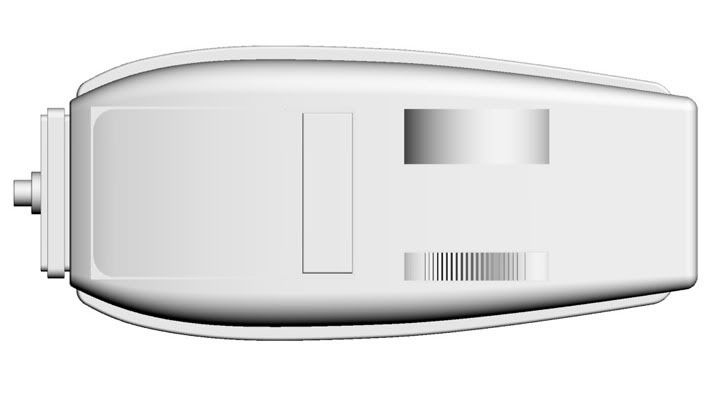
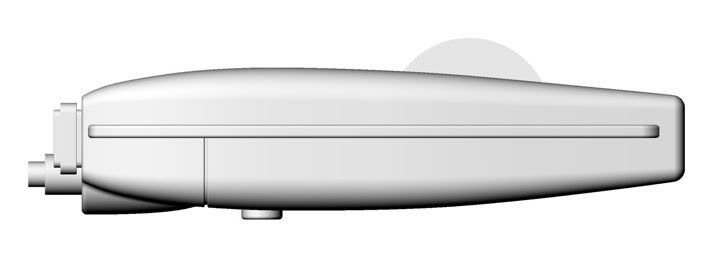
Upon close inspection of the reference photos of Greg Jein's original hero prop, I realized I had the shape wrong, too wide and too thick, and the edge fillet radius was still too much. So I've modeled the Type 1 phaser all over again. The shape is more slender and graceful now. A little change, but a big impact. This time I think I've nailed it!

4.jpg


4-1.jpg


Type1v3Top.jpg


Type1v3Side.jpg


Type1v3Front.jpg
 
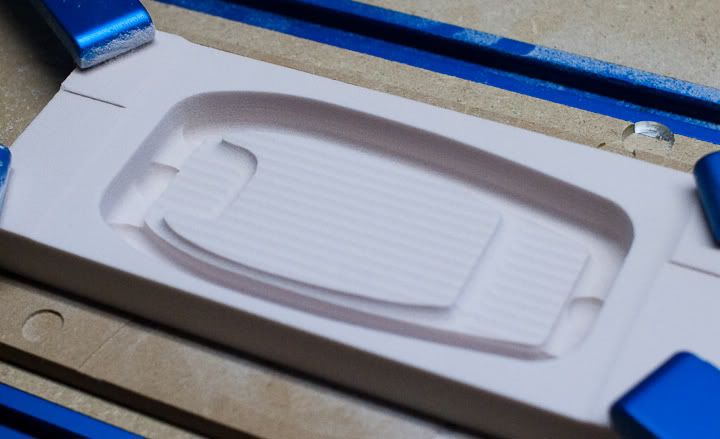
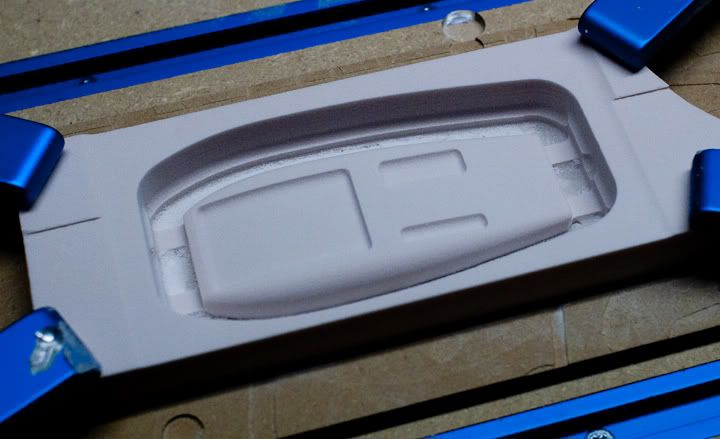
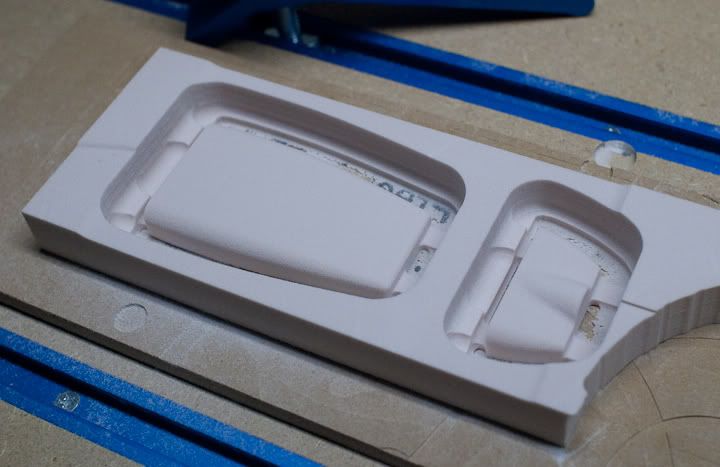
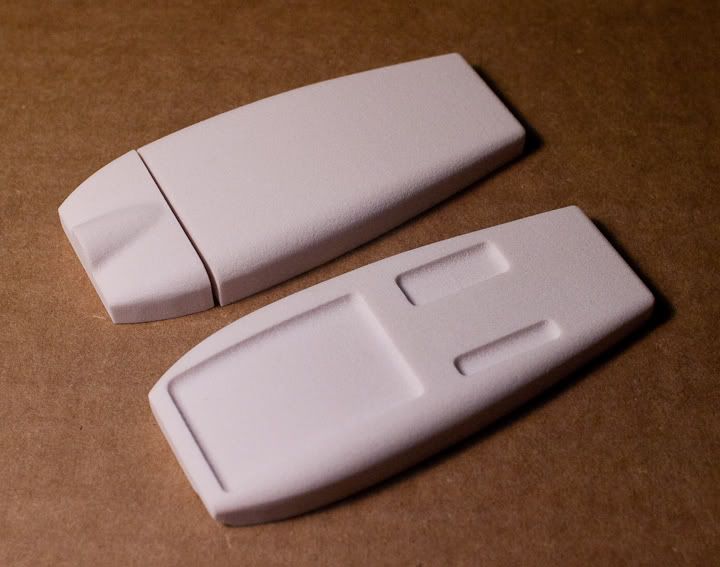
Here is a test milling out the patterns on the CNC. These were cut from 30 pound high density urethane foam, which is really a little too porous for this project. But I have lots of it laying around and it works fine for a test. When I make the hero parts, I'll use a denser 45 or 50 pound foam.

The parts are milled in two steps, first a roughing pass which removes the bulk of the unwanted material and then a finish pass which takes very fine cuts for a smooth surface.

CRW_3461a.jpg


CRW_3462a.jpg


CRW_3466a.jpg


CRW_3468a.jpg
 
Ya know...

Instead of guessing...

I have very precise measurements and photos taken off Greg's hero prop from back in my old MR days.

We could probably work something out. :)

PM me if interested...
 
realy good now but you are still missing the nitch at the back where it locks into the phaser two. Without this it is not accurate and will not ever lock properly to a phaser two. But you are certainly there on everything else. Except the extending clear piece that comes out of the emmiter assembly.
 
Sorry, I've got so many other projects brewing at the moment the Phaser got pushed to the back burner. I didn't want to trouble you until I was ready to fire back up.
 
Back
Top