travsall
Active Member
I've only made a couple posts here but I'm around all the time reading, figured it's about time I do a thread about one of my projects. I'm a huge Star Wars fan, and have a small collection of helmet kits I've built up, a full Trooper, and now a full TIE too. I love the build, the whole process is just great, like the model kits I built as a kid, only slightly bigger 
I'd been wanting a TIE pilot for a LONG time, always loved the design, they just look evil. I waited on this one a while though till I could really do it right, and jeeze I'm glad I did. I'd bought a Snow Trooper helmet kit from Dan Laws before and I was REALLY impressed with everything about it, so I had to go to him for the TIE too. He's one of the best to deal with, great guy to talk to, always quick communication, and what he delivers is nothing shy of incredable. Every pull as sharp and crisp as possible and ready to go outta the box. I've never worked with nicer kits then Dan's, and can't wait to get more. Thanks again Dan.
So, progress, I'll go through the whole build start to being worn. I love seeing that done, so always make sure I do the same with my builds.
Here's a shot of the whole kit layed out

and the first bit of progress I made that day, chest box glued, and the helmet sections together

the helmet before paint


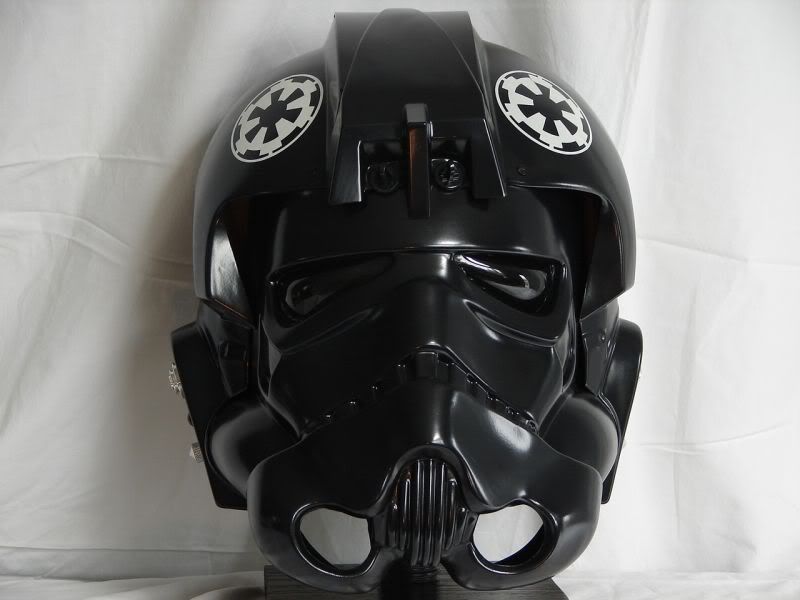
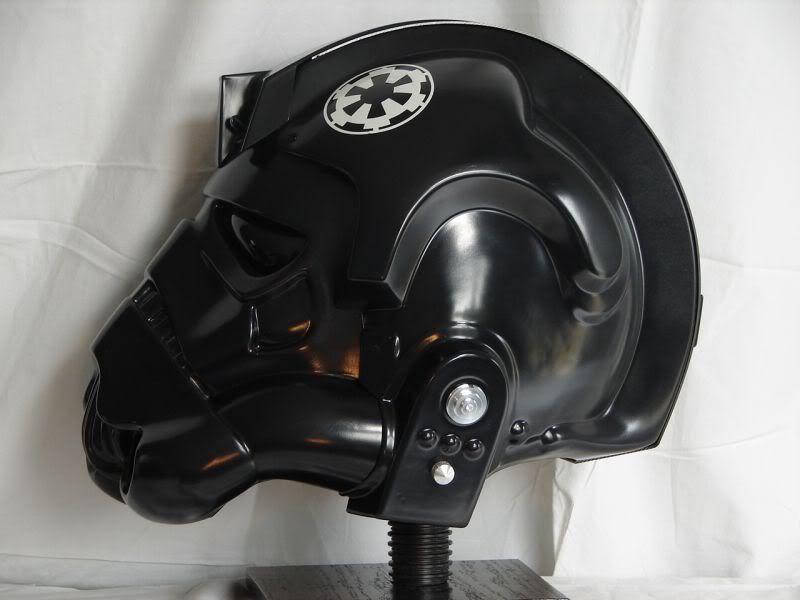
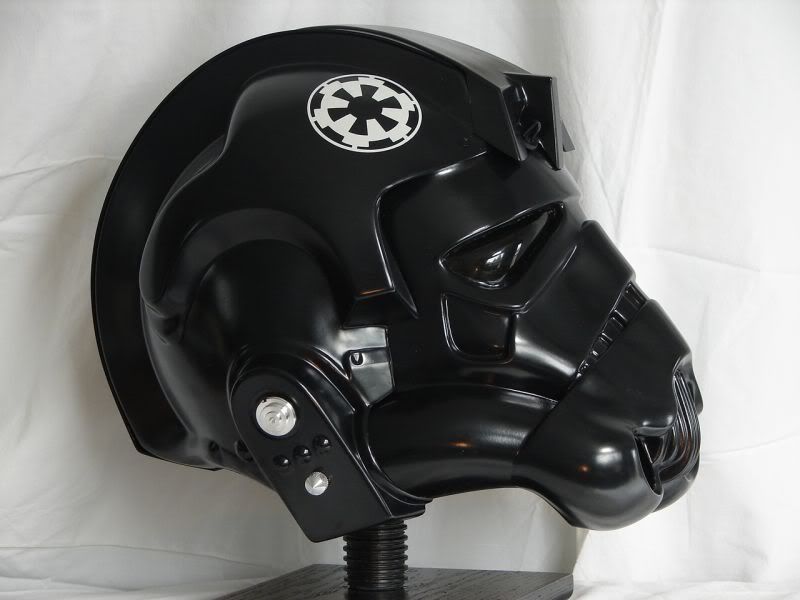
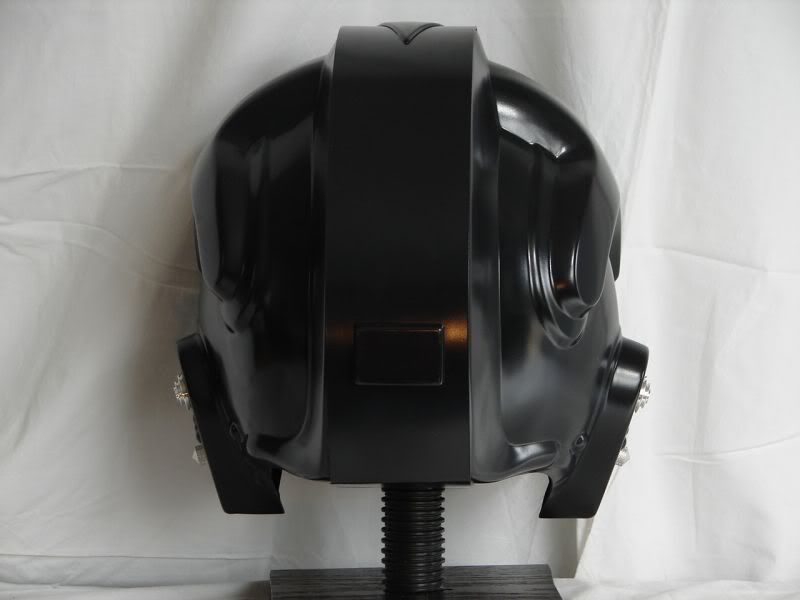
and after paint, lenses added, and aluminum greeblies added, almost done. BTW yeah photographing shiny black stuff, really hard.


Lotta work on the chest box too, filled the seam with filler putty, then cleaned that up
Before sanding

After sanding, adding a part, cutting holes for various parts, and shimming, and a shot of paint

Got the armor together, straps on, and the chest box together with all the parts on.


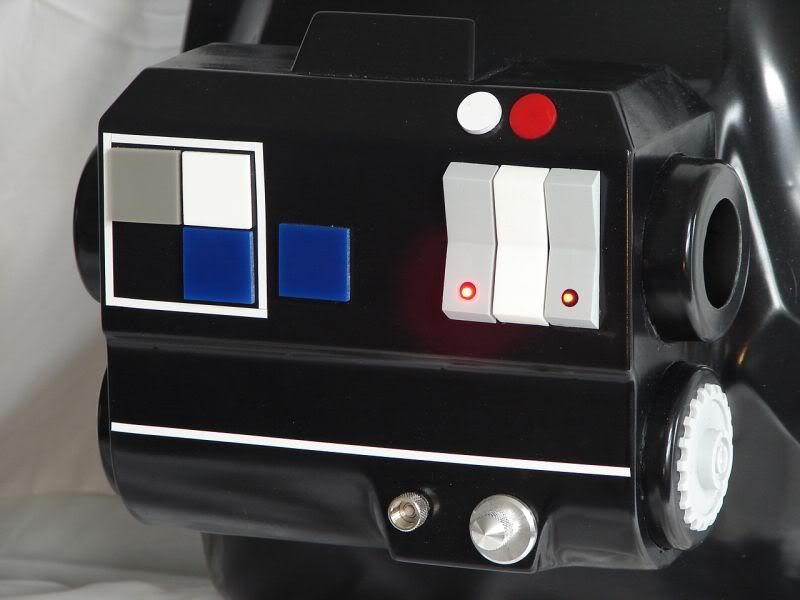
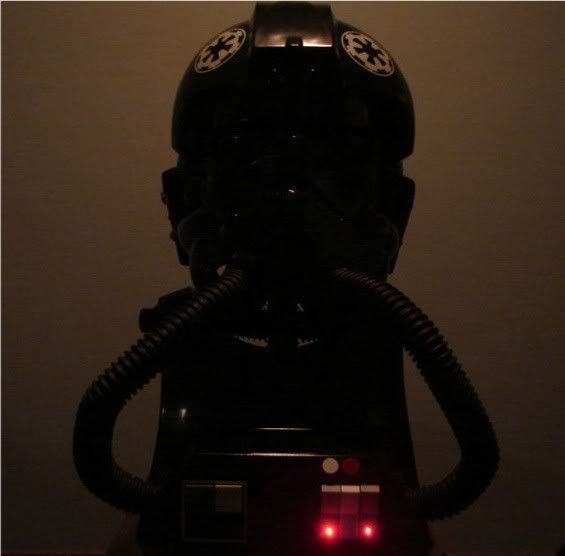
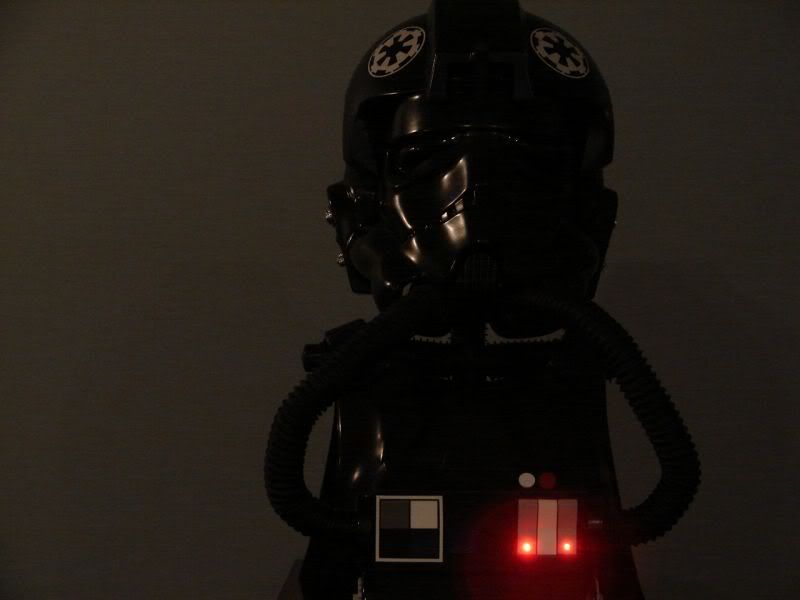
close up on the box with the rocker switch lights on. The top red button is the switch for it. I drilled out a hole for it, and added a backer to hold the switch, I made a simple switch circut with 2 LEDs running off of button cell batteries, all contained in the chest box.

lights off

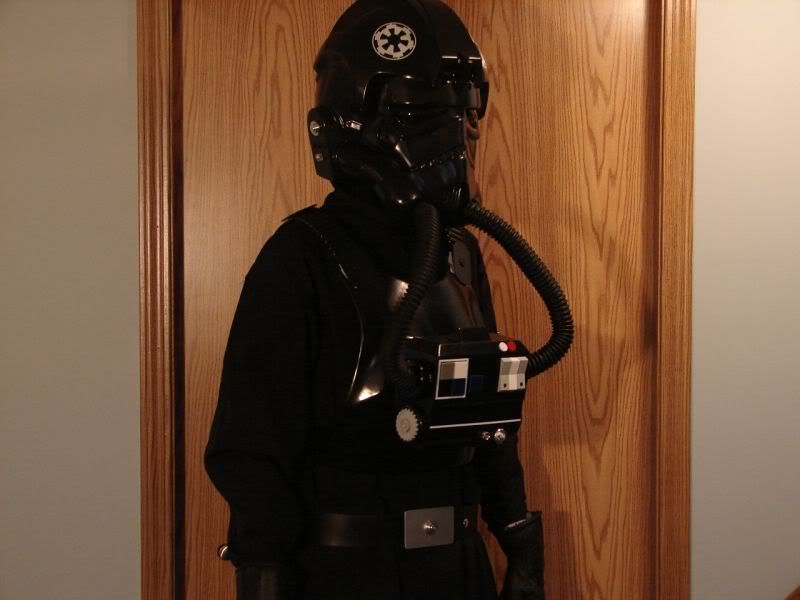
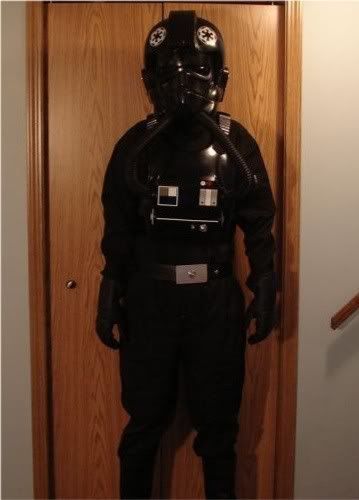
And then the finished set, with hoses from Targ, they're perfect, flex great and really look the part. All together on the stand I built
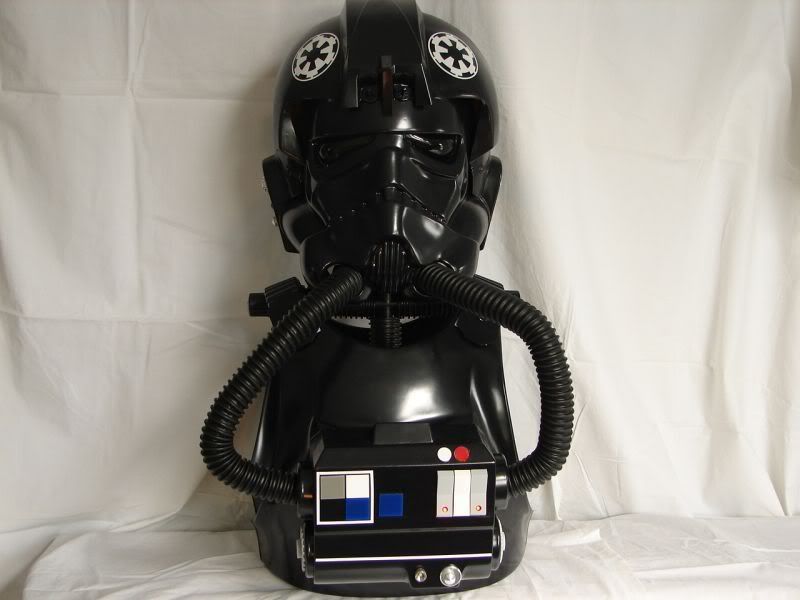
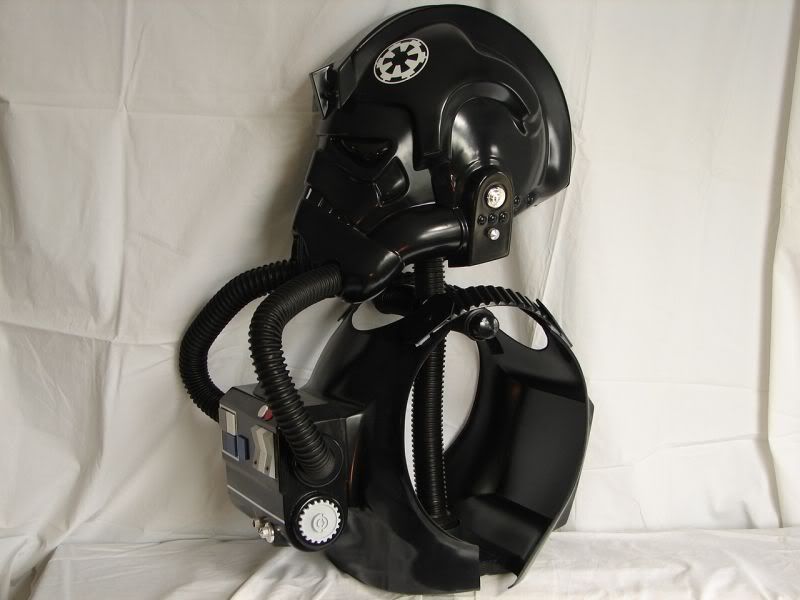
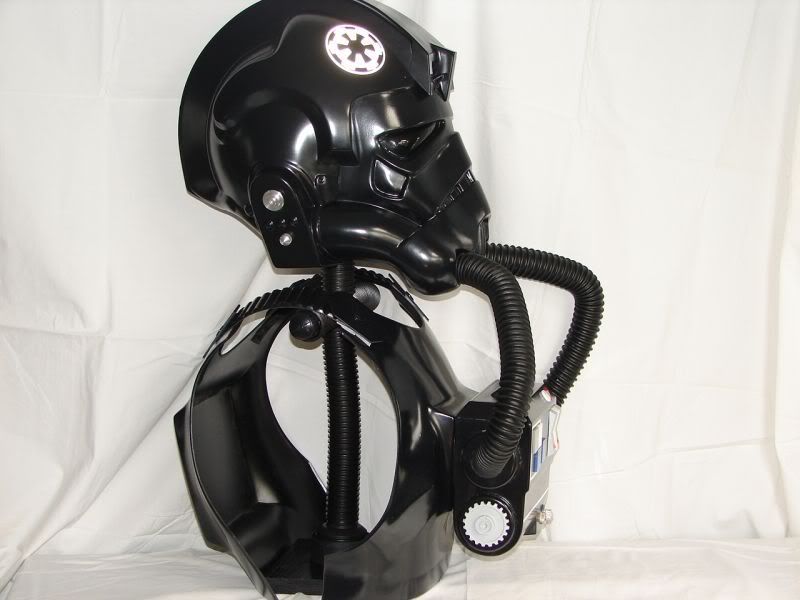
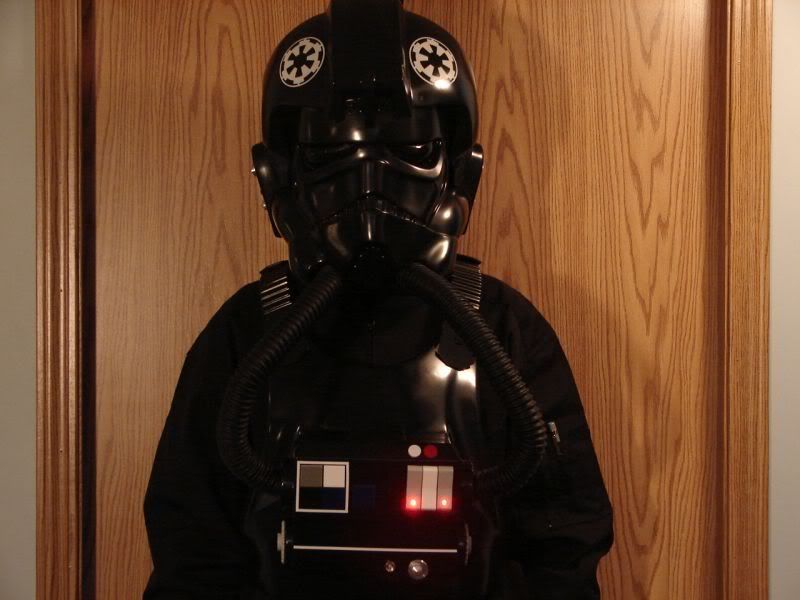
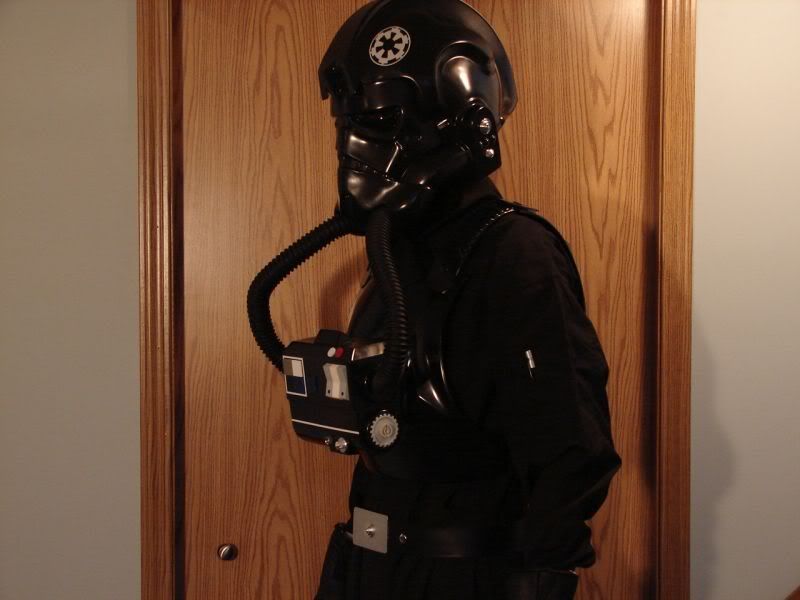
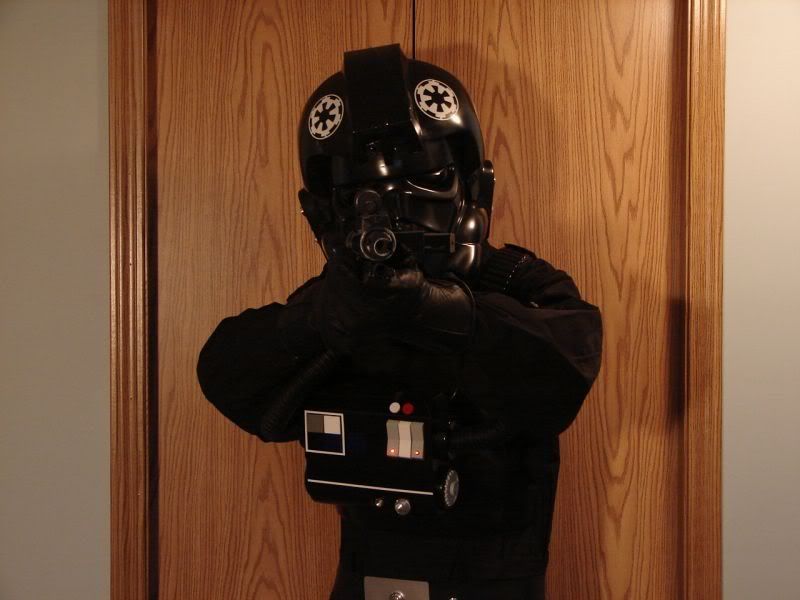
And then finally, being worn. I know, no shoulder patches, and only 1 code tube. I don't plan on wearing it really, so I didn't get the patches, and actually had the code tube from a soap stone holder I use
I'd been wanting a TIE pilot for a LONG time, always loved the design, they just look evil. I waited on this one a while though till I could really do it right, and jeeze I'm glad I did. I'd bought a Snow Trooper helmet kit from Dan Laws before and I was REALLY impressed with everything about it, so I had to go to him for the TIE too. He's one of the best to deal with, great guy to talk to, always quick communication, and what he delivers is nothing shy of incredable. Every pull as sharp and crisp as possible and ready to go outta the box. I've never worked with nicer kits then Dan's, and can't wait to get more. Thanks again Dan.
So, progress, I'll go through the whole build start to being worn. I love seeing that done, so always make sure I do the same with my builds.
Here's a shot of the whole kit layed out

and the first bit of progress I made that day, chest box glued, and the helmet sections together

the helmet before paint


and after paint, lenses added, and aluminum greeblies added, almost done. BTW yeah photographing shiny black stuff, really hard.


Lotta work on the chest box too, filled the seam with filler putty, then cleaned that up
Before sanding

After sanding, adding a part, cutting holes for various parts, and shimming, and a shot of paint

Got the armor together, straps on, and the chest box together with all the parts on.


close up on the box with the rocker switch lights on. The top red button is the switch for it. I drilled out a hole for it, and added a backer to hold the switch, I made a simple switch circut with 2 LEDs running off of button cell batteries, all contained in the chest box.

lights off

And then the finished set, with hoses from Targ, they're perfect, flex great and really look the part. All together on the stand I built


And then finally, being worn. I know, no shoulder patches, and only 1 code tube. I don't plan on wearing it really, so I didn't get the patches, and actually had the code tube from a soap stone holder I use


