You are using an out of date browser. It may not display this or other websites correctly.
You should upgrade or use an alternative browser.
You should upgrade or use an alternative browser.
Now you'll just need to build the power armor station to hang it from!
We've been talking about that exact thing. It'd be a shame to just tuck the finished thing into a storage bin somewhere...
i only got one thing to say: you crazy
No I'm not. I have a certificate that says so from when they released me from the institution. It says that according to the State of California, I'm no longer a danger to myself or those around me. Do you have a not-crazy certificate? I doubt it.
Man, lots of crazy forms and recesses and...but looking mighty good:cool Looking forward to see it hanging on a body; but that's another story.
Soon...
I love that you've got the family working on it too!")
I would love to try my hand at some power armour but I have neither the skills or space.
Actually, all of these folks are just friends and a couple of kids from a local youth group that I volunteer with. I usually have a reasonably large crowd of people who get excited about helping out on whatever project I'm building in preparation for the Bay Area Maker Faire.
Regarding skills and space, you'd be surprised how little room you really need in order to make things like this. The skills you can mostly get by picking up a copy of my how-to book:

It's available here: http://amzn.to/2qb36qw
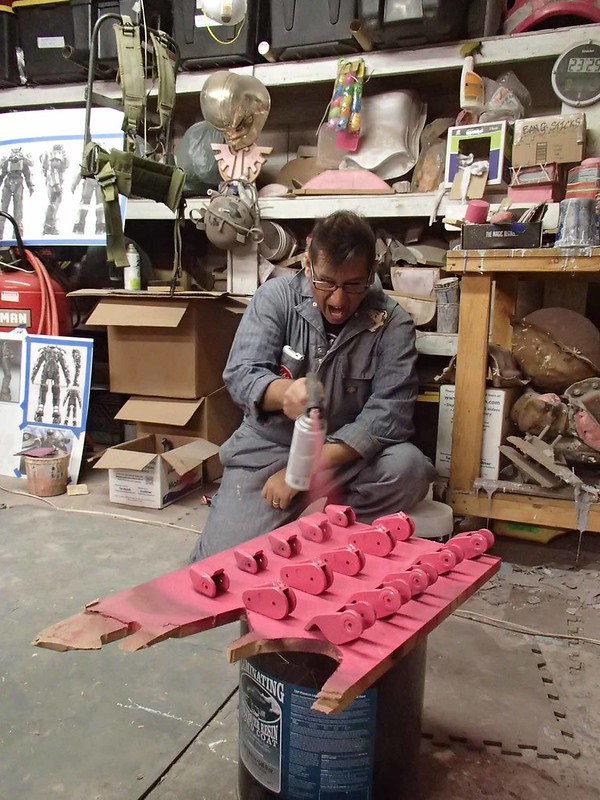
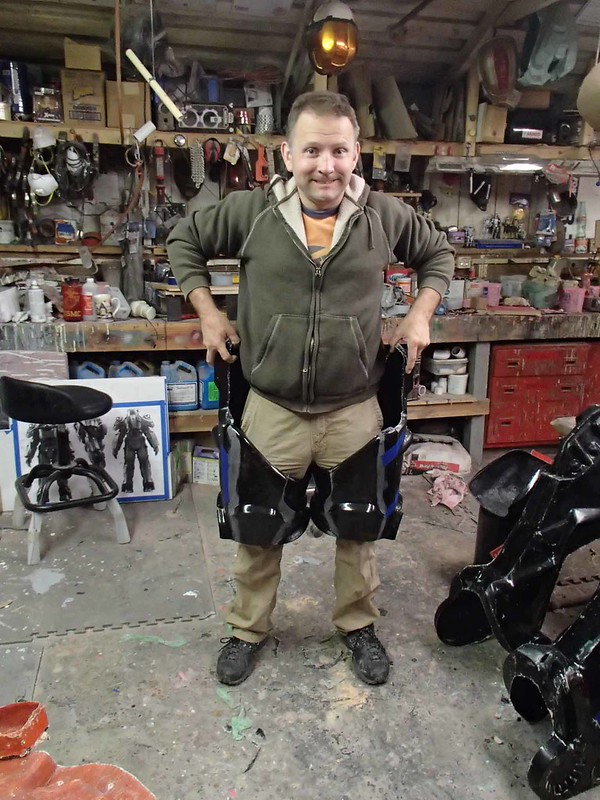
Back to the topic at hand, I pulled the first copy of the calves. Here's little Mallory trying them on:
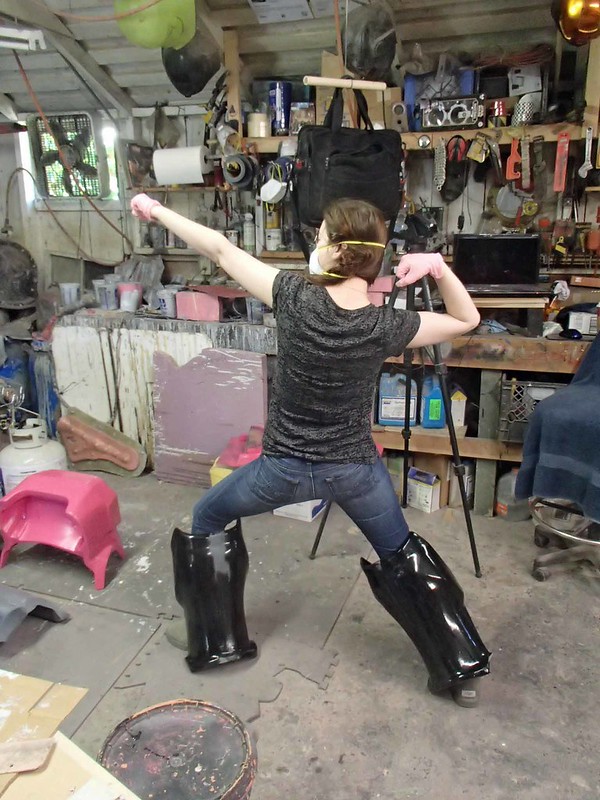
Satisfied that she looks as silly as possible, I set to work making sure they'll fit properly to the monstrously massive shin pieces:
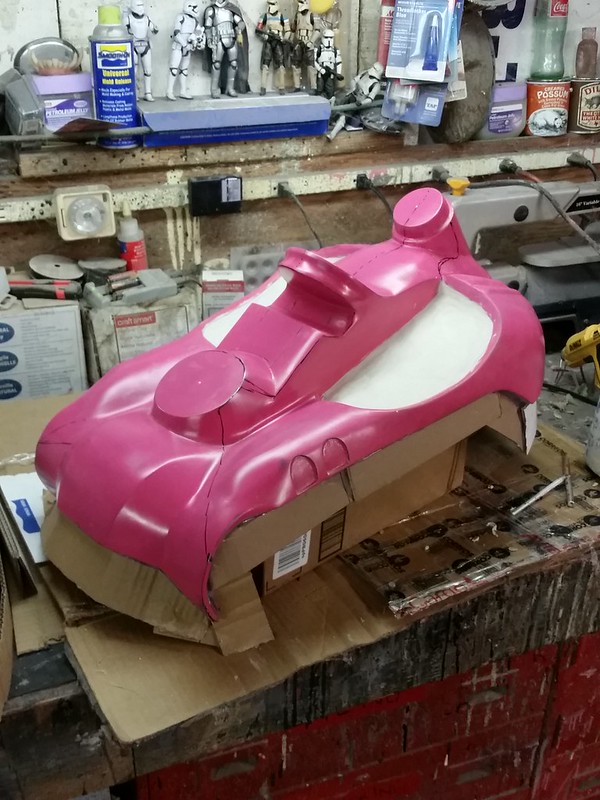
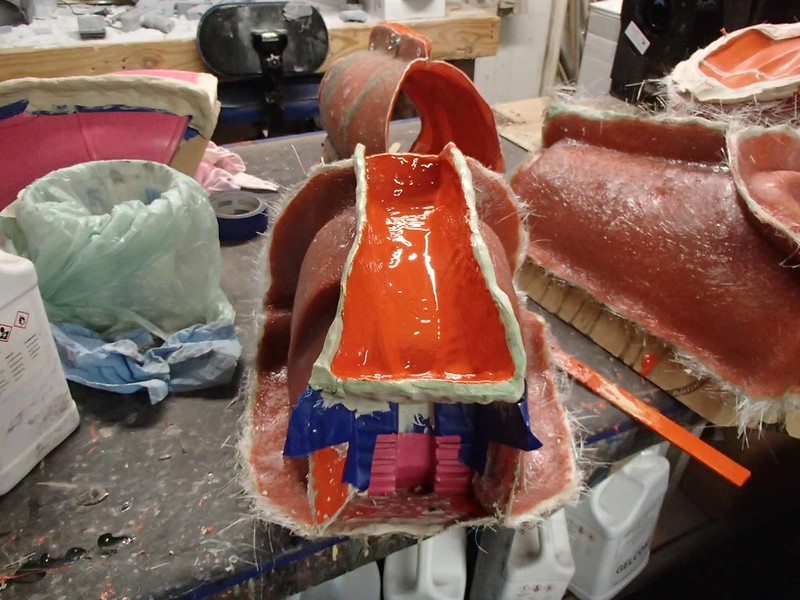
While I was mucking about with that, Lewis' wife got to wax the big pink chest bathtub:
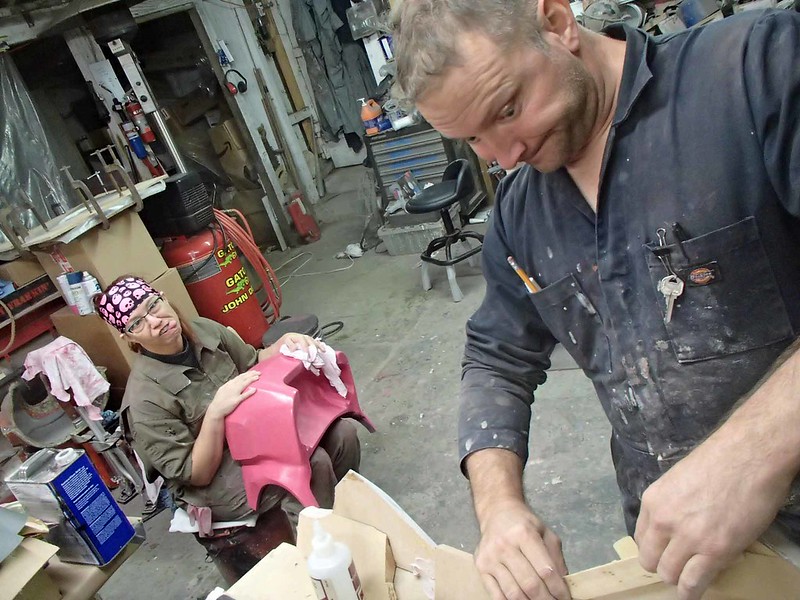
All of the polishing and sanding has nearly cost poor Lewis his sanity:
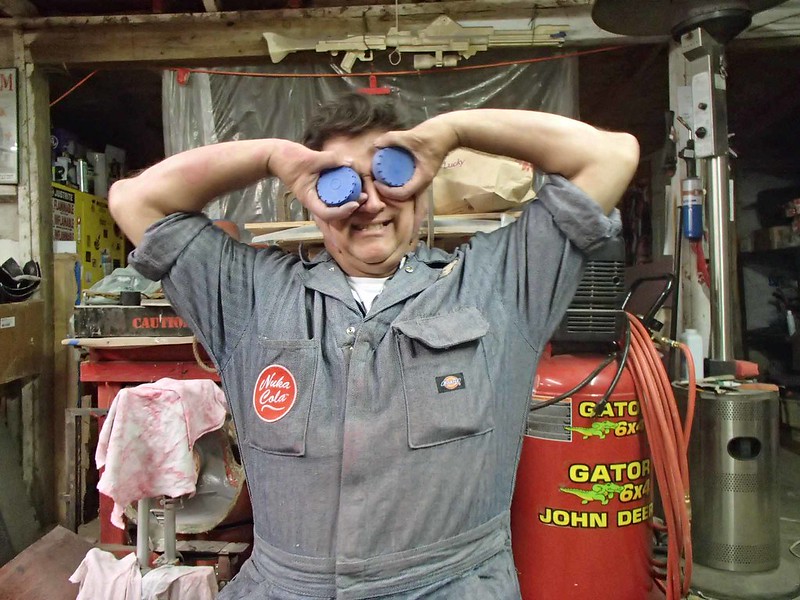
Those are the 3D printed ear caps for the helmet he's wearing as goggles.
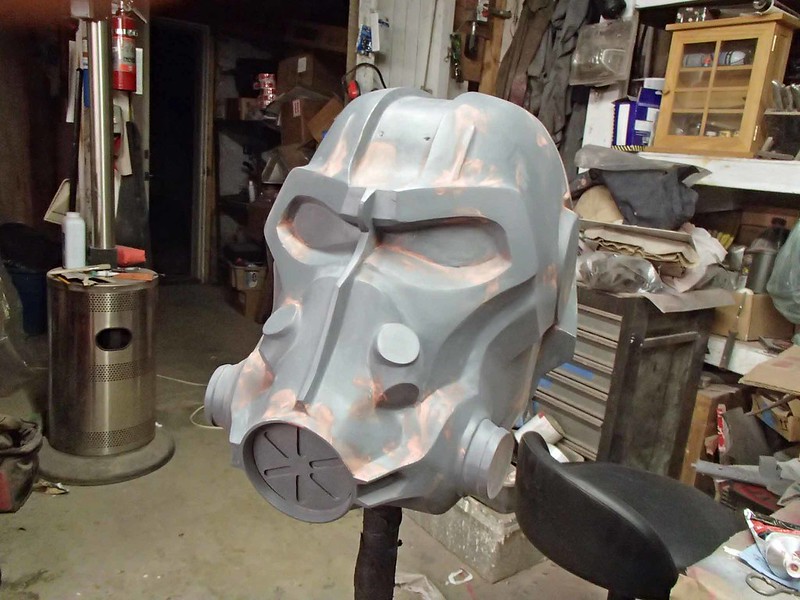
The helmet has a tiny bit more smoothing left before I'm ready to pour some rubber on it:
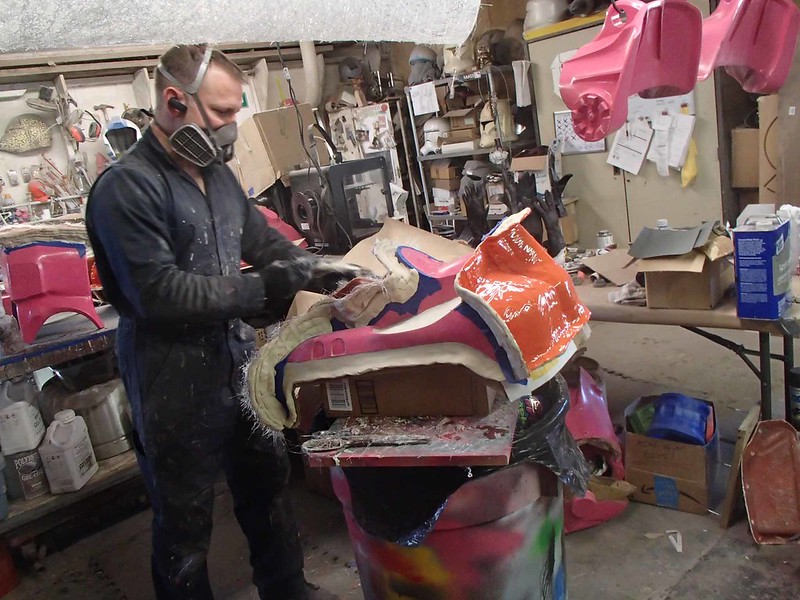
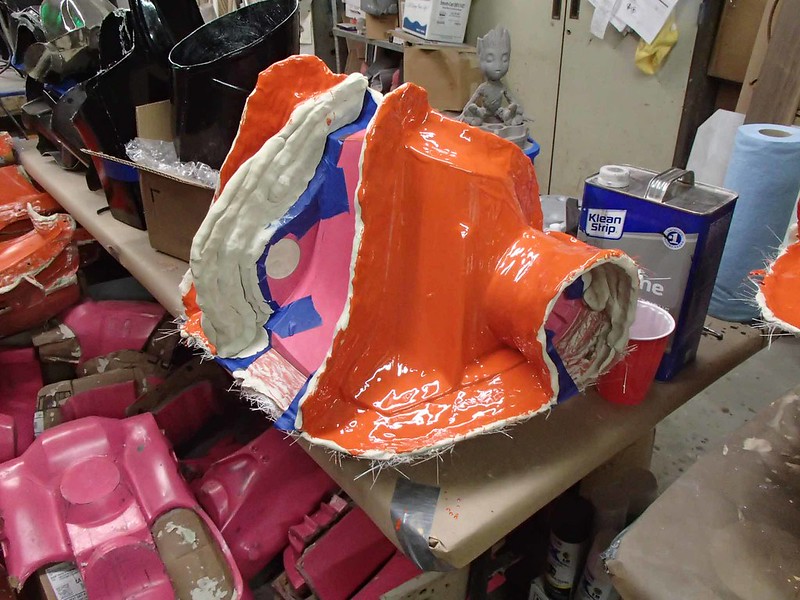
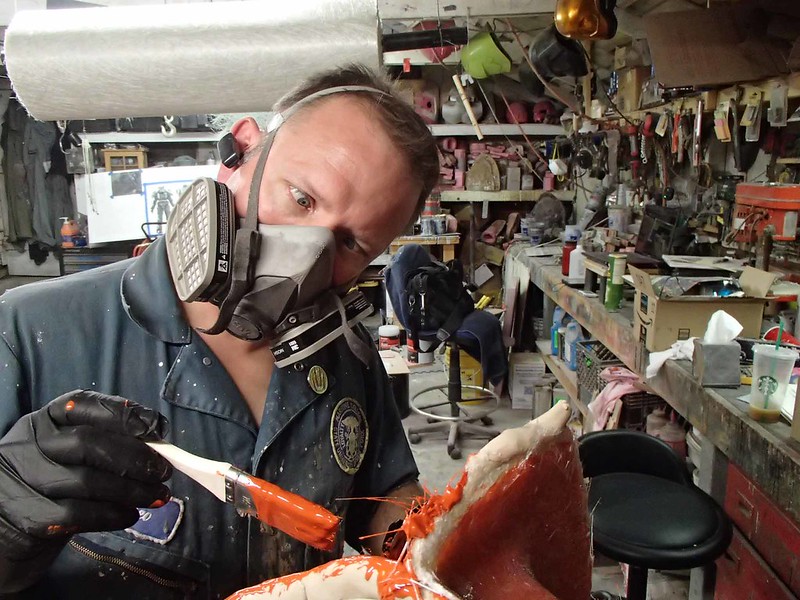
When there's nobody else around, I mask up and do all of the toxic fiberglass layup:
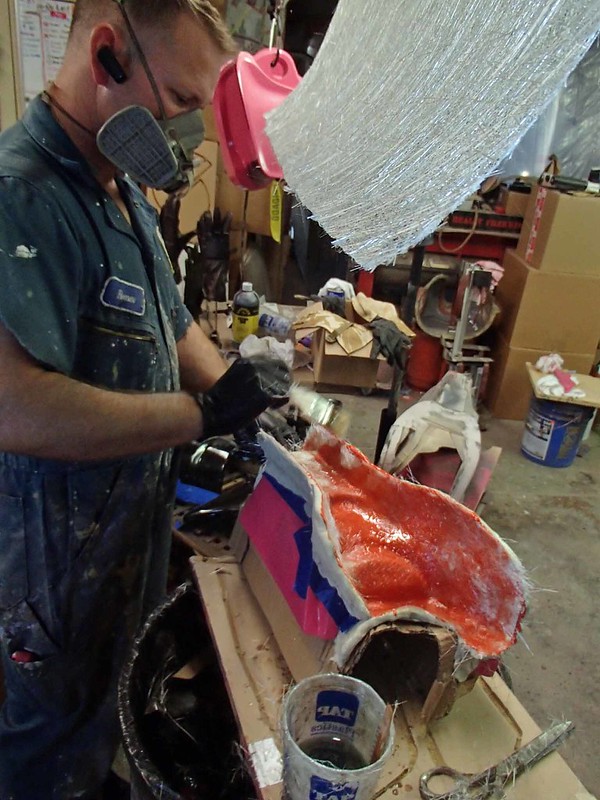
That's one of the forearm molds I'm working on in the photo above. Right now molds are in progress for the forearms, the left upper arm, the chest, the little bits that go on the top of the hip, the toe, and the heel. In the next couple of days I'll start molds for the helmet, the shoulders, and the back.
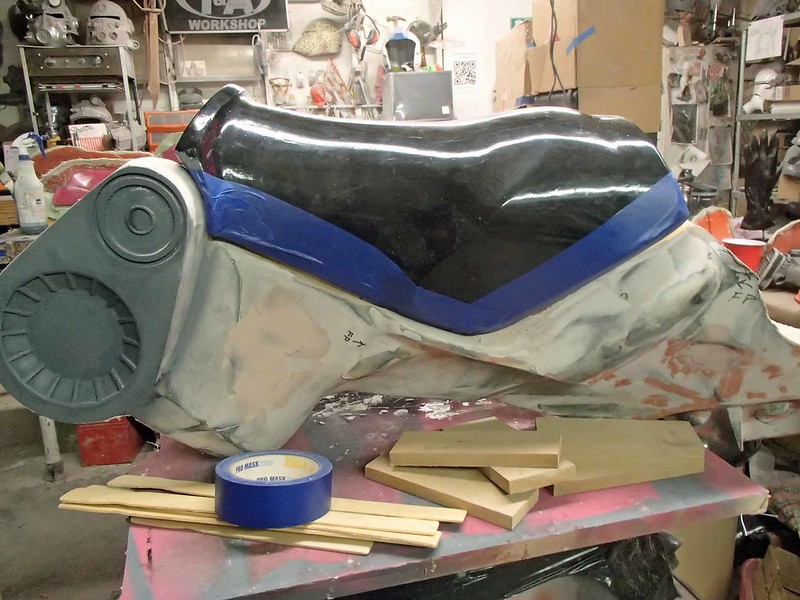
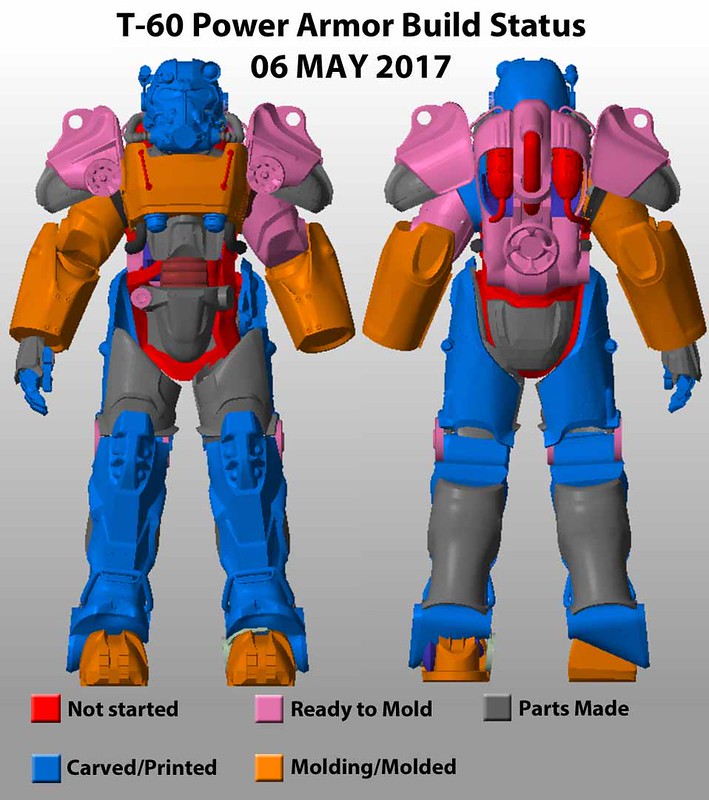
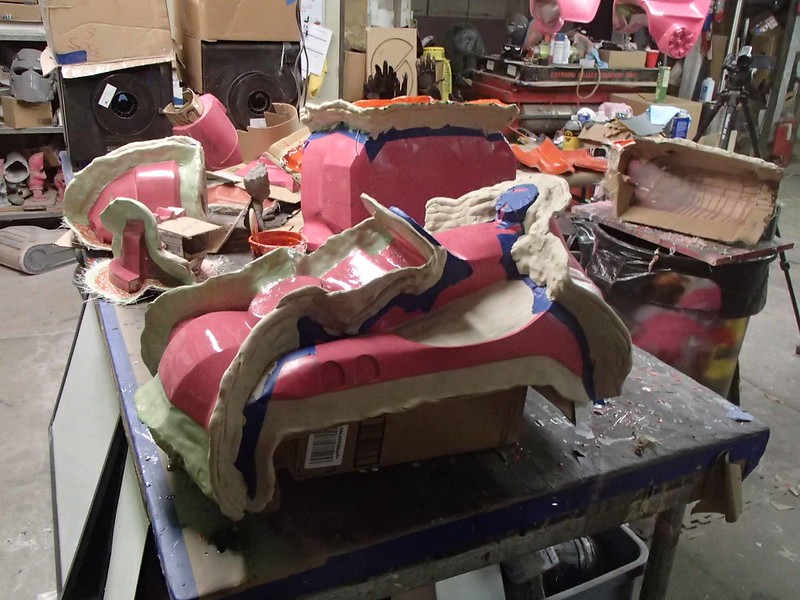
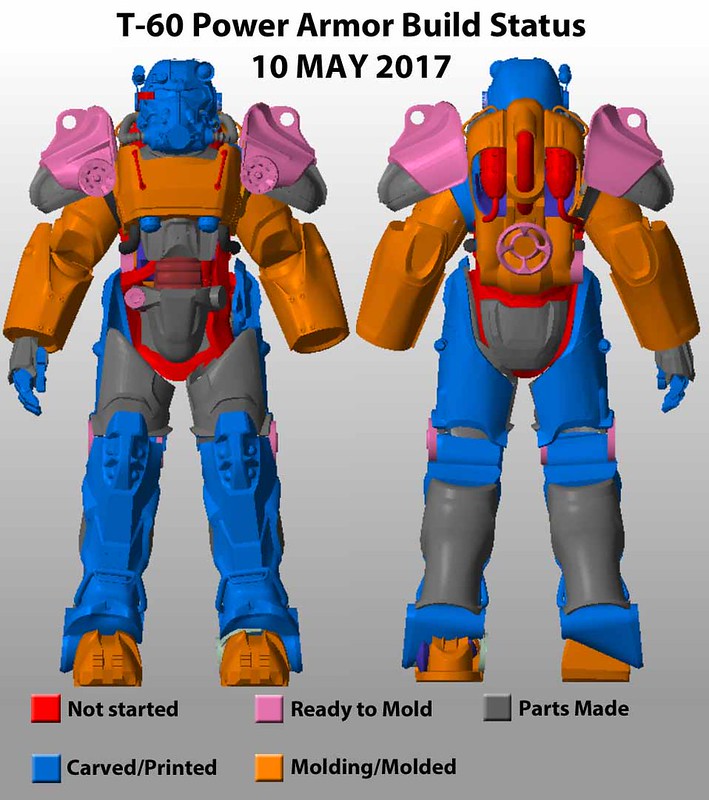
So here's where we stand right now:
The scary part is that I have yet to start the sculpt for the big rubber midsection part. That's going to end up being a giant pain in the buttocks.
With 11 days to go, I'm starting to have serious concerns about finishing this in time for the Maker Faire.
Hey! I have that book!! [emoji16][emoji16]k
It's the best book I've written so far. I hope you like it.
Slowly coming together! The model is showing more grey as the molding progresses. This is going to be quite impressive!
Yeah, but it's time for the "slowly" part to go away. All of the molds need to be done before the middle of this week. It's a race against time at this point.
Are you going to make a frame that these pieces are attached to, or are they worn on a harness?
Kinda both. The upper body will be built around an ALICE pack frame like this one: LINK. The thighs will be hanging from suspenders. The lower legs will be mounted to stilts.
It'll all make sense soon.
Wow! Look at those calves!...and seeing them placed on the legs is even crazier!! That costume is going to look like a tank when finished
Tanks. I'll have to make more than one.
OMG, I can't wait to see the finished result (I'm sure your sanders can't wait either)
Keep up the good work!
Me too. This one is going to be huge.
UPDATE!
I finally started the mold for the back plate:
I started by setting up parting lines for the top and bottom section:
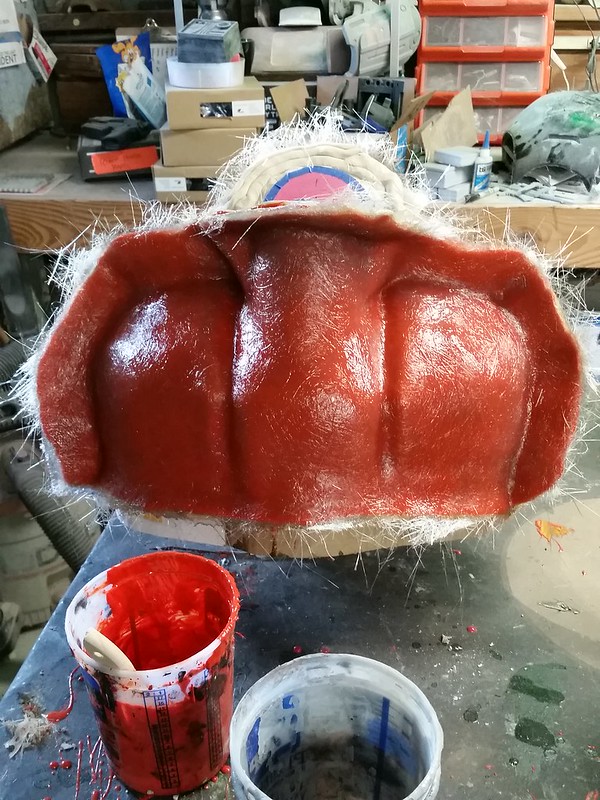
After mold release and gelcoat, I got to work laying up the glass:
It came out okay:

On both ends:
Once that had cured, I set up another parting wall for the left and right split. Right now it looks like so:
The goal is to have the third and fourth part of this mold laid up today and, with any luck, I'll have a copy pulled out of it tomorrow.
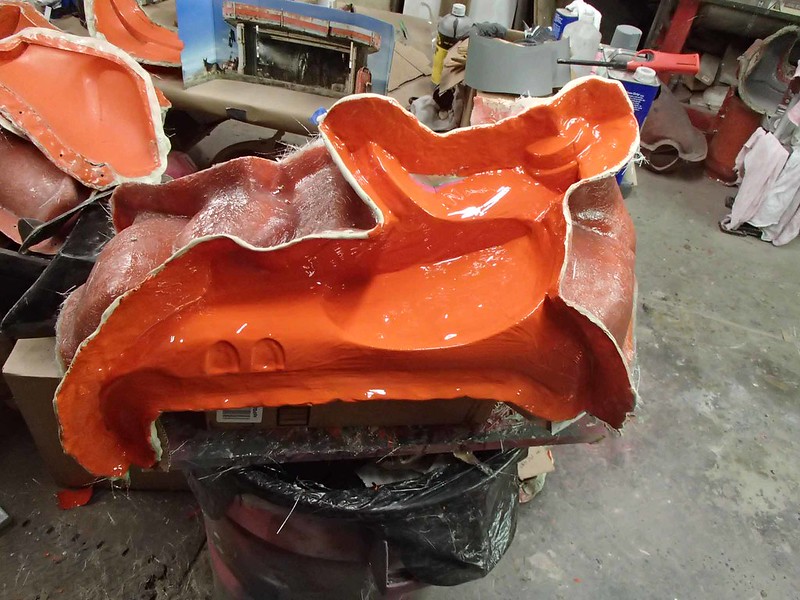
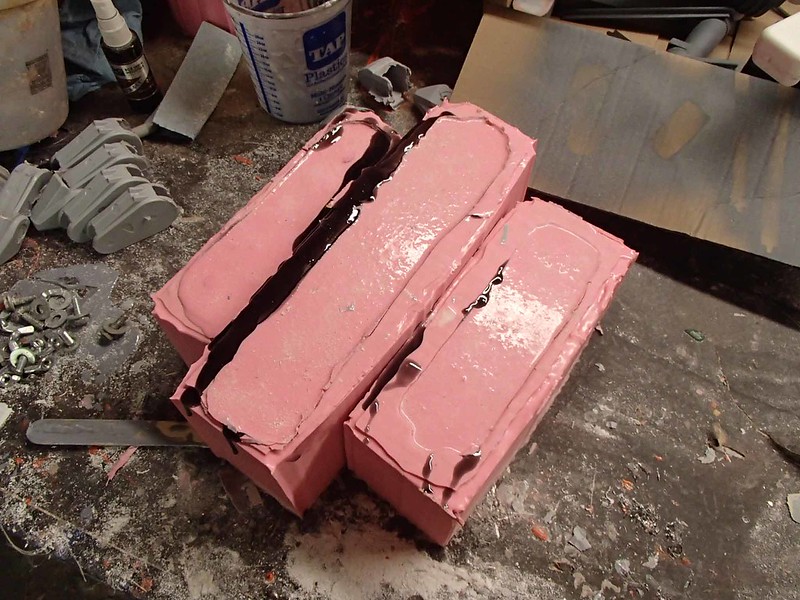
The chest mold is well underway as well. Here's the bathtub section getting gelcoat:
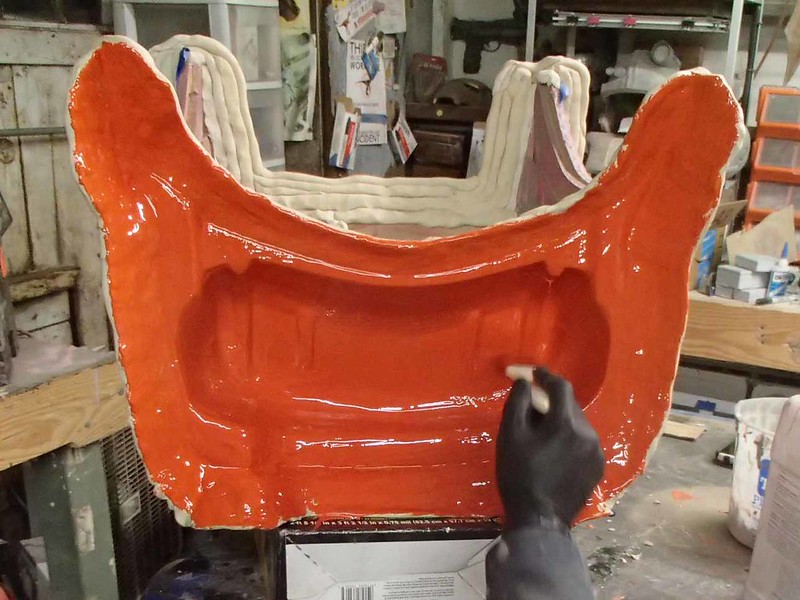
The front face (facing down in the above pic) is already glassed up. Today I'll be glassing the top and bottom faces and hopefully I'll be able to prep the left and right faces as well. Worst case, they'll be in gelcoat tonight and I'll be glassing the sides tomorrow.
All of the molds for the forearms are laid up. Half of them are almost polished enough to make parts. The other half still need to be pulled off of the prototypes and trimmed. Aside from that, the other upper arm mold has begun and the heel and toe molds are about halfway done:
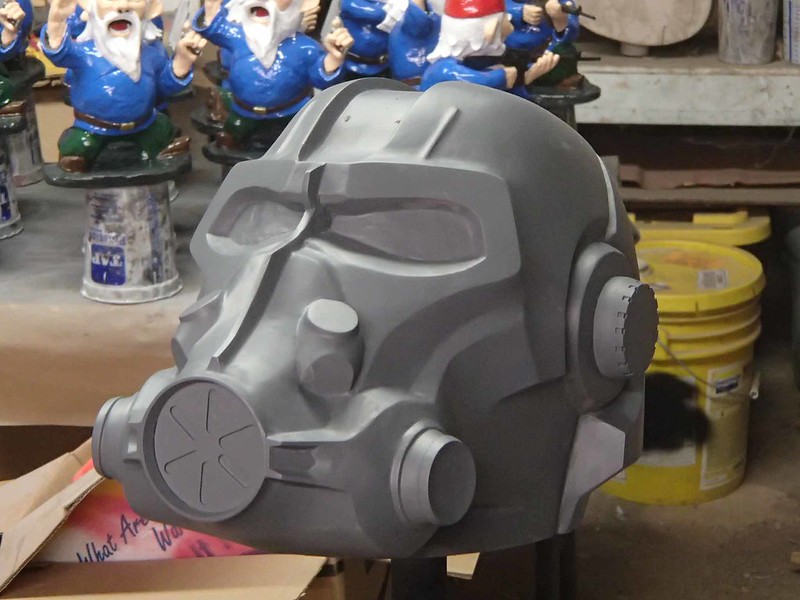
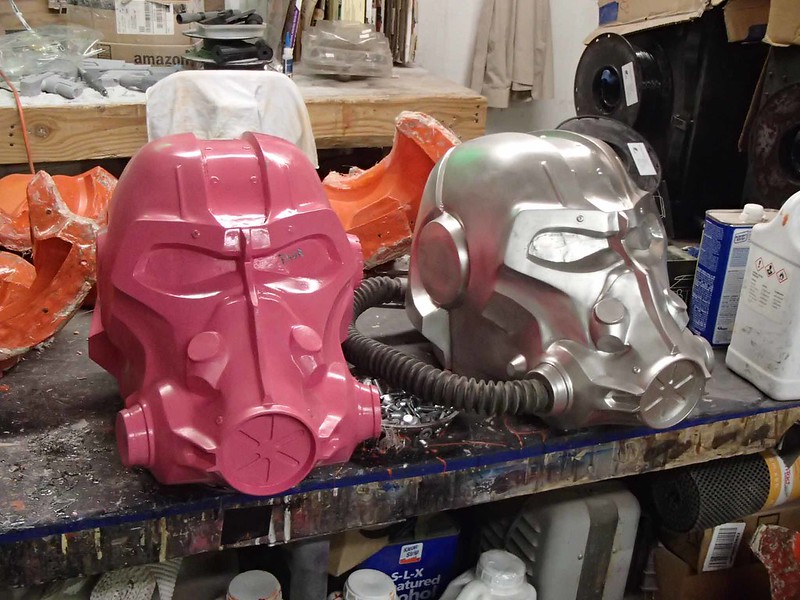
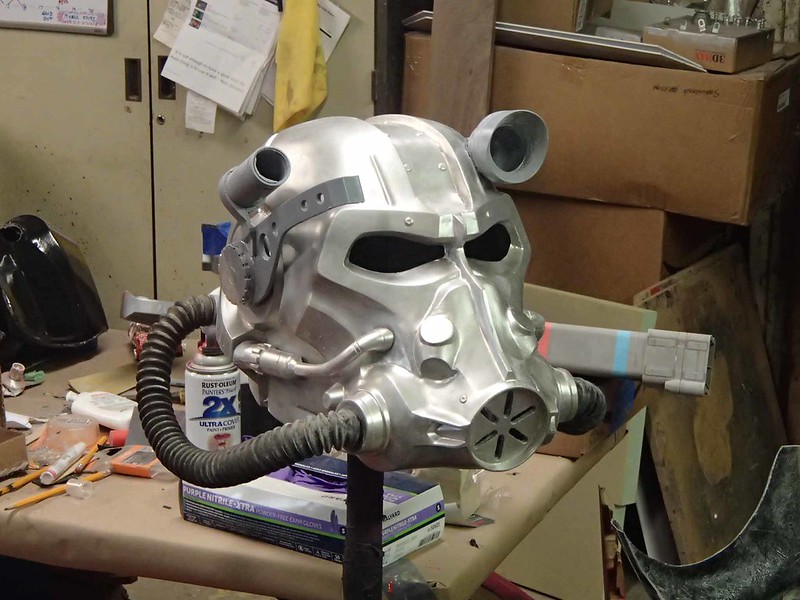
The next thing I'm going to have to hurry up and focus on is the helmet. It's close:
The biggest thing I'm behind on right now is the shins. They still need quite a bit of love. They're mostly smooth, we've just been making sure that the seam line where they'll meet up with the calf plates are all going to be nice and snug:
So here's where we stand:
Most of the orange bits will be grey by tomorrow. The pink bits will be orange today.
Ein
Sr Member
I'm going to be the mook that asks for specifics about the fiberglassing process you're doing to make these molds. What's the clay you're using to build the walls? Can you go into more detail about the materials you're using, and what you're casting the finished parts with?
Power armor like this was one of those projects I wanted to do and have been thinking about for the last year while I work on other things... I have to say, seeing half a dozen+ people work on this project is driving home how much labor's involved. Not sure I could tackle this if I wanted to, based on what I'm seeing.
Power armor like this was one of those projects I wanted to do and have been thinking about for the last year while I work on other things... I have to say, seeing half a dozen+ people work on this project is driving home how much labor's involved. Not sure I could tackle this if I wanted to, based on what I'm seeing.
Poor poor Thorssoli. Any money he makes on these projects just goes to storage space for all those molds! :lol
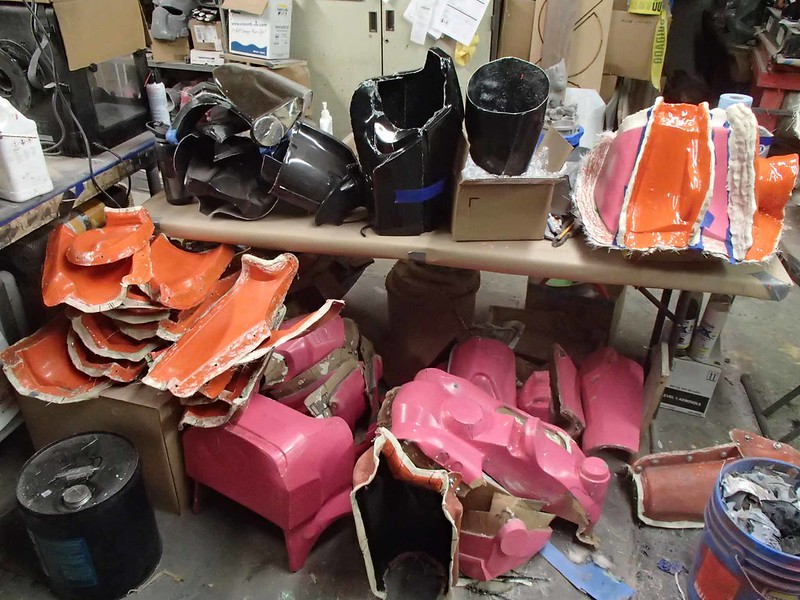
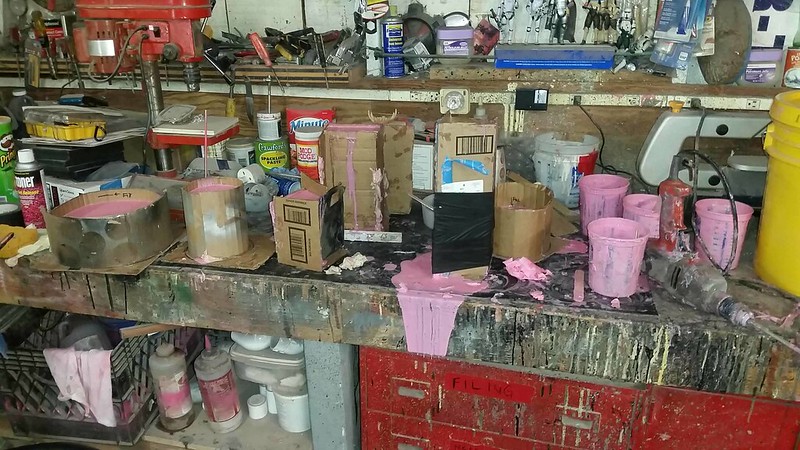
This one's not a money making project. Maybe someone else will want one sooner or later, but for now it's just a thing to keep me busy in between paying gigs. The storage space is no joke. I'm thinking I'll have to purge a couple of shelves and get rid of a lot of things in order to find space for these babies. Right now, my shop's getting a bit cluttered:
Wow, the amount of work involved is staggering when you pose and think of it:eek...it's a good thing that you have lots of little hands helping you. Keep up the great work, it's going to be the bomb when finished!!
I try not to pause to think of the amount of hours in this thing. It'd end up making me upset. That said, it's been fun hanging out with a few friends when they get a chance to come by and lend a hand.
I'm going to be the mook that asks for specifics about the fiberglassing process you're doing to make these molds. What's the clay you're using to build the walls? Can you go into more detail about the materials you're using, and what you're casting the finished parts with?
Power armor like this was one of those projects I wanted to do and have been thinking about for the last year while I work on other things... I have to say, seeing half a dozen+ people work on this project is driving home how much labor's involved. Not sure I could tackle this if I wanted to, based on what I'm seeing.
The clay I'm using for the mold walls is a plastilene oil-based clay. Soft grade Chavant NSP works just fine. You can get it here: http://amzn.to/2rK3xpg
I'm using orange tooling gelcoat and black regular gelcoat from whatever supplier offers the lowest price when I'm buying. That stuff seems pretty consistent. The laminating resin is polyester bond coat from TAP Plastics. The glass mat is 3/4 ounce mat, also from TAP. I use the same resin and mat for both the molds and the final parts. The molds get at least three layers of mat. Usually more like four. The parts are usually two layers with a third around the edges for reinforcement. At some point, I'll be editing together a few Youtube videos about this project that will describe the process in greater detail. In the meantime, you can check out more of the same sort of work in this other project I did where I explain molding (LINK) and laying up parts (LINK) in fiberglass.
Labor-wise, it wouldn't be so bad if it weren't for the fact that I decided to pick up the pace here at the end. If I wasn't in a hurry, I'd happily do it all myself over the next few months.
On that front, it's time for an update.
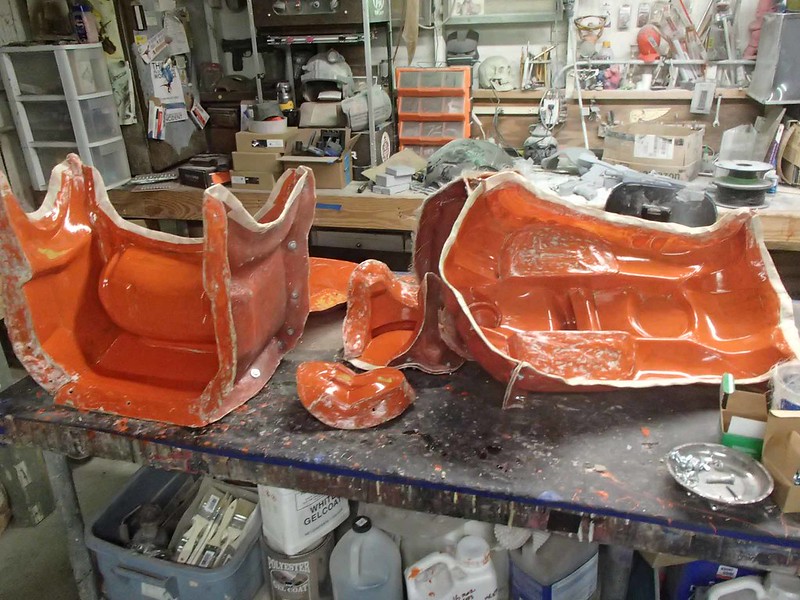
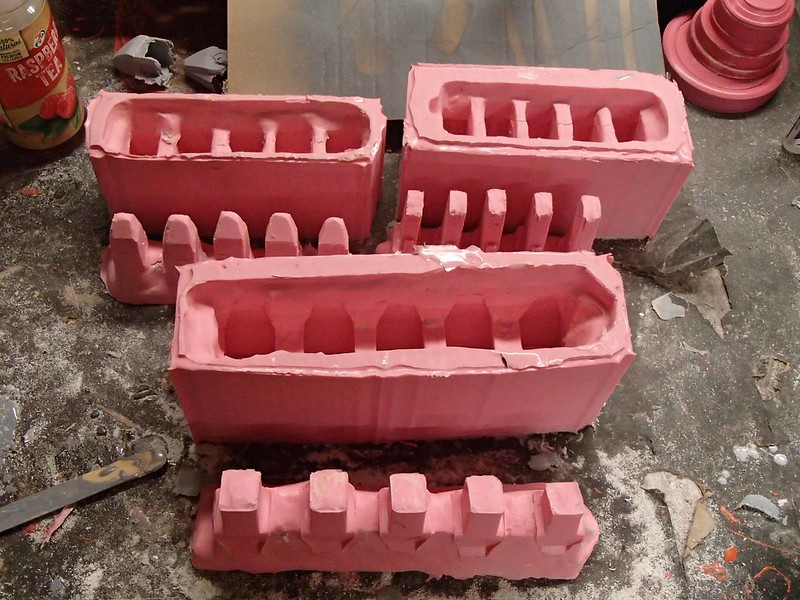
It's been about a week since my last post. In that time, I finished the four-part mold for the back as well as a five-part mold for the chest. Here you can see both of them (and the heel mold) ready for gelcoat and fiberglass:
At the same time, Lewis put the finishing touches on the shins:
And the finger parts:
While he was working on those, I also made a 7-part mold for each of the shoulders:
The toe mold was finished with one section made of silicone so I could capture the more delicate ridge details on the front end:
The same thing was done for the lug details on the front of both shoulders:
On the subject of silicone, I went ahead and molded the helmet:

With all of the rushing, I neglected to get photos along the way. Still, the mold got done and the first cast came out okay:
I also went ahead and boxed up the finger pieces:
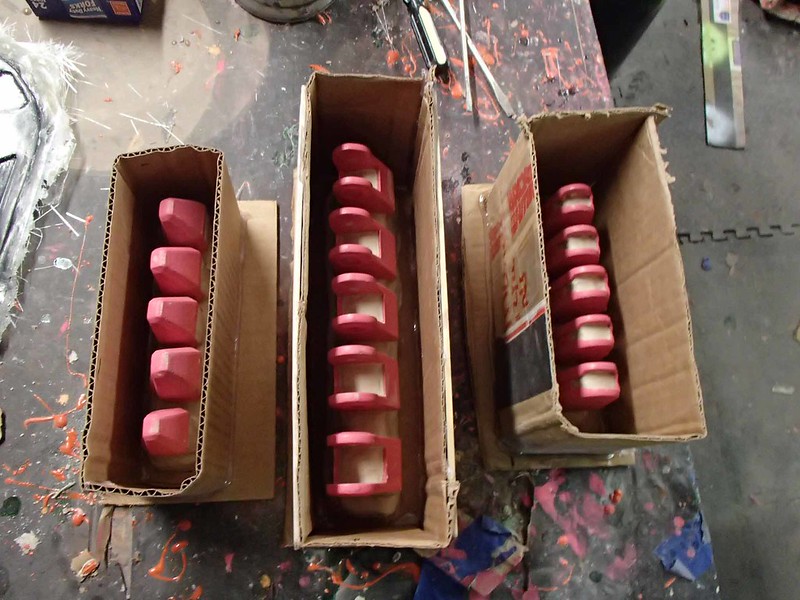
Each of those boxes will become a two-part rubber block mold when I get a chance to separate them. They're just some of I don't know how many small molds I've got scattered around the shop for this project right now:
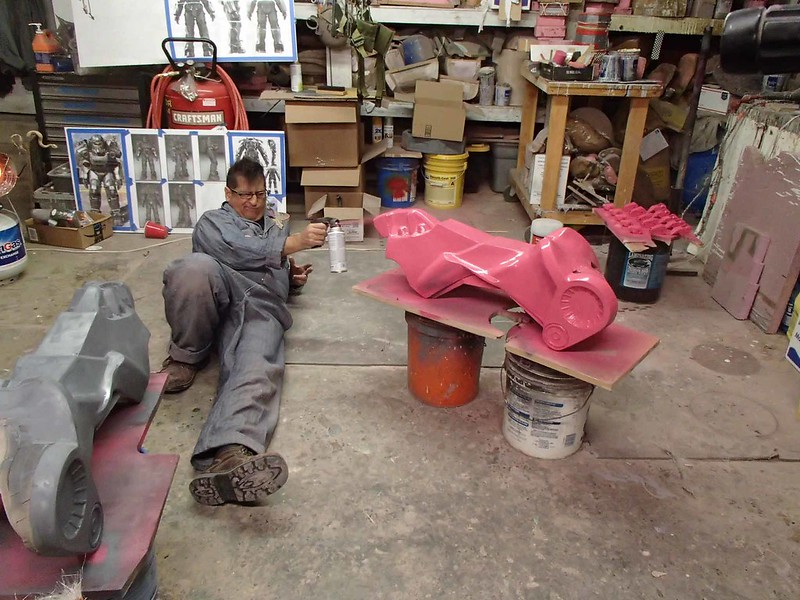
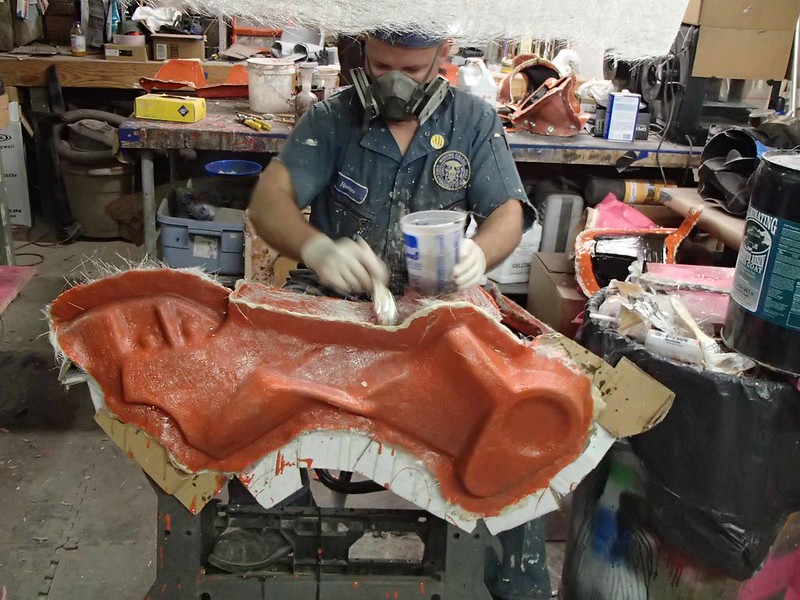
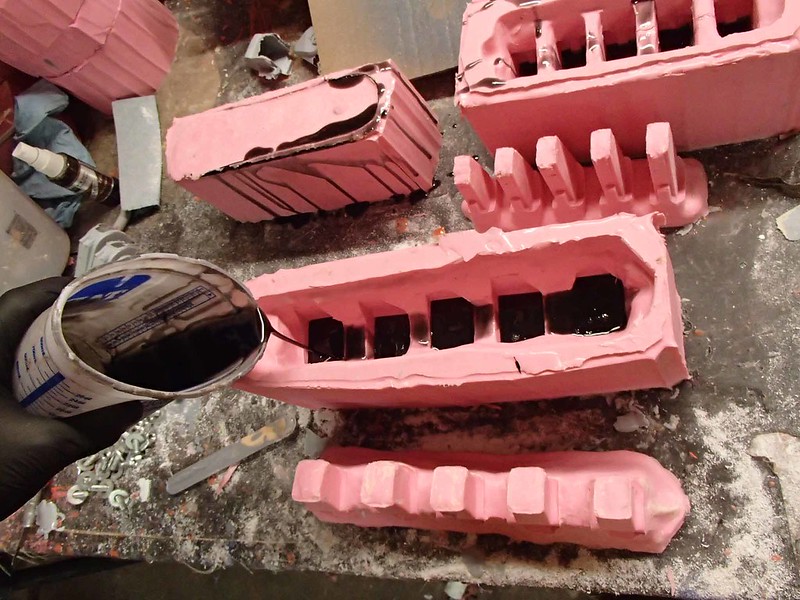
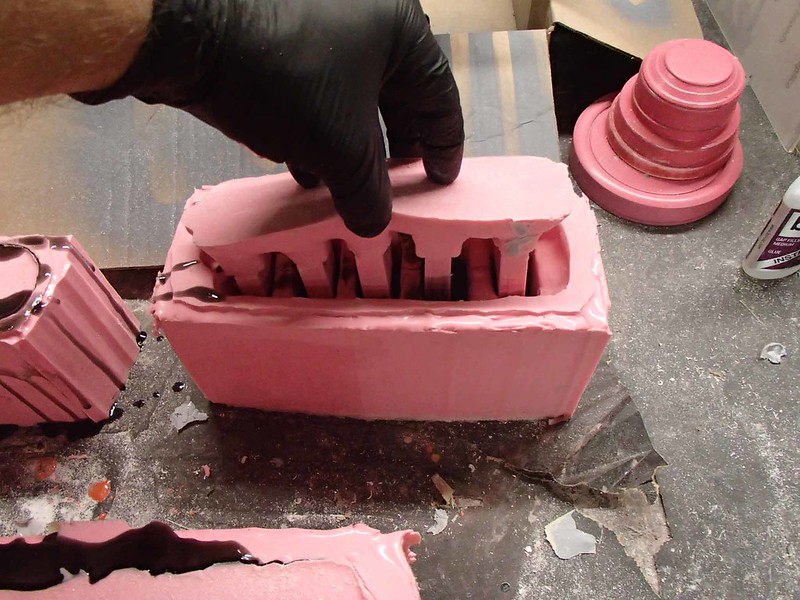
But the bulk of my time this past week has been spent laying up fiberglass. Here I am making the very last section of the very last fiberglass mold for this project:
Sadly, I wasn't able to get the last five parts laid up in the molds in time to have this guy walking around at the Bay Area Maker Faire this past weekend. I came really close (there's already black gelcoat in those last five molds) but it'll be tomorrow or Wednesday by the time I've had a chance to get a bit of rest and finish up that last bit of glass work. Still, for the folks that were at the Maker Faire, I had plenty of other things to show off:
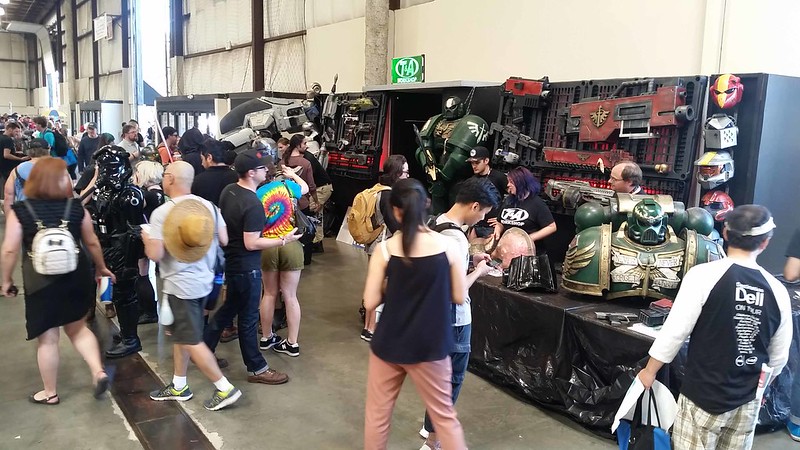
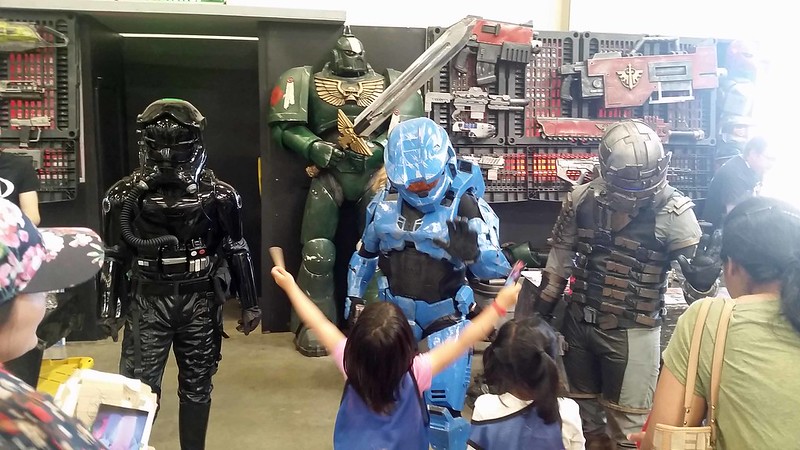
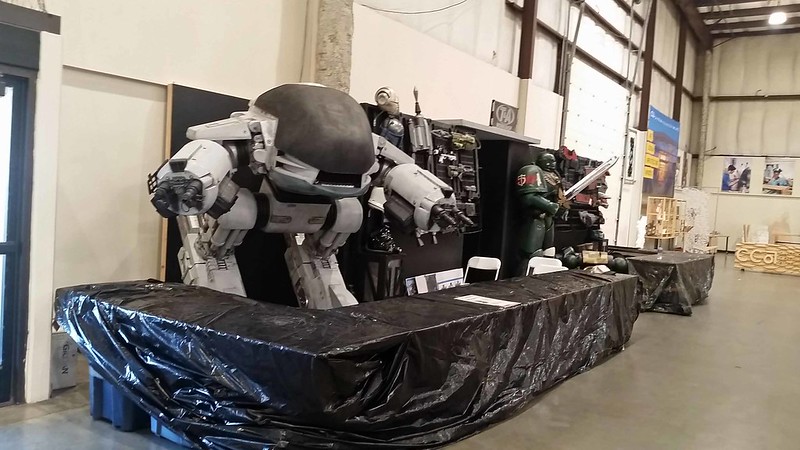
So, after deciding to postpone the rest of the T-60 project for a couple of days, loading up my whole display worth of props and two truckloads worth of costumes, and three days on my feet answering questions and telling people about prop making, I've decided I need a day off so I can see straight again:
For now, here's where the project stands:
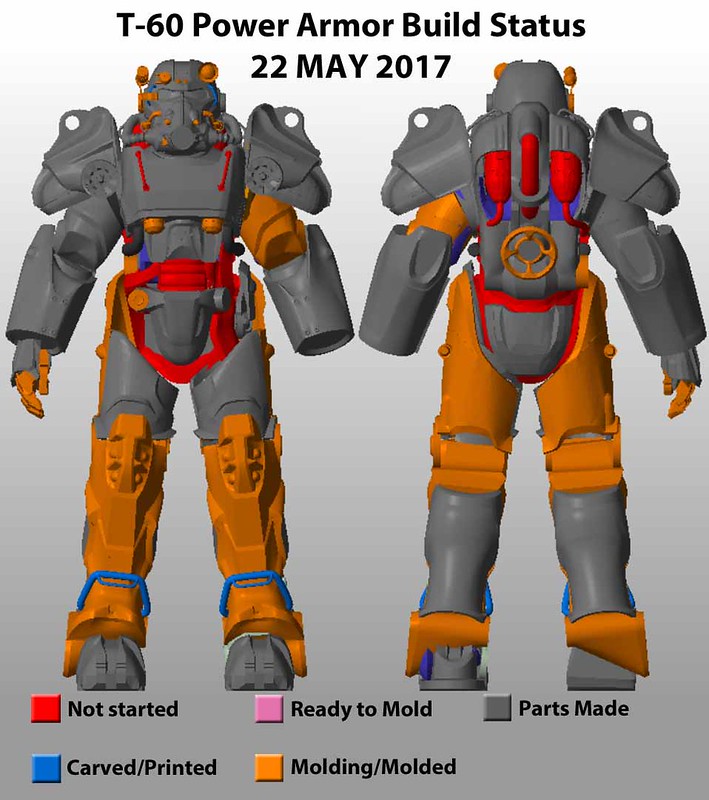
It's worth noting that all of the orange parts will be grey in a couple of days. Then I just need to make a prototype for the tanks on the back, design the rigging for the finger articulation, and sculpt all of the rubber bits.
Piece of cake.
HalifaxReplicas
New Member
That is really impressive! I love how a project of this scale is "one to keep you busy between paying gigs".
I'll definitely be keeping an eye here. And someday when I have a few Gs kicking around, may be buying one.
I'll definitely be keeping an eye here. And someday when I have a few Gs kicking around, may be buying one.
Have you considered using something like the CO2 tanks made for paintball?
They're too narrow. I need tanks that are about 4.5" in diameter. They also need grooves to fit the tie-down straps or bands that are visible in the artwork. That, and the neck at the bottom where the hose attaches is unusual as well. I'll probably end up just turning something down on a lathe.
Well, that display of yours really rock:cool ...and back at work; I admire your stamina. it's quite the project for sure
I'm pretty proud of the display. I'll be putting up a similar thing at the Santa Rosa Toy Con in September of this year. It's kinda the only way I get a chance to go to these sorts of things.
That is really impressive! I love how a project of this scale is "one to keep you busy between paying gigs".
The really sick part is that this isn't the only project I've got going in that category. It just happens to be the one that's captured my interest for the moment.
UPDATE!
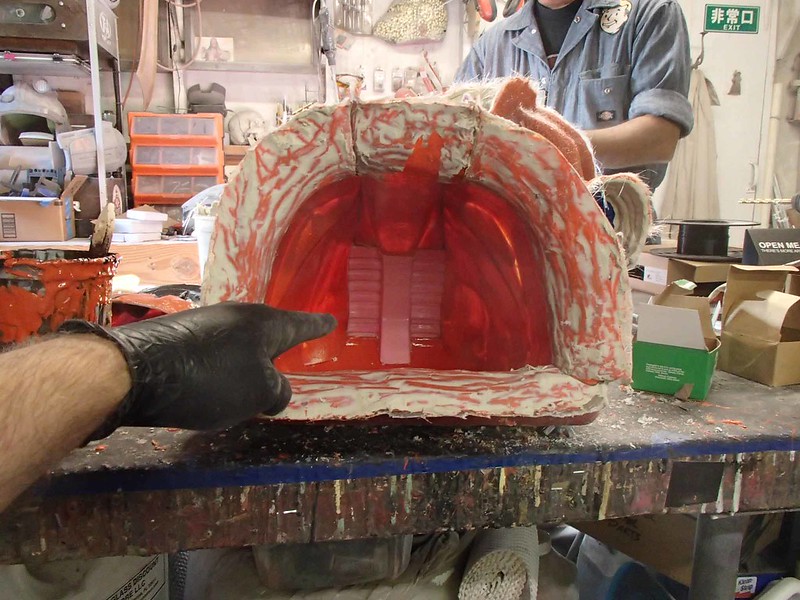
The finger molds are done:
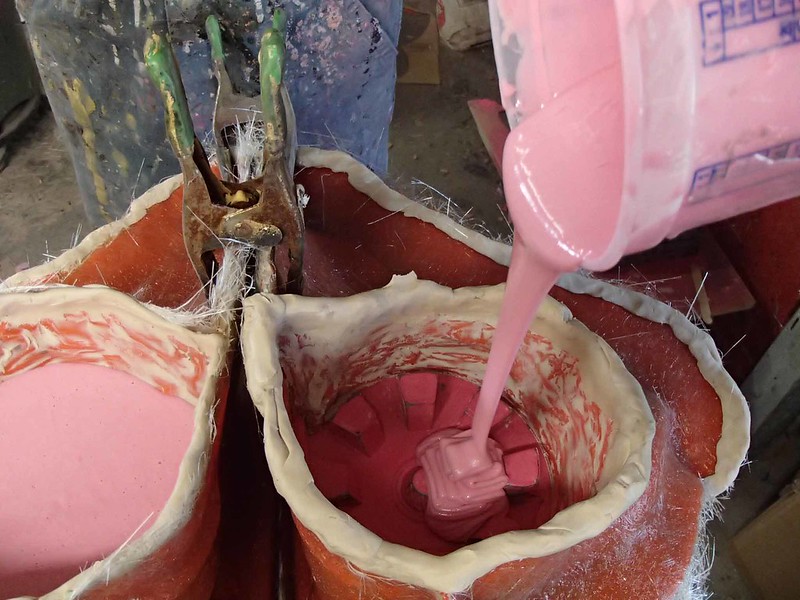
These are what I call "smoosh molds." To make the hollow castings, I start by filling each cavity about halfway:
Then I insert the silicone plugs which displace the liquid resin and shape the insides of each piece:
A bit of overflow at the top means the molds are full enough and there won't be any bubbles at the top edges of the parts:
Because I'm terrible at documentation lately, I don't have a pic of the first set of parts cast. But you can see a few of them in the top left corner of that last pic.
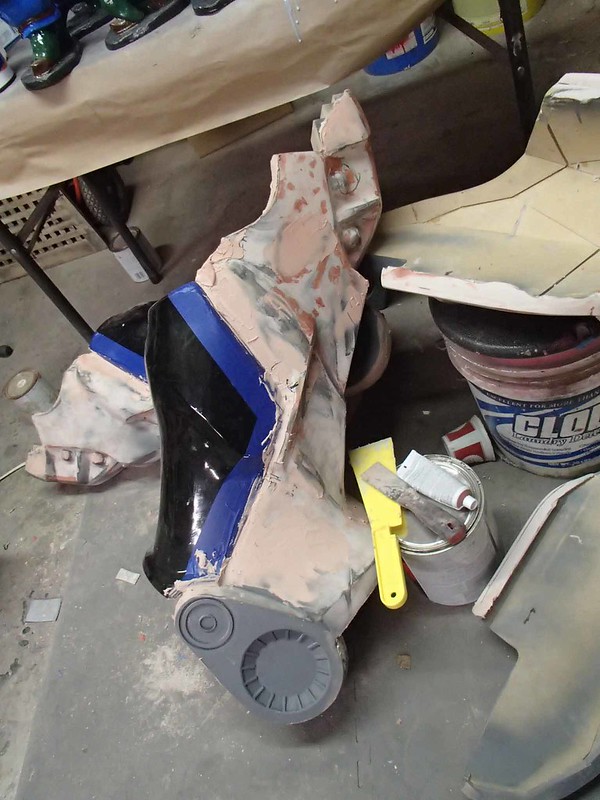
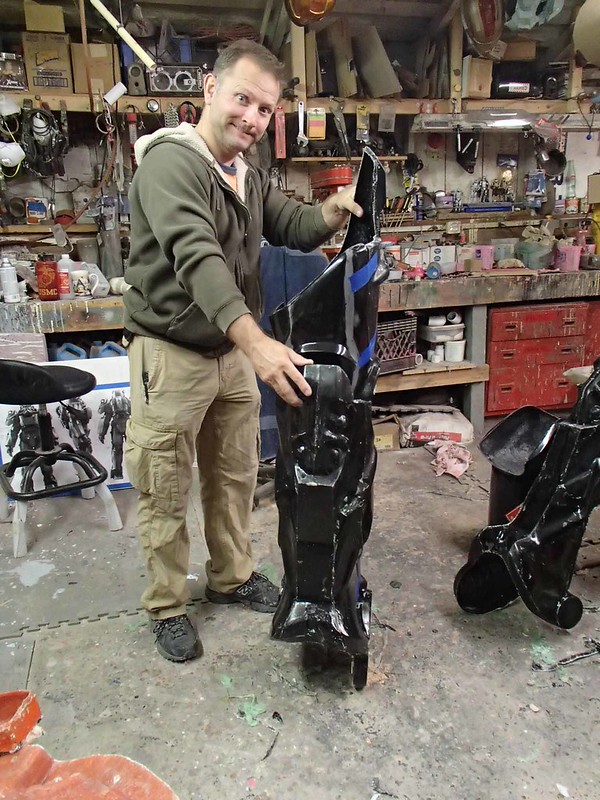
In other news, I've pulled the last five fiberglass parts for this project. The biggest ones were the shins and the smallest one was an upper arm, pictured here:
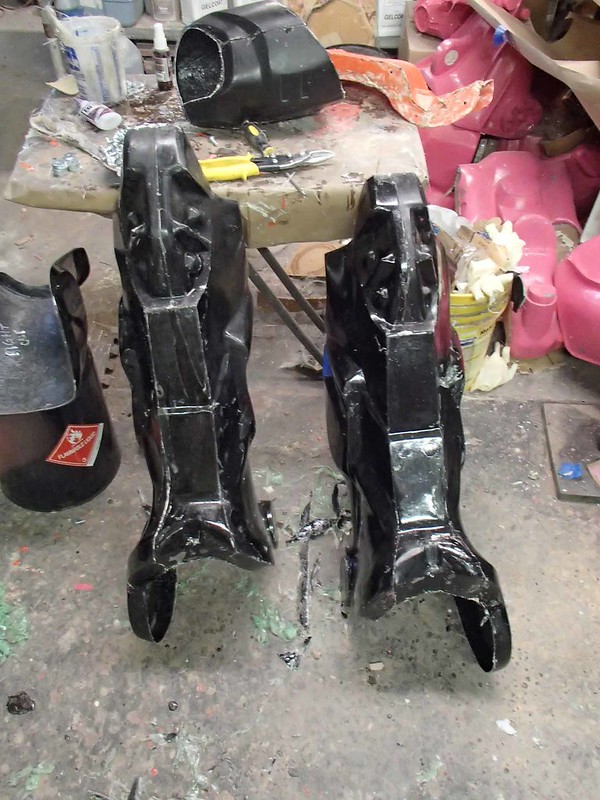
I also pulled the back of the thighs:
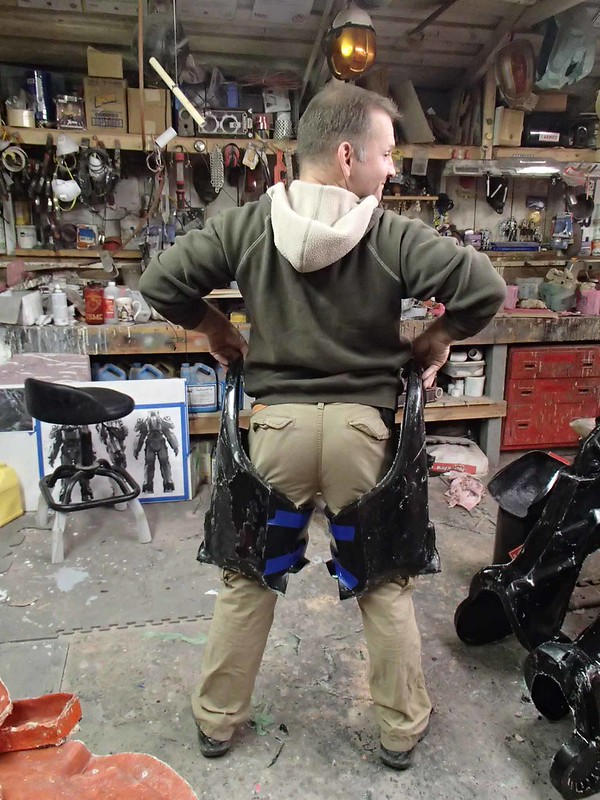
They look awkward as hell, but the front portion is what will make it possible for a normal-sized person to walk:
Still, this guy's legs are HUGE:
While all of that has been going on, I've also cast some of the detail bits for the helmet:
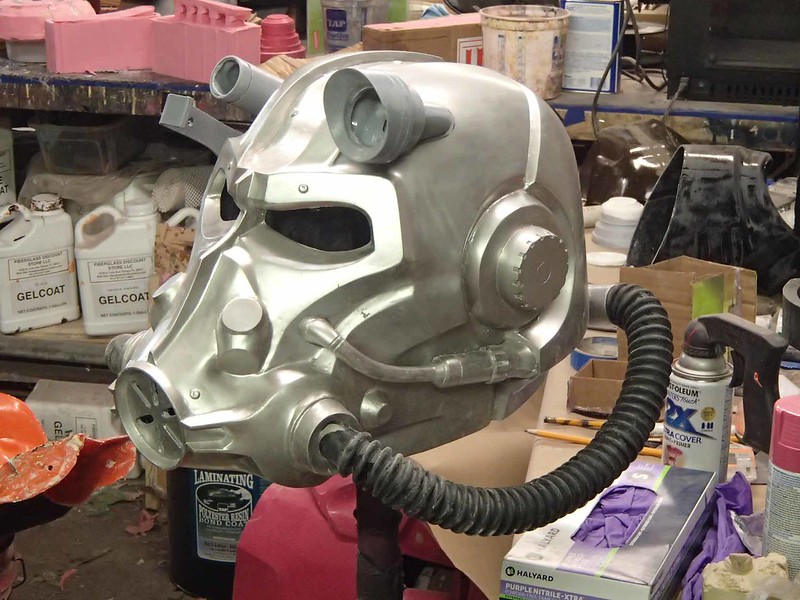
I've still got a handful of really small molds to pour (including the clear lens for the headlamp) and then this thing will be ready for some final trimming and painting.
Stay tuned...
Similar threads
- Replies
- 1
- Views
- 1,309
- Replies
- 2
- Views
- 347