Thorssoli's Ironman MkIII Build - Finished Suit Pics Page 26!!

Re: Just What This Forum Needs: Another Ironman Build

This is a thought I had reading up on this a few days ago. For the gauntlet/hand parts you're using a glove underneath the armor pieces. Will that be final? because if not I would recommend doing the same thing you did with the knees and elbows. Create a ribbed finger portion you can put under the fingers so it will look screen accurate and be flexible enough to retain mobility. I think with all of the incredible work you have put into this build it might be worth trying something like that :)

Keep of the great work man! This is my favorite build on the RPF right now

-Mili
 
Re: Just What This Forum Needs: Another Ironman Build

Forgot to mention this before, but the "cgi/mo-cap" pictures gave me a real chuckle. The writing, playful energy, and presentation of this build thread are just as enjoyable as the quality of the pieces themselves. It's tremendous fun to read.
 
Re: Just What This Forum Needs: Another Ironman Build

It's the age old question prop replicators face... Do you you go with what is technically screen accurate or what equates to accurate on screen? Do you use the paint you know was used on the production hero suit or do you use a different paint that looks closer to what the eye sees on screen? I personally like the darker AX5 myself, and have used it on my personal build as well as another commission. Steve's color above though is a very happy medium!

its the intent of the prop that we should go for..studio choices are affected by some many factors and most of the time are not practical to real life in front of you displays. Like I said earlier mix them..
 
Re: Just What This Forum Needs: Another Ironman Build

Forgot to mention this before, but the "cgi/mo-cap" pictures gave me a real chuckle.

Funny. I was beginning to wonder if anybody had even noticed them...

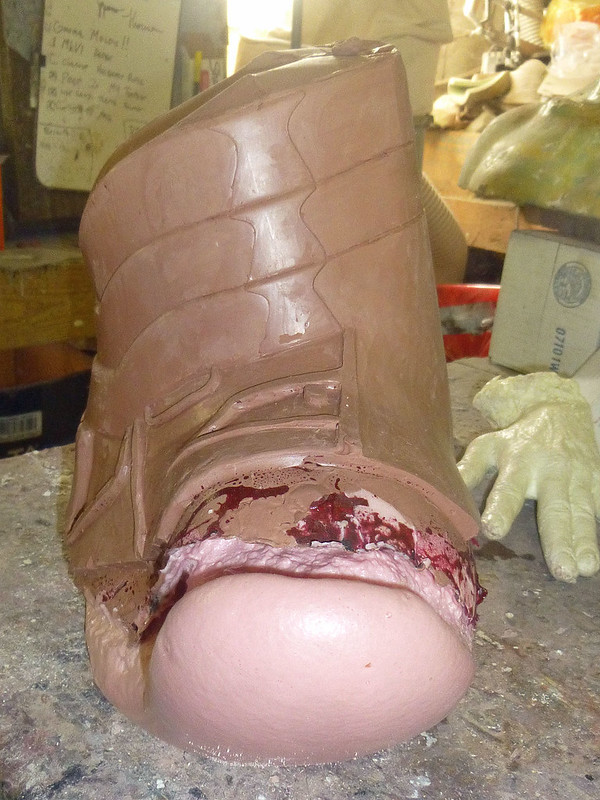
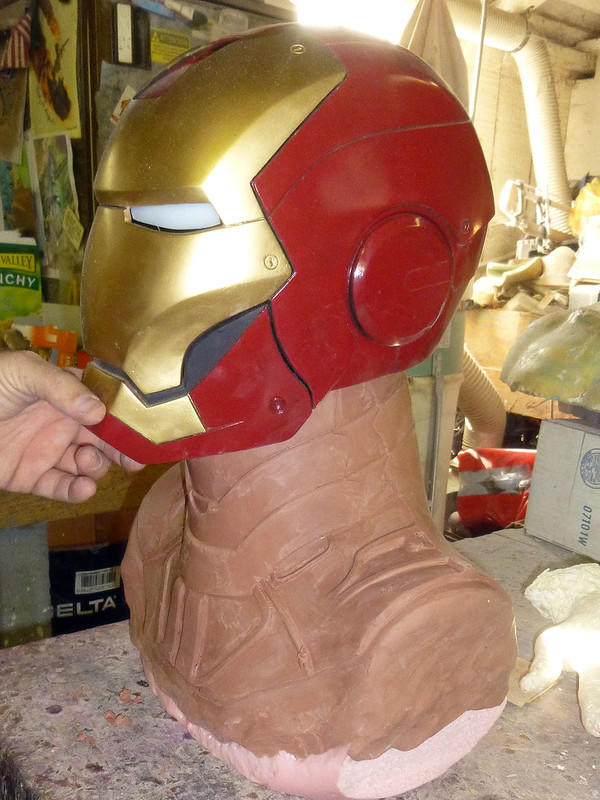
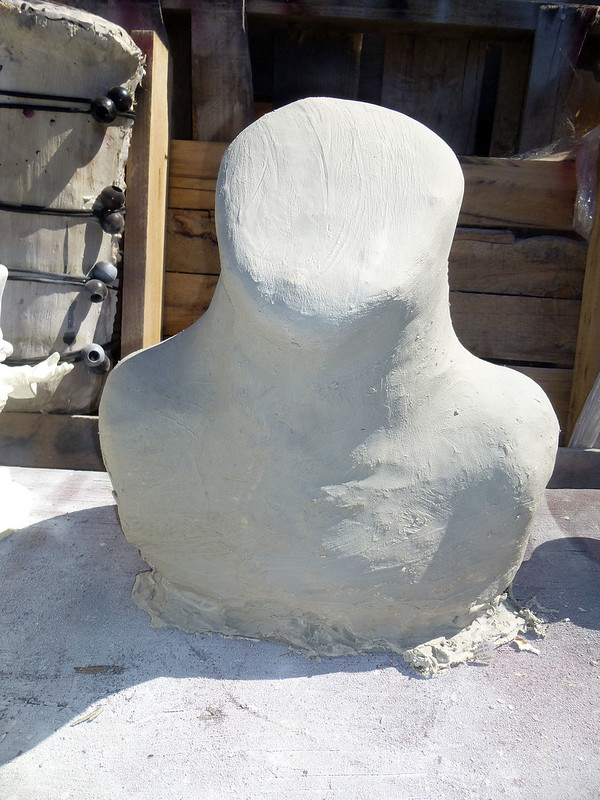
Not much progress on this project yesterday. I was focused on a couple of paid projects and ended up getting carried away. The only real progress I made was a bit of work on the new neck sculpt:


I'm still going to trim a bit more off of the backside. Then it's time to smooth it out, sharpen up a few details, and start making a stone mold.

Should be more progress to show today. Stay tuned...
 
Re: Just What This Forum Needs: Another Ironman Build

That is just pure wicked....I love the Nissan color...the helmet and neck area are phenomenal , I one day will have a 1:1 scale bust....I hope it would have the darker red like that Nissan color....you have done superb work my friend.....
 
Re: Just What This Forum Needs: Another Ironman Build

My goodness. Once again this is an absolutely fantastic build.

I'm so envious of the process too, let alone the output so far!
 
Re: Just What This Forum Needs: Another Ironman Build

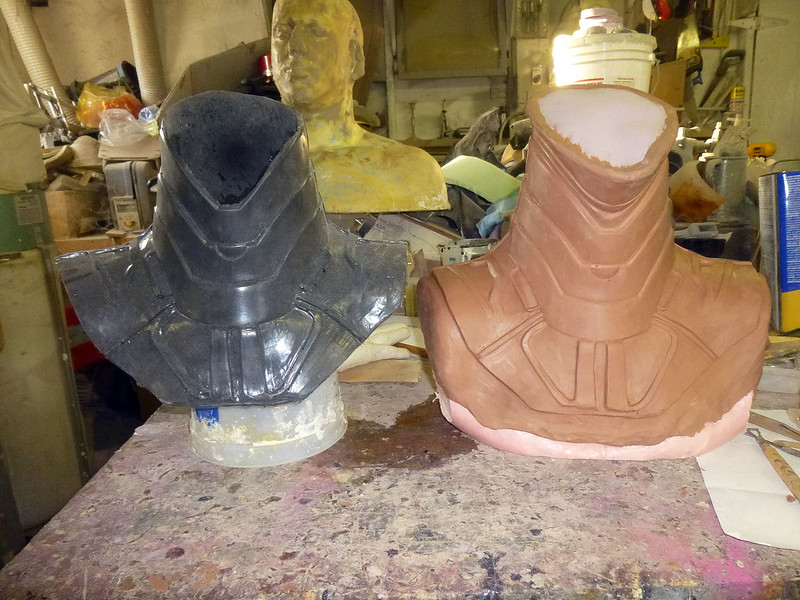
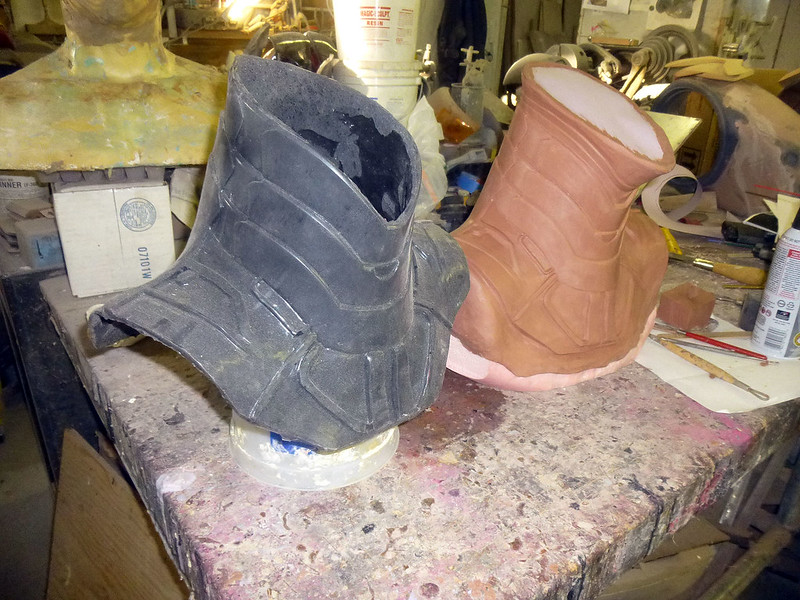
I'm calling the new neck sculpt done:


Here's a side-by-side shot with the old version:


In addition to the ring added at the top, I've removed quite a bit of material from the back of the neck so it'll be a tighter fit:


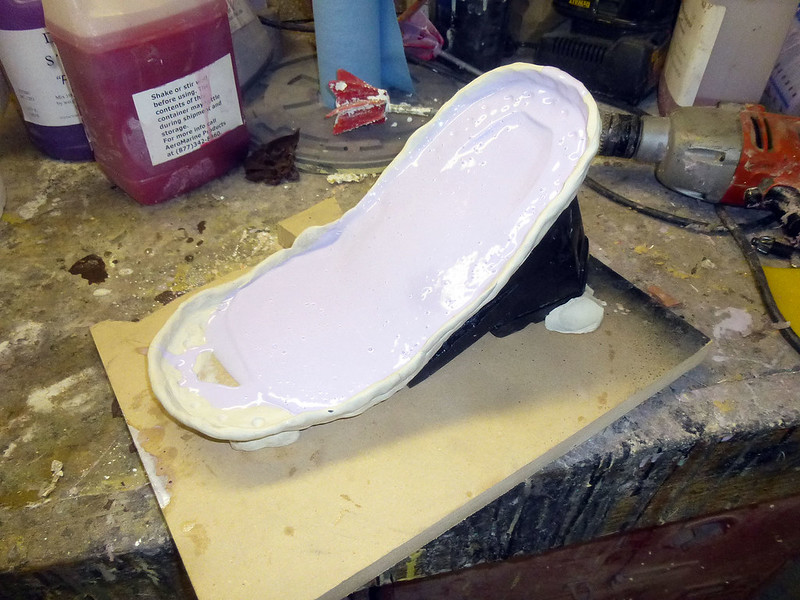
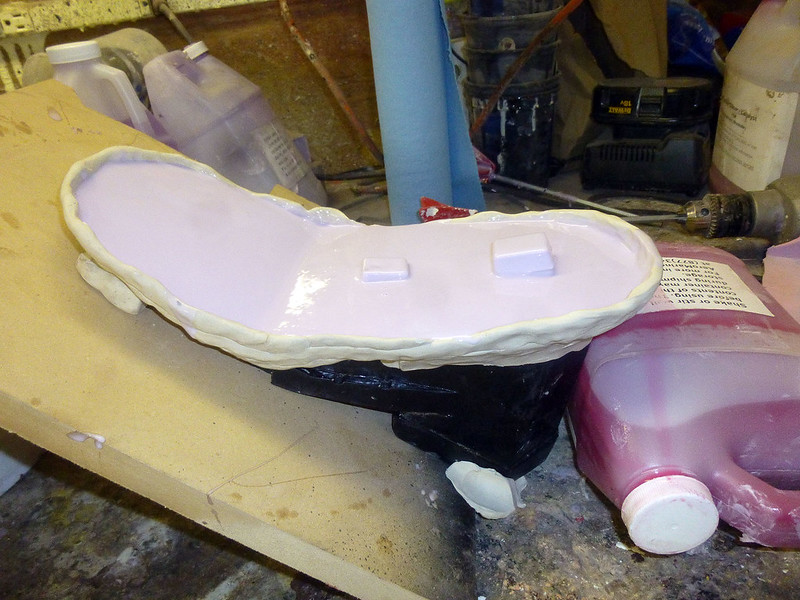
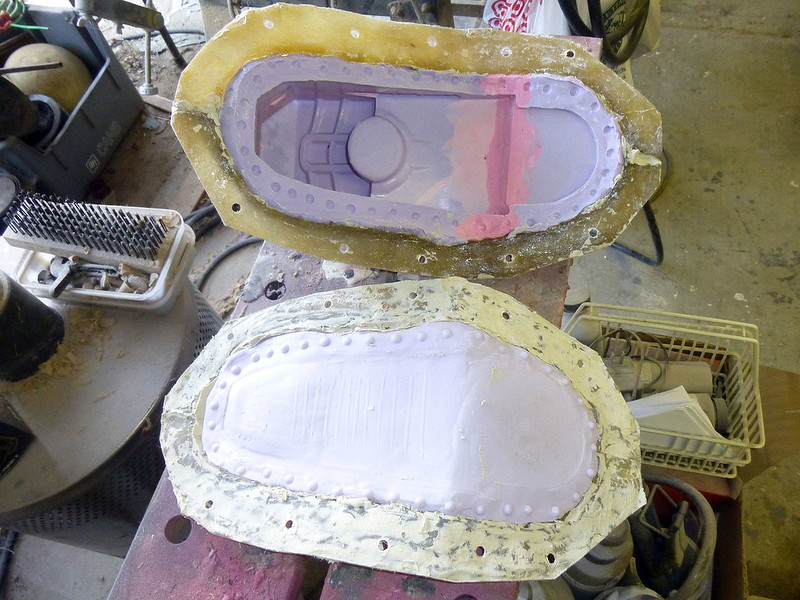
I've also started molding my boot wedge:


This piece will be cast in a dense flexfoam and fit inside the rigid boot:


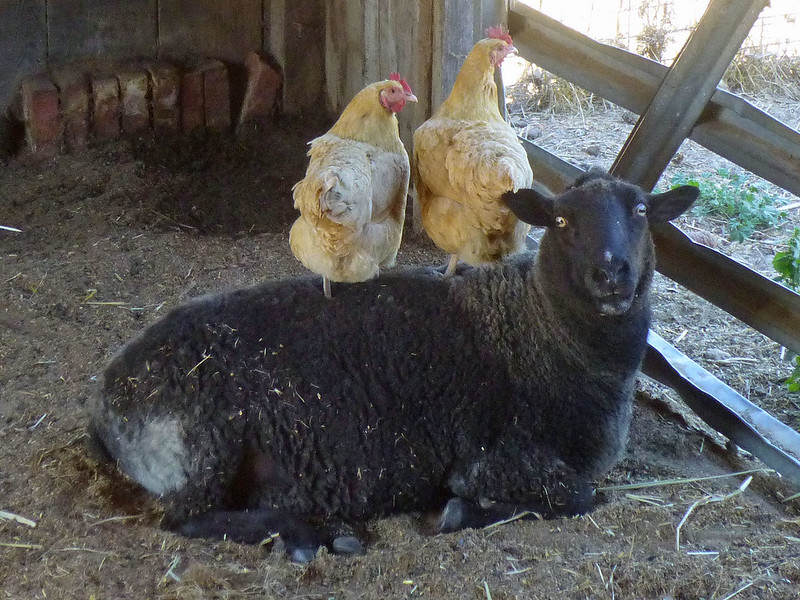
That'll make sense soon, but as long as I'm not making sense yet, here's some chicken on a sheep:


Stay tuned.
 
Re: Just What This Forum Needs: Another Ironman Build

This is all kinds of amazing. Just so you know. I'm also really glad looking color choices because I feel that's one of the hard things to choose! I just got one of your raw cast Iron Man helmets so it's really nice to see what kind of color choices are out there already. Thank you! :D
 
Re: Just What This Forum Needs: Another Ironman Build

Literally every production photo of rdj was just him hanging out in a torso and mocap bands- sorry I didn't mention it earlier too.
 
Re: Just What This Forum Needs: Another Ironman Build

It is definitely a long process , but the results are outstanding, looking forward to other updates...
 
Re: Just What This Forum Needs: Another Ironman Build

Thank you all for the comments. It really is like fuel for a project like this.

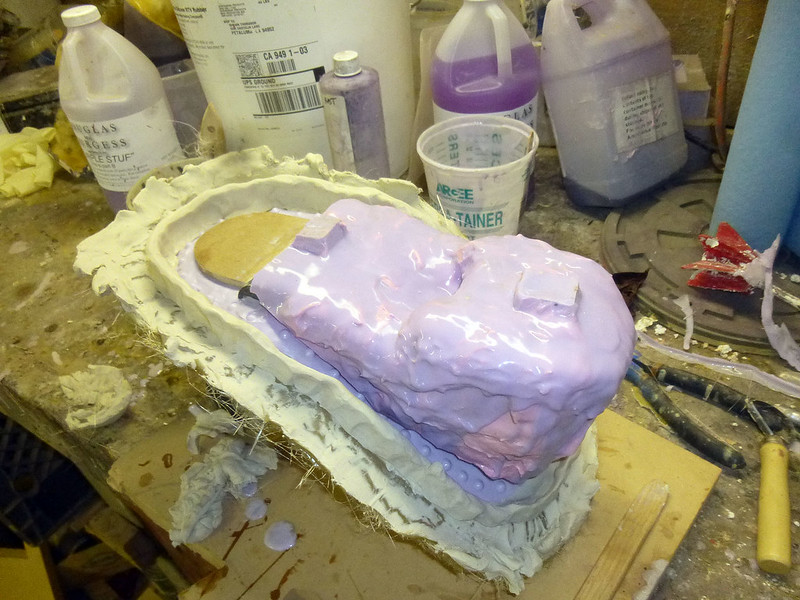
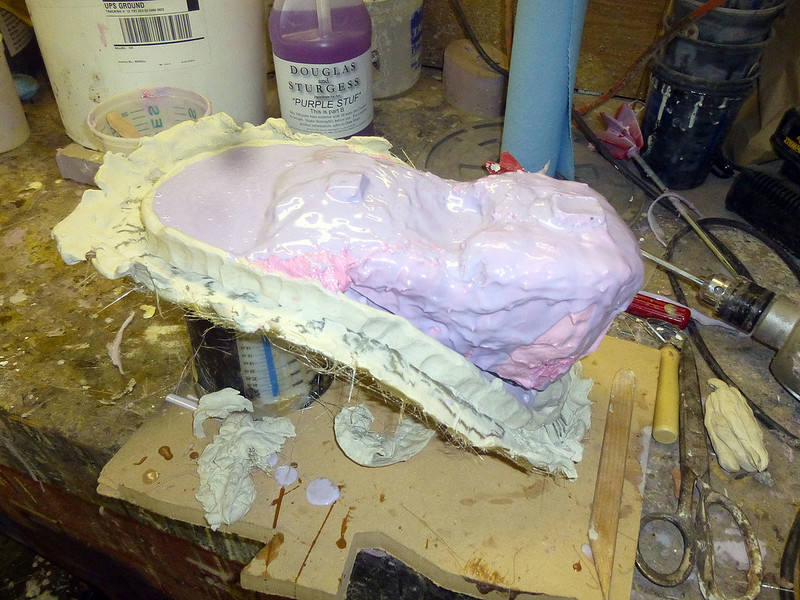
Yesterday I laid up the mothermold for the top of the boot wedge:


Then I flipped the whole thing over, slipped the useful part of the old mold over it, and laid up a new clay dam:


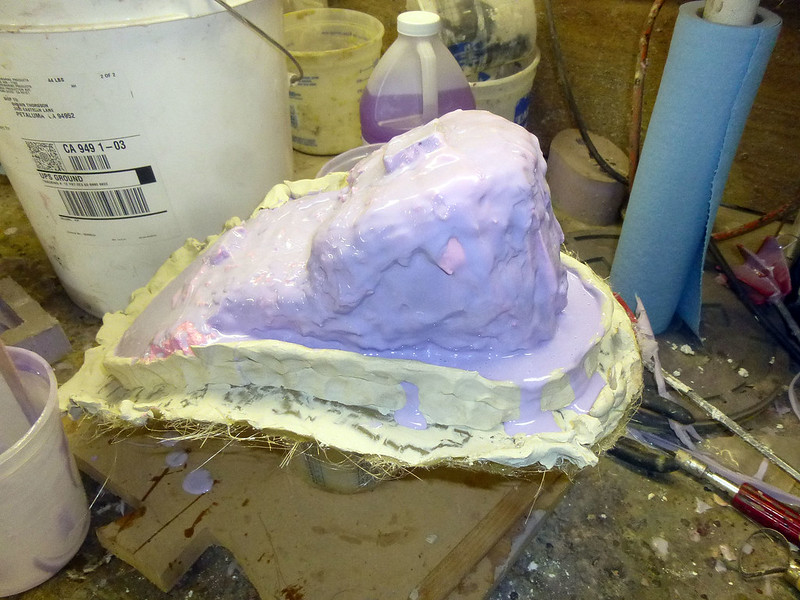
After damming off the sides with a glob of very thickened silicone, I pored new rubber over the toe area:


Once that had set up, I went ahead and poured new rubber around the heel end:


Today I'll be building a mothermold to hold the bottom side straight and then it'll be time to pour some Flex-foam-it 17 boot wedges. They'll be pretty firm rubber soles/insoles, so I'm confident that they'll work pretty well. I also need to make the uppers and crank out a quick mold for those.

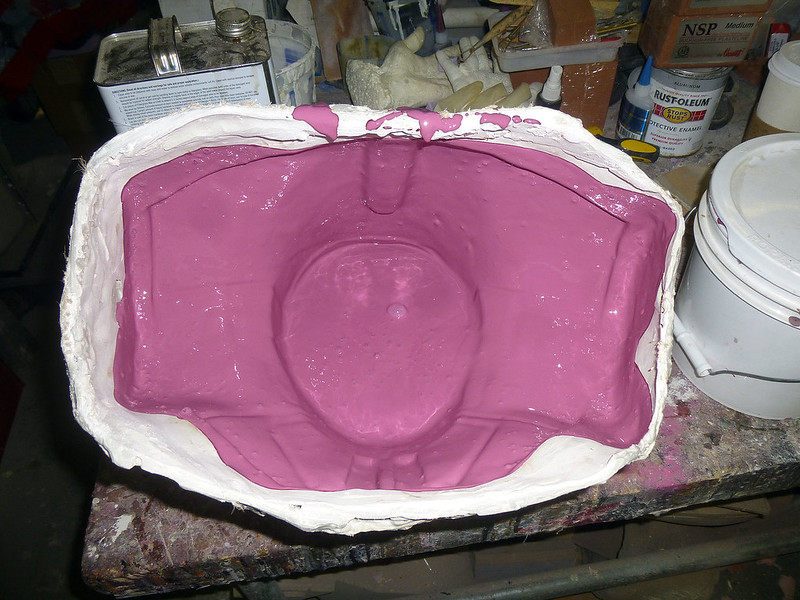
In other news, I laid up the stone mold for the neck piece:


I should be able to pull the sculpt out and start pouring a latex copy today.

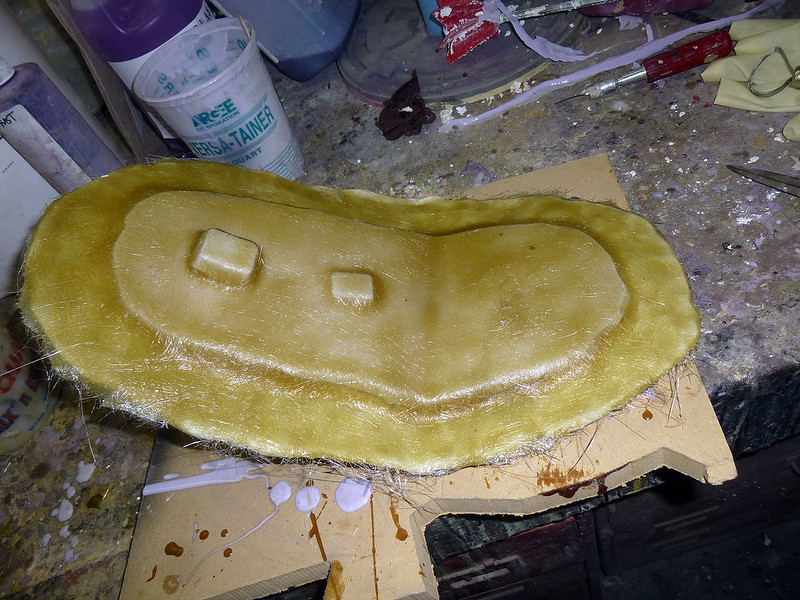
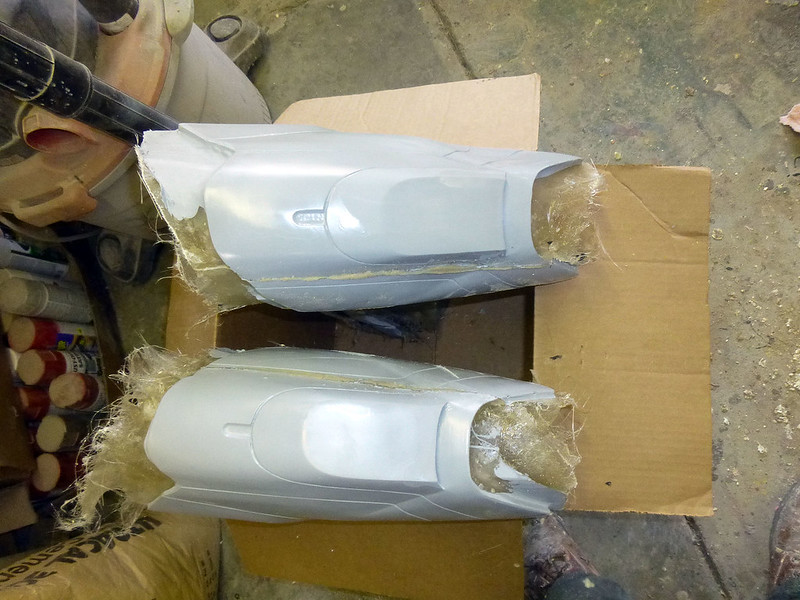
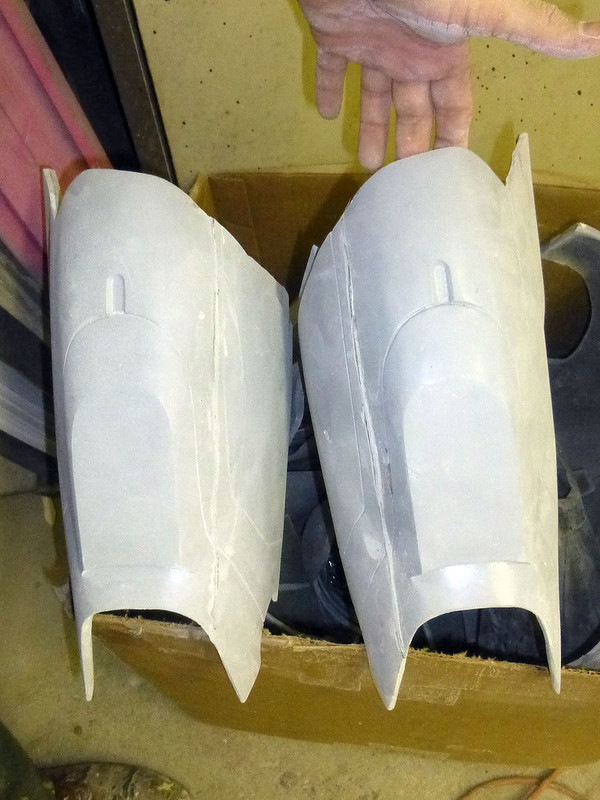
I also forgot to mention that my buddy who does fiberglass for me dropped off the first pulls from the new thigh molds on Friday. He had trouble getting the mold halves to line up, so the seams will need some bodywork. I keep forgetting to take pictures, but hopefully today I won't space out like I have been.
 
Re: Just What This Forum Needs: Another Ironman Build

Reading this thread makes me feel like I am lazy. Looks like you are making lots of progress on this build, thank you for taking the time to share updates with us.
 
Re: Just What This Forum Needs: Another Ironman Build

dood ur amazing!
im just starting out with the helmet for the first time and this is soooooo helpful
thank you for putting the time in to help everyone out
you dont by any chance live in Australia? lol
 
Re: Just What This Forum Needs: Another Ironman Build

Reading this thread makes me feel like I am lazy.

I'd apologize, but I really can't help it.

you dont by any chance live in Australia? lol

Nope, I'm in California.

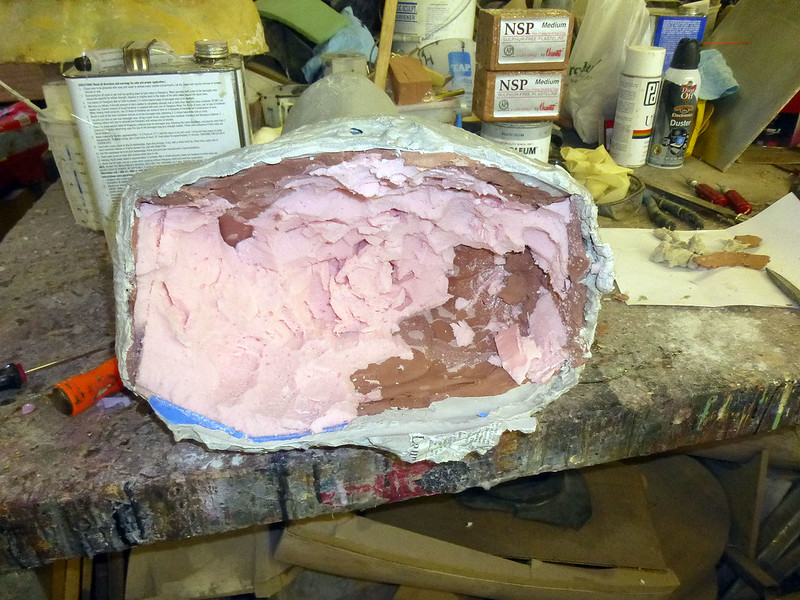
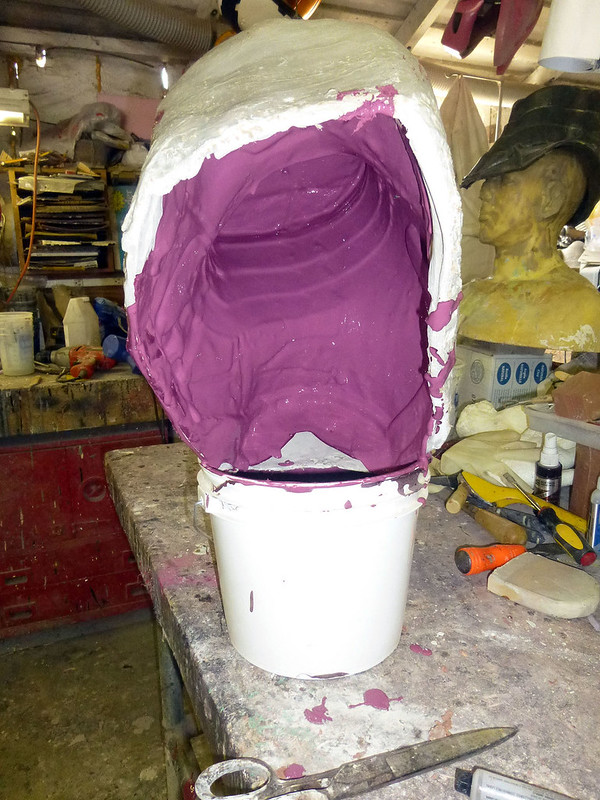
Yesterday I made a bit of progress. First off, I picked the foam out of the inside of the neck mold:


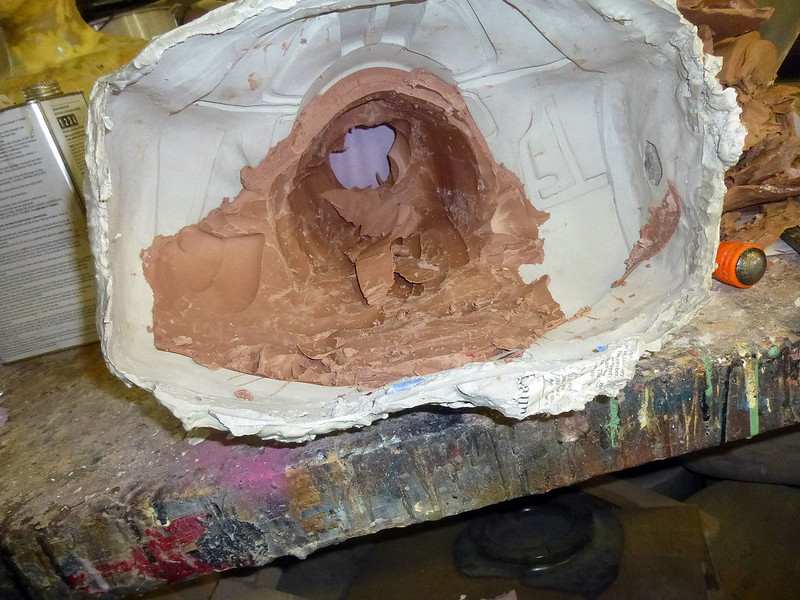
Then I pulled the clay out:


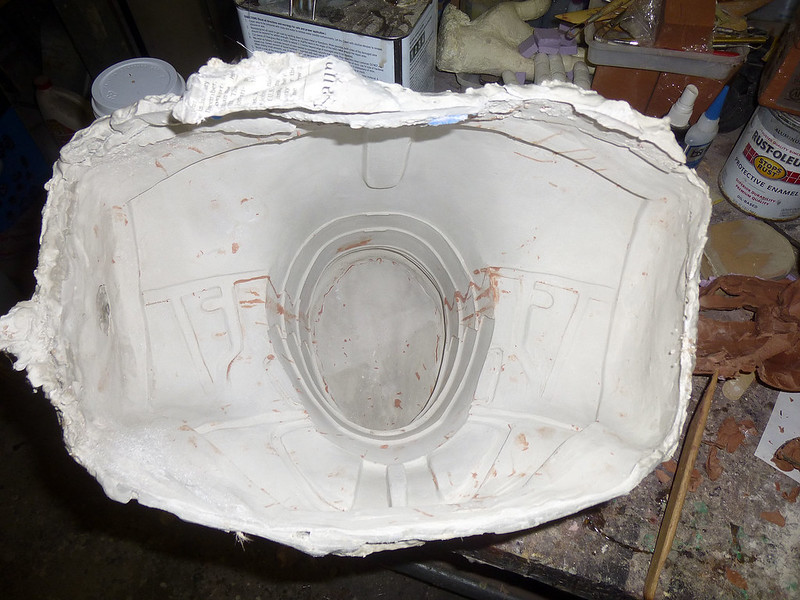
When that was done, there were still bits of clay stuck in some of the tighter corners:


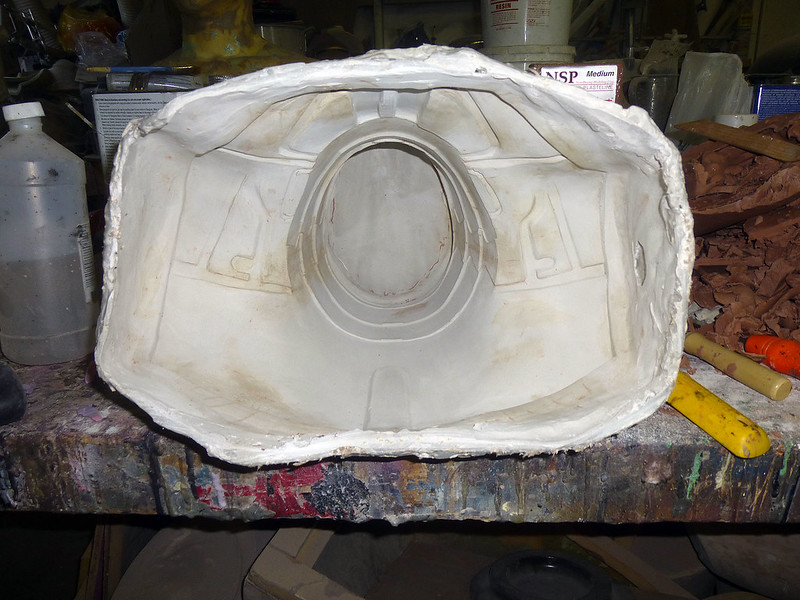
That was removed using a stiff bristle brush and some rubbing alcohol. This was as clean as I could get the mold when I was done:


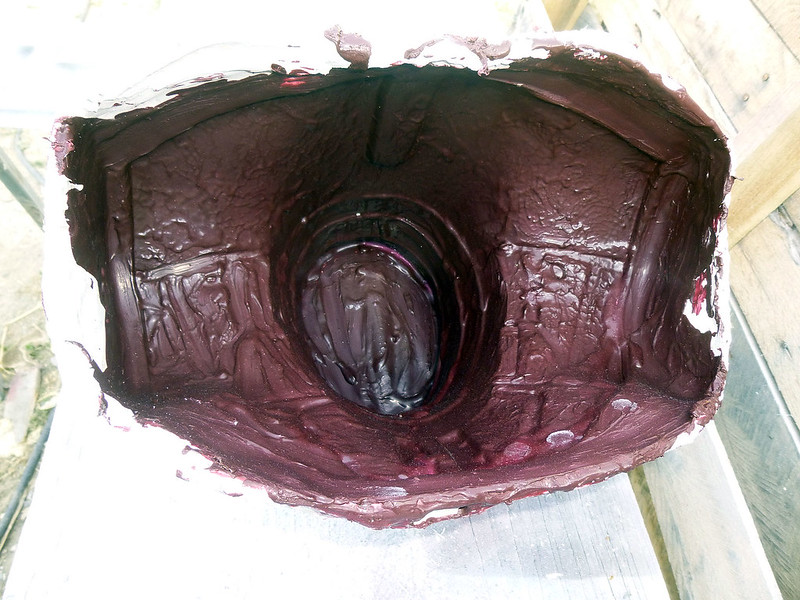
After leaving it out in the sun for several hours, I went ahead and filled it with latex:


Then I drained out the excess:


And set the whole thing back out in the sun to dry:


Today I'll be pouring in a coat of black latex to build up more thickness. After tomorrow's coat dries, I'll be able to pull it out of the mold and give it a try.

While all of that was going on, I also went ahead and laid up the mothermold for the other end of the boot wedge:


Here's the boot wedge mold set up for pouring as of the end of the day yesterday:


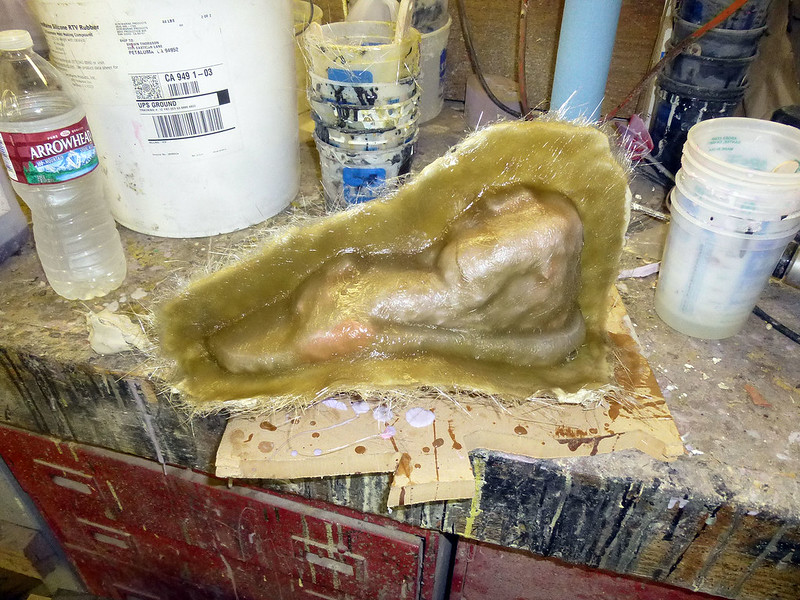
As promised, here's a picture of the raw fiberglass thighs before I did any trimming:


After trimming:


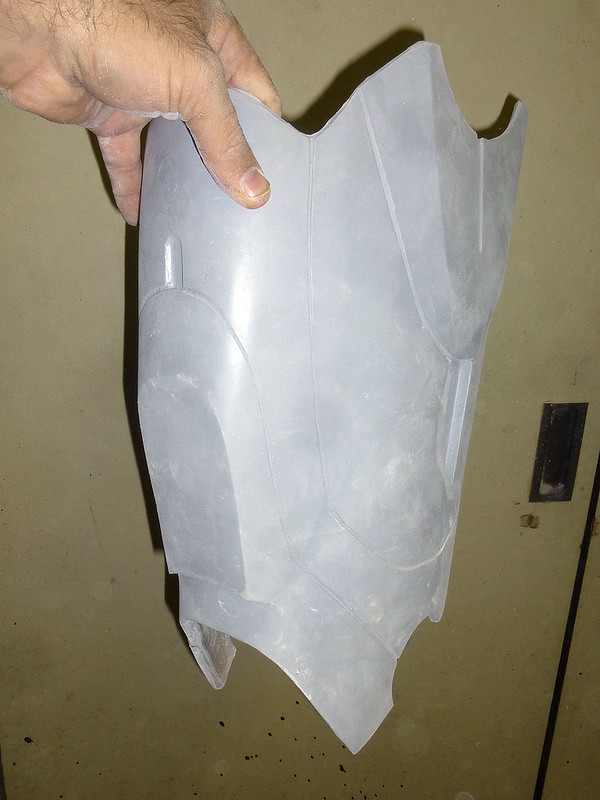
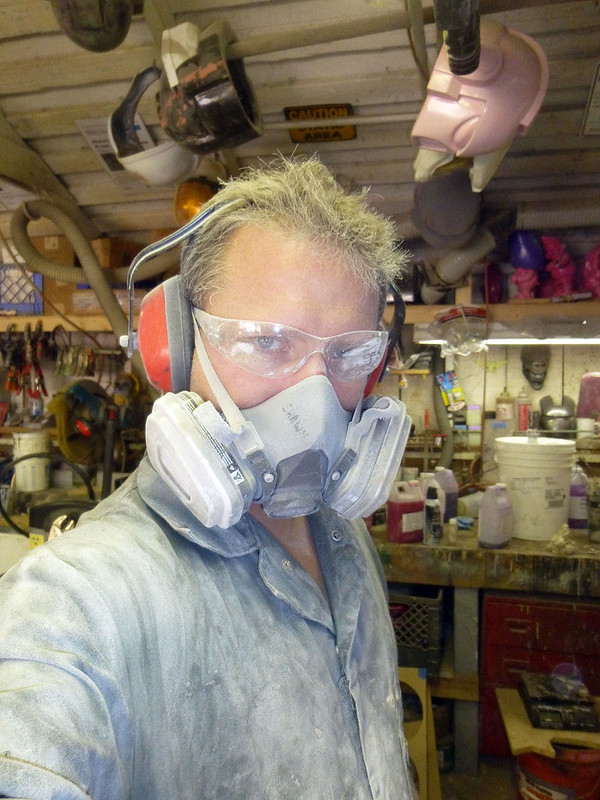
And here's a pic of me after trimming and prepping fiberglass parts:


Much to do today. Stay tuned...
 
This thread is more than 9 years old.

Your message may be considered spam for the following reasons:

  1. This thread hasn't been active in some time. A new post in this thread might not contribute constructively to this discussion after so long.
If you wish to reply despite these issues, check the box below before replying.
Be aware that malicious compliance may result in more severe penalties.
Back
Top