Crank729
Sr Member
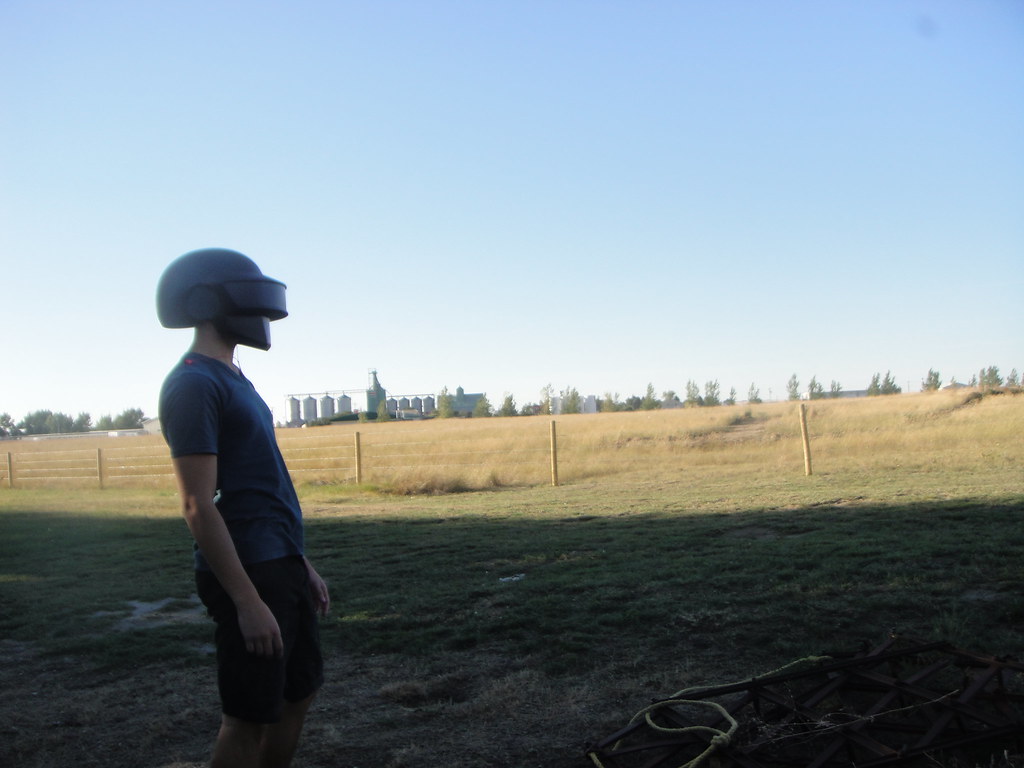
I just finished up my last Thomas build, which you can see here.
http://www.therpf.com/f24/daft-punk-helmet-my-little-brother-144261/
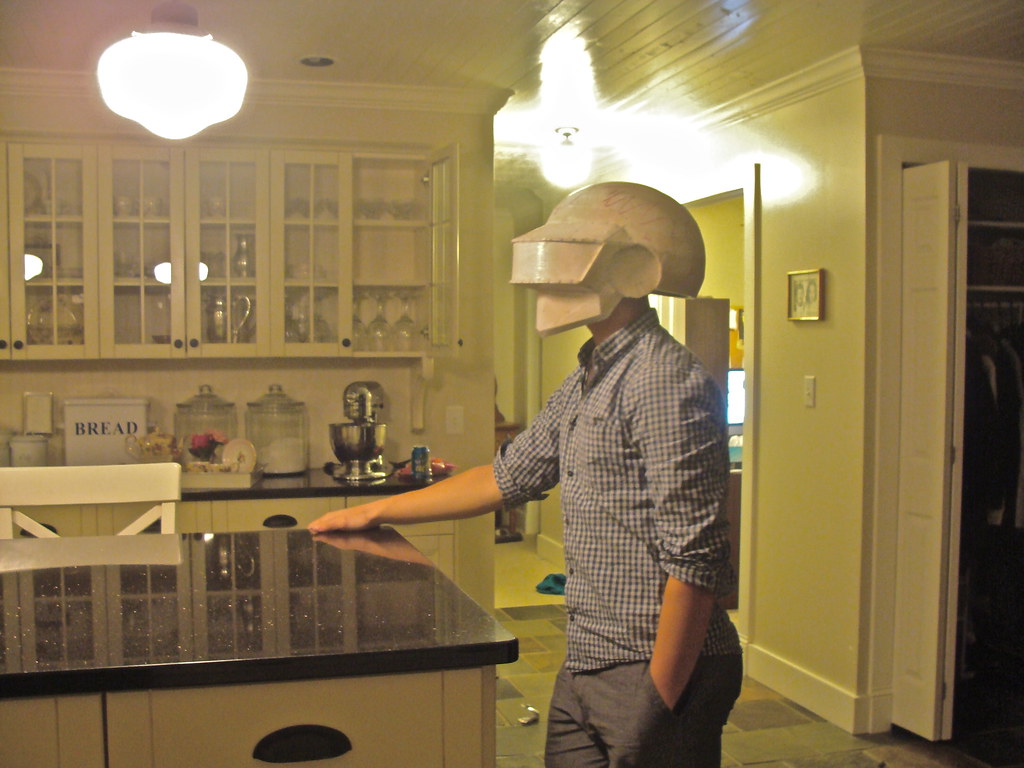
Although my last Thomas was a step in the right direction, there were a few areas that I wanted to improve for accuracy and overall aesthetic purposes. This new Thomas helmet of mine will be sleeker, smoother, and even more accurate than my last Thomas helmet. This one isn't for a client, this one is for me....and hey, I might even mould it as well...............
This pep is Dung0beetles version, unfolded by my good friend Cama900. I still firmly believe this is the definitive Thomas helmet pep out there.
The paper portion of this project took me about two weeks. Here are some tips on pepakura that I have found helpful.
*******************************
I cut out each piece with scissors, not a hobby knife. After a piece is cut out I look over it again and make sure the lines are clean and There isn't too much overhang.
I fold all my edges with a ruler instead of scoring them with a knife, this way is cleaner, at least for me.
Before I put a piece on I make sure I know how the piece fits and what part of the model it is.....It's much easier to fix something when it's dry instead of when you already have glue on it.
I use this glue....you can buy it at Michael's.....It has a special applicator tip which makes it very easy to apply...Here's a link:
https://tombowusa.com/office/detail/52190
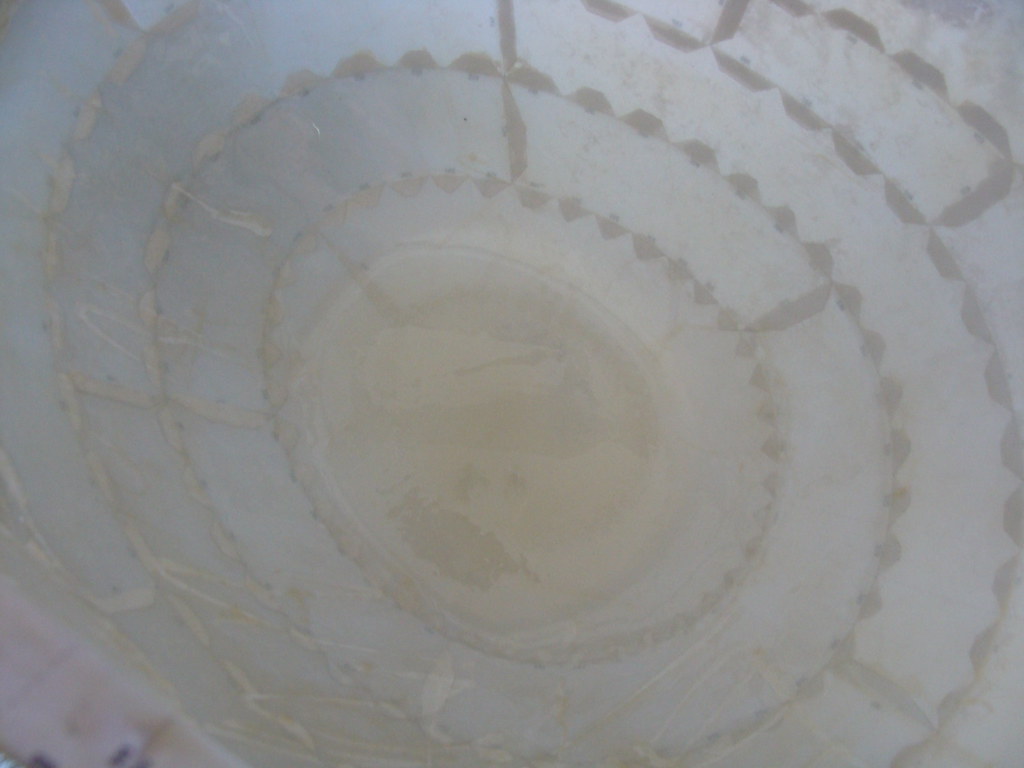
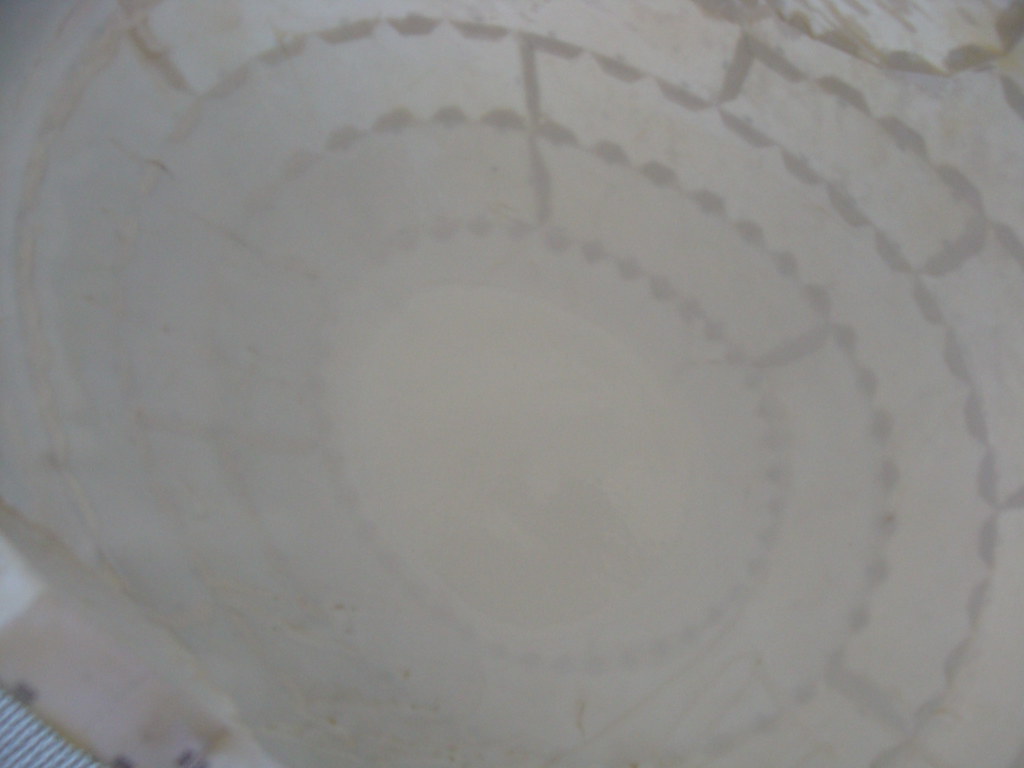
After the model is done, I take a hot glue gun and put a thing coat of hot glue over the entire inside of the helmet. It doesn't strengthen it but it helps it maintain its shape until resin.
But mostly, patience. My models usually take me 10 hours, sometimes more. And I usually stretch out the process over a few days, sometimes even weeks.
*********************
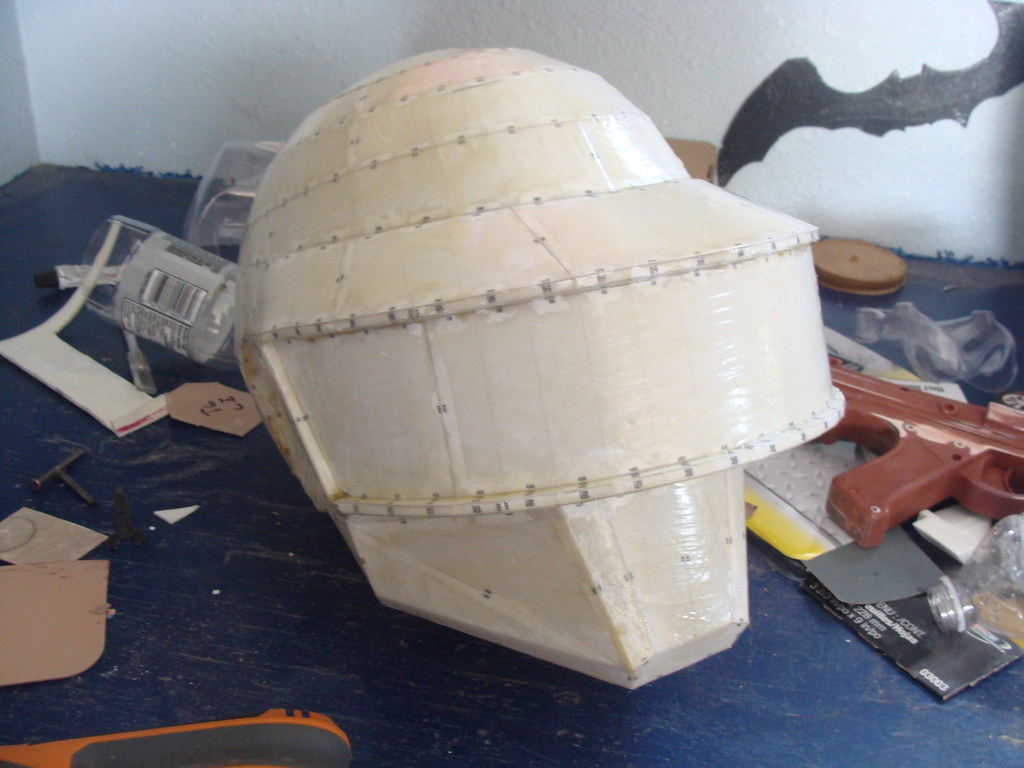
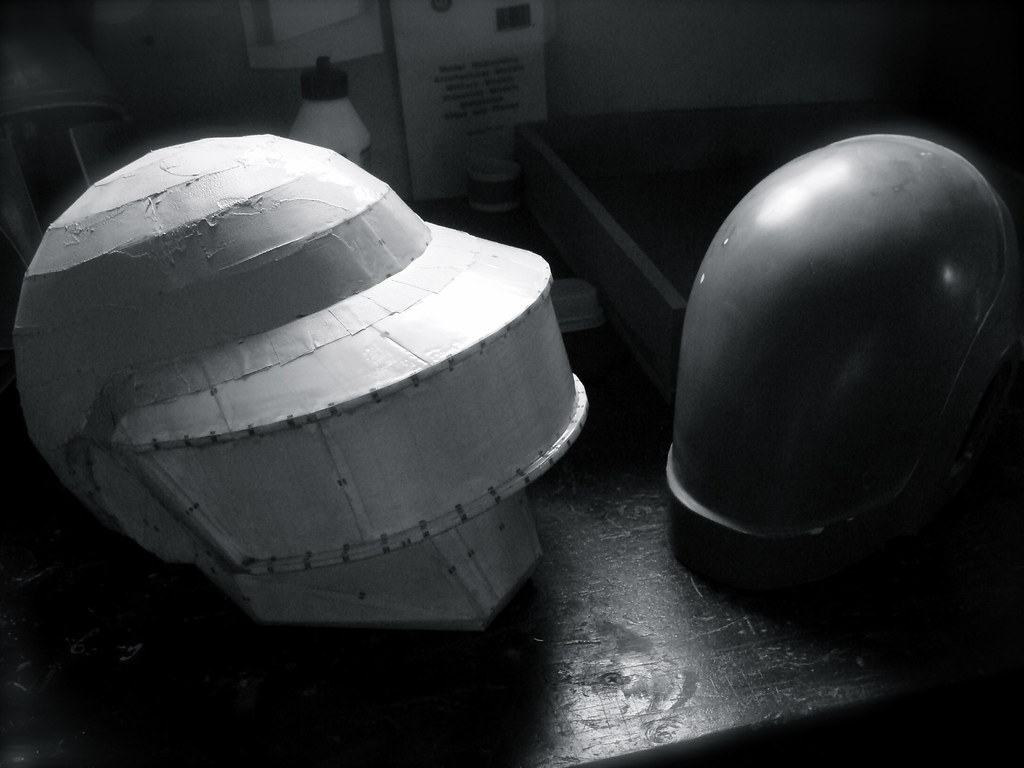
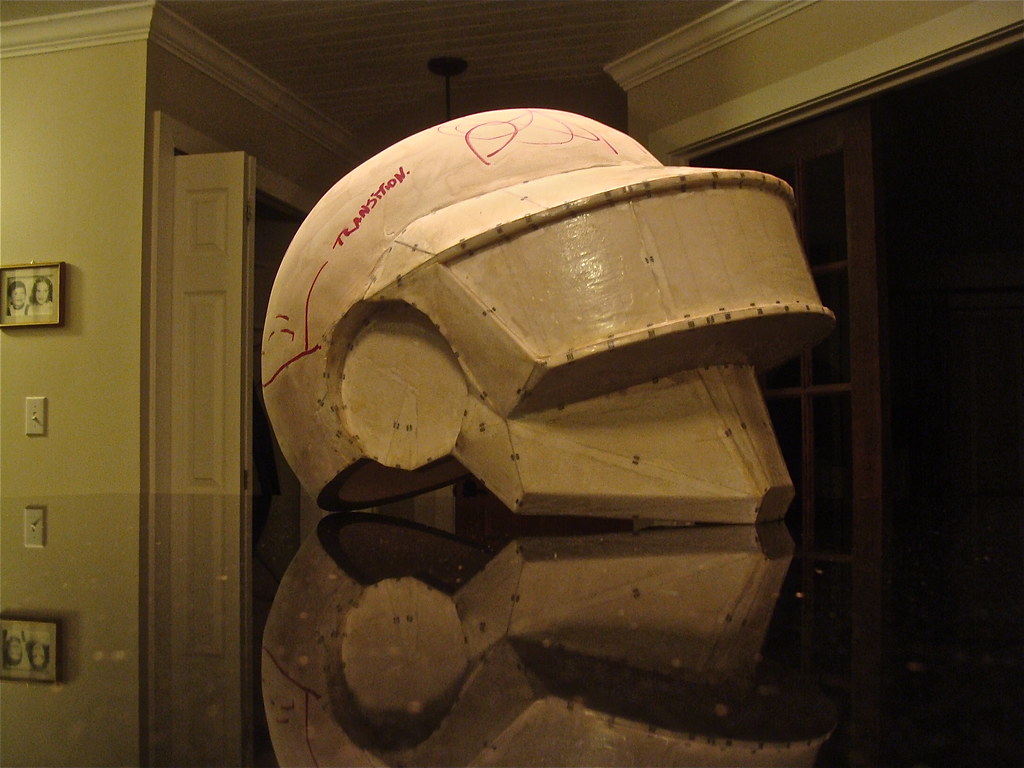
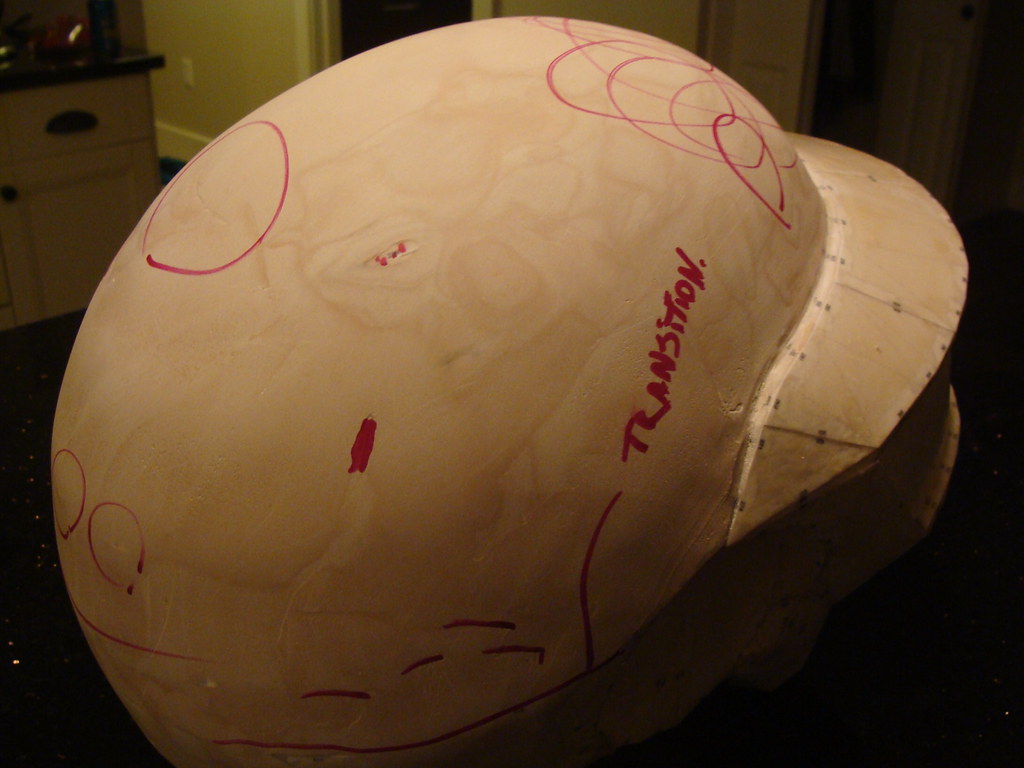
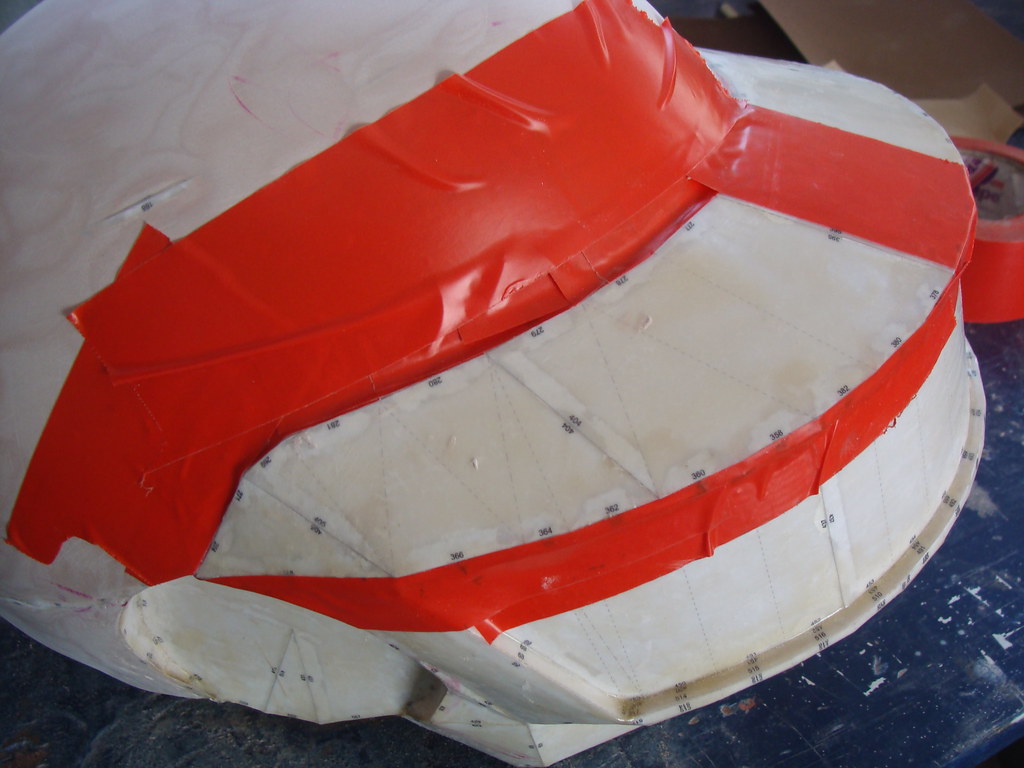
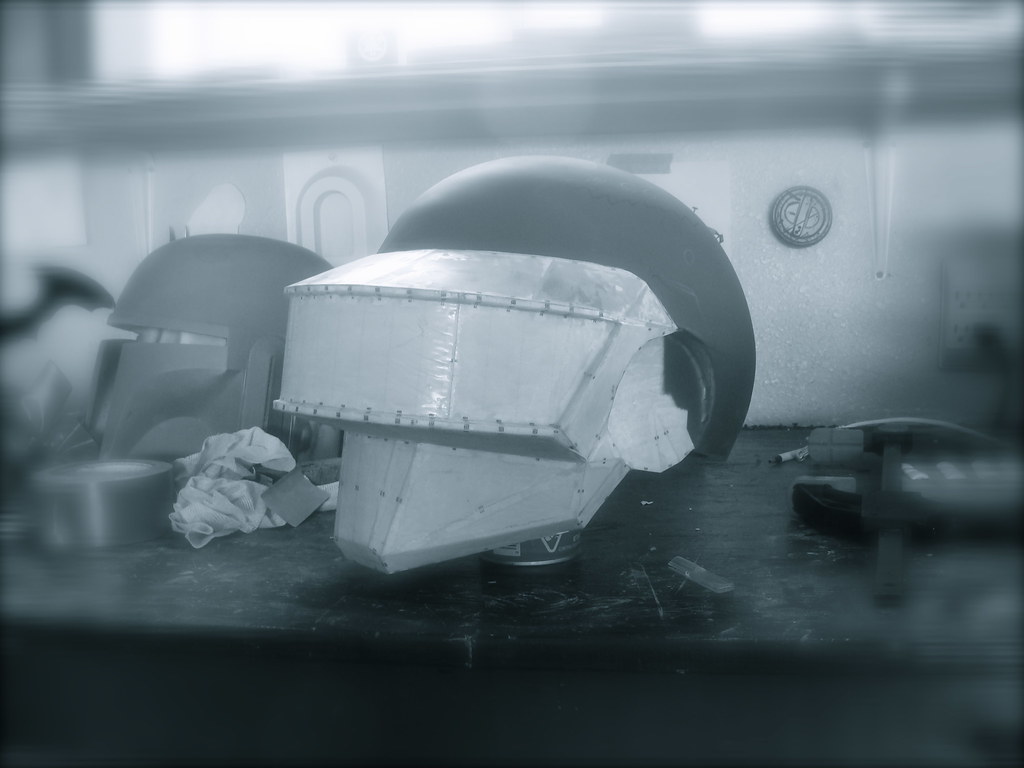
Anyways, here's the pep, all assembled.
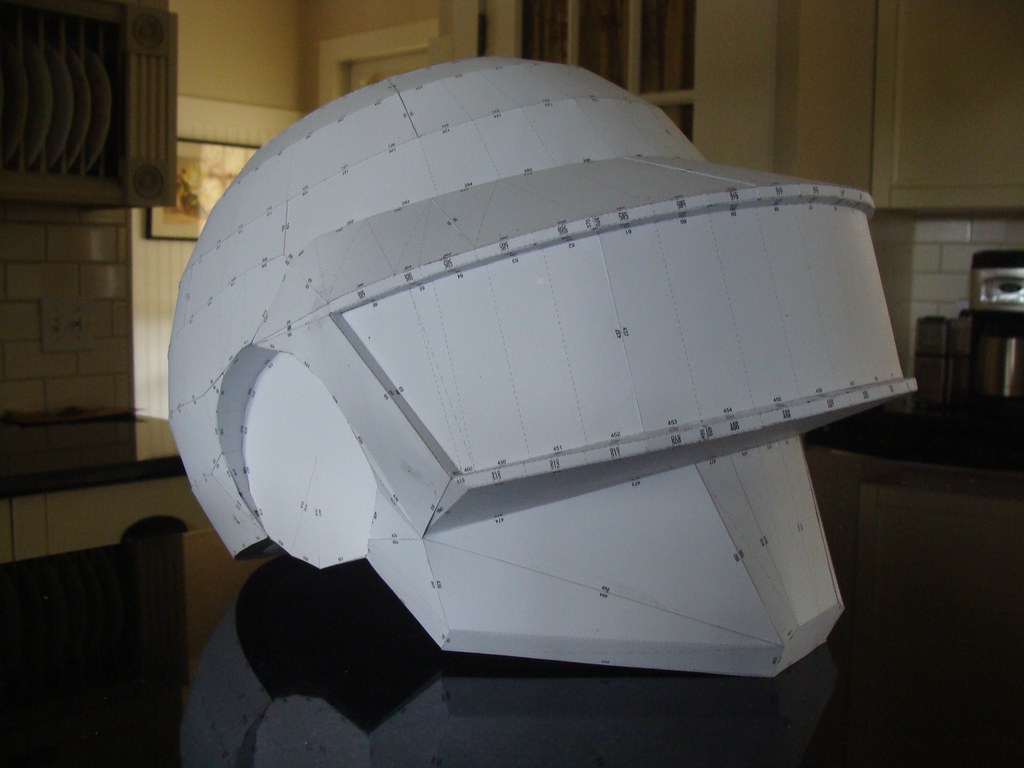

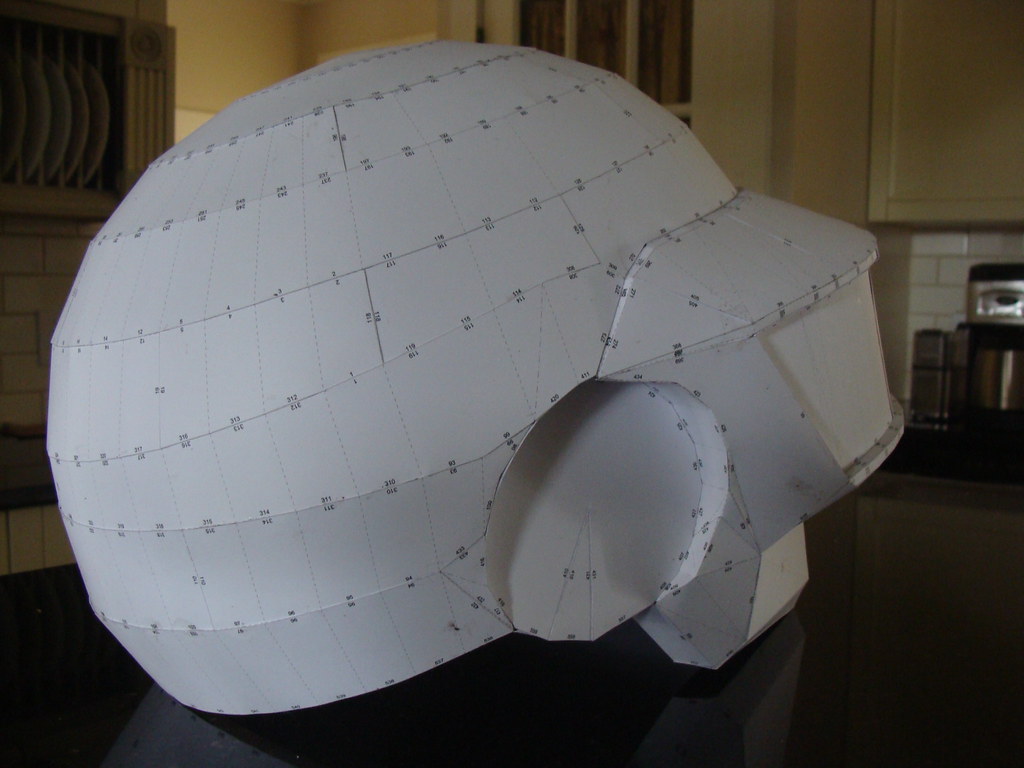
One of my cleanest Pep jobs yet!!!! Onto to Fibreglass resin. Here are some tips on resin that I have found helpful.
*******************************
Light coats! Seriously, a heavy coat of resin can very well destroy your helmet! Put it on sparingly, especially the first few coats.
Keep spreading the resin while it is still wet. If you have drips, brush them away. Don't leave any piece of the helmet dry.
I find that stroking the resin on ( like a painter ) works much better than dabbing the helmet.
*******************************
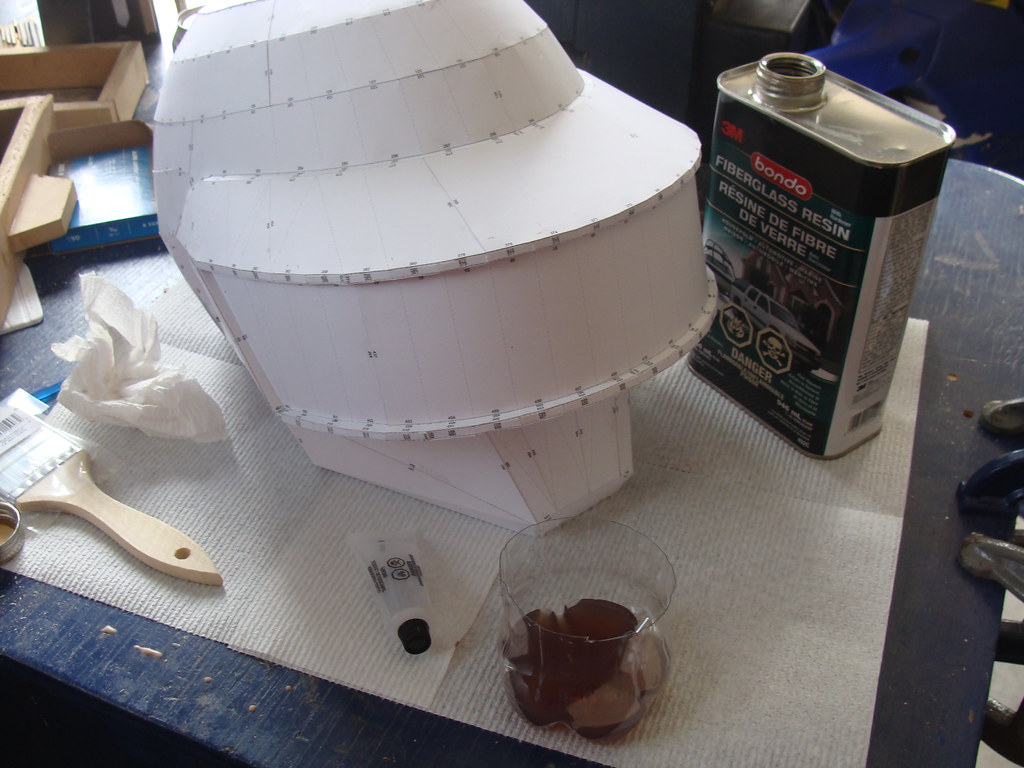
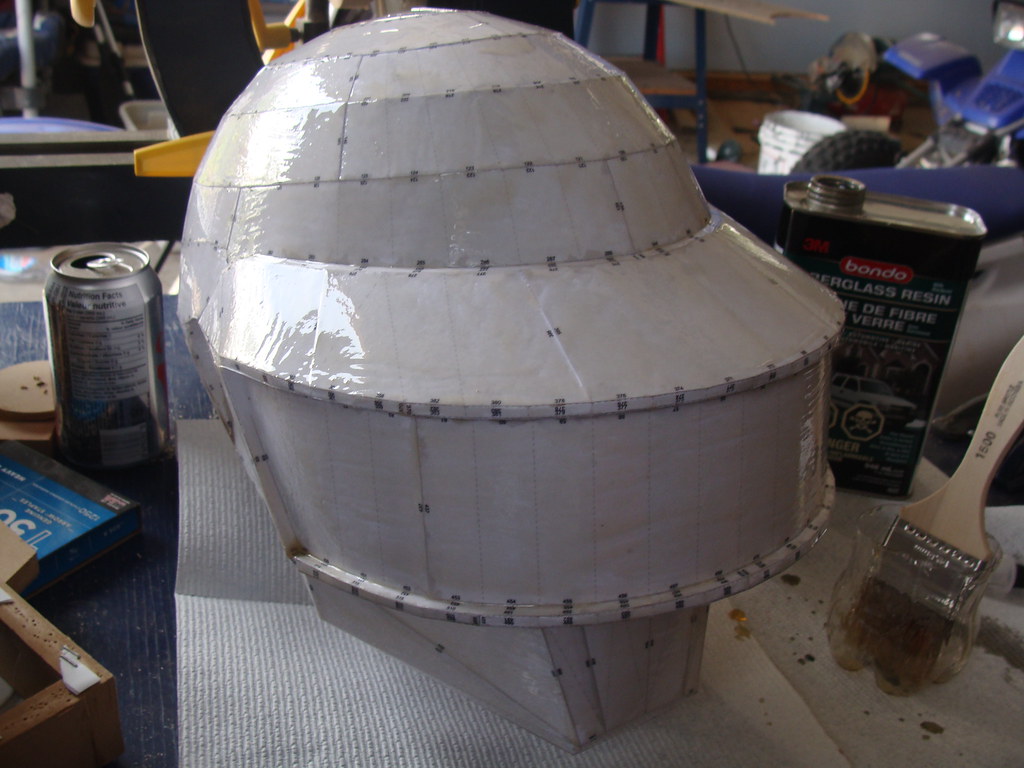
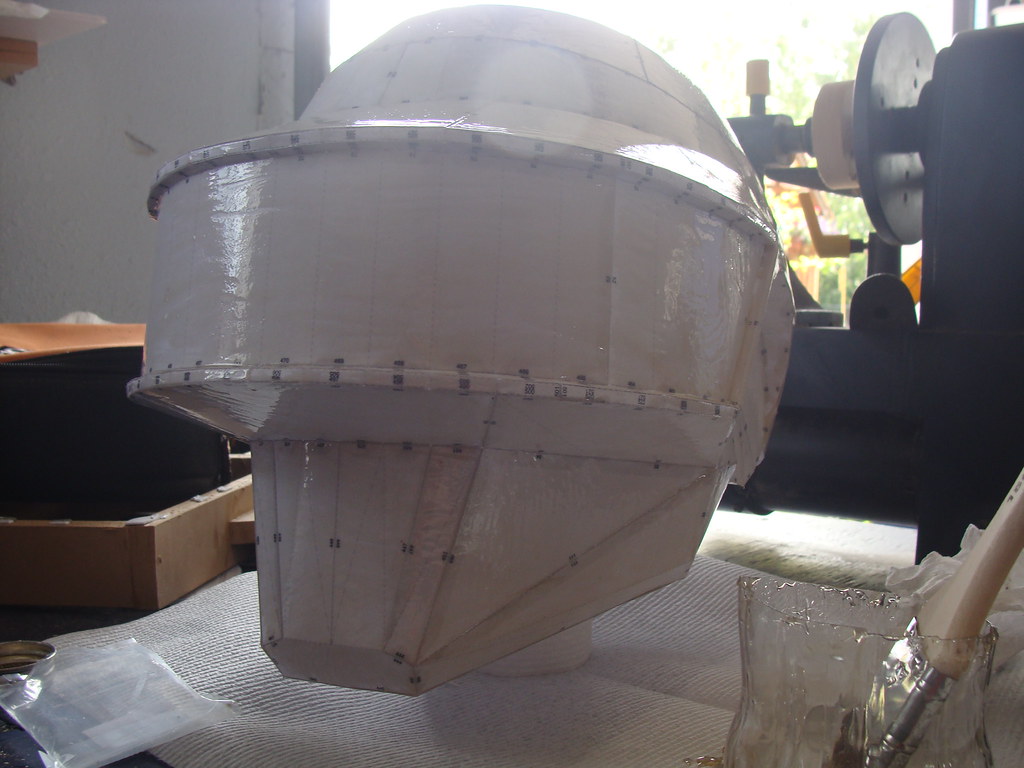
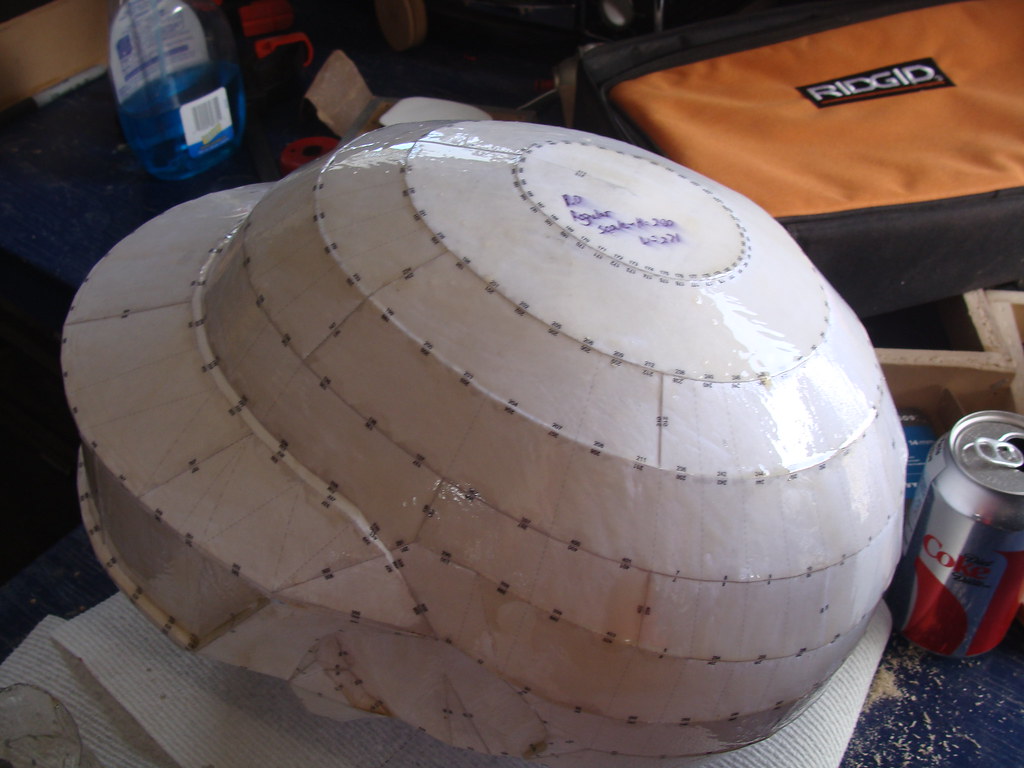
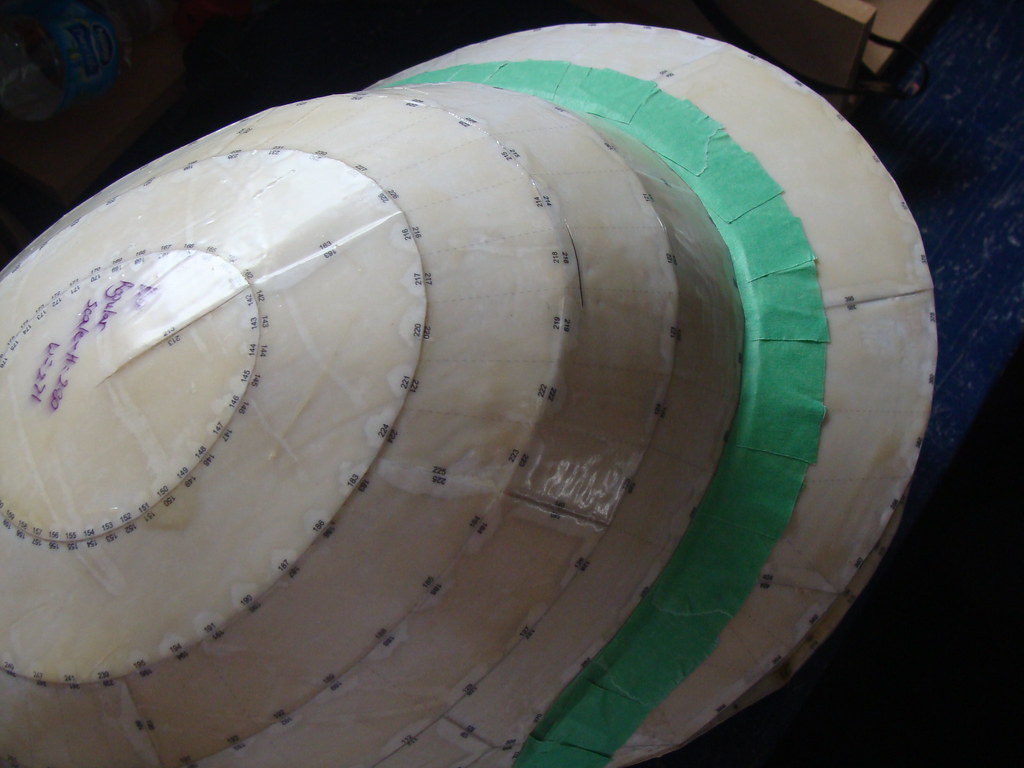
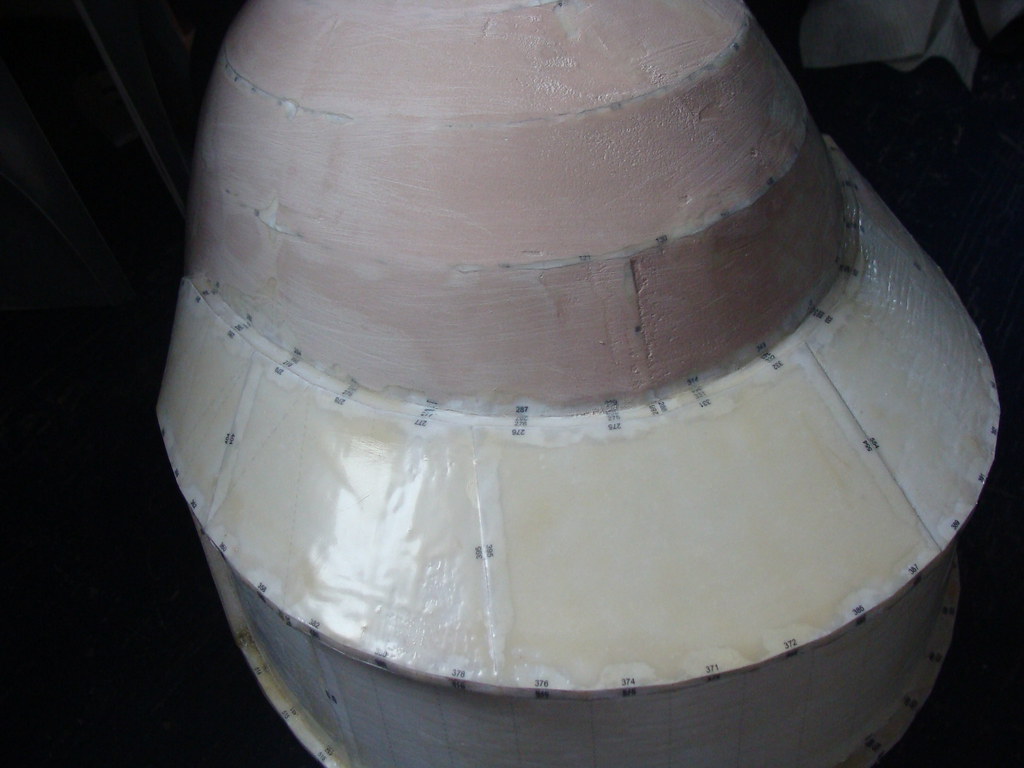
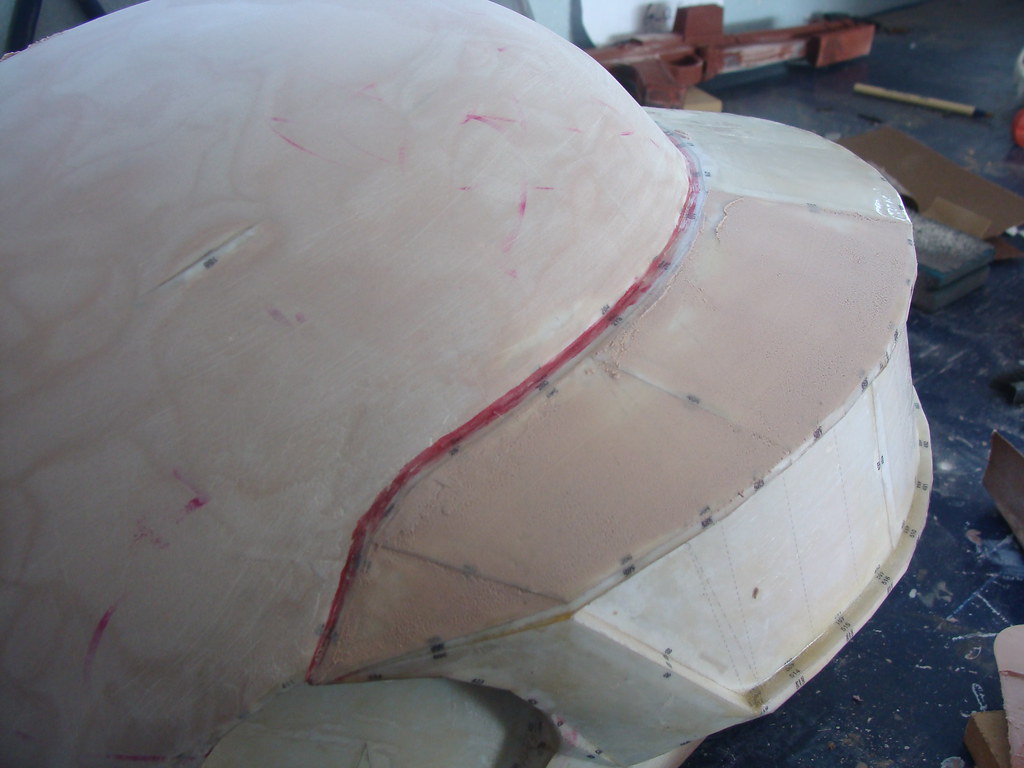
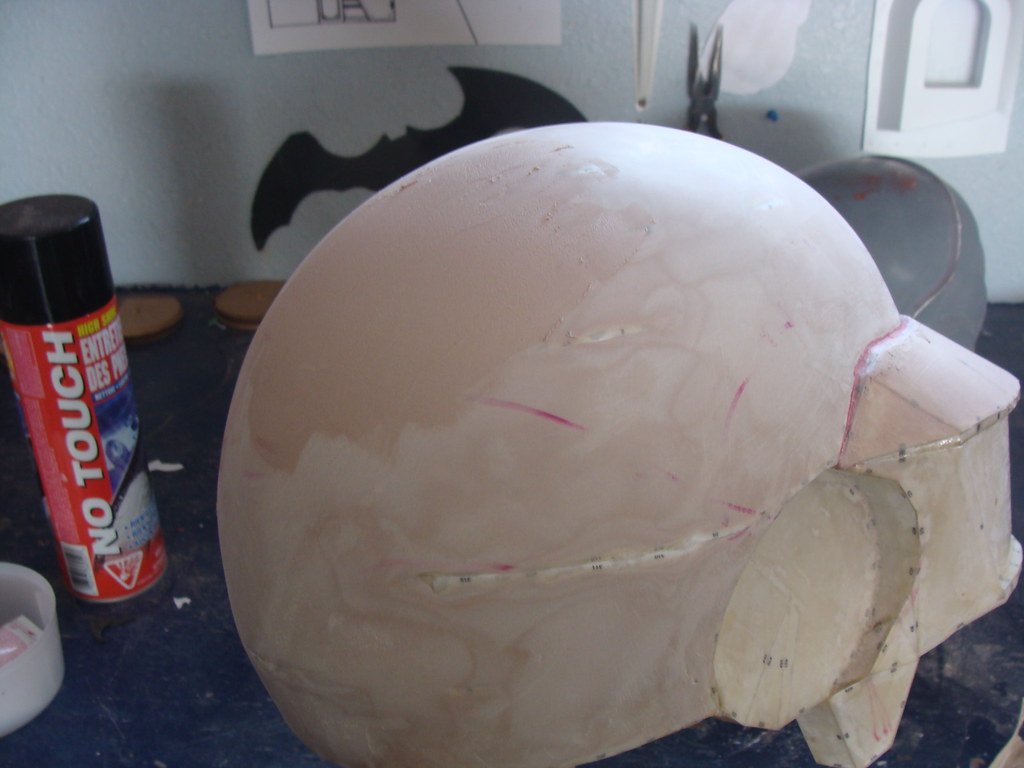
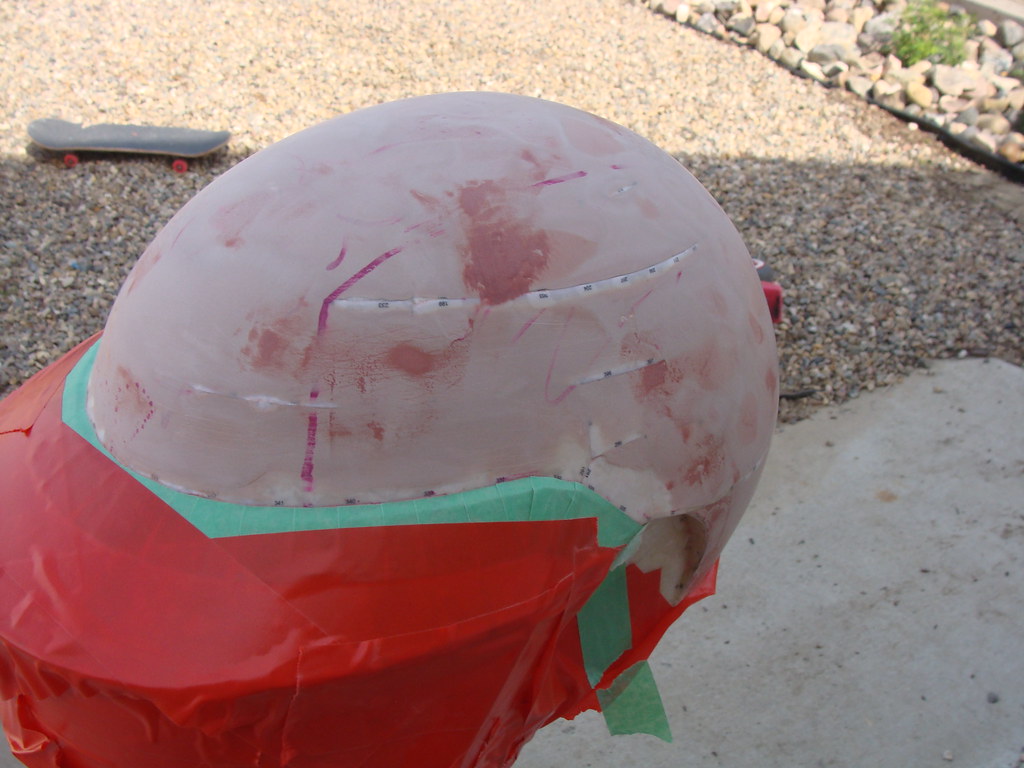
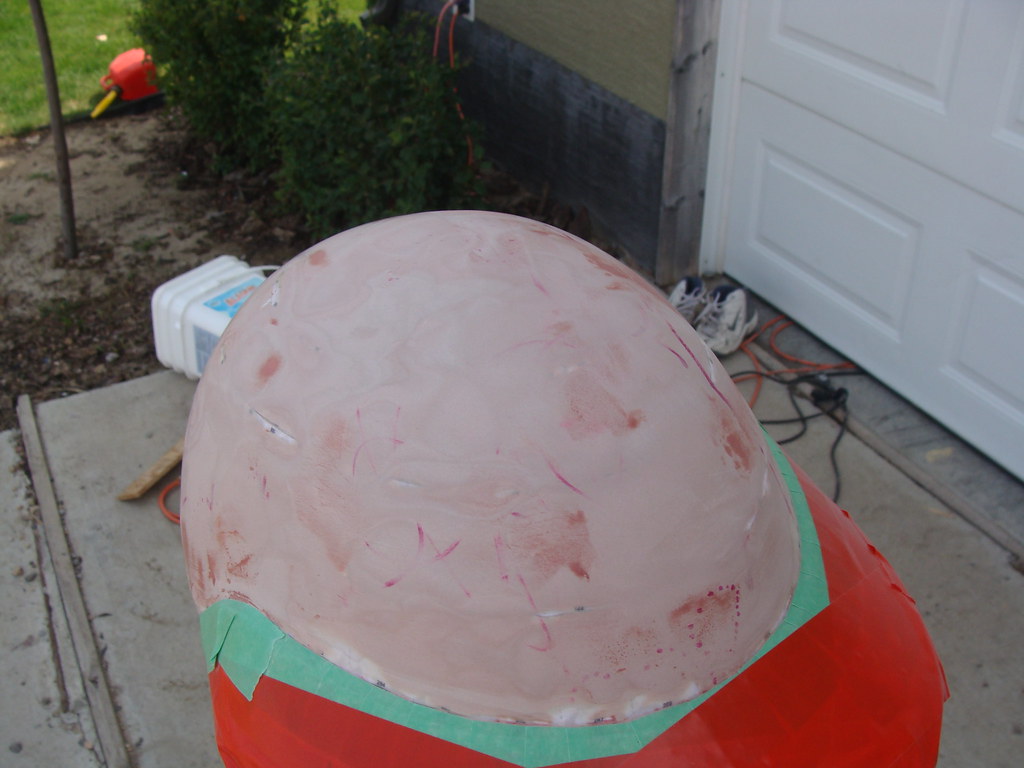
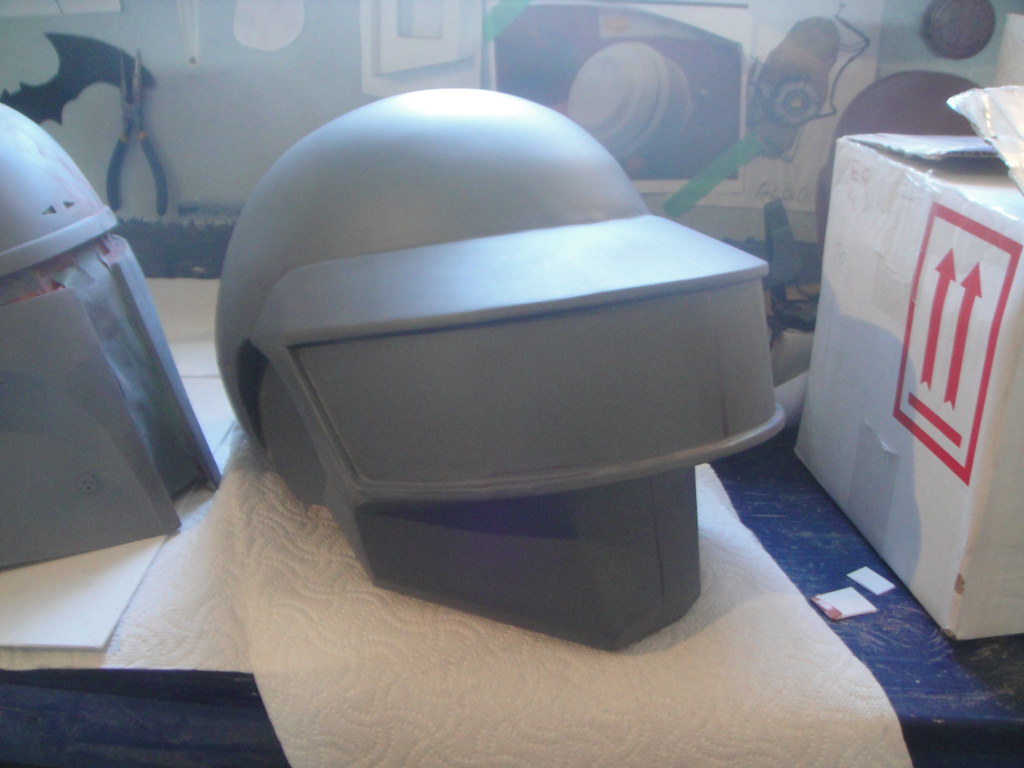
There's the first coat. Went pretty well, except for some tabs coming loose while the resin was still wet. But I managed to fix it.
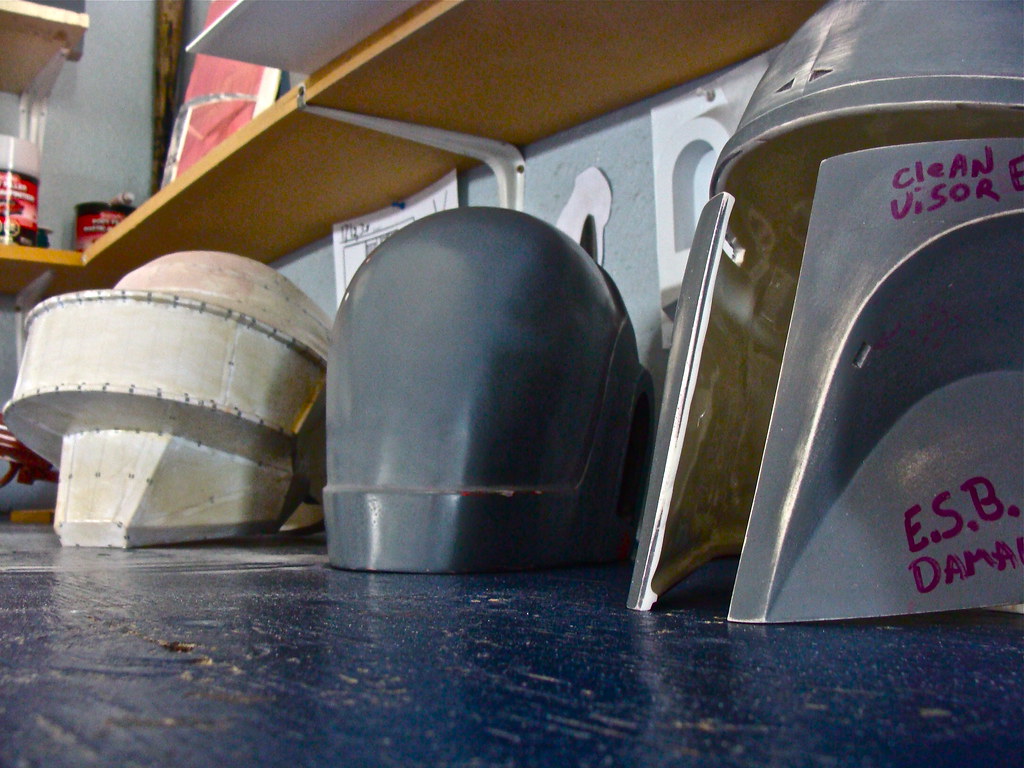
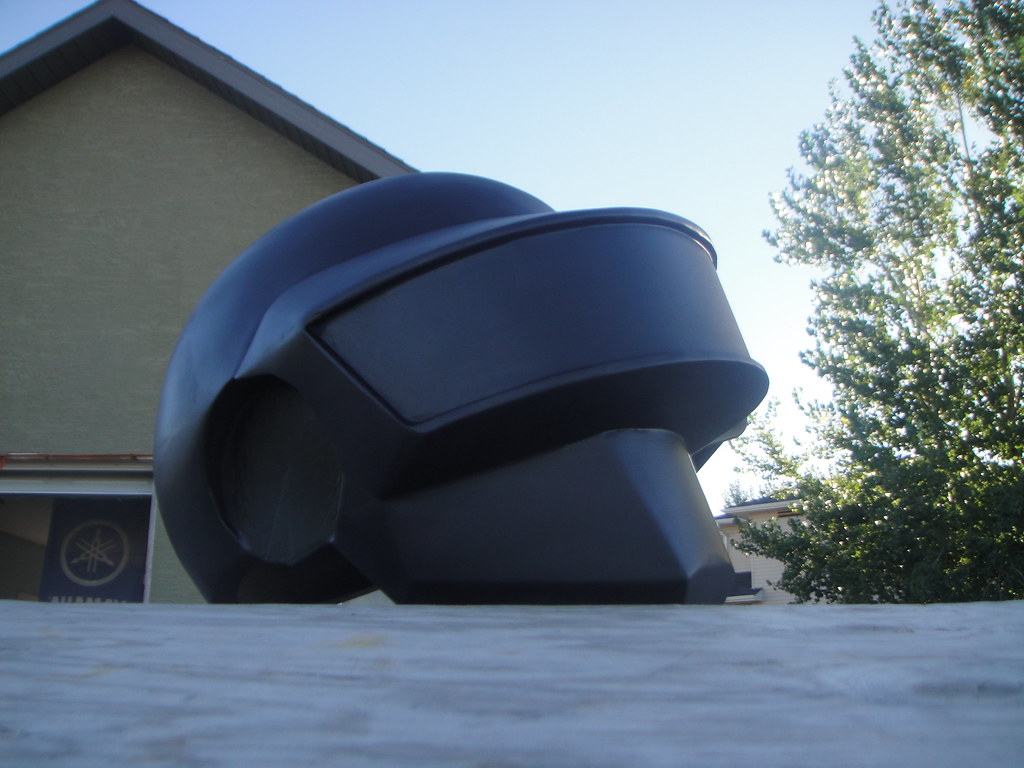
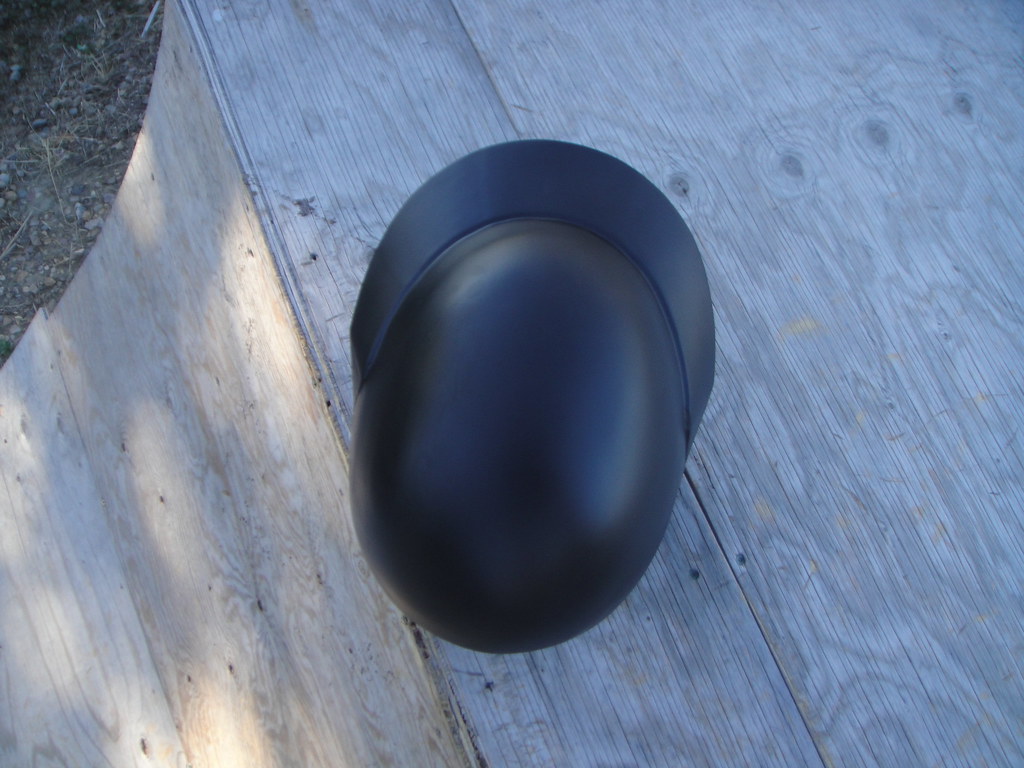
Well, I'm really looking forward to this! At this point in time, This is my fifth Thomas helmet in the last two years, so hopefully everything I've learned will make this helmet come out great.
But hey, it could also end up like a flaming ball of death. Who knows?
Thanks for reading, look for an update soon.
http://www.therpf.com/f24/daft-punk-helmet-my-little-brother-144261/
Although my last Thomas was a step in the right direction, there were a few areas that I wanted to improve for accuracy and overall aesthetic purposes. This new Thomas helmet of mine will be sleeker, smoother, and even more accurate than my last Thomas helmet. This one isn't for a client, this one is for me....and hey, I might even mould it as well...............
This pep is Dung0beetles version, unfolded by my good friend Cama900. I still firmly believe this is the definitive Thomas helmet pep out there.
The paper portion of this project took me about two weeks. Here are some tips on pepakura that I have found helpful.
*******************************
I cut out each piece with scissors, not a hobby knife. After a piece is cut out I look over it again and make sure the lines are clean and There isn't too much overhang.
I fold all my edges with a ruler instead of scoring them with a knife, this way is cleaner, at least for me.
Before I put a piece on I make sure I know how the piece fits and what part of the model it is.....It's much easier to fix something when it's dry instead of when you already have glue on it.
I use this glue....you can buy it at Michael's.....It has a special applicator tip which makes it very easy to apply...Here's a link:
https://tombowusa.com/office/detail/52190
After the model is done, I take a hot glue gun and put a thing coat of hot glue over the entire inside of the helmet. It doesn't strengthen it but it helps it maintain its shape until resin.
But mostly, patience. My models usually take me 10 hours, sometimes more. And I usually stretch out the process over a few days, sometimes even weeks.
*********************
Anyways, here's the pep, all assembled.


One of my cleanest Pep jobs yet!!!! Onto to Fibreglass resin. Here are some tips on resin that I have found helpful.
*******************************
Light coats! Seriously, a heavy coat of resin can very well destroy your helmet! Put it on sparingly, especially the first few coats.
Keep spreading the resin while it is still wet. If you have drips, brush them away. Don't leave any piece of the helmet dry.
I find that stroking the resin on ( like a painter ) works much better than dabbing the helmet.
*******************************


There's the first coat. Went pretty well, except for some tabs coming loose while the resin was still wet. But I managed to fix it.
Well, I'm really looking forward to this! At this point in time, This is my fifth Thomas helmet in the last two years, so hopefully everything I've learned will make this helmet come out great.
But hey, it could also end up like a flaming ball of death. Who knows?
Thanks for reading, look for an update soon.
Last edited:

