Longshot114
New Member
Warning . . . Very Picture Heavy.
So I've been working on a project for the last 2 months. Most of it was spent modeling. I tend to go a bit overboard when it comes time for Halloween. I've tried a lot of different techniques to build different costumes. I am by no means an expert or a master at this. I am able to tell you that with each costume I learn a lot . . . Bondo, Mechatronics, Servos, Control Boards, Sewing, Working with Foam, Glues/Chemistry, Different Power Systems, and most important . . .patience.
With the newly acquired, quite awesome SeeMeCNC's Rostock Max . . . I wanted to see if I could build a costume/prop using 3D printing. Why not . . . how hard could it be? I was wrong. So with only 2 months left till all Hallow's Eve I set to work. As a quick note, most of the build is 3D printed . . . not all of it, but most of it.
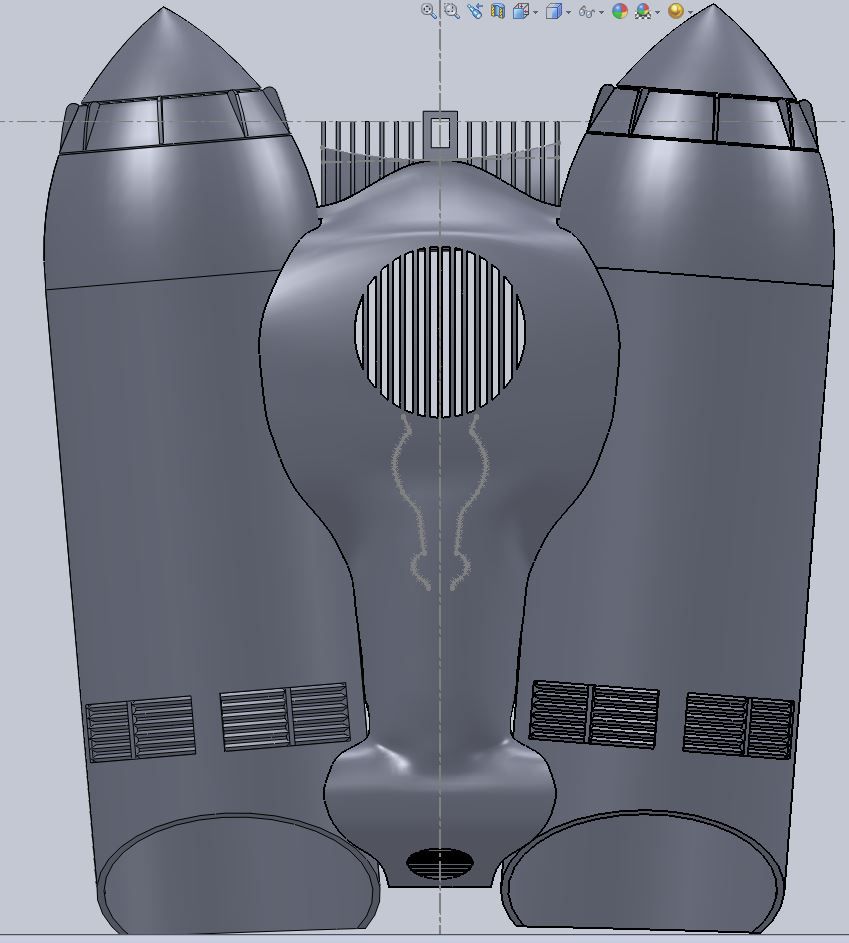
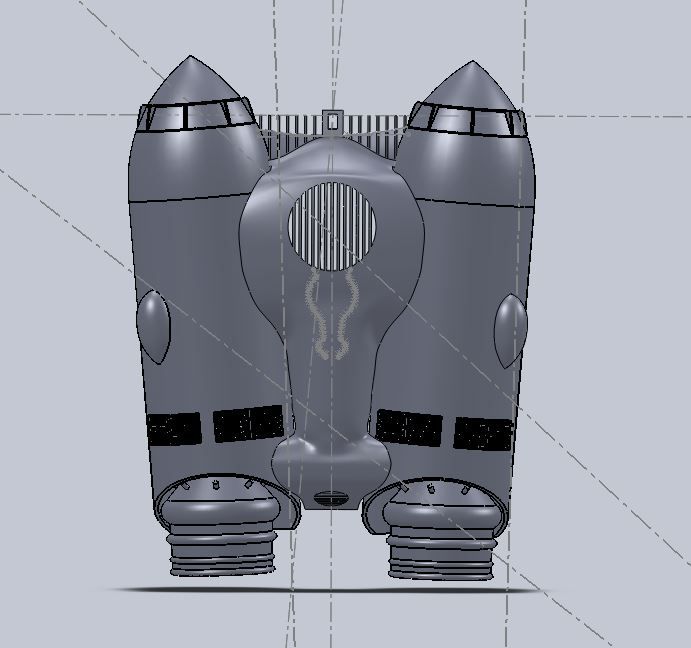
Most of the time i spent modeling up the Rocketpack and Helmet. I'm not an expert at Solidworks, but did learn a lot from shaping, 3D curves, lofting, etc.
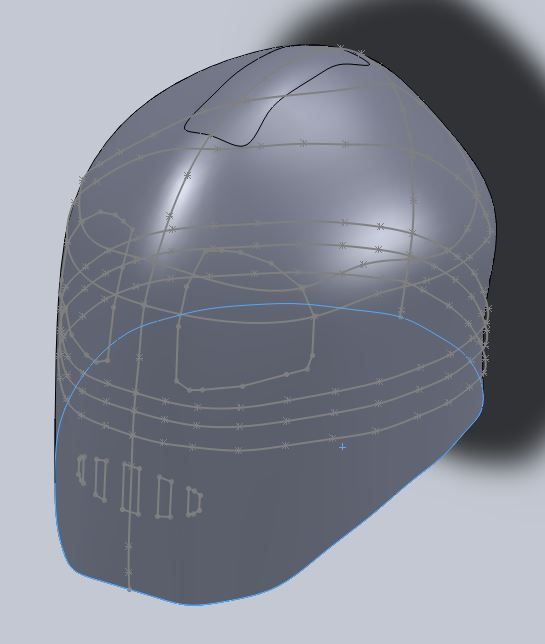
On to the printing . . . I had to cut the helmet into 4 sections and will glue the pieces on later due to build envelope of the printer. The first problem I ran into was scale. The helmet ended up 2x to big. Kinda made me look like a bobble head. Some of the pieces took between 12-16 hours. So you can imagine my dismay when I printed only to find the wrong size. I rescaled and ended up in the other direction, too small. Again wasted plastic and a lot of time. Finally found a scale that worked.
Once the pieces were printed i had figure out a way to glue. Again, a lesson learned, PLA doesn't like to glue with traditional types of glue like the favorited Superglue. I dug around the internet and almost gave up on the whole project till I found some Acrylic Glue that someone only had some great luck with gluing PLA objects. Turns out he was correct, the stuff works.
The 8 pieces of the helm didn't fit exactly correct. I never did build in registers so fitup was tricky. In the end I used a combination of Acrylic Glue to fit it up Hot Glue. Once primed I noticed a ton of voids in the cracks. With some prior knowledge of Bondo I was able to feather out some of the features. Prime, Bondo, Sand, Prime, Bondo, Sand.
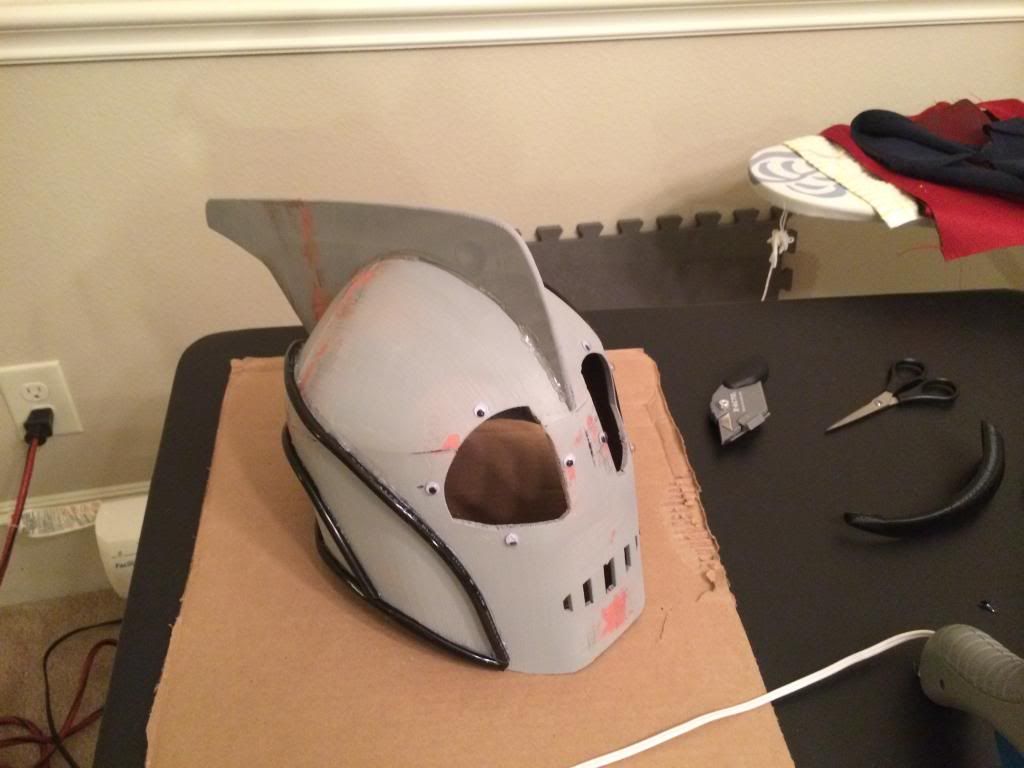
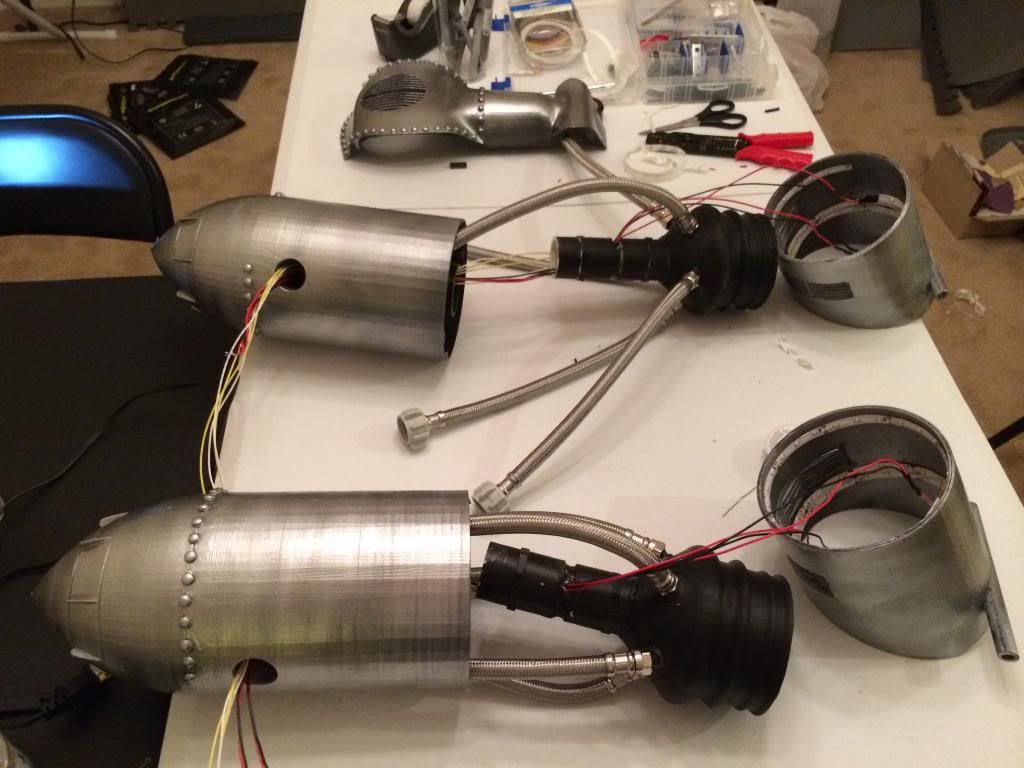
The black tubing is just vinyl tubing found at Lowes and would provide the accents I needed.
I was running out of time so i had to get started on the rocketpack . . .
Ran into a huge amount of problems with the nacelles and center fuselage. First it was the rolls of filament kept binding on itself. Hours lost because of it as I had to scrap builds because of it. Orientation of the part being built was an important factor. I must have scrapped at least 20 hours build because of the geometry of the center fuselage. Eventually the printer crapped out when I lost the hot end thermistor. I was unsuccessful in build the bulbs or the top heatsink. Even if I ordered the parts, I had to dismantle the printer assembly to fix . . . good grief the dreaded calibration. With only a week till the party, I had to go with what i have.
Worst possible time to have a plug. . .
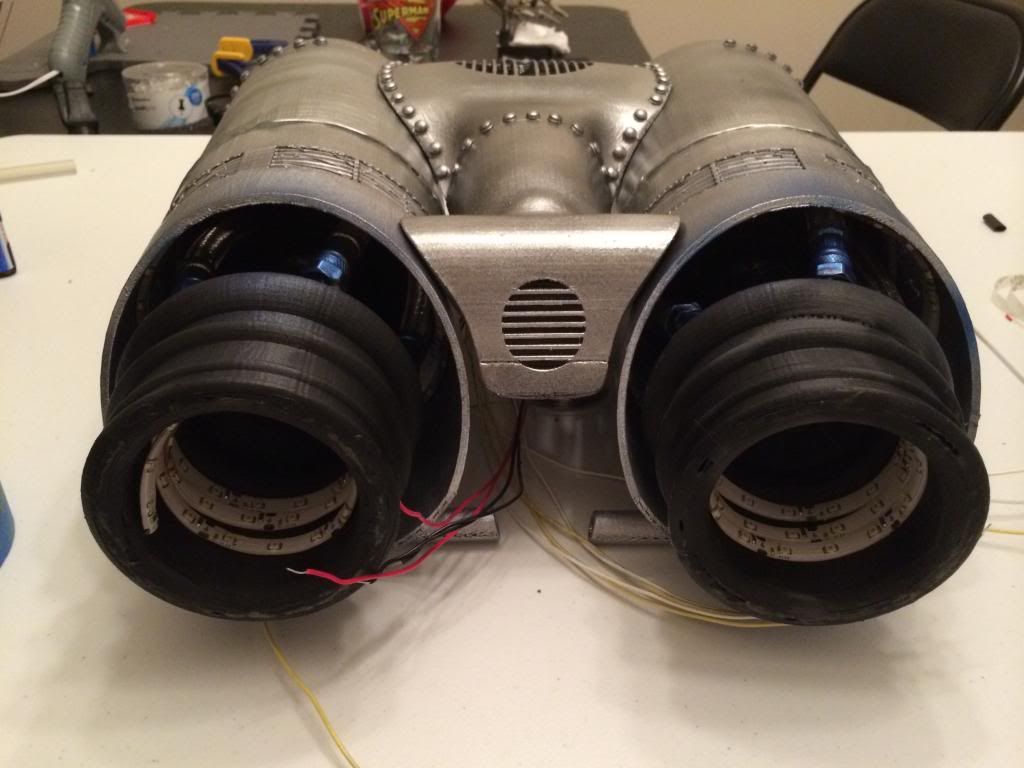
I started wiring and doing final build assembly.

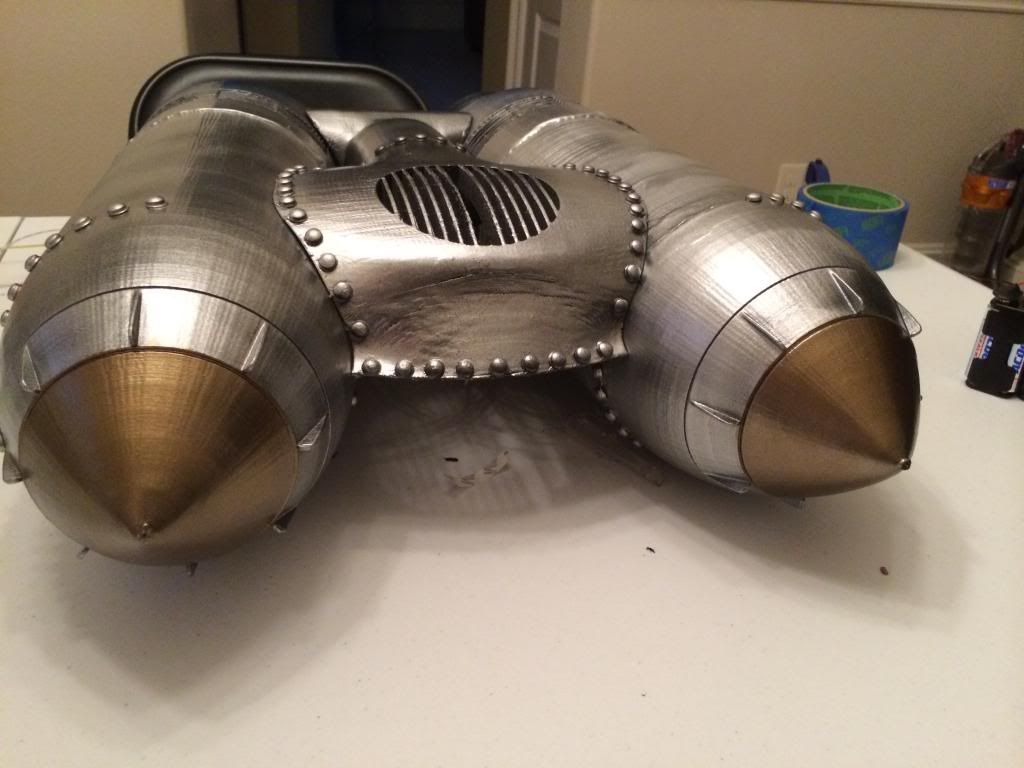
Painted, Primed, Wired, and Assembled
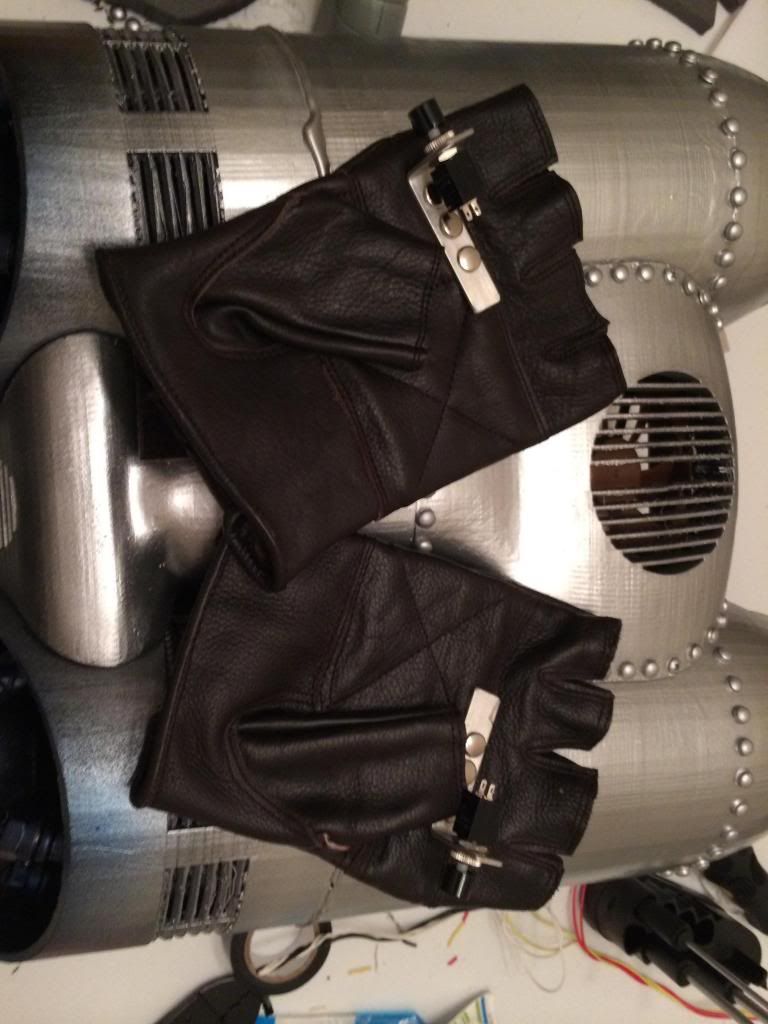
Gloves with switches and bracketed, riveted in.
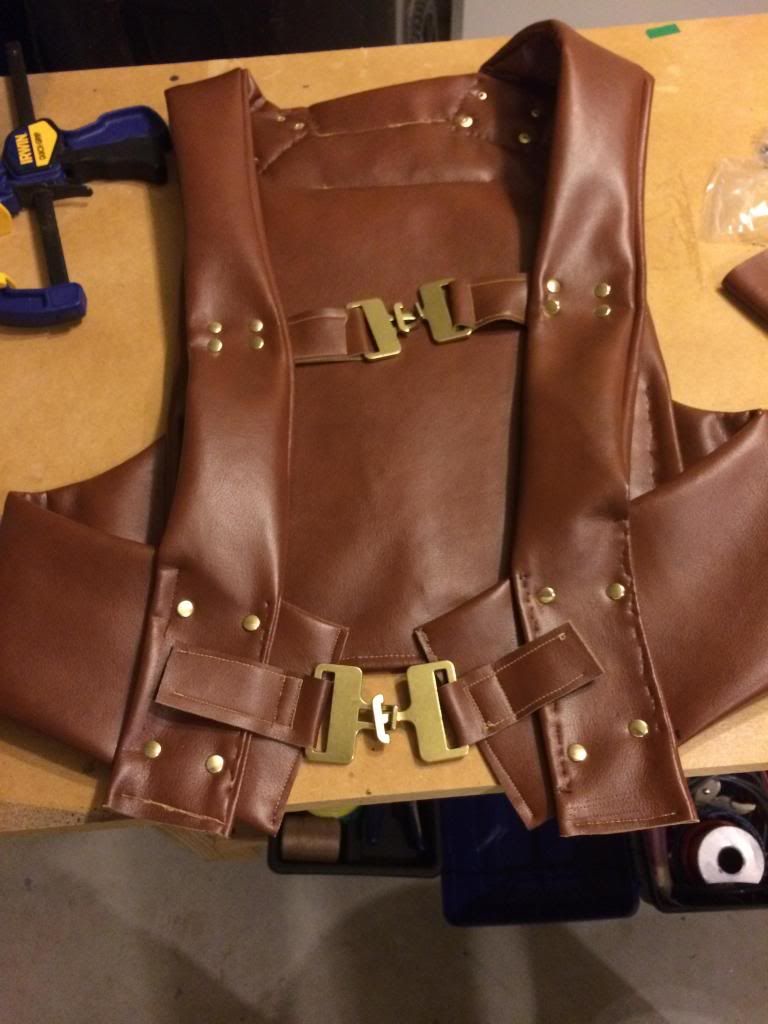
Scratch build harness
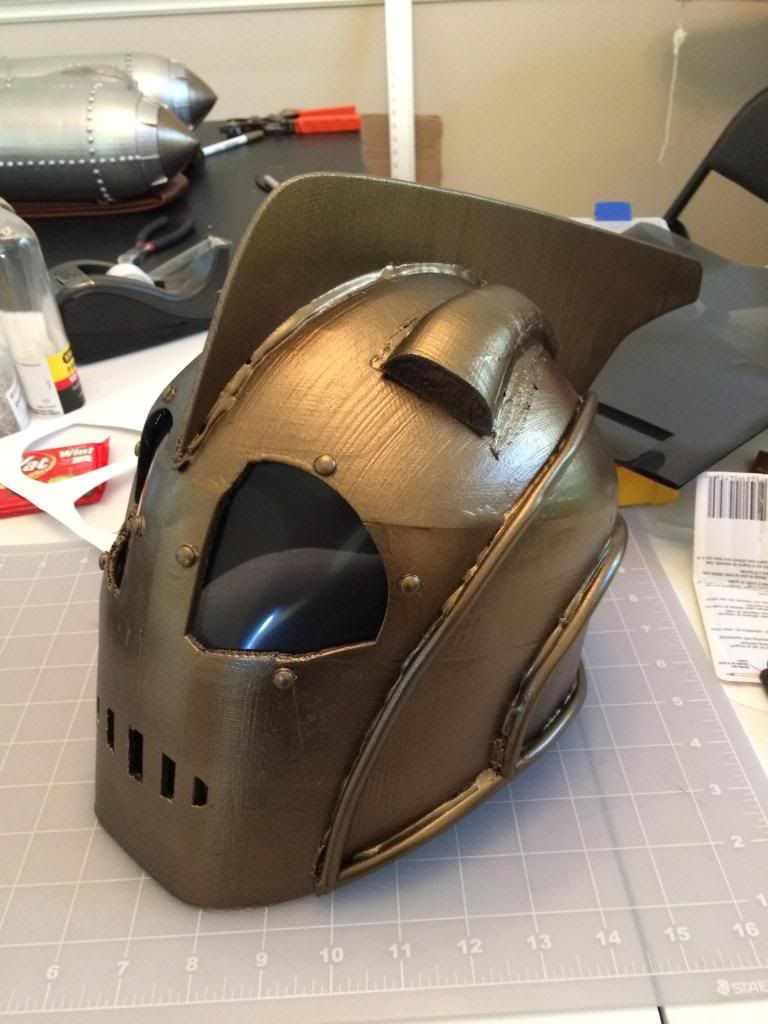
Helmet lens installed, full paint job
Rocketeer Build - YouTube
Finally, I performed a preflight check ... hehehe
Definitely not done with this guy but I got enough to get to the party. Thermistors are coming in and I'm hoping to print the ailerons, fuel bulbs, and top heatsink by the time Halloween actually hits.
Learned a lot and had a ton of fun. . .
So I've been working on a project for the last 2 months. Most of it was spent modeling. I tend to go a bit overboard when it comes time for Halloween. I've tried a lot of different techniques to build different costumes. I am by no means an expert or a master at this. I am able to tell you that with each costume I learn a lot . . . Bondo, Mechatronics, Servos, Control Boards, Sewing, Working with Foam, Glues/Chemistry, Different Power Systems, and most important . . .patience.
With the newly acquired, quite awesome SeeMeCNC's Rostock Max . . . I wanted to see if I could build a costume/prop using 3D printing. Why not . . . how hard could it be? I was wrong. So with only 2 months left till all Hallow's Eve I set to work. As a quick note, most of the build is 3D printed . . . not all of it, but most of it.
Most of the time i spent modeling up the Rocketpack and Helmet. I'm not an expert at Solidworks, but did learn a lot from shaping, 3D curves, lofting, etc.


On to the printing . . . I had to cut the helmet into 4 sections and will glue the pieces on later due to build envelope of the printer. The first problem I ran into was scale. The helmet ended up 2x to big. Kinda made me look like a bobble head. Some of the pieces took between 12-16 hours. So you can imagine my dismay when I printed only to find the wrong size. I rescaled and ended up in the other direction, too small. Again wasted plastic and a lot of time. Finally found a scale that worked.
Once the pieces were printed i had figure out a way to glue. Again, a lesson learned, PLA doesn't like to glue with traditional types of glue like the favorited Superglue. I dug around the internet and almost gave up on the whole project till I found some Acrylic Glue that someone only had some great luck with gluing PLA objects. Turns out he was correct, the stuff works.
The 8 pieces of the helm didn't fit exactly correct. I never did build in registers so fitup was tricky. In the end I used a combination of Acrylic Glue to fit it up Hot Glue. Once primed I noticed a ton of voids in the cracks. With some prior knowledge of Bondo I was able to feather out some of the features. Prime, Bondo, Sand, Prime, Bondo, Sand.

The black tubing is just vinyl tubing found at Lowes and would provide the accents I needed.
I was running out of time so i had to get started on the rocketpack . . .


Ran into a huge amount of problems with the nacelles and center fuselage. First it was the rolls of filament kept binding on itself. Hours lost because of it as I had to scrap builds because of it. Orientation of the part being built was an important factor. I must have scrapped at least 20 hours build because of the geometry of the center fuselage. Eventually the printer crapped out when I lost the hot end thermistor. I was unsuccessful in build the bulbs or the top heatsink. Even if I ordered the parts, I had to dismantle the printer assembly to fix . . . good grief the dreaded calibration. With only a week till the party, I had to go with what i have.

Worst possible time to have a plug. . .
I started wiring and doing final build assembly.


Painted, Primed, Wired, and Assembled

Gloves with switches and bracketed, riveted in.

Scratch build harness

Helmet lens installed, full paint job
Rocketeer Build - YouTube
Finally, I performed a preflight check ... hehehe
Definitely not done with this guy but I got enough to get to the party. Thermistors are coming in and I'm hoping to print the ailerons, fuel bulbs, and top heatsink by the time Halloween actually hits.
Learned a lot and had a ton of fun. . .