I've been out of the loop on this for a while but had to get back on it.
Last I talked, my intent was to extract the Duplicolor paint from the can and spray it via airbrish to determine if the Duplicolor can itself was the problem with the poor spray you get from it.
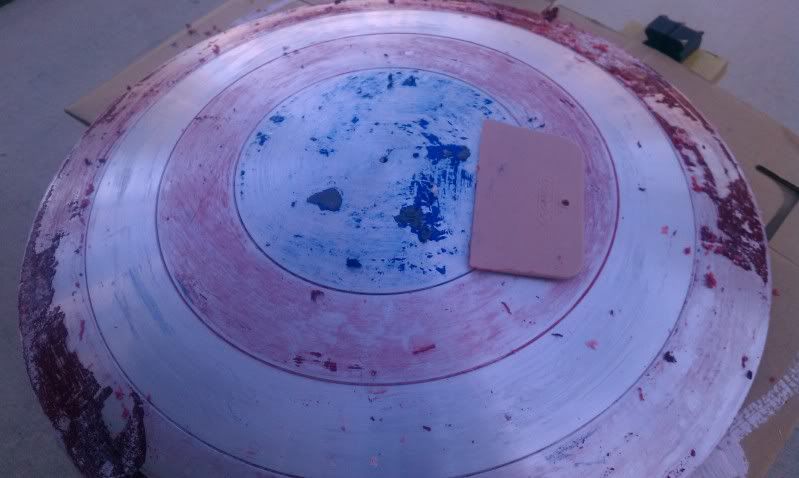
Extracting the paint is easy to do, but you have to give it proper "de-gass" time with frequent stirring before you can use it.
First, I used the paint out of my airbrush on various pressure settings and was dissapointed to see that I still got the same spattering and inconsistant coverage with opaque blotches just like it gives you out of the can.
Of course I was discouraged but at least I ruled out a problem with the atomization of the can.
I set the Duplicolor stuff aside and decided to try out the Testors brand "Candy Apple Red" and "Clear Blue" to see how it measures up.
The Testors paint, unlike the Duplicolor, went on evenly without a problem and also did not turn opaque if you went too heavy with it.
The problem with the Testors paint is A) It's enamel - so it takes ten years to dry and B) It still does not have the same authentic looking anodized luster that the Duplicolor paint has (if you can get it to work right that is!)
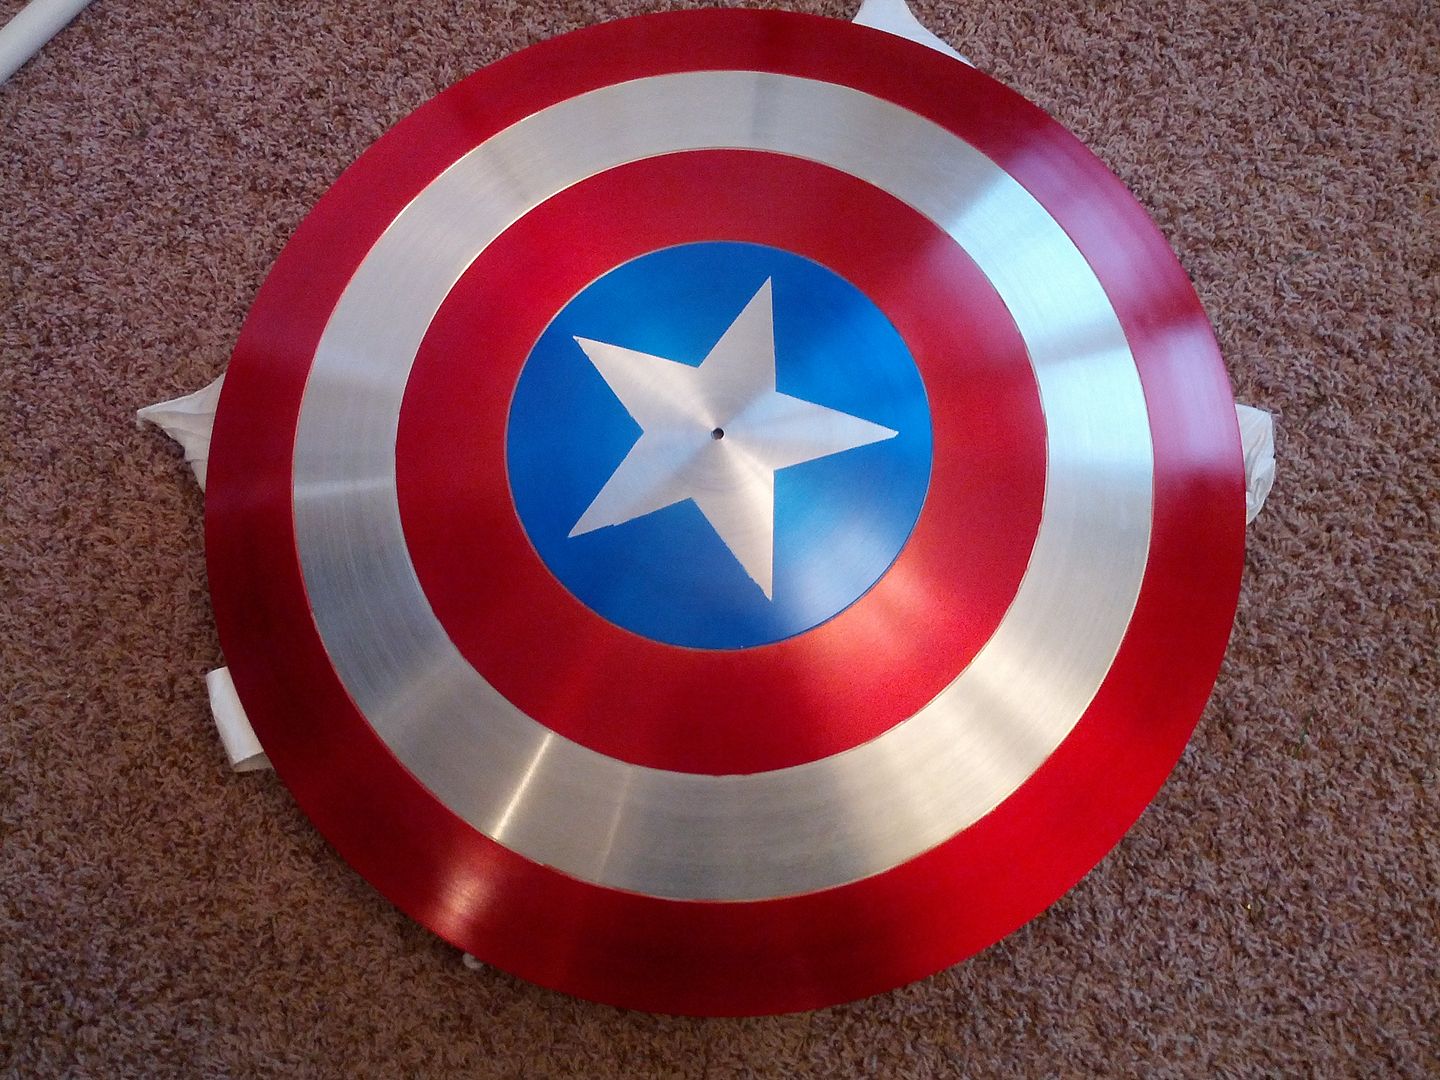
Here is a test I did with the Testors paint. It turned out OK, but I was still obsessed with getting the Duplicolor paint to work since I feel it had a more authentic anodized finish:
You can still see the brushed metal grain benieth the paint, which is what you want, but the Testors paint really didn't give you that shine streak I wanted - it slightly dulled the metallic finish benieth, despite going on even and smooth.
I still could not get out of my head how much I wanted the Duplicolor paint to work. It plagued my thoughts.
While I was in the bathroom doing my business (of all places) I had a jolt of inspiration hit me and started to go all "Spock" on the matter and get logical:
If the problem with the Duplicolor Paint was NOT the atomization from the can, then perhaps the problem was with the paint itself.
The one an only thing I could do to remedy this, without asking Duplicolor to reformulate their paint, was to add lacquer thinner to the extracted paint.
I thought that perhaps the reason the paint was coming out of the can AND my airbrush uneven and opaque in some areas was perhaps because the paint was not thinned enough.
My hopes were not up a whole lot, so I did not really measure how much thinner I poured into the paint can - I think It was about 30% extra.
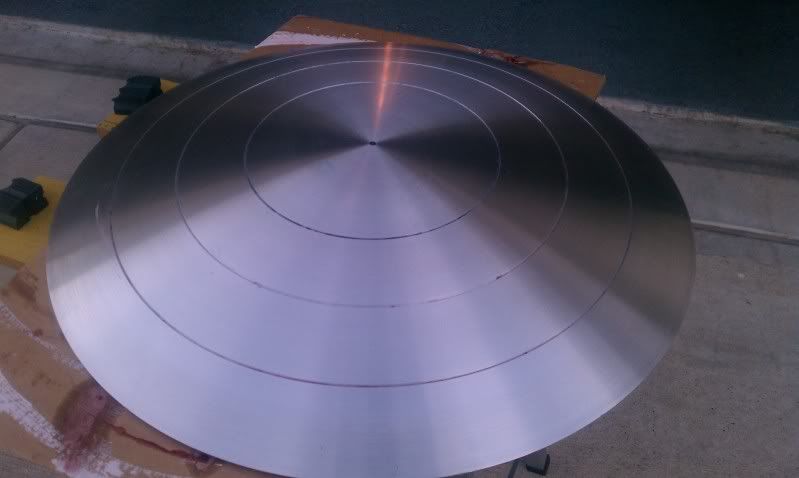
After some mixing, I put the paint in my airbrush and took a piece of scrap alluminum for my test.
The results genuinly surprised me and I got an instant rush of excitement.
Not only did the paint spray on even and smooth with NO spattering, but it actually RETAINED its translucency as I applied more coats.
This is of course contrary to using the paint as-is out of the Duplicolor can - the more coats you put on, the more opaque and darker color the paint gets.
I was delighted to see that the metal grain was still visible benieth the paint and still had a nice luster despite having a few coats put on.
Now I wanted to try this out on the shield itself.
I poured almost all I had left of the newly thinned Duplicolor paint into my full-size spray gun (the airbrush would not cut it for this job).
The shield itself was secured onto a wood block, thanks to the small hole at the center of the shield and then placed on a "lazy susan" so I could spin the shield as I sprayed.
This trick is key.
Spinning the shield as you spray gives you a more even coat and you run less a risk of overspraying some areas.
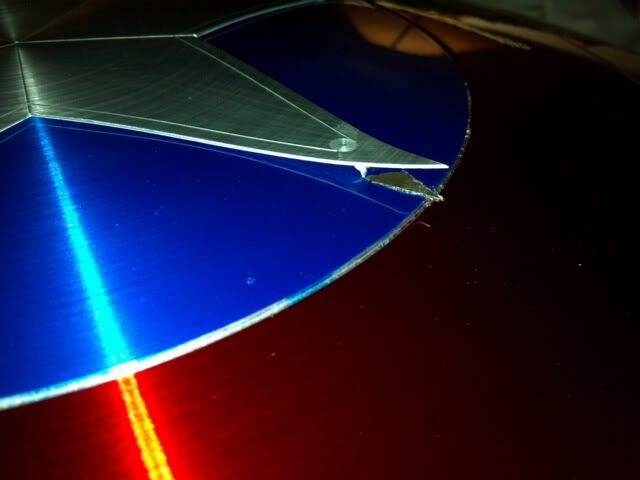
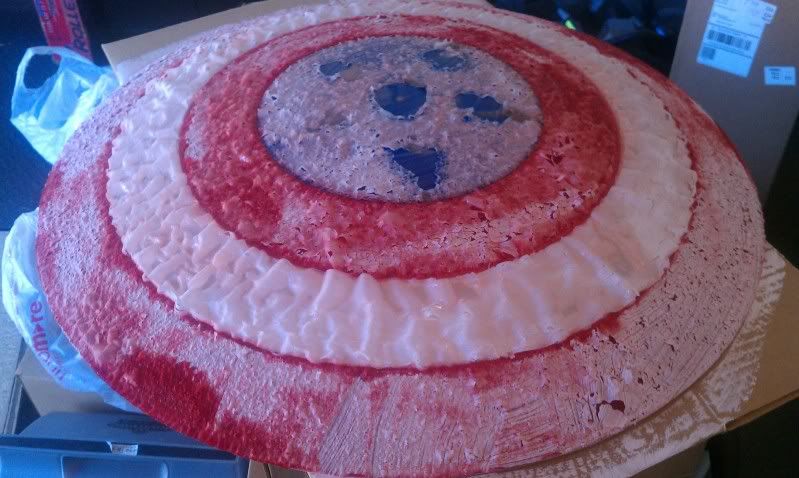
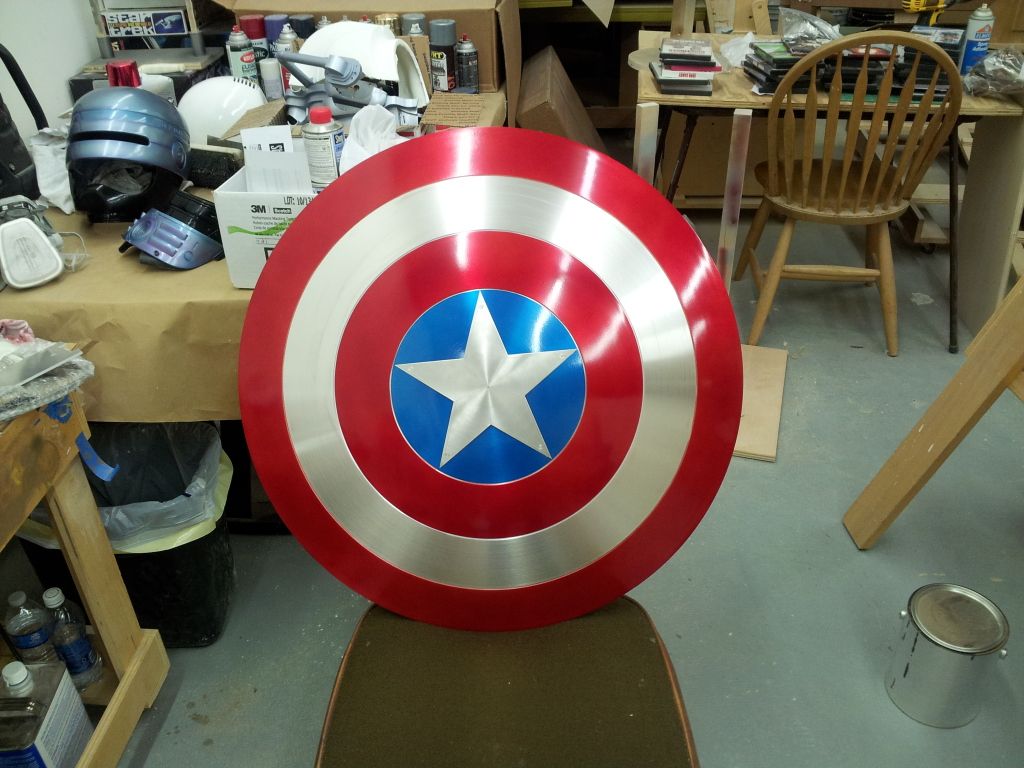
I spun the shield and hit it with an even spray. The paint came out of the gun beautifully and from the moment I saw it hitting the spinning shield I could see it was giving me that look I had been dreaming about.
I wasn't used to the sheer power and spray range of the full size spray gun since I mostly use my small airbrush, so I DID go a little heavy on the outer ring, but like I said, the extra thinned paint seems to stay translucent. The trade off here is that a thinner "mist" coat will have your painted surface actually feeling like the bare metal surface, whereas going to thick will have it feeling like paint.
This is something I will remedy my next attempt.
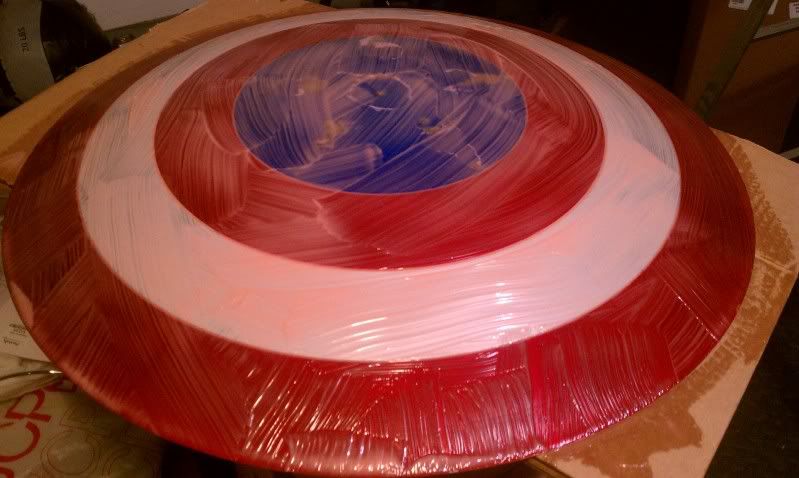
Keep in mind, both shields shown below will be stripped and repainted again using my refined painting process, but this should give you an idea of how well this works.
Again I want to stress that thinning out the Duplicolor paint and spraying it out of a full size spray gun seems to get this paint to do what it's supposed to do.
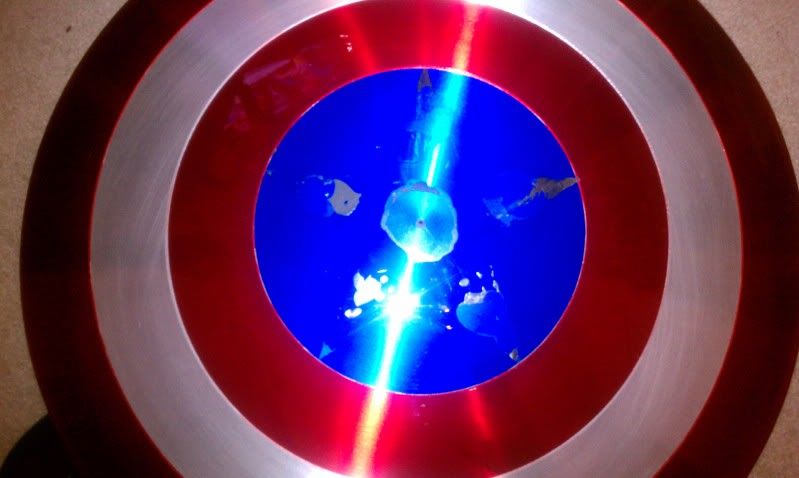
Here is my result.
The Duplicolor on the left and the Testors on the right.
I feel an overwhelming sense of relief I was able to get this to work.