You are using an out of date browser. It may not display this or other websites correctly.
You should upgrade or use an alternative browser.
You should upgrade or use an alternative browser.
Studio Scale (:p) AT-AT
- Thread starter MonsieurTox
- Start date
MonsieurTox
Master Member
Thanks guys nothing "incroyable" or awesome, I think the pics are very forgiving ! ")
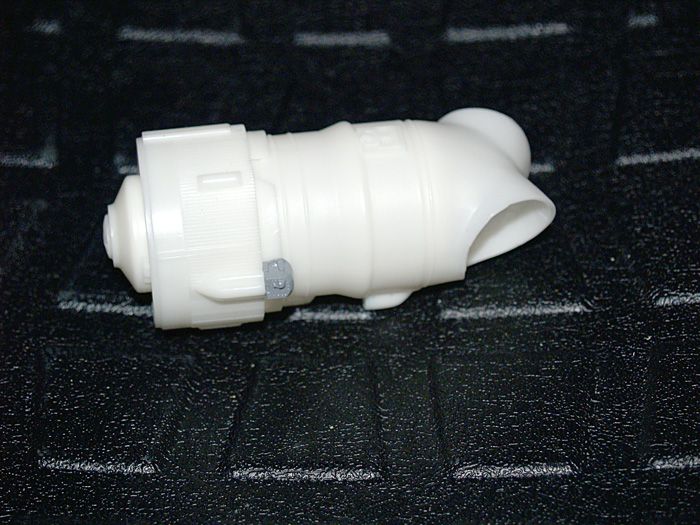
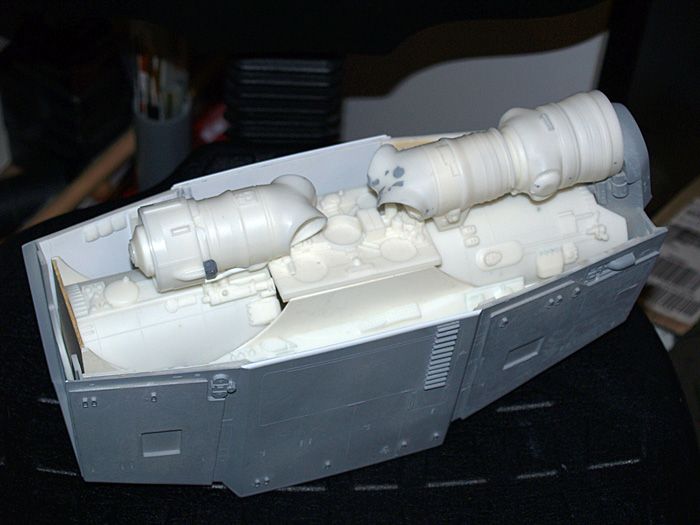
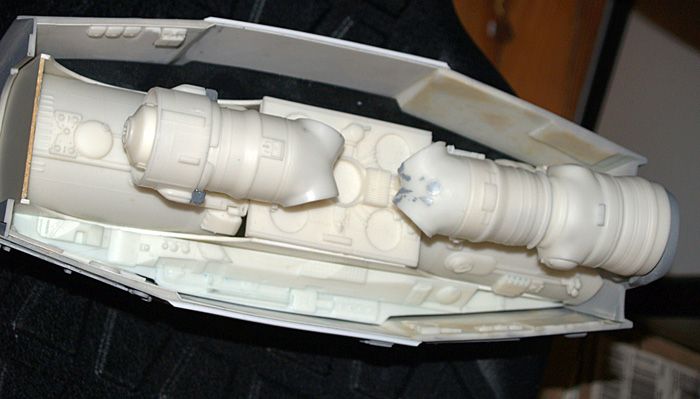
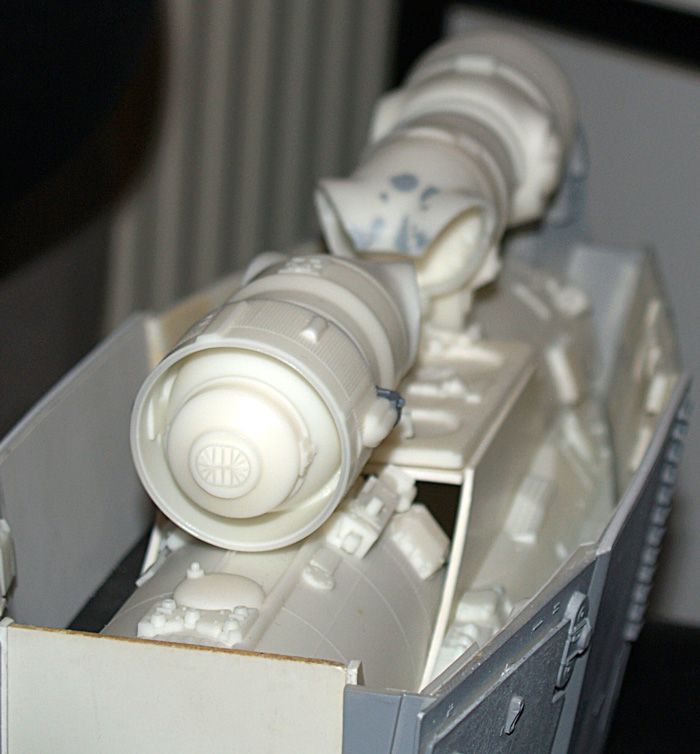
A new part (the last major one)
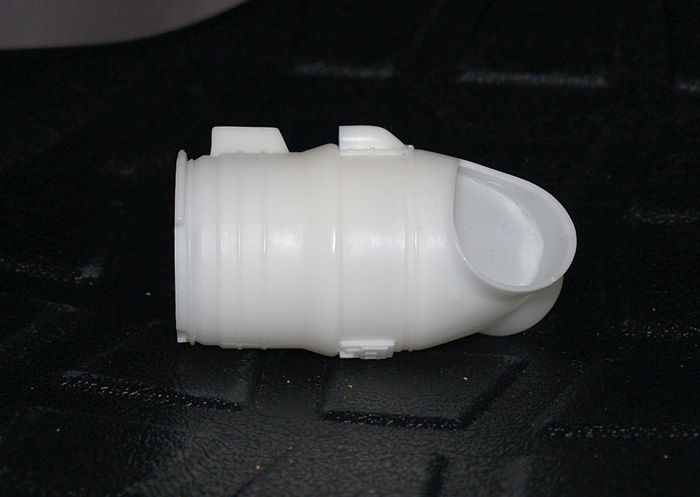
The front harrier is rotocasted too.
The rotocasted parts is just a tad heavier than the original styrene parts.
A new part (the last major one)


The front harrier is rotocasted too.

The rotocasted parts is just a tad heavier than the original styrene parts.


MonsieurTox
Master Member
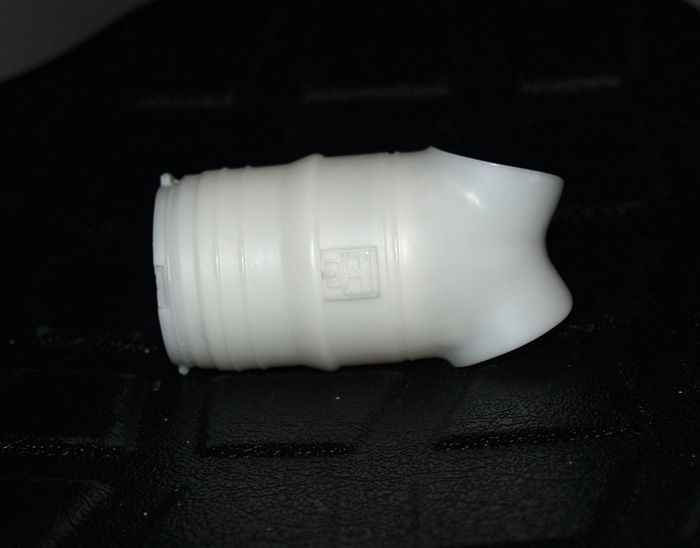
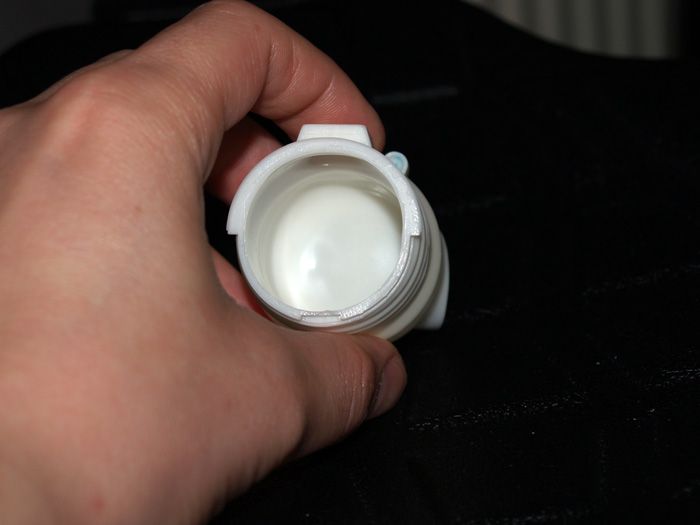
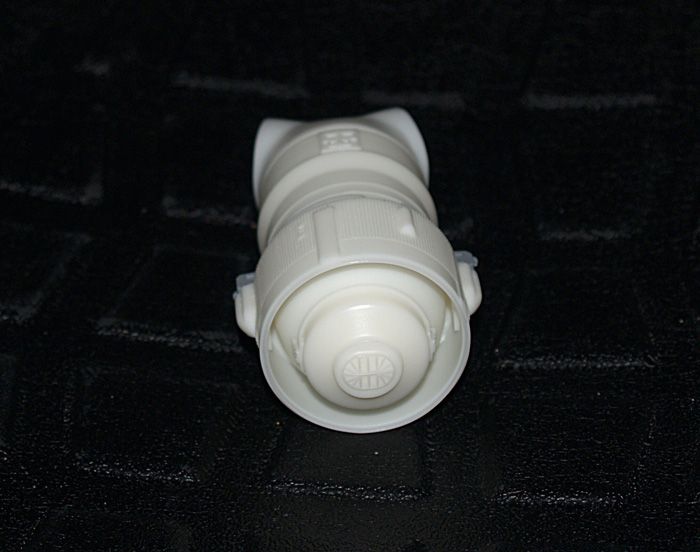
Some pics (sorry for the rough fitting )
)


wizardofthenorth
Well-Known Member
Really looking good, nice to see it coming together.
dragnink
Well-Known Member
Looks gorgeous!
I've been insanely busy lately, but found a little time to redo the body parts.. a lot happier now. The profile is tricky to nail because, like Quincy once said photographing these areas is like crawling under a dog (loved the analogy, and wouldn't want to try). Without a clear ortho of the curve profiles of the body walls it's a lot of guesswork, aided only by putting the measurements and features of a Saturn 5 can in Rhino and seeing how the profile lines up to the features and kit parts on the can.
A couple more tweaks and Julien should have a nice metal armature to fit his part assemblies to, which will be nice. Me having more free time to work on this, instead of keeping our machinist waiting would be even better
The copper-colored part is one of 4 washers that the hip collars will sit on for less friction, also serving to raise the hip shaft collars just high enough past the cast resin belly plate so the hex screws can be adjusted with an allen wrench. The reference seems to indicate when the AT-ATs were first made, the forward neck collar was actually meant to attach to the front of the body armature from the inside, not the outside as seen in Duncanator's pics when he and Martin replaced the neck (I'm sure it was already mounted the incorrect way when they took the neck off). Mounting the neck armature like that extends the overall length and creates gaps between the body and ribbed neck, as well as the neck and head.
Always feel like I post the boring updates..
Last edited:
MonsieurTox
Master Member
Thanks guys !
Matt, you and Felix will have the most exciting updates now ! Your 3D parts are spot-on, cant wait to see them turning into alloy
Thank you so much for all the hard work you've done so far to recreate the most accurate AT-AT ever done, you've captured every detail, it's incredible.
Matt has spent hundred (thousand ?) of hours working on each separate part, and there are quite a few, guys, you'll be impressed once you see the result and Felix's impressive machining skills will turn this armature into gold !
Looks gorgeous!
I've been insanely busy lately, but found a little time to redo the body parts.. a lot happier now. The profile is tricky to nail because, like Quincy once said photographing these areas is like crawling under a dog (loved the analogy, and wouldn't want to try). Without a clear ortho of the curve profiles of the body walls it's a lot of guesswork, aided only by putting the measurements and features of a Saturn 5 can in Rhino and seeing how the profile lines up to the features and kit parts on the can.
A couple more tweaks and Julien should have a nice metal armature to fit his part assemblies to, which will be nice. Me having more free time to work on this, instead of keeping our machinist waiting would be even better
The copper-colored part is one of 4 washers that the hip collars will sit on for less friction, also serving to raise the hip shaft collars just high enough past the cast resin belly plate so the hex screws can be adjusted with an allen wrench. The reference seems to indicate when the AT-ATs were first made, the forward neck collar was actually meant to attach to the front of the body armature from the inside, not the outside as seen in Duncanator's pics when he and Martin replaced the neck (I'm sure it was already mounted the incorrect way when they took the neck off). Mounting the neck armature like that extends the overall length and creates gaps between the body and ribbed neck, as well as the neck and head.
Always feel like I post the boring updates..
View attachment 339999
The most interesting of the AT-AT to me,the armature! I believe the effort of you guys have putting on this will turns out the most accurate AT-AT replica.
Seriously no doubt of you and Julien's works on the walkers,awesome:thumbsup
Don
VFX Freak
Sr Member
The stunning work from both of you continues! As a reward, in case any of you haven't already seen this, I give you:
It's the entire roll of Super-8 time-lapse footage of Phil Tippett, Jon Berg and Doug Beswick animating the Walkers! Posted by Joe Johnston.
It's the entire roll of Super-8 time-lapse footage of Phil Tippett, Jon Berg and Doug Beswick animating the Walkers! Posted by Joe Johnston.
Last edited by a moderator:
MonsieurTox
Master Member
Thanks guys !
Yeah the ID job was not that easy and we're happy to get most of the parts !
Yeah I saw that thanks David ! That's very inspiring !
Yeah the ID job was not that easy and we're happy to get most of the parts !
The stunning work from both of you continues! As a reward, in case any of you haven't already seen this, I give you:
https://www.youtube.com/watch?v=x7AuihUEssY
It's the entire roll of Super-8 time-lapse footage of Phil Tippett, Jon Berg and Doug Beswick animating the Walkers! Posted by Joe Johnston.
Yeah I saw that thanks David ! That's very inspiring !
MonsieurTox
Master Member
Ive been to the exhibit again (for the third time ). I had to have a pic of my ATAT head with the original !
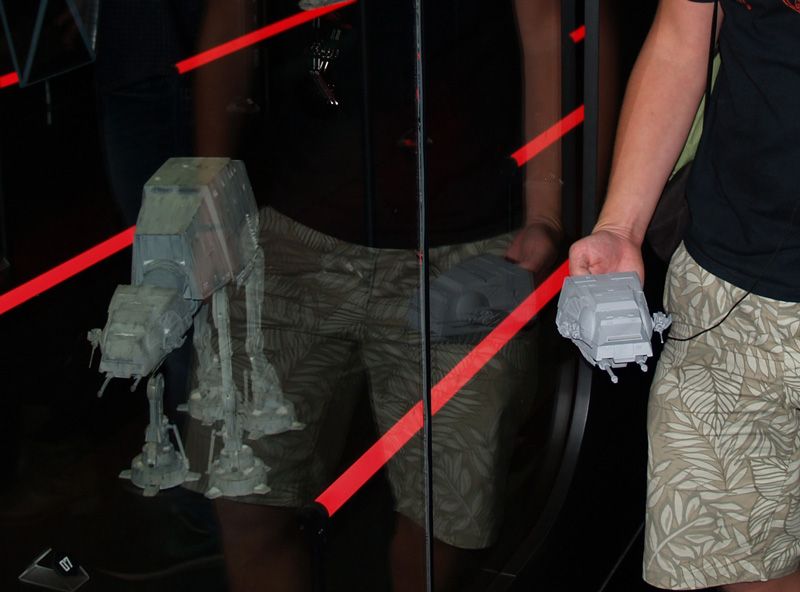
). I had to have a pic of my ATAT head with the original !
Similar threads
- Replies
- 4
- Views
- 658