You are using an out of date browser. It may not display this or other websites correctly.
You should upgrade or use an alternative browser.
You should upgrade or use an alternative browser.
Star Wars movie set den build
- Thread starter Amazing DJ
- Start date
Amazing DJ
Well-Known Member
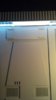
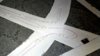
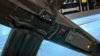
More construction progress on my Star Wars room. Well, I've got 3 of the dark gray "hider" panels installed over the light gutter. Here are a couple pics. There is only one foot of lens cut so far.
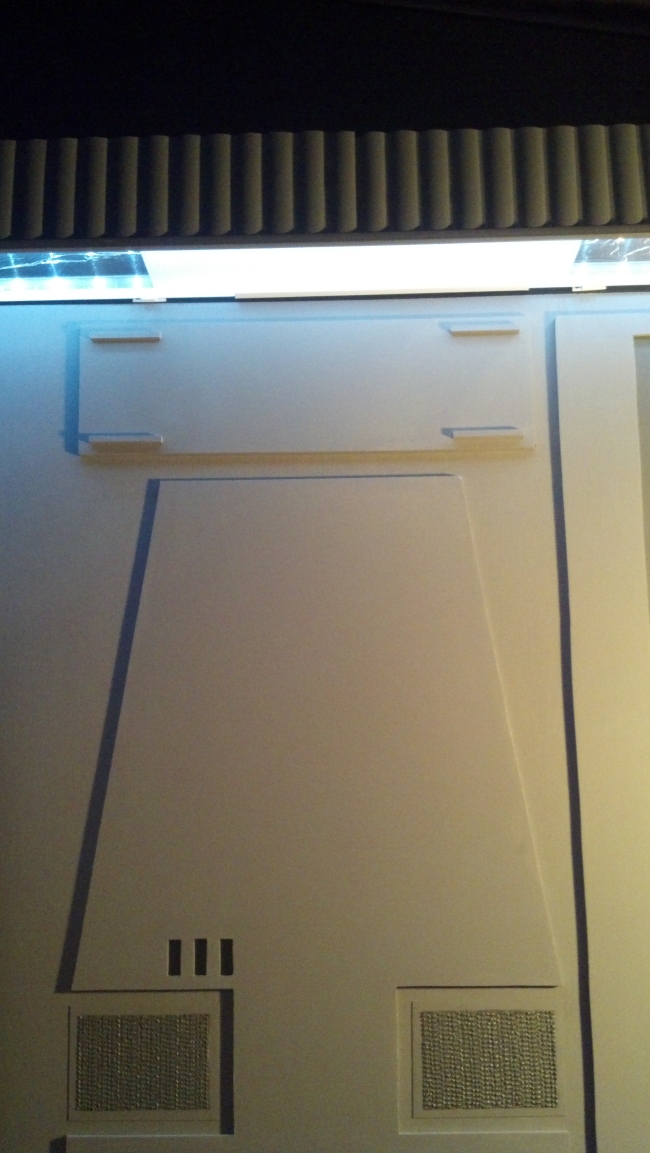
And a look down the side of it. I like how it's looking less like a PVC gutter!

Next, I'll fit on many more feet of channel, lenses and hider panels around 3 sides of the room.
And a look down the side of it. I like how it's looking less like a PVC gutter!
Next, I'll fit on many more feet of channel, lenses and hider panels around 3 sides of the room.
Attachments
tokyospark
New Member
I really like the fact that you aren't duplicating any particular room, but just basically inventing your own based on the themes and details of the series that you find interesting. A truly original and personal creation. I'm also inspired by your use of just about anything to create the effects you want, which is very much in the true prop-builder spirit. No time, no budget, and with just copious imagination to fill in the gaps. Can't wait to see it finished.
Amazing DJ
Well-Known Member
I had 3 hours to work on the project today. I decided I liked the lights on Millennium Falcon window shades, so I'm finalizing that setup.
* adding a 2nd rope light for more light output
* mounting the rope with some wire tie holders
* I don't like how sunlight leaks around the sides of the window shades, so started making some extra side mouldings
Below is my window frame laying on the floor. This is the backside. Gotta figure out how to lay out those 2 rope lights to efficiently use the light.

Below I'm laying out the exact path the rope light will take, and will duplicate the same pattern on the other half. The rope light would not stay "bent" where I wanted it, so I got a length of wire that was the same length, and laid it out for experimentation.
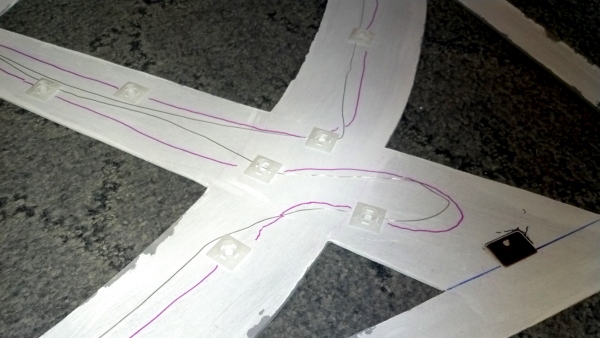
This reminds me of the arcade game "cheat" books where they would show you the "pattern" to beat Pac-Man.
If you've ever used those self-stick wire tie holders before, you know how they don't last long. They usually UN self-stick after the first year. So I scraped off the self-stick double sided foam tape and mixed up a batch of epoxy. Yep, good old J-B Weld will hold those plastic doodads in place forever.
There might be another post this weekend.
* adding a 2nd rope light for more light output
* mounting the rope with some wire tie holders
* I don't like how sunlight leaks around the sides of the window shades, so started making some extra side mouldings
Below is my window frame laying on the floor. This is the backside. Gotta figure out how to lay out those 2 rope lights to efficiently use the light.
Below I'm laying out the exact path the rope light will take, and will duplicate the same pattern on the other half. The rope light would not stay "bent" where I wanted it, so I got a length of wire that was the same length, and laid it out for experimentation.
This reminds me of the arcade game "cheat" books where they would show you the "pattern" to beat Pac-Man.
If you've ever used those self-stick wire tie holders before, you know how they don't last long. They usually UN self-stick after the first year. So I scraped off the self-stick double sided foam tape and mixed up a batch of epoxy. Yep, good old J-B Weld will hold those plastic doodads in place forever.
There might be another post this weekend.
Attachments
Last edited:
Amazing DJ
Well-Known Member
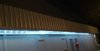
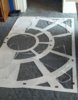
My older Brother came over today and saw the den for the first time. He was shocked, floored. It was so funny to see his reaction to the wacky construction I've been doing. :lol Then he stayed a few hours and helped build out the rest of the white lenses. Here is a video showing what we've got done so far on the gutter lights. I call them "Gutter" because they're made from rope lights inside an inverted PVC gutter.
At the end of the video, you can tell I'm still short one "hider" panel. Working on making one of those tonight. There's always something else to work on!
At the end of the video, you can tell I'm still short one "hider" panel. Working on making one of those tonight. There's always something else to work on!
Last edited by a moderator:
Amazing DJ
Well-Known Member
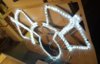
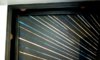
More work has been done on the Millennium Falcon cockpit window frame. I'm playing with a 32-foot LED rope light.
Adding lights to the backside. Light test, rear.
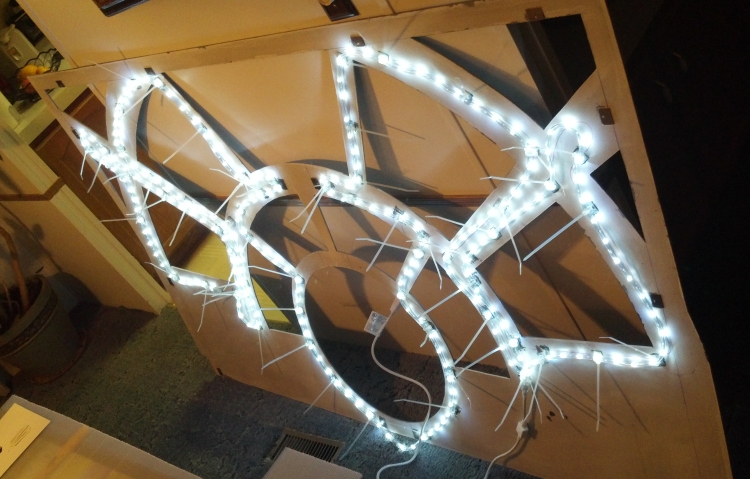
Light test, seen from the front.

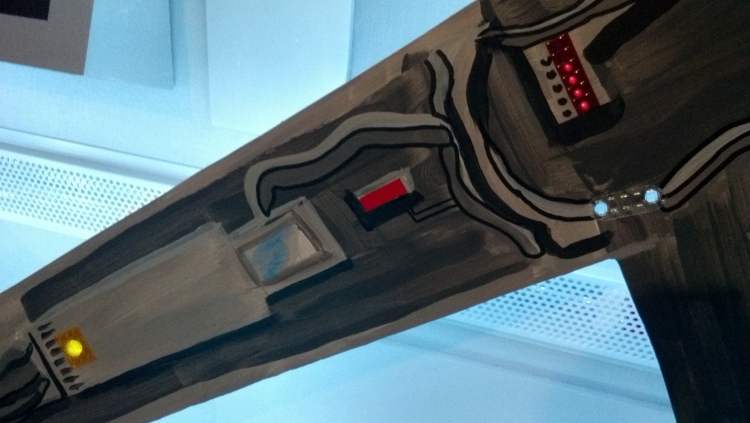
I found a tail light repair kit. It has colors red, yellow, white. Those are perfect for simulating lights. The sheets of thin plastic are self-adhesive with a peel backing. I drilled some holes in my painted artwork. The light comes through the hole. I stick a scrap of plastic lens over the hole - voila! We have a light. I made a few round lenses by using a hole punch. The others I cut with scissors. Quick, easy.
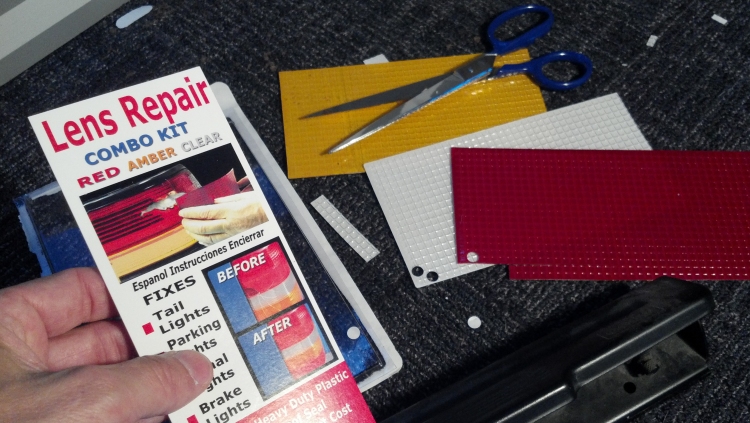
Lights left - glowing red, white, and yellow. This effect turned out better than expected.

Lights right - glowing yellow, white, and red.
This project is coming along great. It feels good not having to worry about getting everything 100% screen accurate. Creativity rules. That's it for tonight, my Corona Extra is kicking in. Getting Zzzz sleepy.
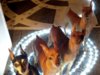
Here is a bonus photo of my helpers. These are curious Miniature Pinschers. Tonight they were the clowns of the toy breed.
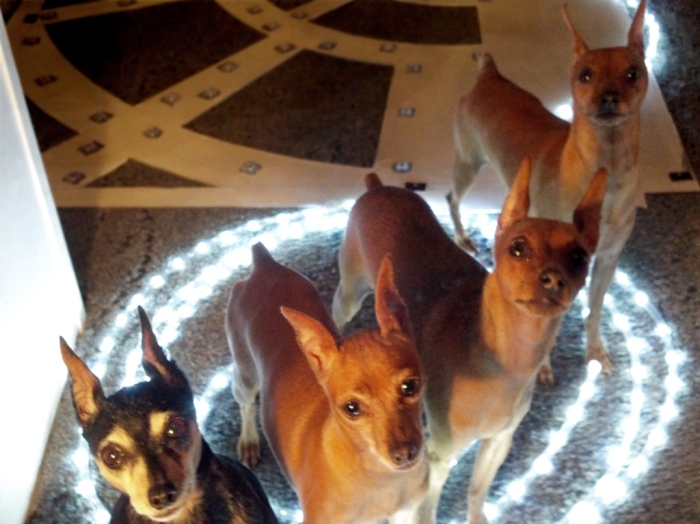
What ya doin, mister?
Adding lights to the backside. Light test, rear.
Light test, seen from the front.
I found a tail light repair kit. It has colors red, yellow, white. Those are perfect for simulating lights. The sheets of thin plastic are self-adhesive with a peel backing. I drilled some holes in my painted artwork. The light comes through the hole. I stick a scrap of plastic lens over the hole - voila! We have a light. I made a few round lenses by using a hole punch. The others I cut with scissors. Quick, easy.
Lights left - glowing red, white, and yellow. This effect turned out better than expected.
Lights right - glowing yellow, white, and red.
This project is coming along great. It feels good not having to worry about getting everything 100% screen accurate. Creativity rules. That's it for tonight, my Corona Extra is kicking in. Getting Zzzz sleepy.
Here is a bonus photo of my helpers. These are curious Miniature Pinschers. Tonight they were the clowns of the toy breed.
What ya doin, mister?
Attachments


Last edited:
VERY COOL STUFF! Your helpers look very dedicated and ready for work! Mine just kinda lay there and sniff themselves...
Love the paint work you on the MF window! More More More!
Love the paint work you on the MF window! More More More!
Amazing DJ
Well-Known Member
For a round dimensional look have you thought about those self adhesive clear round 'feet' meant to be placed on the bottom of things like coasters and lamps?
That is a great idea. I could probably find those at Hobby Lobby. That is becoming one of my favorite stores.
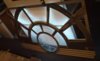
Tonight I am framing the roller shades that are behind the Millennium Falcon window frame. I don't know if anyone ever frames shades to keep outside light from leaking in from the sides. But here is the top and sides of one I framed tonight with wood "L" pieces. Now ya can't see the roller at the top either.
Much better.
Attachments
Amazing DJ
Well-Known Member

That is beyond brilliant. Luv it.

Koipond
Active Member
That is a great idea. I could probably find those at Hobby Lobby. That is becoming one of my favorite stores.
While you are there, you might want to also pick up some stained glass paint. You can then tint any of your see through, lighted components any color you want, even adding colored translucent stripes if so desired.
Heroes Armory
New Member
I just had to say that I've been watching this build and it makes me smile each time you post more progress. Looks great! (and that "window" view, wow, spectacular!)
Demonmaker
New Member
I just had to say that I've been watching this build and it makes me smile each time you post more progress. Looks great! (and that "window" view, wow, spectacular!)
Took the words right outta my mouth.
top-notch
Similar threads
- Replies
- 61
- Views
- 5,161
- Replies
- 4
- Views
- 854
- Replies
- 13
- Views
- 1,993