Crewman 6
New Member
Hello.
Sorry I'm so late to the game but I just found this post and well... Wow!
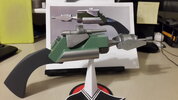
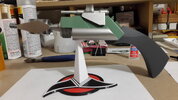
What an AWESOME job!!
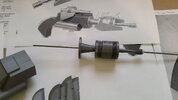
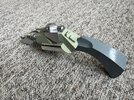
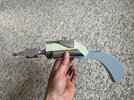
I have downloaded the files and am starting to print [Ender-3] out the parts.
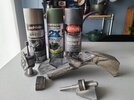
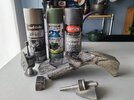
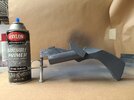
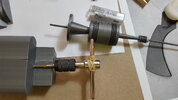
Would you please tell me how you got the parts so smooth?
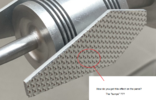
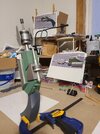
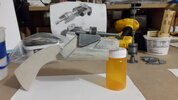
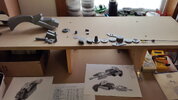
And in image IMG_0725 there is a long screw to hold the parts together, what did you use?
Please, any build tips you would be willing to pass along would be greatly appreciated.
Thank you and "Great work!!"
Sorry I'm so late to the game but I just found this post and well... Wow!
What an AWESOME job!!
I have downloaded the files and am starting to print [Ender-3] out the parts.
Would you please tell me how you got the parts so smooth?
And in image IMG_0725 there is a long screw to hold the parts together, what did you use?
Please, any build tips you would be willing to pass along would be greatly appreciated.
Thank you and "Great work!!"
")