Star Trek "Jellyfish" scratch

frostrubin

Sr Member
My first scratch after 2 years break and first post here:
The Jellyfish, my favourite ship design of the new Star Trek.
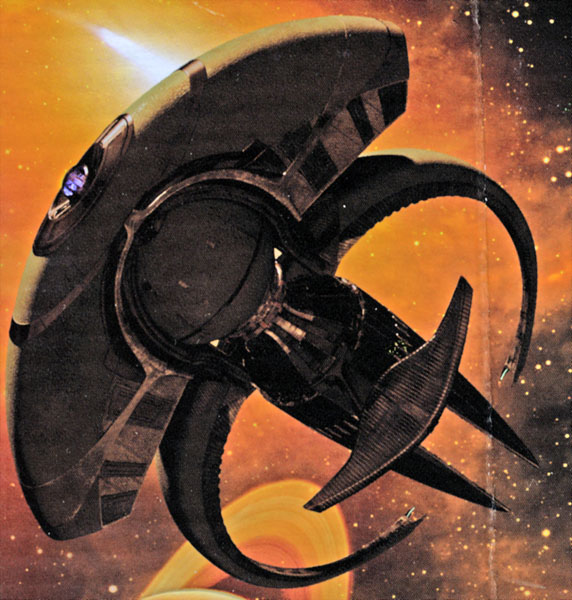
verpackung1.jpg


I try to build it with light and moving parts.

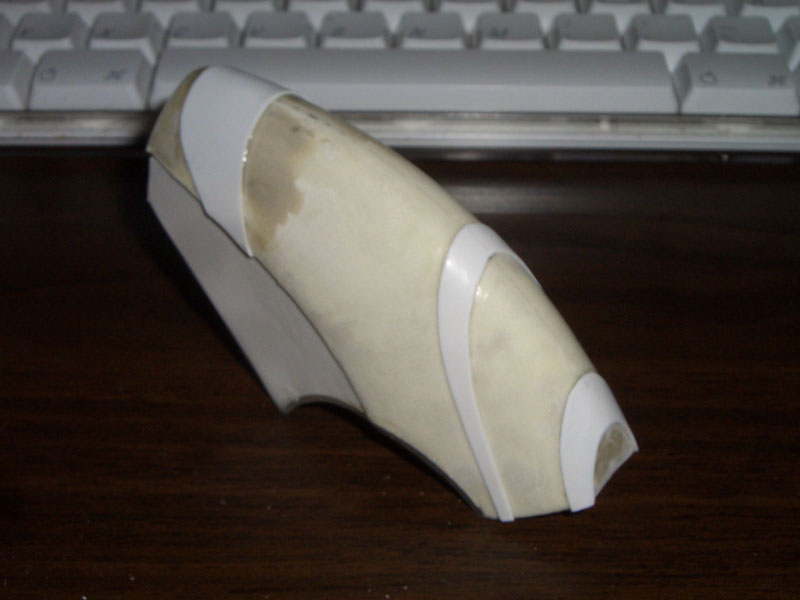
Here some progress pix:

Head:
m5.jpg

m6.jpg


Bow:
s1.jpg

s2.jpg

s4.jpg

s10.jpg


Middle part of rotating section:
r3.jpg


r6.jpg


Blade:
without plating
b5.jpg

b4.jpg


plating done
b7.jpg

b8.jpg
 
Lovely work.
I too would like a few more details on the build.

You can't beat those old wooden clothes pegs. :)
 
Thank you.

How did you do the plating?
Plating done with Evergreen Ø 1 mm halfround profiles.

I too would like a few more details on the build.
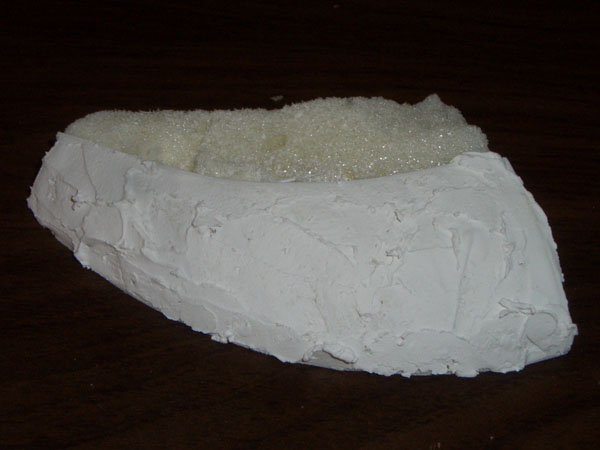
The basic structure is build up with PS sheets. The "head" and "bow" filled up with selfexpanding PU-foam. And filled the pores with putty.
m0.jpg


To give the surface more strength I used one layer with resin soaked glassfibre cloth. Clean up with putty and a lot of sanding, sanding, sanding...
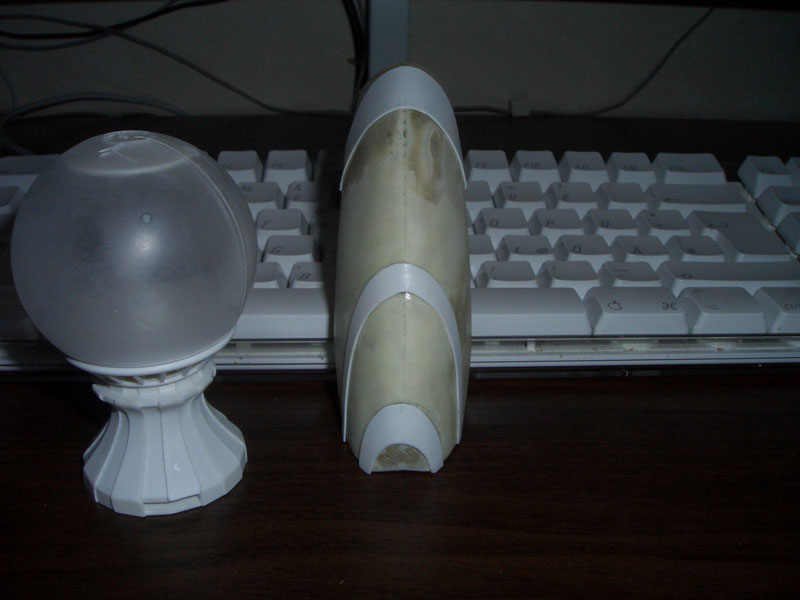
The round cut-out is made with PS sphere:

m1.jpg

m2.jpg


In case of the symmetry of the ship I planed to do only one half and cast the other half to complete it.

At the moment I´m doing the forked tail. Once again a lot of sanding:rolleyes
g1.jpg

g2.jpg


And I search for a posibillity to replicate that organic surface of the ship:
0110201010.jpg
 
Man from Naboo you beat me to it. I worked in a paint store for a while and there are all kinds of stuff to get this effect,both brush and spray. I was going to say getting that color may be difficult but you just need the effect really and then can paint it what ever color. Also maybe sculpy and "stamp" the pattern in would also work yeah? Quite an ambitious ship to scratch by the way.
 
What about some craquelure paint and then a few layers of clear coat ?

http://www.sumbel.com/produkte/0322499aa40964a04/index.html

Cool thats a german company, I try to get a sample...


I worked in a paint store for a while and there are all kinds of stuff to get this effect,both brush and spray. I was going to say getting that color may be difficult but you just need the effect really and then can paint it what ever color. Also maybe sculpy and "stamp" the pattern in would also work yeah? Quite an ambitious ship to scratch by the way.

The colour is not the problem, it´s the surface that I want to get. So if you know some product that do so - your welcome. Stamping is to mechanical in an unorganic sense...but this is something I can cast...
 
You can also use leather skin from a snake or reptile from a leather shop. I did that when i made a custom predator combi spear.
 
I would think that animal scales although organic may be a bit uniform.The paint method I think could be workable,but scale could be an issue as you only have so much control over the cracking process. When I thought of the "stamp" idea, I was thinking you would be making a few patterns and would create it as uniformly or "organically" to your liking.Good luck on what is already agreat build.
 
I LOVE THIS SHIP! Great Build!!!

Re: organic looking skin - The texture looks Exactly like a dry-lake bed. Look to model Railroading supplies, where I recall a Co. that sold a latex rubber-mat that replicated this same effect on wet plaster.
The same method was used at Stan Winston's Studios to replicate dino-skin for the Jurassic Park franchise. Why sculpt when you can


Oh & there's also Wrapping paper (check scap-booking supplies) that has this same pattern embossed on it. (just make a mold of it & use it the same way they did at SWS)
I found a great paper that had a fantastic cobble-stone look which I use in a Gotham City diorama.
 
Lot of good stuff in this thread, nice shapes you have to create and conquer
you doing an excellent job!:thumbsup
 
I was wondering when some talented builder was going to attempt this ship - it's an amazing design. Nice work thus far, I look forward to watching the progress.

-Speederbiker
 
Thanks.
A small update.
Added some details on the "head". Once again I use PS-sheet for that.

m9.jpg

m10.jpg

m11.jpg

m12.jpg


The 3rd in the back is unfinshed, in case that prt "hover" over the hull. I complete it when the head is casted.

I plated the forked back, I try to get this result.

0110201035.jpg


g3.jpg

g5.jpg


Next I do clean ups and add more details on the inner side of it.
 
Back
Top