Yeah I did see that thread; and for my current applications I believe I can make positive forming work well.
And I said, there is no reason you can't make this work if you are able to identify issues.
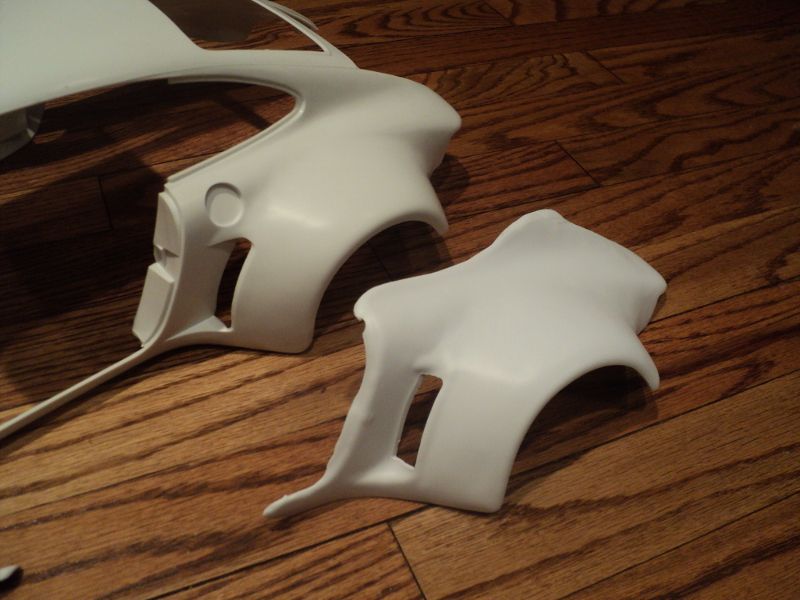
Okay so you're going for more thickness; it's good to know what will be required when progressing to thicker material. Right now I'm working with much thinner plastic, actually around 0.01 to 0.013 depending on availability (it needs to be lightweight).
Yeah I like strength. With materials like ABS, there should be no reason that the part should not be as strong as one made with injection molding. The beauty of vacuum forming is the ability to do a short run relatively inexpensively. I looked into injection molding a few years back. Tooling was hideously expensive (started at $4000 for a basic two part mold) and to get each part down to about $1 each, I would need to produce well over 1000 parts. I just wasn't going to sell them in that kind of volume. I only needed 100 or so and vacuum forming would have been good if the parts had been thicker.
I do have another question, though (if you don't mind). As far as making the buck, I've seen that it's best to use hydrostone for the final mold to vacuum form around. But what silicone would I use to make a mold of the actual shape first? I've seen it around that silicone caulk works well on a small scale. What other cost-effective options are there? I really only need to be able to make two molds from the silicone, so mass production doesn't so much matter.
If you want to use a plaster to make the bucks, you can mold and cast with pretty much anything that releases the original part.
To make tools or molds out of silicone, one needs a high shore silicone. The caulking silicone is just too soft. You will spend more on that stuff just to make one good mold of a part than you would buying a 1KG of a proper molding silicone. Caulking silicones are by nature adhesives, so you need to break them down first. In my tests, I found 10:1 mix of caulking silicone with acetone was a good way to kill off the adhesive, yet leave the silicone in a state that you can still work with - it becomes pour-able or paint-able for about 10 mins.
I use a product called Vario-40 (where 40 is the shore hardness) and it can be used to make molds for female tools and will capture every detail including your finger prints. If I was to make female molds from 100% silicone, I would use more product than I would to make casting molds because I would need thicker walls. Not to say that you could not make a thinner wall mold first and box it in something hard. It can take the heat and being rubber, it makes a perfect seal. I love the Vario-40 because it can be degassed and you change out the hardener to give up to a 6 hour cure time - hence the name Vario. The standard stuff gives a pot-life of 15min and a cure time of 2.5 hours.
There is also a silicone with a shore hardness of A65 which is about the same hardness as a car tyre and it costs about the same as the Vario so I will be looking into that for small female mold tools.
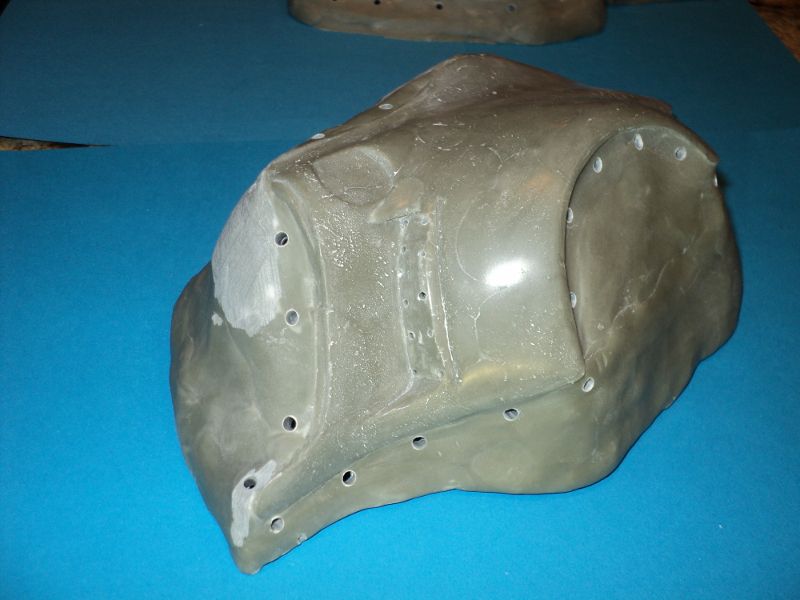
So what is possible here is to make a thin wall mold and let that cure. Add keys with caulking silicone (remember the only stuff that sticks to silicone is silicone). Once that has cured, use a release agent (like good old Vaseline) and box that up and make a shell out plaster like Ultra-cal or even Plaster Of Paris. Assuming the Vaseline prevents the plaster from biting into the silicone, you can remove the soft mold to extract your hard master part. You then have keys to re-align the silicone mold into the hard shell. This is really not that different to making a mother mold with fibre glass which is another material that will work for both male and female tools.
The key point about making a tool for vacuum forming is that you CAN NOT have under cuts. In the case of the female tool, It is possible to make tools that key together for part extraction.
")