Triple 8 Props
Active Member
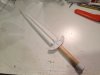
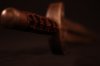
I've decided its about time I build something from Skyrim and its the Steel Dagger!
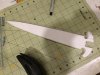
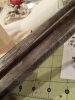
After drawing up some blueprints in Adobe Illustrator to figure out the size and shape, I decided on my materials and got to work. I started by laminating two sheets of quarter inch sintra together so I had a half inch sheet to work with.
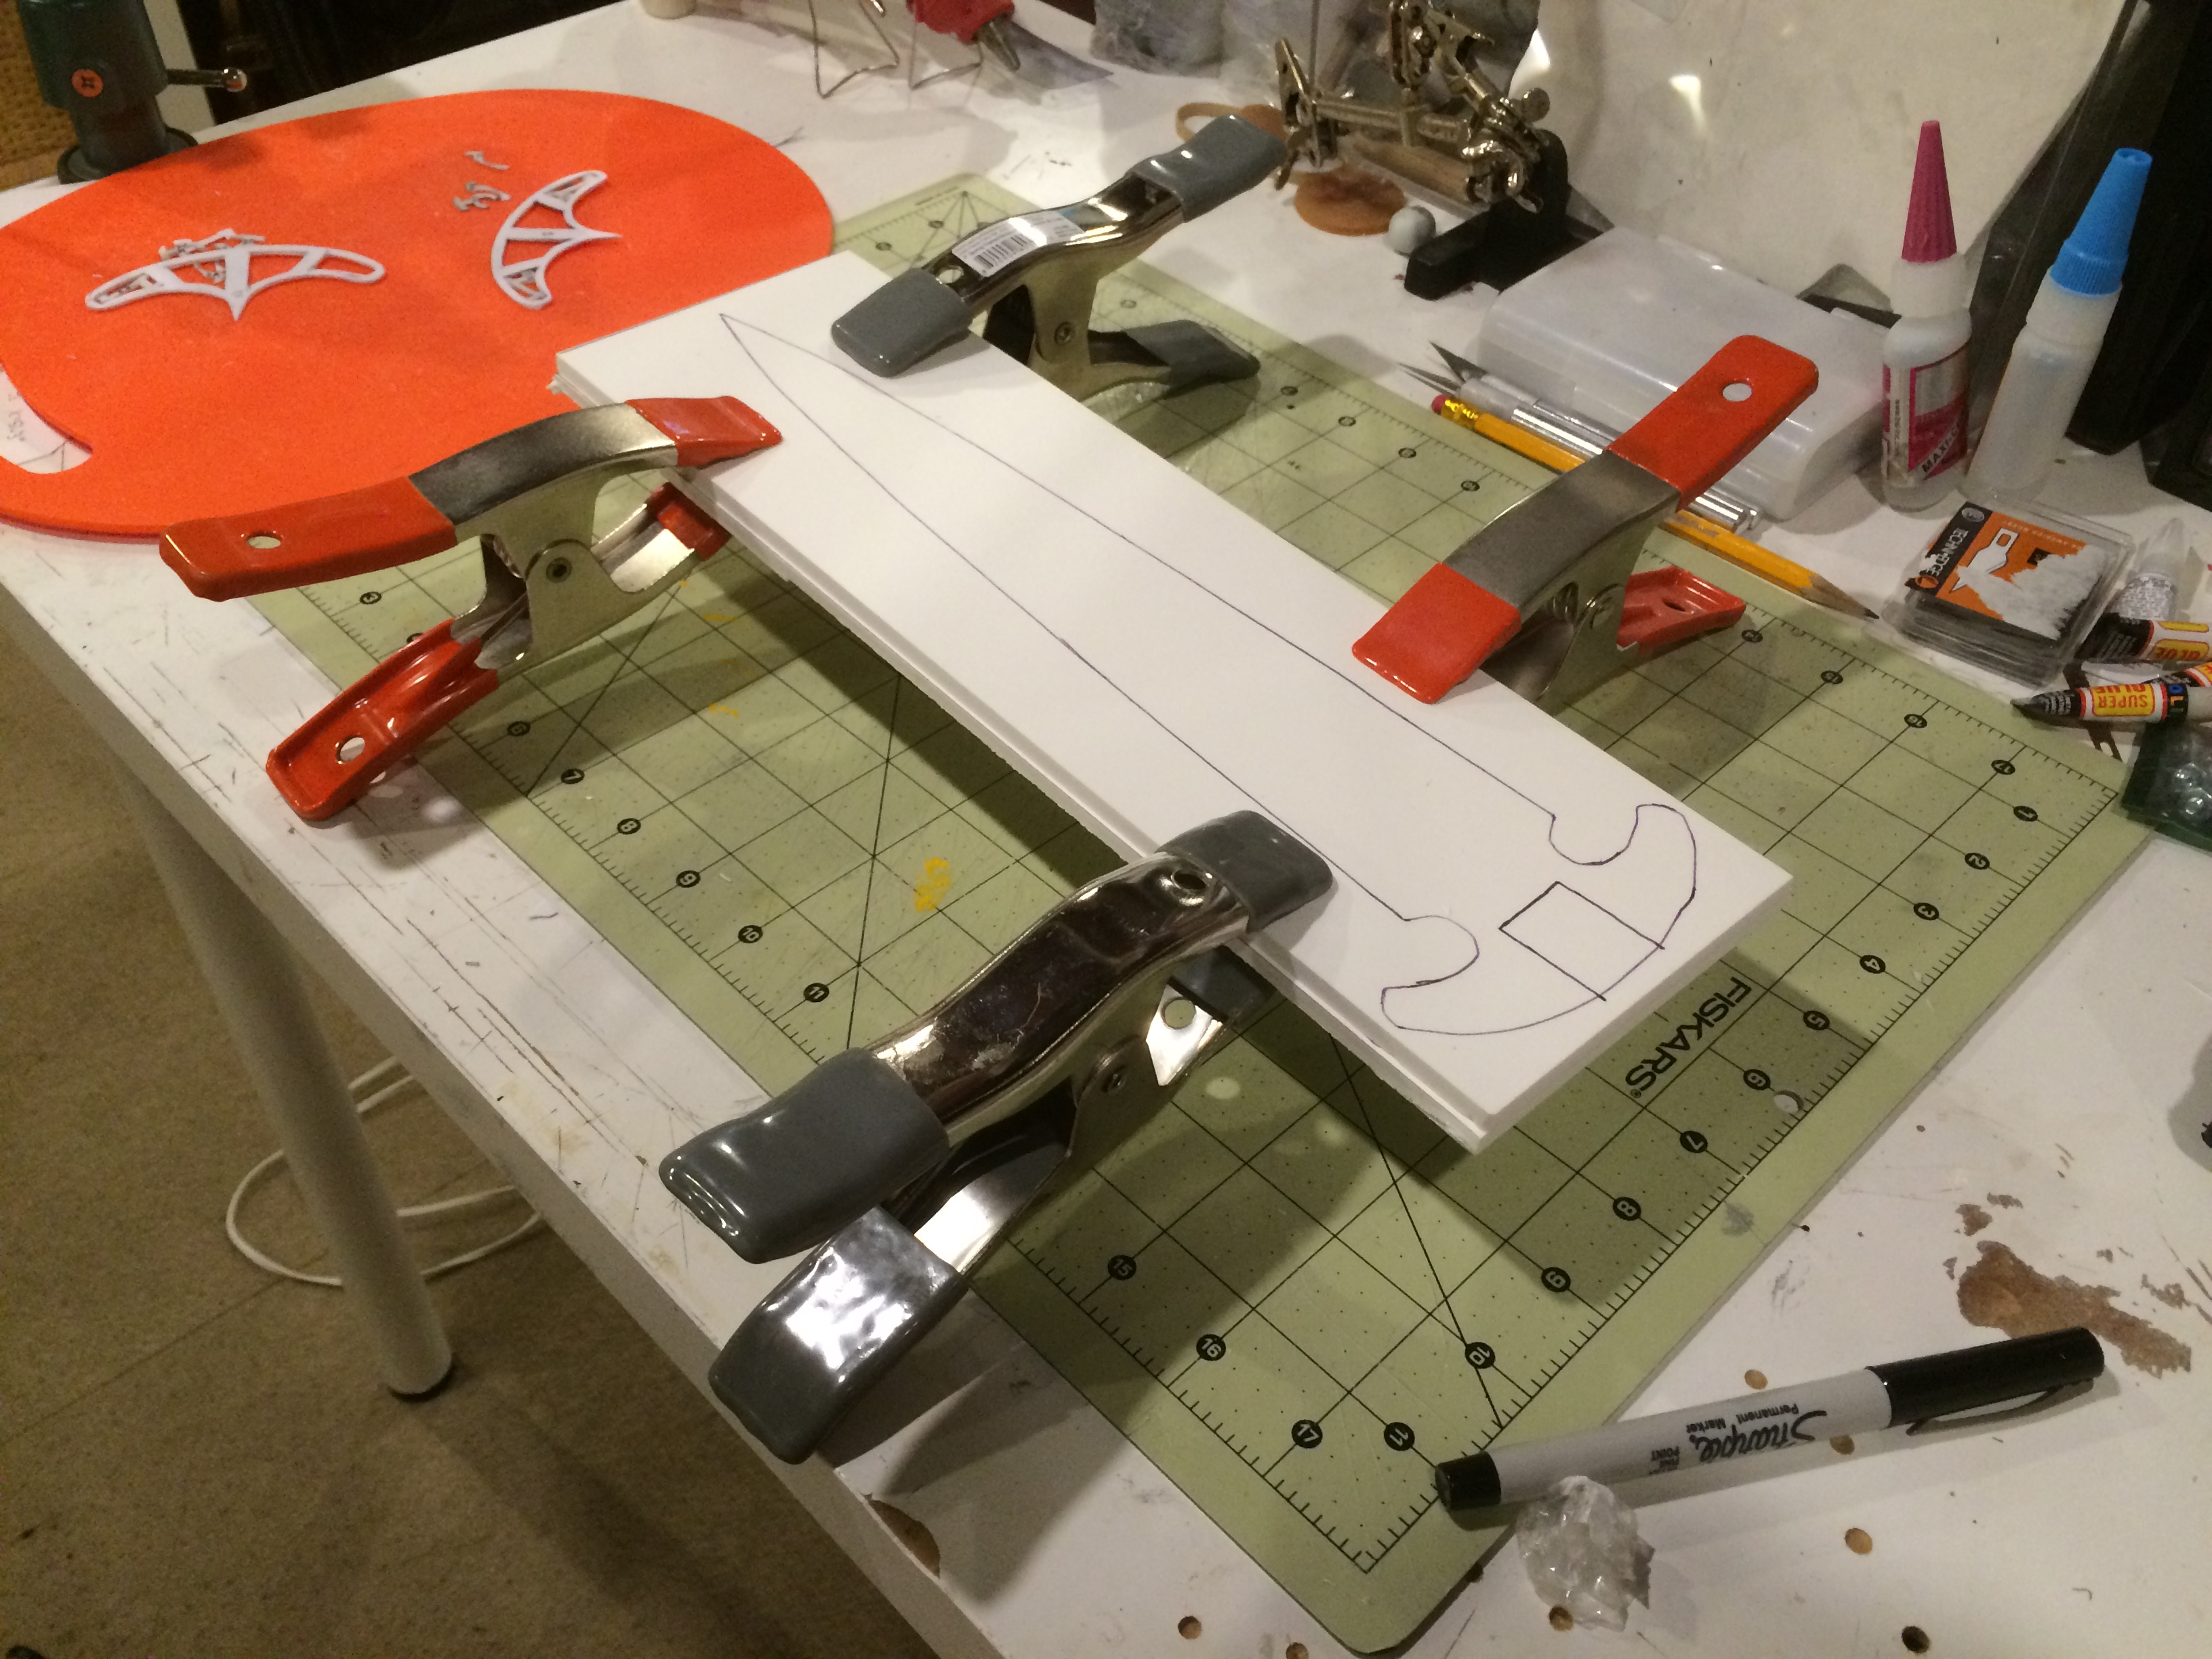
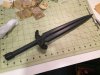
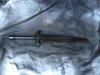
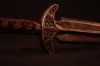
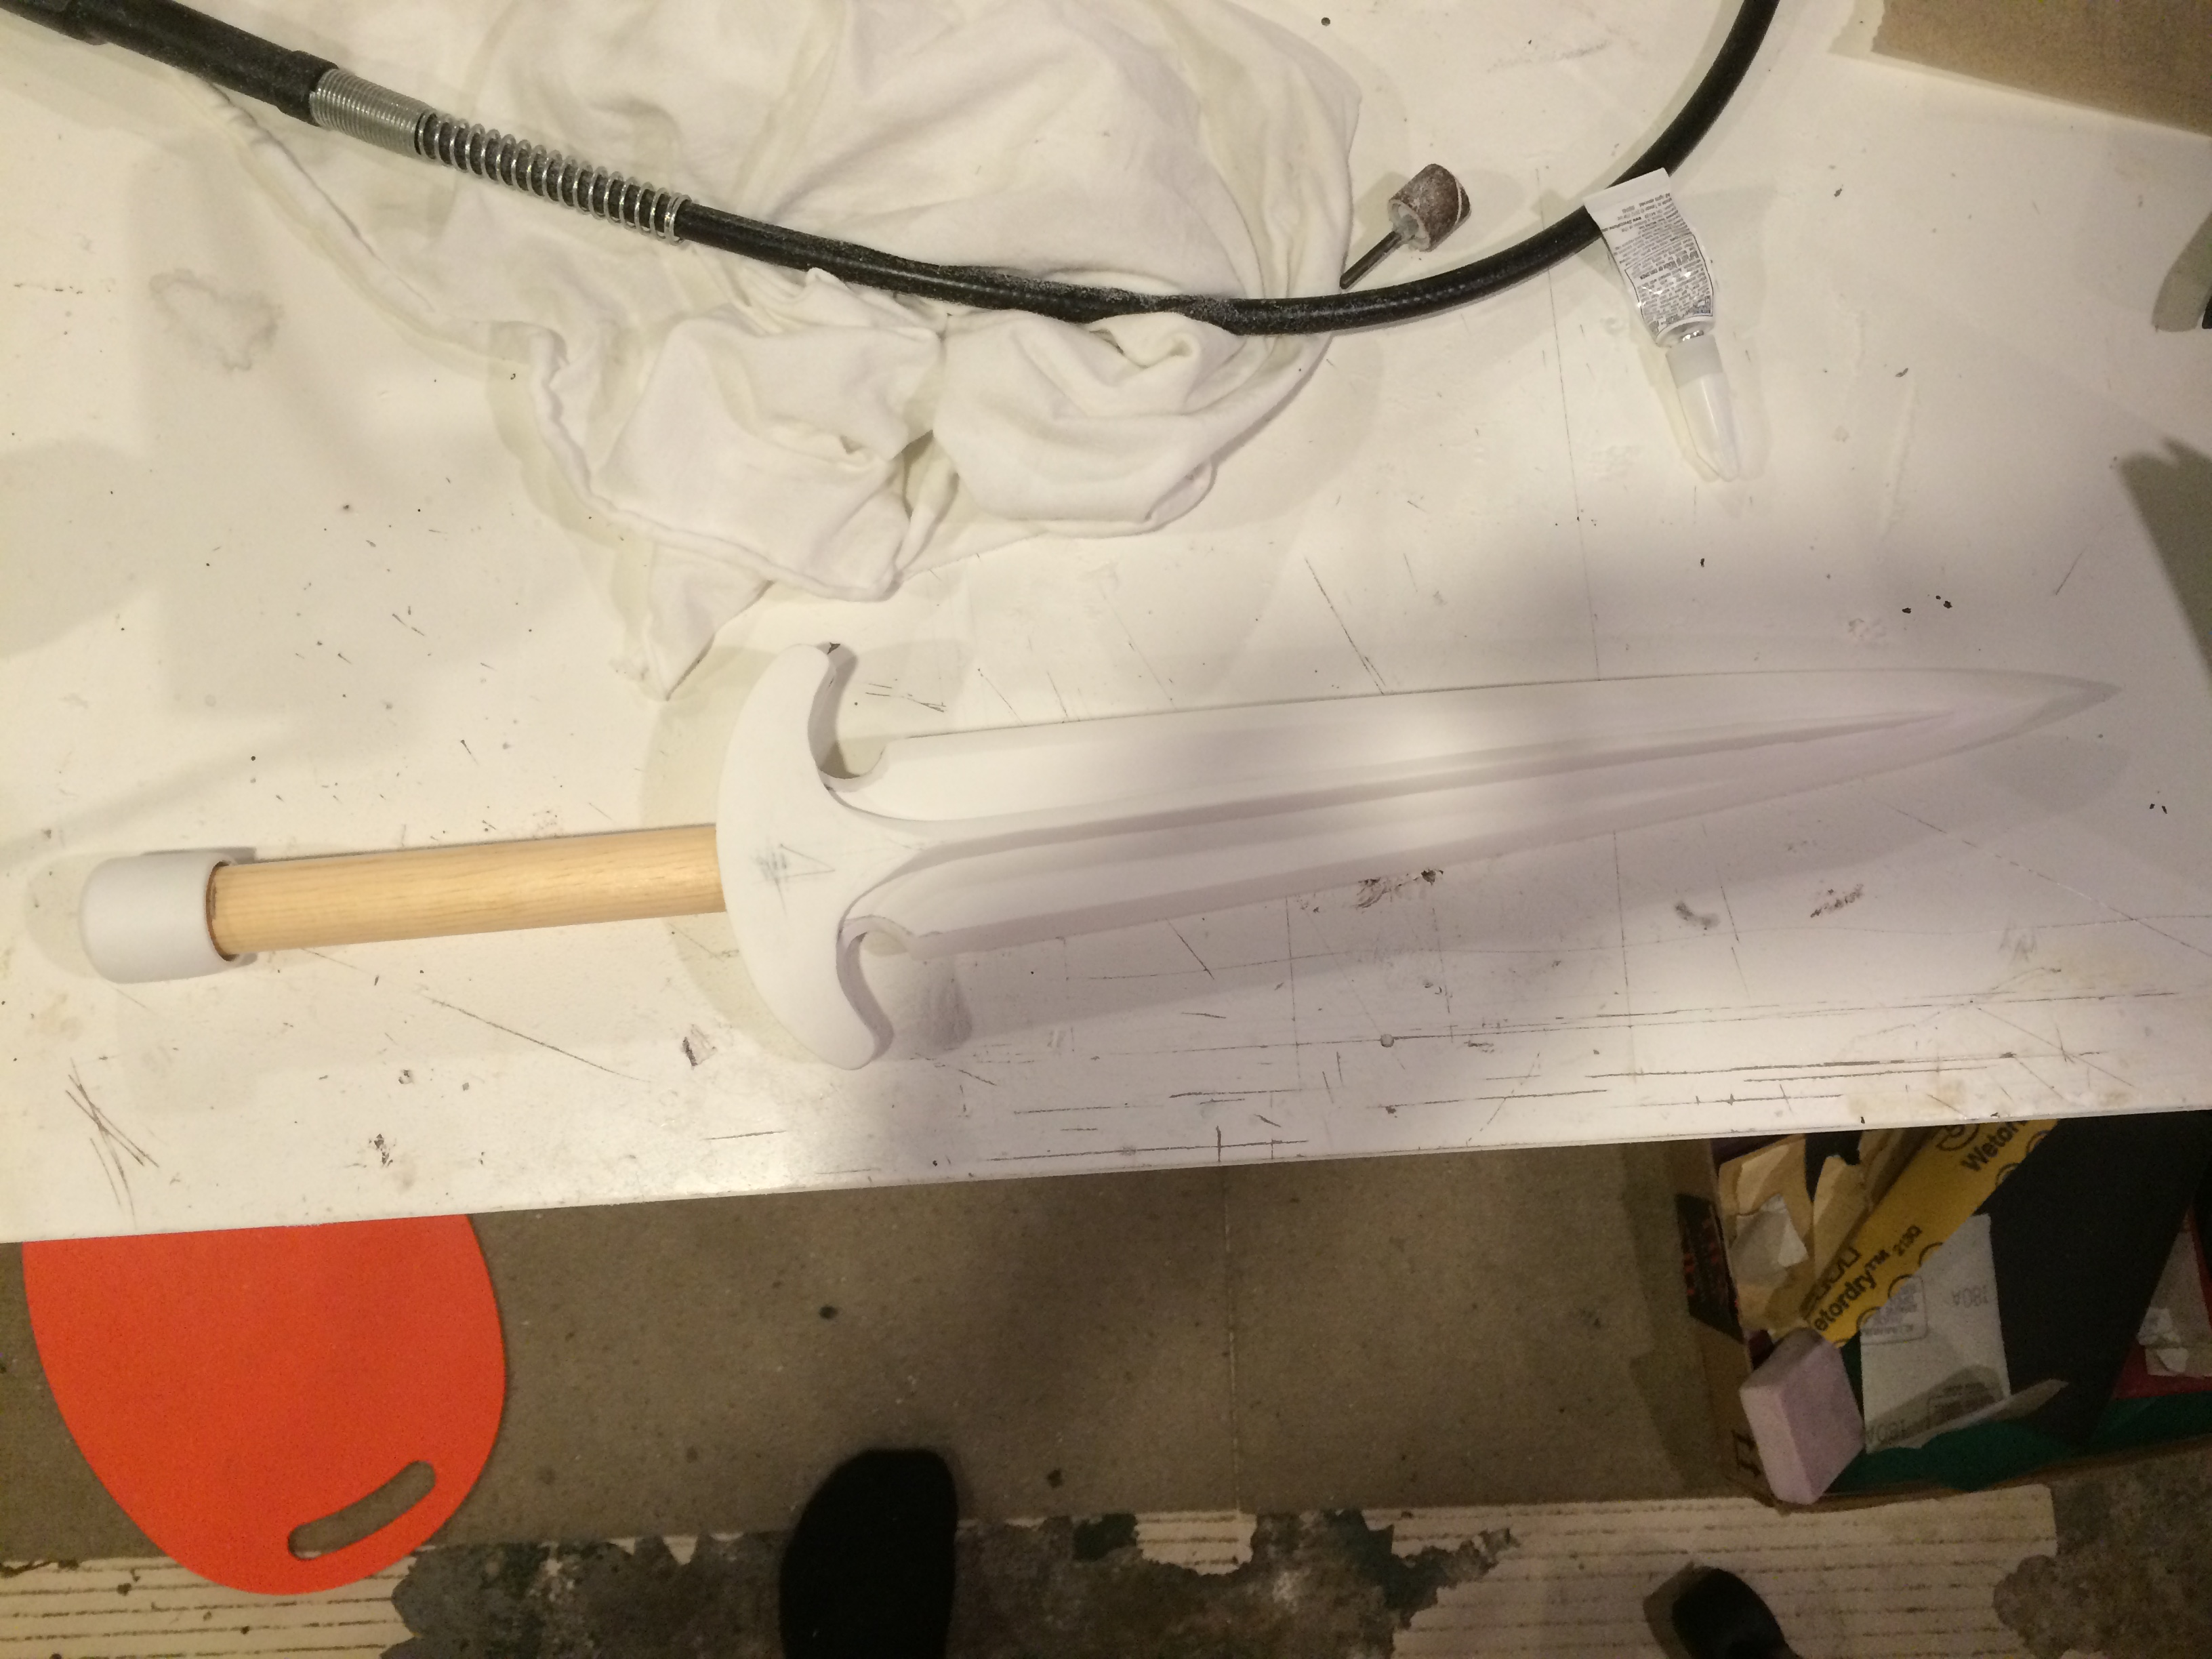
The main dagger shape was then cut out with my scroll saw. That cavity on the bottom with eventually fit the wooden dowel for the handle.

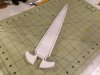
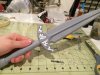
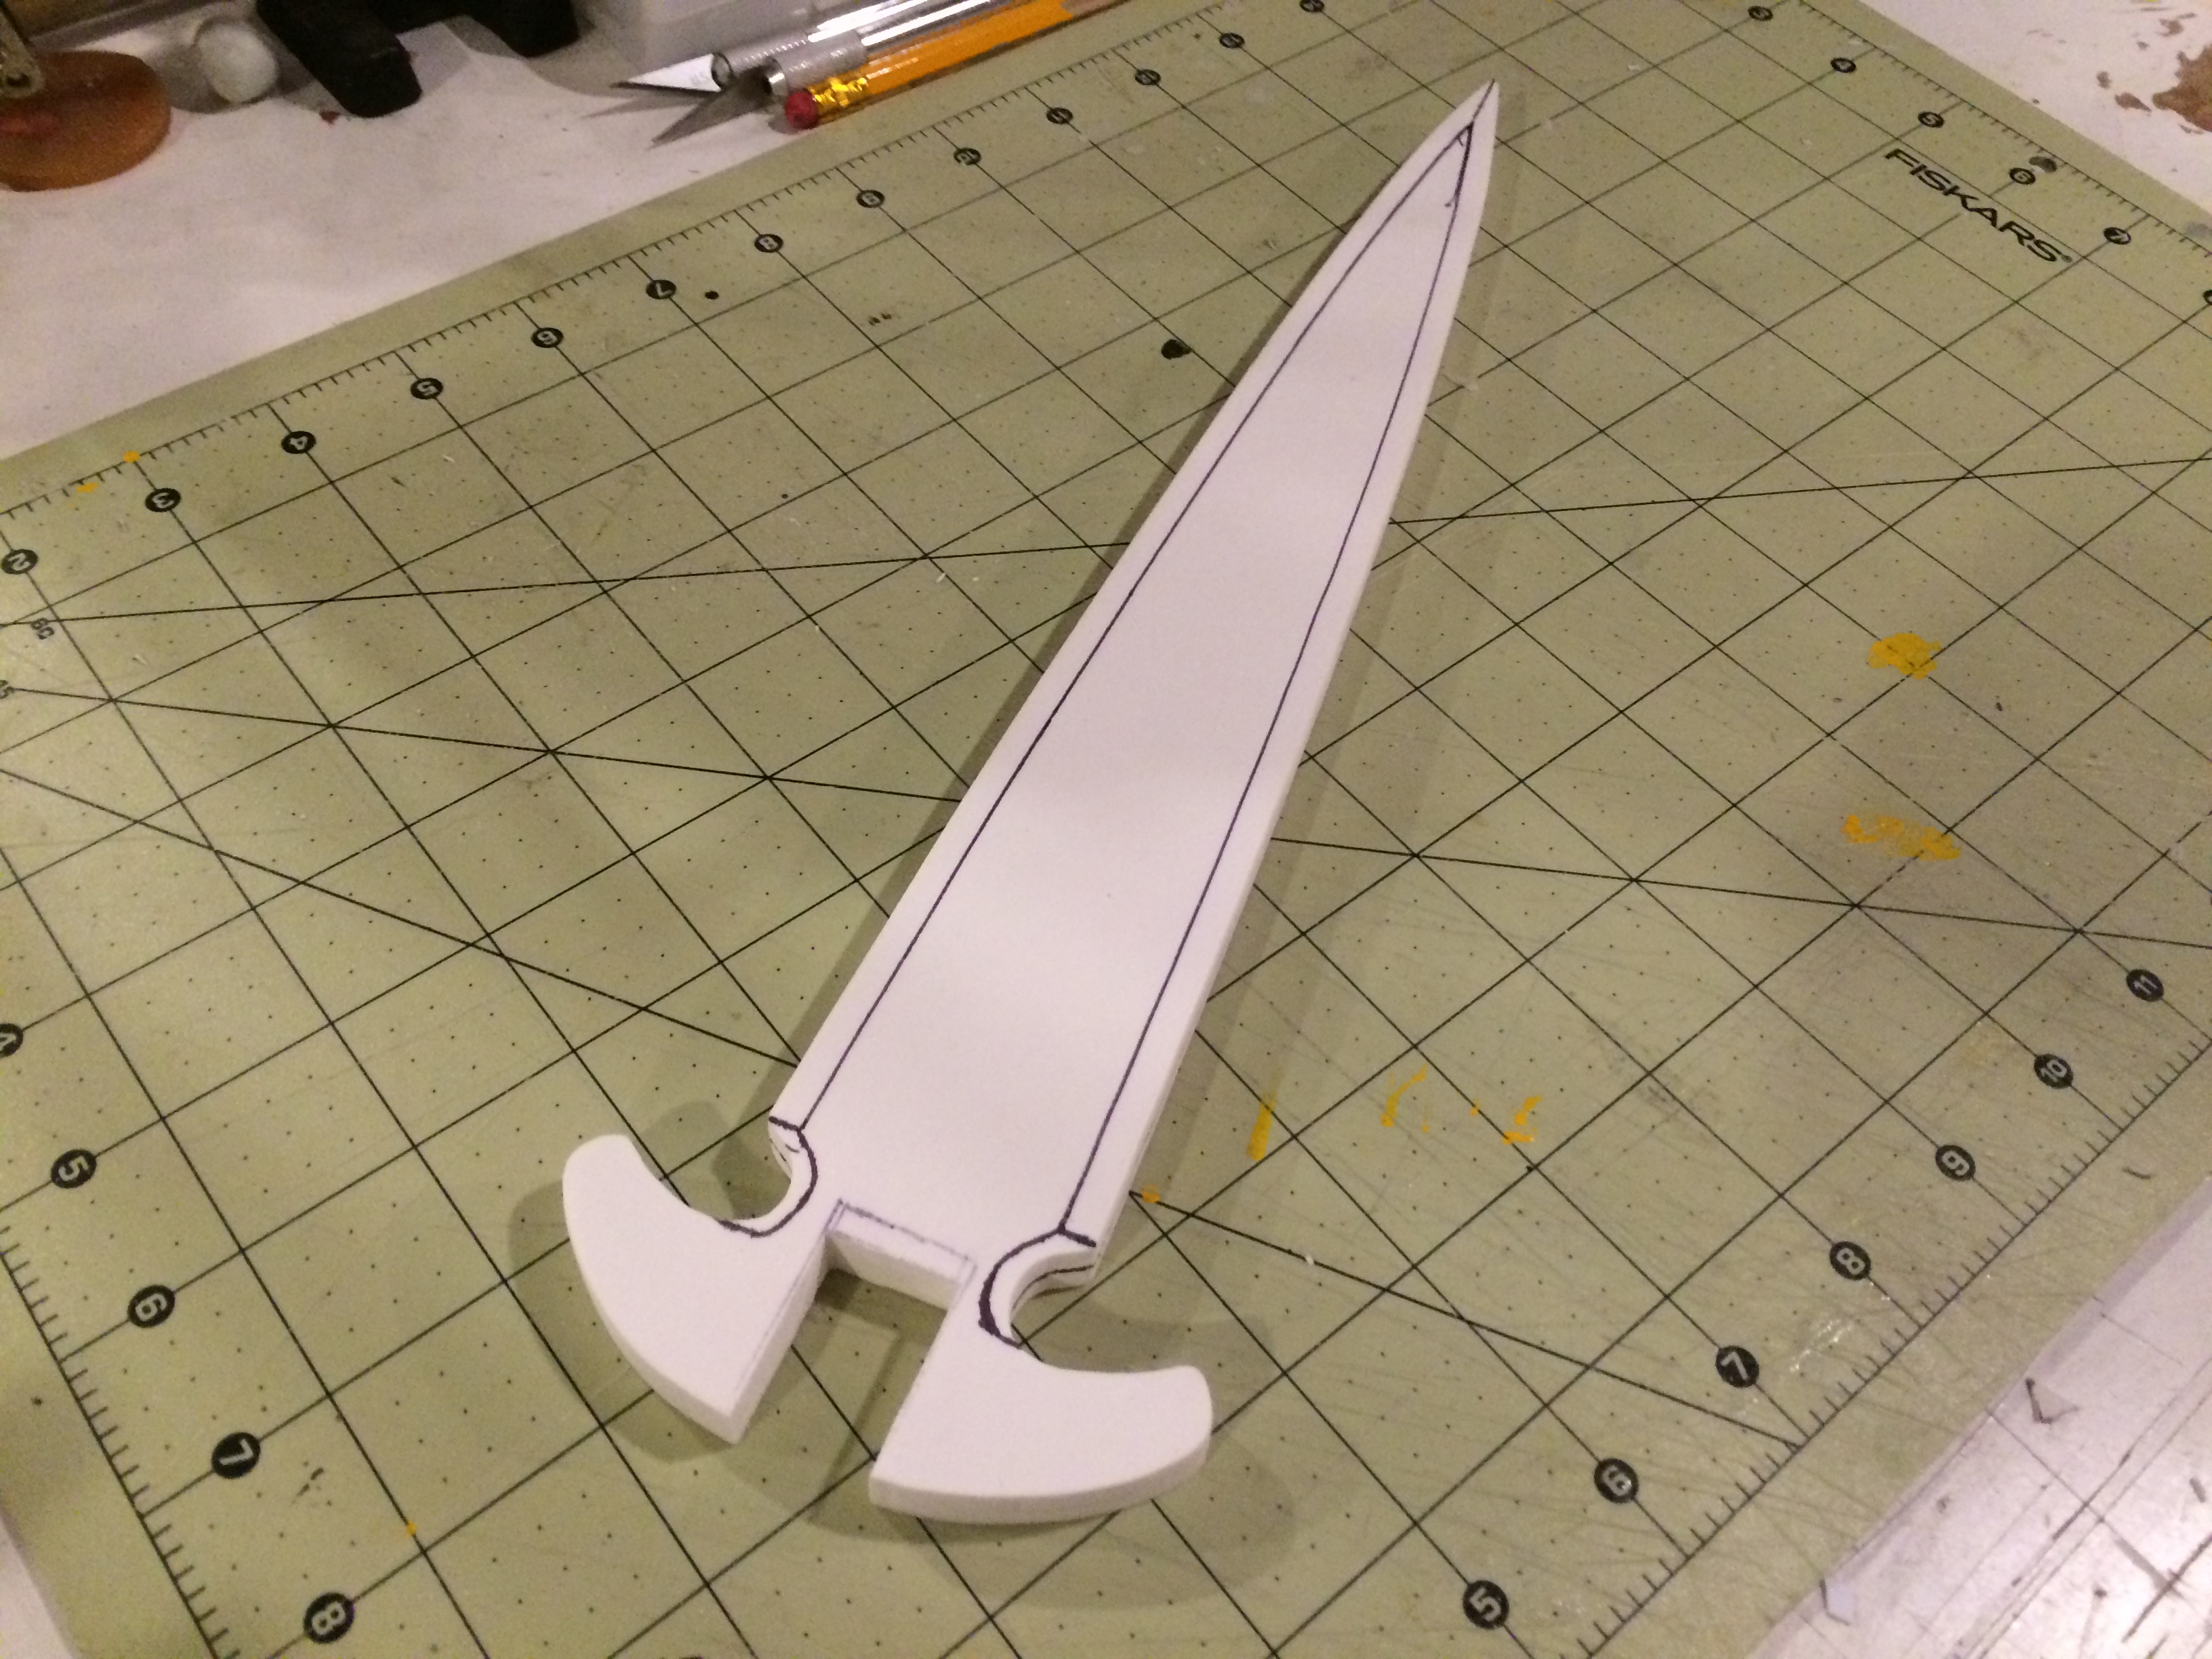
Lines were then traced from my blueprint that were used to shape the beveled edge. For this, all I used was a dremel with a sanding but and some sandpaper on a sanding block.
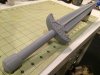
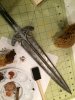
Further pieces were cut, shaped, sanded, and glued to the main body.
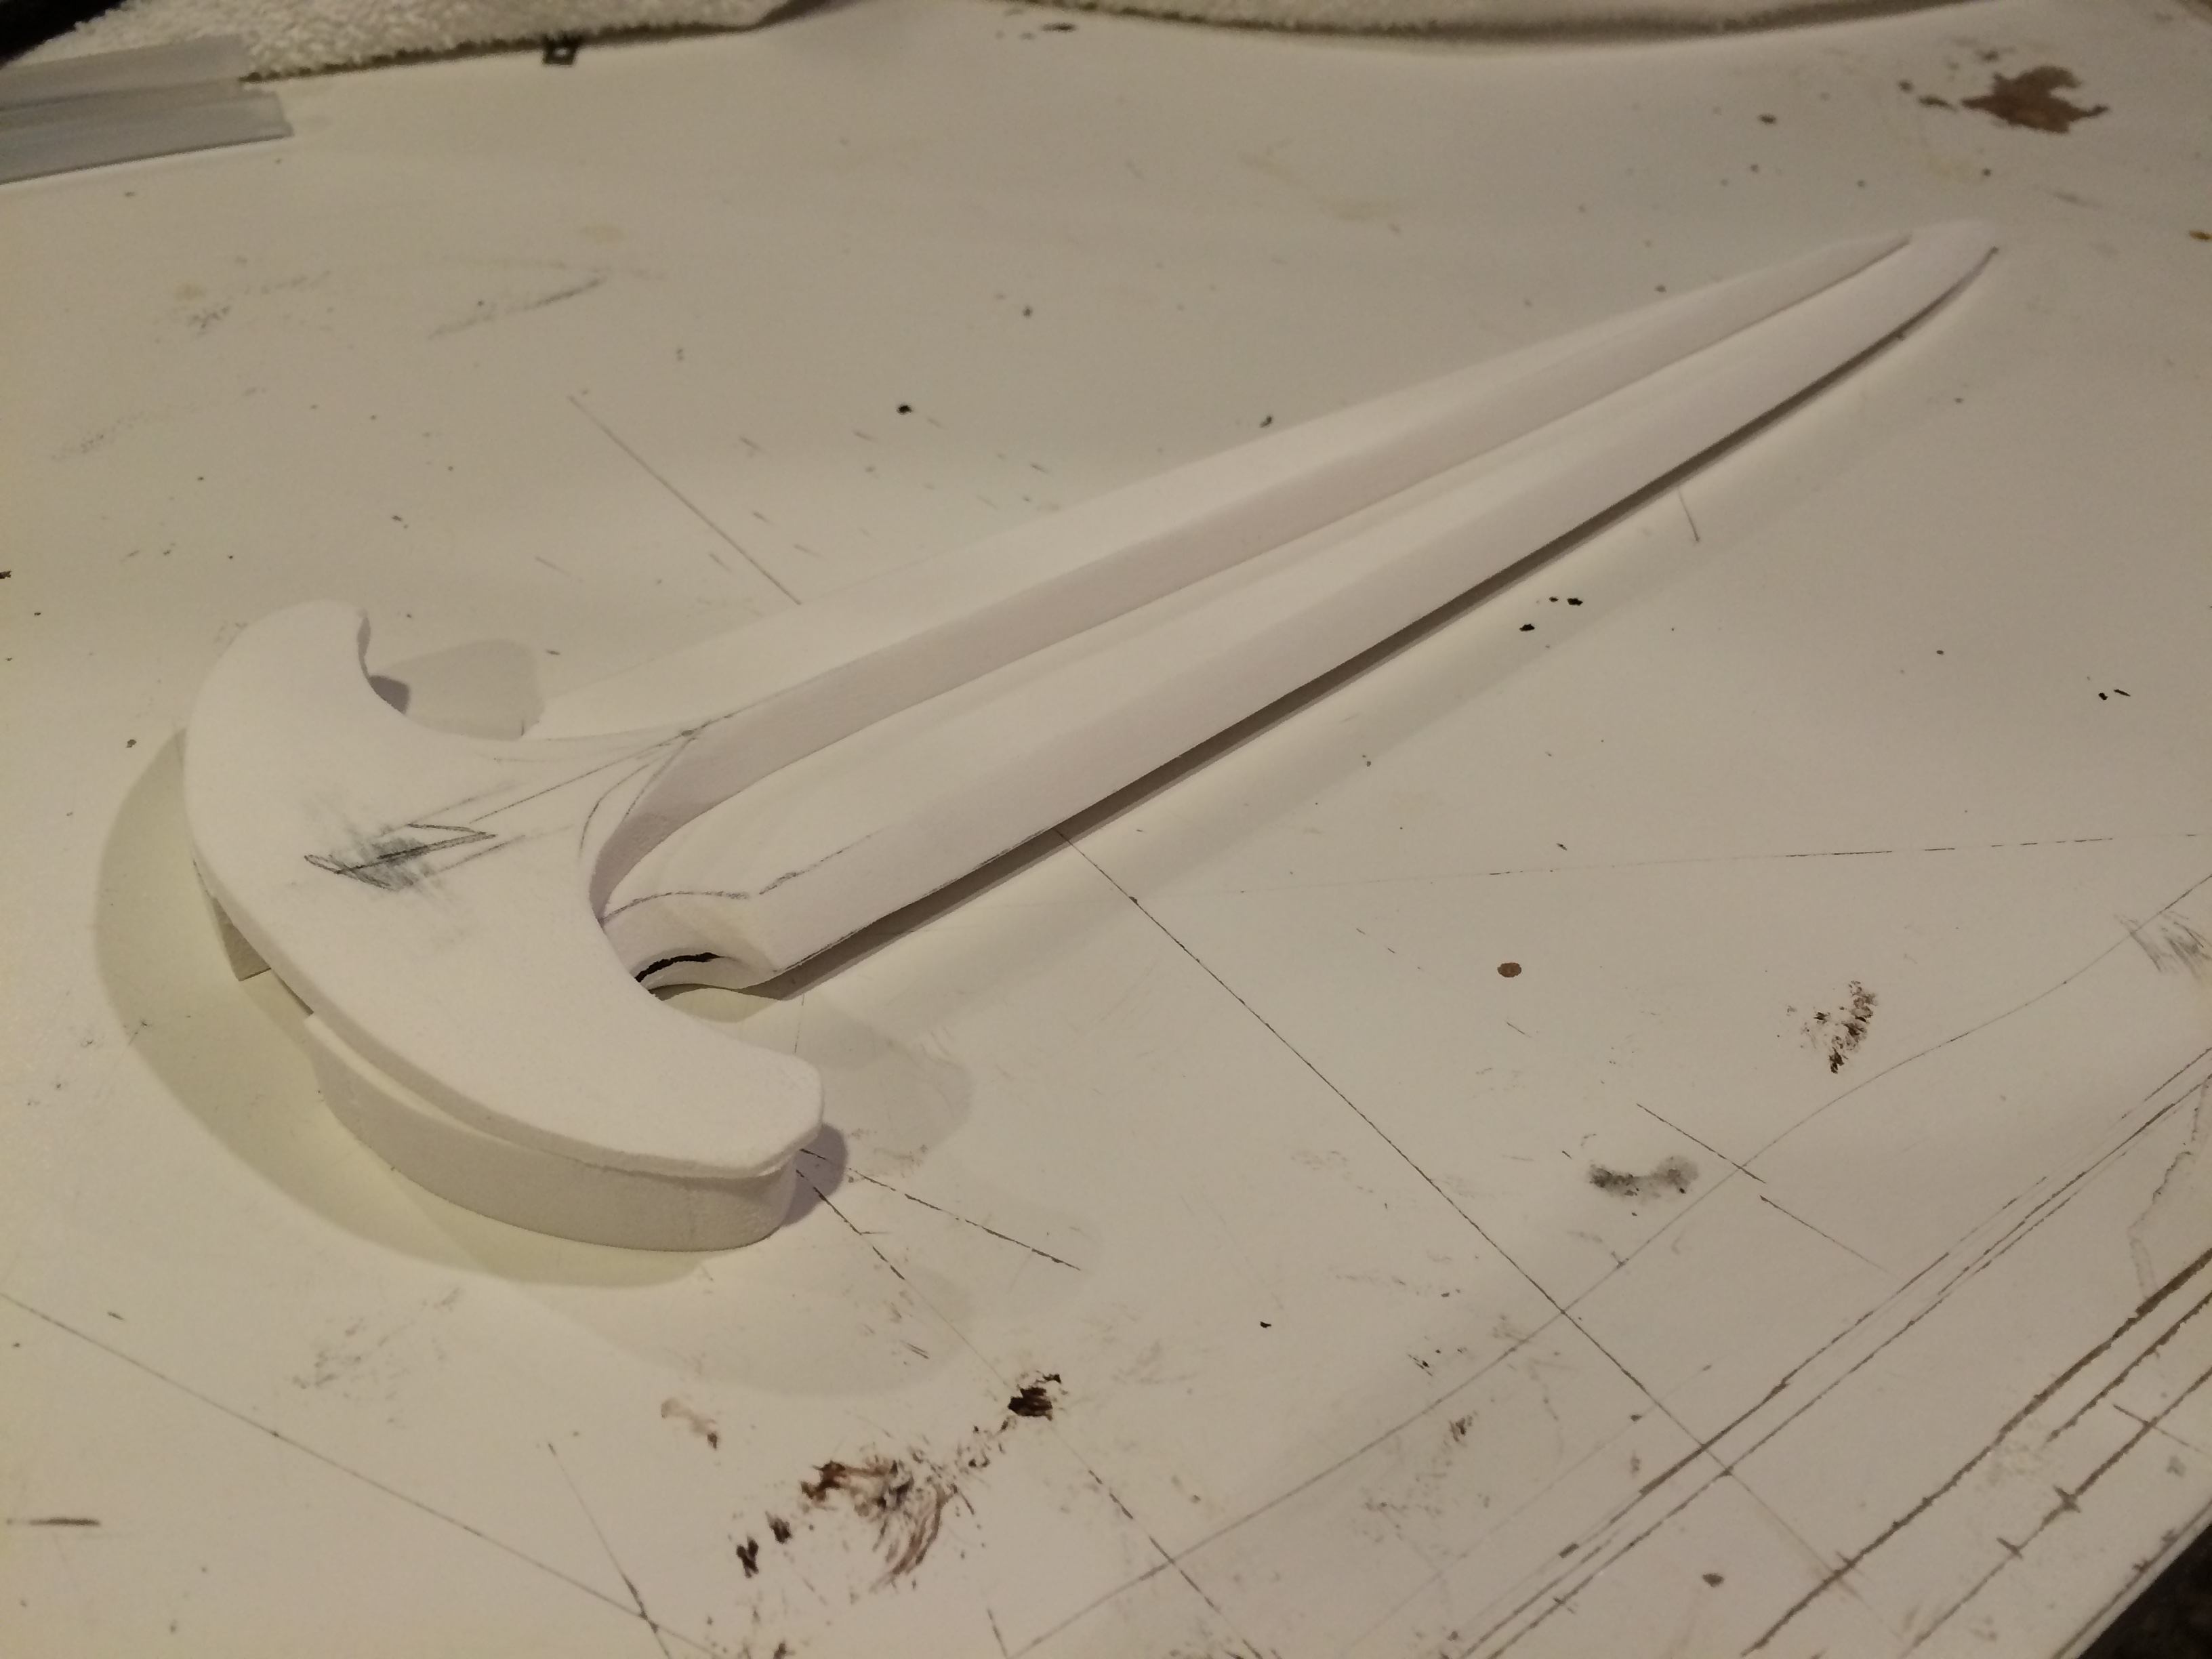
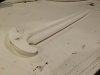
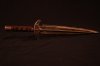
And here you can see how that slot works along with a slightly modified PVC end cap in the bottom of the handle.
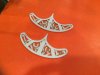
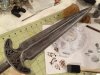
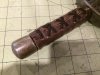
For the filigree, and other details, I used styrene sheets. Each piece was individually hand cut and shaped to fit its individual place. Laser cutting would definitely have been a better choice here. You can see how each piece is labeled because they wouldn't fit any of the other spaces as they are all slightly different.

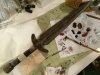
Some of these pieces were then attached to the rest of the dagger. I think I am going to wait on attaching the filigree as I may want to add a texture behind them. The Handle piece was also secured into the cavity along with some Apoxie Sculpt to fill in some of the gaps. The PVC end cap was also attached the same way.

That's all I've got for now. Please let me know what you think!
After drawing up some blueprints in Adobe Illustrator to figure out the size and shape, I decided on my materials and got to work. I started by laminating two sheets of quarter inch sintra together so I had a half inch sheet to work with.
The main dagger shape was then cut out with my scroll saw. That cavity on the bottom with eventually fit the wooden dowel for the handle.
Lines were then traced from my blueprint that were used to shape the beveled edge. For this, all I used was a dremel with a sanding but and some sandpaper on a sanding block.
Further pieces were cut, shaped, sanded, and glued to the main body.
And here you can see how that slot works along with a slightly modified PVC end cap in the bottom of the handle.
For the filigree, and other details, I used styrene sheets. Each piece was individually hand cut and shaped to fit its individual place. Laser cutting would definitely have been a better choice here. You can see how each piece is labeled because they wouldn't fit any of the other spaces as they are all slightly different.
Some of these pieces were then attached to the rest of the dagger. I think I am going to wait on attaching the filigree as I may want to add a texture behind them. The Handle piece was also secured into the cavity along with some Apoxie Sculpt to fill in some of the gaps. The PVC end cap was also attached the same way.
That's all I've got for now. Please let me know what you think!