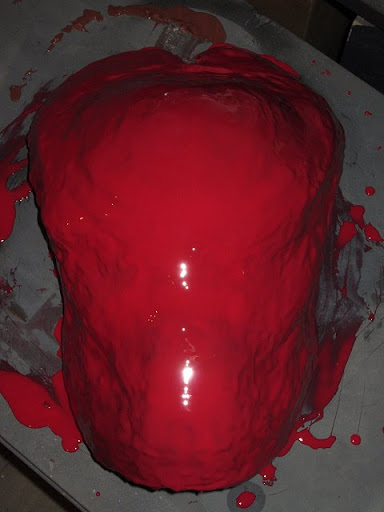
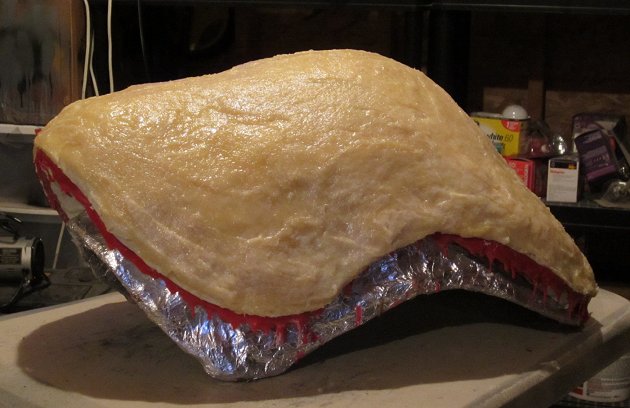
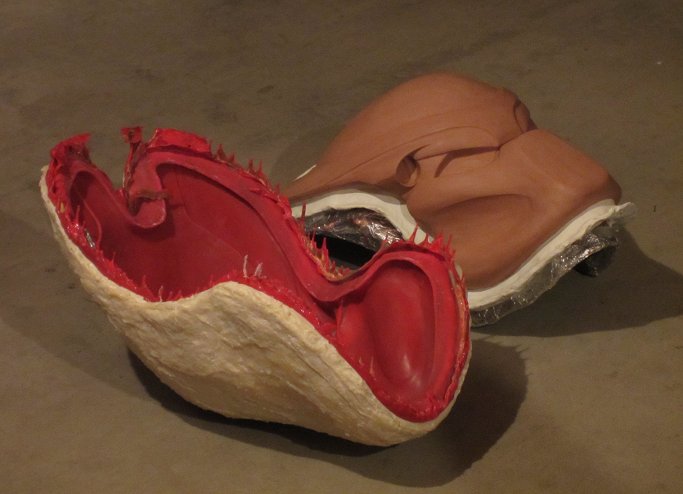
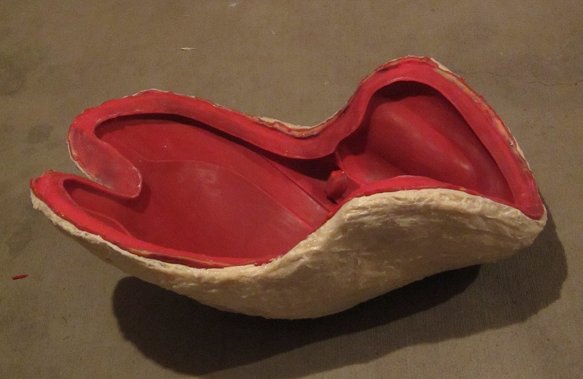
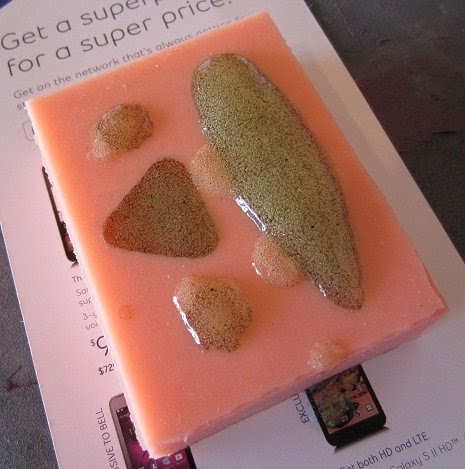
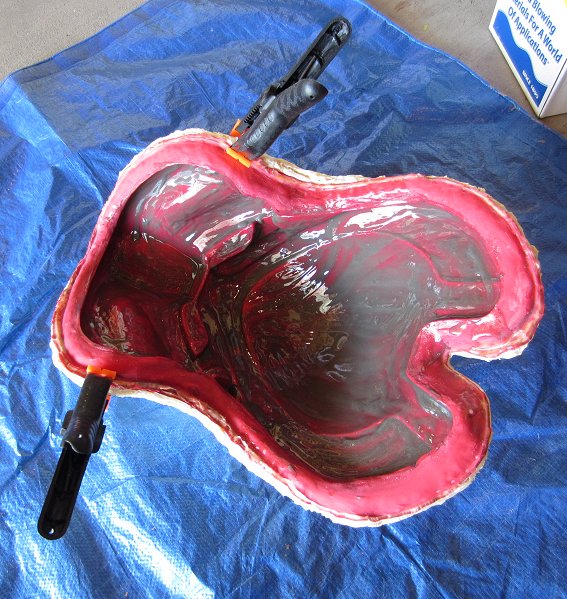
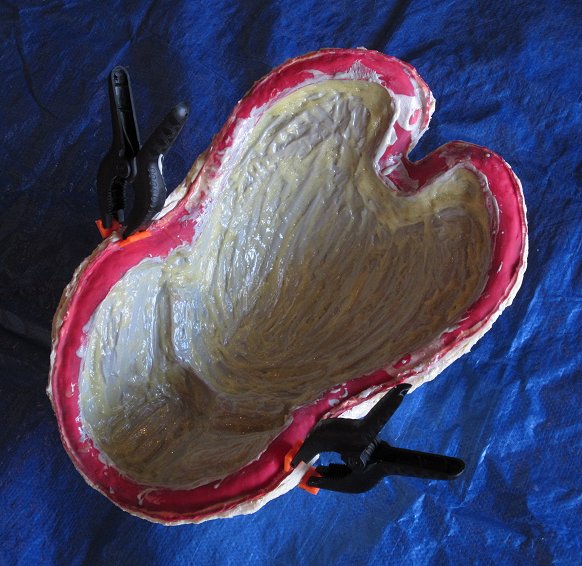
I was freaking nervous as hell pulling off the mother mold, but surprisingly enough it almost popped off with little effort! I then started pulling the silicone away carefully...the whole thing came off no problem! After inspecting every inch of the inside of the silicone, there are 2 flaws: there is a bristle hair (from the brush) on the surface of the dome; the side of the Bio rim has a small 5mm gap but that shouldn't even be noticed at all once the resin is in there. I'm blown away that there were no air bubbles trapped in there!
I'm just stoked right now...this is something I should have started to do a long time ago. To be honest, when I saw guys like Rob, Daman, Gene, Paul, Casey, and all the other countless Bio sculptors doing this, I thought it was way too complicated AND that their talent was off the charts. I didn't think I would be able to do it. All it took was a few of you guys telling me that I should start sculpting. That little bit of encouragement over the past 2 years pushed me to take a leap of faith and trust that I could do it.
I have to take a moment here and thank Rob, Casey, George, Gene, Paul, Lee and Bryan. Please forgive me if this is sappy, but **** you - this is a huge milestone for me and I'm thanking the people that helped get me this far.
Rob - when you sculpted your Bio and showed us pictures of the clay sculpt, I was blown away. Then the armature broke and the sculpt was crushed. Some people might have given up, but you started over and redid the sculpt. Then you casted it, and that was what started me thinking...
Casey - even though he may not be a member here anymore, he is still the king of making Bios. He's walked me through this entire process from start to finish. I remember seeing him sculpt Bios out of nothing but clay and wonder how the hell he always did such an amazing job. I am proud to be his friend after all these years and honored that he has shown me how fun making a mold can be!
George - you have given me advice on the phone, text and for that I thank you. I know taking time to answer questions can be a tedious pain in the ass, but you never complain and are always willing to take a moment to help me out. The P1 Stunt was my inspiration for sculpting this, and only hope that when I get one painted and completed, it comes close to the holy grail of my collection.
MeanGene - thank you for posting your progress on sculpting all your Predator stuff. Sometimes it may not seem like everyone is paying attention, but I was always watching and mentally taking notes. Your work on the Boars inspired me and gave me confidence that I could sculpt my own.
Paul - your tutorials on both sculpting and molding were invaluable to me. I asked you a LOT of questions back then not knowing 100% that I would have the courage to try it myself one day. Thank you for your in depth walkthroughs and photos...I've gone back through and taken notes more than a few times
")
I'm 100% a visual learner, so those pictures meant a LOT!
Lee - you are humble when it comes to admitting your talent, but **** you - I'm exposing you for the talented artist that you are! Your multiple head sculpts have convinced me that after I do Rob's Bio I need to sculpt me a Pred head. I have you to thank for that - thank you!
Bryan - after you sculpted all your Bios, it got me to thinking that if someone can do them in an assembly line like that, it has to be possible to do at least ONE! You're a Predaholic and I'm in awe of your collection/talent with sculpting/painting
Ok - enough with the sappy **** - onto the pictures!
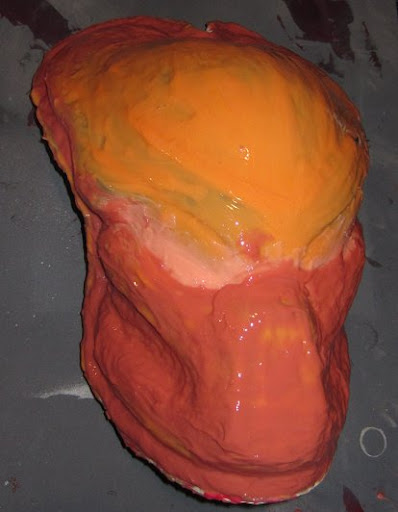
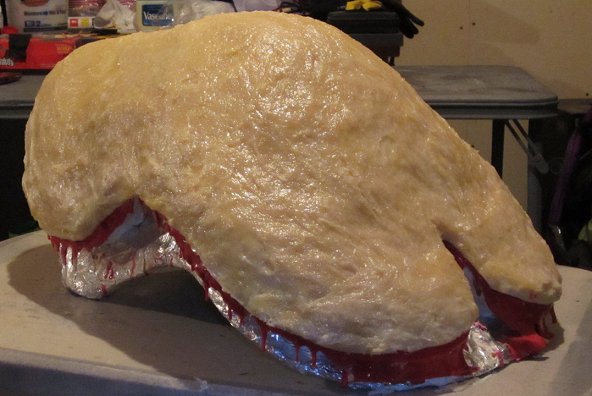
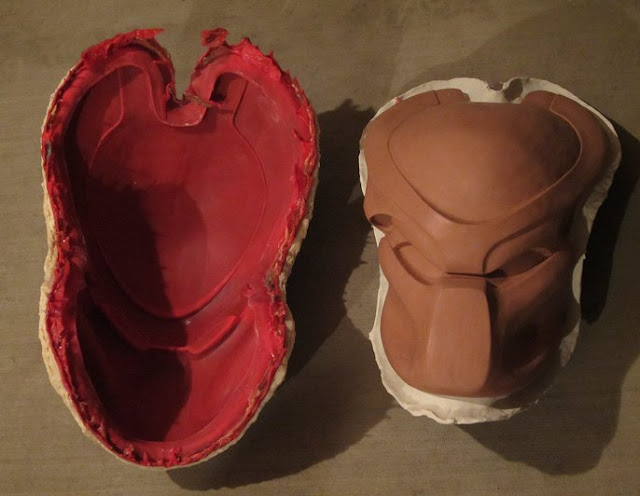
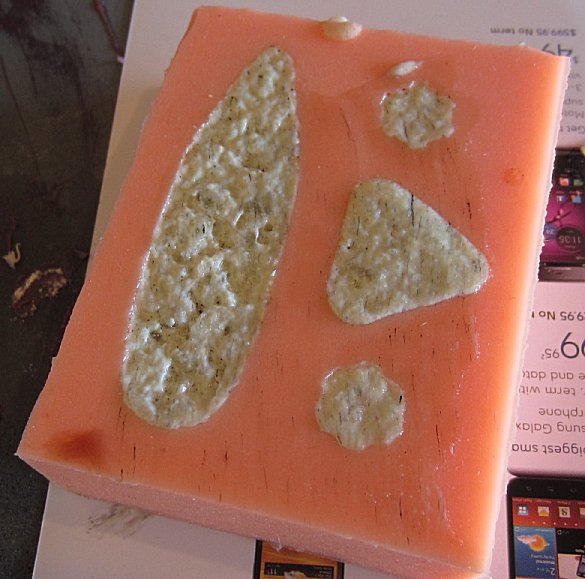
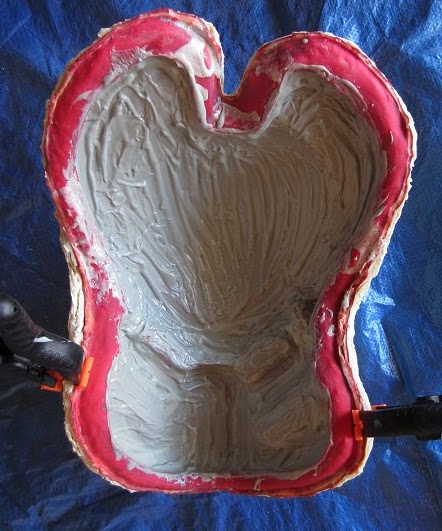
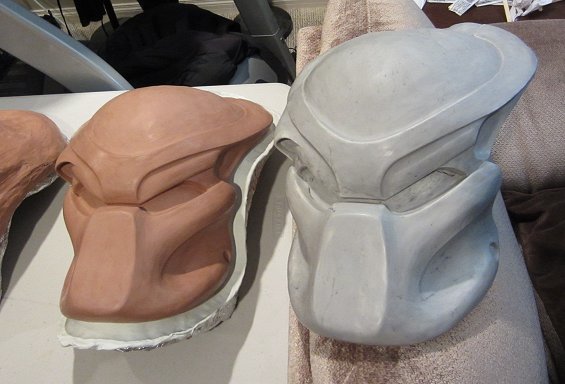
This was right after I took the mold off. The clay is perfectly intact. While I dislike working with such hard clay, the benefit is that it retains it's shape quite nicely:
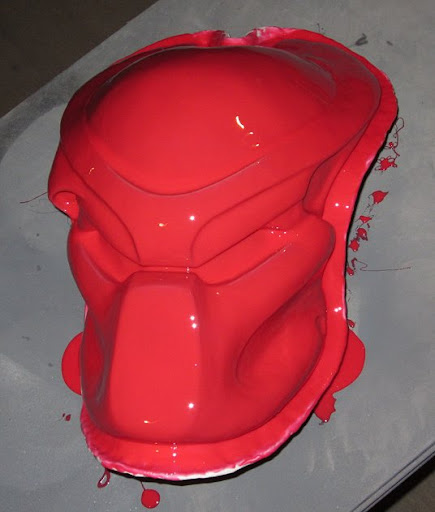
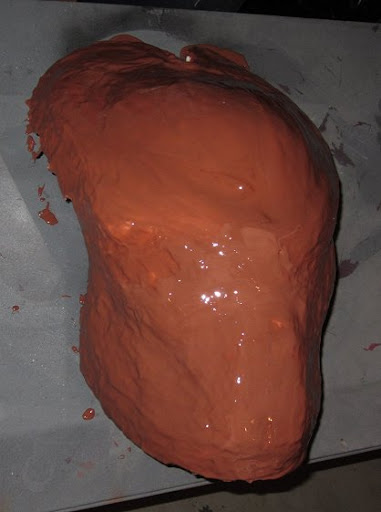
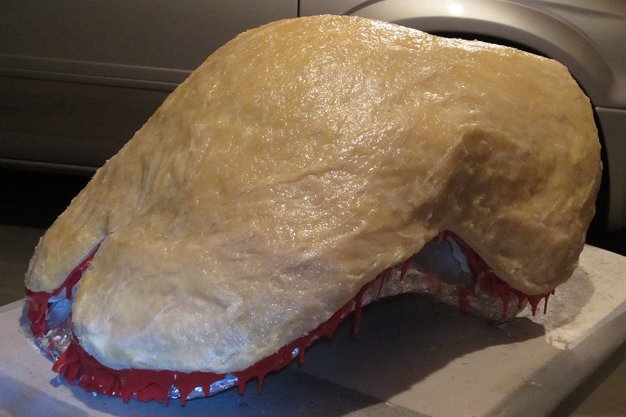
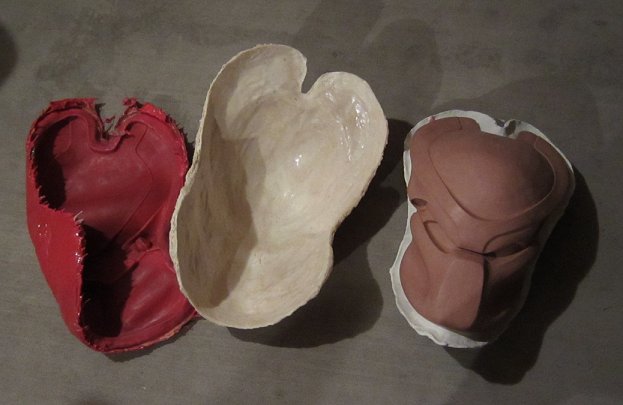
Thank goodness for the mother mold because the silicone is about as rigid as a floppy donkey dick!
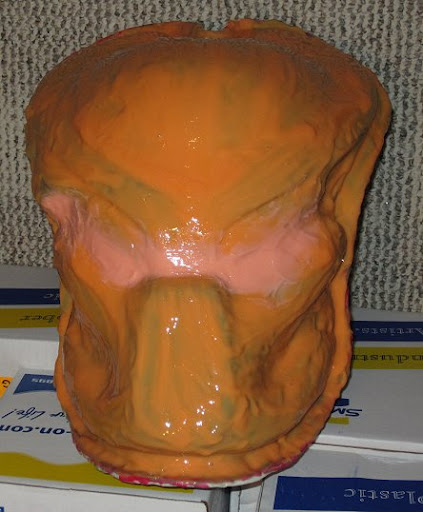
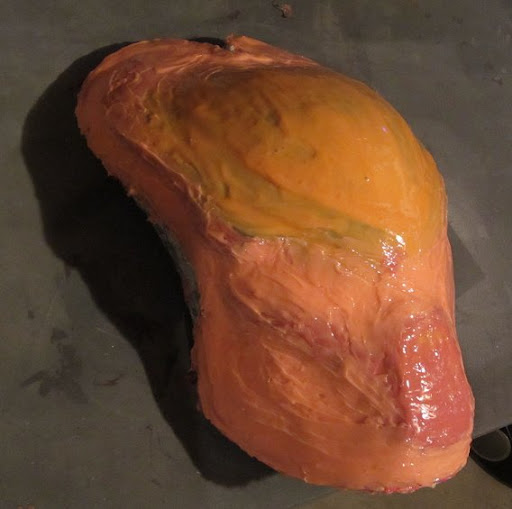
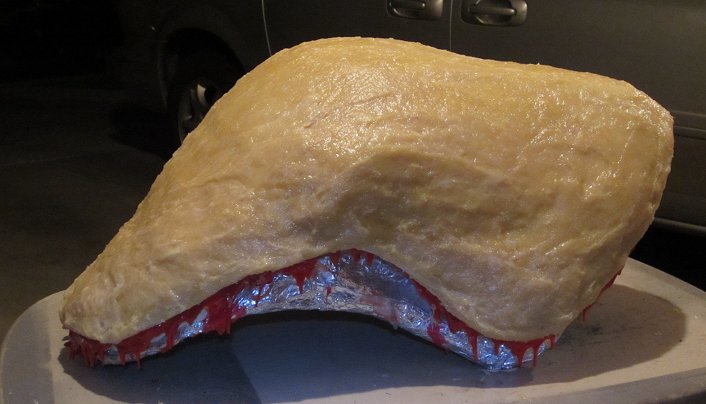
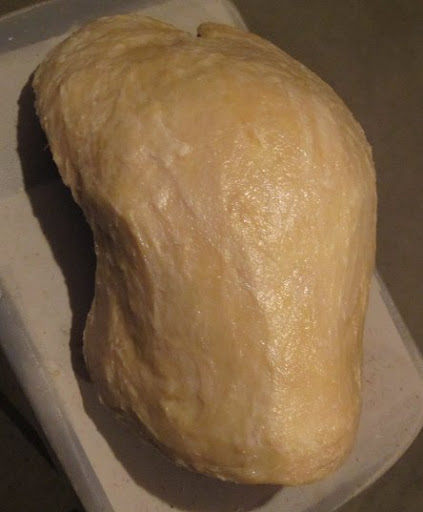
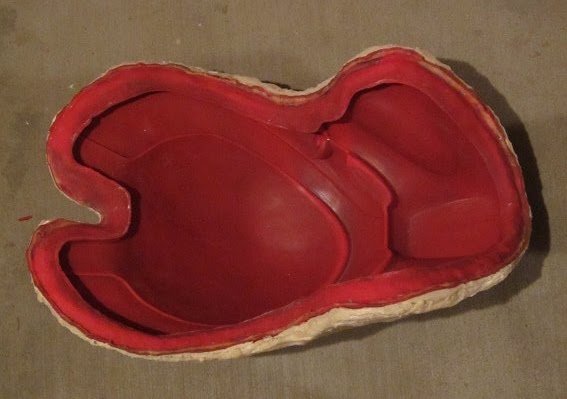
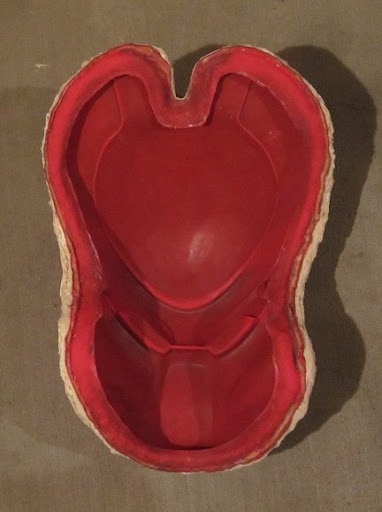
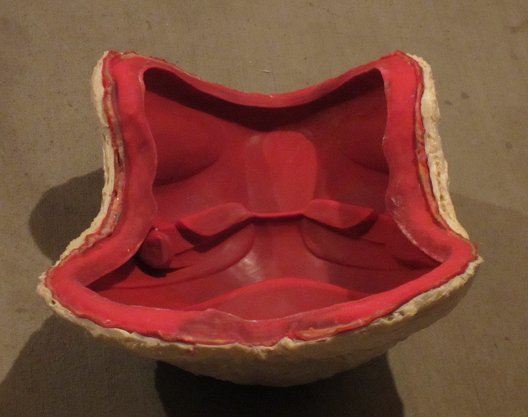
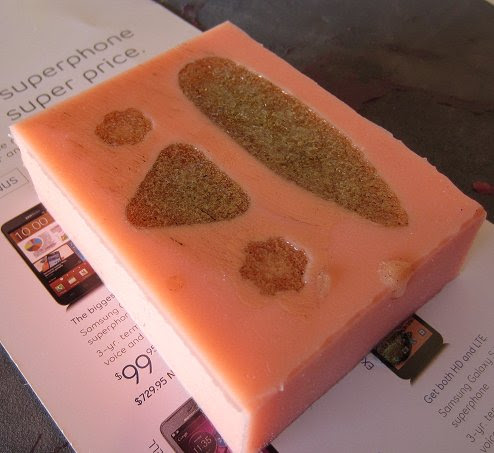
Finally, here's the silicone with the excess drippings trimmed off: