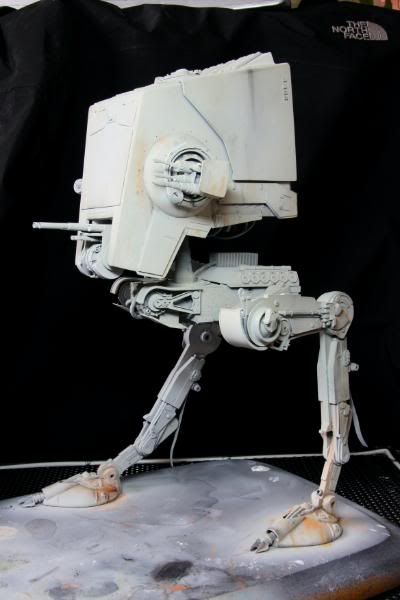
ROTJ AT-ST & its first steps (Finished)

Guy Cowen

Sr Member
I am having so much fun doing this kit, I cant thank all involved enough.
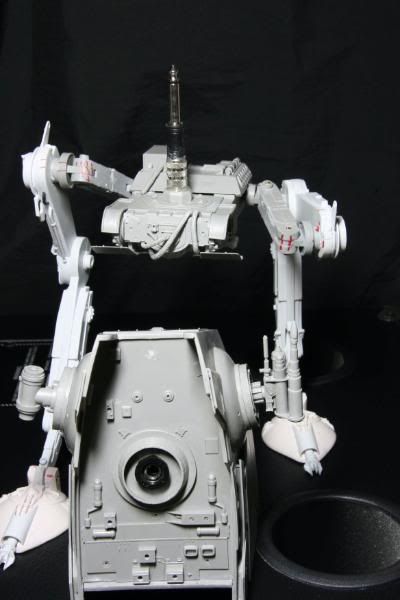
Well its in its final stance & nearly all together, it has taken quite a while to get this far & my mane worry was when its all glued together would the body twist or dip. I assembled it with the body on box the set to the height I wanted parallel to the work top, then wedged the front end up 3/8 inch before fixing the legs. Hopefully this was to compensate for the weight of the head dropping the body down when its all together. 3/16 would have done the job!
I decided to fix the head using a 1/4 inch jack plug (mono) & a mono jack socket fixed inside the head. I wasn't too fussed with total movement as it would encourage me to play with it. There is a slight forward tilt built into the way I fixed it in to the body. I'm leeving the hatch un glued to gain access to the Mono jack socket if I need to get in there later. I wanted it to look like its stopped mid stride & decided to take a look at something, with the thought "hmmmm I think I'll blow that up". The guns aren't in position yet this is more about the legs. There's no going back now.

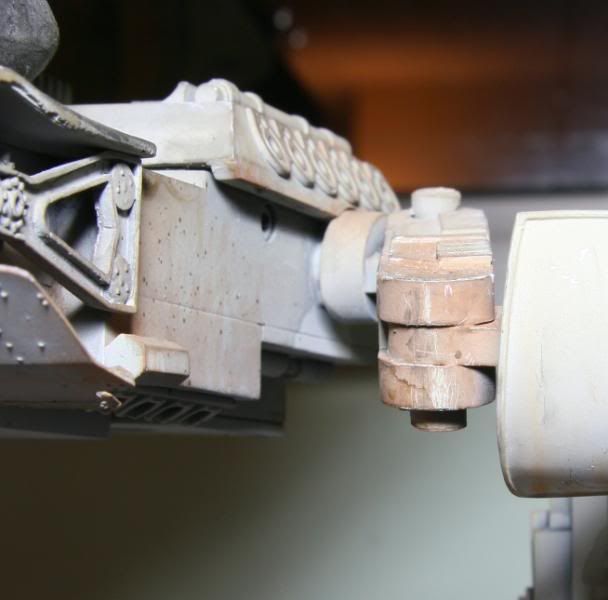
I also found a great chap on ebay that sells brass tube in every Dim known to man & a great price to. All joint's are pinned as required. A few minor bits broke off & I've had to replace some detail's under the thigh with the wire provided.

IMG_3272.jpg

IMG_3275.jpg

IMG_3273.jpg

IMG_3274.jpg

IMG_3271.jpg


She does stand on her own but inserts are fitted into the feet to fix it to the base I got coming.
 
Last edited:
Re: ROTJ AT-ST & its first steps

Came back for a second look, i love the pose in that first pic Guy, you nailed that well, its nice to see that right hip joint raised high, cant wait to see you paint this up!

bests....lee
 
Re: ROTJ AT-ST & its first steps

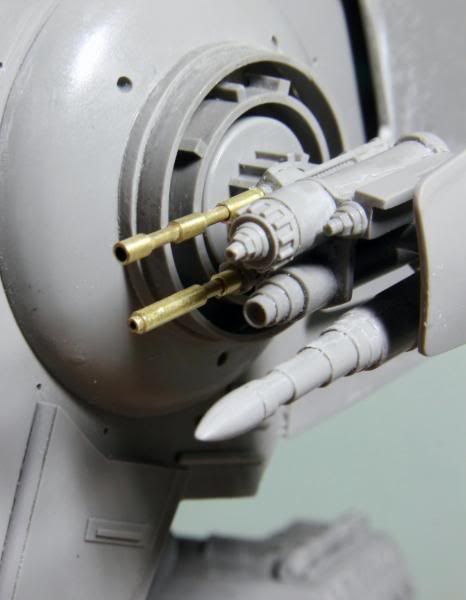
Thanks guy's I'm pretty chuffed so far. As always I have dropped bits snapped bits & generally been a clumsy bast***. I keep putting the main gun on the head then picking it up with the gun just balanced in. Oop's. I have destroyed it twice so I had to scratch build the fine guns. I am so chhuffed as I've never done anything like this & I think they have come out quite well. I even used the sticky out greebee from the lower gun on the new one. They may not be canon but at least they look like em :).
All thats left to do now is the rail on the head & a few small bits & I can prime up tomorrow.

IMG_3280.jpg

IMG_3283.jpg
 
Re: ROTJ AT-ST & its first steps

Mine was missing those gun pieces so I will be making mine out of brass tube as well.
 
Re: ROTJ AT-ST & its first steps

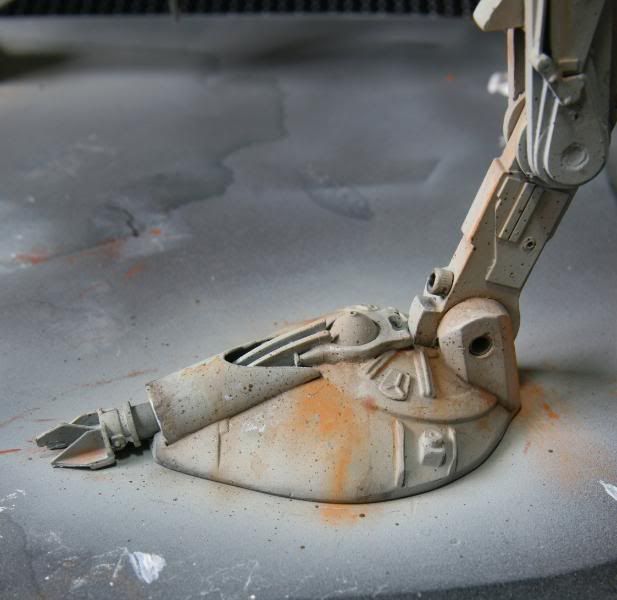
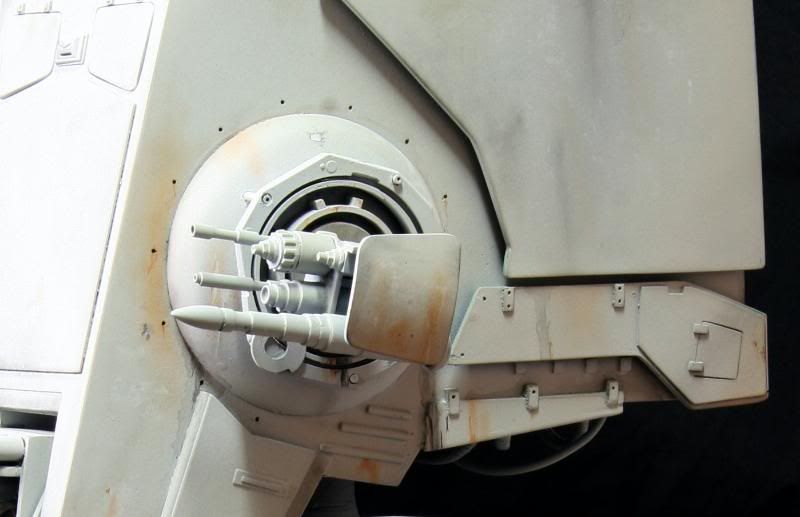
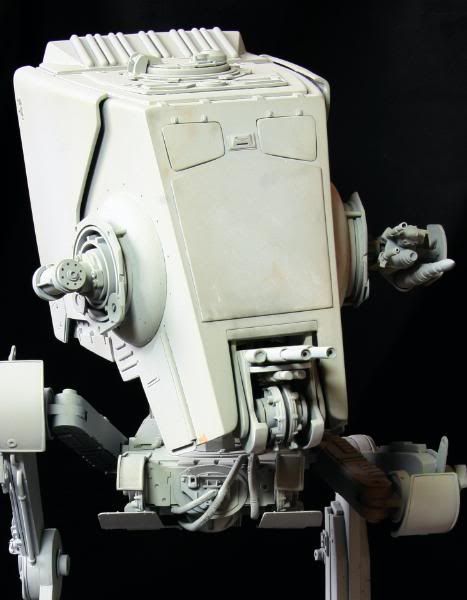
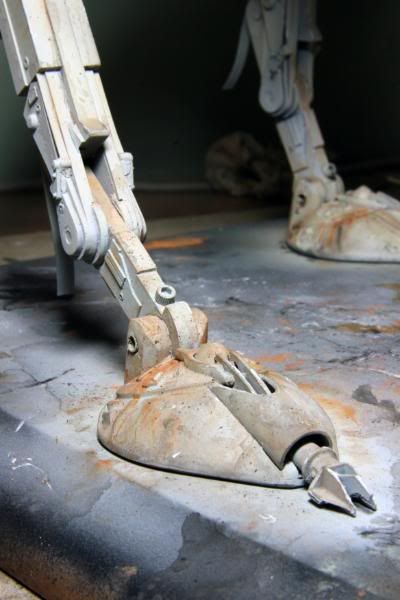
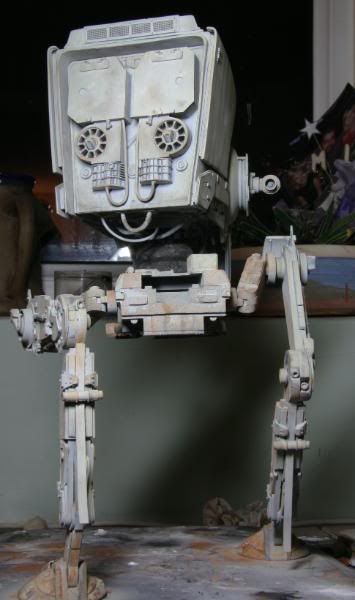
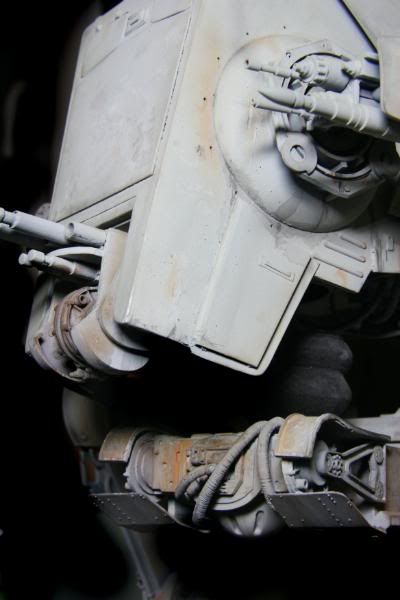
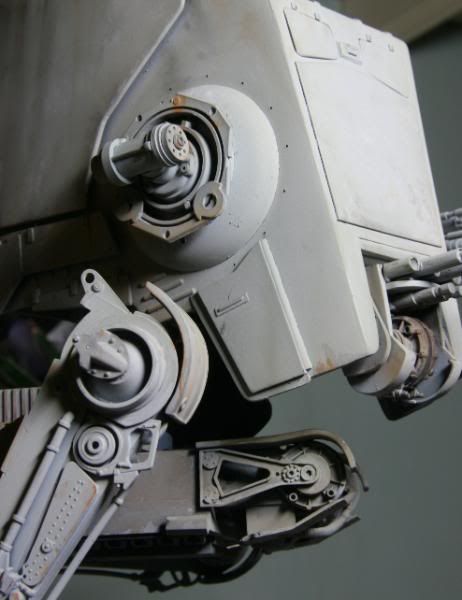
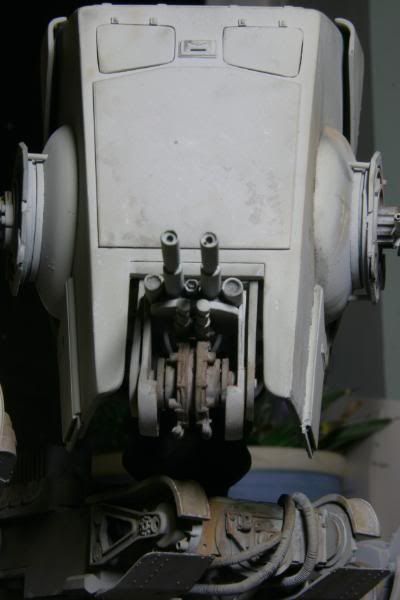
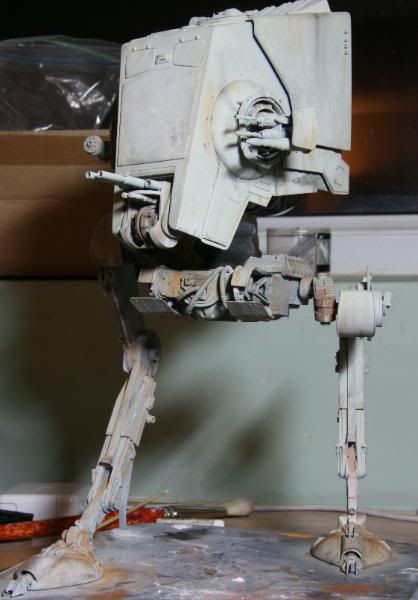
Its starting to look like an AT-ST now, i have undercoated it & then given it 2 coat's of satin black, should have been matt but got the wrong paint. As it happens with the satin black rubbed down a bit before the base coat it looks kinda OK. I mixed god knows how many colors to get to the shade I wanted, mainly Flat white,medium grey, a few grey/blue & grey/green with a touch of deck tan (my fav) for warmth. Then it gets silly....the color was right but too light so I gave it a mist with a Buff/grey/green mix... now too pink. Another mist, of white this time to tone it down & then a strong mist of my Fav to blend it all together. The look I want is a hybrid of all the studio At-ST's mainly the 2 footer with some 1/1 scale thrown in. I no its not going to look accurate to the scale version its taken from but I'm the one who has to look at it everyday, so stop picking on me :)

The weathering is all pastel except some acrylic & knife work. Its about 30% done but I'm going a bit snow blind & its time for a break.
goodat3.jpg

goodat1.jpg

goodat2.jpg

goodat4.jpg
 
Re: ROTJ AT-ST & its first steps

Cheer's, I just hope one day to be half as skilled as you bud, that Tie bomber is something else.

It all looks quite light at the moment but as I'm adding a dull or satin coat at the end this should darken it down some what, I hope?
 
Re: ROTJ AT-ST & its first steps

Awesome work Guy !

I like the jack idea :D

I have one question though, shouldnt be the "eyes hatches" raised and not flush with the hull ?
 
Re: ROTJ AT-ST & its first steps

Ah-ha, they are not glued in, I prefer the look this way & the mount that holds them wasn't with the kit, its in the post, I hope!!!!. Chances are I'll leave it this way, but you never know, I've got used to it now.
 
Re: ROTJ AT-ST & its first steps

Ok Guy I understand :D But what are those things on the "eyes" so if you havent glued on the doors yet ?

Awesome paintjob anyway, the painting on the foot looks really like the 2ft AT-ST's one ! :thumbsup
 
Re: ROTJ AT-ST & its first steps

Wow - after years of looking at the ERTL kit and the Hasbro AT-ST a replaica actually looks "off" to me - How stupid is that :lol

Looks great!

Jedi Dade
 
Re: ROTJ AT-ST & its first steps

Time to stop for the day/night. Its around 70% done. I tried a Games workshop satin coat on one foot to see how dark it would go....Too dark...BUGGER.
Other foot
IMG_3307.jpg

IMG_3309.jpg

IMG_3303.jpg

I should have painted while it was disassembled but you live & learn, getting in to the tight area's is bloody tricky!
IMG_3304.jpg

IMG_3305.jpg
IMG_3306.jpg

IMG_3301.jpg


Still just pastels but I'm thinking ahead for tomorrow & how to fix it with out the darknes, Any ideas?
 
Re: ROTJ AT-ST & its first steps (update)

Guy

Try some testors dullcote buddy, its tricky to get here, but mooch around and you will find it, its what i use and i have no problems such as buddy.

lee
 
Re: ROTJ AT-ST & its first steps (update)

Very nice, very inspiring for when I build my kit...thank you for sharing!
 
Re: ROTJ AT-ST & its first steps (update)

Guy

Try some testors dullcote buddy, its tricky to get here, but mooch around and you will find it, its what i use and i have no problems such as buddy.

lee

Agreed, that is the best dullcote I ever used. Never had a problem with it.

Thomas
 
Back
Top