Rebel Blockade Runner Build

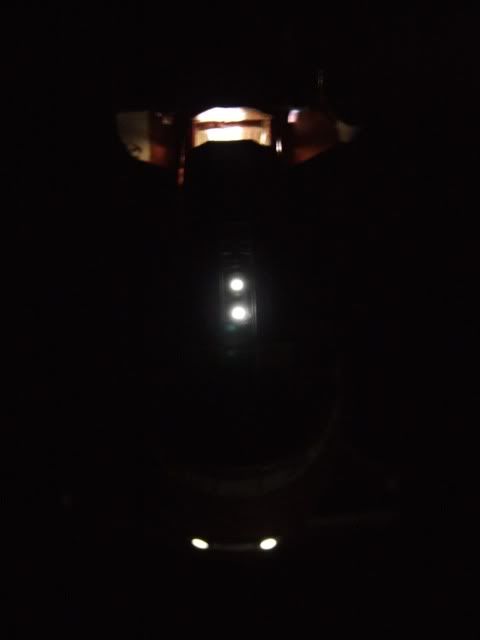
I've spent an hour or so looking at the issue of lighting the SD. I was going to go with my own circuits made from Maplin resistors and LEDS but having re read Vaderdarths build thread, he mentions he went to a store and bought his LED sets from there and he is spot on with that idea.
In the run up to Xmas there are many LED lighting sets out there at really very low prices. A ten set battery pack of warm white LEDS will set you back barely £3. And there is no messing with the soldering!
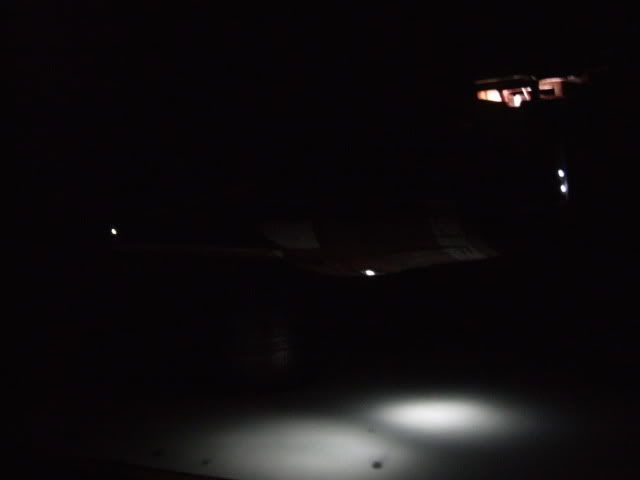
That means you can do the whole ship for about a tenner including the post (UK) and have three separate circiuts- engines and rear, front hull and tower superstructure. And you'll save a ton of time ( which unfortunately you will spend trying to get the top of the SD to match up with the bottom and then drilling all the holes for the lighting).
The only issue will be how you'll decide to end up getting into the SD to put in the batteries on a regular basis.
No luck in the UK for Fibre Optics though, even as part of a cheap lamp. I think I'm going to use the http://www.thefiberopticstore.com in the US. Took me a while to find it for anyone who needs to find a supplier of FB in bulk. At least you can get every type of fibre there, and I think I'll need a ton of it.
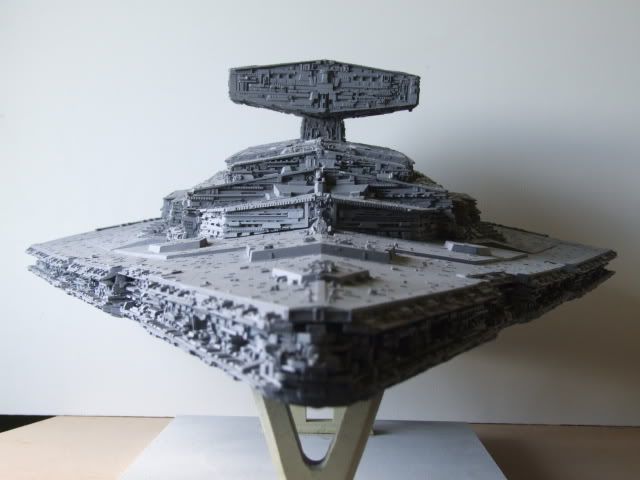
Hope this helps anyone looking to light the SD. It certainly looks fantastic when you do as Vaderdarth did.
 
Last edited:
That's an impressive bit of joinery you've done there, I've been thinking about what might need to be done inside my RC SD to hold it straight over time, I reckon I'll be looking back at your work !

Cheers

Phil
 
Beautiful work! I love the LED work in the engine cones, and the paint job is SWEEEET!
 
Thanks for all the comments- the RBR now sits on a shelf in my space cupboard were I can gaze at her with pride occasionally. The SD goes more slowly as fitting the top plates on so they match the bottom hull was pretty difficult to do (to my inexperienced eye anyway).They are such large pieces and it was difficult to hold them in place whilst test fitting and then gluing them. In the end I used some epxoy sculpt to fill in the lines. Once that was done the rest of it was straight forward and with a bit of warm and shape the SD is almost there.

2008_1031developeSd0009.jpg

2008_1031developeSd0001.jpg

2008_1031developeSd0006.jpg

2008_1031developeSd0007.jpg


The steel rod worked out well and will hold the nose in shape I hope. The two upper hull supports by the tower section will be left loose so I can get into the guts of it. I've decided to cut two thin boards that will hold the leds for the front in place so I can pull them out if needs be for the future. I've order a variety of fibre optics from www.fibreopticstore.com as they seem to have good deals for big orders of fibre and, having watched Barney Fives great SD thread , it looks like I need alot of it.
I'm also going to try and give the SD a slightly battle worn appearance ,as everyone elses builds seem to have covered all the bases with brilliantly clean builds (so it covers the battle after Endor I guess !!). This will help cover up some of my mistakes as well !
So I'm adding cut plates and loads of greeblies ( water line 1/700 battleships as Vaderdarth mentioned are great and cheapish for this) .
I'll take my time with her as there is no hurry to complete . I bought these two back in the summer when the exchange rates were high and the occasional portrait commision helped fund the model purchase. Things wil be much tighter after Xmas I fear.
 
Last edited:
Just a breif update on today. I've been rebuilding the nose and decided that I could improve the appearance of the SD by cleaning up the edge strips which had a lot of nicks and cuts in them. Scrapped of the detail and cut some very thin sheeting to top it. It looks much better now I think- opinions welcome.
2008_1101SDdetail0008.jpg

2008_1101SDdetail0007.jpg

2008_1101SDdetail0001.jpg
 
Well the threads a bit old but now the weathers warmed up a bit so have I and I 've started to build again. The SD is fairly complete, just some small detailing to do then the basic paint up, then I am going to light it up with fibre optics. The painting is bothering me, I have a mind to weather it up very subtly to give it some sense of use, but it will have to be a very carefull job. I'll do most of it before the lighting goes in, otherwise its going to be a pain to do afterwards.
I 've started and almost finished a Radiant . This is a cracking kit and very well cast with very little clean up or bubbles. It was quite easy to put together but the paint job is very demanding. The masking to get the white detailing in was a real pain, but shes a heavily weather craft which I have enjoyed doing!

2009_0809Radiant0028.jpg


2009_0809Radiant0019.jpg


2009_0809Radiantlight0036.jpg


2009_0809Radiantlight0032.jpg


2009_0809Radiantlight0030.jpg


2009_0809Radiant0021.jpg


2009_05070112.jpg
 
Thanks Vaderdarth, I wish the SD had been as easy as the Radiant to build but the sheer size of it made it difficult to get all the sections to line up well and tightly. In the end when I got her pretty much balanced together in early November I decided to leave her to sit to see if there were any major changes in the shape before finishing her off as I had been told to expect some warping and sagging with the resin ,but she came through the winter ( warm central heating and then cold rooms) without any noticable alterations.
But then I did over do it with the internal strutting and supports.Now I am happy to move ahead with the final detailing and lighting she appears to be fairly robust. Basic paint first then drill, drill ,drill those fibres in. If I can get it close to yours I'd be very happy indeed.
I liked building the Radiant alot though. Its just a nice looking ship and I enjoy the weathering and painting process (depite all the masking!). Shes finished now apart from permanently attatching the engines with a couple of internal brasss rod supports which will be quite easy once I pick it up.

2009_0811Radiantfinished0007.jpg


2009_0811Radiantfinished0015.jpg


2009_0811Radiantfinished0001.jpg
 
Thanks for your comments gentlemen, having seen the incredible standards of work that both of you have brought to your builds and product I 'm well pleased with that kind of feedback. The painting colour mix took a little while to get right but she had a grey, then red oxide undercoat with masks which made the "paint chipping" work come out well in the end .
Makes me want to work that bit harder on the SD. The only issue with her is the complete lack of weathering on her hull. The scale plus level of detail on her means it is going to have to be really ,really subtle or it will look very wrong.
I'm also trying to "lift" the hull plate scribing very finitely by scribing the leading forward edge of a plate at an angle. When the light catches it looks alot more distinct. Some of the lines are weak anyway and need redoing after an undercoat but it will be a long process.
I do really like painting anyway, it plays more to my strengths than a builder. And I do like them challenging ! Randys Sandcrawler should be terrific and keep me going for weeks with undercoats, liquid masks and resprays but funds may limit me this year, unlike last. We will see how it goes.
 
Just some update photos- the entire bulk of the SD is finished.
I took a break from threading in the fibre optics, which is perhaps the most boring bit of this build by a mile and gave her another undercoat of grey, rescribed some lines and have put all the pieces on her. I simply had to have a look at her fully built because I'd waited long enough and at the rate I'm threading its going to be a while yet. She is held together with tape, and the hull superstructure are still not attatched as I've to fiinish the fibre and wiring but it was kind of a thrill to see her all together.
Unfortunately the last spray revealed all the little niks, cuts and few remaining air bubbles but I'll get them shifted later.
I may add some more bits, when you look at the refference there are a lot of thin wires and fine detail that no casting can capture that can still be added but its a lot of extra work and I really want to get the lighting done so I can start get to work with the airbrush and pencils.
Its a difficult build to leave and be satisfied with because it simply is so large. Still I have to admit I heard the ghostly echos of the Imperial March when I saw the photos. Randys kit is a hell of a ship once its built!!

2009_0525SDF0010.jpg


2009_0525SDF0016.jpg


2009_0525SDF0011.jpg


2009_0525SDF0014.jpg
 
Fantastic. This and the Blockade Runner are to me the two most iconic ships in all of sci-fi and you've done them both a great deal of justice. :thumbsup
 
Thanks jme3 for the feedback. I was given some SD site reference to look at and decided to add a bit more to her as a result . The engines although very chocker with detail had some finer structures that would be impossible to cast easily I would think, so I went to the model shop and got wire and tubing.A couple of evenings work with pliars and glue and its its almost ready for a spray again. The white tubes need some detail gluing to them to make them more like piping and they are slightly larger than in the model but they were there. The first photo is the before as it comes.

2009_0525SDF0002.jpg


2009_0529detailSdr0009.jpg


2009_0529detailSdr0007.jpg
 
Back
Top