Since I was inspired by the recent work of frosty I thought I'll give it a try to make my own Luke severed head.
The goal is: Get the thing done in just a few days with the best possible result and to keep everything as cheap as I can. The plan was to cast Marks face in alginate and then make a plaster bandage mother mold (el cheapo mold making). Then pour in some left over clay, demold the piece and attach it to a generic bust. The face of the bust was cut away with my trusty kitchen bread knife - since the weather is horrible everything has to happen in the flat (bathroom and kitchen).
Then the clay positive will be attached to the prepared generic bust and a layer of clay is applied to the rest of the bust in order to get a uniform result - a full head of Mark.
To illustrate the whole process (I just finished 10 minutes ago) I took some crappy pics during the fun:
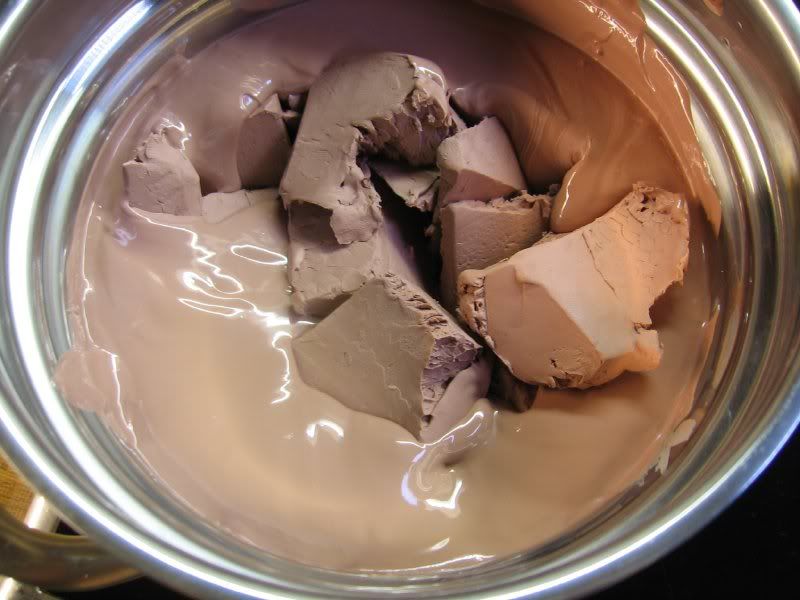
First, get a double boiler and put in some chunks of clay:
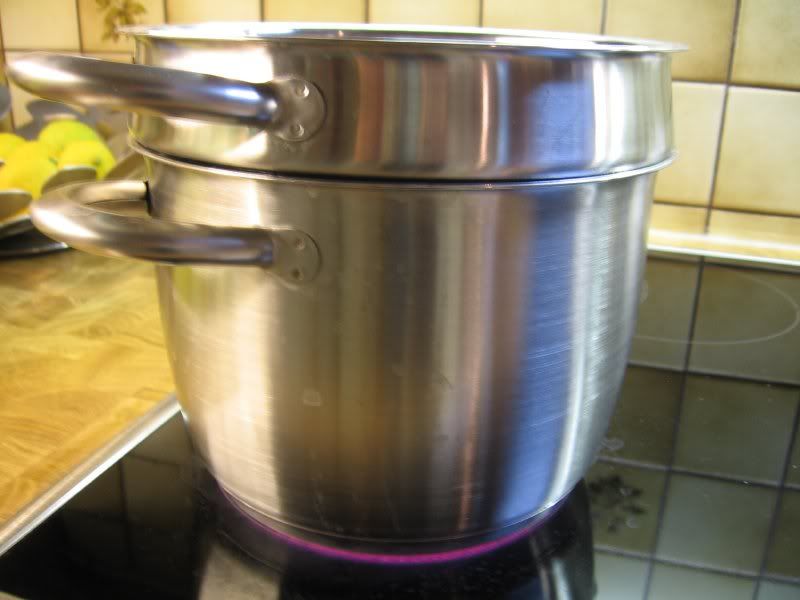
The clay will start to melt at some point, just be patient - it takes some time to melt the clay this way but with this method I ensured that the clay won't get too hot!
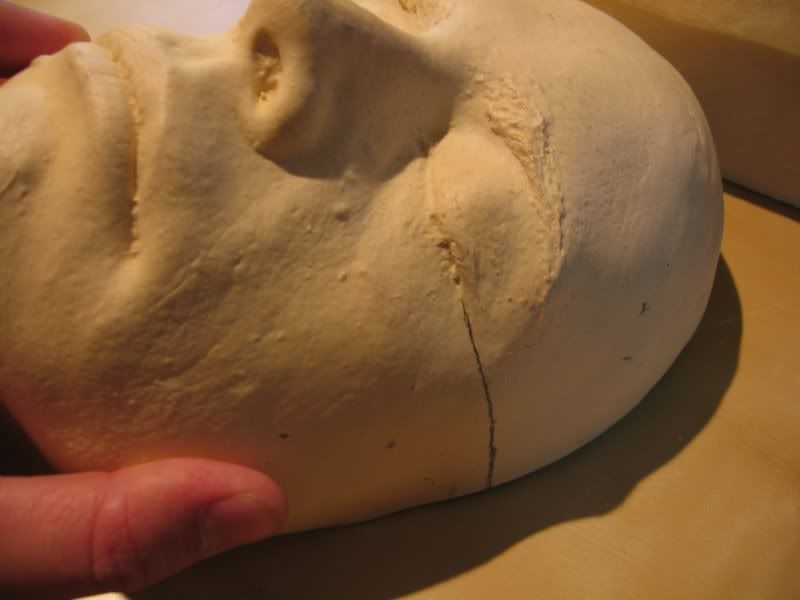
In the mean time, let's have a look at the lifecast of Mark. Normally the eyes and the ears line up on a human being. That said I took a pencil and made a line on both sides as good as I could.
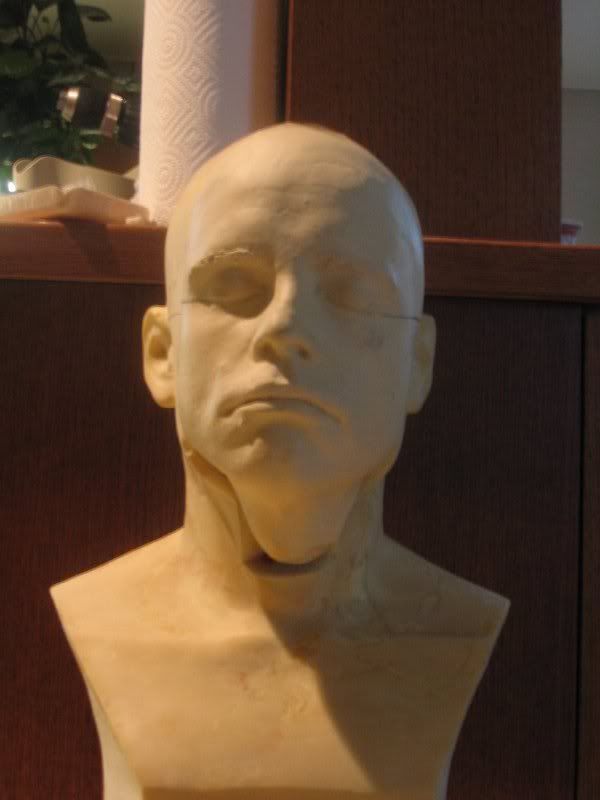
Did the same on the generic bust and cut off its face. Then just for a small test, I attached Marks face to the generic bust via scotchtape. Doesen't look that bad :lol
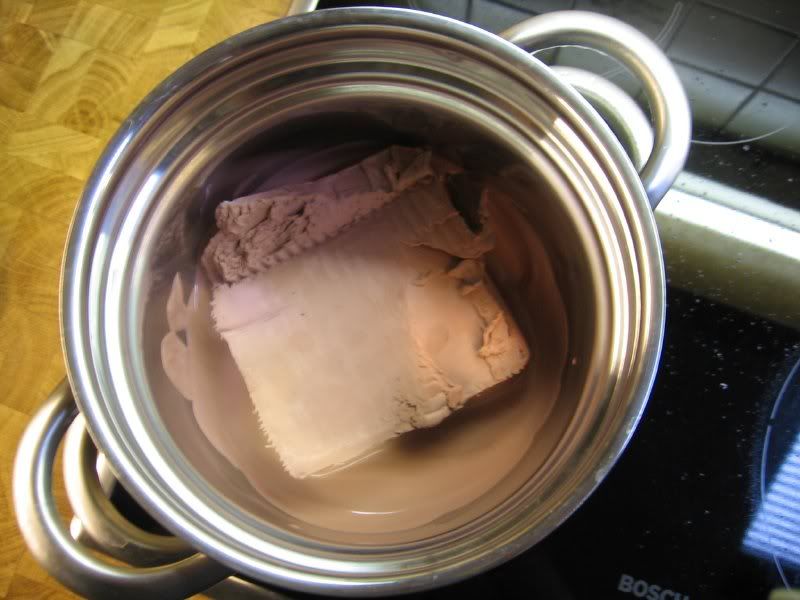
Time went by and as the clay started to meld more chunks of the stuff was added. Be sure to melt enough clay to build up a good thickness when pouring the clay - ending up with too less could be a problem as melting more during the casting process takes much time!
Give the clay some time (I waited 2-3 hours...I know this goes a lot quicker but I only used the stuff I got handy!) and just start to mix up some alginate. Since we have no handle in the back of the fiberglas cast we need to ensure that the positive releases easily from the mold. To achieve this just take some vaseline and smear a REALLY THIN amount on the whole face, covering EVERY spot. Critical spots are the nostrils, the brows and the lips. After the alginate cured I wrapped the whole thing up with plaster bandage to give it the support that it needs. The result was not the best as you can see - several imperfections as air bubbles. Demolding the piece was a charm!
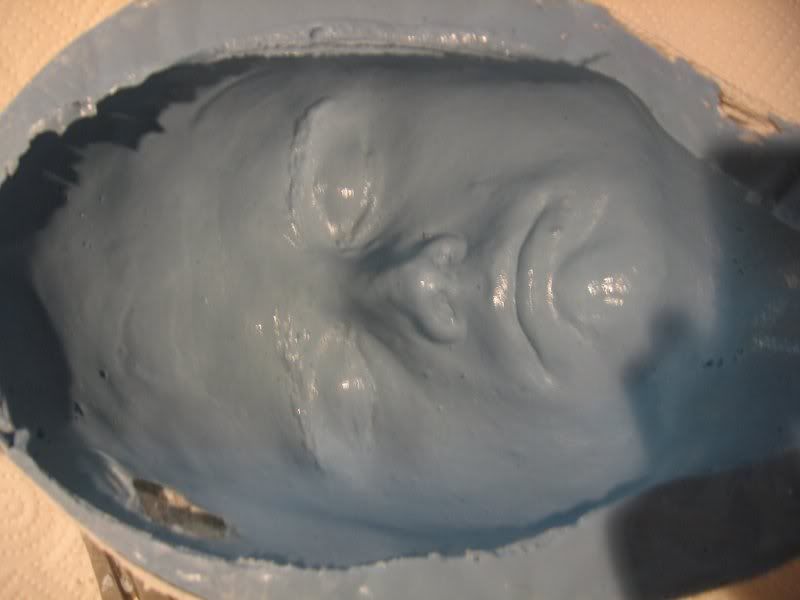
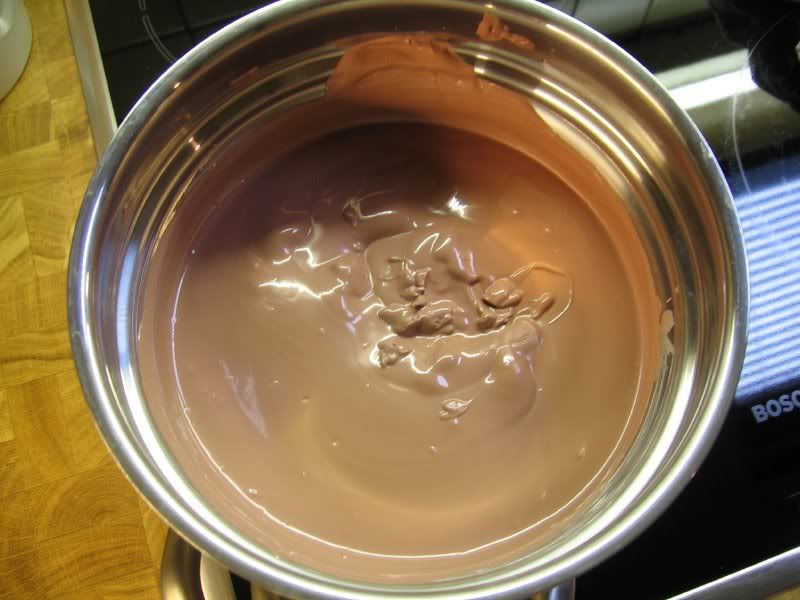
Let the plaster mother mold cure. Tap a pencil on it...when the note is high the stuff is ready for demolding. In the mean time the clay melted all the way through:
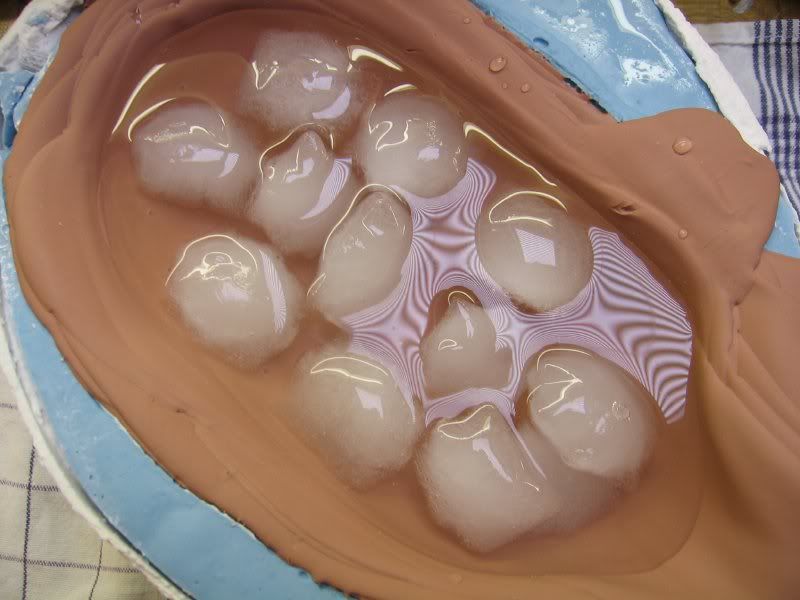
Now the mold was prepared for pouring the clay. Wipe off any residue of the vaseline and any moisture inside the mold. Now the clay was poured. Be VERY careful when doing so - this stuff hurts when it gets on your skin. The mold was filled to the top with the clay, then poured back everything leaving a thin coat. This was repeatet on and on till a good thickness was reached. In order to speed up the cooling process, I put some ice cubes and cold water in the mold:
The moment of truth: Demolding the piece. It came out better than I've expected. Of course some imperfections but nothing terrible all easy to patch up with some clay slurry and tooling.
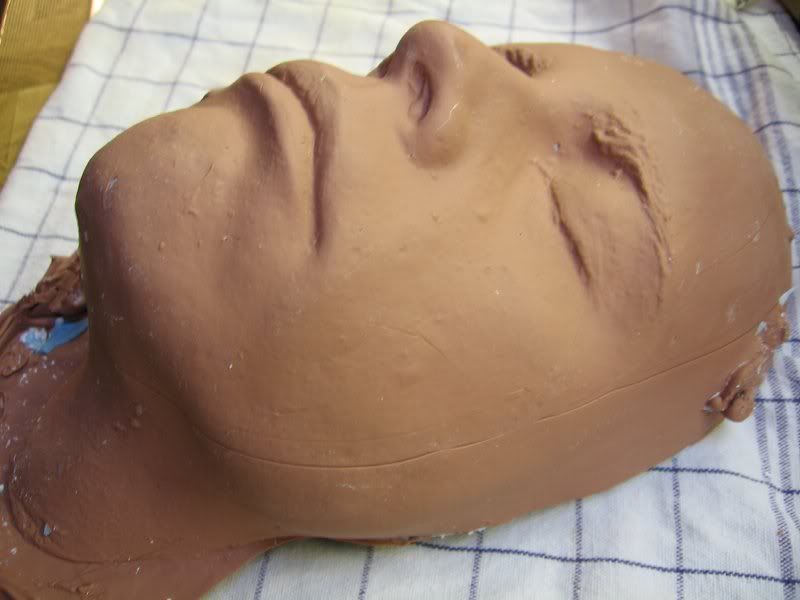
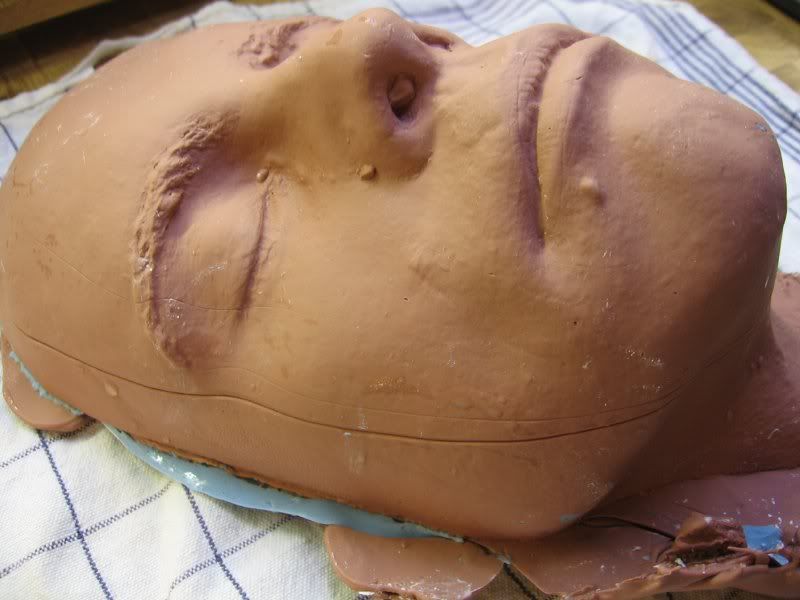
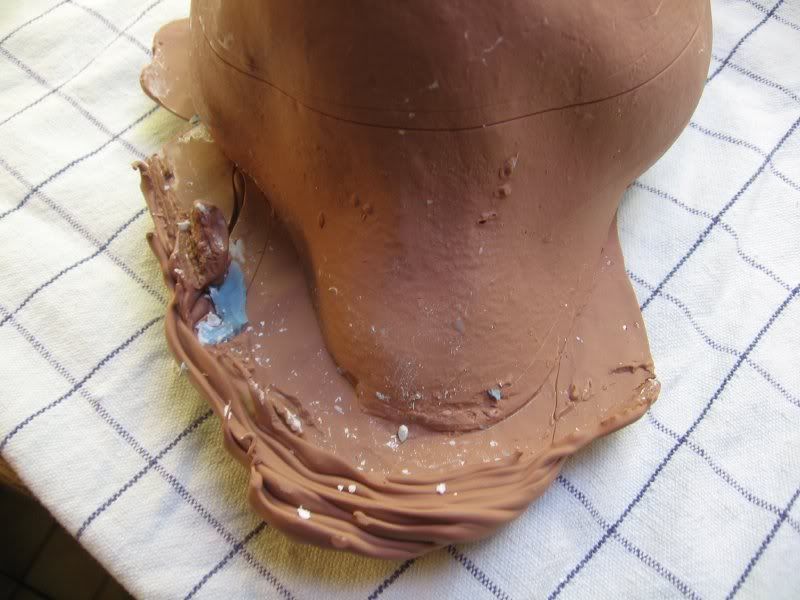
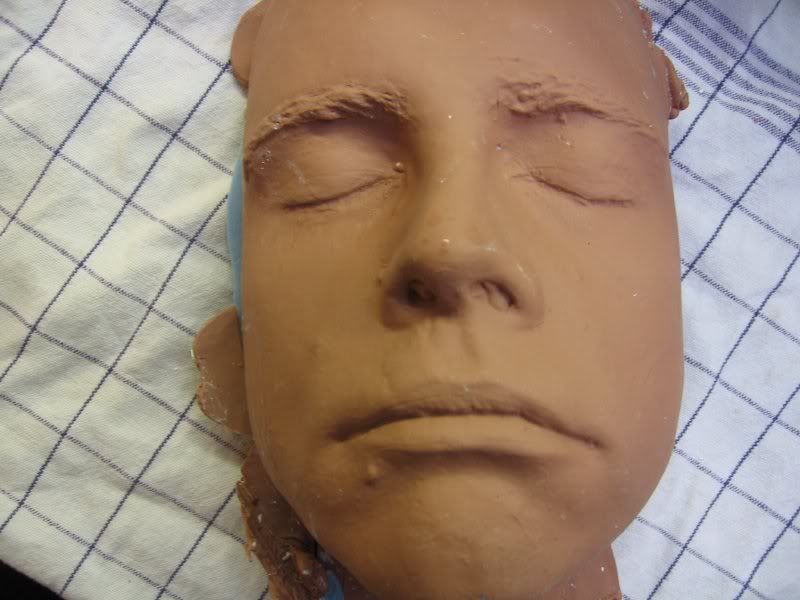
The whole thing roughly trimmed:
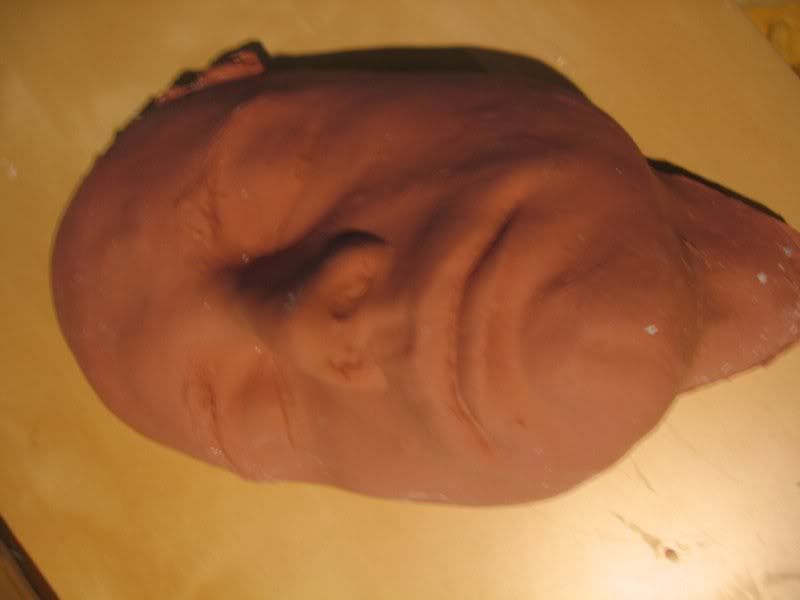
No I'm just about to make the clay cast and the generic bust fit together...more pics coming soon.
Thanks 4 interest.
The goal is: Get the thing done in just a few days with the best possible result and to keep everything as cheap as I can. The plan was to cast Marks face in alginate and then make a plaster bandage mother mold (el cheapo mold making). Then pour in some left over clay, demold the piece and attach it to a generic bust. The face of the bust was cut away with my trusty kitchen bread knife - since the weather is horrible everything has to happen in the flat (bathroom and kitchen).
Then the clay positive will be attached to the prepared generic bust and a layer of clay is applied to the rest of the bust in order to get a uniform result - a full head of Mark.
To illustrate the whole process (I just finished 10 minutes ago) I took some crappy pics during the fun:
First, get a double boiler and put in some chunks of clay:

The clay will start to melt at some point, just be patient - it takes some time to melt the clay this way but with this method I ensured that the clay won't get too hot!

In the mean time, let's have a look at the lifecast of Mark. Normally the eyes and the ears line up on a human being. That said I took a pencil and made a line on both sides as good as I could.

Did the same on the generic bust and cut off its face. Then just for a small test, I attached Marks face to the generic bust via scotchtape. Doesen't look that bad :lol

Time went by and as the clay started to meld more chunks of the stuff was added. Be sure to melt enough clay to build up a good thickness when pouring the clay - ending up with too less could be a problem as melting more during the casting process takes much time!

Give the clay some time (I waited 2-3 hours...I know this goes a lot quicker but I only used the stuff I got handy!) and just start to mix up some alginate. Since we have no handle in the back of the fiberglas cast we need to ensure that the positive releases easily from the mold. To achieve this just take some vaseline and smear a REALLY THIN amount on the whole face, covering EVERY spot. Critical spots are the nostrils, the brows and the lips. After the alginate cured I wrapped the whole thing up with plaster bandage to give it the support that it needs. The result was not the best as you can see - several imperfections as air bubbles. Demolding the piece was a charm!

Let the plaster mother mold cure. Tap a pencil on it...when the note is high the stuff is ready for demolding. In the mean time the clay melted all the way through:

Now the mold was prepared for pouring the clay. Wipe off any residue of the vaseline and any moisture inside the mold. Now the clay was poured. Be VERY careful when doing so - this stuff hurts when it gets on your skin. The mold was filled to the top with the clay, then poured back everything leaving a thin coat. This was repeatet on and on till a good thickness was reached. In order to speed up the cooling process, I put some ice cubes and cold water in the mold:

The moment of truth: Demolding the piece. It came out better than I've expected. Of course some imperfections but nothing terrible all easy to patch up with some clay slurry and tooling.


The whole thing roughly trimmed:

No I'm just about to make the clay cast and the generic bust fit together...more pics coming soon.
Thanks 4 interest.
Last edited:
