OK, I've hit a speed bump and it's been bugging me all day. Or at least the 2/3 of the day I wasn't drugged up with an IV in my arm. I didn't care about a whole lot except cookies for that portion of the day.
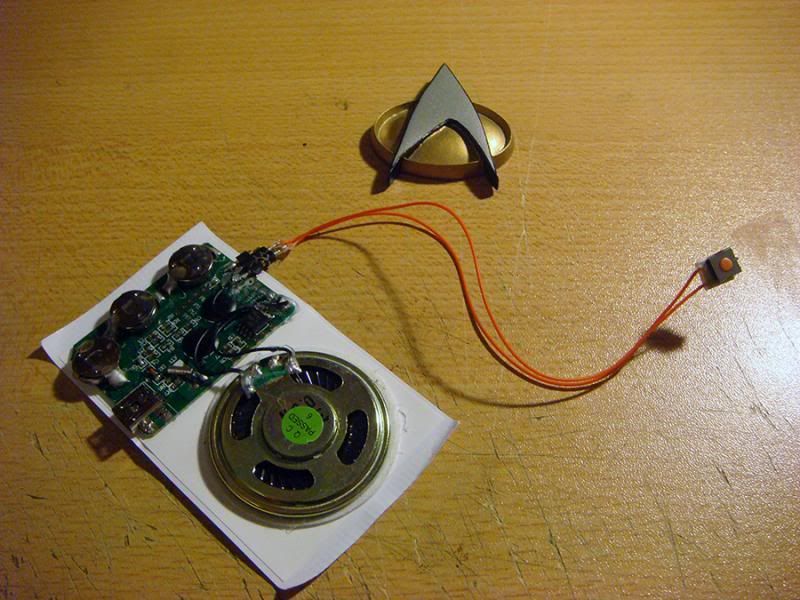
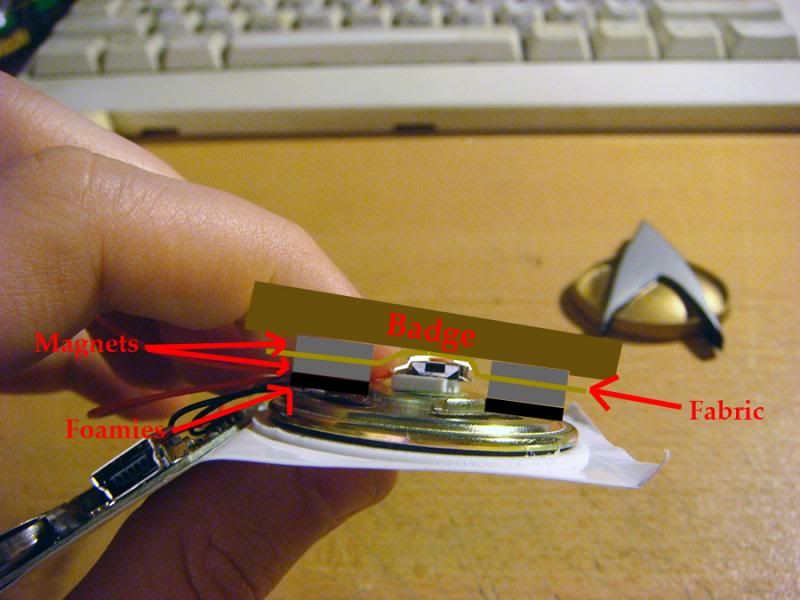
Anyway, so say you've got your button mounted on the perf board, or directly to the speaker, or whatever. Then you've got your magnets mounted on either side, and attached to the comm badge as well. The two halves are on either side of the uniform fabric. Here's the part I didn't even think about: How do you make the button work now? If the height of the button off of the perf board is more than the magnets, then they either won't stick or the force of the magnets will make the button press down all the time. If you give them more space, you won't be able to push the badge down at all because the magnets aren't squishy. I'm open to suggestions.
")