Maelstrom
Sr Member
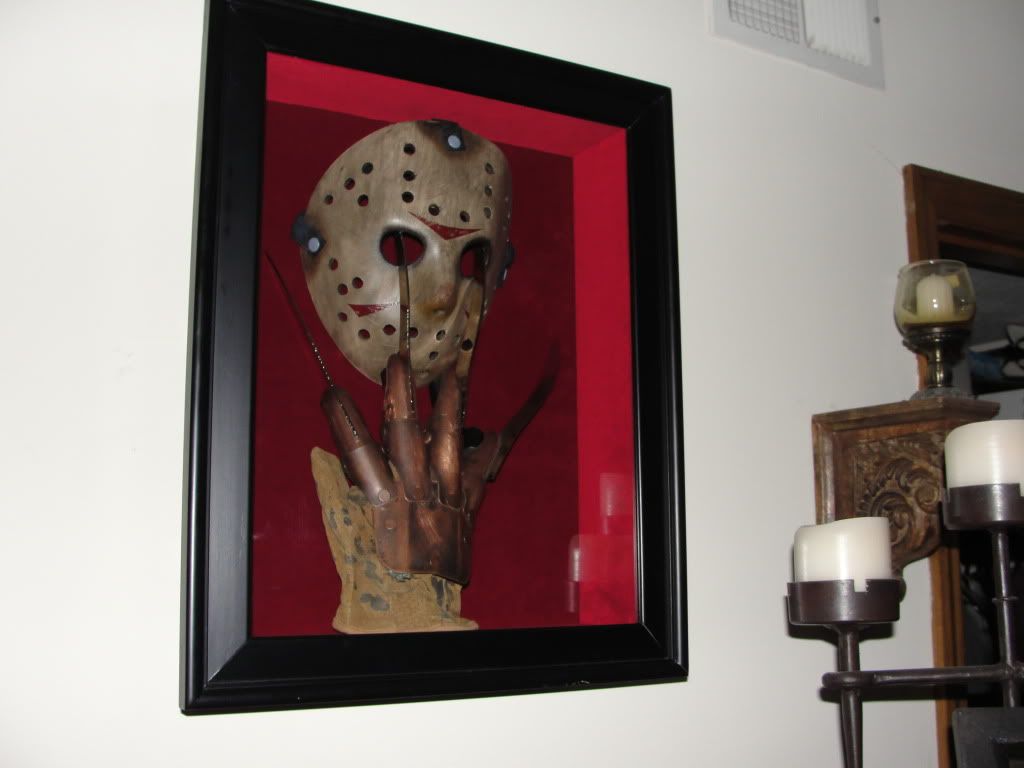
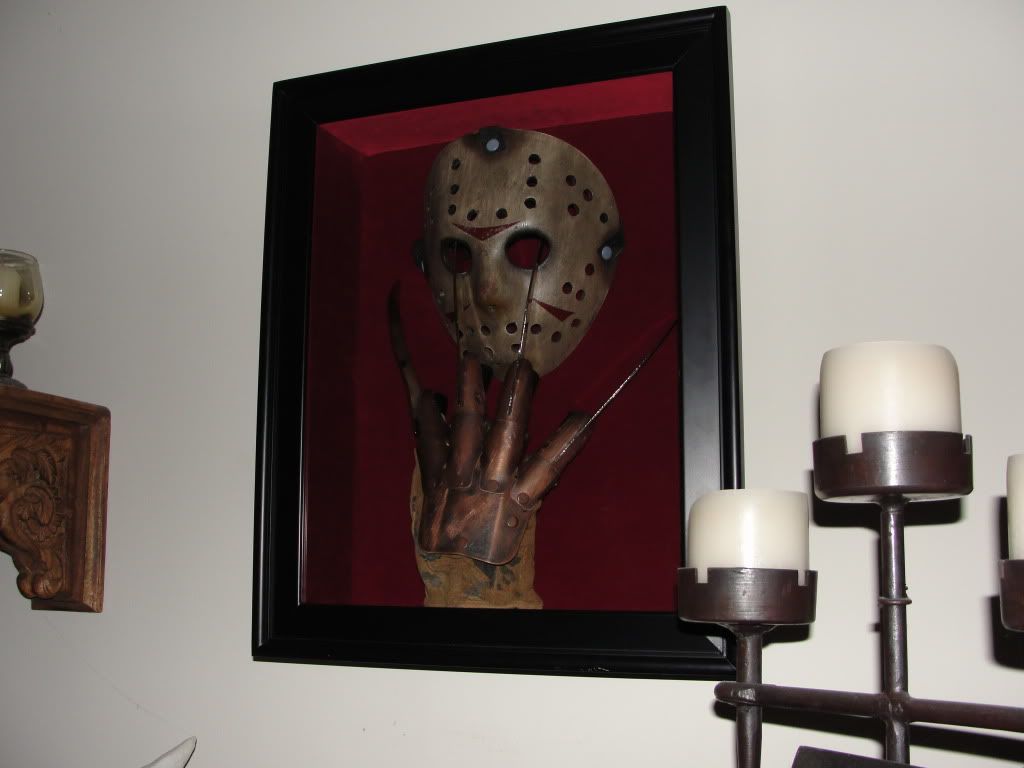
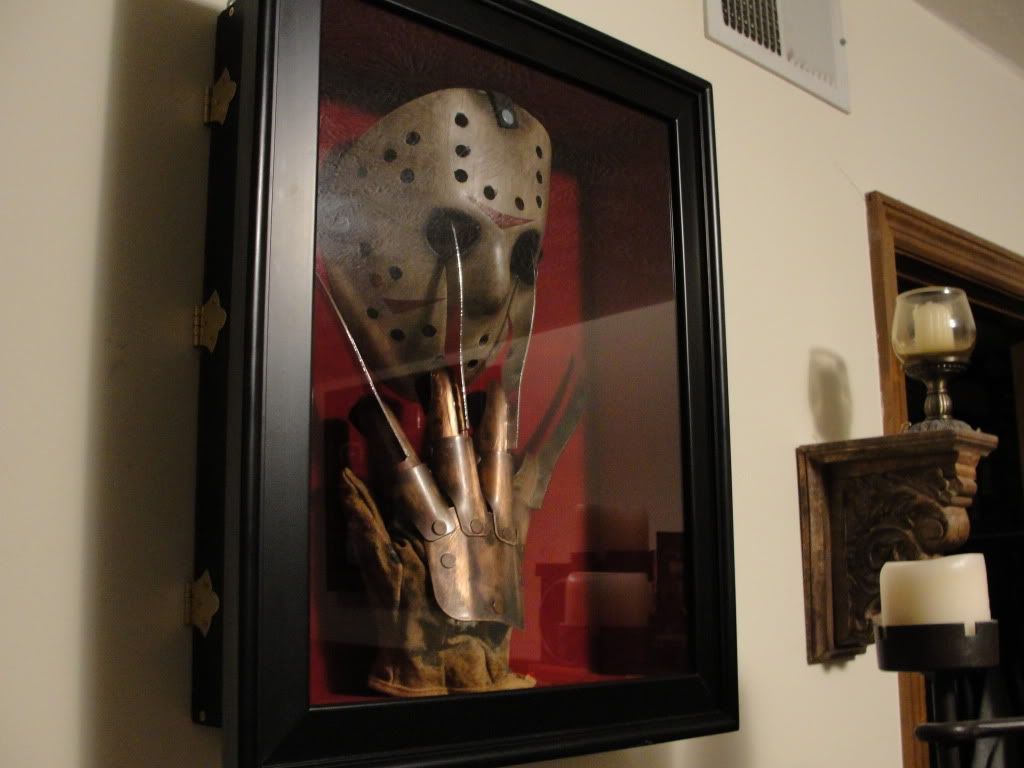
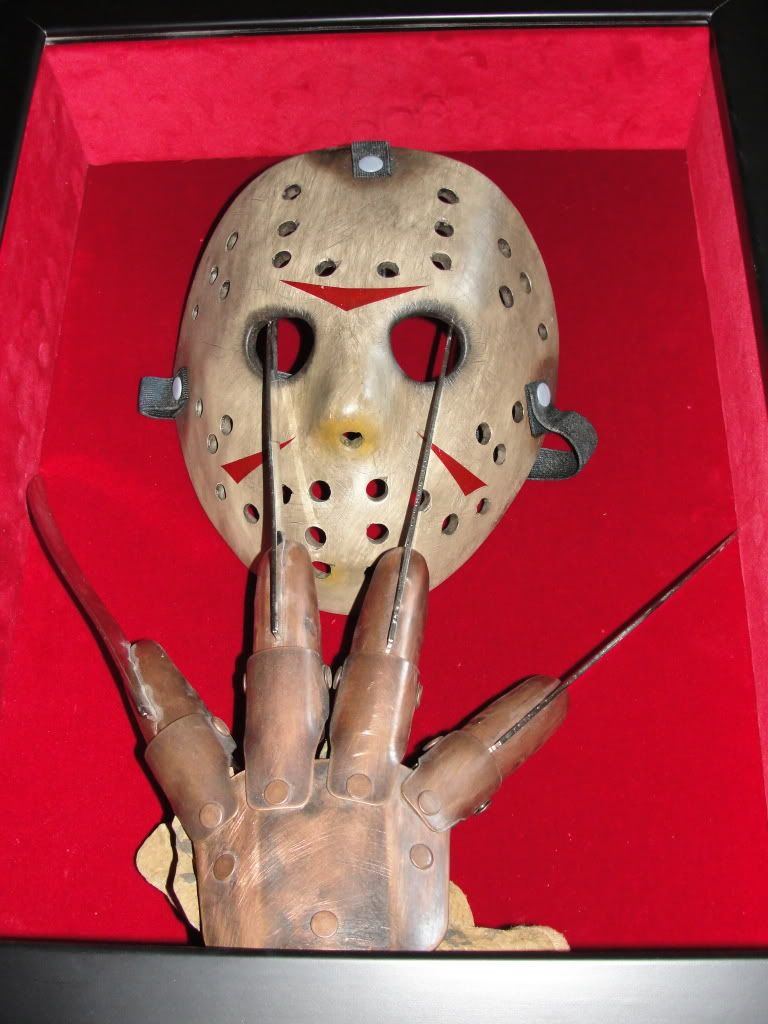
Thought I'd share a few pics of the display I'm currently working on for the latest NECA Jason mask and to put the Rubies Deluxe Freddy Glove with it to kinda re-create the NECA vs. shadowbox display...
Since I was going to be building this in my apartment without the benefit of powertools I decided to build a frame that would attach to the back of a picture frame. So instead of the front opening up as on a regular shadowbox this one would have a separate back on hinges that would open.
I got a picture frame from Wally World that the opening measured 14x18 without the matting material inserted and built the frame...
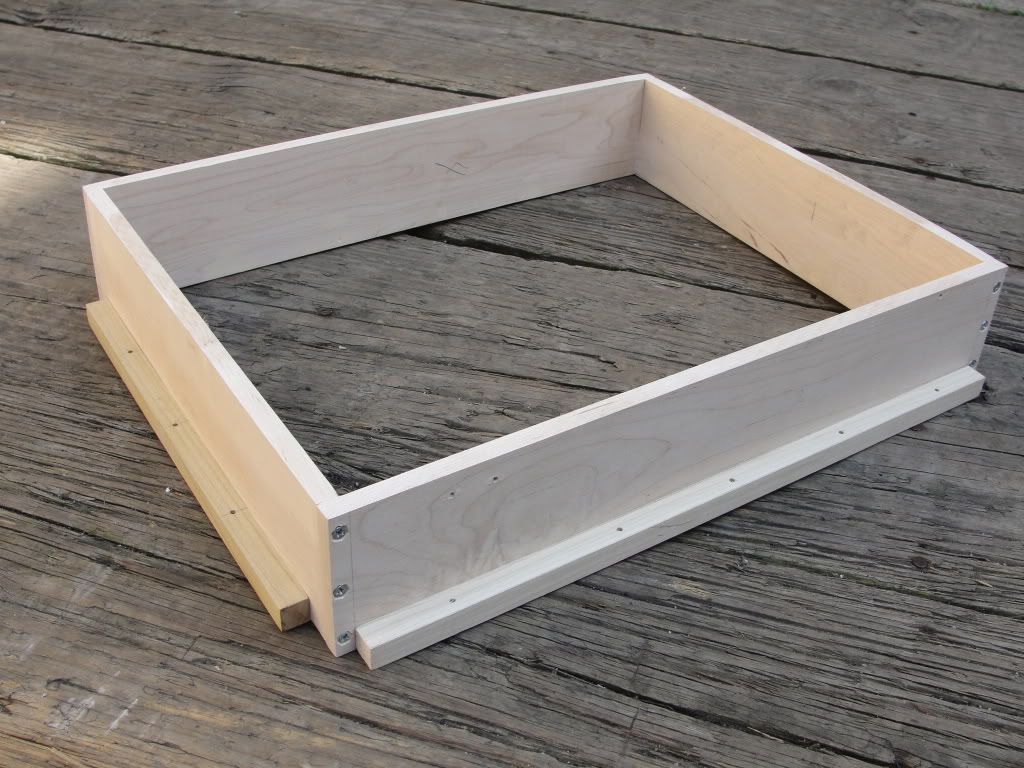
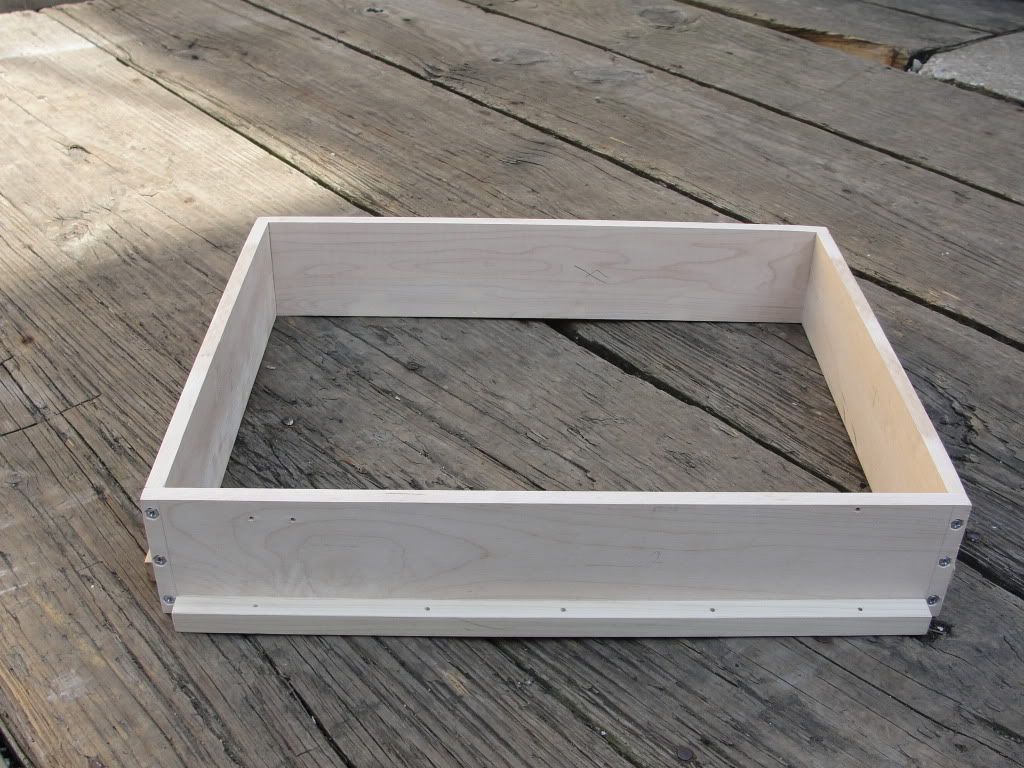
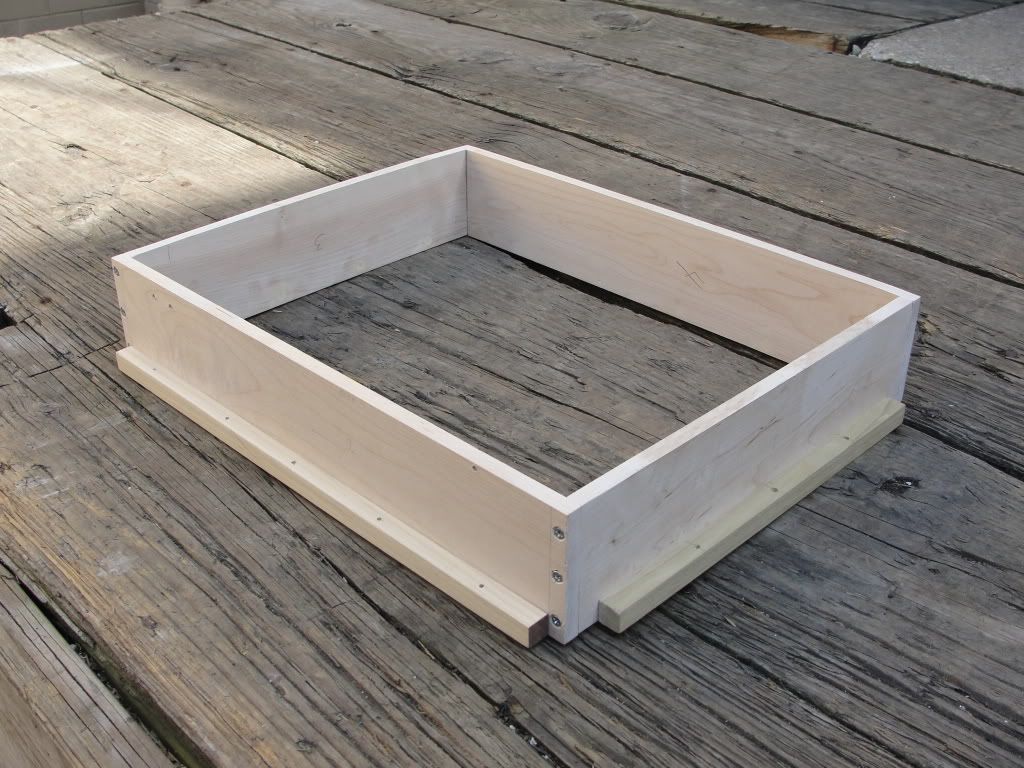
Now I grew up around woodworking so please don't bust my chops about not using mitered or dovetailed corners. In my Dad's shop...no problem. In my apartment w/o powertools...problem :lol
Next I sprayed the wood pices of the boxframe with black furniture laquer and once that was dry I covered the inside edges with red velvet from Hancock Fabrics (and no...It is NOT a fabric store owned by Will Smith! ) and then attached the boxframe to the picture frame...
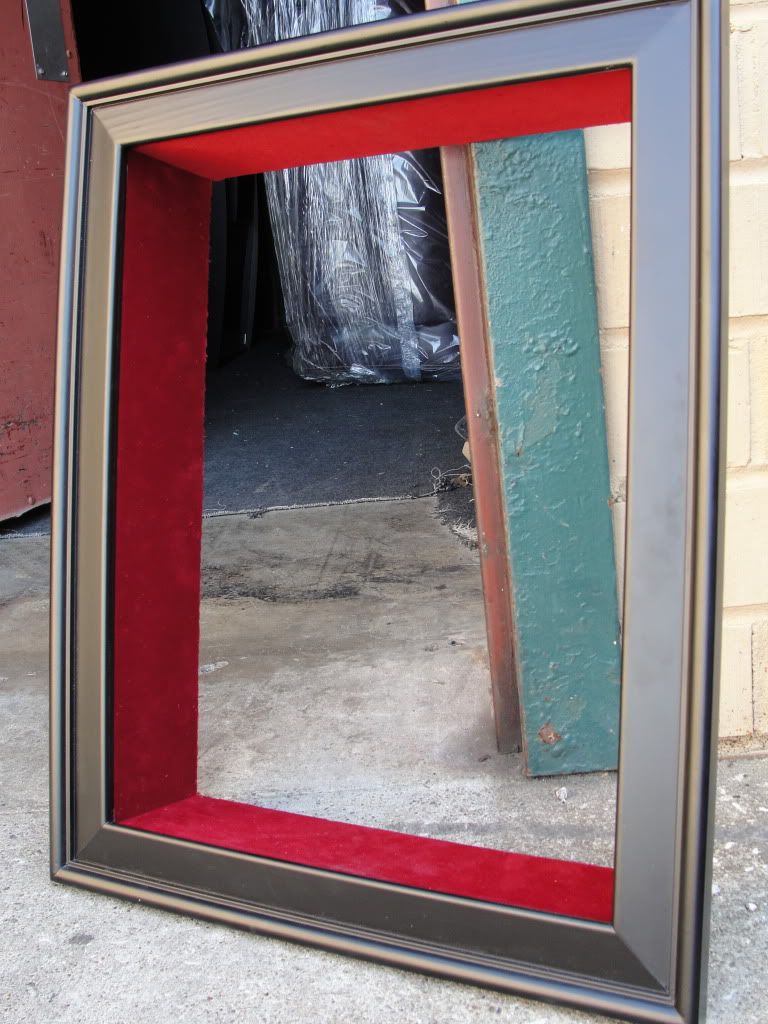
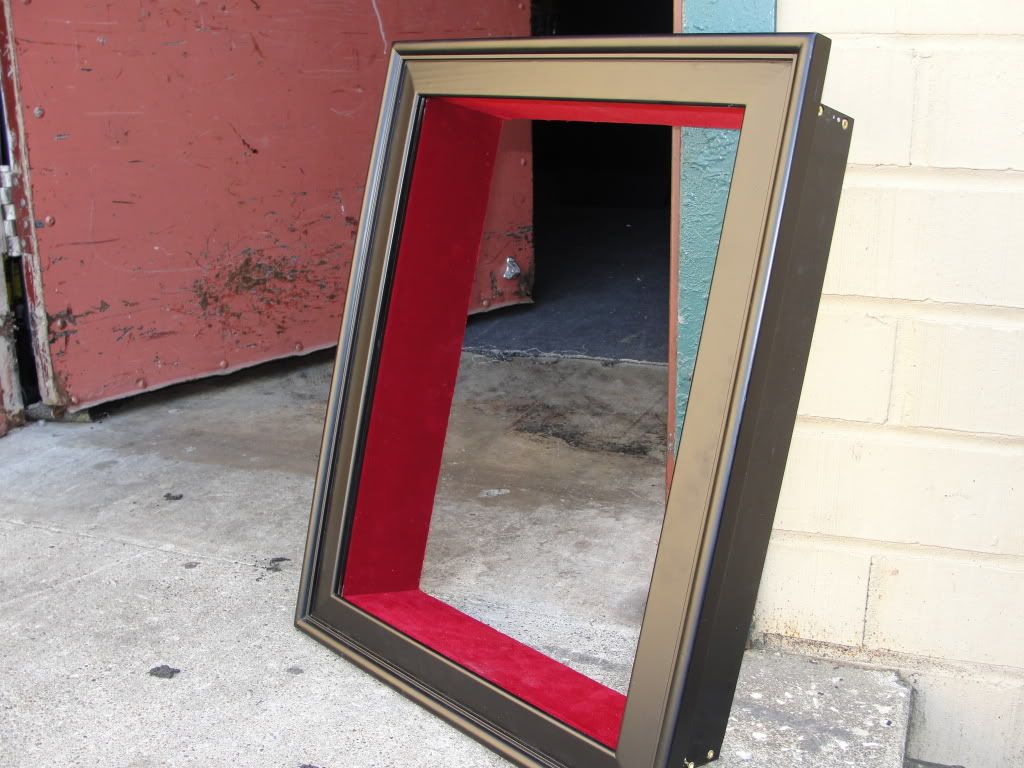
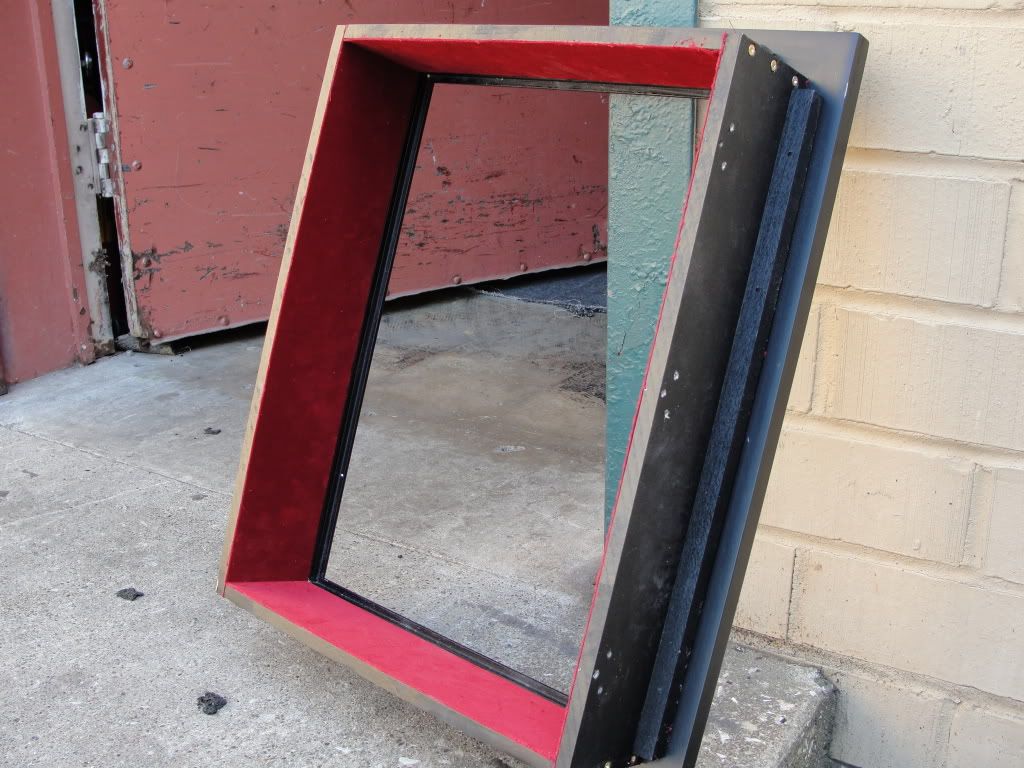
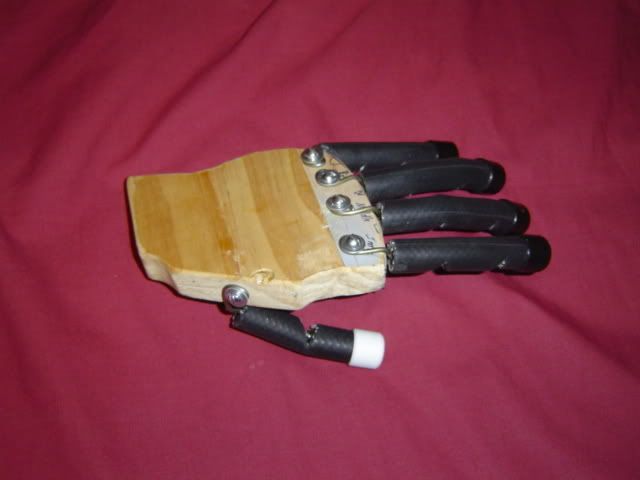
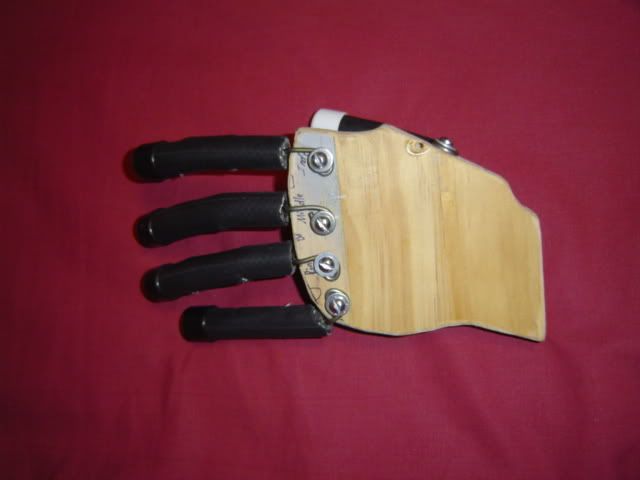
Now with the back piece cut, velveted, hinged and "catched" on I have the pieces just setting in there at the moment. Still have to affix the glass in the front, build a hand to properly display the glove and position the mask, but you will get the general idea from this...
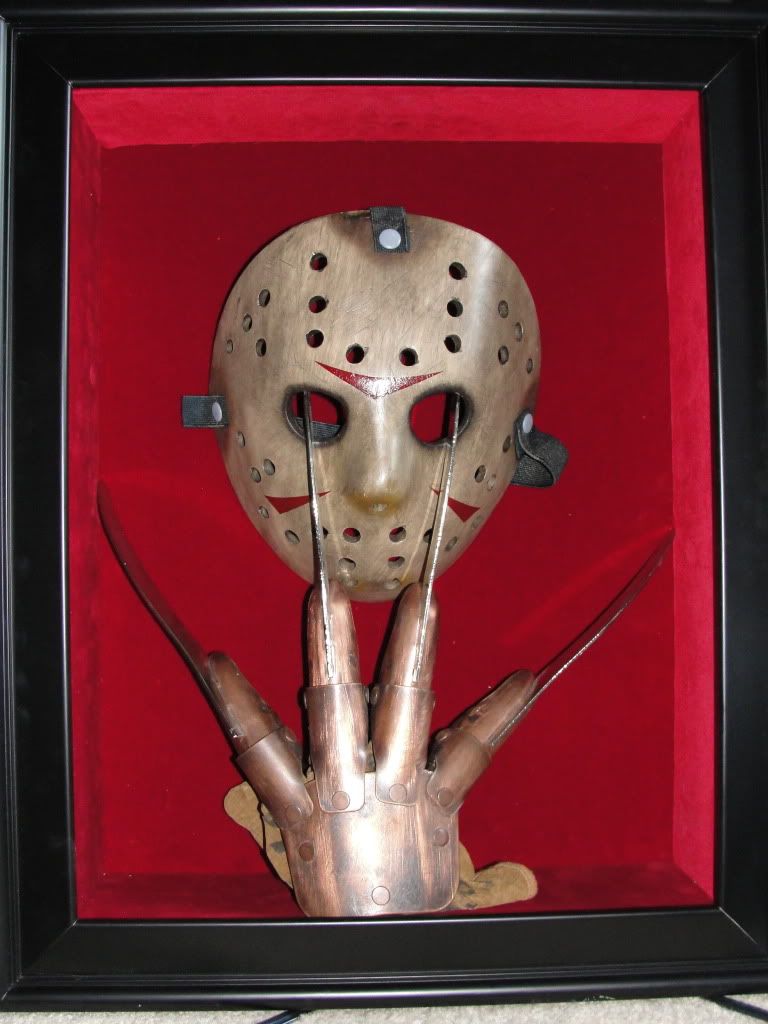
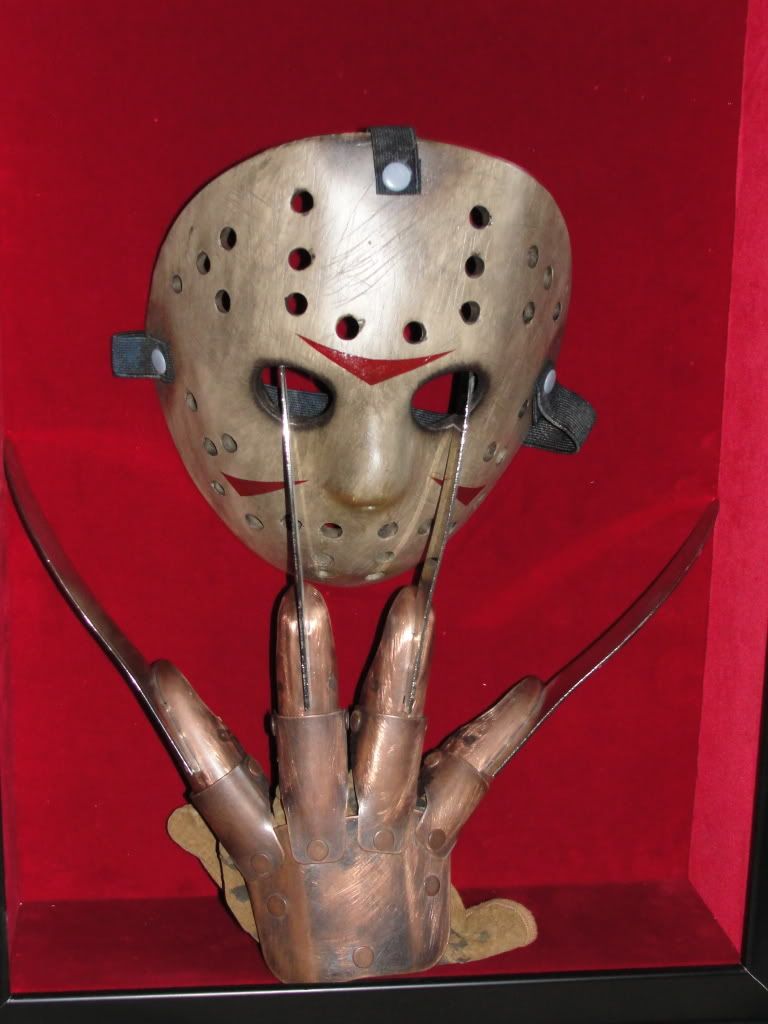
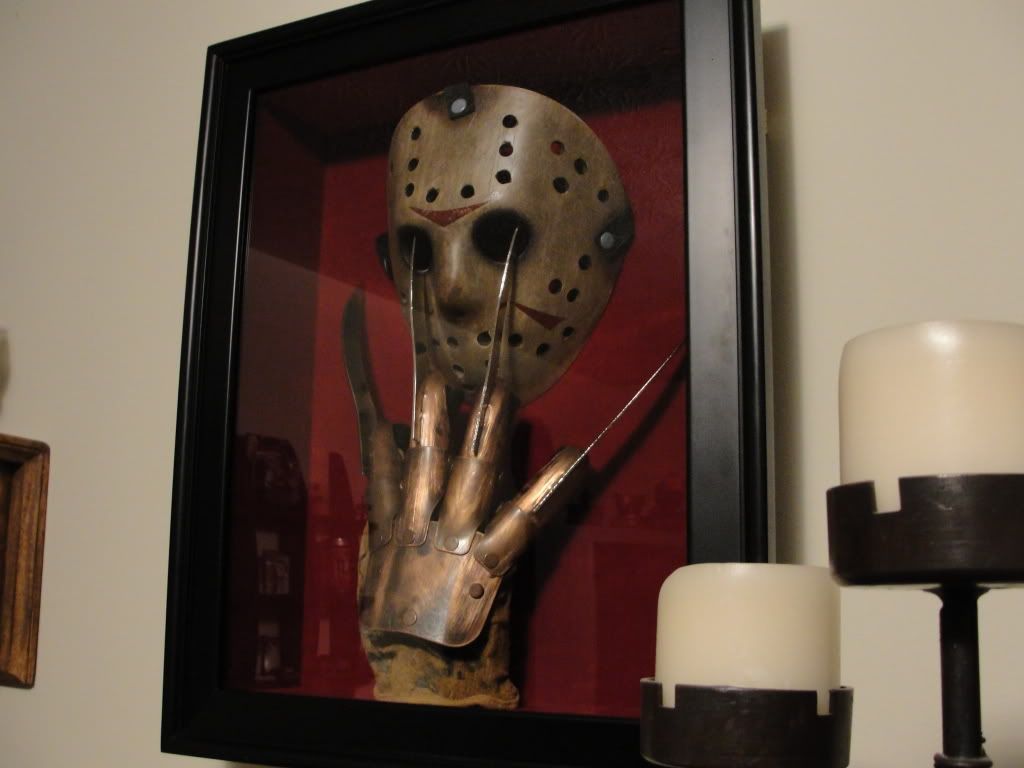
And for some reason I really like the lighting on this last one when it comes to the mask...
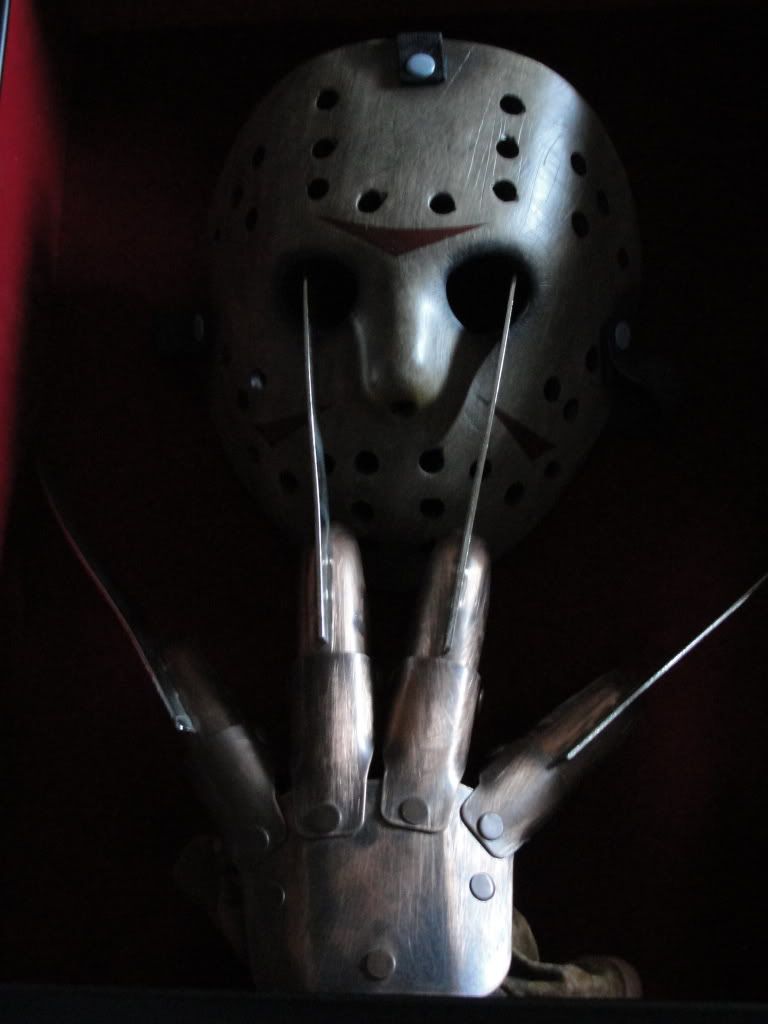
Okay...so there it is so far. Once the shadowbox part is completed there is still soooo much more I want to do.
* Change the straps on the mask to look more accurate, being in the wrong hole doesn't bother me so much as the crappy elastic and grey plastic fasteners.
* Change the "leather" glove to a leather glove with much better aging/weathering done to it
* Will probably replace the knives also with a set from one of the websites offering them and actually solder them on.
Wow... long post! So lemme know what you think so far!
Since I was going to be building this in my apartment without the benefit of powertools I decided to build a frame that would attach to the back of a picture frame. So instead of the front opening up as on a regular shadowbox this one would have a separate back on hinges that would open.
I got a picture frame from Wally World that the opening measured 14x18 without the matting material inserted and built the frame...


Now I grew up around woodworking so please don't bust my chops about not using mitered or dovetailed corners. In my Dad's shop...no problem. In my apartment w/o powertools...problem :lol
Next I sprayed the wood pices of the boxframe with black furniture laquer and once that was dry I covered the inside edges with red velvet from Hancock Fabrics (and no...It is NOT a fabric store owned by Will Smith!


Now with the back piece cut, velveted, hinged and "catched" on I have the pieces just setting in there at the moment. Still have to affix the glass in the front, build a hand to properly display the glove and position the mask, but you will get the general idea from this...


And for some reason I really like the lighting on this last one when it comes to the mask...

Okay...so there it is so far. Once the shadowbox part is completed there is still soooo much more I want to do.
* Change the straps on the mask to look more accurate, being in the wrong hole doesn't bother me so much as the crappy elastic and grey plastic fasteners.
* Change the "leather" glove to a leather glove with much better aging/weathering done to it
* Will probably replace the knives also with a set from one of the websites offering them and actually solder them on.
Wow... long post! So lemme know what you think so far!
Last edited:


