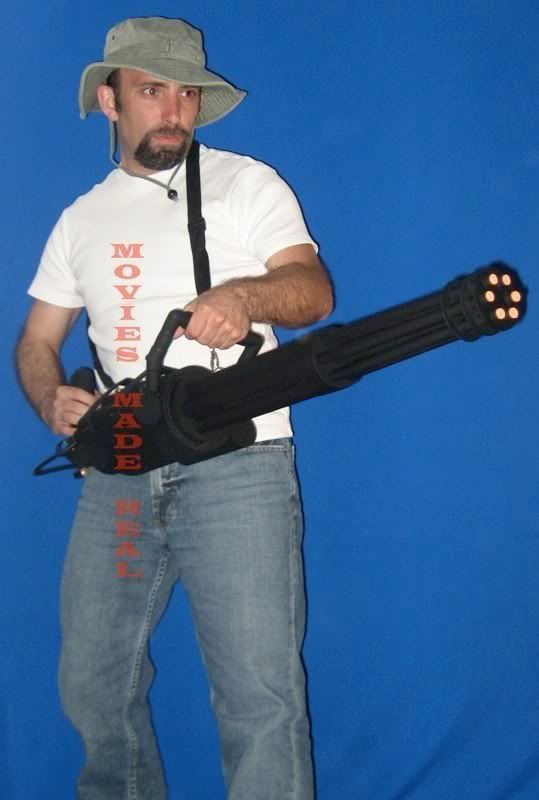
My version of a Minigun

anthonypelino

New Member
Put these together awhile ago for friends that were going to make their own film. The film never got finished, but here's a few pics of the miniguns. They run on a 6V motors and the barrels spin quite nicely. The orange plugs are removable.

On an unrelated note, after seeing VOS's fantastic Halo 3: CQB Armour thread, I was wondering if anyone new of any schools in the U.S. with similar majors. Looks like an amazing education. I realize I could learn a lot of this on my own, but who can deny the benefits of instruction. Just wondering.
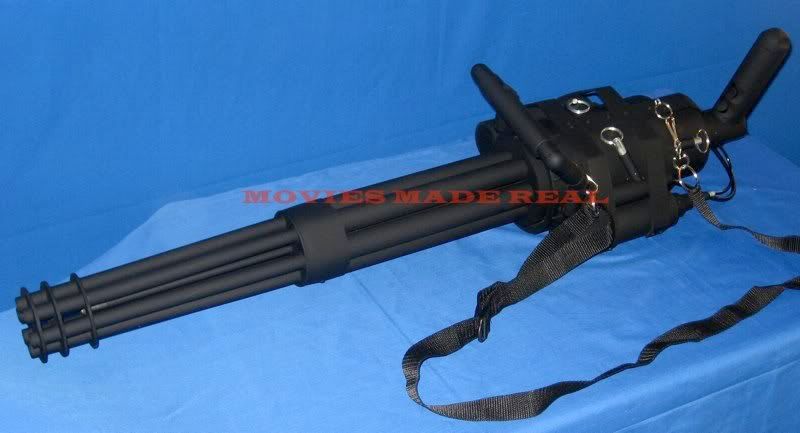
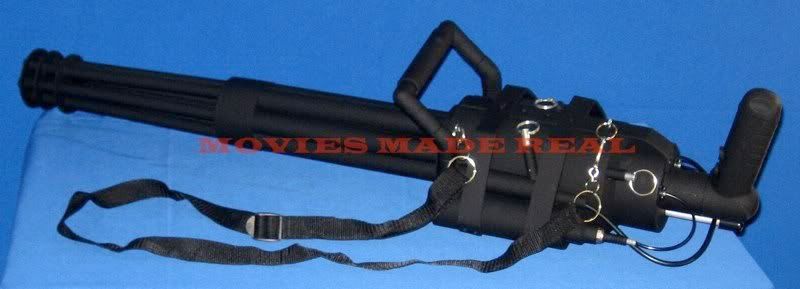
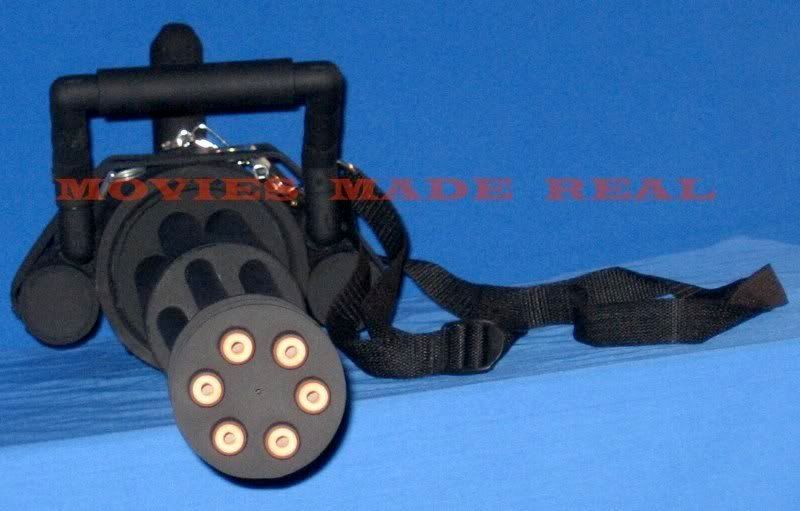
MiniGun4.jpg
MiniGun2.jpg
orangeplugs1.jpg
orangeplugs3.jpg
orangeplugs4.jpg
 
That looks sweet.

How does the ammo feed into it ? (not real ammo, but the movie ammo)

Thanks. We had made an ammo feed shoot that clipped onto the underside of one of the cylinders on the side. We only made two, and one of my buddies has them attached to the two that he kept. I'm sorry, I don't have pictures of those.
 
very nice effort:thumbsup, i wannadoo something like this.

i feel the paintjob is a little flat.

how about a few well placed scratches to indicate metal and it having had some use?

just my 2 cents

z
 
very nice effort:thumbsup, i wannadoo something like this.

i feel the paintjob is a little flat.

how about a few well placed scratches to indicate metal and it having had some use?

just my 2 cents

z

I think your right. It needs a little weathering. I'm going to try to repaint one this weekend. Any good weathering/painting tips I should know of before I start. BTW thanks for the input.
 
well any areas that would get handled like the hand rail part. perhaps a few marks where those silver pins are, indicating someone missing the holes and scratching the surrounding area.

the disks at the end of the barrel, perhaps the odd little mark here and there on the barrels themselves.

is it matt black you used?

i would perhaps rub a rag over the whole gun giving it a satin sheen more like gunmetal. check out my vibro axe thread i did a couple of days ago.

http://www.therpf.com/showthread.php?t=38512&highlight=vibro

you dont have to go overboard on it. at the end of the day its your piece and its up to you if you want it pristine or give it a used look.

im just saying what i would do if it was mine.

its a nice piece which i think could be made to look that little bit better with not much effort.

z
 
I think your right. It needs a little weathering. I'm going to try to repaint one this weekend. Any good weathering/painting tips I should know of before I start. BTW thanks for the input.

if your going to repaint one there are some nice alternatives to matt black, such as humbrol metalcote paints (dont know if they are avaiulable where you are?)

my personal fav at the moment is that tamiya nato black i used on the vibro, if your any good with an airbrush you could add some depth into the corners etc..

z

Wow. Your paint job was fantastic. Those details really do give it a very realistic metallic look. I did use matte black. In fact I think it was ultra matte. I doubt the humbrol metalcote paints are available around here. It's difficult to find anything around here. Now, I can probably find the tamiya paints, I'll have to take a look. I have an airbrush, but I'm not that experienced with it. I guess now is the time to get it, right? I really appreciate your input. Thanks. I'll post pics of the new paint job as soon
as I get'em.
 
i used matt black as the base for painting my vibro axe so looks like you could use your existing colour as the base.

i really do recommend you airbrush the tamiya paint on. you will need to get some tamiya thinners if you dont already have some.

you could try not spraying the tamiya into the corners/nooks and crannies and use the existing matt black to give you that depth if you know what i mean.

give the tamiya paint a rub with a rag to buff it up.

tamiya paint isnt the toughest around so it might need some careful handling after. i also recommend using a heat gun to bake the paint hard.

i hope this helps and plz tell me to back off if im pushing you in a direction you doint want to go.

looking forward to seeing what you do:thumbsup

z
 
Last edited:
That...is a superb minigun!! (y)thumbsup I'm jonesin' for one! :cool

One thing you can do w/ your existing paintjob is sand it w/ 0000 Steel Wool. This will flatten out the paint, and make it look like painted metal. A easy thing and it really improves the look. Subtle,but effective. I've been doing it on my nerf customs.

-Rex


Thanks everyone. This is my first prop, and I really appreciate the help. I'm going to go ahead and repaint one of them using some of the tips Zorg was talking about. Do you recommend using the steel wool before after the dry brush and airbrush work? And I'm going to go ahead and make another feed attachment for the prop ammo. Does anyone have any other ideas or details that might make this prop a little more interesting? Any ideas and crit's are welcome. I made a several of these, and if I can get the paint job right, I'd love to have them displayed in my office. I'm working on a display box that will look like a military crate. Anyway thanks again everyone.
 
Back
Top