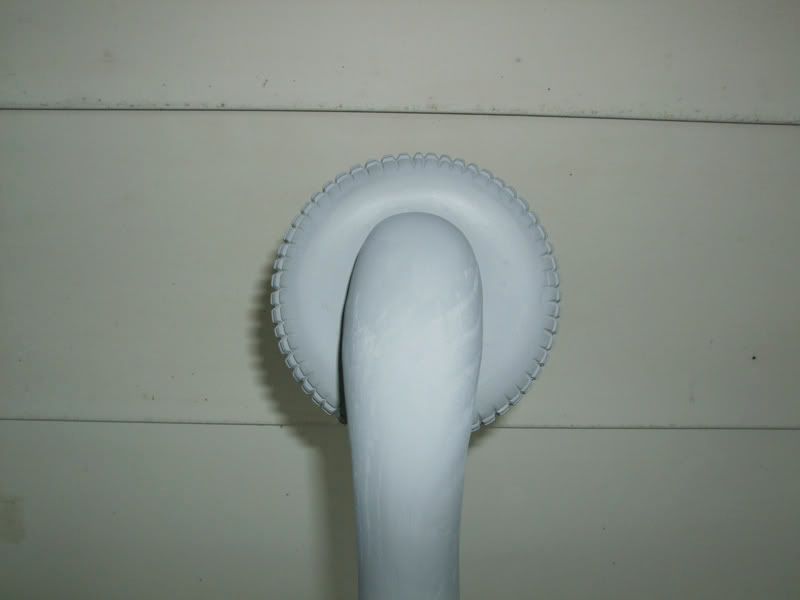
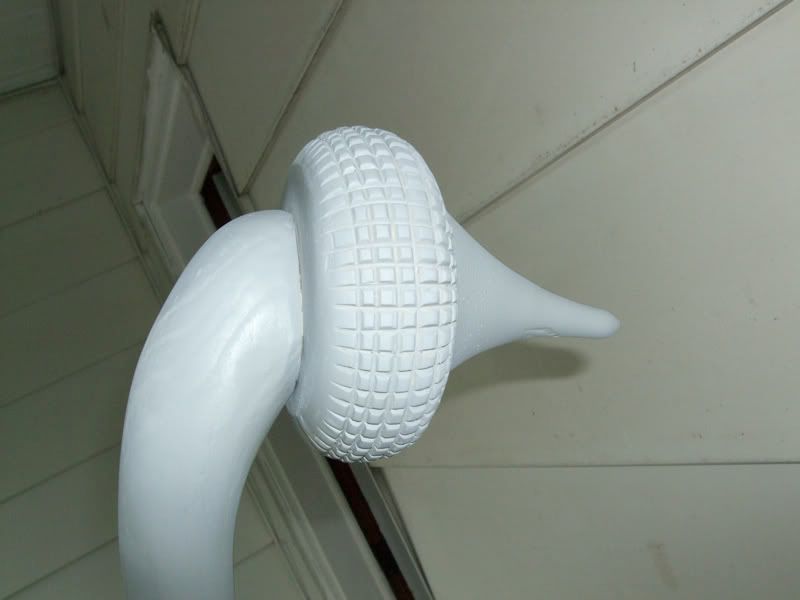
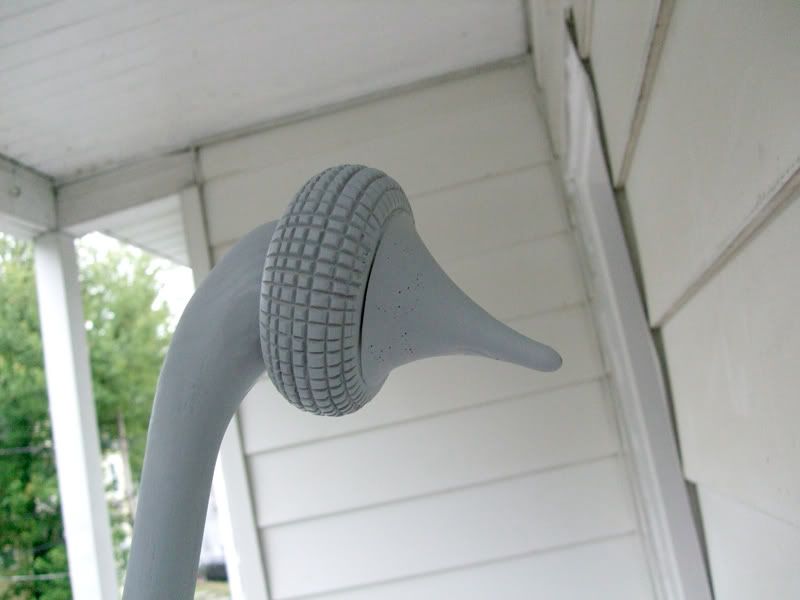
chewbaccadoll
Sr Member
Let me start by saying a few things...
One, Tom Spina has the BEST Fijian Totokia casting available. Well worth the money too. I was very, very close to purchasing his kit, but decided I wanted to build mine from scratch... just to see if I could.
Go here to see/buy Tom's kit:
http://web.mac.com/bluesnal/iWeb/totokia/totokia.html
And two... there is a great tutorial for making the "club/pineapple" end of the Gaffi from a wooden candy bowl on YouTube... I'd like to give props to TK409 for that video! It helped set me on my way!
Here is the link for the tutorial:
http://www.youtube.com/watch?v=sMjjns4qSdI
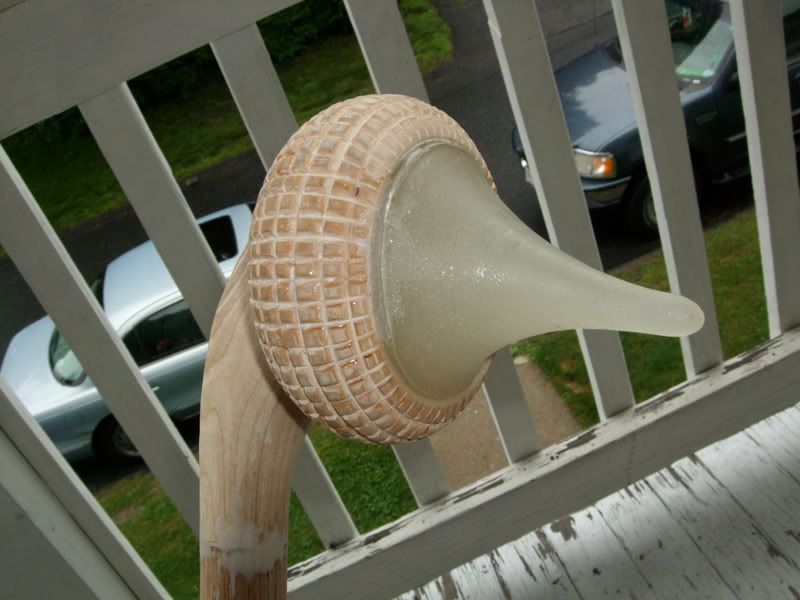
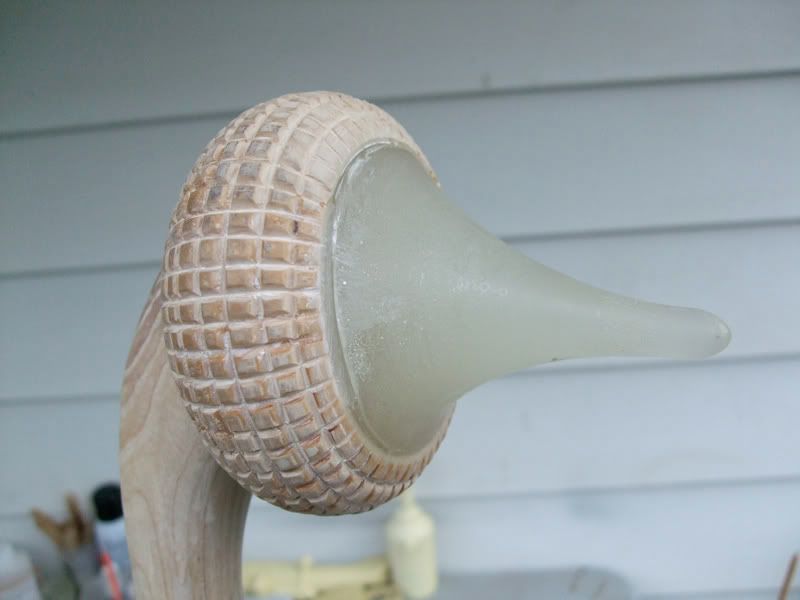
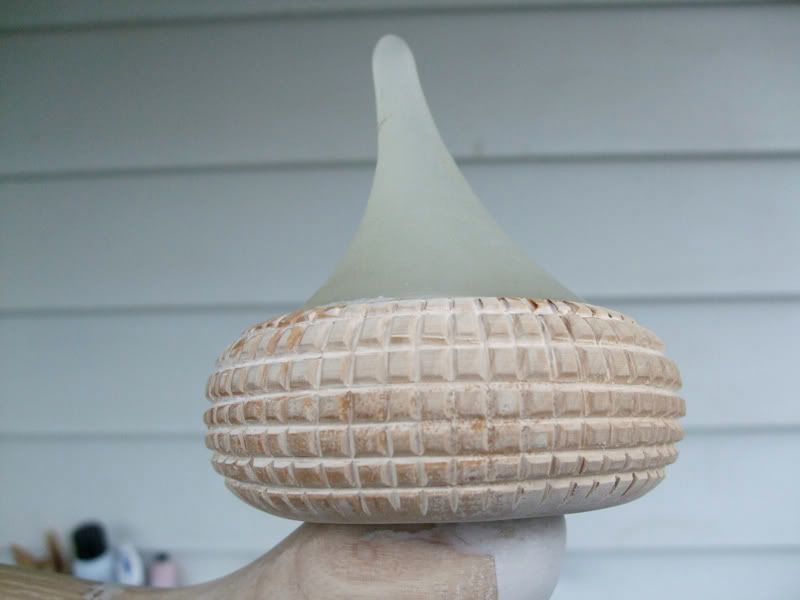
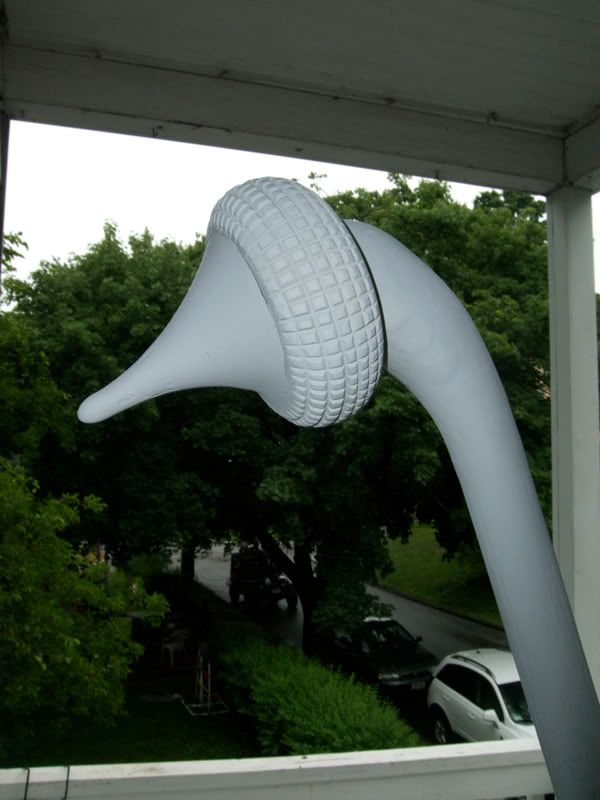
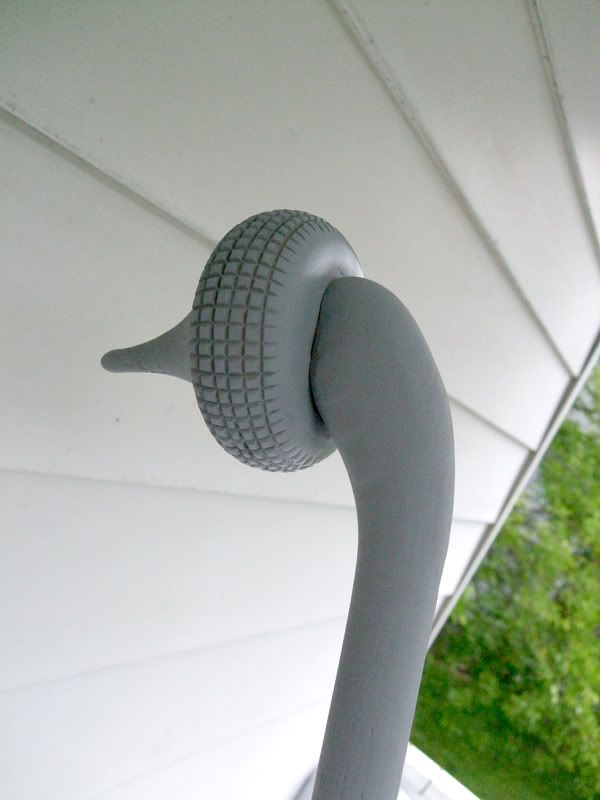
I actually started with that tutorial and customized it a little more to my liking. I decided that the pattern I wanted (that was a little more true to the Gaffi I'm familiar with) was horizontal and vertical and not angle cuts (See YouTube video). Also used his method of stretching styrene with a heat gun and pushing in with a drum stick to form the "hook" (I actually used a "NO PARKING" sign I found at Lowes since I couldn't find any styrene sheets locally).
Here are my starting pics for that:
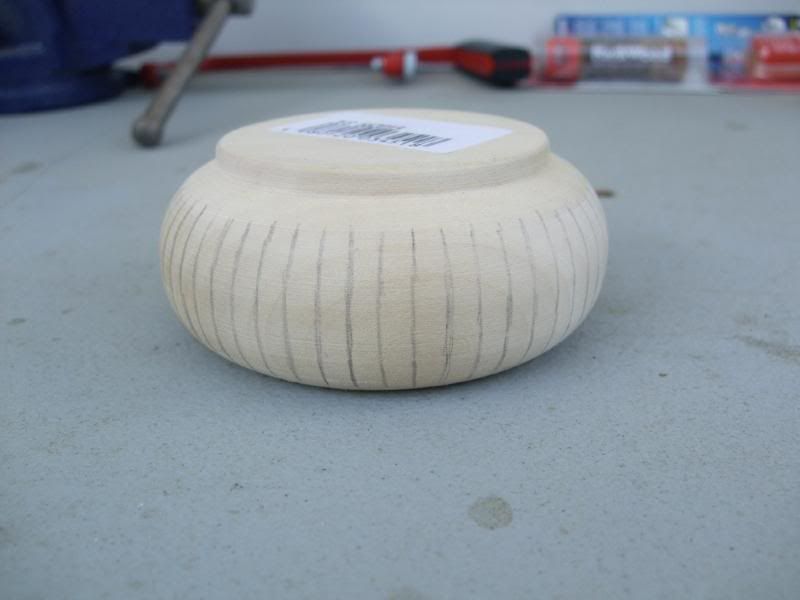
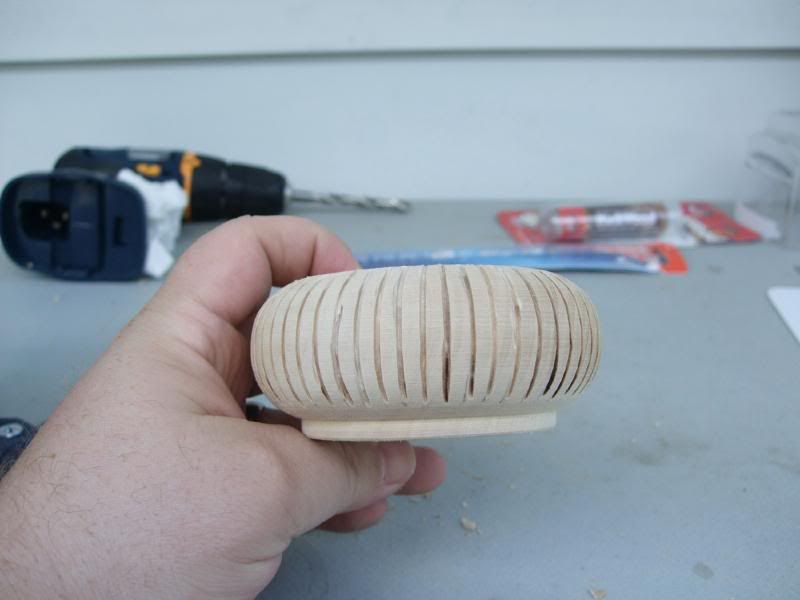
I chose to use an empty Spagettios can instead on the 4" PVC pipe. It gave me the radius I wanted and suited my tastes better.
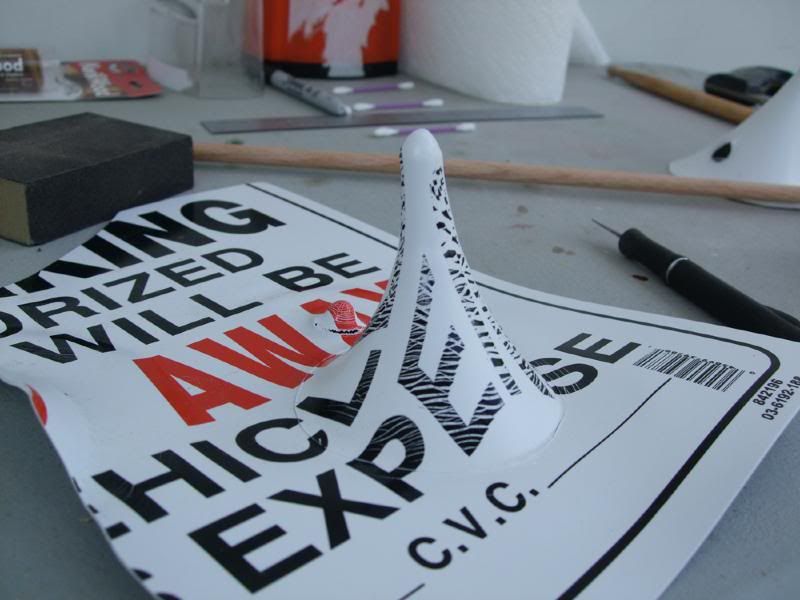
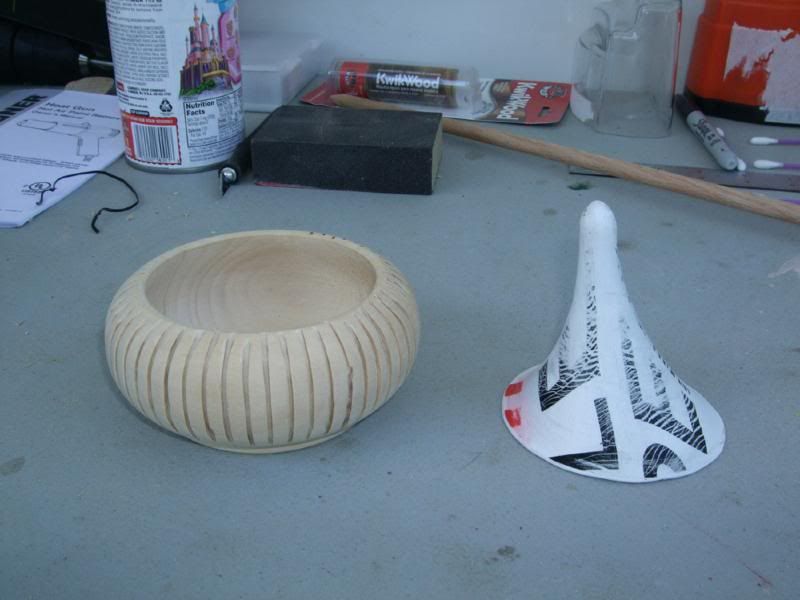
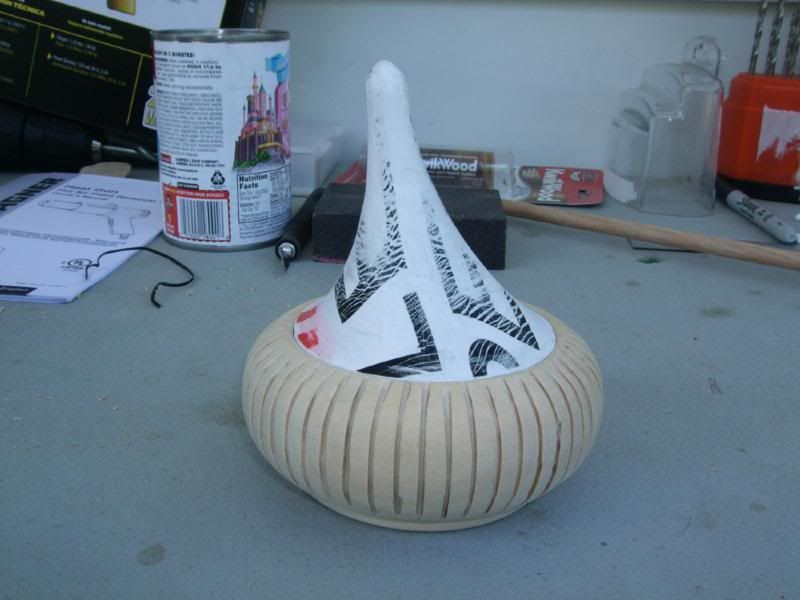
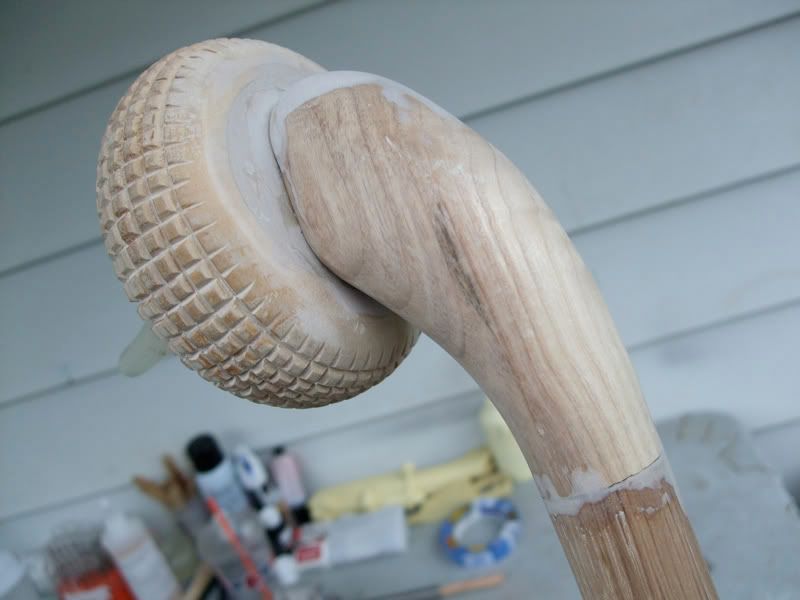
Next I finished carving up the bowl the same way TK409 did (Dremel in table vice, using a trianglar file to angle the nubs)... again, altering it to my tastes...
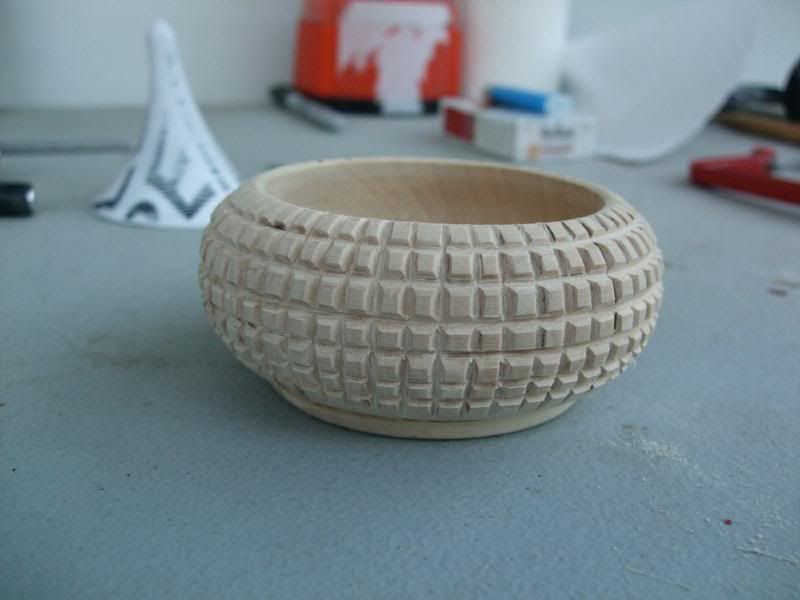
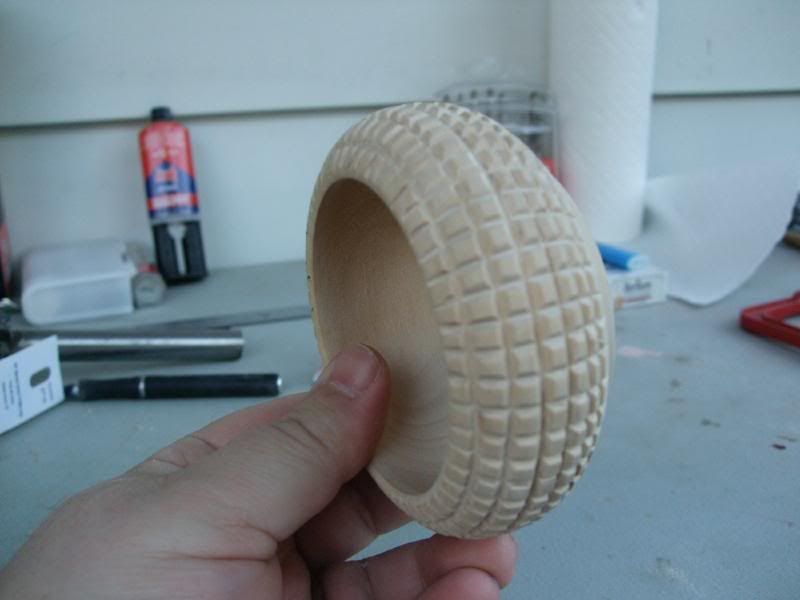
Moving on...
Picked up a nice solid oak 1 1/8" diameter dowel (36" long) from Lowes... but wasn't sure how to achieve the curved end leading up to the club.
I've seen this done with PVC elbows, melting plastic and bending it, but I wanted mine to be made of wood as much as possible, and short of carving a stick with a curve built in from a block of wood, I think I found the next best solution...
Coffee table leg.
I spotted these milled decorative table legs and noticed the end looked similar to the curve I needed AND that if I cut it in the right place, it would be VERY close to the diameter I needed as well...
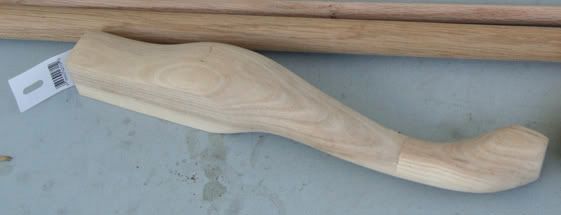
Here's the tag that was on it incase anyone would like to know what exact leg it is:
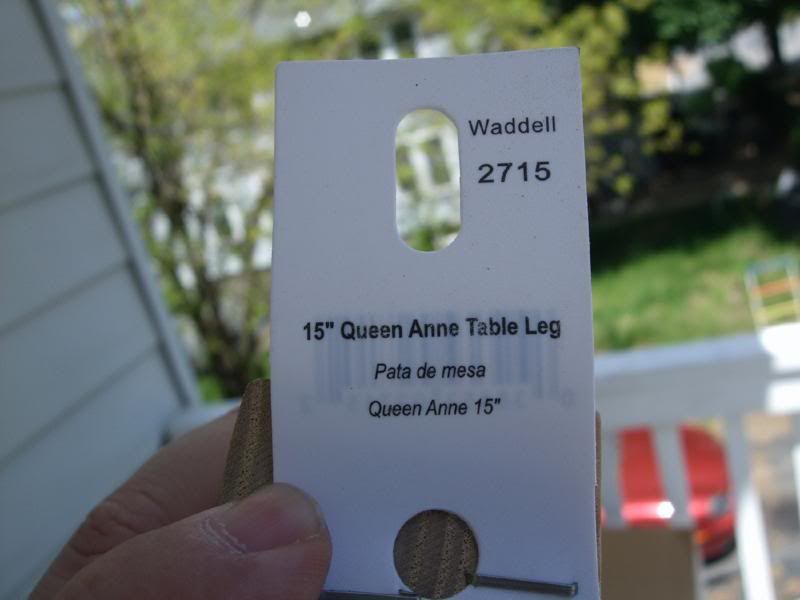
So, I measured and cut in what looked to be the right spot...
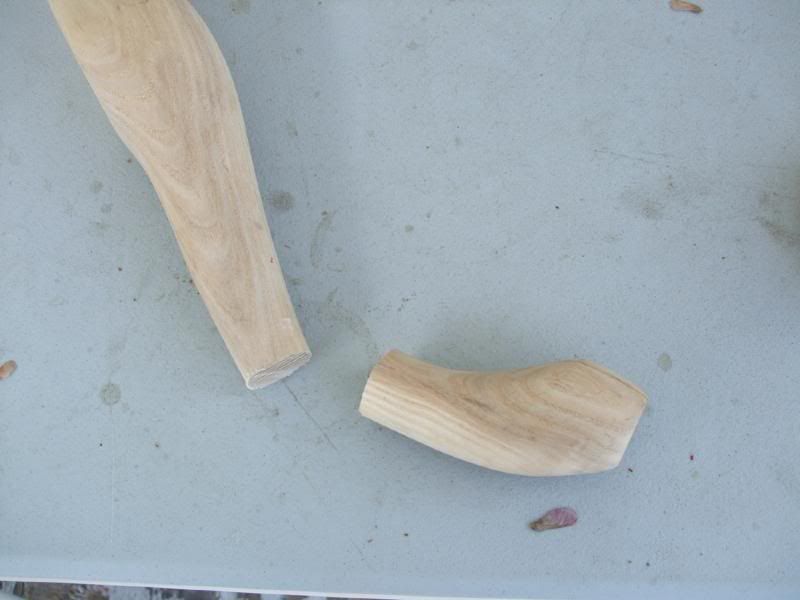
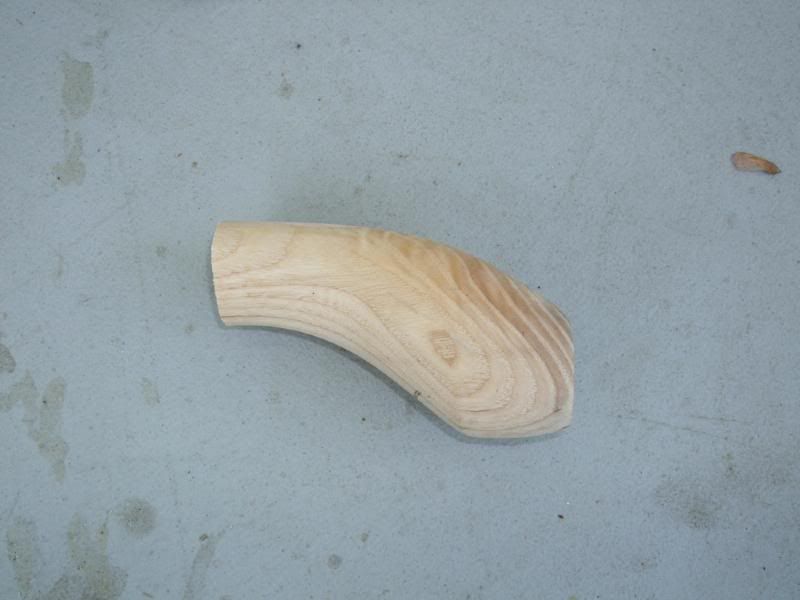
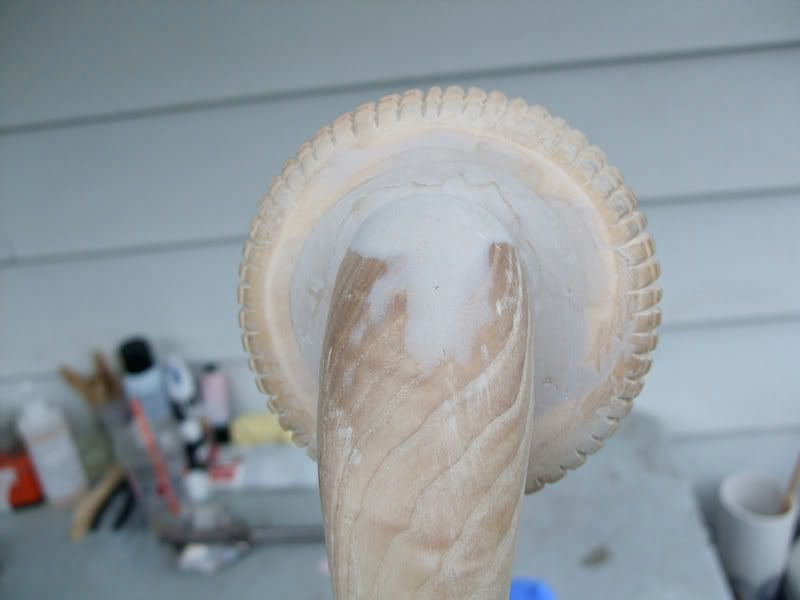
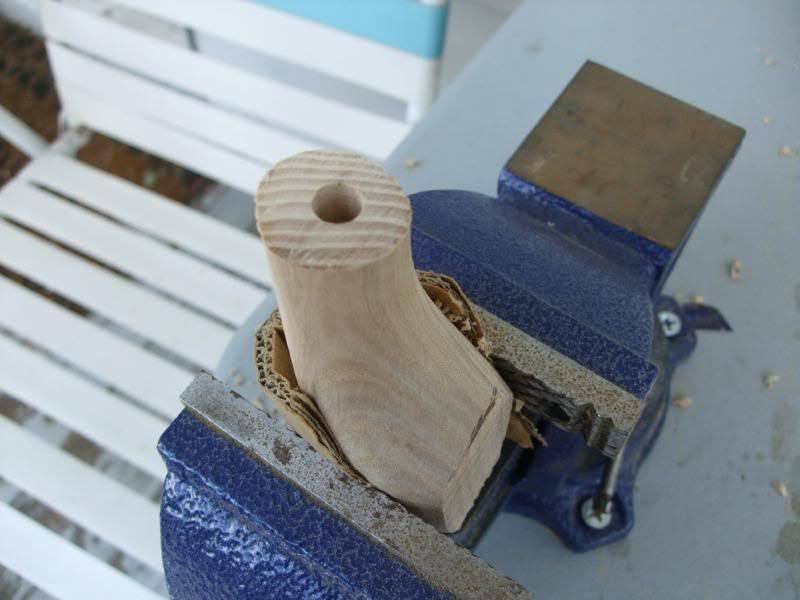
Trimmed off the bottom to create a flat spot for the "pineapple" to be attached...
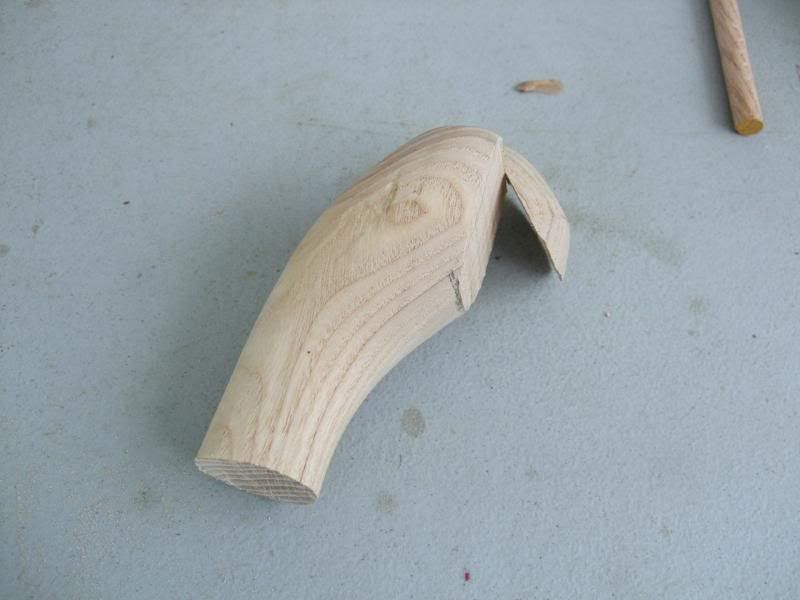
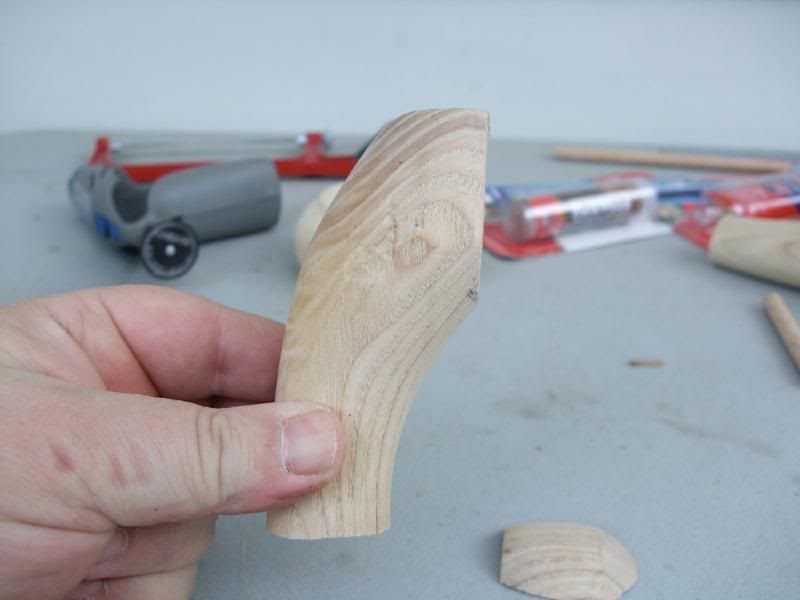
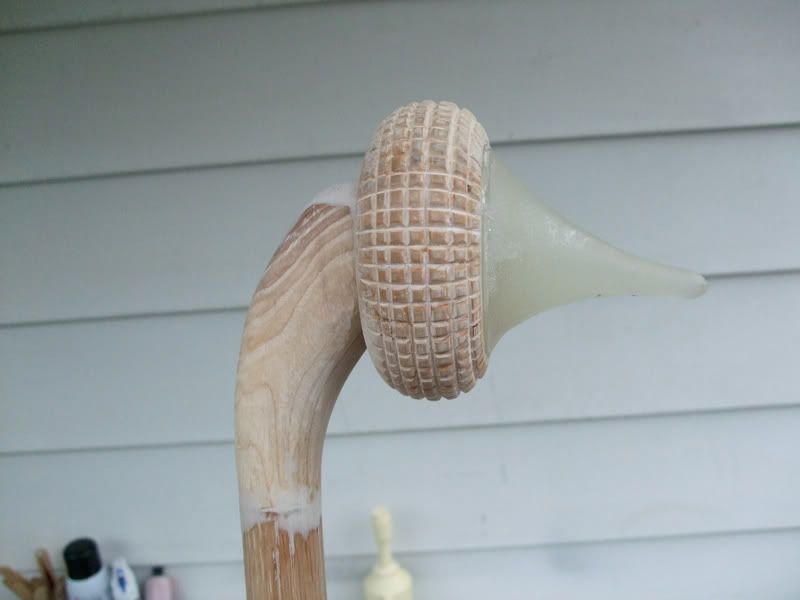
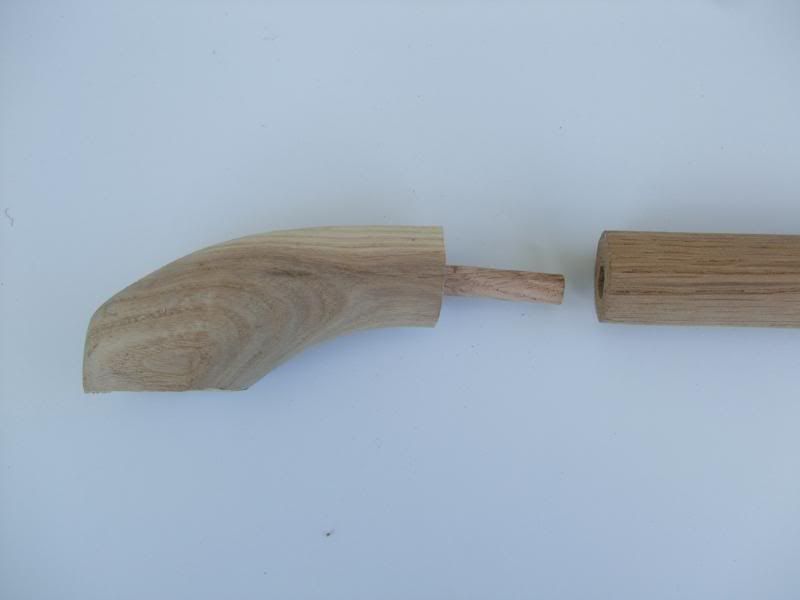
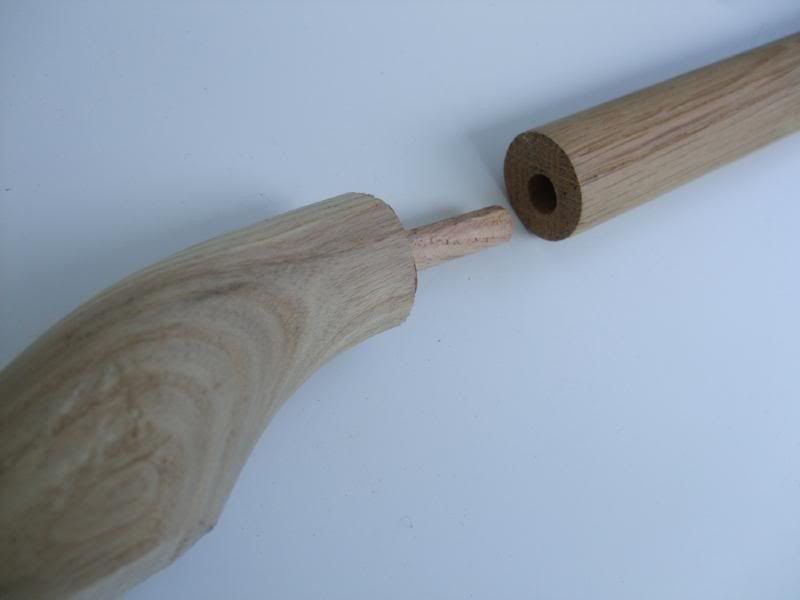
Next, needed to attach the curve to the main shaft. I decided a reinforced connection would work best... drilled a hole about 2" deep in both curve piece and end of main shaft and connected with another wooden dowel (and a lot of epoxy)...
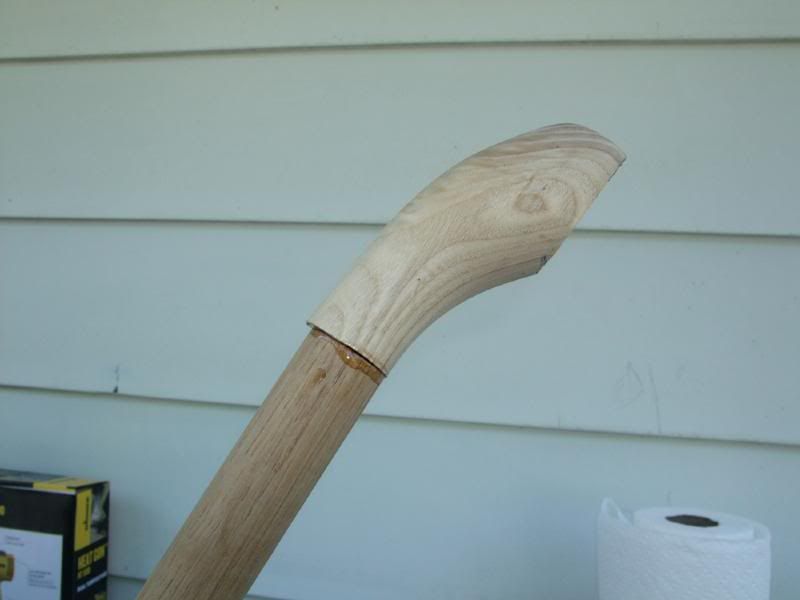
It didn't quite line up on that one edge, so I whittled away, sanded and I feel it looked pretty decent:
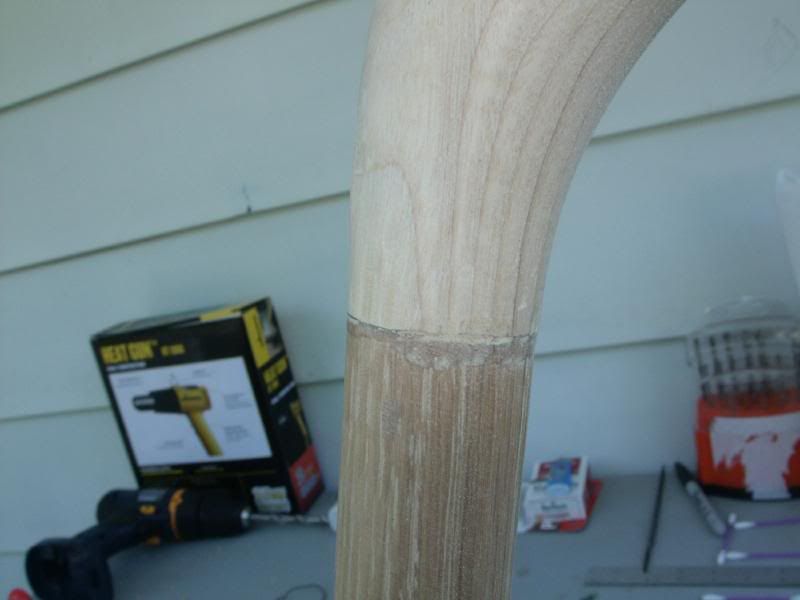
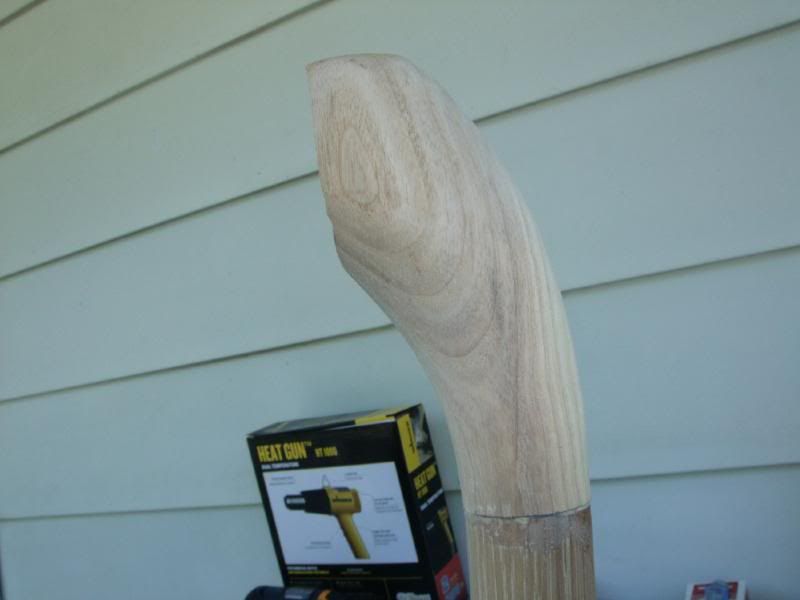
After waiting for the epoxy to cure I noticed I needed to round the end of the "curve" as it has a flat top (naturally, since it's supposed to attach underneath a coffee table!).
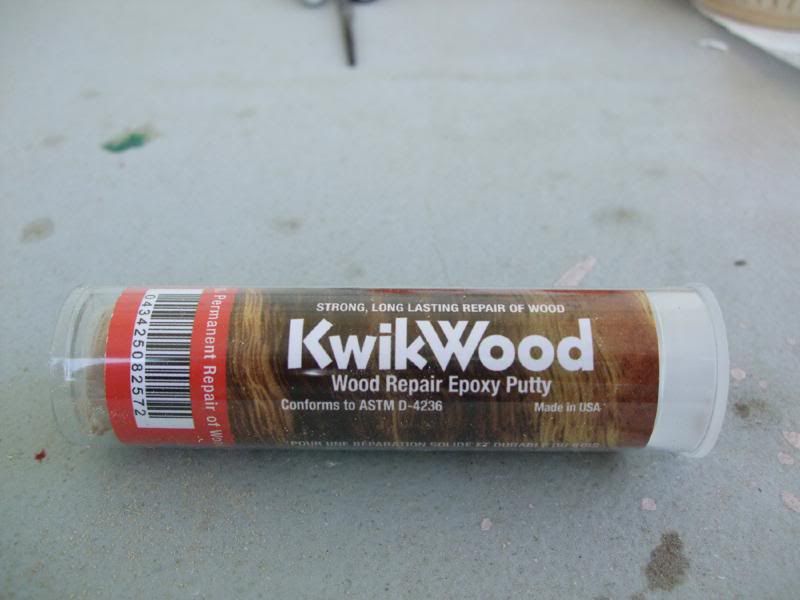
I chose to pick up some KwikWood putty/epoxy compound and "make" a rounded end:
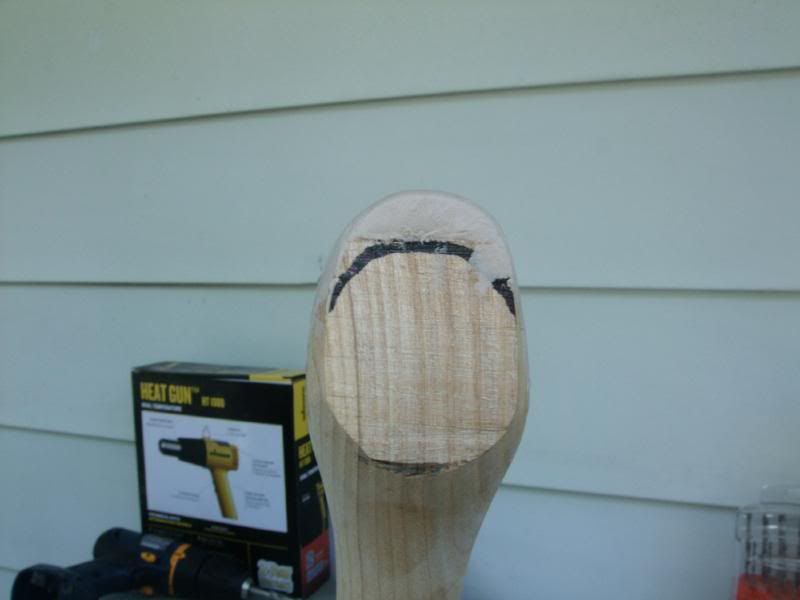
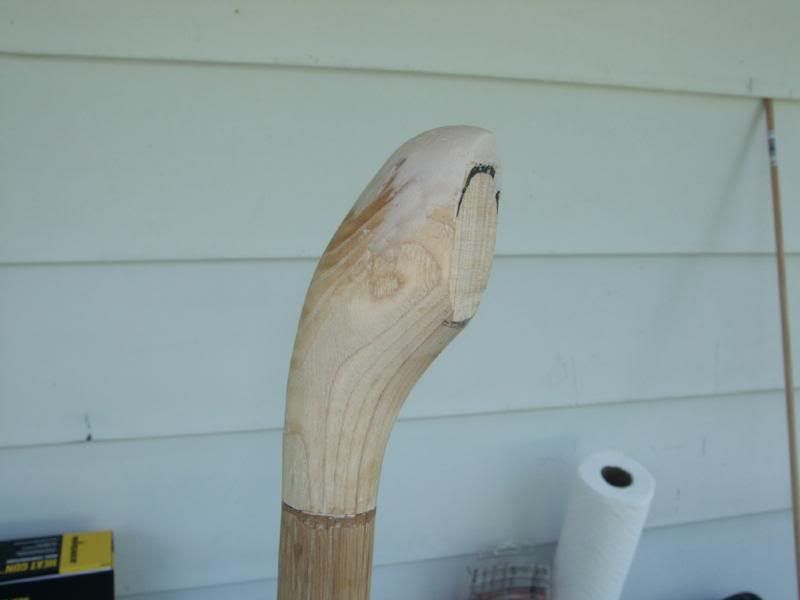
And that's where I'm at. I only had so much time to dedicate to this project as I have customers waiting on me for Hobbes dolls (which I also vigilantly worked on today).
I will continue to post my progress and would look forward to comments, critisims, questions, whatever!
-Kurt
One, Tom Spina has the BEST Fijian Totokia casting available. Well worth the money too. I was very, very close to purchasing his kit, but decided I wanted to build mine from scratch... just to see if I could.
Go here to see/buy Tom's kit:
http://web.mac.com/bluesnal/iWeb/totokia/totokia.html
And two... there is a great tutorial for making the "club/pineapple" end of the Gaffi from a wooden candy bowl on YouTube... I'd like to give props to TK409 for that video! It helped set me on my way!
Here is the link for the tutorial:
http://www.youtube.com/watch?v=sMjjns4qSdI
I actually started with that tutorial and customized it a little more to my liking. I decided that the pattern I wanted (that was a little more true to the Gaffi I'm familiar with) was horizontal and vertical and not angle cuts (See YouTube video). Also used his method of stretching styrene with a heat gun and pushing in with a drum stick to form the "hook" (I actually used a "NO PARKING" sign I found at Lowes since I couldn't find any styrene sheets locally).
Here are my starting pics for that:


I chose to use an empty Spagettios can instead on the 4" PVC pipe. It gave me the radius I wanted and suited my tastes better.


Next I finished carving up the bowl the same way TK409 did (Dremel in table vice, using a trianglar file to angle the nubs)... again, altering it to my tastes...


Moving on...
Picked up a nice solid oak 1 1/8" diameter dowel (36" long) from Lowes... but wasn't sure how to achieve the curved end leading up to the club.
I've seen this done with PVC elbows, melting plastic and bending it, but I wanted mine to be made of wood as much as possible, and short of carving a stick with a curve built in from a block of wood, I think I found the next best solution...
Coffee table leg.
I spotted these milled decorative table legs and noticed the end looked similar to the curve I needed AND that if I cut it in the right place, it would be VERY close to the diameter I needed as well...

Here's the tag that was on it incase anyone would like to know what exact leg it is:

So, I measured and cut in what looked to be the right spot...


Trimmed off the bottom to create a flat spot for the "pineapple" to be attached...


Next, needed to attach the curve to the main shaft. I decided a reinforced connection would work best... drilled a hole about 2" deep in both curve piece and end of main shaft and connected with another wooden dowel (and a lot of epoxy)...


It didn't quite line up on that one edge, so I whittled away, sanded and I feel it looked pretty decent:


After waiting for the epoxy to cure I noticed I needed to round the end of the "curve" as it has a flat top (naturally, since it's supposed to attach underneath a coffee table!).
I chose to pick up some KwikWood putty/epoxy compound and "make" a rounded end:


And that's where I'm at. I only had so much time to dedicate to this project as I have customers waiting on me for Hobbes dolls (which I also vigilantly worked on today).
I will continue to post my progress and would look forward to comments, critisims, questions, whatever!
-Kurt
Last edited:

