You are using an out of date browser. It may not display this or other websites correctly.
You should upgrade or use an alternative browser.
You should upgrade or use an alternative browser.
My TOS Viper Squadron project
- Thread starter Chrisisall
- Start date
Chrisisall
Master Member
I know I'm going slow on these, but if I work when inspired (as opposed to doing it just to do it) I find it comes out a whole lot better...
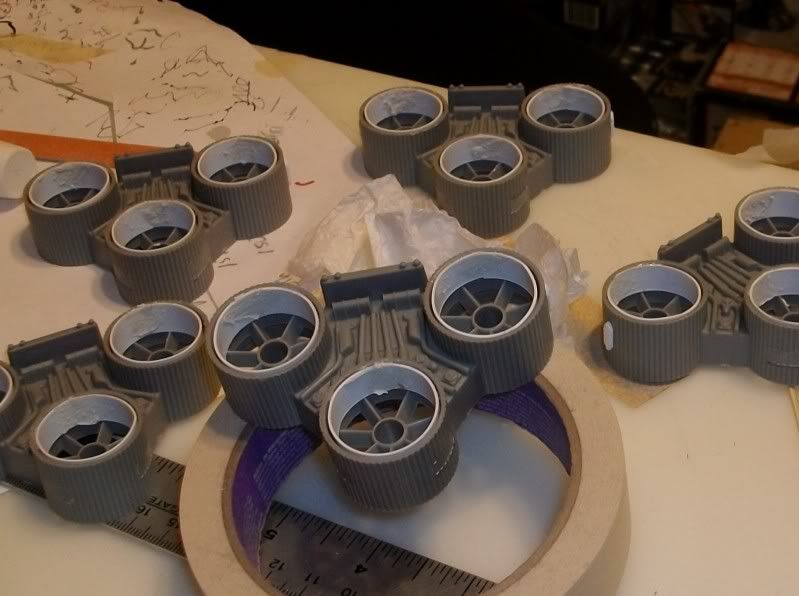
I just finished putting the 12 scratched greebles on the 6 exhausts, and the 48 pieces on the 12 guns.
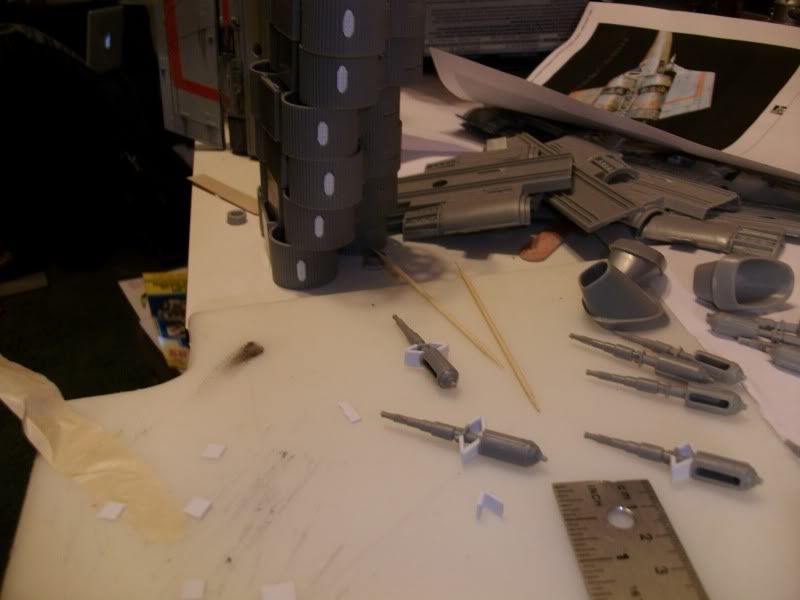
When all solid, I'll putty some & sand/file to the proper finished shape(s).
...in memory of Kennyd...
I just finished putting the 12 scratched greebles on the 6 exhausts, and the 48 pieces on the 12 guns.
When all solid, I'll putty some & sand/file to the proper finished shape(s).
...in memory of Kennyd...
Last edited:
Chrisisall
Master Member
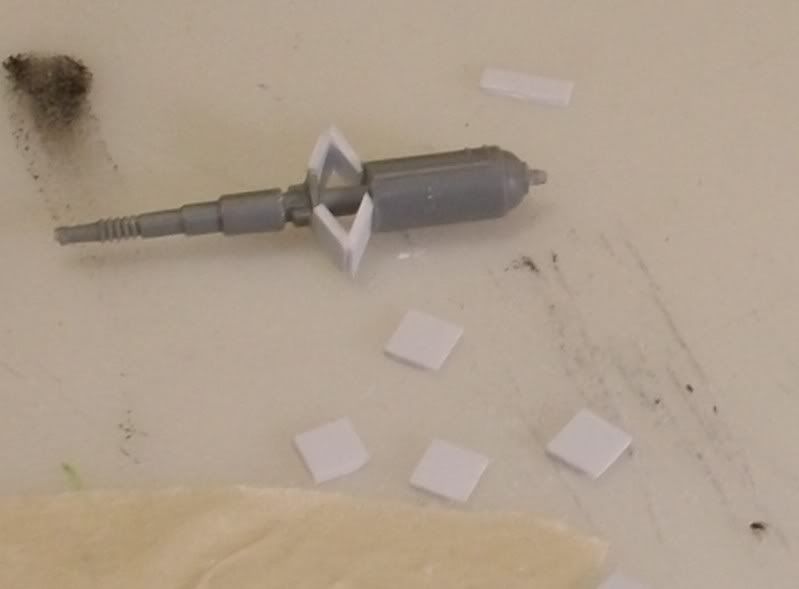
1st filing assault on the guns:

2nd & final go at them will be easier & more subtle. I'm good at subtle.:lol
2nd & final go at them will be easier & more subtle. I'm good at subtle.:lol
Chrisisall
Master Member
Thanks!Looking Great!!!!
Here's some new pix:
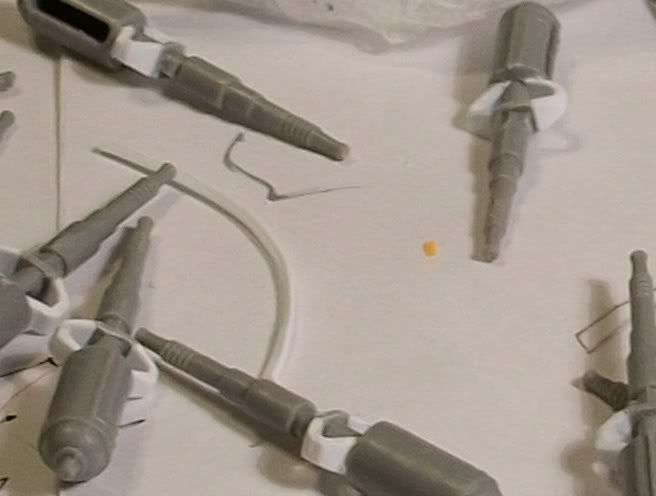
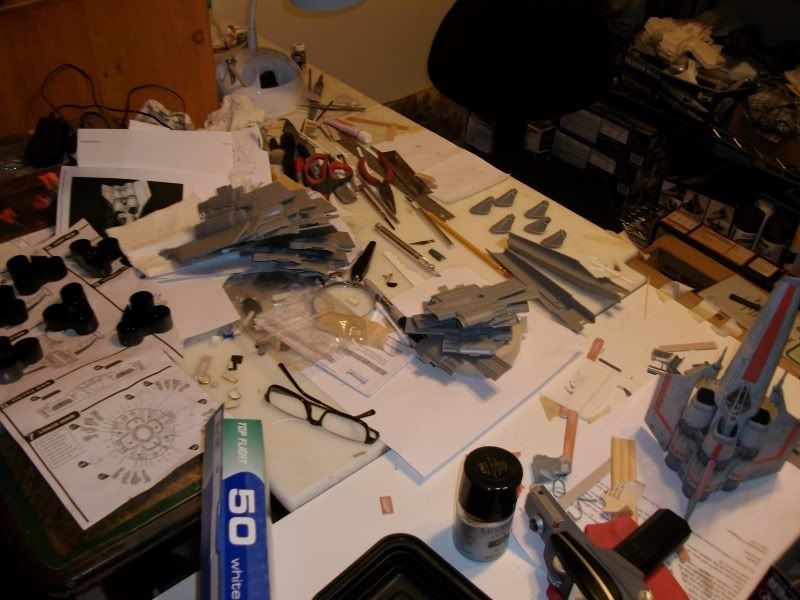
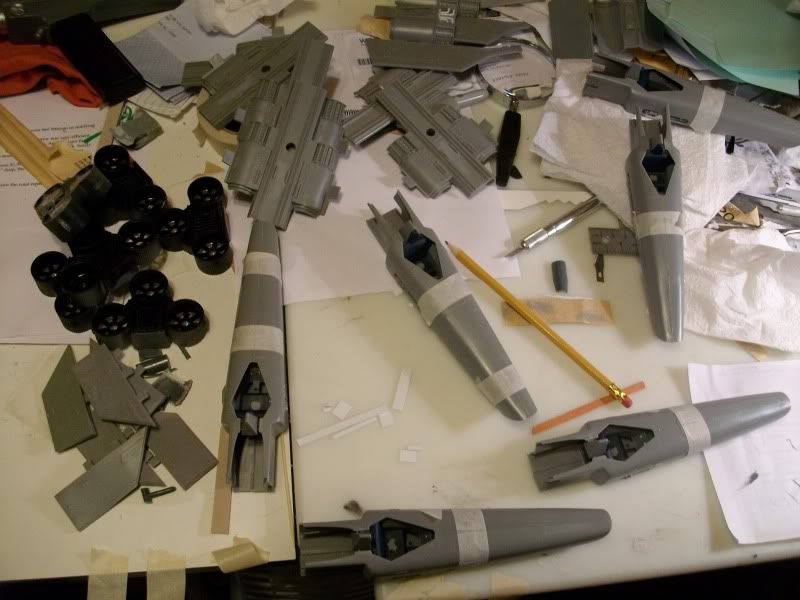
Working on six at the same time slows progress some...:rolleyes
Hey! When did Cloudster come back up?! :lol
Chrisisall
Master Member
If I go by the book, like Lt. Saavik, weeks could seem like months...Looking forward to seeing these Vipers completed!!
Never before have I put into play this number of simultaneous builds combined with an attempt at your level of detail, sir.
We shall see.
Last edited:
Chrisisall
Master Member
Dude, don't pretend you couldn't do this in your sleep; I'm seeing your Eagle thread, remember?Gimme gimme gimme!!! :love
")
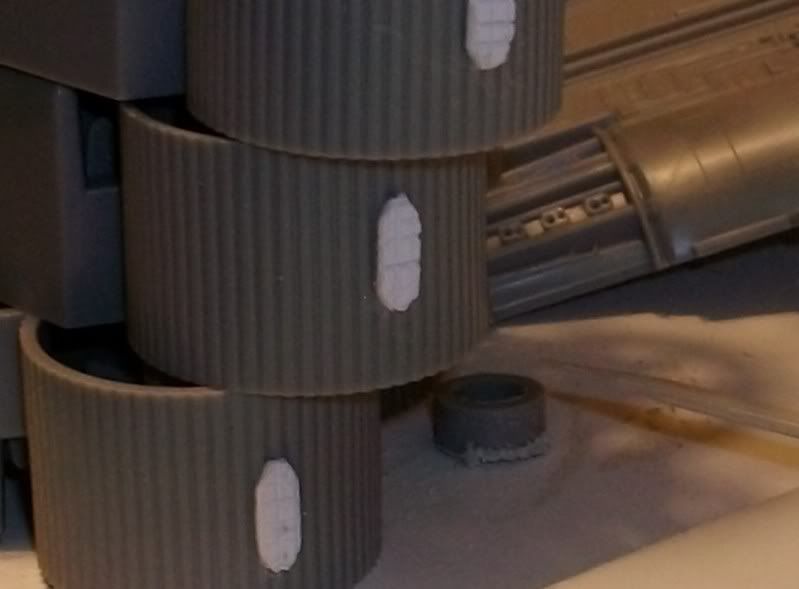
Engine mod:
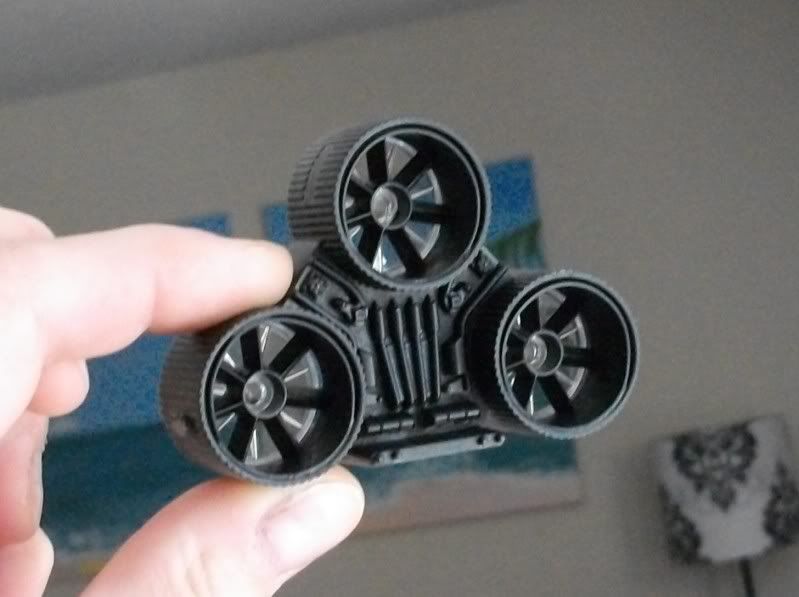
Still in progress.
Chrisisall
Master Member
Precisely how I felt when I saw the 3hr Galactica TV movie for the first time. My heart raced!!I really love this ship....It's what the X-Wing should have/could have been...
It's not that hard putting 200% into a thing that so fascinates you!
But you get that- I know!
trekriffic
Sr Member
Man these Vipers are going to be beautiful Chris. You must be insane to tackle so many at once though. A frackin' squadron! Holy smokes!
Last edited:
Chrisisall
Master Member
Yeah, tell me something I'm NOT telling myself, LOL!!!!You must be insane to tackle so many at once though.
Scribing the panel lines is next- working out a block of 8 uninterrupted hours is difficult, once I start, I will not stop until all 6 are fully scribed. This is my least favourite part... but once I'm in the groove, all goes well.
Painting, weathering, simulating paint chips, suggesting panel replacements- that's where I have my most fun!:cool
Chrisisall
Master Member
First test scribing: Each batch of Vipers is different- the no cockpit ones made in America have a more solid polystyrene that is easier to scribe- these are the 30th anniversary ones with cockpits, made in China, and this polystyrene is a bit softer & more prone to 'flare' accumulating on the edges of the cut...
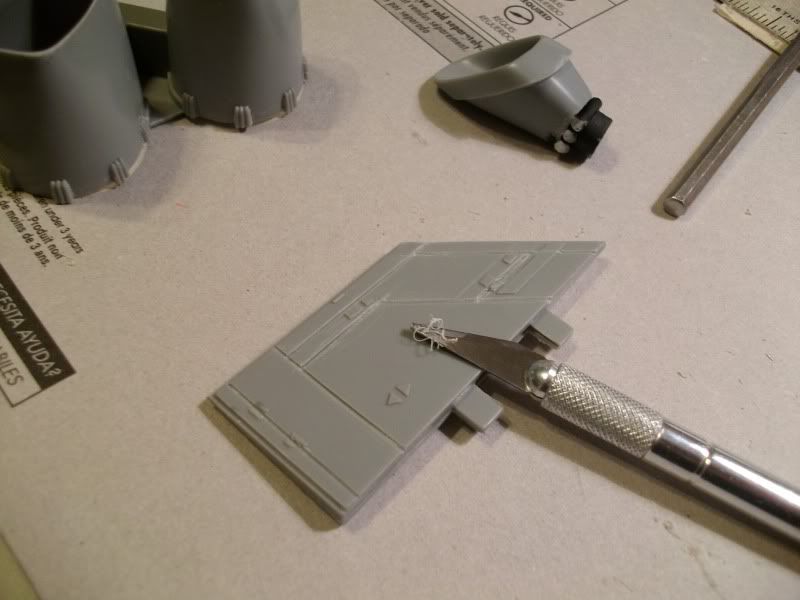
I scribe not with my scribing tool (not happy with the 'V' shape it cuts), but with an exacto knife with a broken tip- backwards. Straight edges with a metal ruler as a guide, curved surfaces with the Dynamo-tape-as-a-guide method.
This is the 'tinsel' produced after I cleaned up after initial scribing (using the same knife turned sideways & run through the scribed line *gently*):
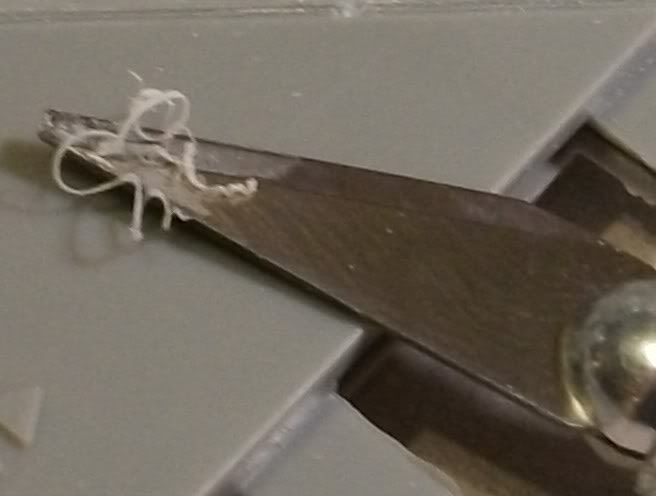
Then I go through the lines with a cut edge of an emery board lightly to clean up the tiniest fragments...
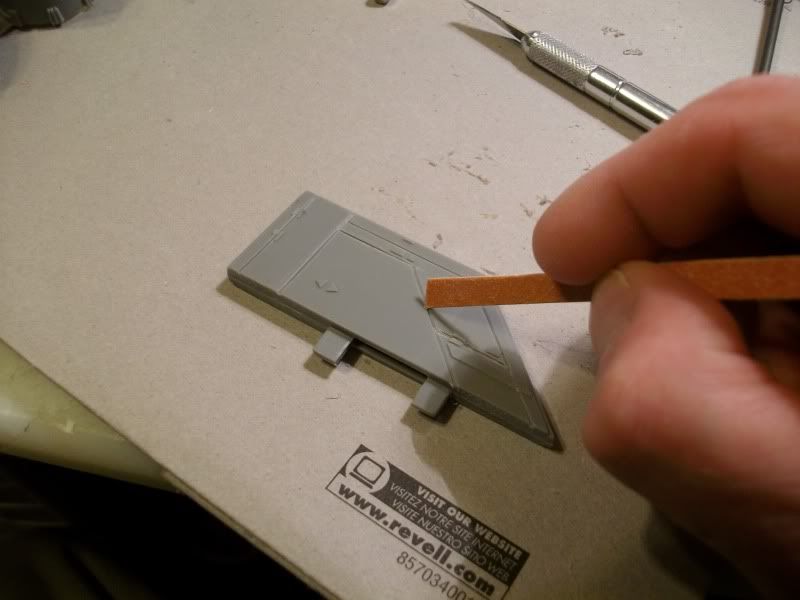
This is a tedious process, but it ensures a clean panel line with no wonky flares on the edges. And I have to practice because every time I do these, months have passed since my last Viper(s) and I lose my comfort level with the technique.
Next- I scribe the lot of them.
I scribe not with my scribing tool (not happy with the 'V' shape it cuts), but with an exacto knife with a broken tip- backwards. Straight edges with a metal ruler as a guide, curved surfaces with the Dynamo-tape-as-a-guide method.
This is the 'tinsel' produced after I cleaned up after initial scribing (using the same knife turned sideways & run through the scribed line *gently*):
Then I go through the lines with a cut edge of an emery board lightly to clean up the tiniest fragments...
This is a tedious process, but it ensures a clean panel line with no wonky flares on the edges. And I have to practice because every time I do these, months have passed since my last Viper(s) and I lose my comfort level with the technique.
Next- I scribe the lot of them.
Last edited:
jedimaster
Sr Member
Are you using the cockpits that came with the kit or are you upgrading those as well? Only reason I ask is I got a couple of vipers, the old ones with the mmi launch rail and cockpit interior upgrade sets with clear canopy and PE sets. They look pretty cool but I haven't seen them installed on a kit as yet. Anyone else used them?
Chrisisall
Master Member
Yeah, I'm using them, but the faces on the pilots needs some small modifications- they come looking like Jolly, LOL. Little rhinoplasty here, little cheek sculpt there... Once the cockpit is sealed, the interior takes a back seat to the exterior.Are you using the cockpits that came with the kit or are you upgrading those as well?
3d-builder
Sr Member
Great job brother!:thumbsup
Thats my tool of the trade for scribing as well!:thumbsup
Thats my tool of the trade for scribing as well!:thumbsup
Similar threads
- Replies
- 119
- Views
- 19,478
- Replies
- 55
- Views
- 6,233
- Replies
- 22
- Views
- 3,508
- Replies
- 59
- Views
- 39,316
- Replies
- 10
- Views
- 2,273