I started this before i hoped onto the RPF and been working on it on and off. I bought it for 500 SEk which i think is a pretty reasonable deal for a real kit and not just a chinese re-cast.
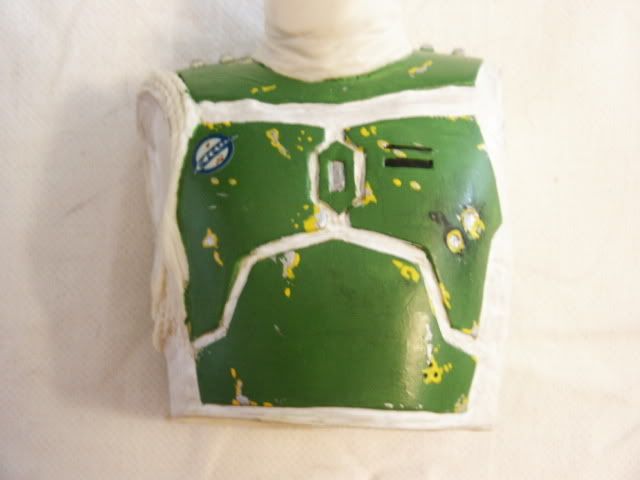
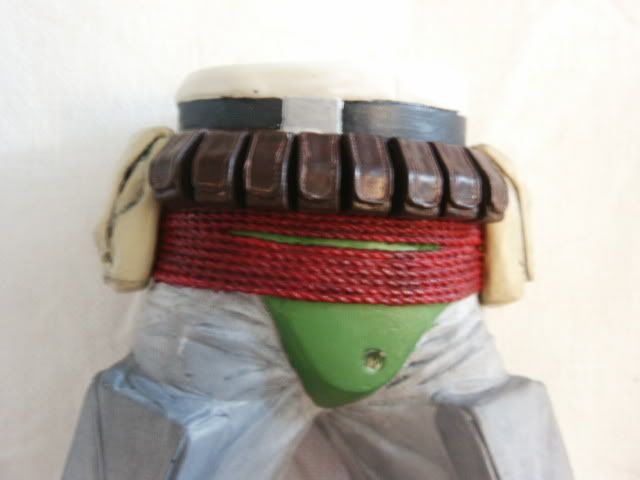
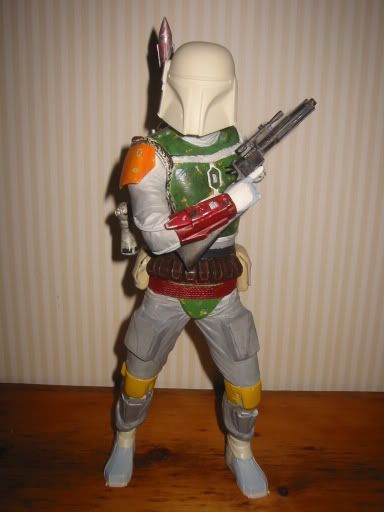
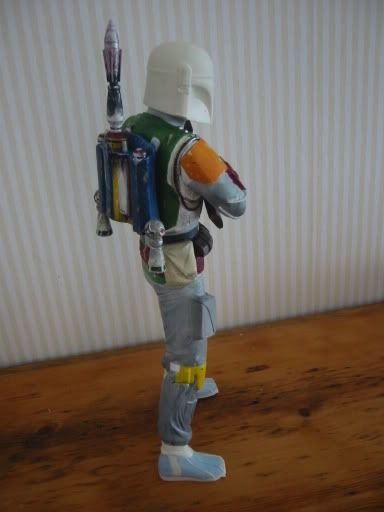
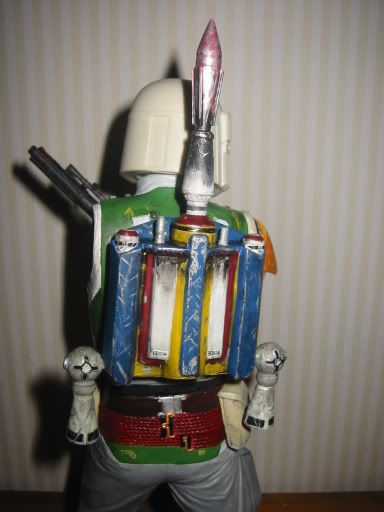
Like i said. I've been working on it ever now and then and like my MSH Boba fett helmet i painted i'm choosing sanity over acuracy here. But i do strive, however, to have it as accurate as possible, which considering the scale of the model and the complexity of the paint jobb is a pretty far fetched idea...
Anyway.. i just wanted to post some progress pics to get the "experts opinion" so to speak. I'm using Citadel colours and im trying to eyeball the colours to match my ref pics. On some of the stuff like the cape and the blaster i'm just really trying to capture the overall "feeling" of it and i wasn't too bothered about the details.
So what am i asking for? Well generally any pointers or tips to keep me on track so to speak. any constructive critisism is always welcome. (wow.. though word to spell..) How are the colours? Where do i need more weathering? (hopefully i won't need any less....)
Any purely negative comments will be ignored.
All of the fullsize images (and more than those posted here) can be seen at my Picasa gallery at: Screamin Model Gallery.
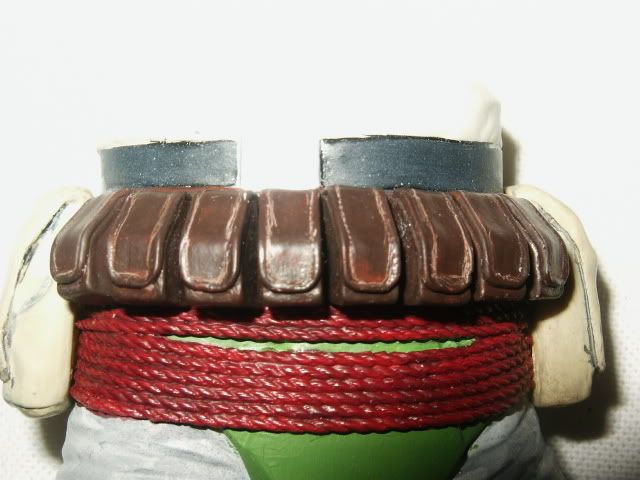
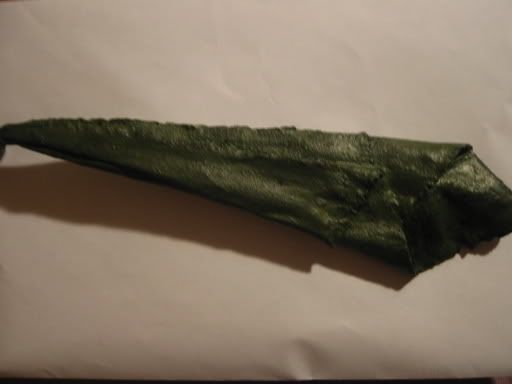
The cape:
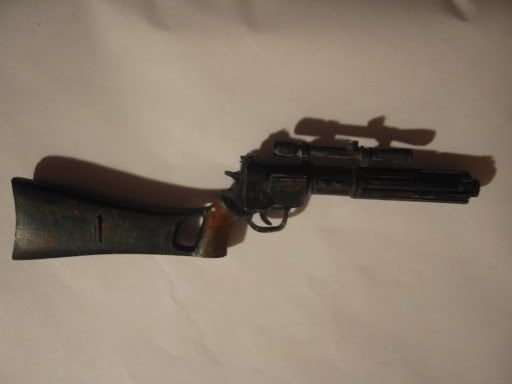
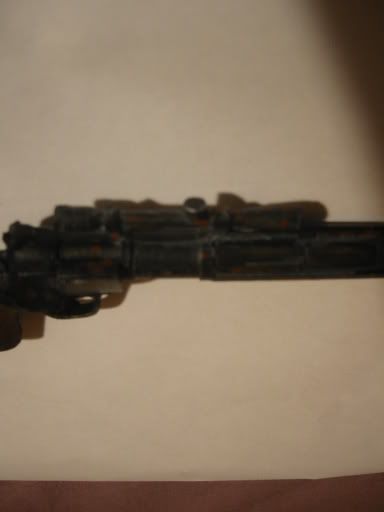
The blaster:
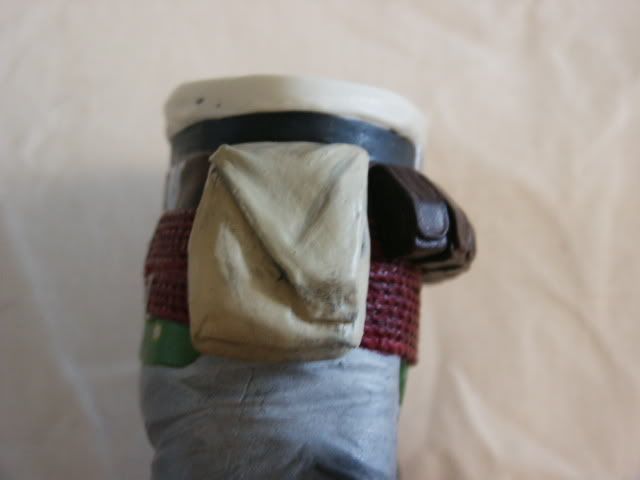
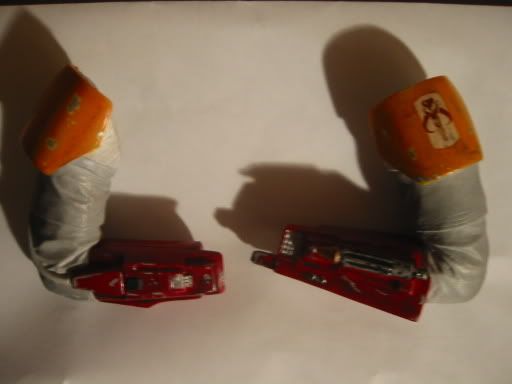
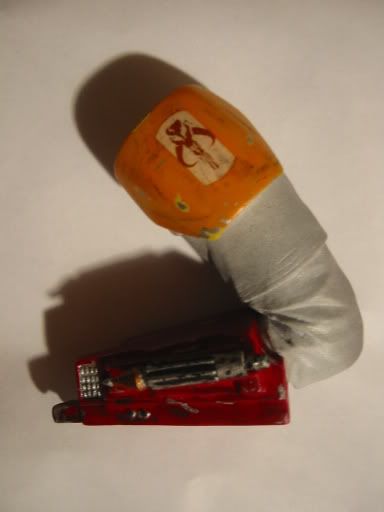
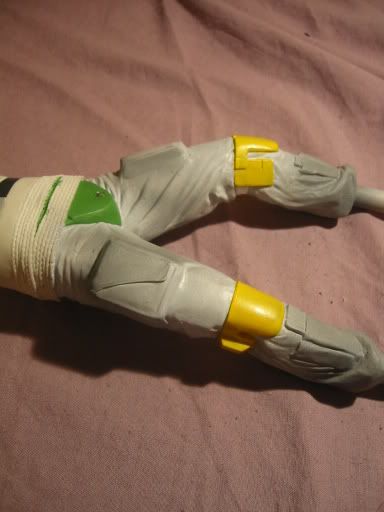
The arms:

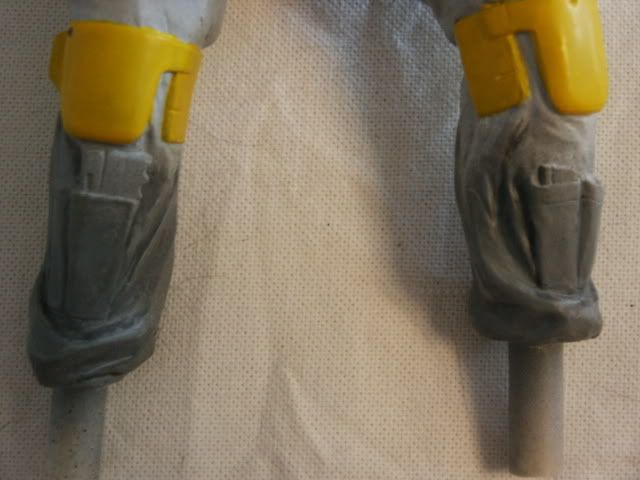
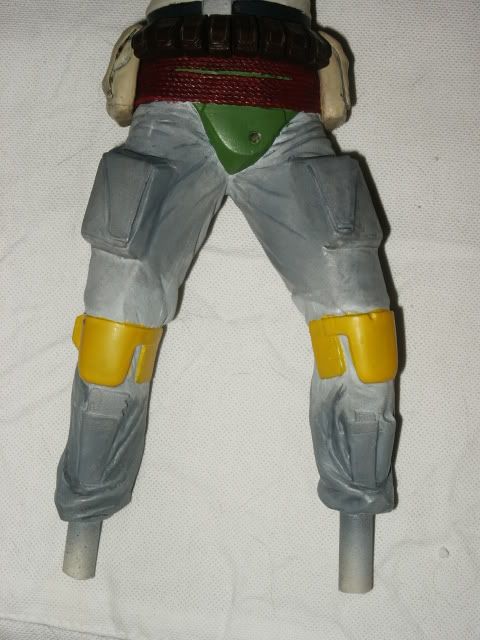
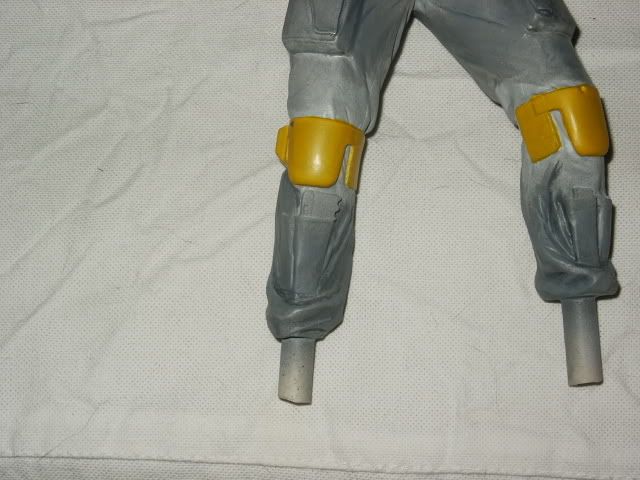
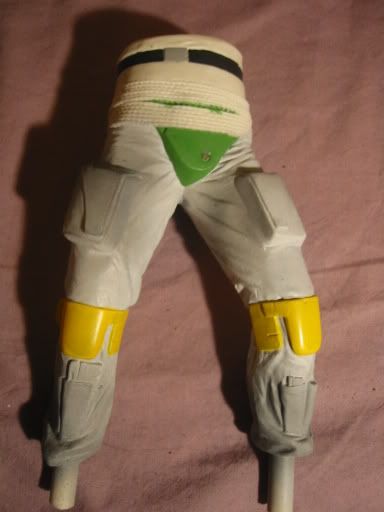
Lower body:
Like i said. I've been working on it ever now and then and like my MSH Boba fett helmet i painted i'm choosing sanity over acuracy here. But i do strive, however, to have it as accurate as possible, which considering the scale of the model and the complexity of the paint jobb is a pretty far fetched idea...
Anyway.. i just wanted to post some progress pics to get the "experts opinion" so to speak. I'm using Citadel colours and im trying to eyeball the colours to match my ref pics. On some of the stuff like the cape and the blaster i'm just really trying to capture the overall "feeling" of it and i wasn't too bothered about the details.
So what am i asking for? Well generally any pointers or tips to keep me on track so to speak. any constructive critisism is always welcome. (wow.. though word to spell..) How are the colours? Where do i need more weathering? (hopefully i won't need any less....)
Any purely negative comments will be ignored.
All of the fullsize images (and more than those posted here) can be seen at my Picasa gallery at: Screamin Model Gallery.
The cape:
The blaster:
The arms:
Lower body:
")