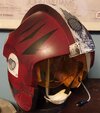
This thread will document what I did to alter and deco the helmets.
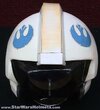
First I'll post the final product of three of them, then I'll post about the process, and then later I'll add more helmets as I do them.
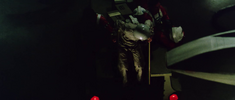
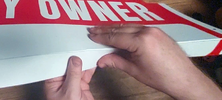
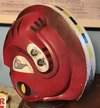
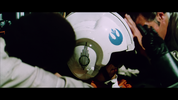
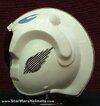
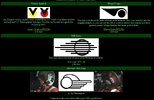
They all started like this:

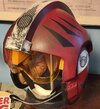
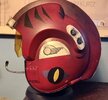
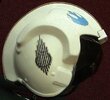
and ended up like this:


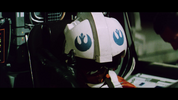
next: comparisons to reference
First I'll post the final product of three of them, then I'll post about the process, and then later I'll add more helmets as I do them.
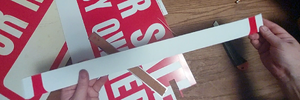
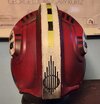
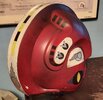
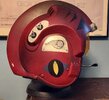
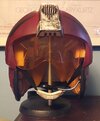
They all started like this:
and ended up like this:
next: comparisons to reference
Attachments
-
 20230827_134259.jpg751 KB · Views: 139
 -
 20230827_134405.jpg752.6 KB · Views: 132
 -
 20230827_134347.jpg712.7 KB · Views: 121
 -
 20230827_134316.jpg805.2 KB · Views: 142
 -
 20230827_134515.jpg655.3 KB · Views: 138
 -
 20230827_134502.jpg727.8 KB · Views: 123
 -
 20230827_134423.jpg713.4 KB · Views: 127
 -
 20230827_134433.jpg794.9 KB · Views: 200
Last edited:


") )
)