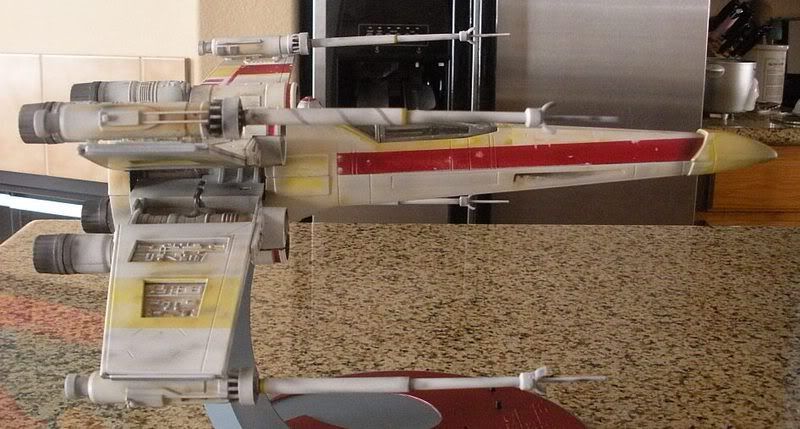
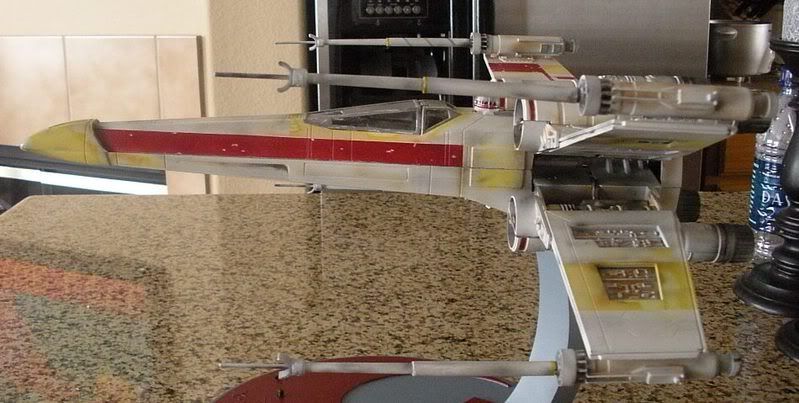
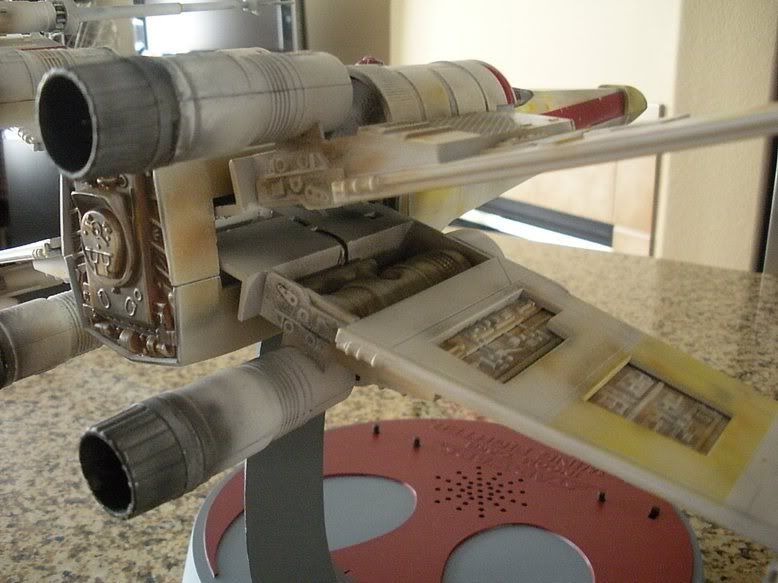
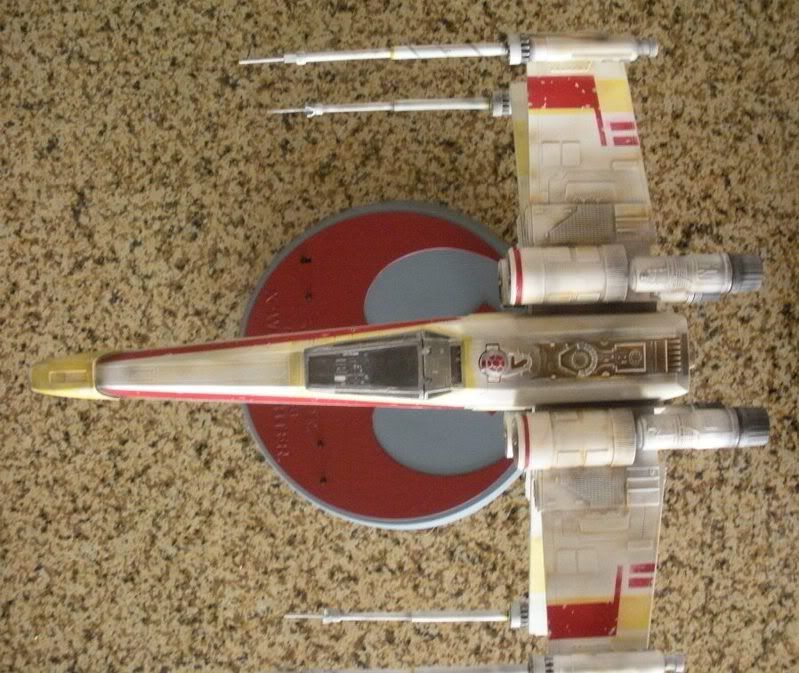
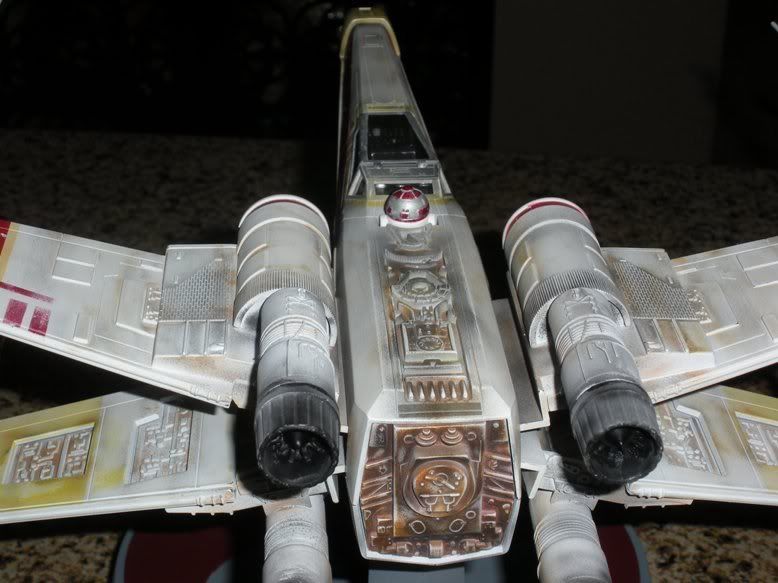
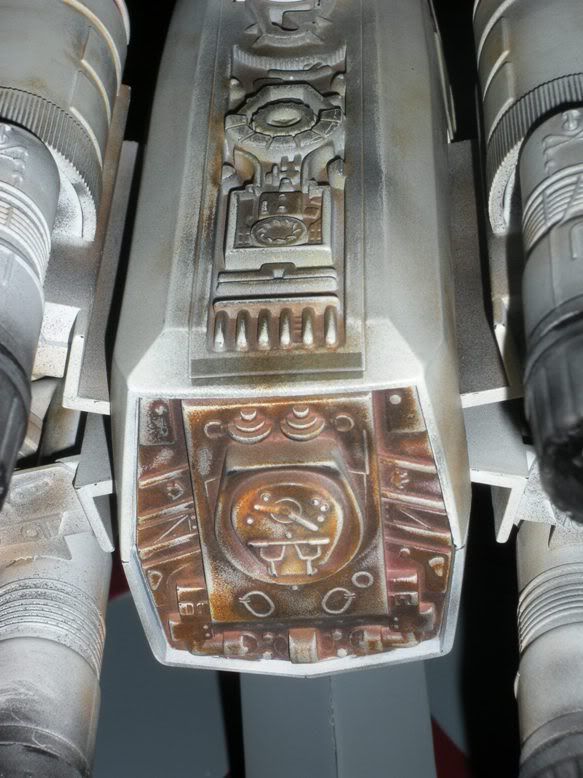
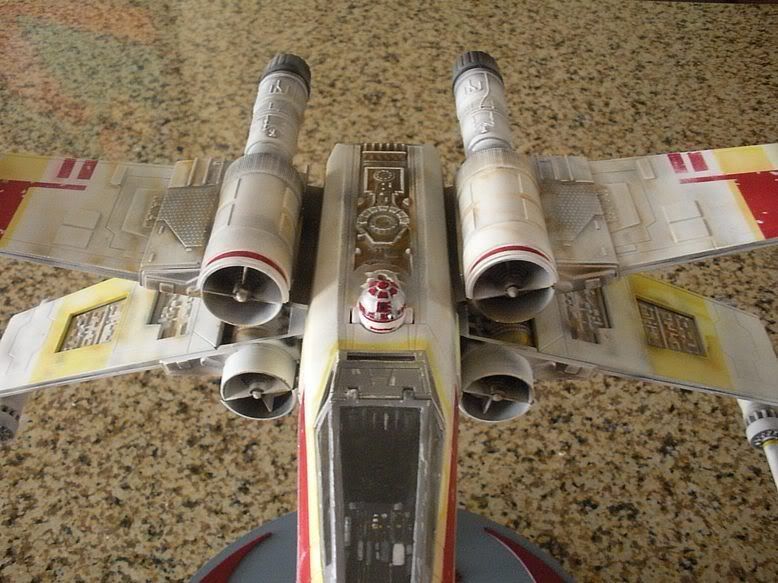
My first X-wing paint job, Red 2

Shadowknight

Sr Member
RPF PREMIUM MEMBER
I had very few reference pictures to go off of and I've never weathered a model before, so any tips or suggestions (for any future paint jobs) are greatly appreciated.


DSCN0200a.jpg

DSCN0203a.jpg

DSCN0210a.jpg

DSCN0206a.jpg

DSCN0207a.jpg

DSCN0204a.jpg

DSCN0202a.jpg


Some of the color got washed out in the sunlight.
 
It looks good but could use some "heavier" weathering,unless you are shooting for a cleaner X-Wing,maybe some random blast marks/impacts?If you have an airbrush...you can soot up the engines some,dry brushing to bring out the details,washes and of course...pastels(blacks,shades of grey,and aurt maybe?).Really,its only limited to your imagination and I supppose your skill level?
 
Looks good, but yeah, a little too clean. Needs an overall wash of grime. Have you done washes before? If not, let us know. The one thing I realized when I built my ProShop was I would think "wow, I overdid the weathering". Then I would step back and say "nope, needs a little more". As your weathering it may seem like your over doing it but then look at some reference pics, you will realize that your not.

I have to get pics of my ProShop up. May not be the most accurate out there but it is a good size. Much bigger than any of the MPC and FineMolds kits. I love mine.
 
Last edited:
Love seeing this!! I'm also still working on my first xwing, also a red 2. I couldn't find too many reference shots either. She looks great!
 
Much better than my first try ever was.:thumbsup

I'd say you've done great so far, but also be careful with any additional washes/weathering. It is too easy to overdo an OT vehicle. Everytime I see a studio model I think about how it is not as weathered as I thought, or at least much more subtle than I expected. You have to consider the lighting as well. A studio model is larger and more detailed, and will cast more shadows in the greeblie areas. You want a wash to soak into those nooks and crannies to give the illusion of shadow from nudercuts when there is none. This is not a simple as making it look dirty. If you are only worried about panel lines I recommend a fine point mechanical pencil.
 
Very nice job! I think it's fine the way it is, sometimes when you try to further weather something already done it can mess it up. But that might just be me! :D
 
Thanks for all the feedback. Nope, I've never done a wash before. How do you do it?

I think that the light washed out some color on the weathering. I will get some more pictures up later today under different light.
 
Washes 101: Well,first of all...what kind of paint did you start out with?Is it acrylics or enamels?You want to stick with the same kind of paint,it alleviates compatibility issues,believe me you don't want that headache,but if memory serves...I think you can do an enamel wash over an acrylic paint base.I'm not sure how well acrylic washes work out?I know acrylics are the "new wave thing" but I'm old school and still like to use enamels.

You can adjust it to your liking,but basically you want to use a ratio for a wash like 10:1.10 parts thinner/reducer to 1 part paint(I work in drops). If you adjust it for more thinner to paint,then you will get a thicker/darker wash and its fun to experiment sometimes,but I wouldn't do it on a Salzo X-Wing.

You can apply the wash by loading your brush and just letting it run where you want it(let chance and fate take over),or another way is(and I do this) is start with just a brush loaded with plain thinner(a good ammount)paint it on as if you were painting the way you want the streak to go,then just touch your brush tip and watch the dark color bleed and run where you want it.

You can apply multiple washes and in different shades of light to really dark grey to jet black.For greese semi gloss back is good to use,but you can use flat as well.The semi-gloss is good for scale,and the smaller the scale the flatter you want it to go.Its a learning process and the more you do it,the better you will get.You'll find what works for you and what techniques you like.Before attacking your X-Wing,practice on a junker model or scrap styrene.Good luck!
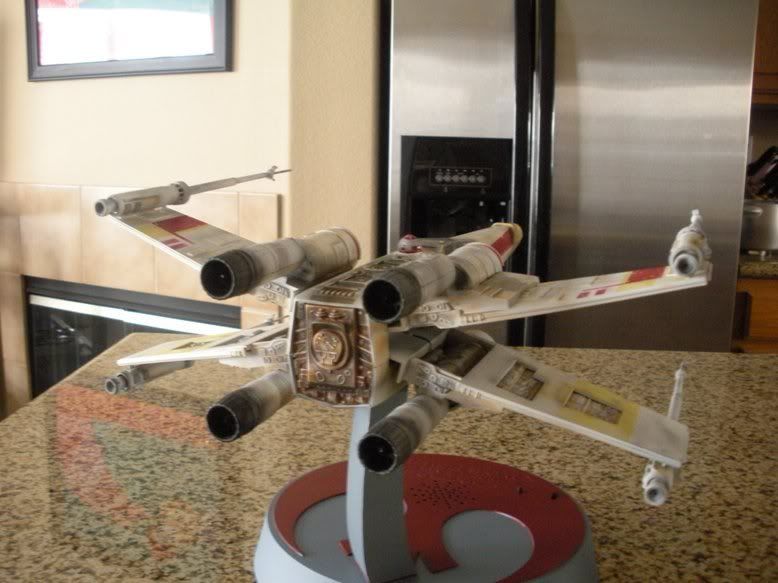
 
I keep coming back to this... There is something strangely refreshing seeing the commercial kit versus all the studio scale builds of late.

I have about five copies of this kit. I want to go build one now!
 
Washes 101: Well,first of all...what kind of paint did you start out with?Is it acrylics or enamels?You want to stick with the same kind of paint,it alleviates compatibility issues,believe me you don't want that headache,but if memory serves...I think you can do an enamel wash over an acrylic paint base.I'm not sure how well acrylic washes work out?I know acrylics are the "new wave thing" but I'm old school and still like to use enamels.

You can adjust it to your liking,but basically you want to use a ratio for a wash like 10:1.10 parts thinner/reducer to 1 part paint(I work in drops). If you adjust it for more thinner to paint,then you will get a thicker/darker wash and its fun to experiment sometimes,but I wouldn't do it on a Salzo X-Wing.

You can apply the wash by loading your brush and just letting it run where you want it(let chance and fate take over),or another way is(and I do this) is start with just a brush loaded with plain thinner(a good ammount)paint it on as if you were painting the way you want the streak to go,then just touch your brush tip and watch the dark color bleed and run where you want it.

You can apply multiple washes and in different shades of light to really dark grey to jet black.For greese semi gloss back is good to use,but you can use flat as well.The semi-gloss is good for scale,and the smaller the scale the flatter you want it to go.Its a learning process and the more you do it,the better you will get.You'll find what works for you and what techniques you like.Before attacking your X-Wing,practice on a junker model or scrap styrene.Good luck!

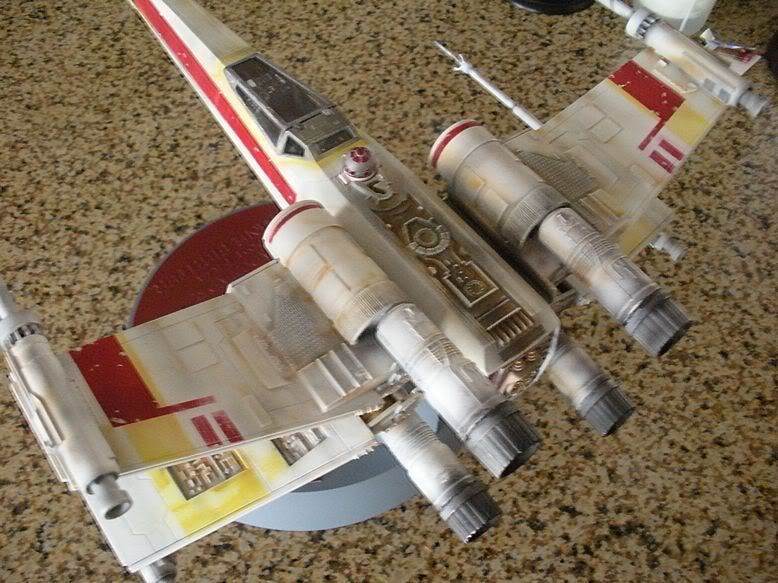
JP, I really appreciate the pointers too! :thumbsup


Thanks,
-DM
 
Thanks for the advice JPolacchi, I always wondered how to do that and now I can go and practice it. BTW - I used an acrylic.

I have about five copies of this kit. I want to go build one now!

You should build one. I had a great time doing it. :)

Here are a few pics under different light.

DSCN0187a.jpg


DSCN0189a.jpg
 
Happy to help.I hope that what I have mentioned is of some assitiance to you?I think if you start with a light wash of black and go over the open panels in the wings,the back end and of course the "top" where the R2 unit is...it will bring the detail out nicely.I'd also do some dry brushing as well.Doing soot/greese streaks/stains is basically the way I wrote how you acomplish that.Not sure if that will come in handy on the X-Wing?Its more a technique that suites a different subject, like an SMT At-At.Pastels work great for doing streaks/stains too,so like they say,there is always more than one way to skin a cat.If you choose to dabble in pastels,you need to have a flat coat/base,otherwise...the pastel has "no tooth" to hold onto.Mimicking "chips/peeling paint" is a tough one that even I haven't mastered.The basic way is to "hand paint them in" with a brush,but to me that looks a bit too predictable and isn't very convincing to the eye in my opinion.Some guys use futuure flor polish as a masking medium.Other ways are with ustilizing rubber cement masks,airbrushing one base over another and peeling the masks off,but the really slick way is with table salt.Sounds weird,but it looks really authentic if done correctly.That is a technique that would best be used on the Slave I.As I understand it, basically you paint your base coast(let it dry/cure),then dampen the model surface with water and coat with table salt. Yout take a dry brush to randomly remover the salt,then spray your second new color over.After it drys,I think you just use some low tack masking tape or something and remove the salt which acts as a mask and the you have a realistic,patchy paint skeme showing worn/peeling paint.You can repeat the process as much as needed.I've seen it done in FSM Magazine in forums and how to's and it looks awsome.
 
Back
Top