Alrighty, I've been gone for a while - things have been fairly busy dealing with work, my band, and life in general. I've only gotten to do a little work here and there (mostly tweaking the designs in minor ways to make things more accurate), but I recently heard that Awesome-Con will be near me and I have no reason not to go, so that was the kick in the pants to get me to make more time for this. I've got just less than a month to get this ready for Awesome-Con. Here's hoping I can attend my first convention with my first fully handmade suit!!!
")
D
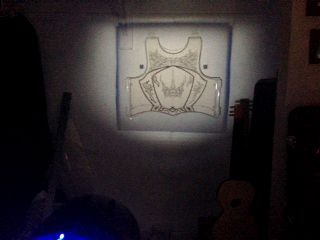
What I've been able to do is make a test cuirass with some poster board. Both the test and final templates are projected onto a wall so I can easily and accurately trace them onto the paper/sintra.
I used duct tape to attach the front and back where all the claps would go and was pleased that it APPEARED to fit fairly well (more on that later), though I had to go back and modify the size/angle of some of the detail work to better fit the golden ratio for my size (I'm 5'7'' and fairly broad shouldered - I'd make a great LOTR dwarf, lol).
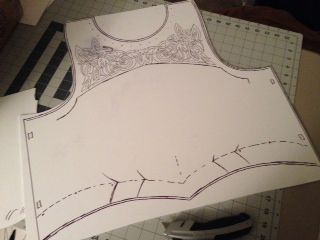
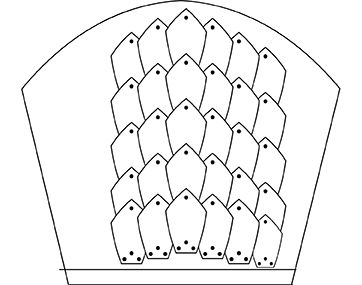
So I went back to the drawing board for that and made a new poster board test. Being pleased with that, I started drawing the template on my sintra boards. Here's the back:
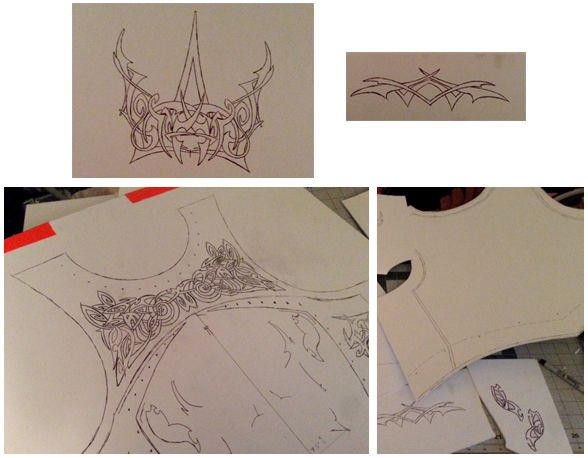
And the front: The designs on the lower half are on another layer of sintra, so the seemingly random lines are just markers for placement.
After doing the above, I discovered MY FIRST MAJOR PROBLEM!!!
It seems I made the top section of the cuirass too wide - I cannot cross my arms in front of me. I didn't notice it with the poster board because it's flimsy and my arms just moved the paper out of the way (during testing I was more concerned about the details which is why I missed it I guess). Due to the complex design on top, I can't simply shave off an inch or two, so I have to rework the top portion, resize the design, run another test, etc, etc. The frustrating part is that I only realized this AFTER I traced that complex design onto the sintra...what a pain. :facepalm
Trying to find the silver lining...Everything else fits fine and it's better that I made it too BIG and not too SMALL - I'm not wasting sintra board this way, and when I've corrected it, I can just flip the marked up sintra over and trace on the reverse side. It's more of a headache than anything, but since it was so easily avoidable, I'm kicking myself. I already started trying to fix the sizing issue by using the last test piece (you'll see that I've been trimming away at it in the image). We'll see how it goes. My plan is to have that fixed and re-drawn on the sintra by Friday, and start carving the details in (something I am not looking forward to by the way - if anyone has any tips using a dremel and/or wood carving tools - or other techniques, I'd be forever in your favor!).
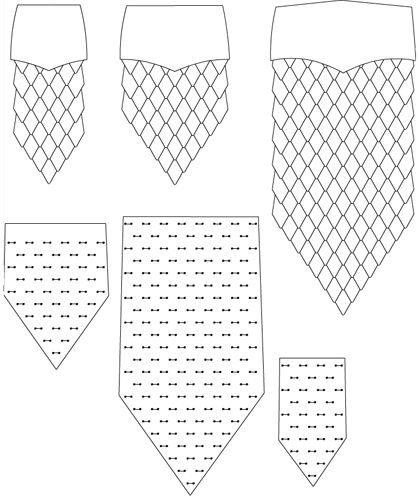
Oh and don't make the same mistake I did on my back plates… on the bottom.. the three plates that are attached to by leather… they are not identical to the three in the front. Like your picture shows.. the middle plate on the back is smaller then the on like it in the front.. allows for the other two pieces to attach closer to it.. so when you attach chest plate and back plate together.. you don't have your loose plates….over lapping. Something I have to fix in my design. Keep up the good work Fuzzy. =)
Dude...I'm really glad you pointed that out; I didn't even notice that. Thanks for saving me from that headache!!! :thumbsup