You are using an out of date browser. It may not display this or other websites correctly.
You should upgrade or use an alternative browser.
You should upgrade or use an alternative browser.
My 1st Prop from Scratch - Hellboy's Big Baby Build Thread
- Thread starter rgriesbeck
- Start date
looking awesome. I bet its still lighter than the sideshow version. No idea what they made the original out of but there is no way in hell that Ron Pearlman could have held a solid one out at arms length to fire it at the forrest elemental.
Agreed. I'm sure there are smarter ways to make this a lot lighter, but I'm not too smart. They probably used a lot of light plastics and fibreglass...
Anyone know what song the big baby plays when the knob is turned? Is it Twinkle Twinkle?
Thinking of something like this - Amazon.com: Kikkerland Twinkle Twinkle Little Star Crank Music Box: Home & Kitchen
or this
http://www.amazon.com/Musical-Movem...eywords=twinkle+twinkle+little+star+music+box
Will build it into the 3D printed back end
Thinking of something like this - Amazon.com: Kikkerland Twinkle Twinkle Little Star Crank Music Box: Home & Kitchen
or this
http://www.amazon.com/Musical-Movem...eywords=twinkle+twinkle+little+star+music+box
Will build it into the 3D printed back end
Last edited:
It plays Brahms Lullaby.
Once again, thanks podman
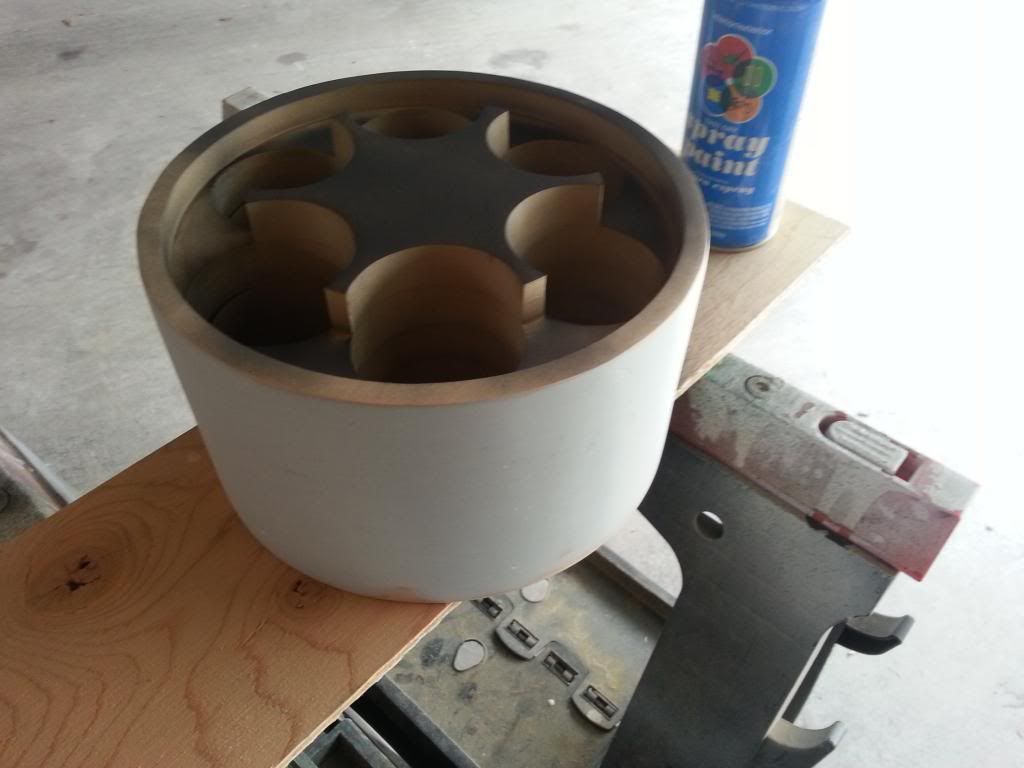
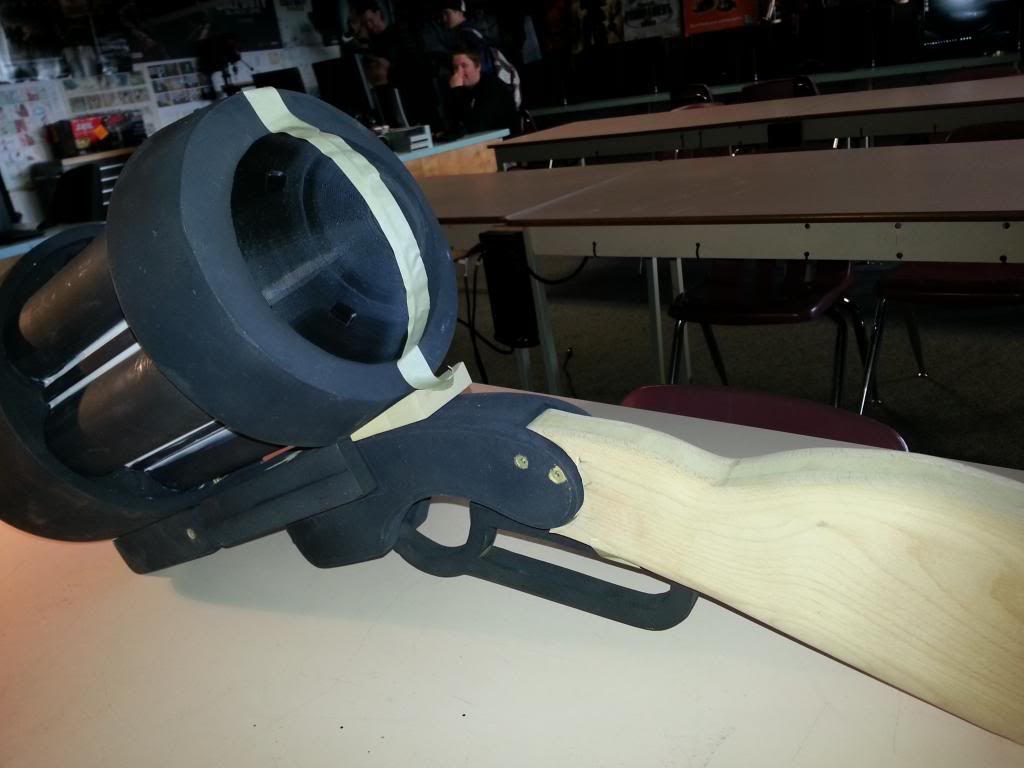
Need some advice, I've got to find a way to smooth out the round parts, the barrel and the back part of the gun. No matter how much sanding I do, I think the MDF will always show where the pieces were glued together. I'm feeling like I need to coat the whole thing in something. I can then sand down.
1) Am I right to think the MDF will show its edges
2) Was thinking a coat of bondo would sand down nicely?
Any ideas?
Thanks
1) Am I right to think the MDF will show its edges
2) Was thinking a coat of bondo would sand down nicely?
Any ideas?
Thanks
Pobbrett
Sr Member
Need some advice, I've got to find a way to smooth out the round parts, the barrel and the back part of the gun. No matter how much sanding I do, I think the MDF will always show where the pieces were glued together. I'm feeling like I need to coat the whole thing in something. I can then sand down.
1) Am I right to think the MDF will show its edges
2) Was thinking a coat of bondo would sand down nicely?
Any ideas?
Thanks
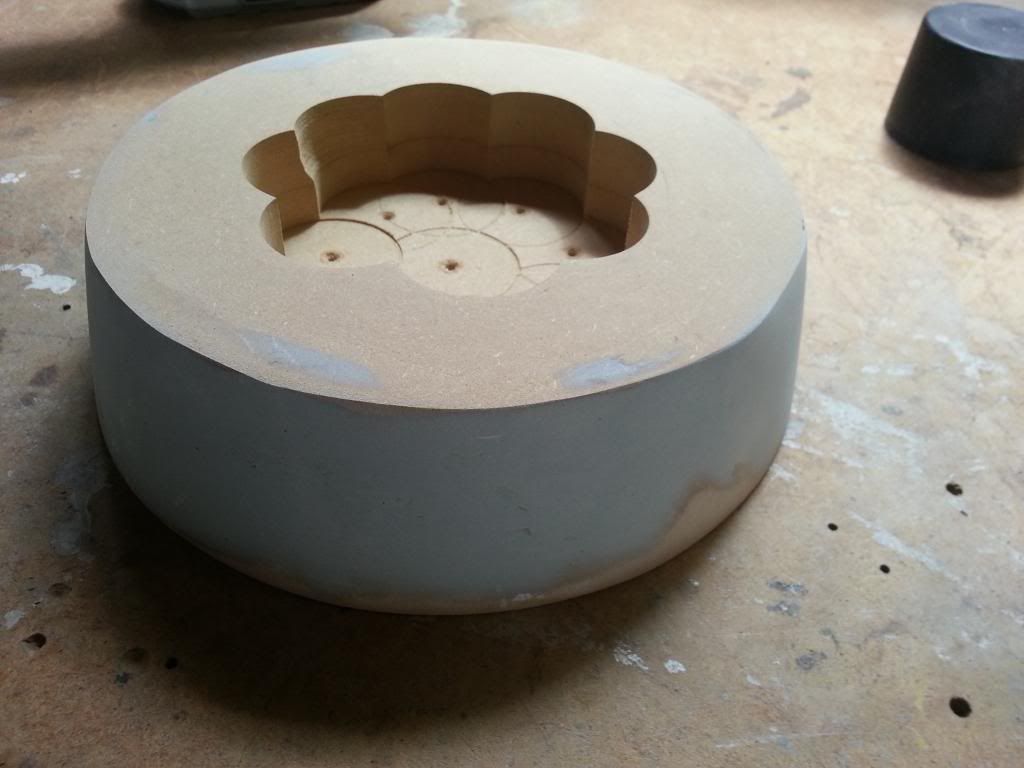
spot/glazing putty is the preferred method for smaller gaps or bondo for the larger stuff,

OK, got some bondo onto the 2 pieces, actually turned out really well - I was surprised:
- - - Updated - - -
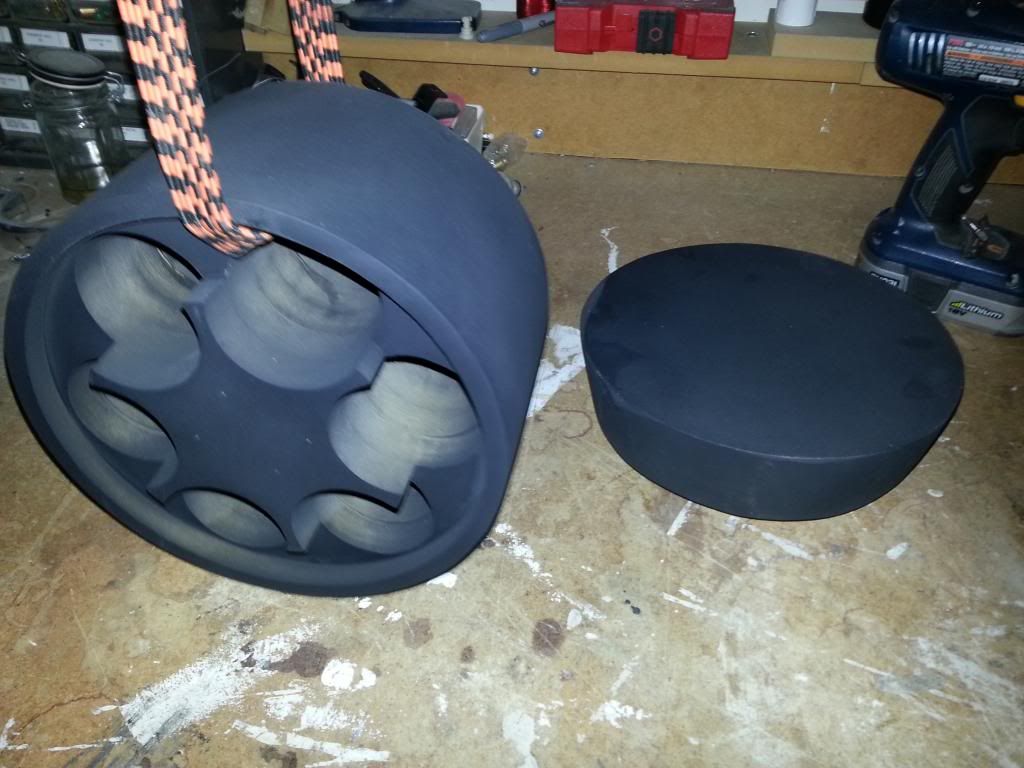
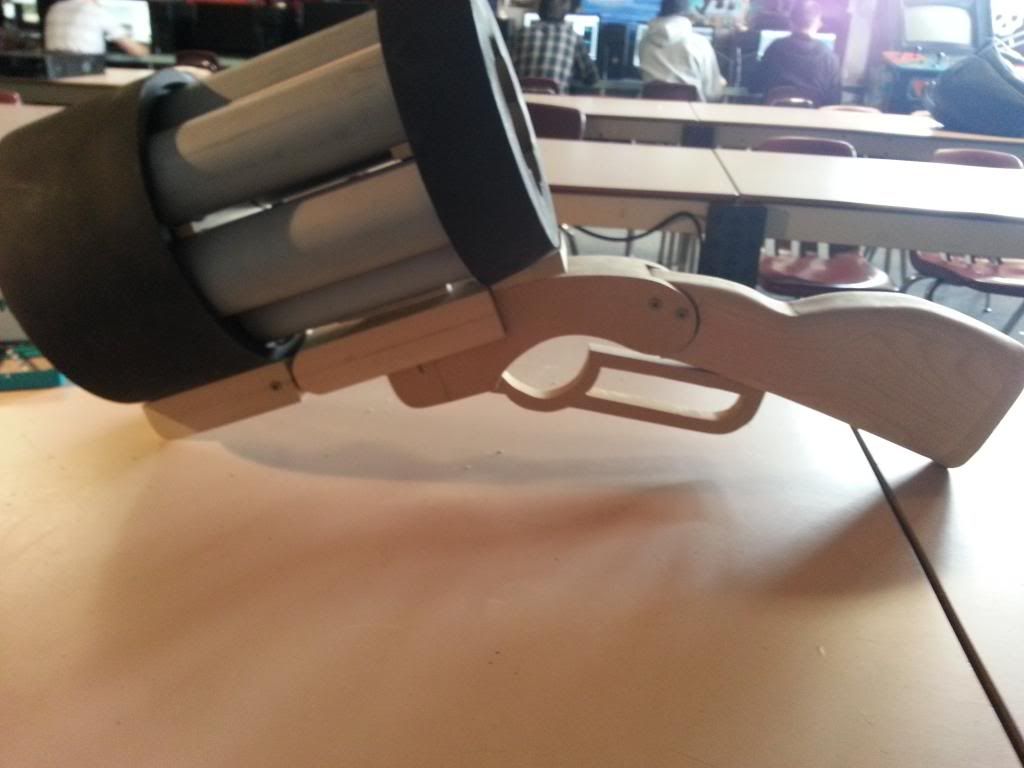
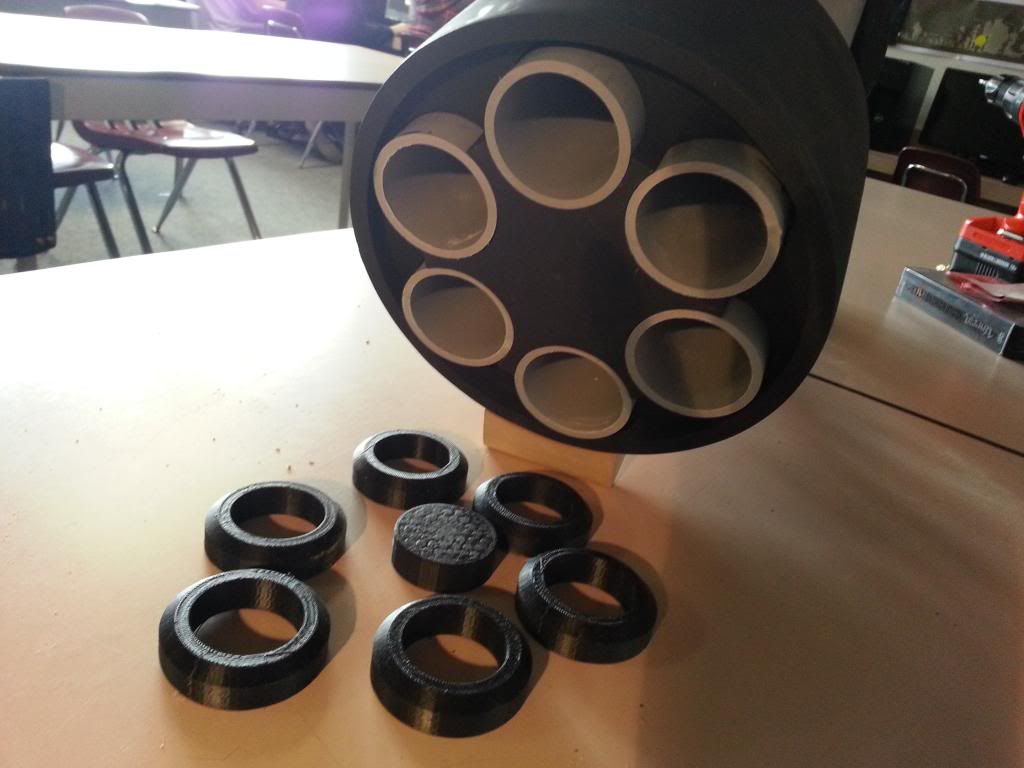
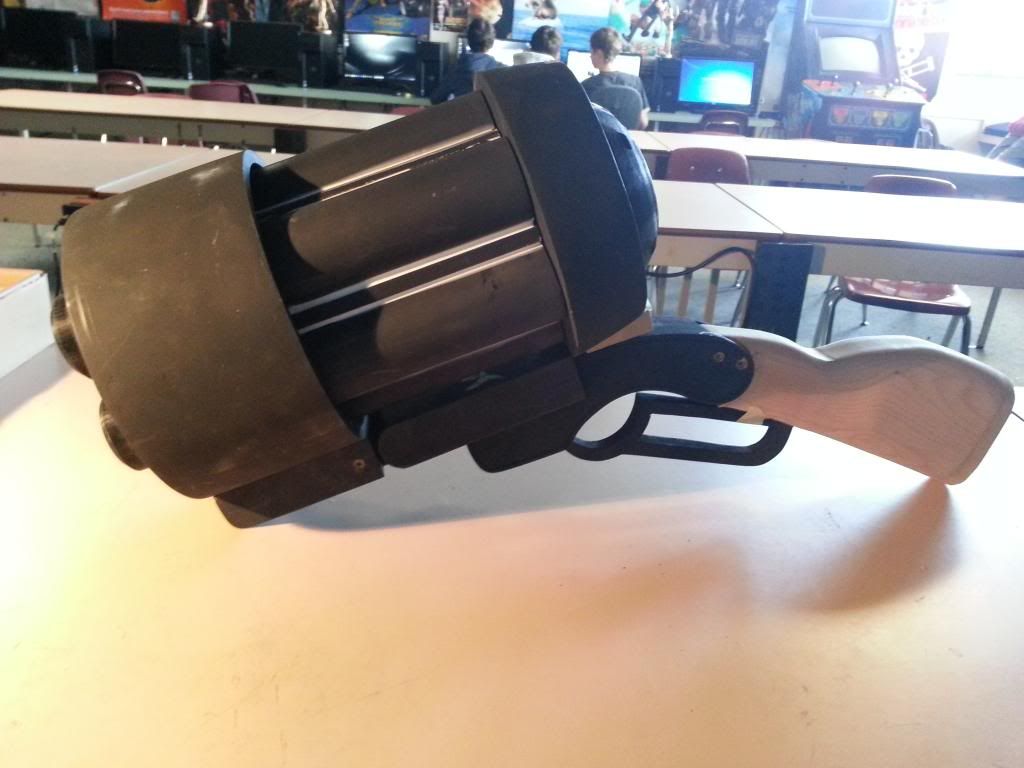
Getting closer to final assembly. Here's a few pics from the recent test fit:
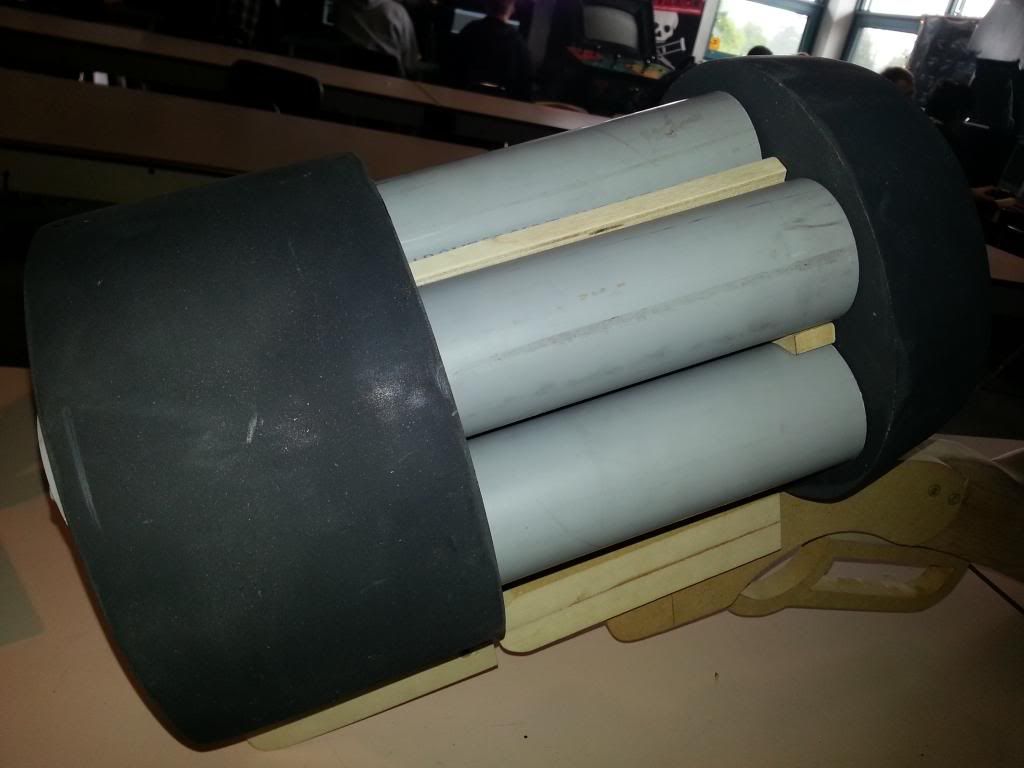


- - - Updated - - -
Getting closer to final assembly. Here's a few pics from the recent test fit:


I've still got several pieces to 3D model and print: trigger, top sight, back "bubble" piece, the piece that turns to play the melody, the BRPD pieces.
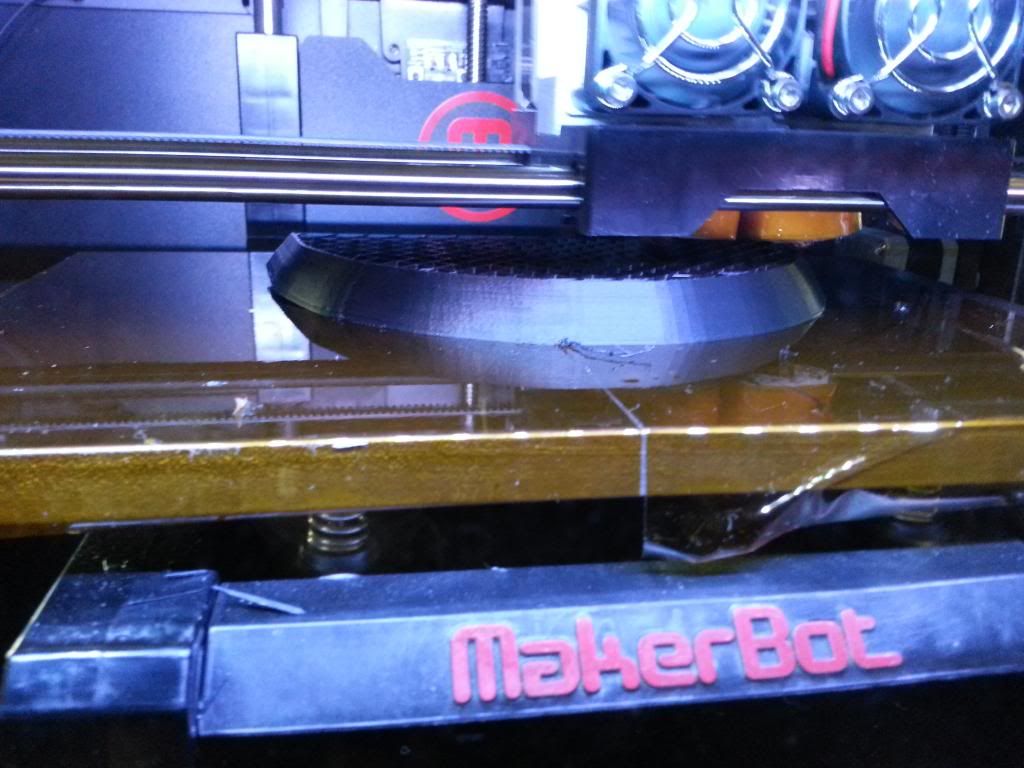
Here's 1/2 of the back bubble (which I guess is the back end of the cylinders) part printing on the Makerbot:
Look for some more pics soon. Everything should be black by end of this week
Here's 1/2 of the back bubble (which I guess is the back end of the cylinders) part printing on the Makerbot:

Look for some more pics soon. Everything should be black by end of this week
iDarkDesign
Member
This looks fantastic! I would like to tackle this once. Good luck finishing it.
iDD
iDD
Thanks everyone, Big baby is getting glued and screwed tomorrow... Hmmmmm, that doesn't sound so good. I'm doing final assembly (minus the stock) tomorrow, have to stain the stock still.
Last edited:
It looks really great!!! Don't think you'll make a run, do you?
Thanks, I can't see doing a run. Not sure how much time, but it's been a lot. I'm not smart/skilled enough to have made molds, this has been all setup as a one off I guess. Thanks though
DEDE02
Well-Known Member
Thanks, I can't see doing a run. Not sure how much time, but it's been a lot. I'm not smart/skilled enough to have made molds, this has been all setup as a one off I guess. Thanks though
Oh, that's bad

But if you should sell your's, just let me know
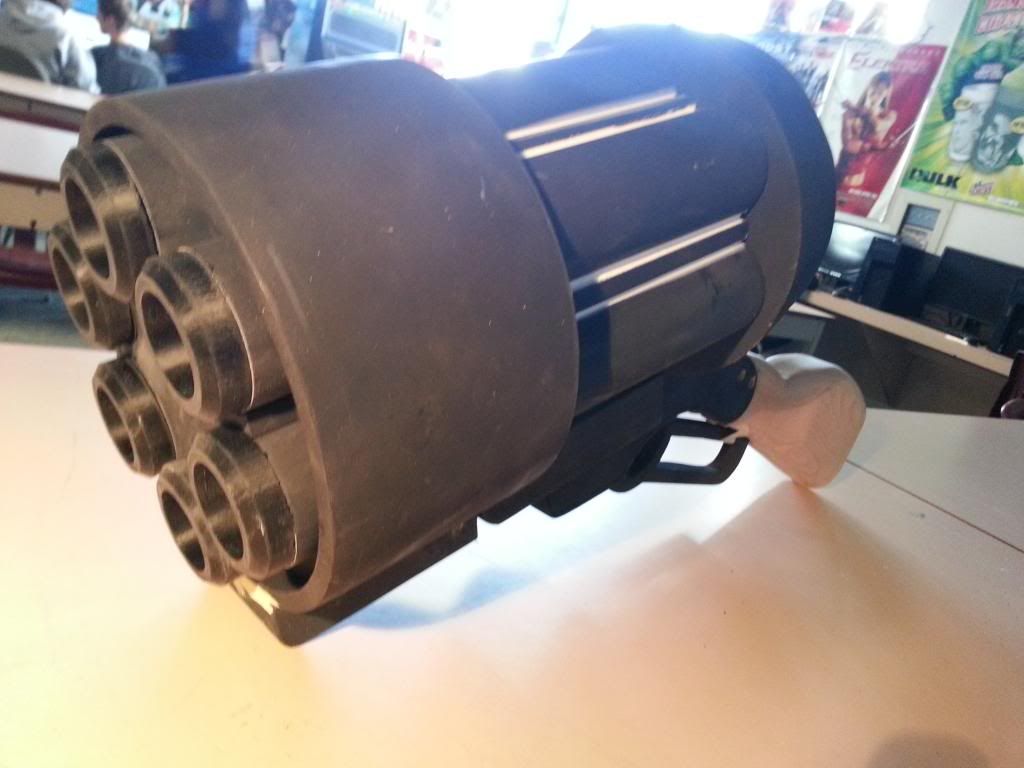
Looking great so far!!! Thanks for the shots...Here's a few more pics of baby screwed and glued together.
Things to finish still:
- fill and paint screw holes
- paint caulk lines
- stain oak stock
- color laserprint big baby pic and text onto clear label, affix to stock
- 3D design & print: trigger, sight, BPRD333, twisty music key thingy
- finish wedge
- repaint whole gun
- age and abuse paint layers
Thanks for the kind words
Things to finish still:
- fill and paint screw holes
- paint caulk lines
- stain oak stock
- color laserprint big baby pic and text onto clear label, affix to stock
- 3D design & print: trigger, sight, BPRD333, twisty music key thingy
- finish wedge
- repaint whole gun
- age and abuse paint layers


Thanks for the kind words
podman
Well-Known Member
thats looking amazing.
What might be better than normal clear label paper is to print the Big Baby logo onto Water Slide Decal paper and put it on the stock using that.
Laser Waterslide Decal Paper
What might be better than normal clear label paper is to print the Big Baby logo onto Water Slide Decal paper and put it on the stock using that.
Laser Waterslide Decal Paper

Similar threads
- Replies
- 2
- Views
- 577
- Replies
- 7
- Views
- 389