Re: Mortal Kombat Sector / Cyrax
Having both of our original sinisalo MX armor secured, we will begin excellerating with these costumes. The great thing about this costume is that if you wanted to be any other characters, smoke, cyrax or sektor, it's just a matter of changing color.
I myself will be doing Cyrax, all yellow, IrishFett will be doing Sektor, all red. "Ketchup and Mustard"
Having studied references from both in game models as well as "behind the scenes" videos, we have decided to start with the helmet build. From what is seen, the entire face/muzzle, sides and neck tubes were physically added onto a base helmet.
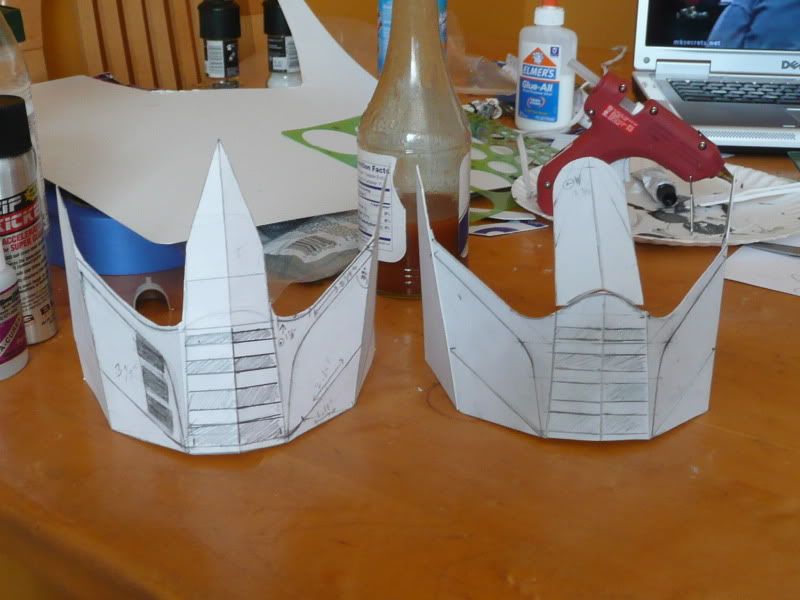
We first started with the muzzle piece. I feel that it is essential that this piece be as accurate as possible or else it will throw off the entire helmet's look that we've come to love seeing in the game. Using references, lots of paper, patience and several hours of staring, we've come up with this. Right now, it's at the basic form, we will be going over this with bondo to sculpt the raised details and curves. Right now, this piece has been fiberglassed and the vent details cut out. This pic dosn't have it shown, but we have the side vents cut out on it as of now.
My Original paper template on the left, the styrene base on the right
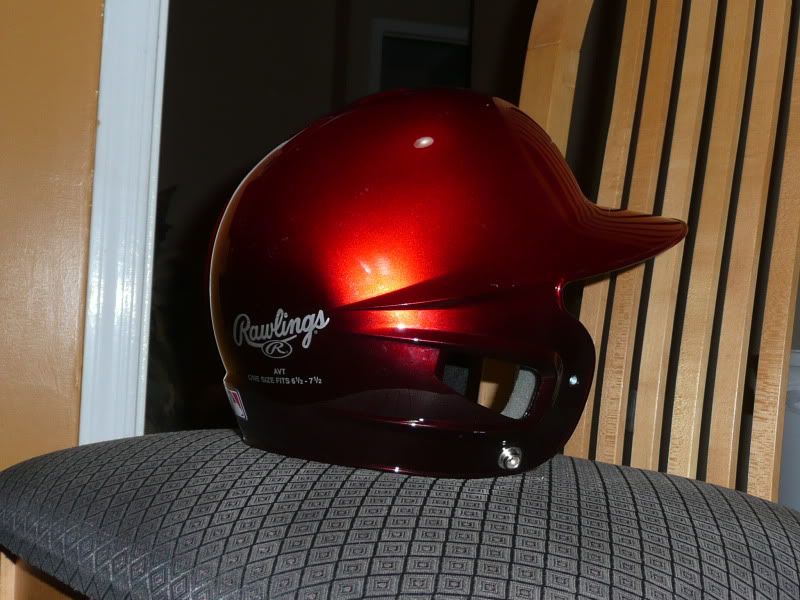
At this point, we couldn't move on with the build until we had a proper helmet base. It has to be "form" fitting in the back, where it's exposed. So this eliminated alot of helmets, originally were going to use an actual MX helmet, but they were just too bulky. Out of sheer luck, having gone to walmart several times for the purpose of finding a cheap helmet, we saw their baseball helmets, and to our surprise, it fits the reference perfectly. Best part is that, despite me being larger then Irishfett, we both fit the same exact size helmet.
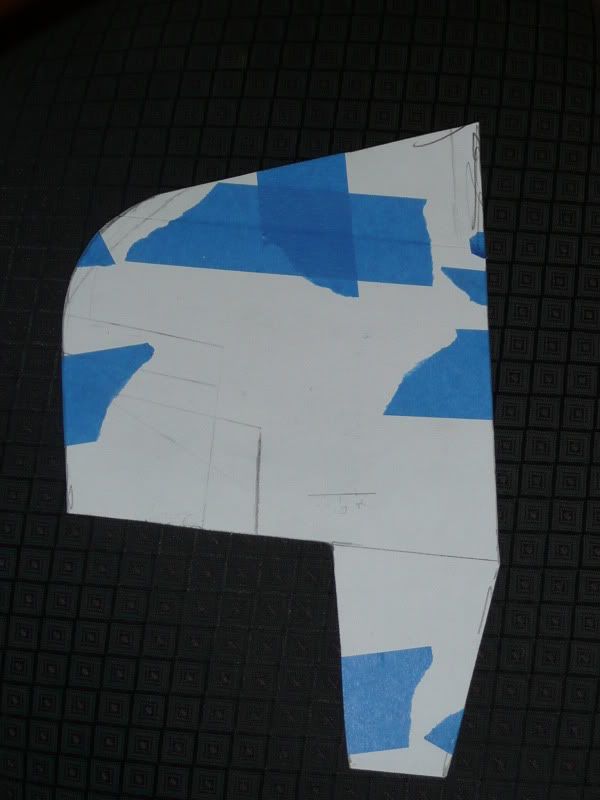
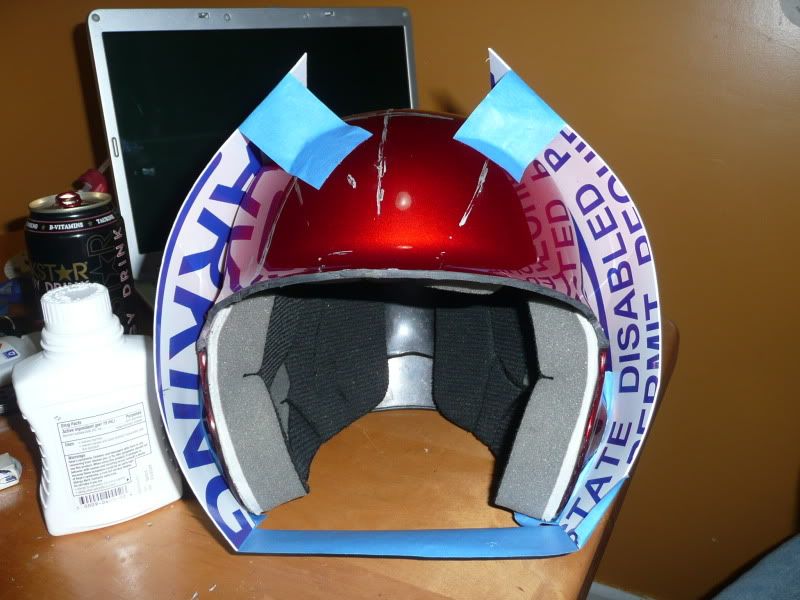
With the helmet now modded (trimmed off the visor) we were ready to start building the rest of it. First up, the side panels. Im not going to lie, this took us several rockstar energy drinks and 9 hours through the night to just make this shaped piece. This was probably the most complicated piece to get to look right.
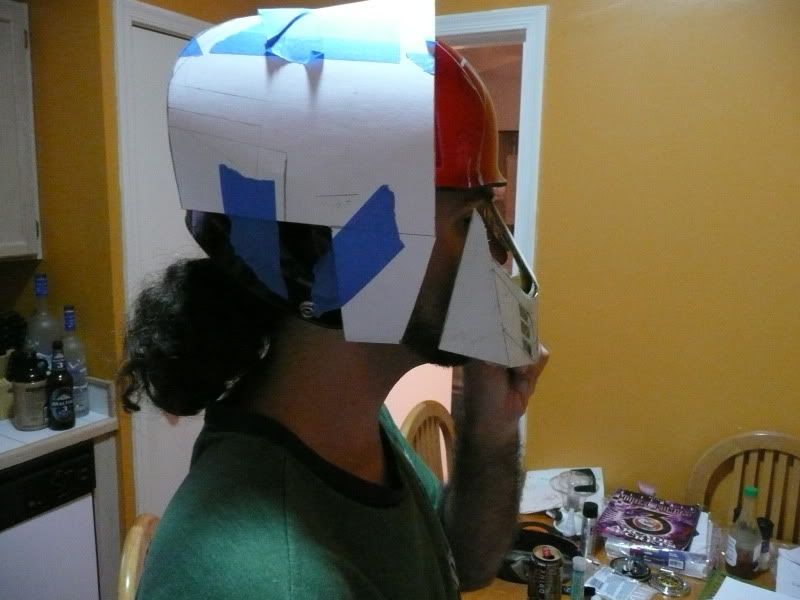
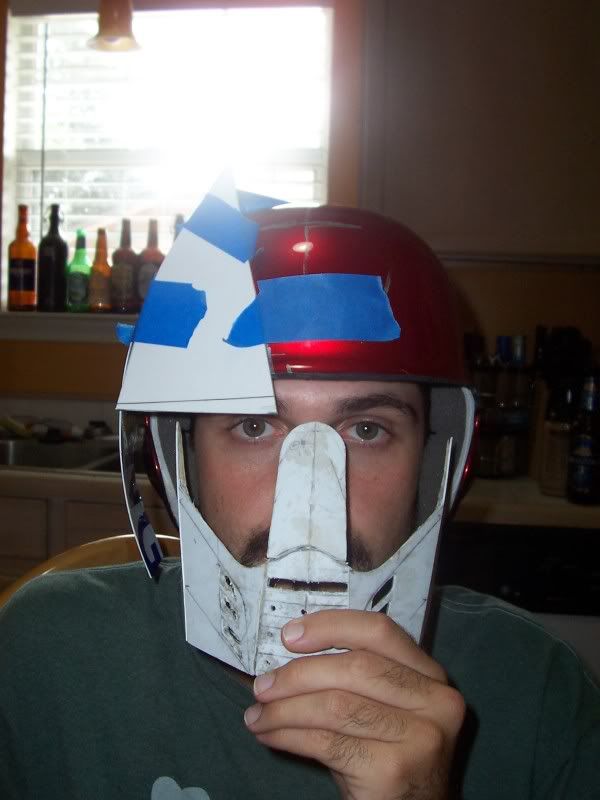
Mind you, the exact placement of the muzzle is still to be determined!
Here are the styrene pieces on the helmet from the front. This was how they were just after we cut them. As of right now, these two panels are fiberglassed and properly curved.
What we are focusing right now on, is the front panels, and eye slit, and this is looking to be just as difficult to make as the side panels..but we are getting closer..
Paper template testing and positioning testing pic
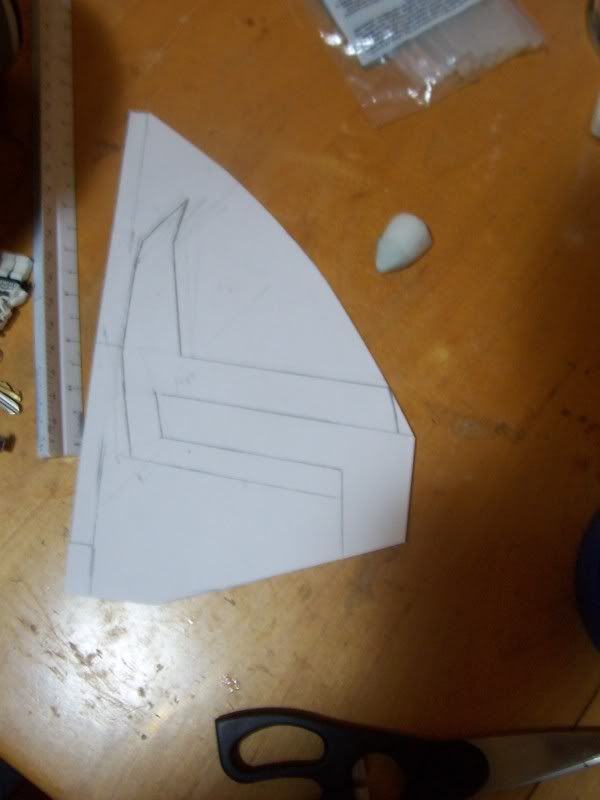
Most current front template. This time, we included the eye slits. It turns out that the red detail steming from the eye is sunk in, making the white sections raised, so we are making the main raised panel first, and then attaching a second styrene sheet under it, to fill the detail space.
We are still toying with the exact angle of the eye detail, but we feel that it may be the final one. The eye slits are drawn out exactly as it will be for the final helmet. That little grey pointed thing is the incomplete sculpt of the forward most tube ends that you see the on the sides of the helmet. Kind of funny, it was built around the plastic piece that came from the nose of my rubies vader mask, that little inset plastic piece.
So there is are current progress. Hoping that I will be getting my MX armor in tomorrow or sometime this week. We are going to try and finish the front panels tomorrow, and then continue working on the shin armor or knee armor, which will not take long at all.
-TC

