C0mmand3rC0dy
Sr Member
So just to add another little project I have been working on,
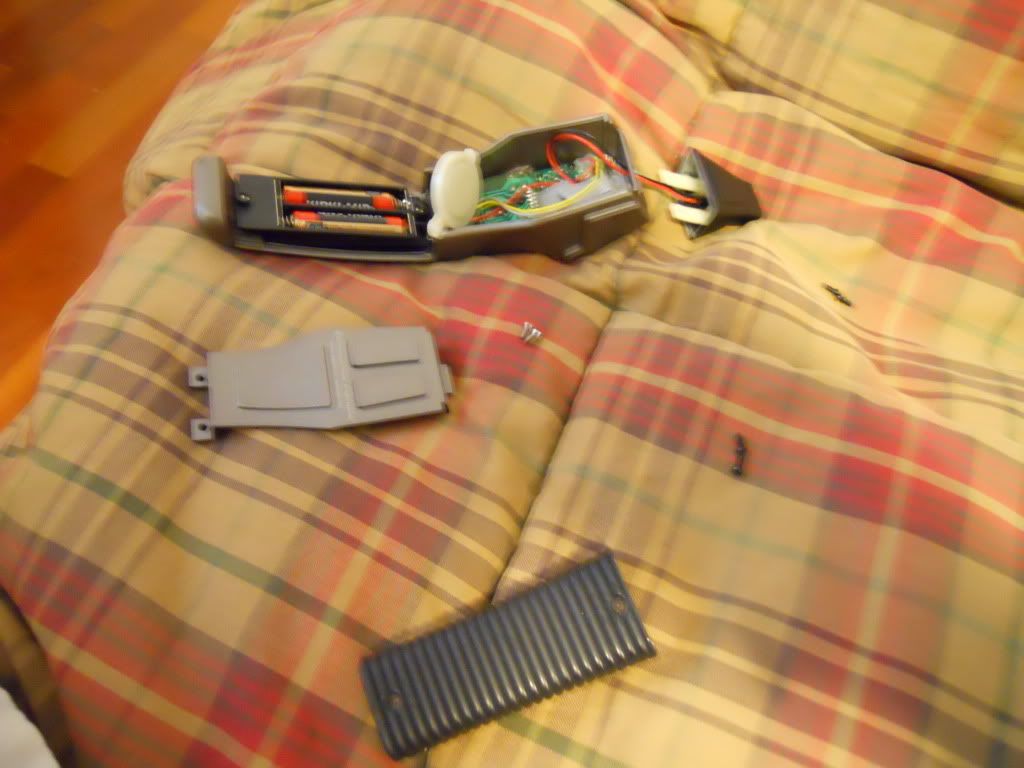
Awhile back I received a nice Master Replicas First Contact Phaser from a member here, unfortunately the emitter had some scratches on it so, I proceeded to strip it completely, and repaint it a matte black to better match the rest of the phaser.
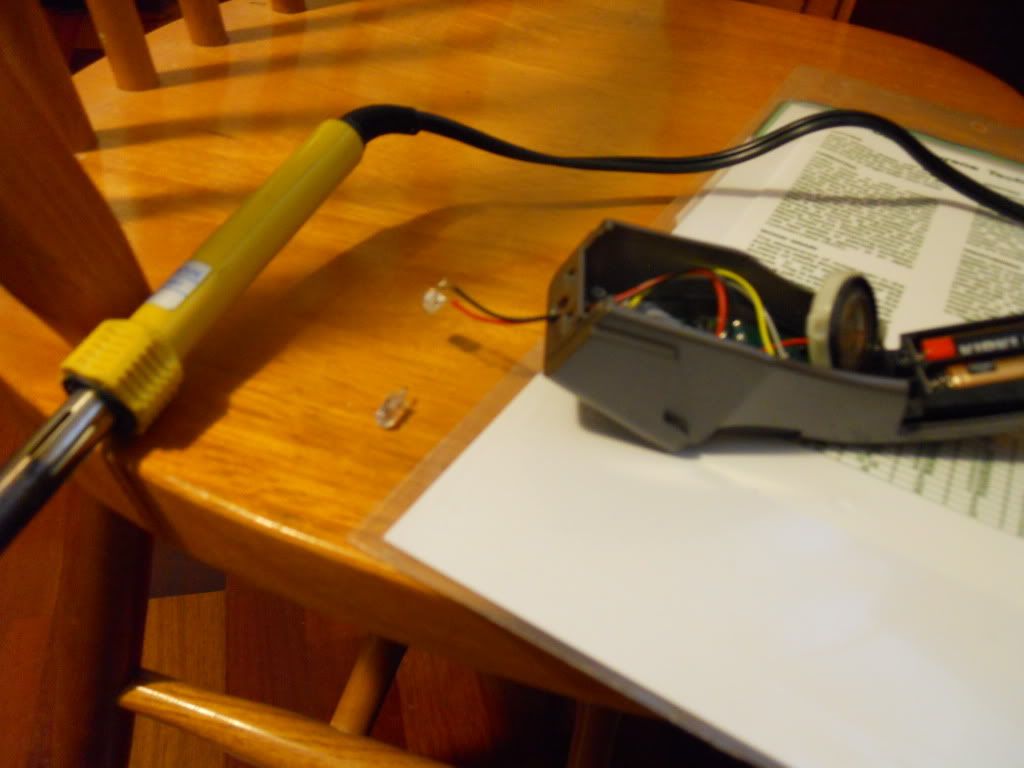
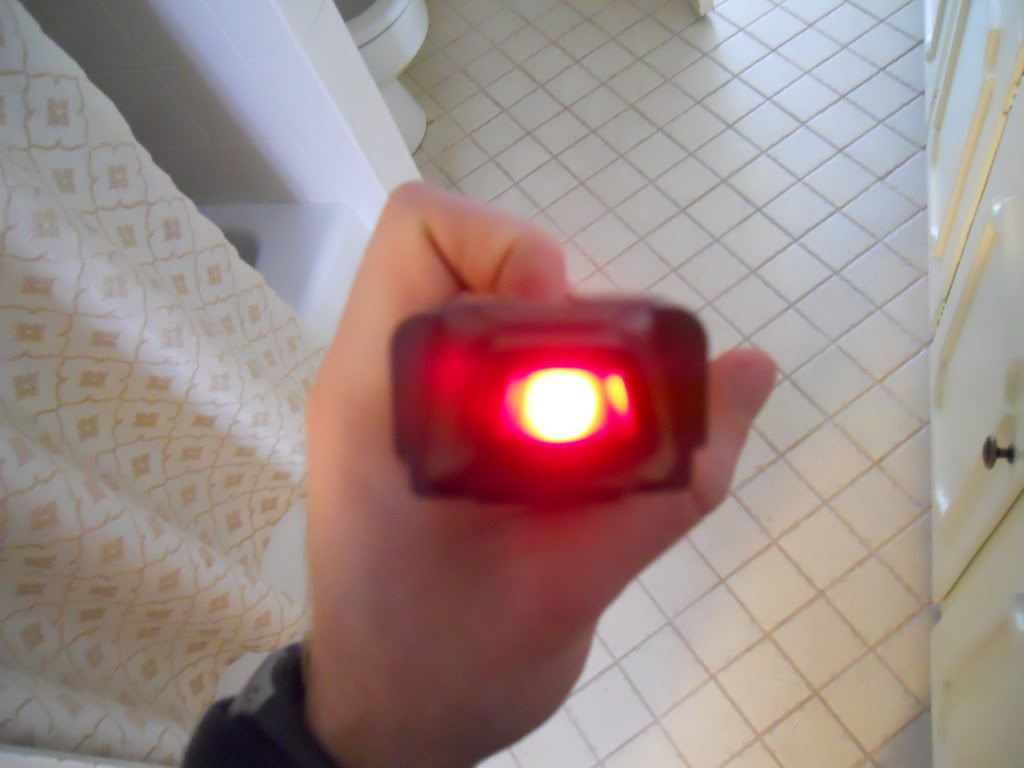
Today, I installed a brighter LED, a red one to replace the white LED that came with the piece. The phaser was surprisingly easy to take apart, just unscrew each section until you get to the emitter, now it looks much nicer!


