Malcolm Reynolds Pistol 3D modelling for Funzees :)

The true Hero of Canton! If you ever decide to release your files for Mal's Pistol, I'll be first in line to grab it!

Thank you!

Now, this must be what going crazy feels like!

Here's a little something I whipped up on the weekend for fun, I hear people like this piece but can't find them:

PAL%20Model%20Render_zpsfwv0dyfv.jpg

PAL%20Model%20Render%20Exploded_zpsalvgqdry.jpg


No clue whether it's printable in it's current state. I added a rod and support for the button so a spring can be inserted easily, and the LED is sized for a 3mm LED.
 
New Pics!


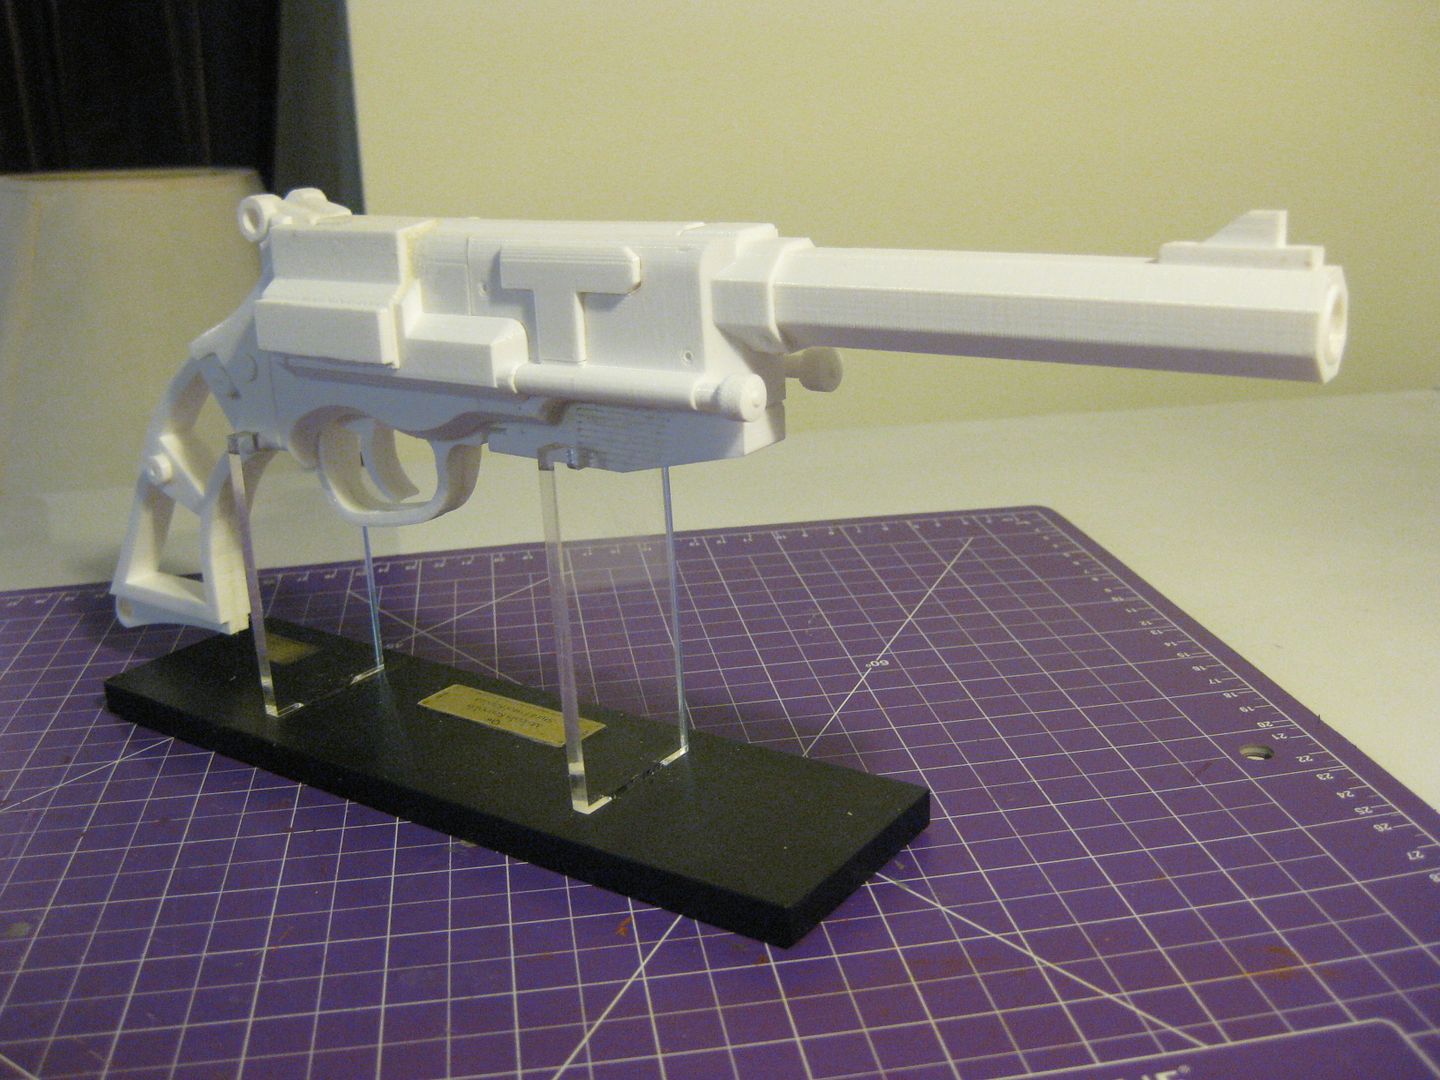
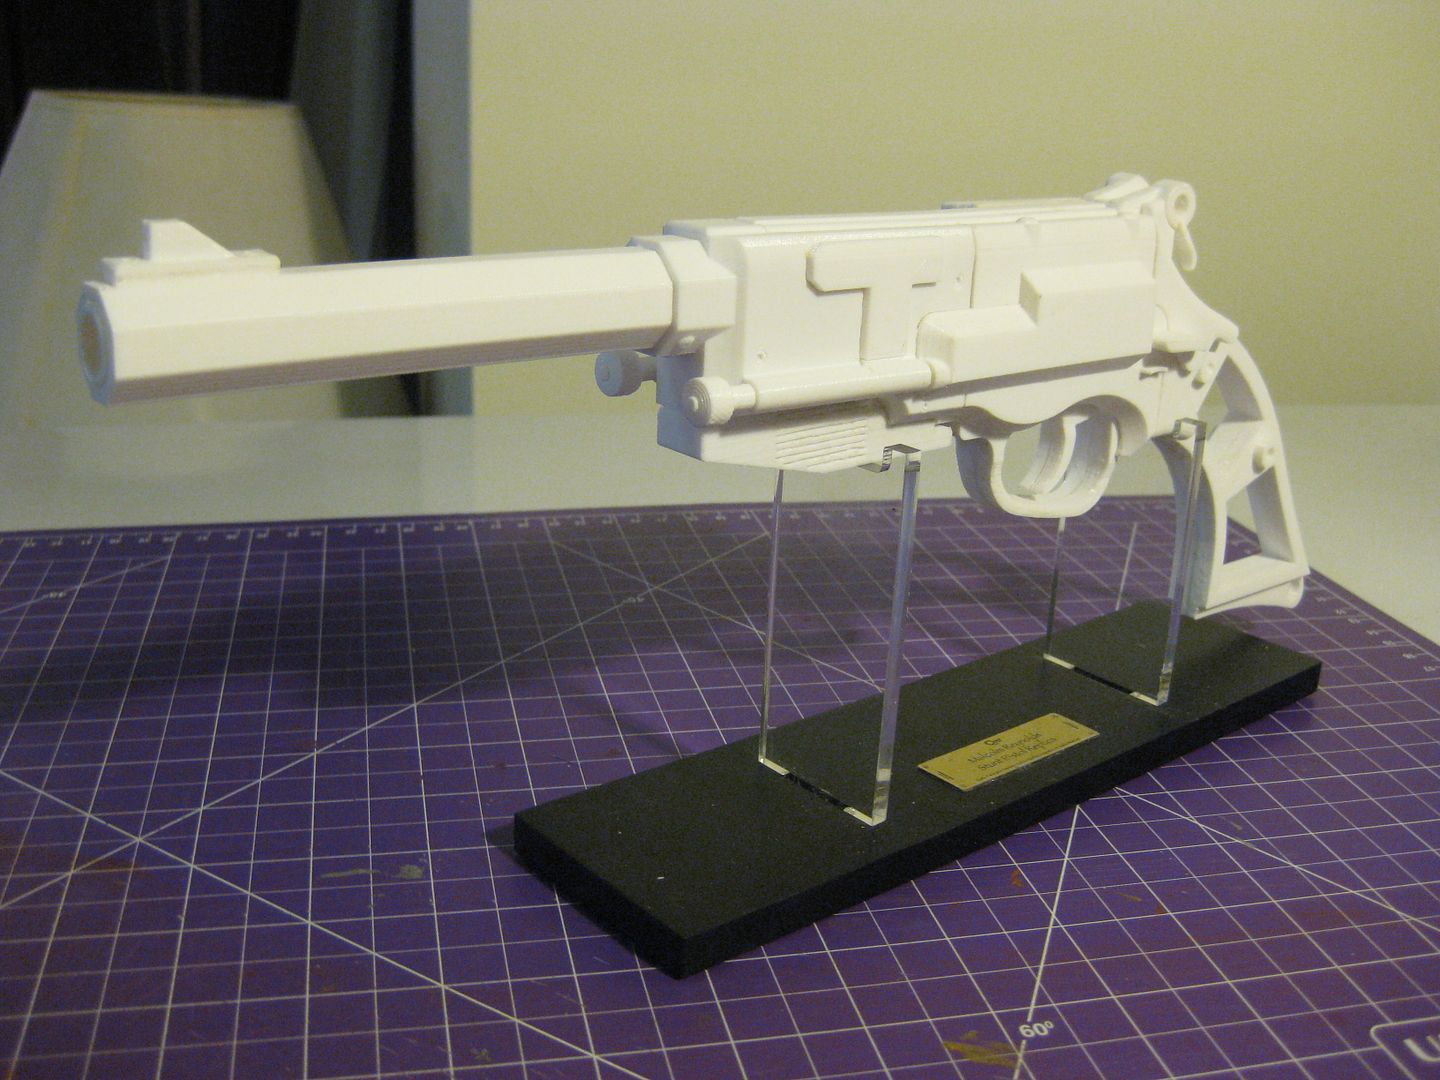
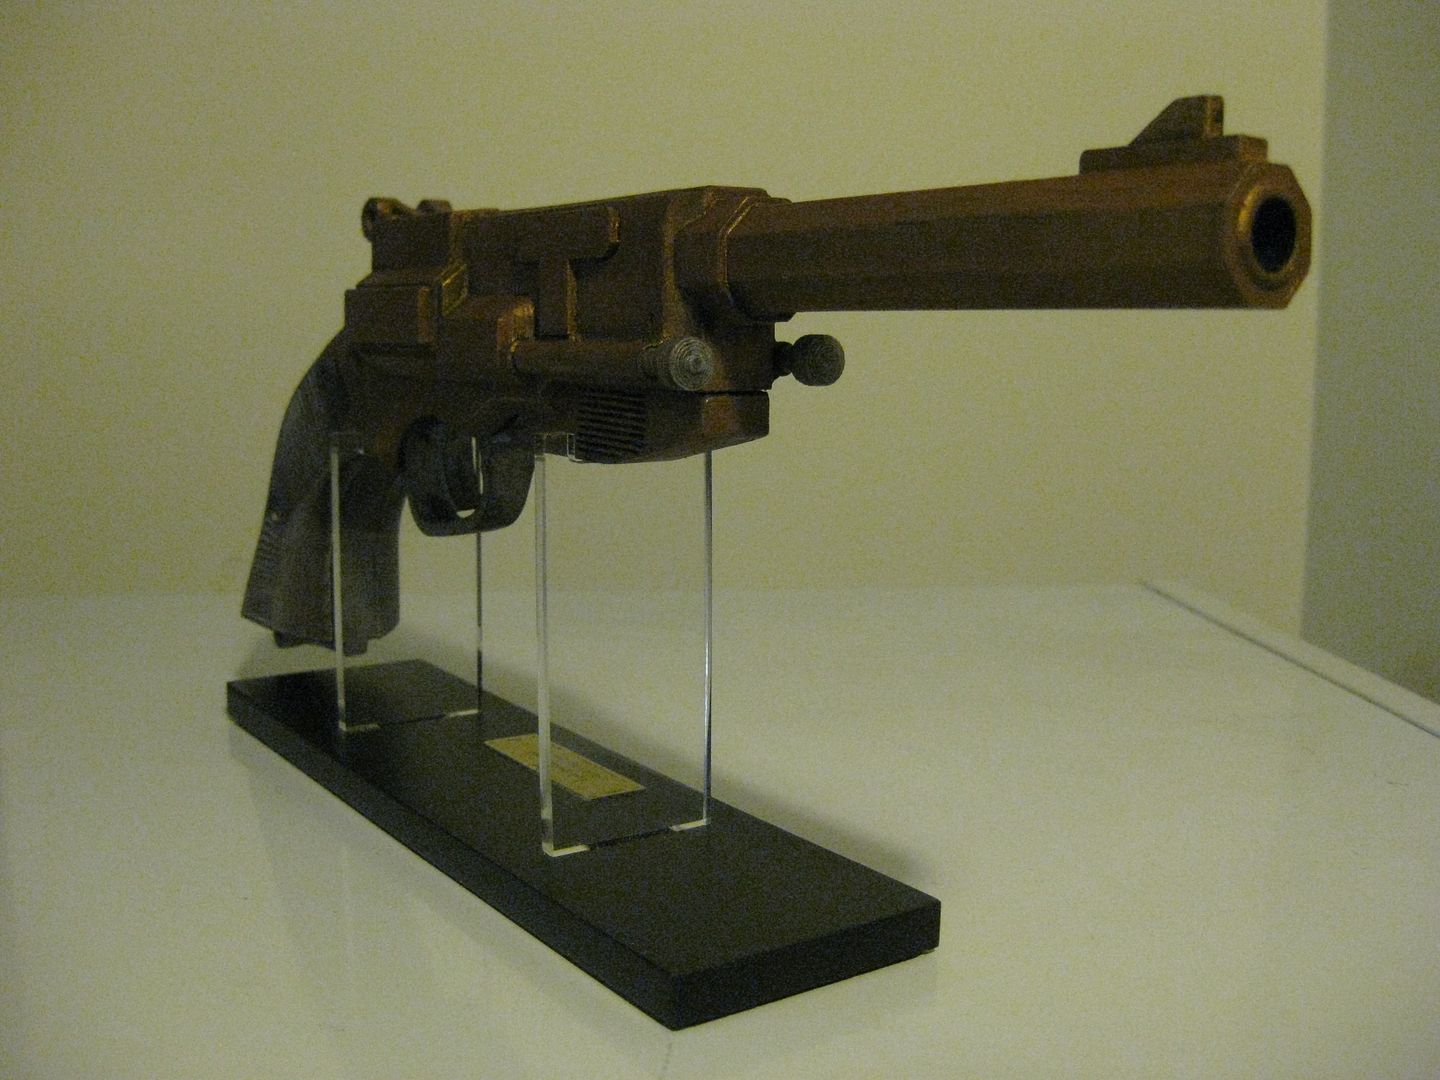
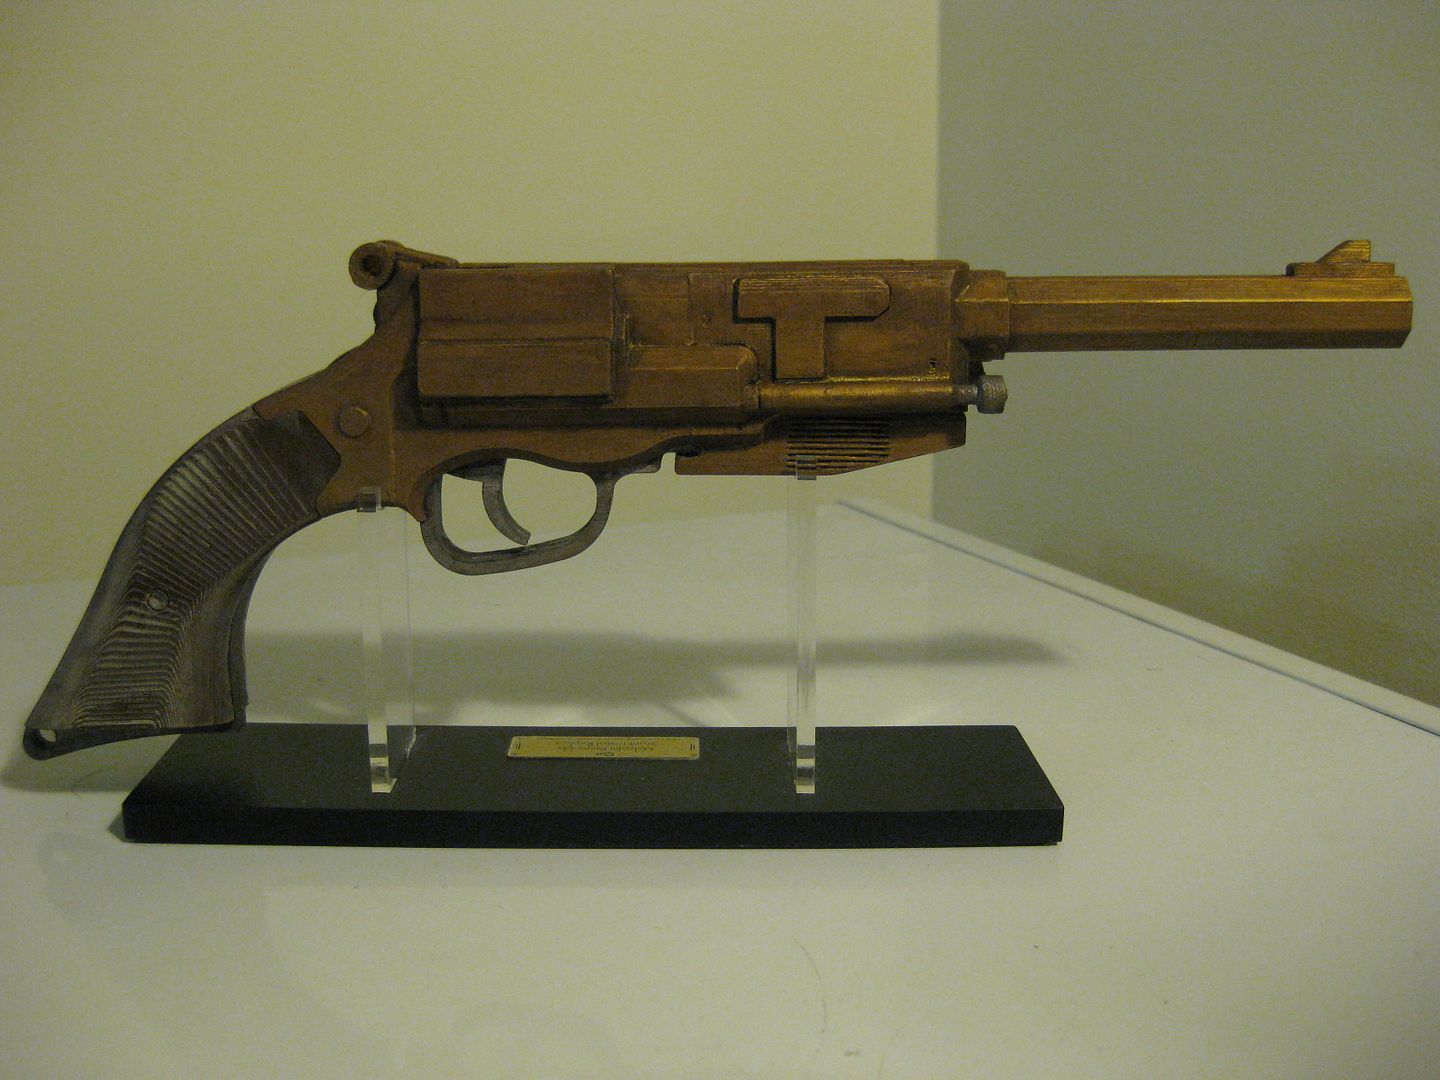
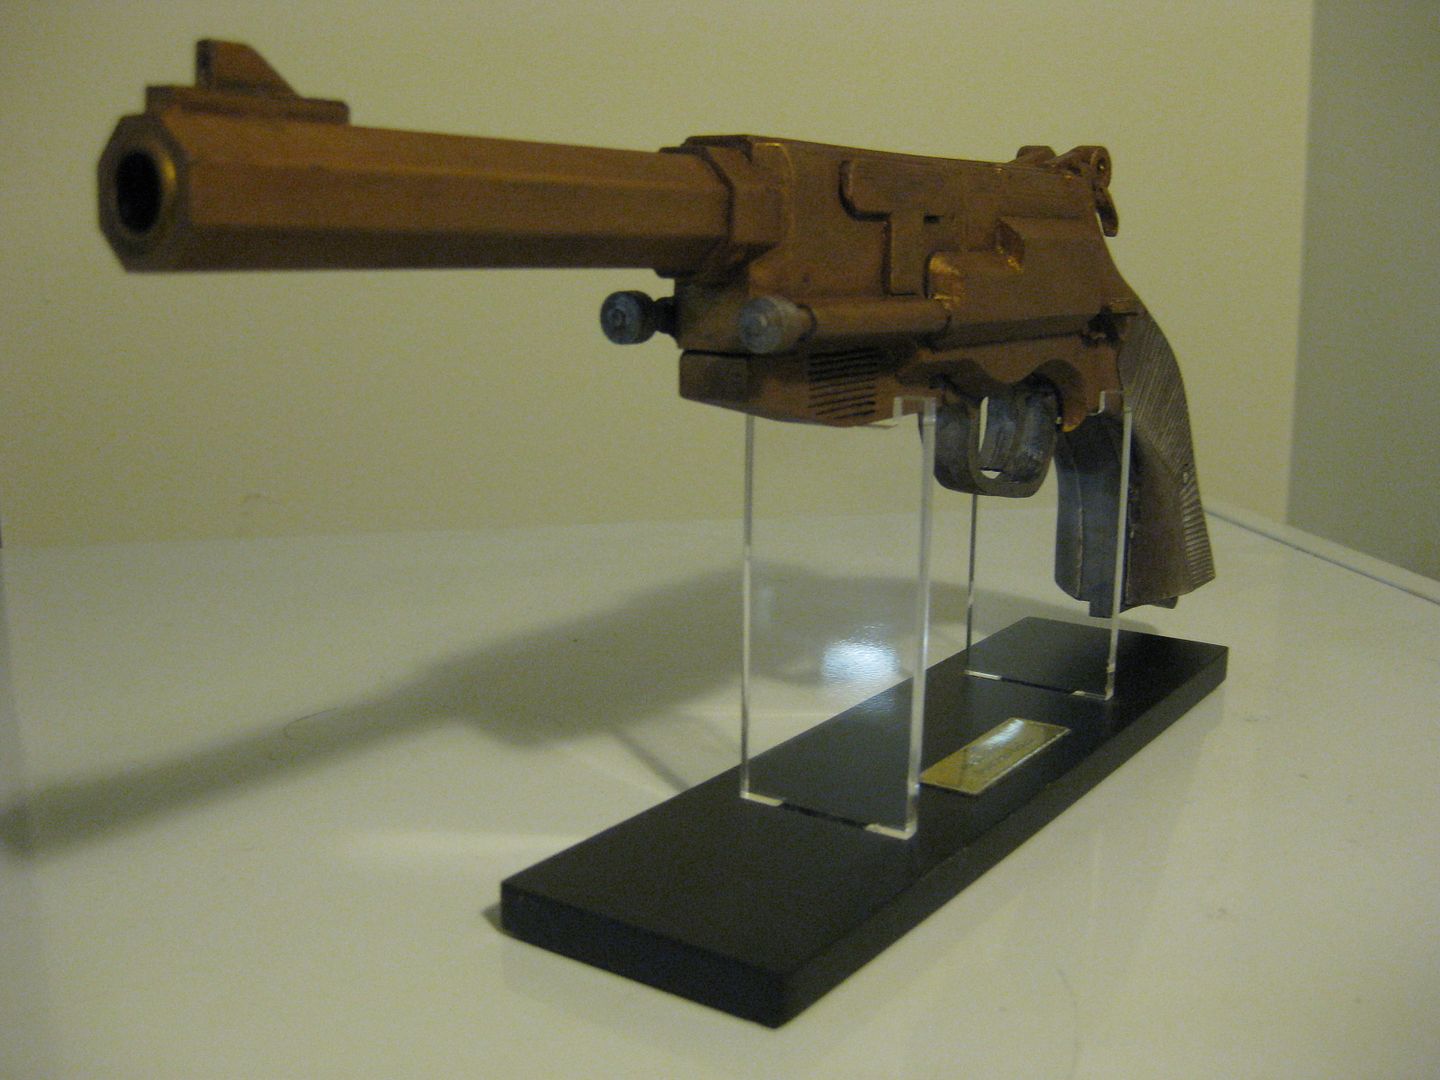
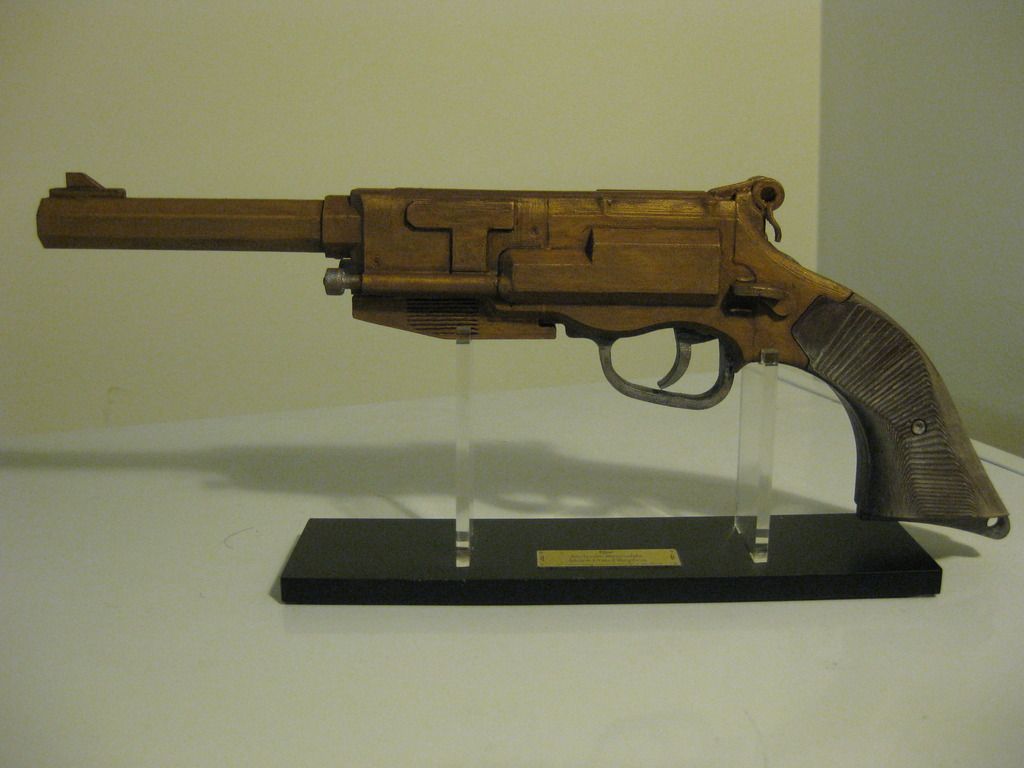
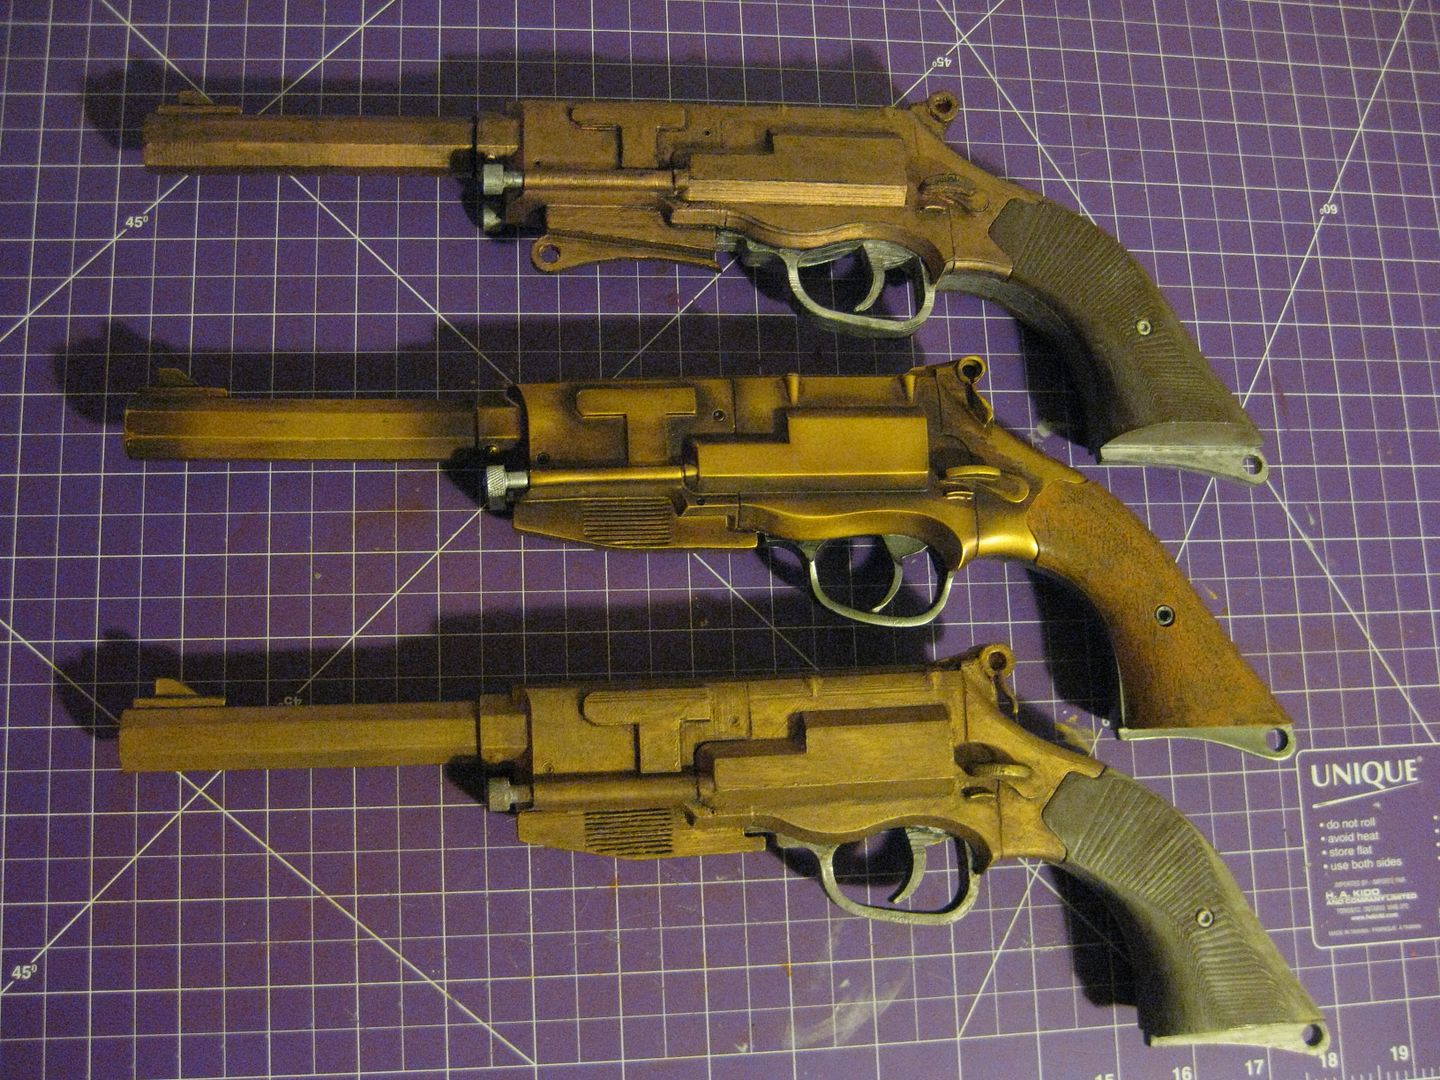
I've printed and now assembled my Serenity Version pistol. Here's a look:


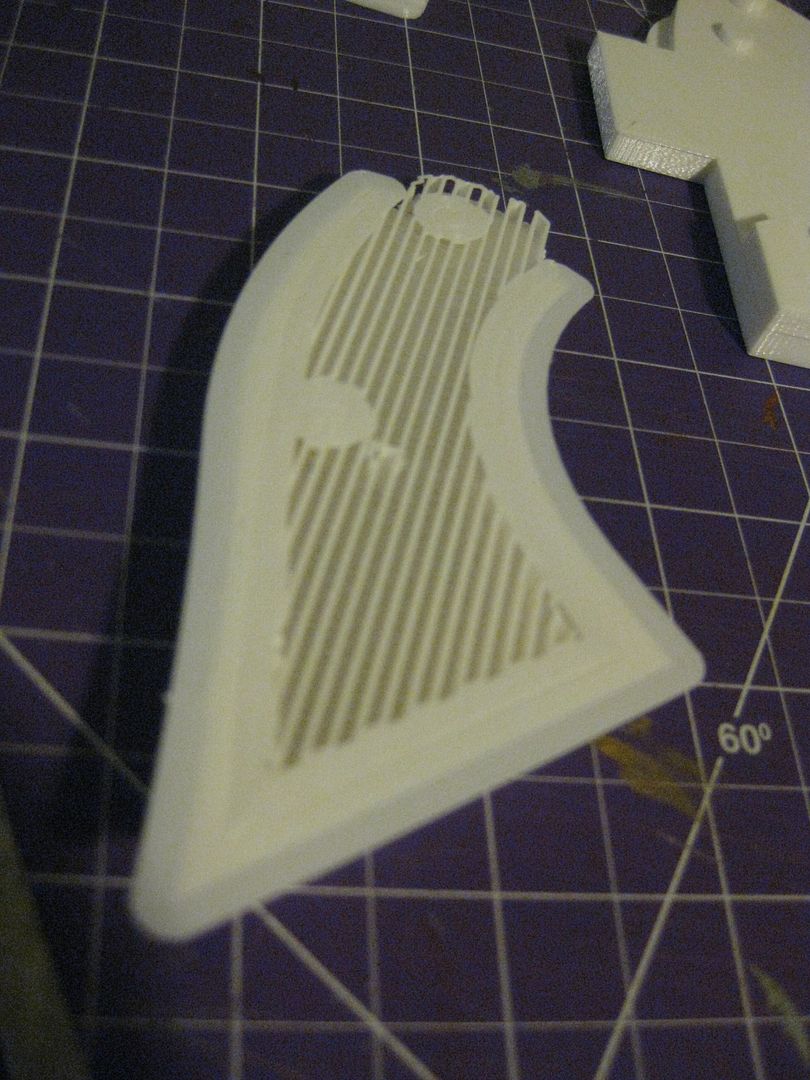
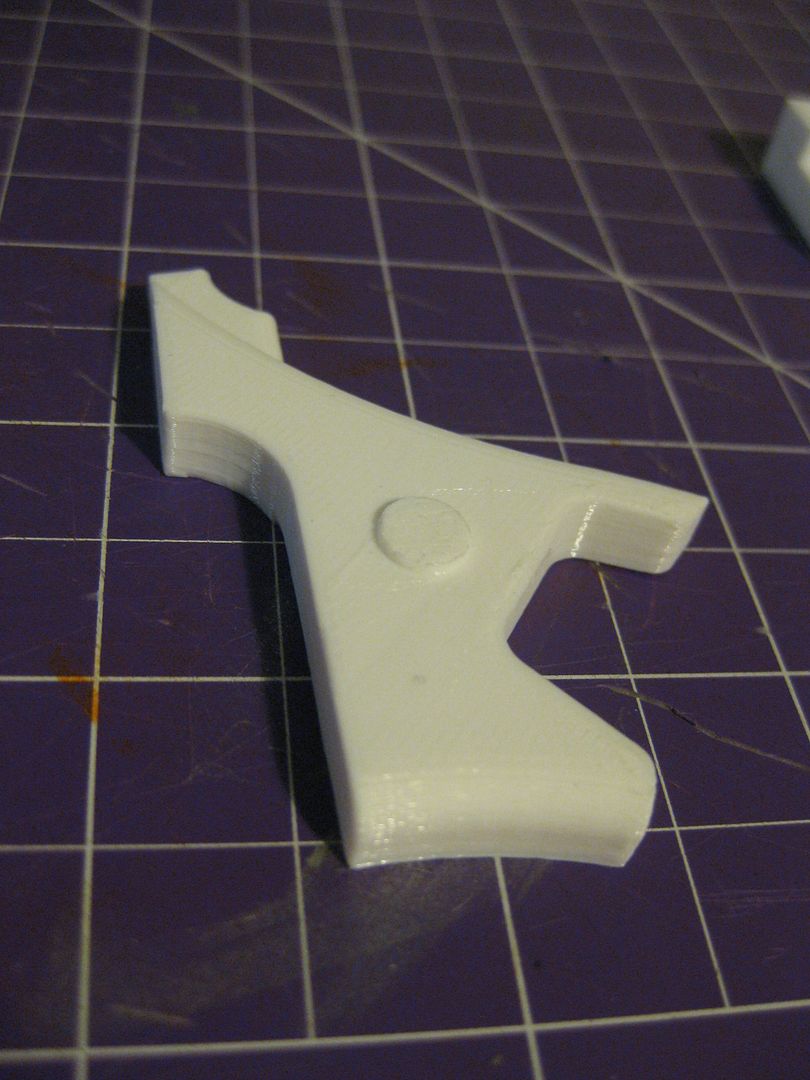
To give you a perspective on what the cleanup takes, here's a grip with support material still attached:
IMG_0156_zps9eqeafvd.jpg

IMG_0157_zpsrm4zkiw7.jpg


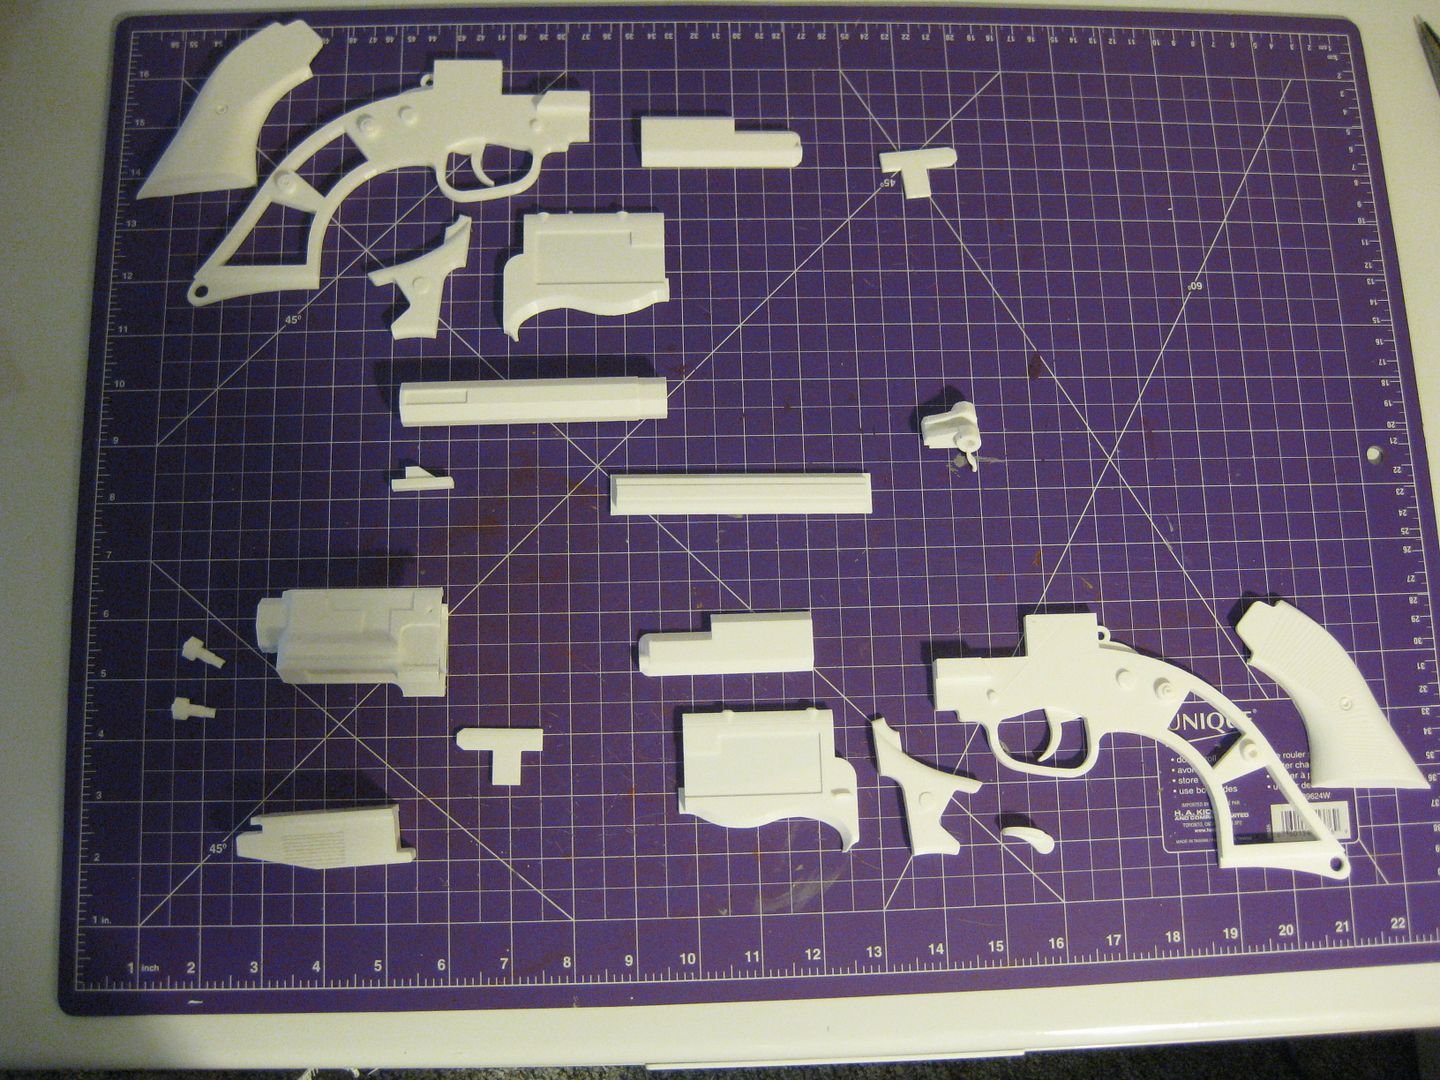
Here's all of the parts after some cleanup:
IMG_0159_zpsrthvdaq3.jpg


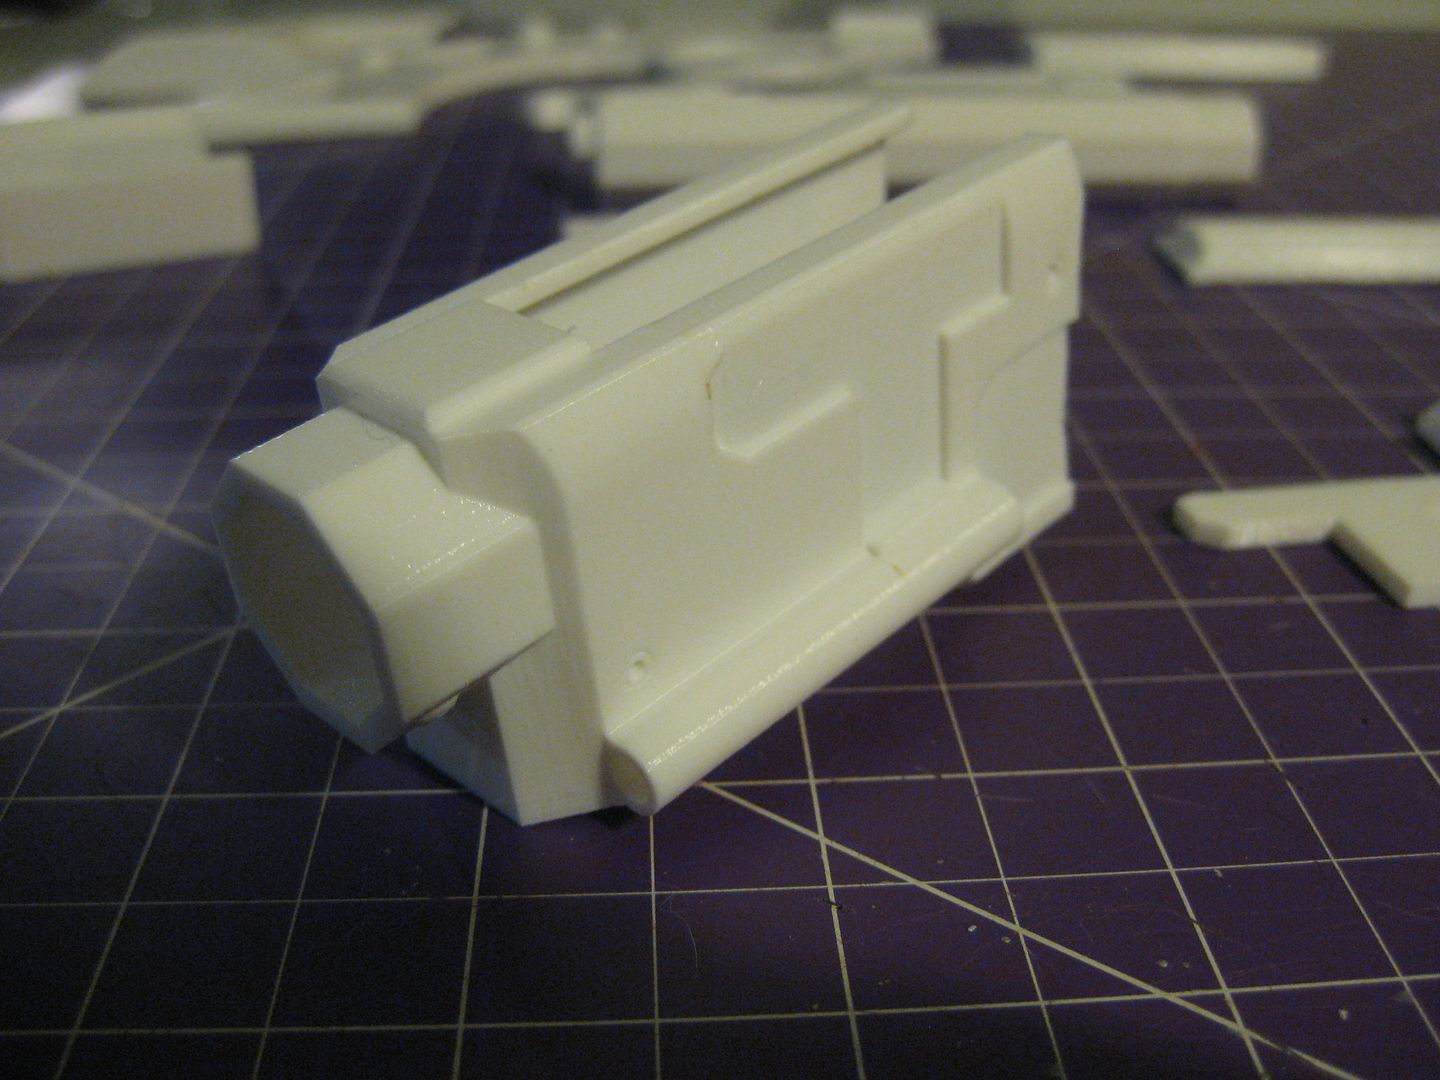
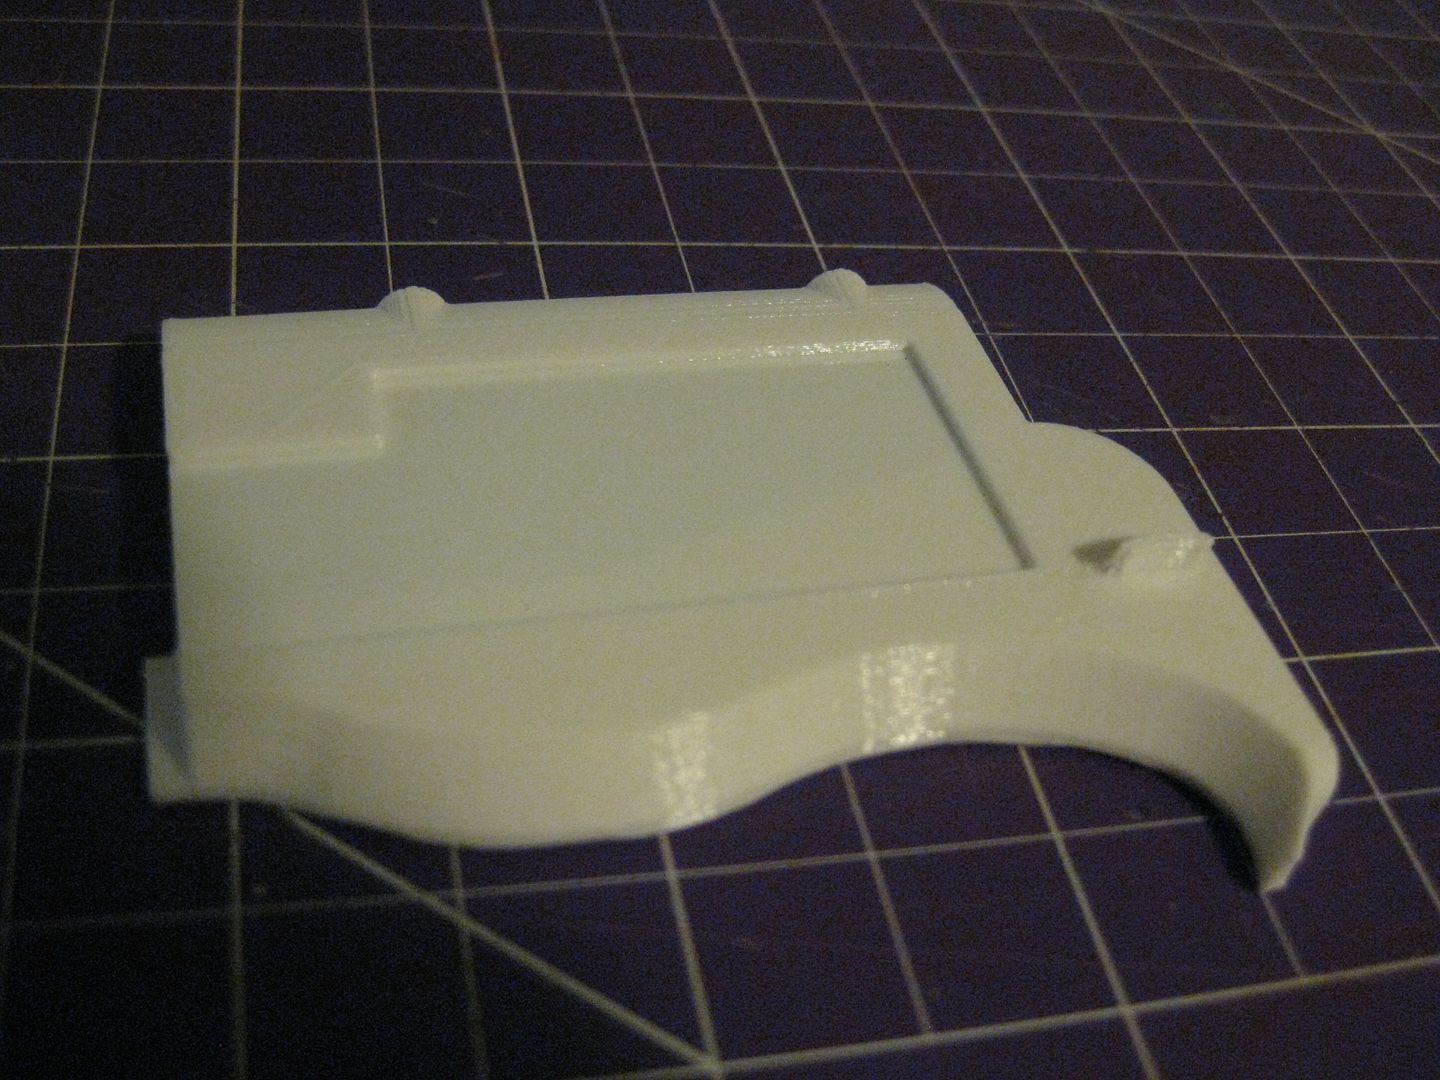
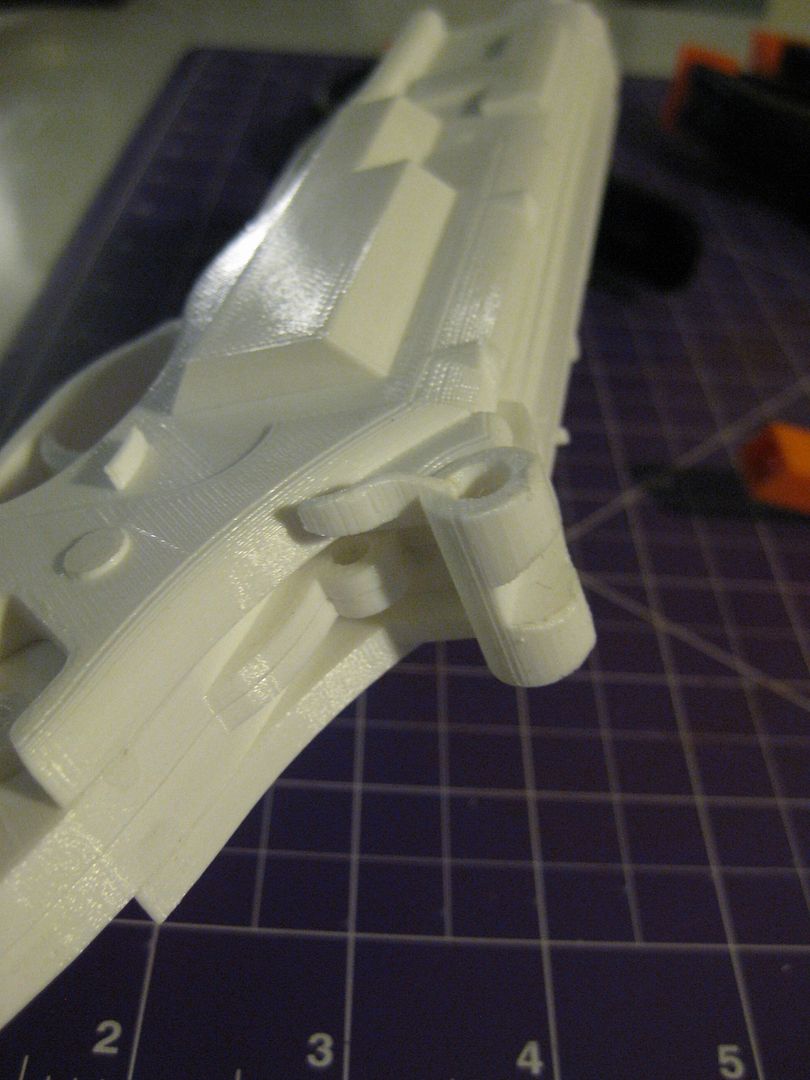
Here's a look at the Forward Receiver:
IMG_0161_zps25gi40ge.jpg

IMG_0162_zpsiks8p5ns.jpg


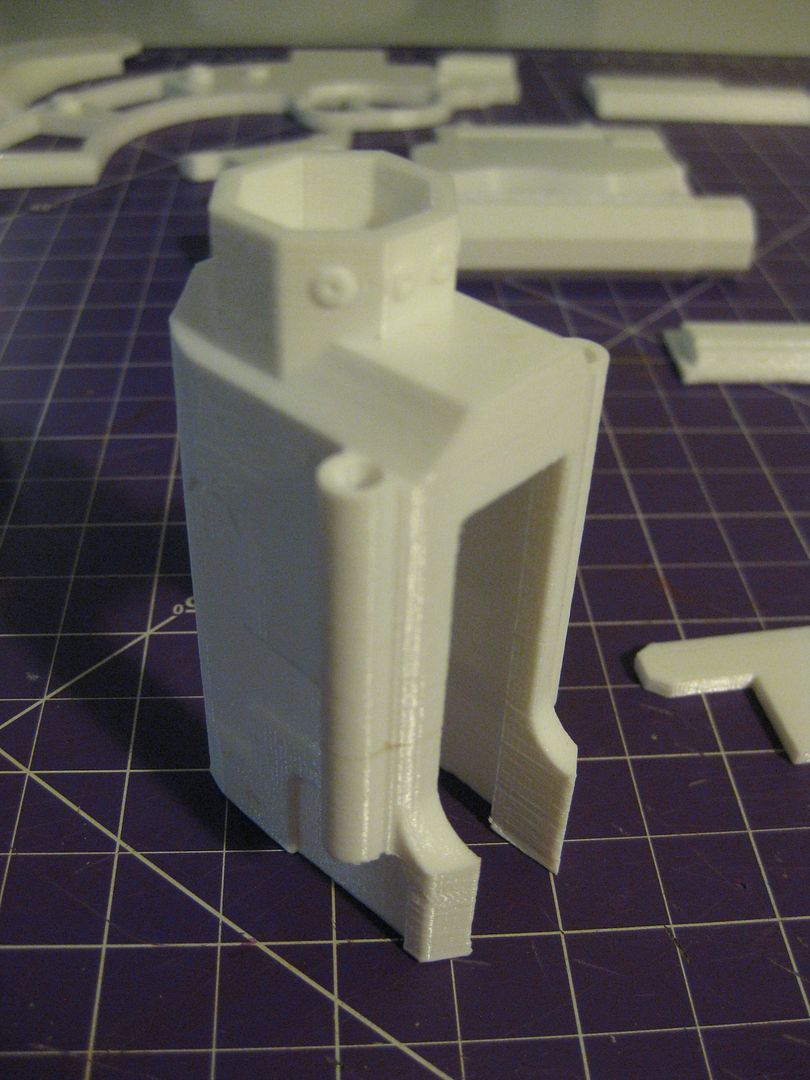
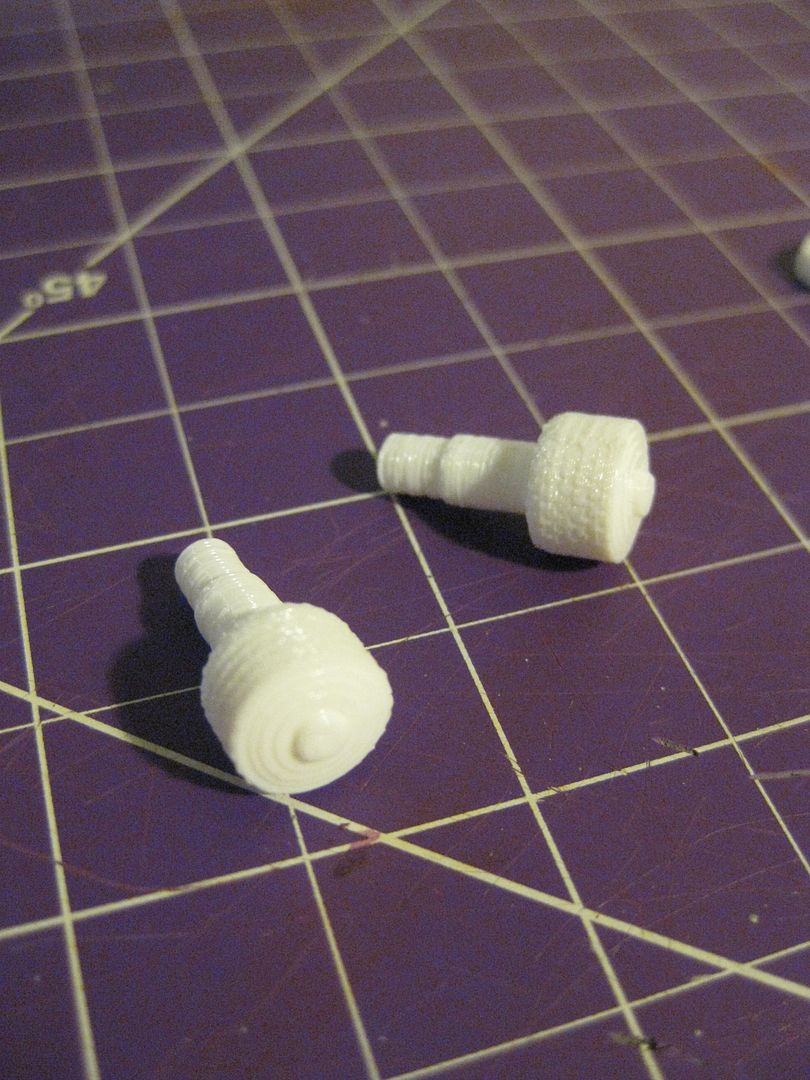
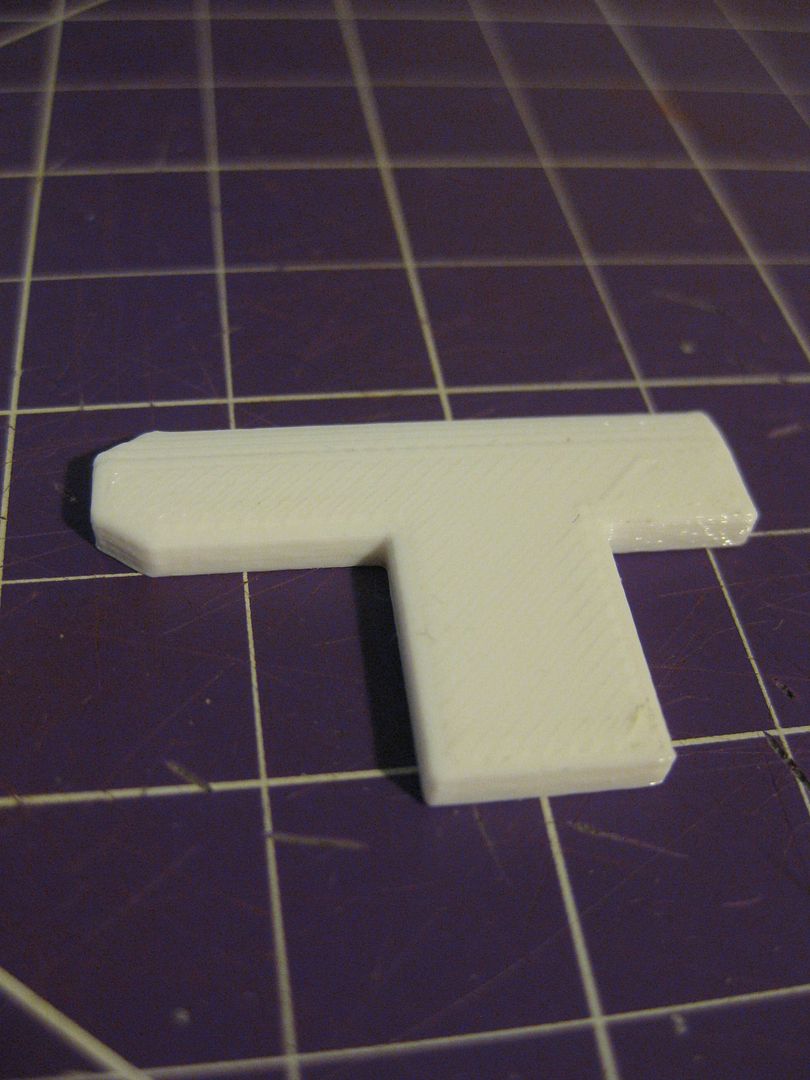
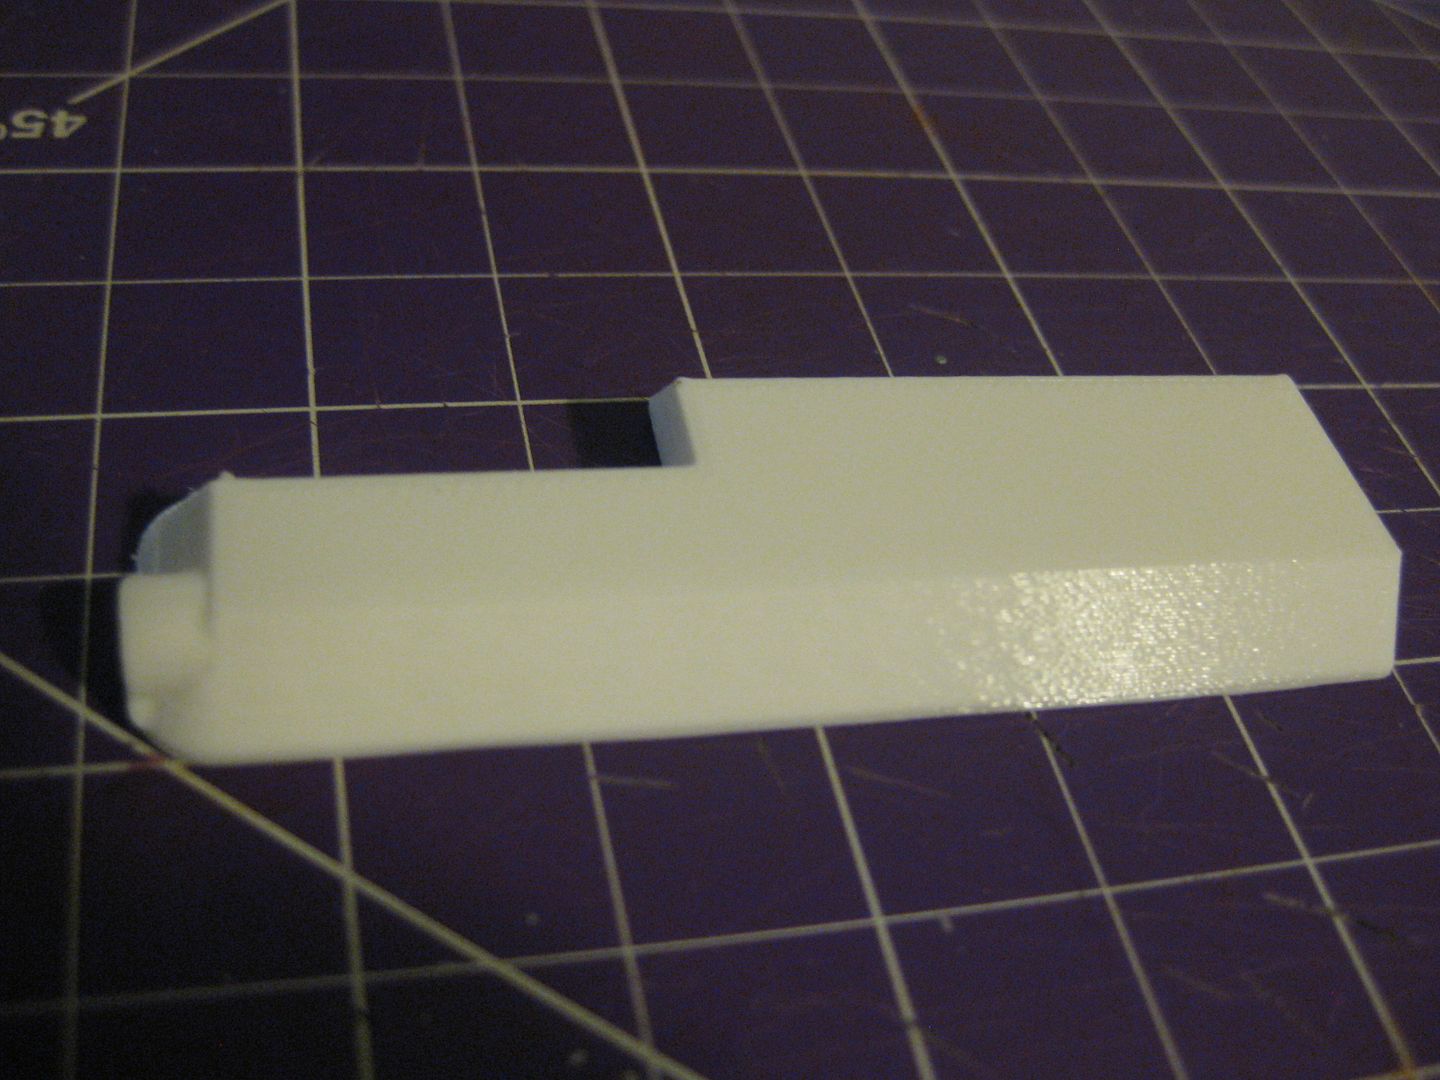
And some various other parts:
IMG_0163_zps4vk7koys.jpg

IMG_0164_zpsvfney2pi.jpg

IMG_0165_zpsmagjqkcn.jpg

IMG_0166_zpszvmvj2as.jpg

IMG_0167_zpsduqapnko.jpg

IMG_0170_zpsktt1tdhn.jpg


And here's what I didn't take pics of last time:


ASSEMBLE!


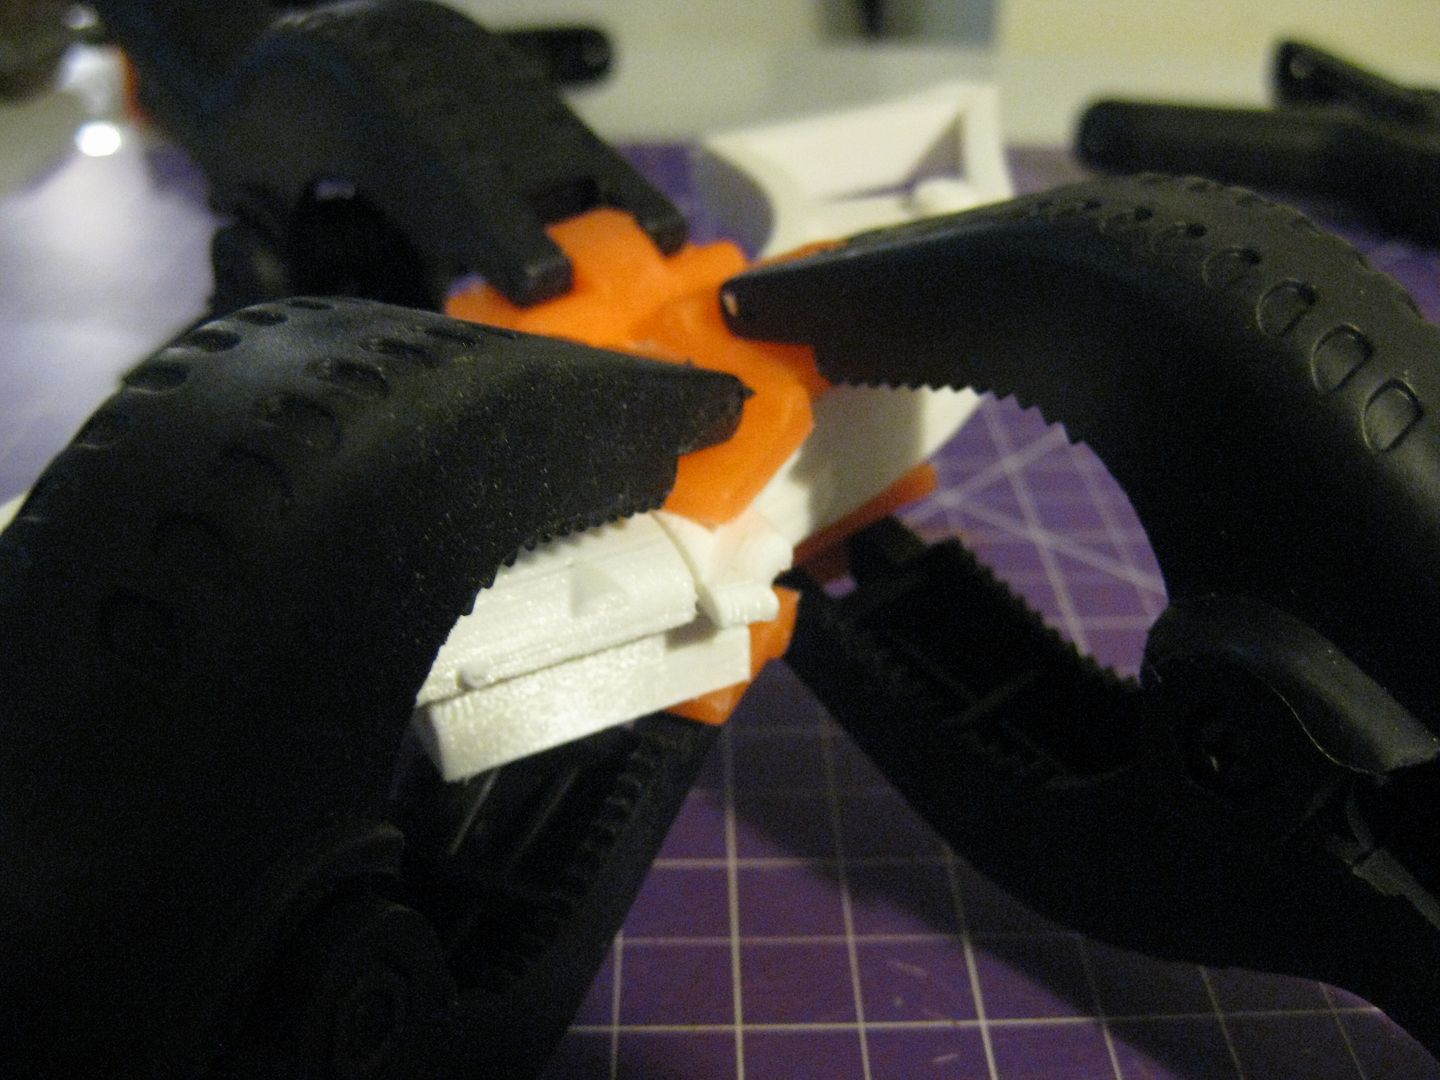
First the framework is glued together:
IMG_0171_zps4sbhgp2o.jpg


Then the forward sight:
IMG_0172_zpsw9l1mmxj.jpg


Side Panel, with Grip Panel loosely in place for positioning:
IMG_0173_zpsugus74ur.jpg


Then glue the grip panel
IMG_0174_zpsg6mqg0fv.jpg


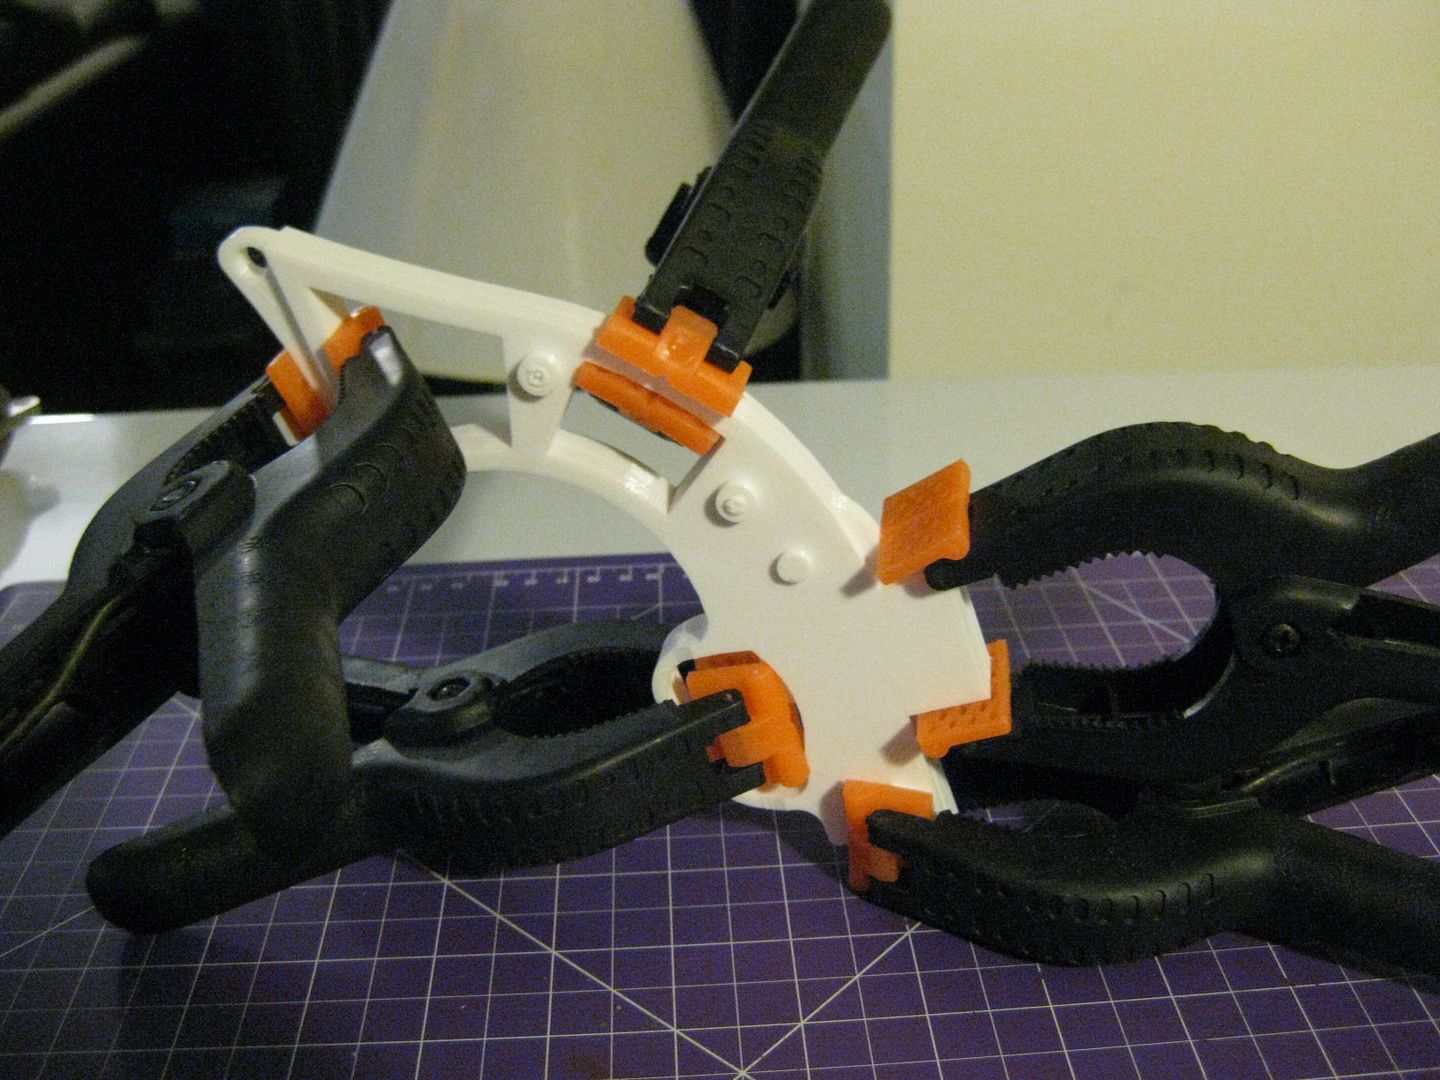
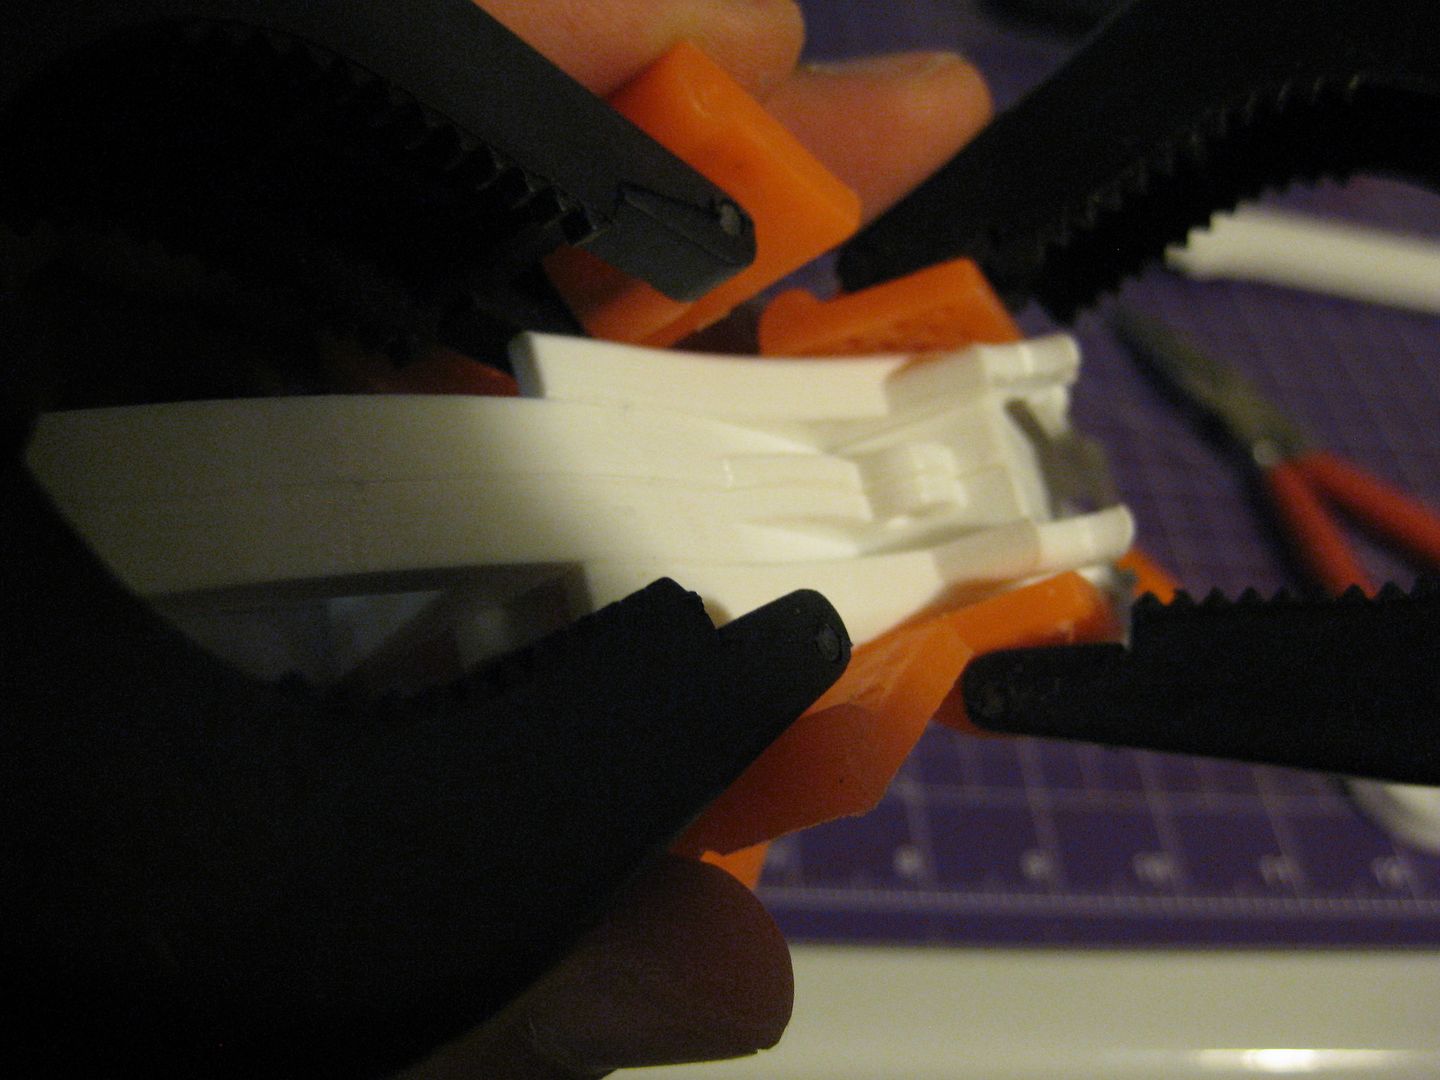
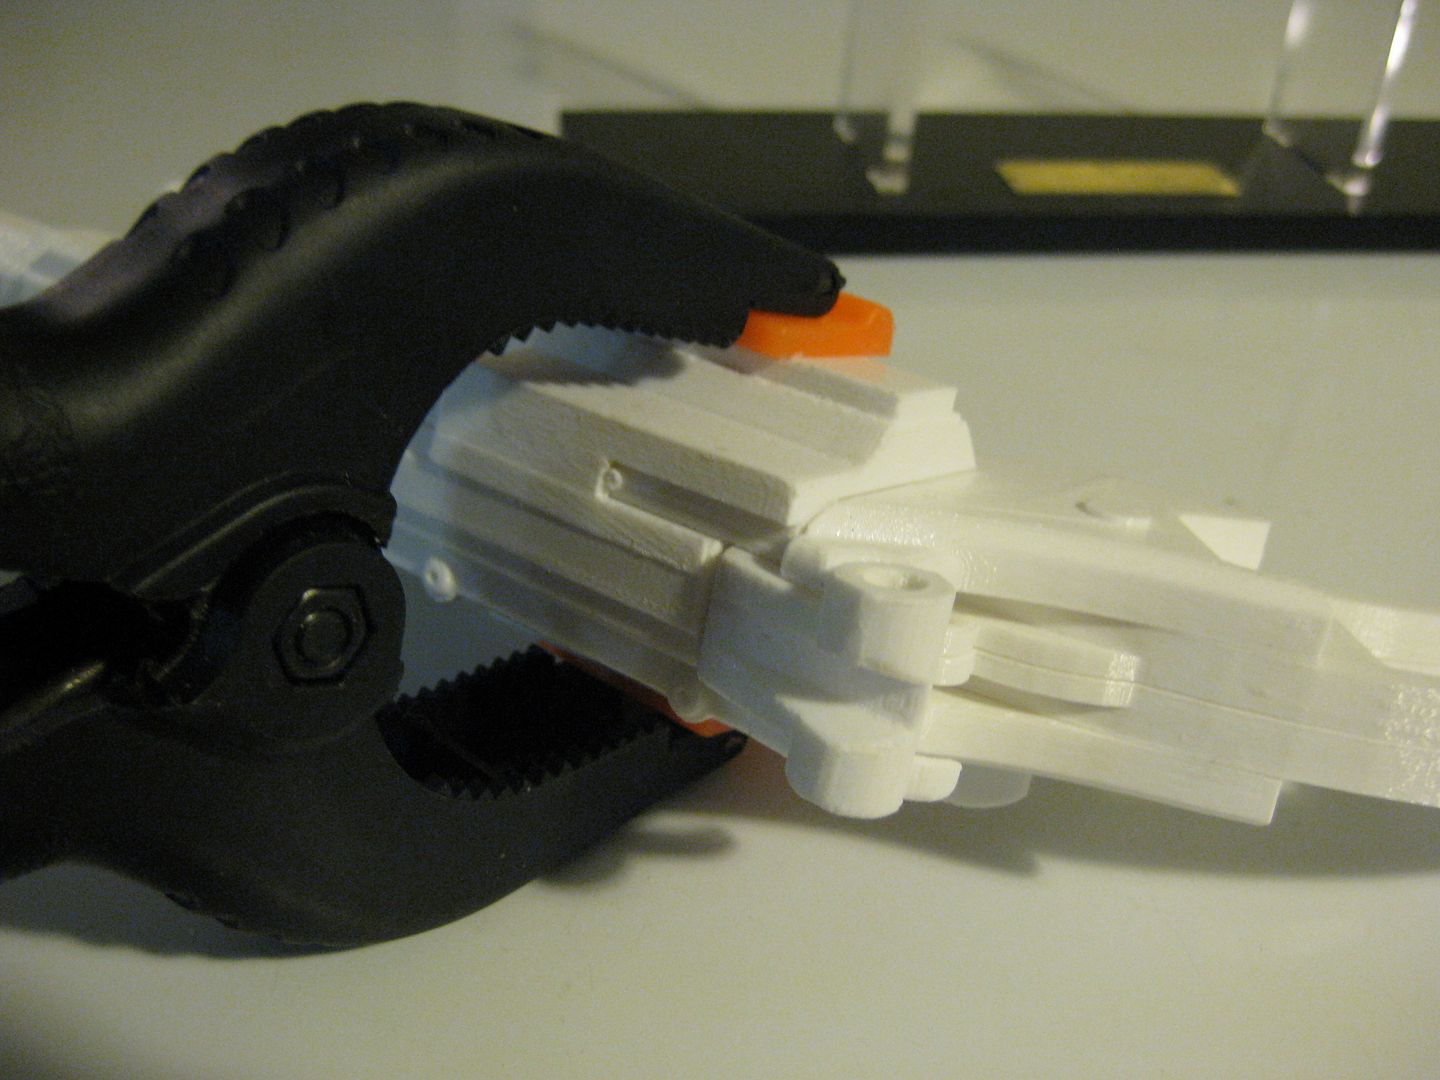
Then the other side, clamp it good while gluing:
IMG_0176_zpswad71hpm.jpg


Outer Panel Pieces:
IMG_0177_zpspjncnz43.jpg

IMG_0178_zpsk1zdilxf.jpg


Then the top piece:
IMG_0179_zpsbanokkg7.jpg

IMG_0180_zps1xfqkfuq.jpg


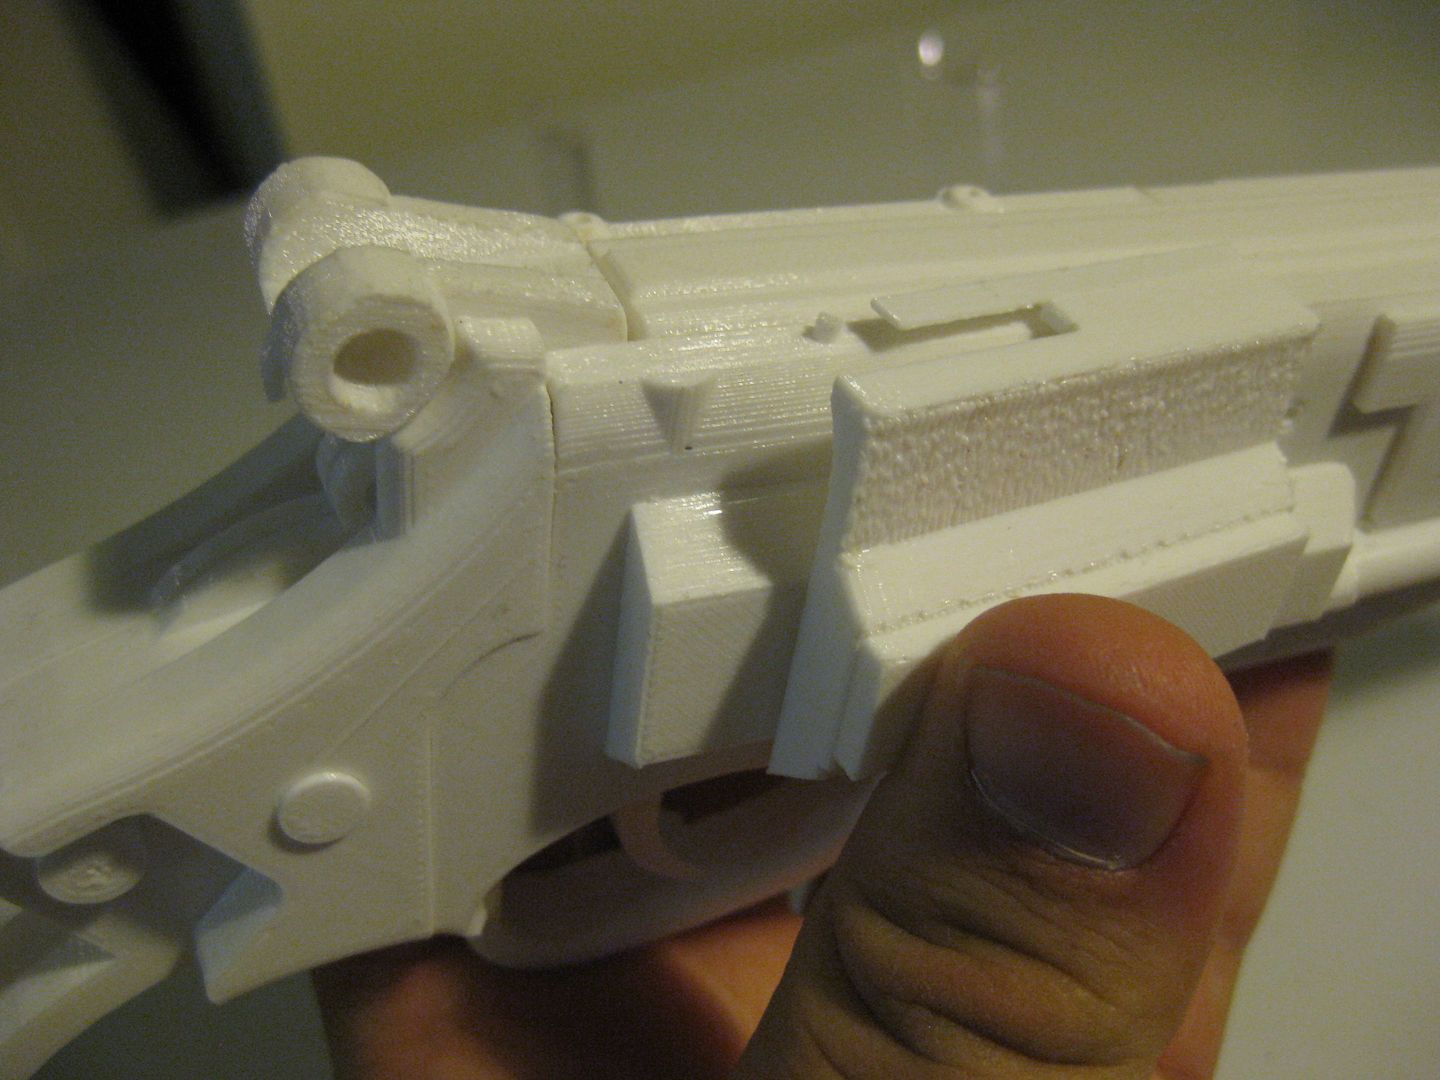
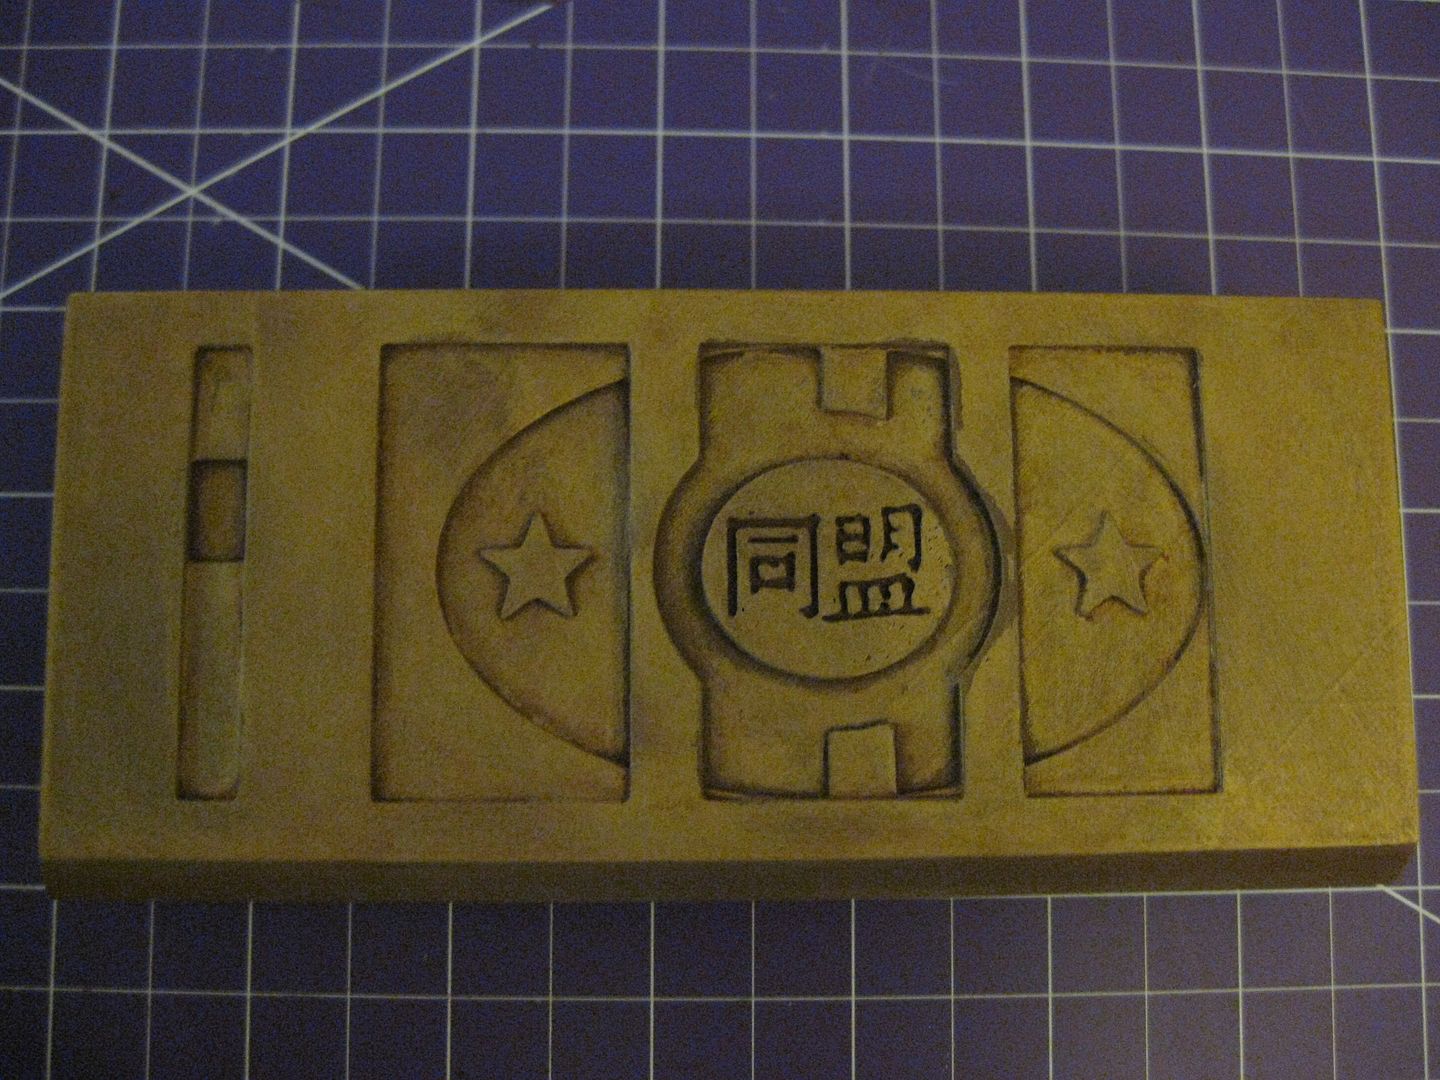
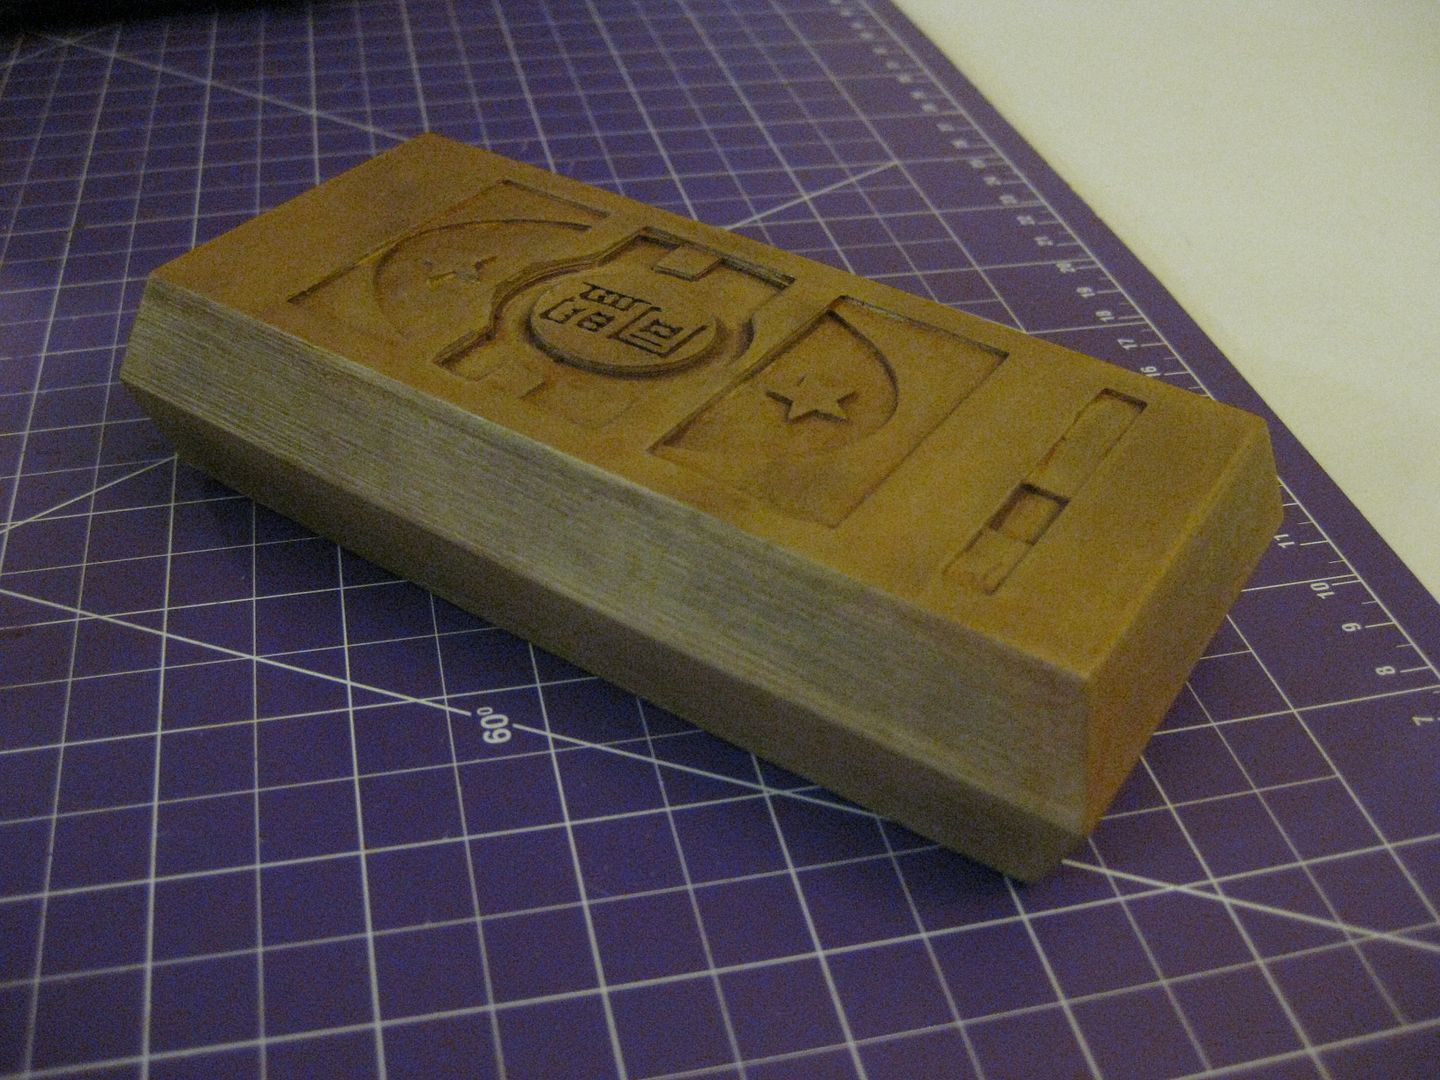
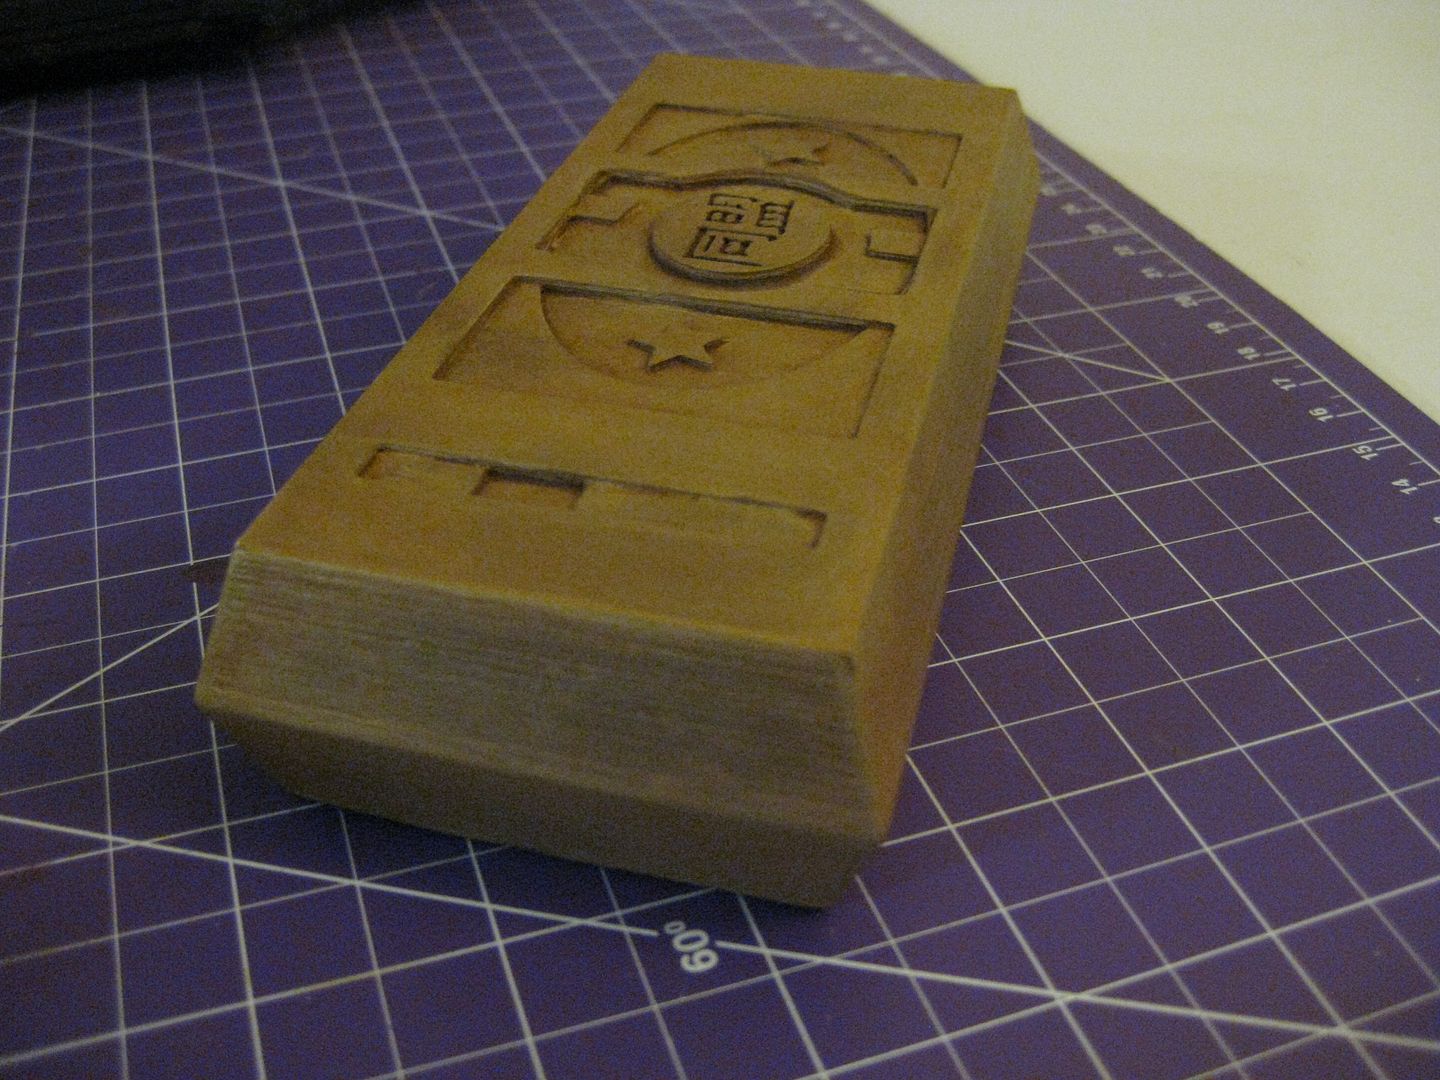
Then glue the clip piece in, I used the tabs on the top mostly for gluing as the sides need to flex a bit for final assembly:
IMG_0181_zpsesgpaizc.jpg


Almost there...


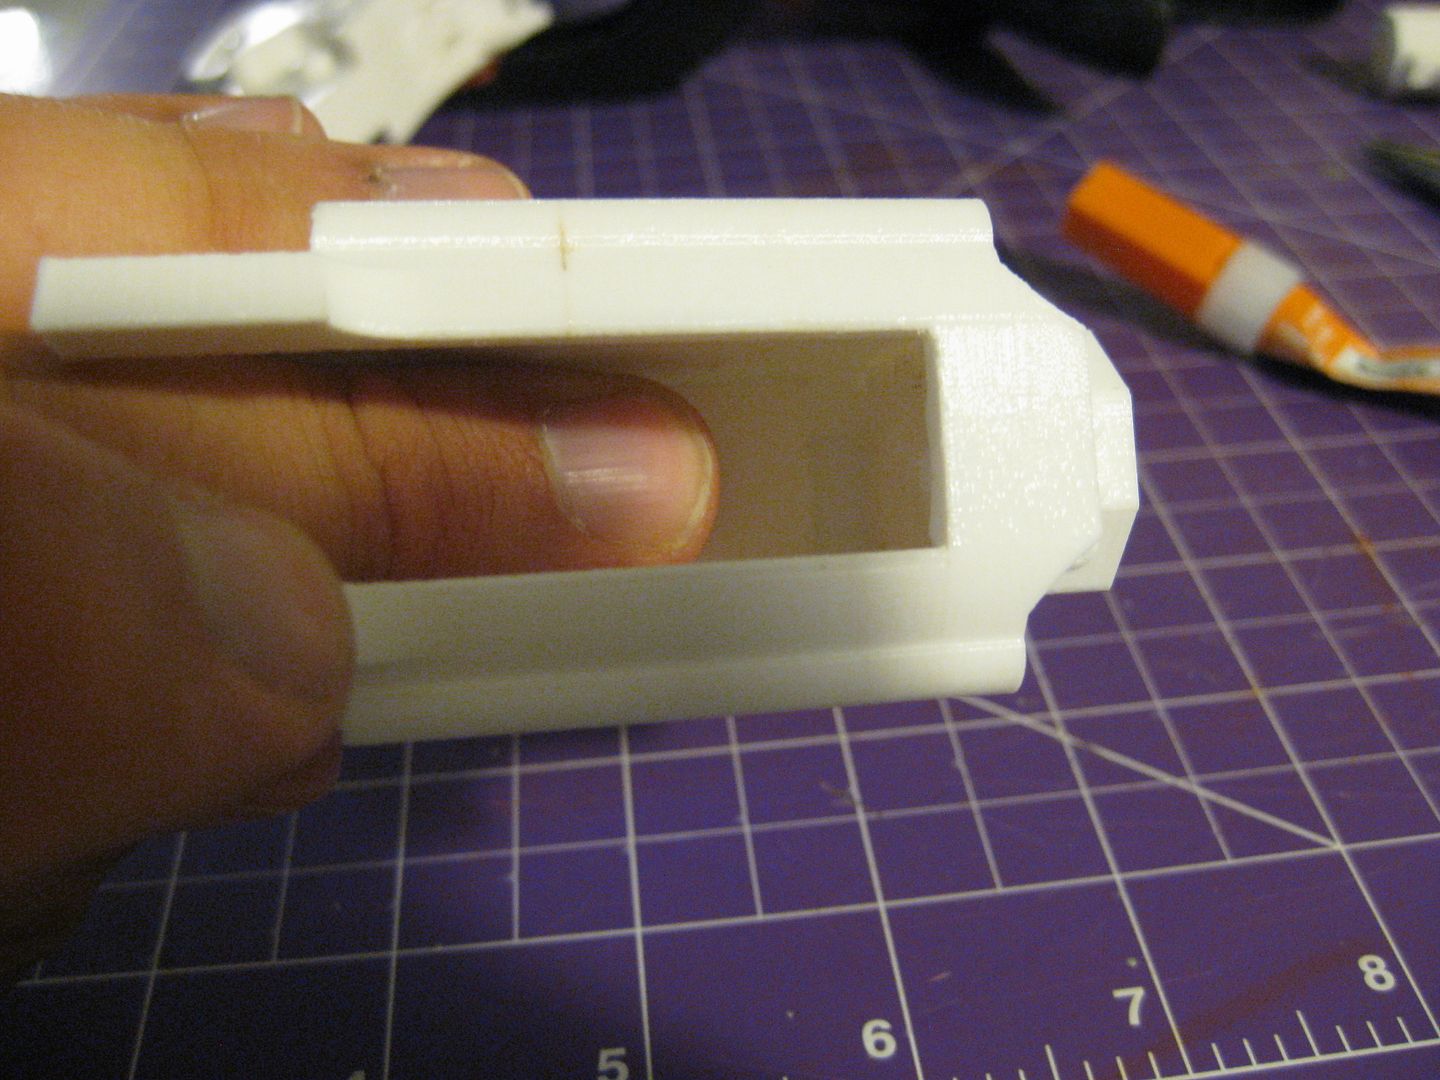
Here's how the pieces will slide in together:
IMG_0182_zpsgmdeibve.jpg


and in place:
IMG_0183_zpsoqa59qqi.jpg


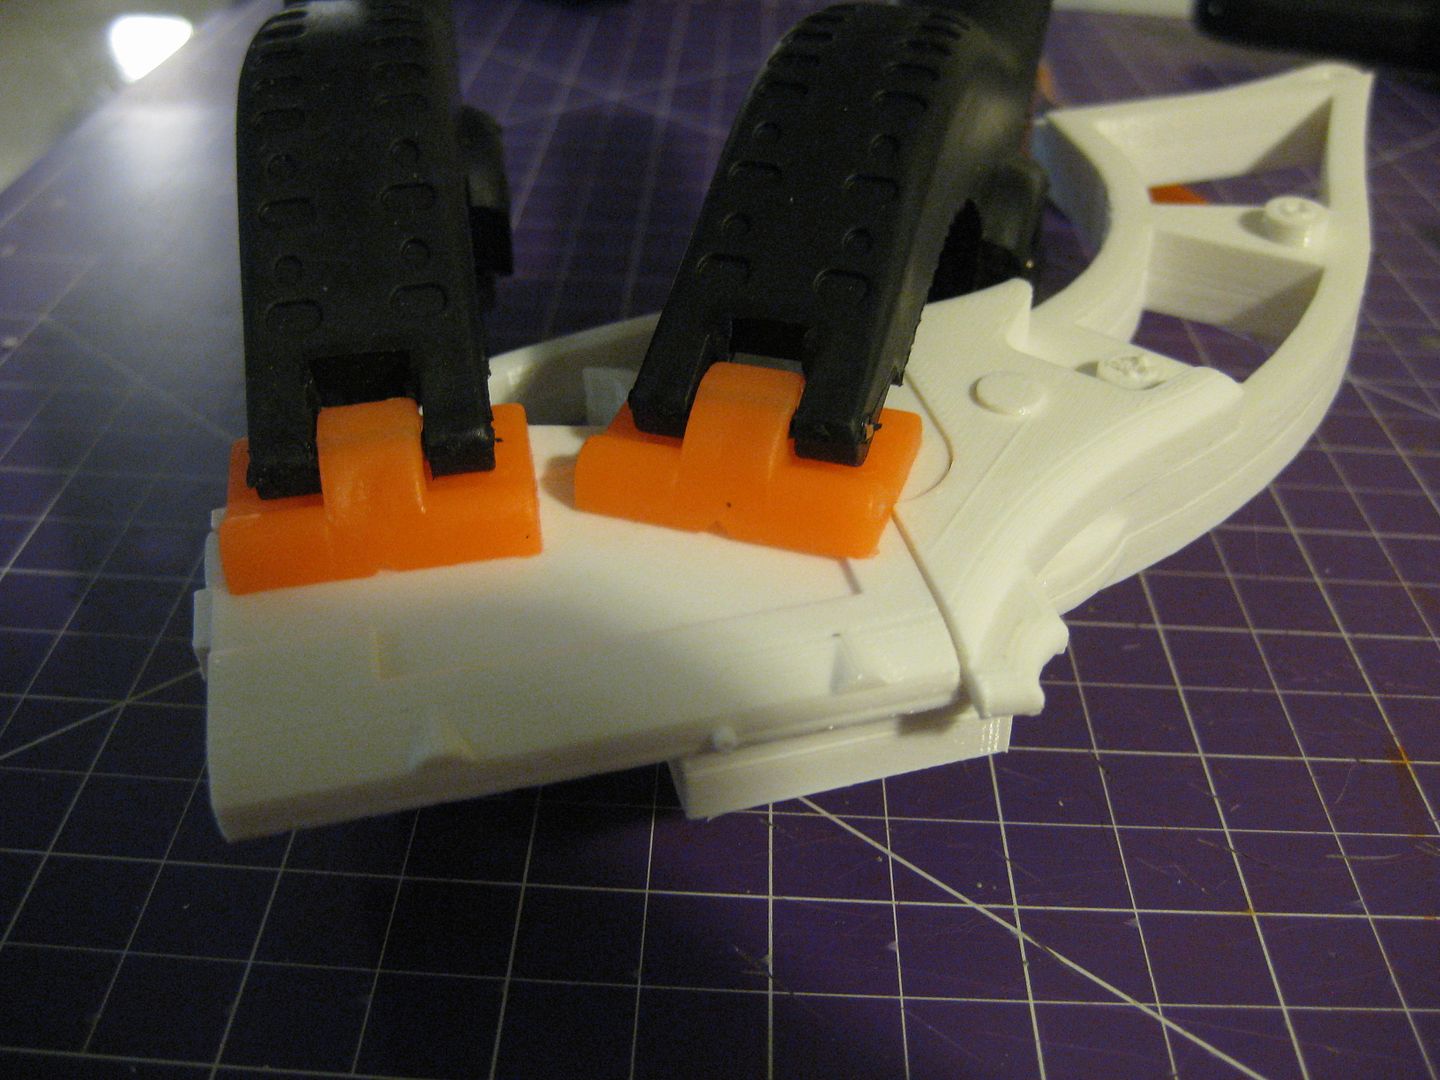
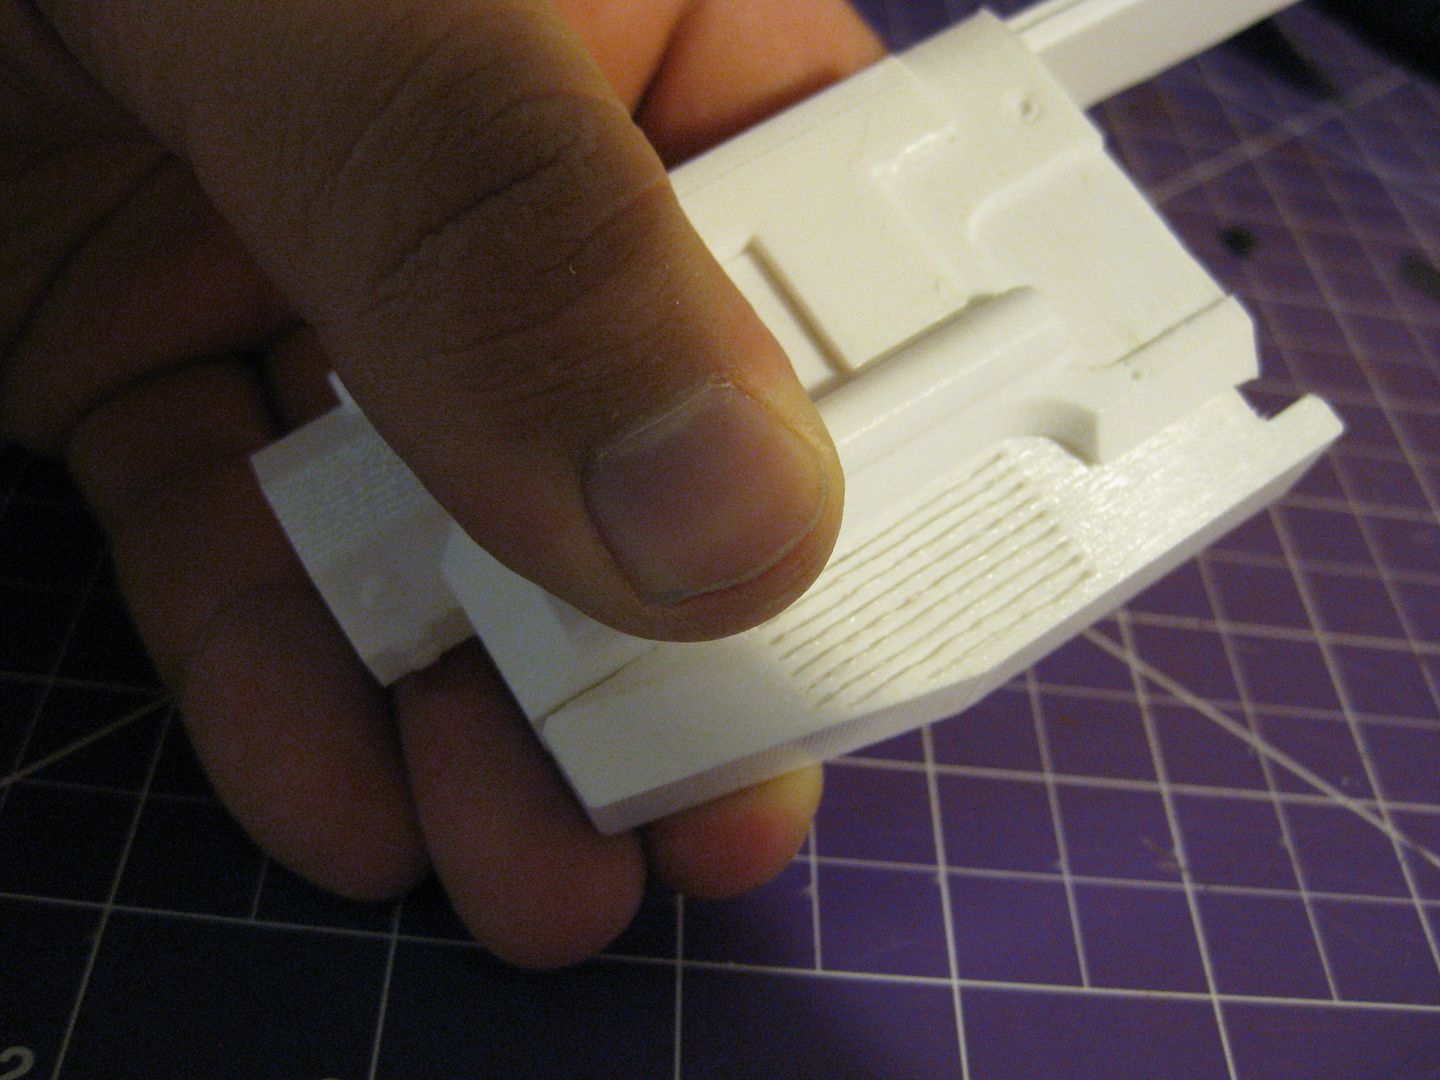
And the Trigger Guard:
IMG_0187_zpsbleq5wg7.jpg


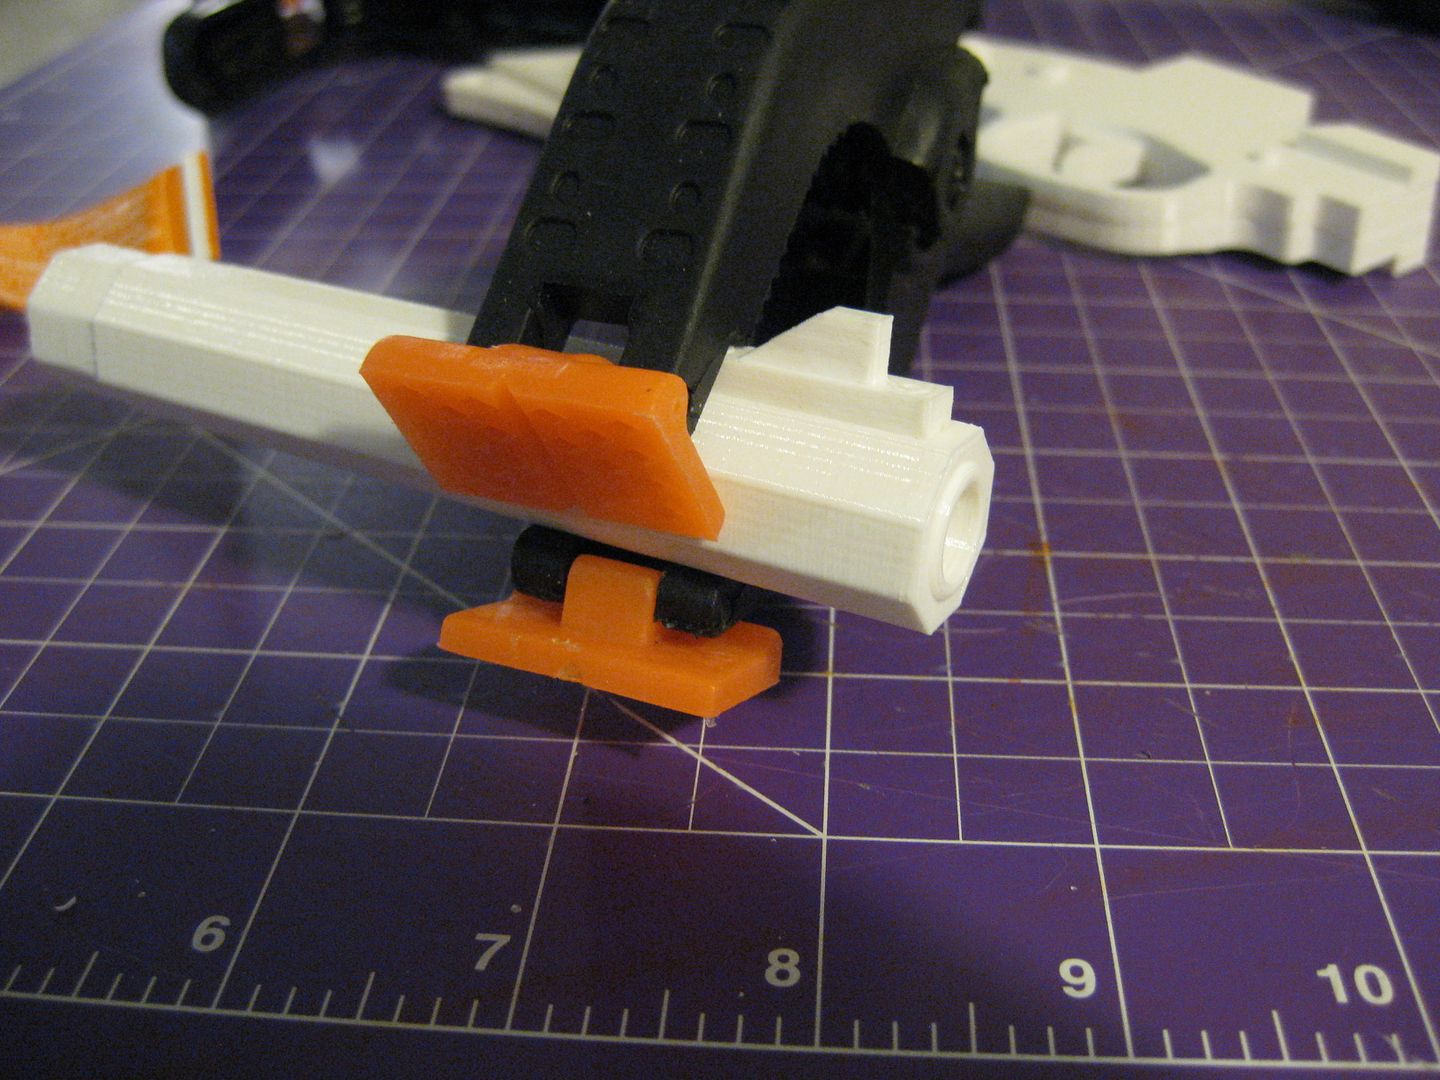
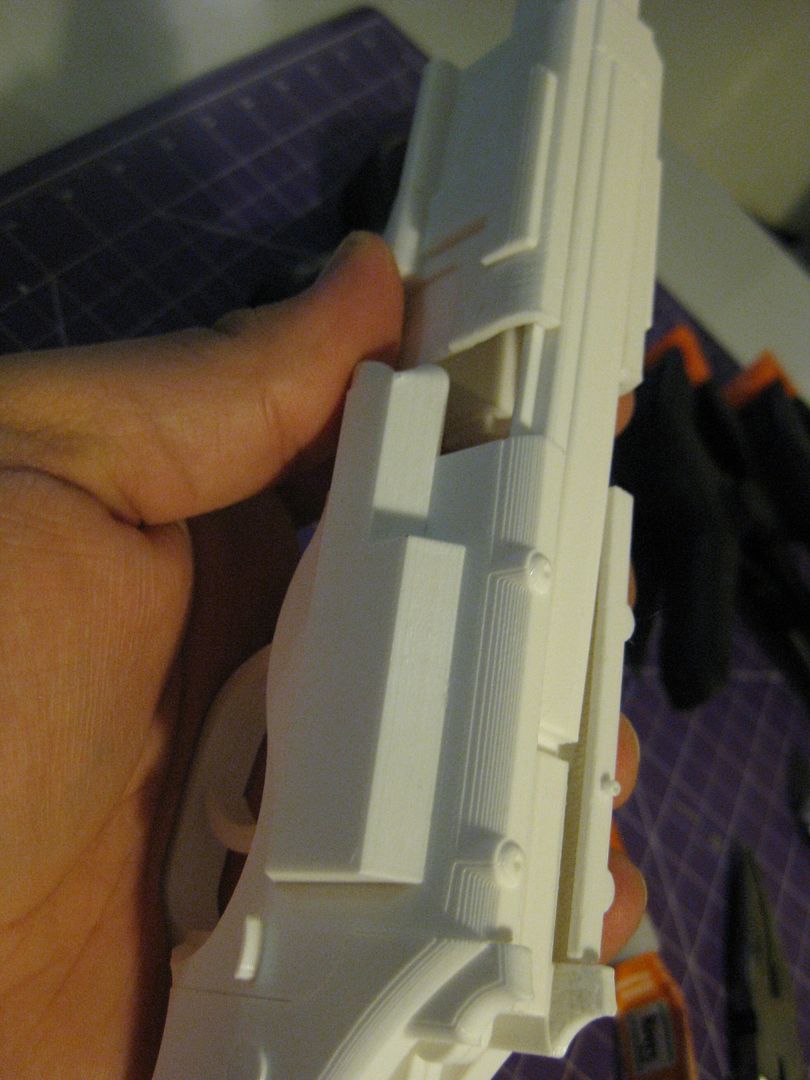
And then glue the barrel in and it's complete for a firefly build.


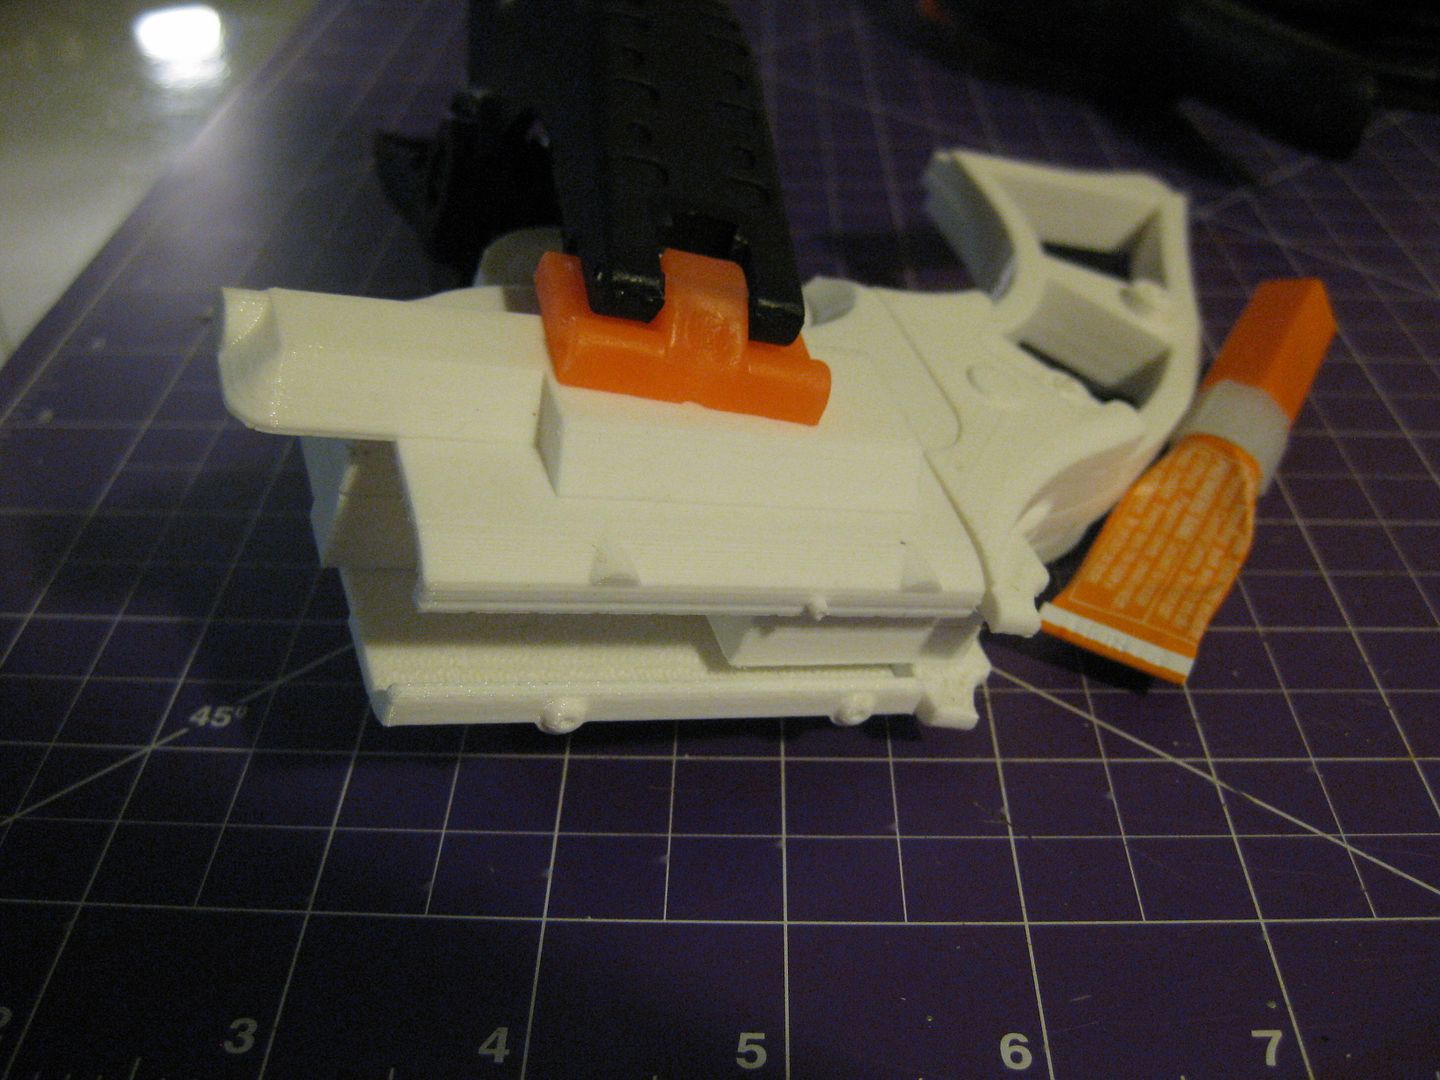
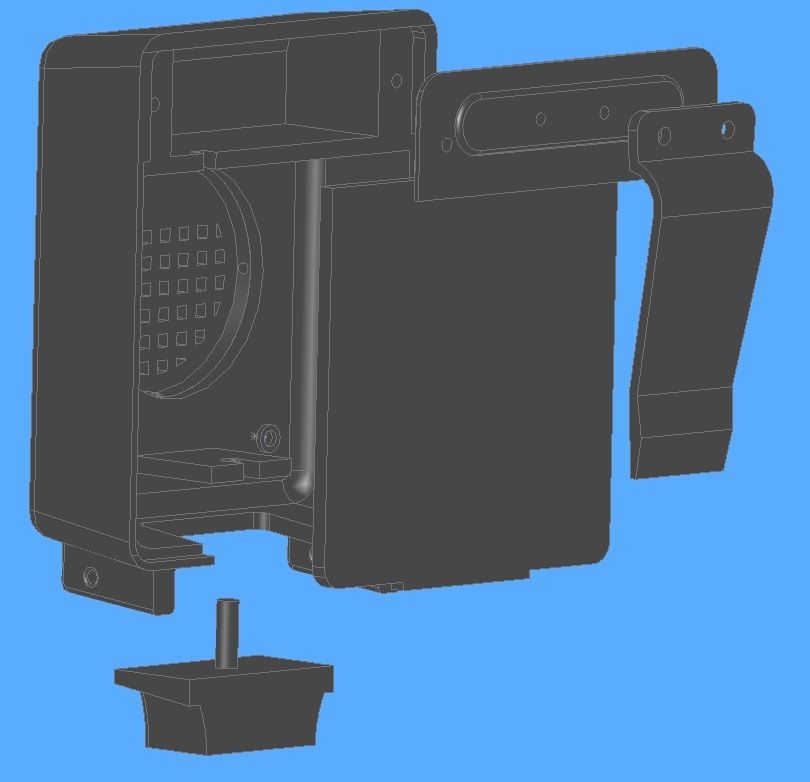
For a serenity assemble, there is this additional piece:
IMG_0189_zpsz8tsedcf.jpg

IMG_0190_zpsr4p5gydt.jpg


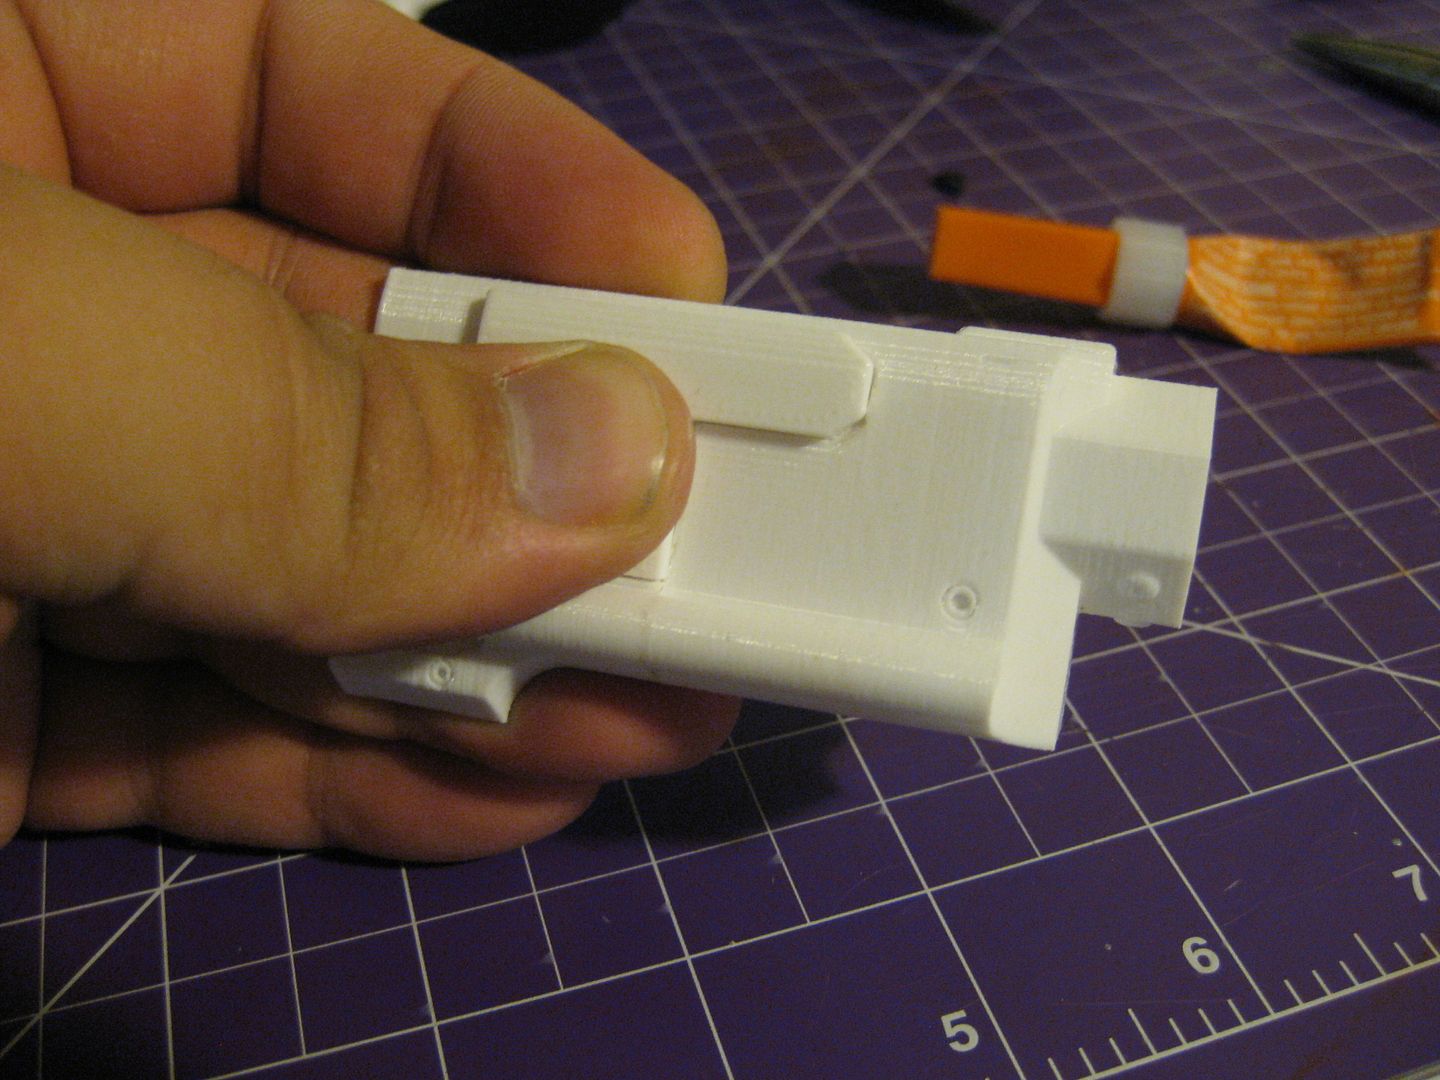
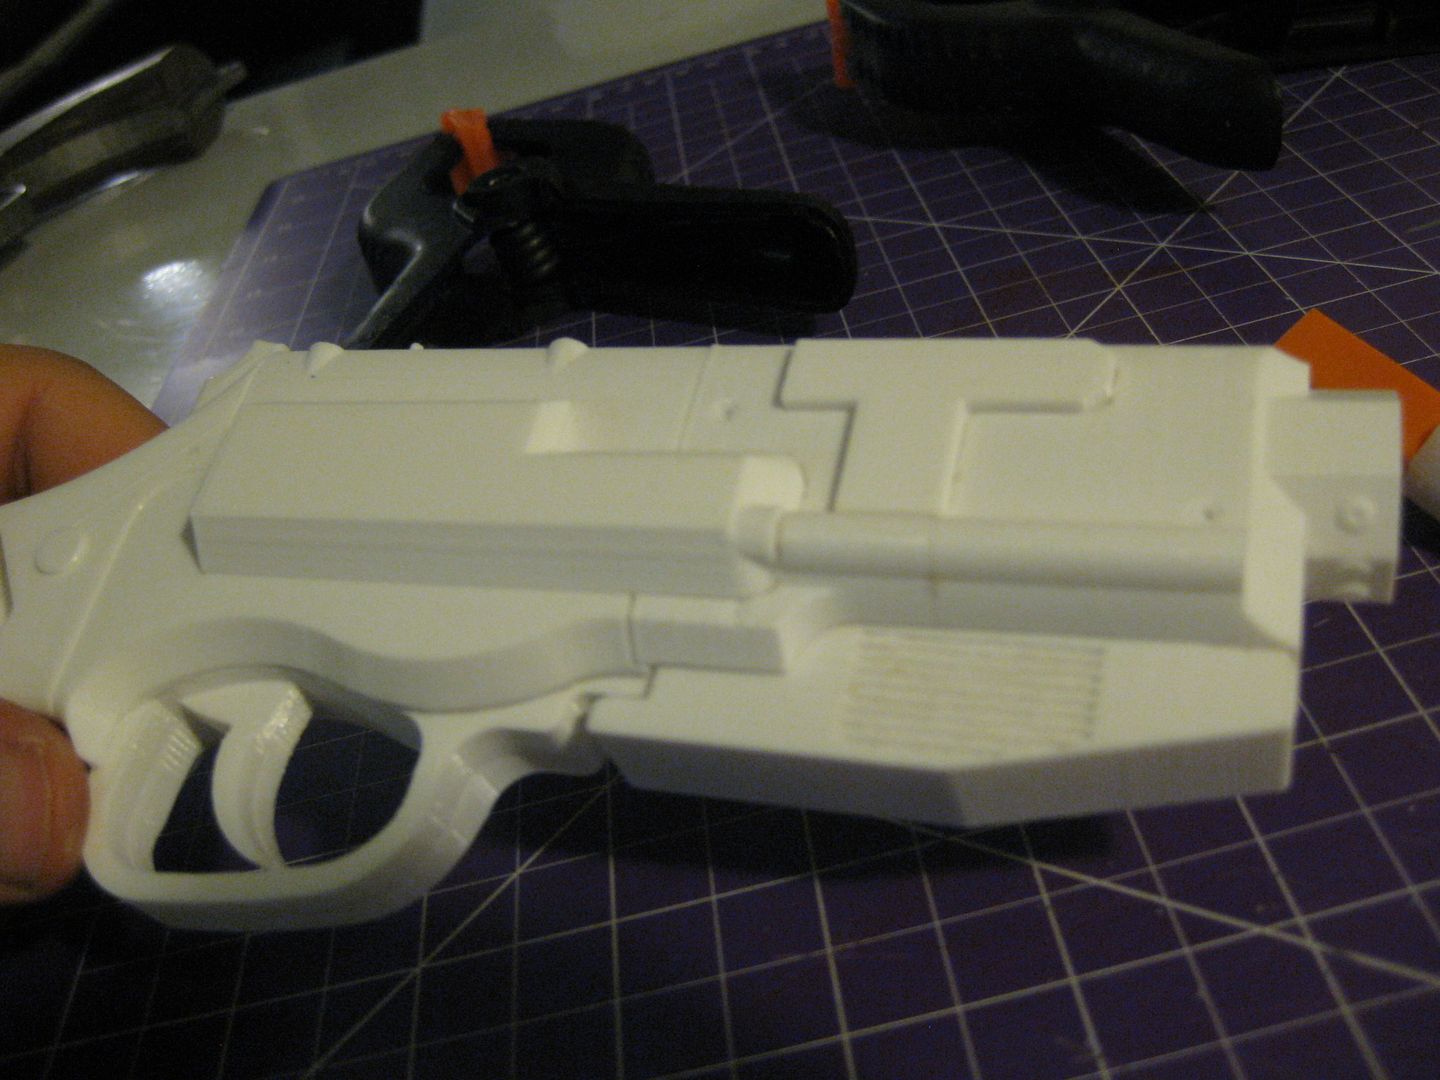
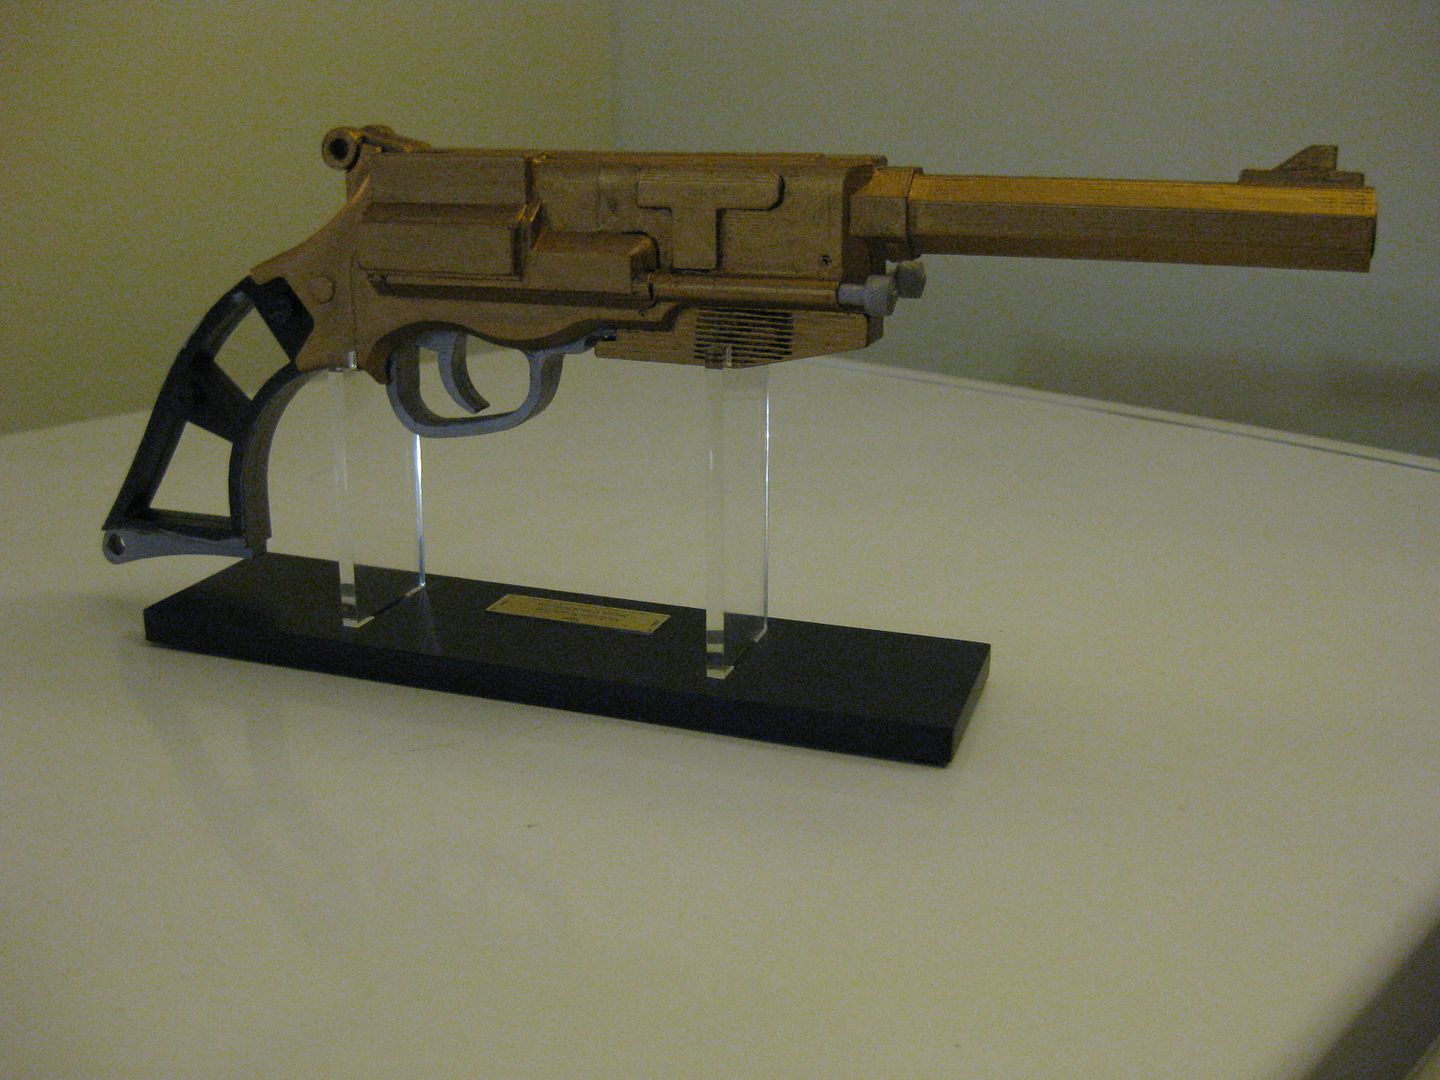
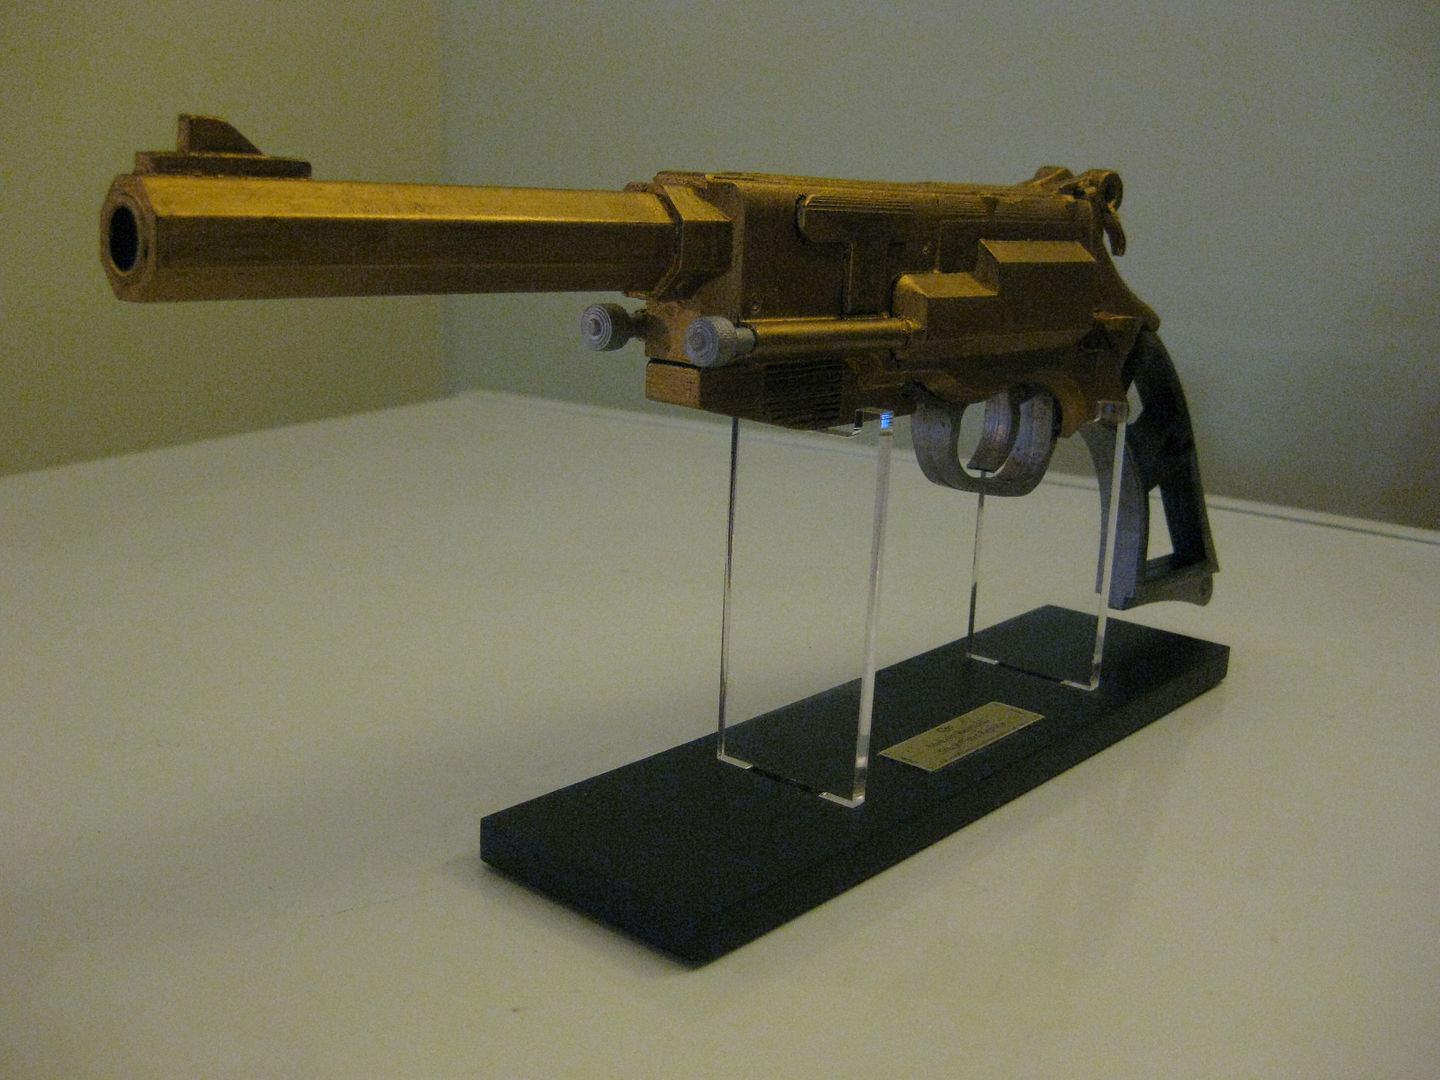
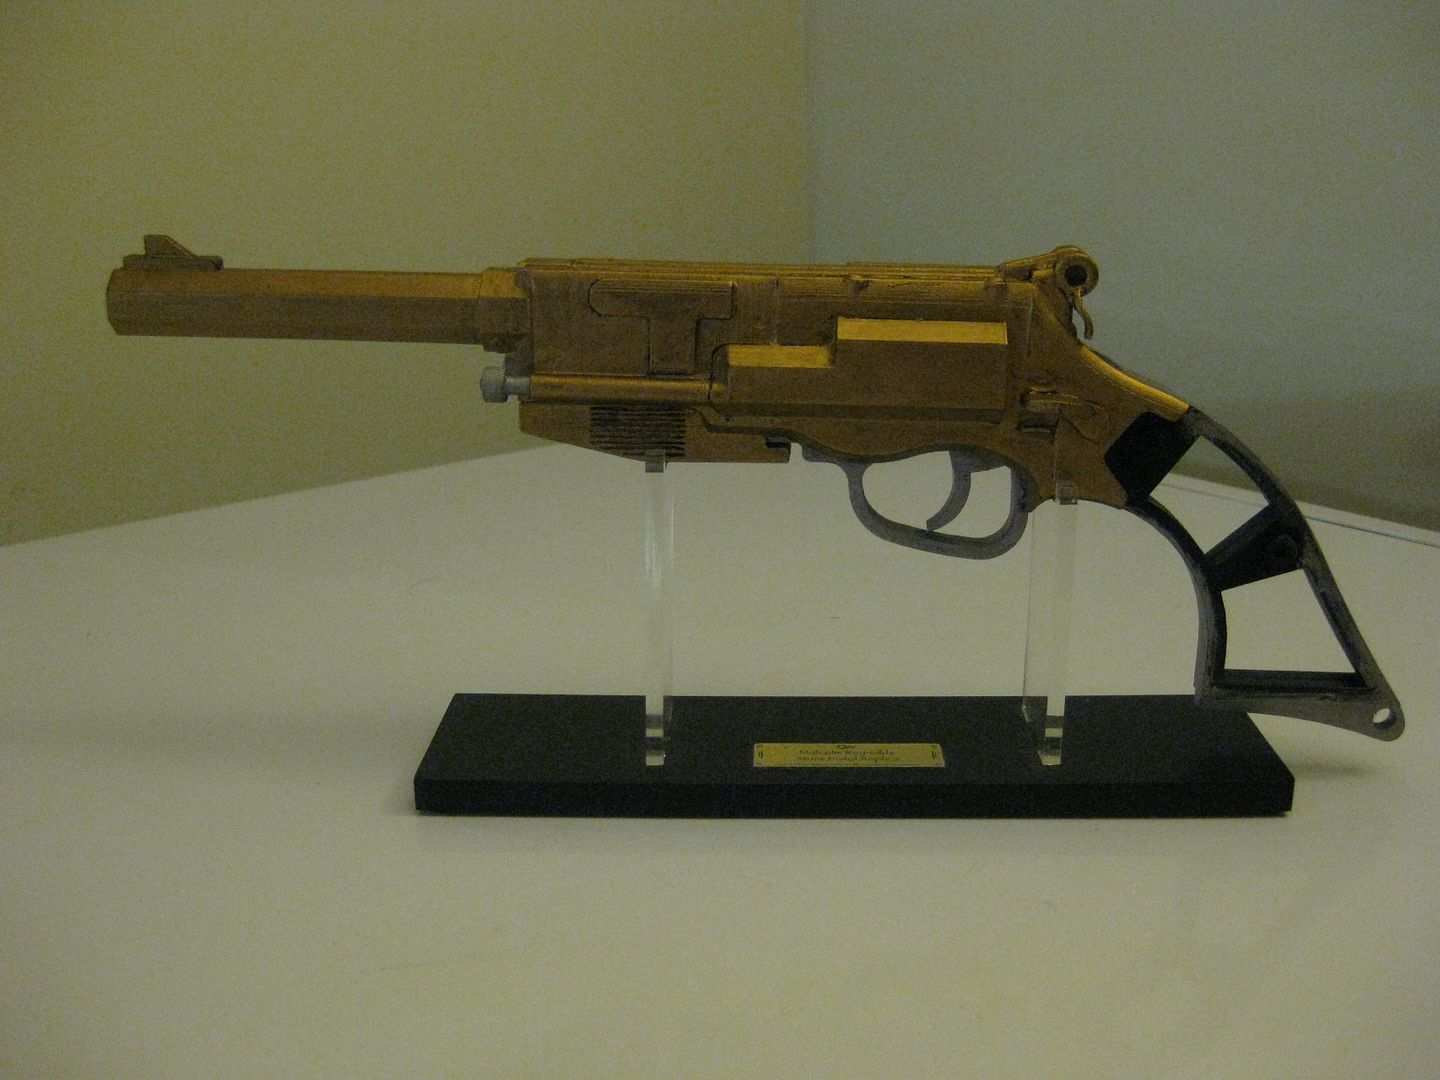
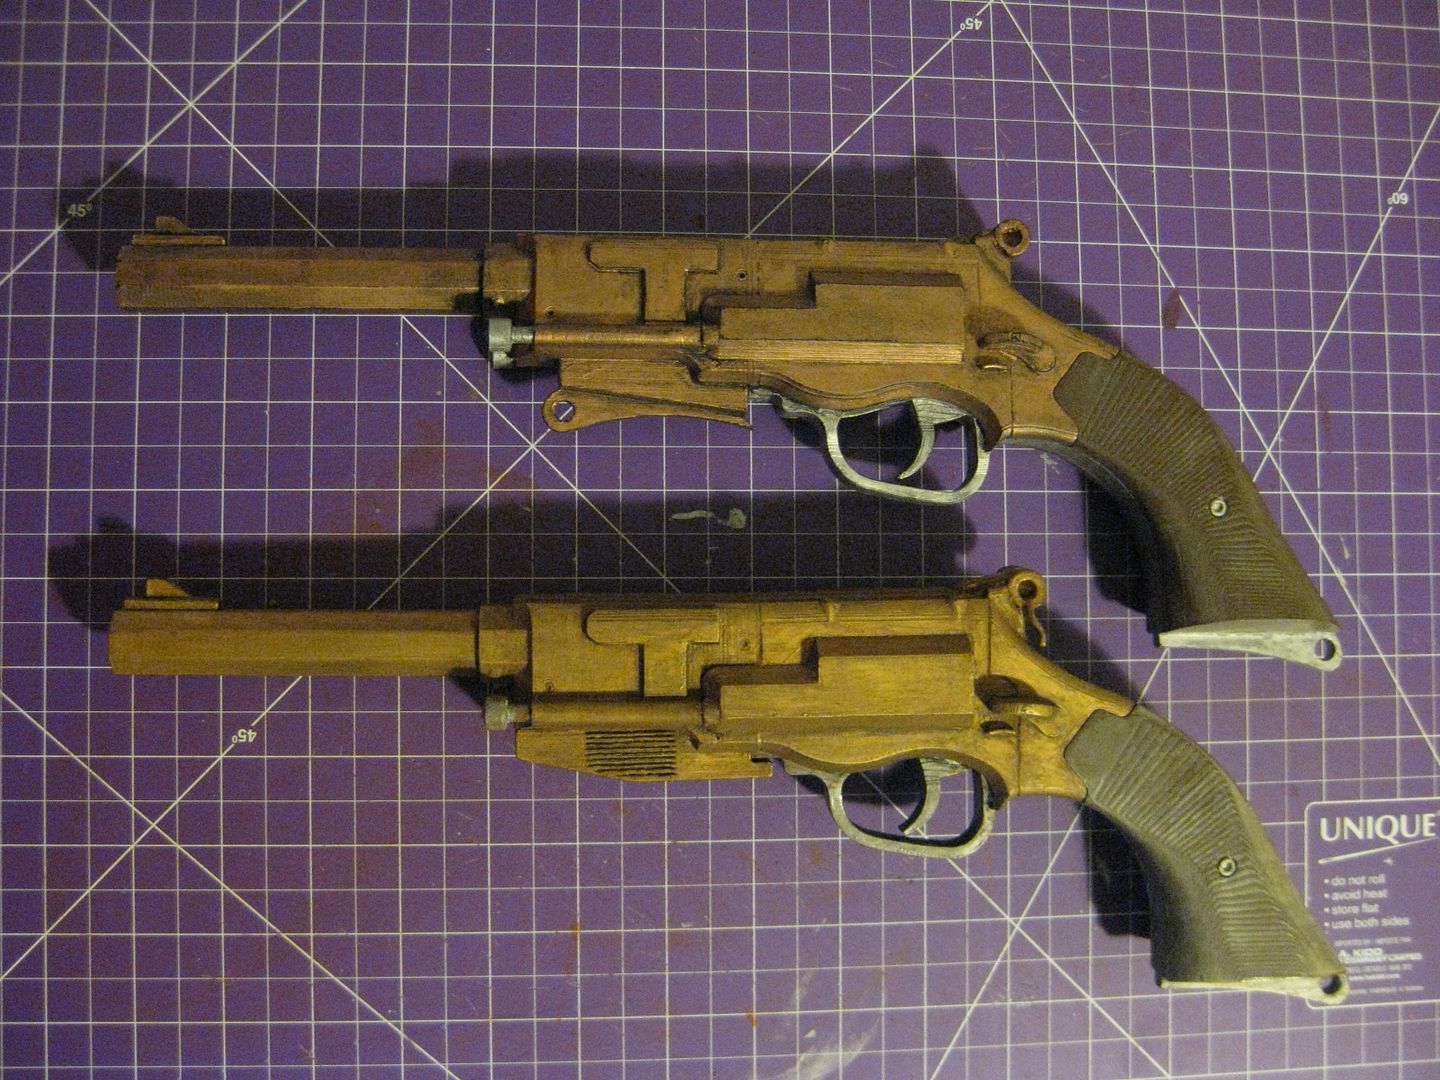
And then the assembly before paint is finished. I snapped off the alignment pegs for the grips this time so they are not attached yet.
IMG_0191_zpscfxqclaj.jpg

IMG_0192_zpsppxqyq2e.jpg


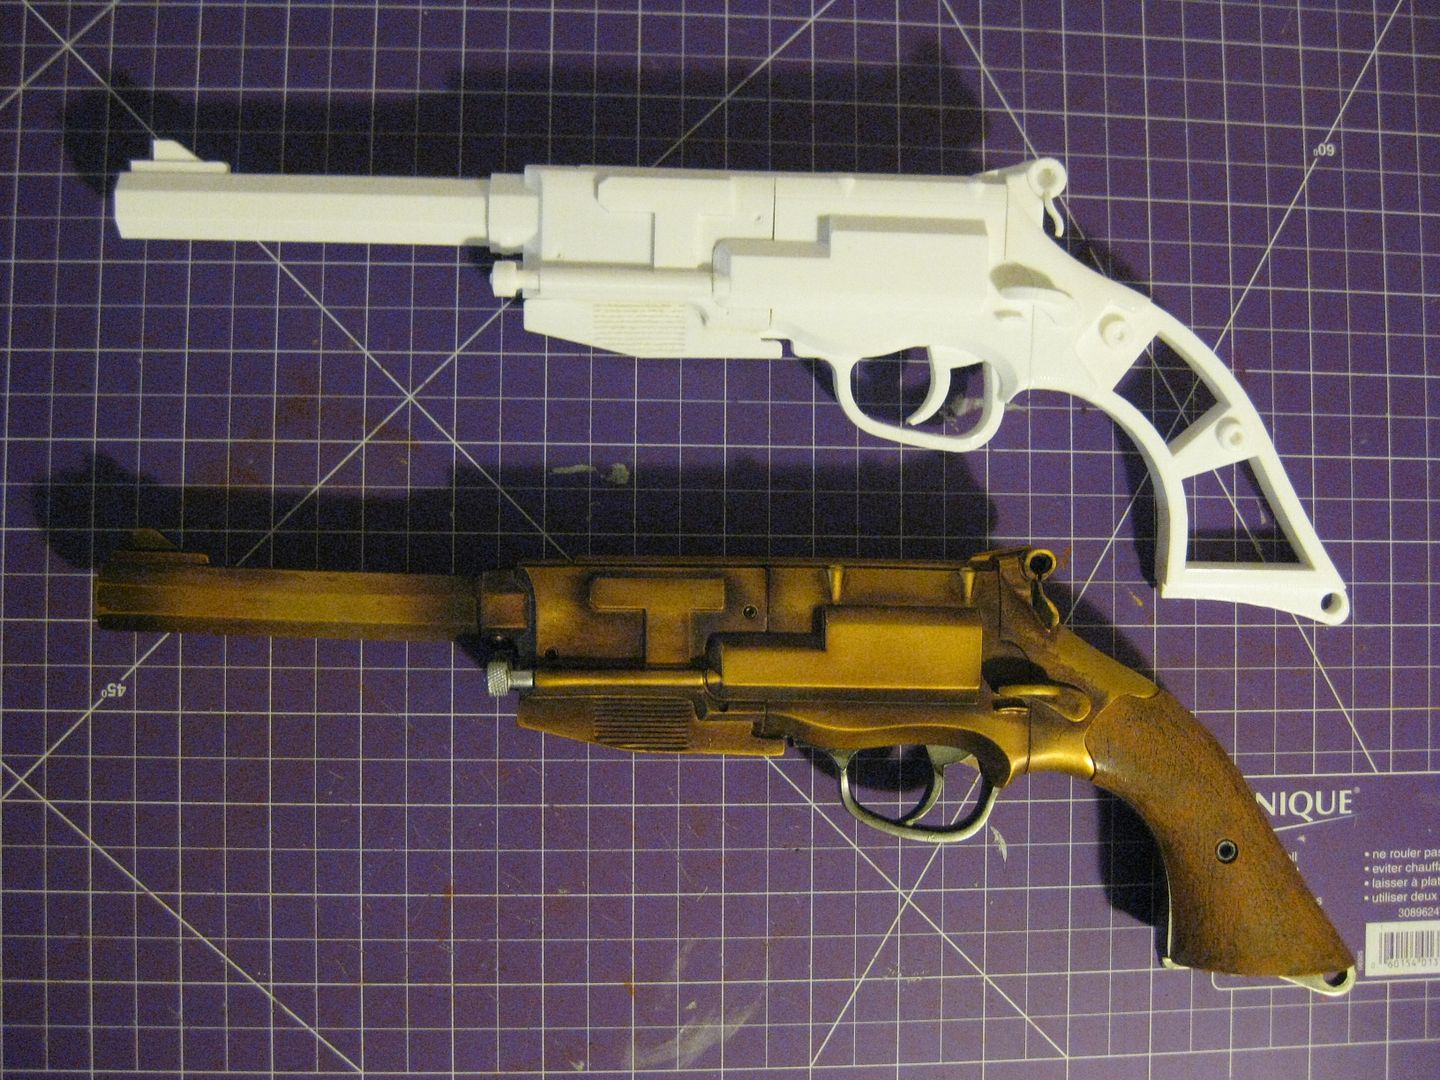
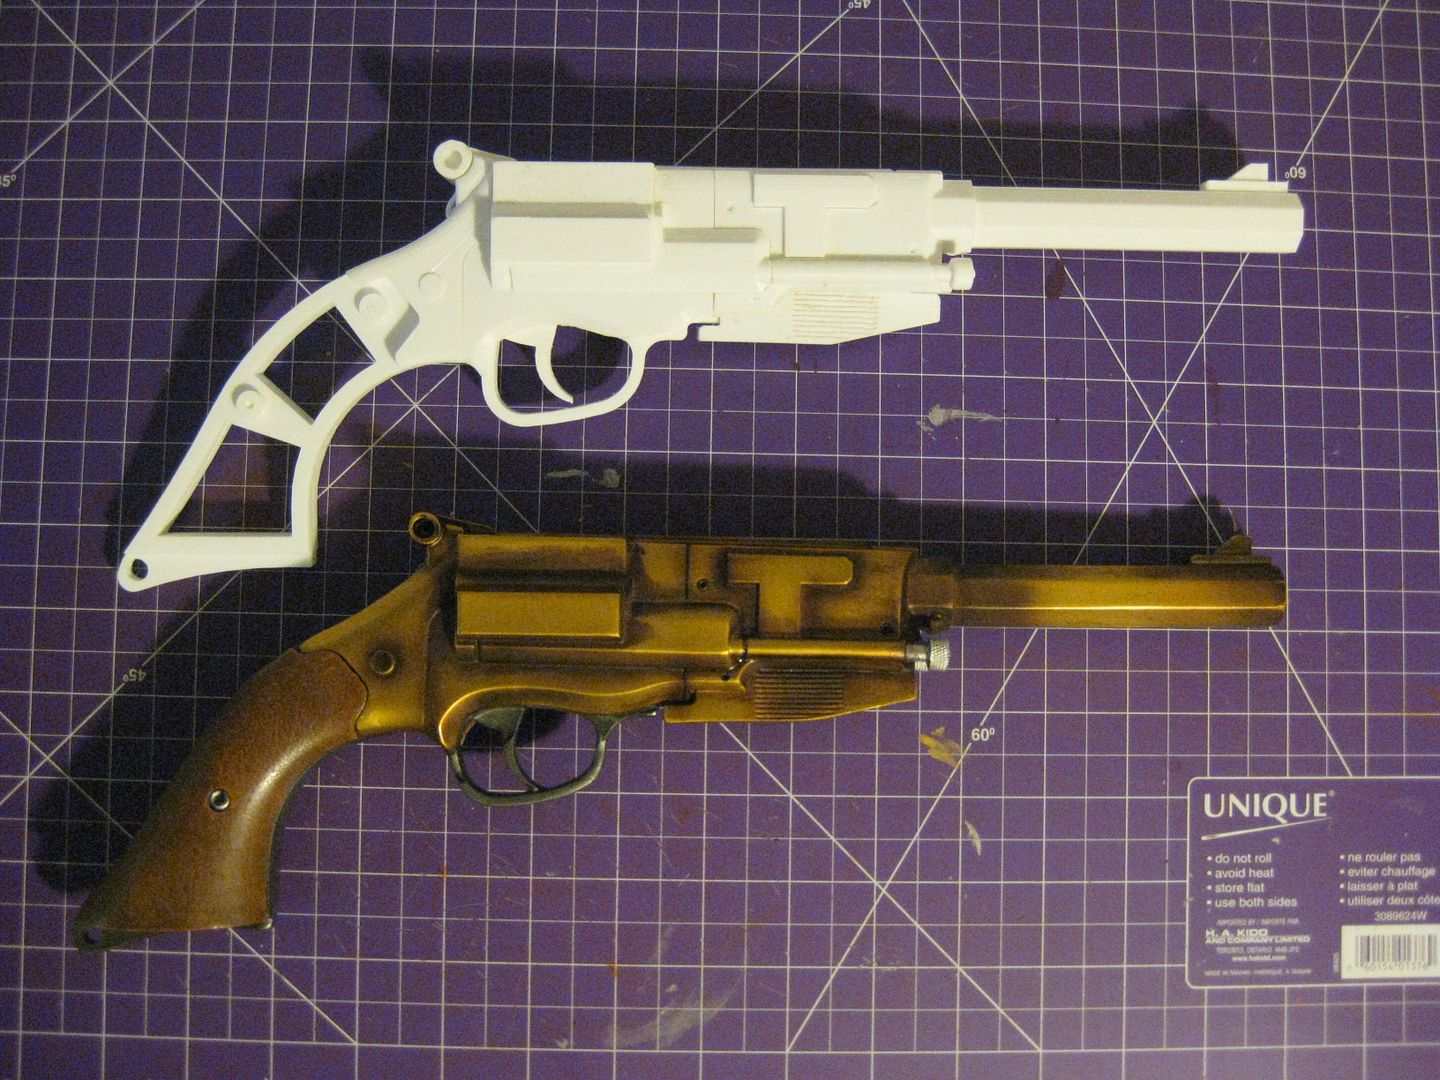
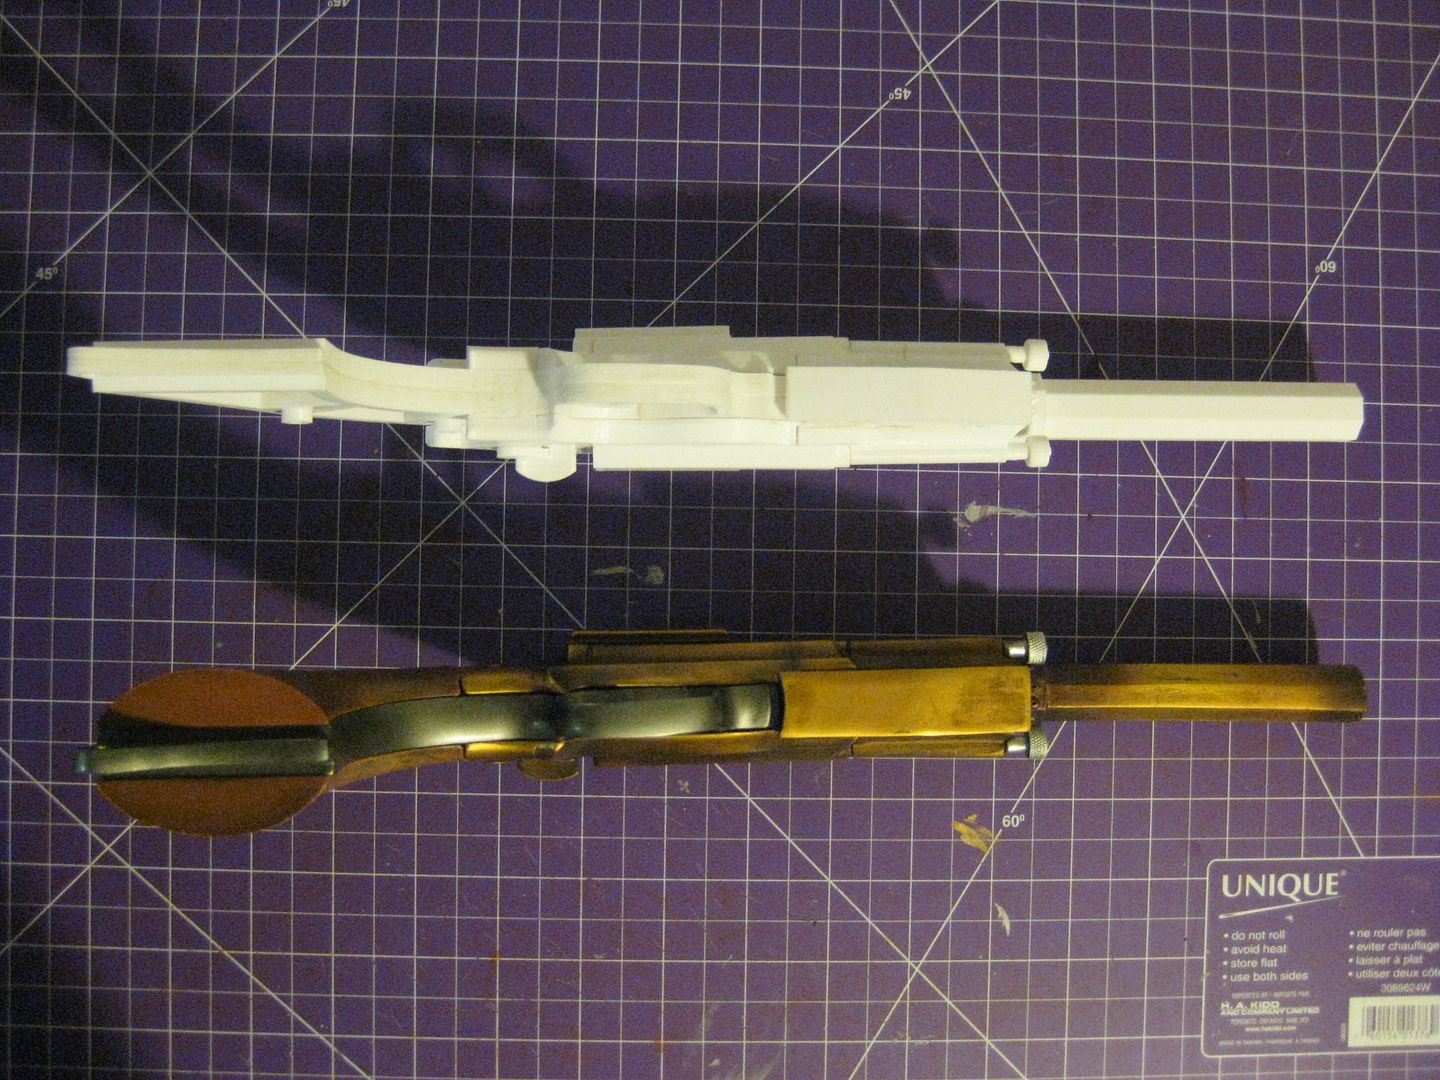
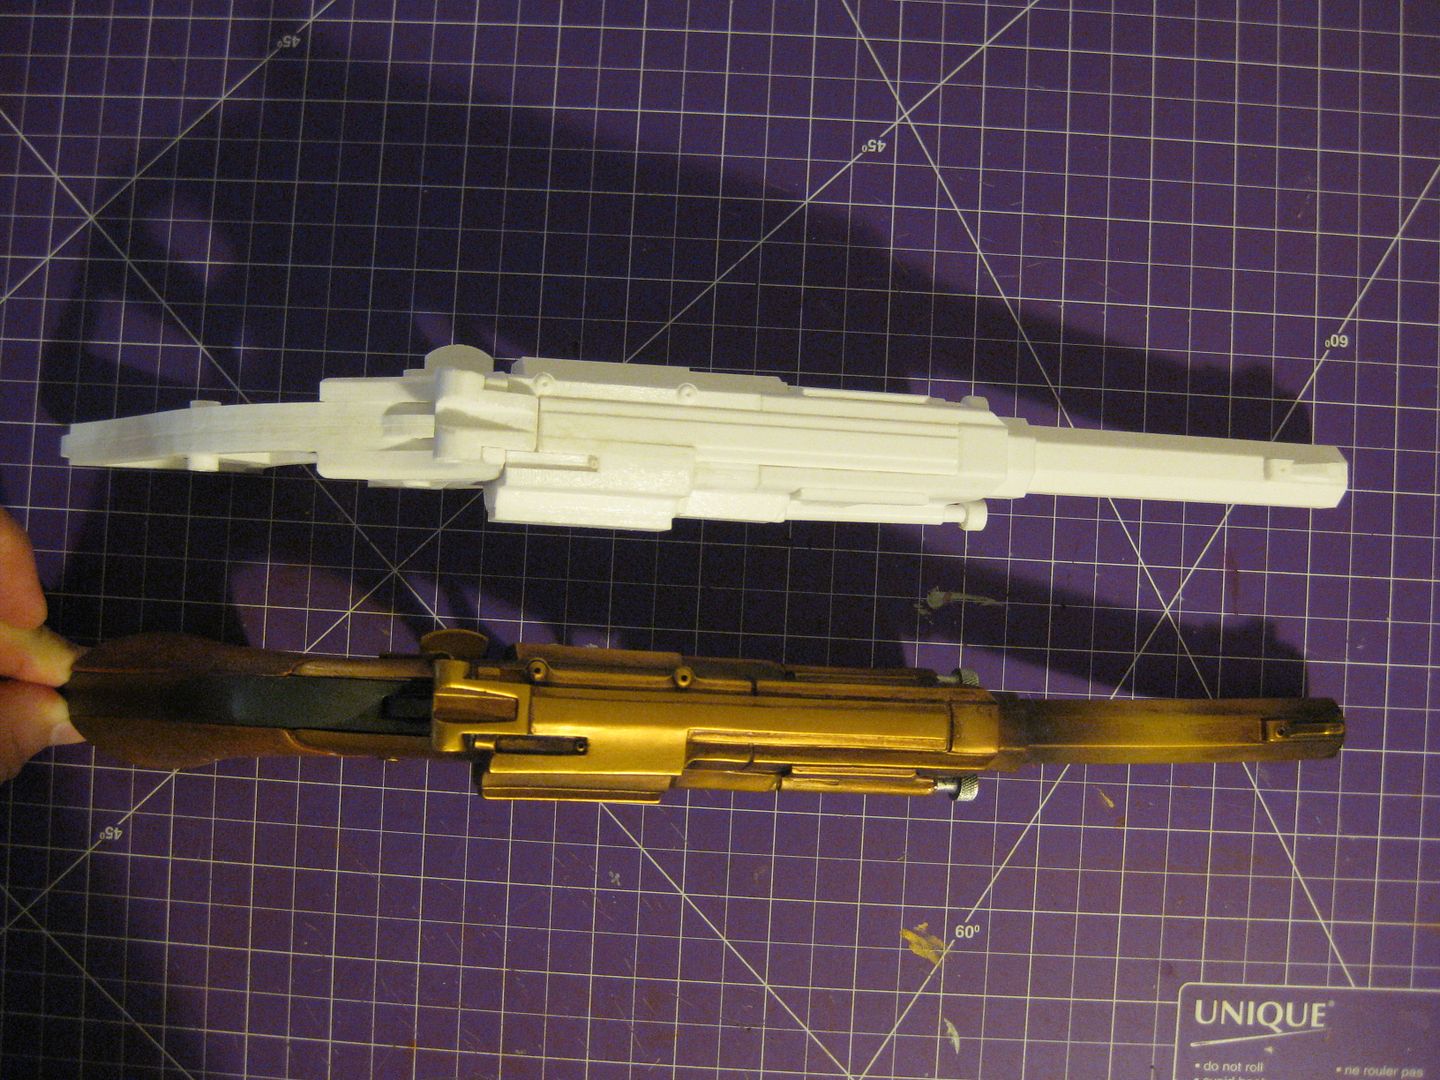
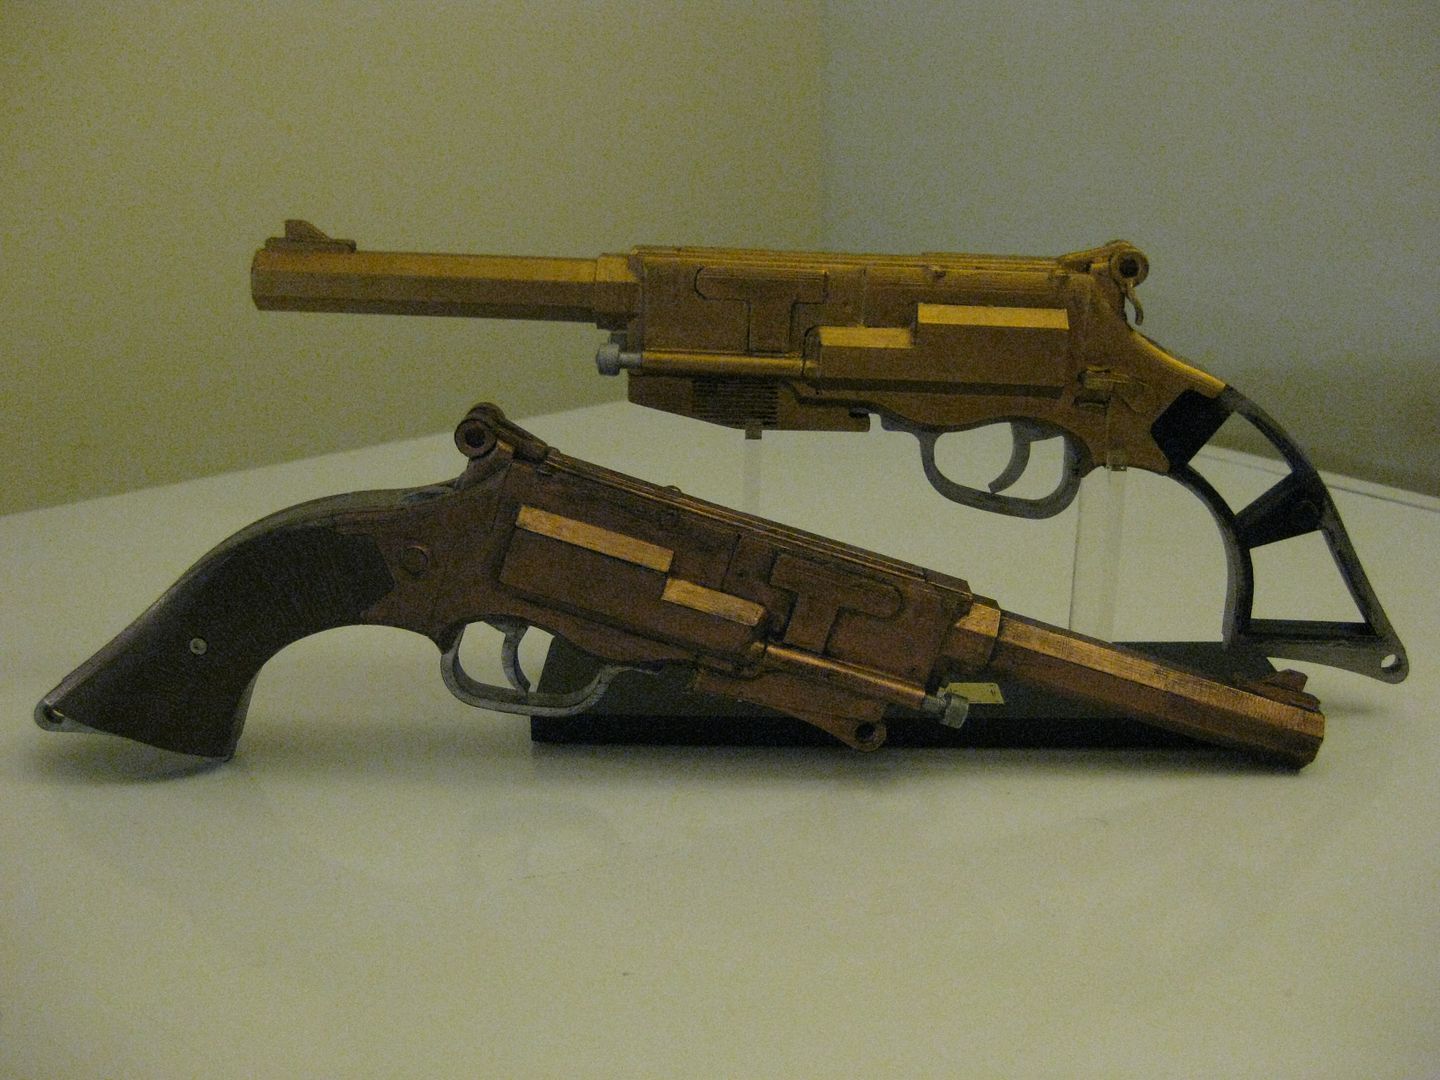
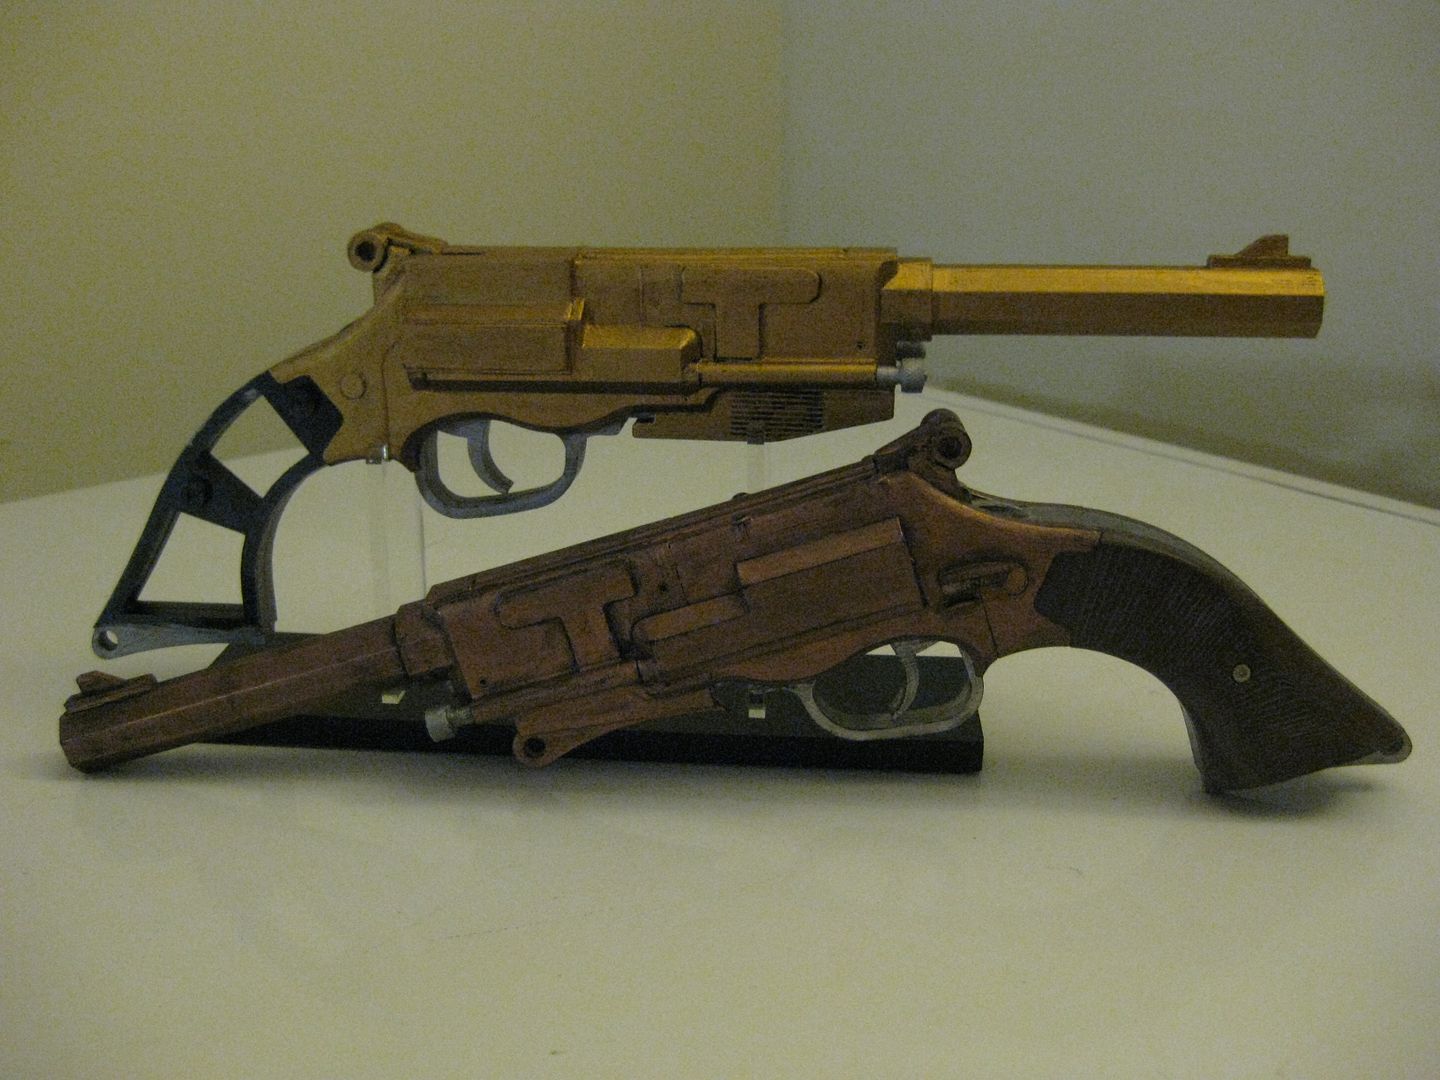
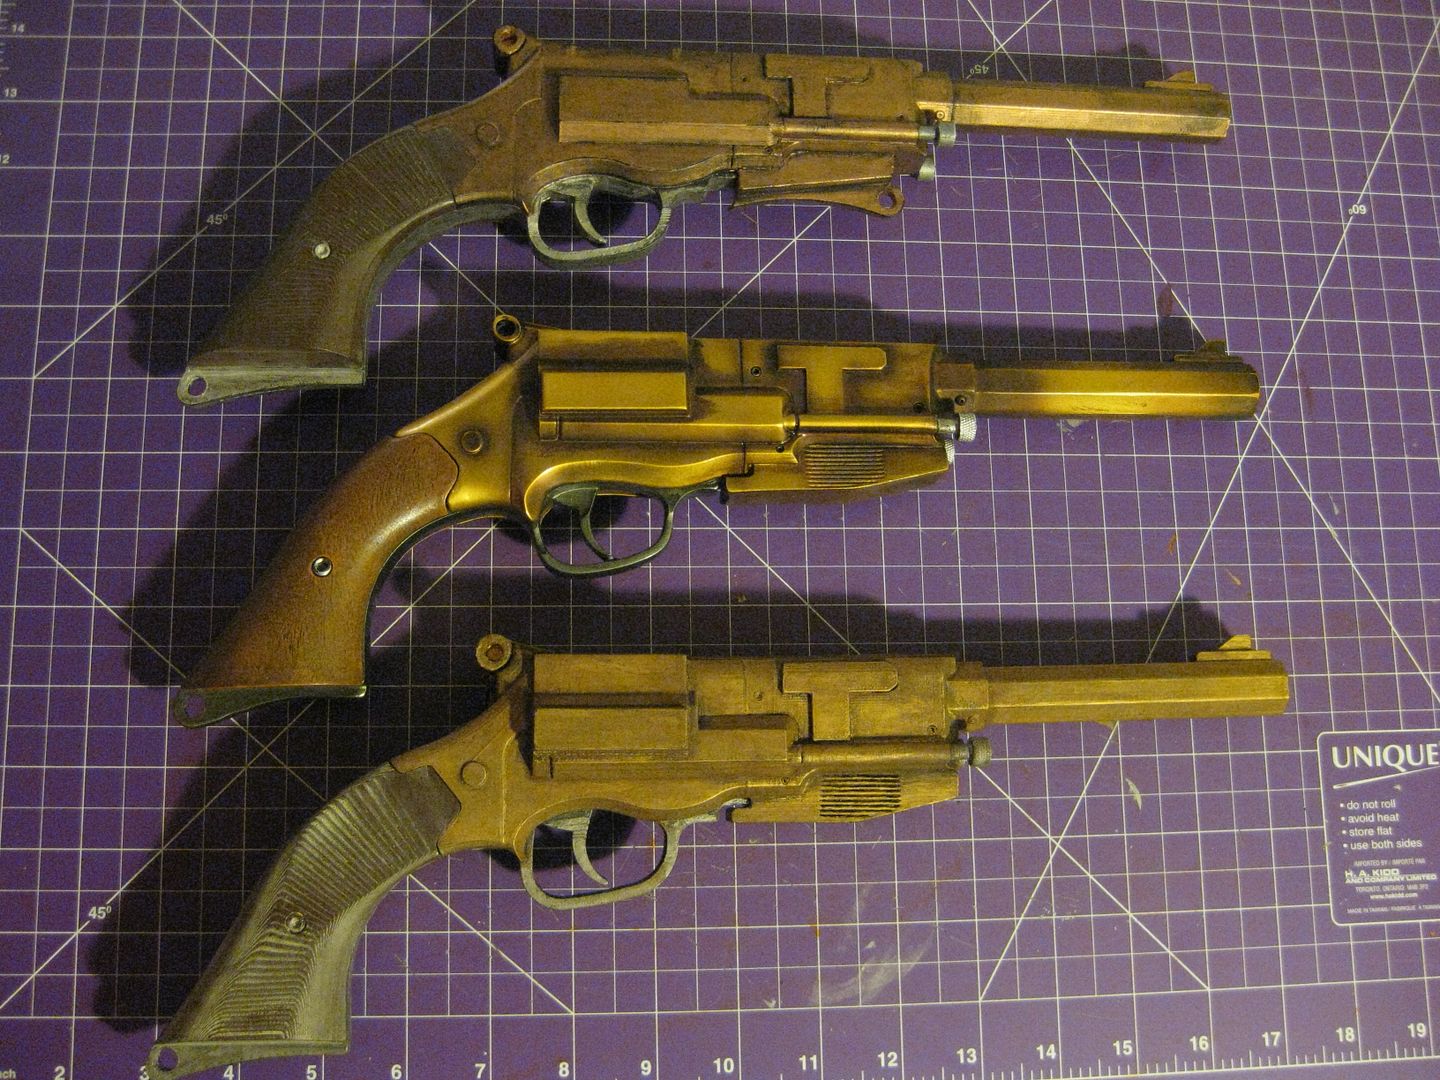
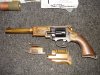
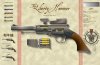
And finally, the comparison to the QMX pistol:


IMG_0193_zpsk2apr12j.jpg

IMG_0194_zpsglffbfjo.jpg

IMG_0195_zps5xtwacmp.jpg

IMG_0196_zpsgaclbq1s.jpg


Now on to filling and painting
 
Last edited:
Did you finish the parts prior to assembly or were they still mostly rough? I thought about printing a version in abs and then using a vapor bath to get things smooth. I am not sure if this would ruin some of the great edges in the print though.
 
Did you finish the parts prior to assembly or were they still mostly rough? I thought about printing a version in abs and then using a vapor bath to get things smooth. I am not sure if this would ruin some of the great edges in the print though.

Most of the external edges are still straight off the printer minus the platform support. I assembled it first, then I will be sanding it. My printer guy tried using acetone on one piece to show me what it would look like but I felt that it kinda melted the edges so I didn't use that piece.

In your case, reprint a small piece, like the trigger guard, and try the vapour bath, if it comes out how you like, you can try it on the other pieces, if not, then at least you'll know.

I also made sure to dry fit the parts to make sure they assemble. This is important for many of the pieces to make sure you don't have to remove more material, especially on the side panels. Just be careful with the grips as when the dimensions are too tight, it can break the pegs off, like on the one I just assembled.
 
Last edited:
Well, I did up the paint for my Serenity version Pistol last night using Grecian Gold this time. At least it looks brassy.


Think I should carry out weathering?


IMG_0200_zpsfthjod6p.jpg

IMG_0201_zps1khgqybn.jpg

IMG_0202_zpserv78czb.jpg

IMG_0203_zpsfy3cyh4b.jpg


My Pistols


IMG_0204_zps86tymg9e.jpg

IMG_0205_zpspyg7qkut.jpg
 
My Serenity Version of the Pistol is now posted:
http://www.thingiverse.com/thing:1188160


Updated first post with all links to models.


I finished up my weathering for the Serenity Pistol, and it's hard believe it's the same pistol with the stark colour change:


IMG_0206_zps16lhb3ej.jpg

IMG_0207_zpsxjbysded.jpg

IMG_0209_zpsvmhadsl5.jpg

IMG_0210_zpsvpigajlw.jpg


Here's a comparison with my firefly pistol (I'm going to need to darken it)


IMG_0218_zpsuyr9gqus.jpg

IMG_0215_zpsaryxq06h.jpg


And a look at all my Mal pistols:


IMG_0214_zps7pbjzo6w.jpg

IMG_0213_zpswz4orebu.jpg
 
I think it was meant to be a normal firearm / "slug-thrower," though how much of that is explicit, I'm not sure. The magazines seem to have been designed to be removable in both the series and movie versions, as seen below. Since reloading was never seen on screen(?), it's debatable as to whether that is an energy source of some kind, or simply a magazine for bullets.

Ben "Whitefall" Mund created the poster artwork attached, and I think it was finished and packaged and sold by QMx, so that's as canonical as it's going to get.

In some of my fan-made material, it uses caseless ammunition, but that's just because I thought it was futuristic. Not supported by hard evidence, except the lack of visible ejection port / spent shells.

The guys at FireflyProps.net would be far more knowledgeable than me in this matter.


-MJ
 

Attachments

  • 2597716.jpeg
    2597716.jpeg
    1.2 MB · Views: 206
  • finalmalgunposterds4.jpg
    finalmalgunposterds4.jpg
    324.2 KB · Views: 197
  • Mals gun open.jpg
    Mals gun open.jpg
    69.4 KB · Views: 190
This thread is more than 5 years old.

Your message may be considered spam for the following reasons:

  1. This thread hasn't been active in some time. A new post in this thread might not contribute constructively to this discussion after so long.
If you wish to reply despite these issues, check the box below before replying.
Be aware that malicious compliance may result in more severe penalties.
Back
Top