3d-builder
Sr Member
Oh man feel your pain on the girders!:facepalm
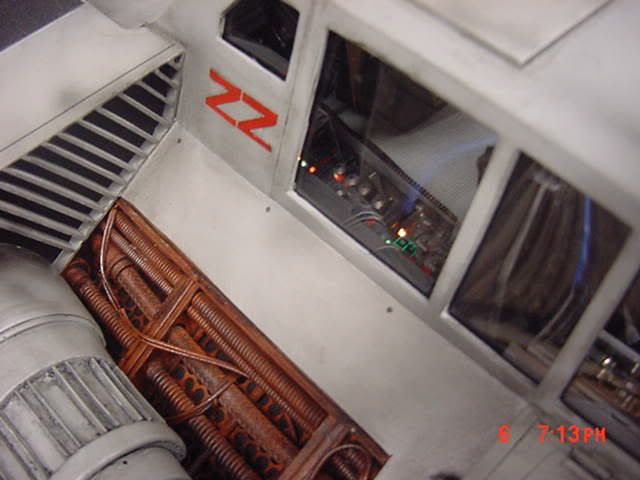

The golf cart material too wasn't it?
What a great job you have done so far and nice detail of progress.. When you say you want a clean cut not using the dremel do you acomplish this with an exacto knife? Wish I had your skills dude really great work!!
Thank you for all the tips, and outstanding work. I hope to be able to have an idea and mind and then make it come to life just like that!:thumbsup


Looks expensive!
thumbsup